Microgreens are tiny plants with a powerful punch of nutrients, often containing up to five times more vitamins than their mature counterparts.
Instead of spending money on store-bought greens, you can grow them right at home with very little effort. These delicate greens are ready to harvest in just 10 days to 2 weeks, making them one of the quickest and most rewarding gardening projects you can try indoors.
The best part is that you don’t need fancy equipment to start. Everyday items like cups, jars, or even eggshells can be turned into charming little planters.
This way, you get to enjoy fresh, organic greens while adding a touch of creativity to your living space. Here are 12 simple and delightful ways to grow microgreens indoors that will keep your kitchen stocked with healthy flavors year-round.
#1 Plastic Cups
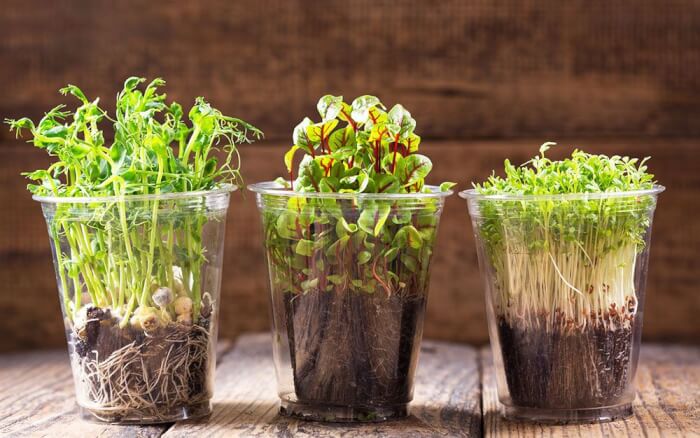
Plastic cups make a budget-friendly and convenient container for microgreens. Simply poke a few drainage holes at the bottom, fill them with potting soil, and sprinkle seeds evenly on the surface.
Keep the soil moist by misting with water daily, and place the cups on a sunny windowsill. In about 10 days, you’ll see fresh greens ready for cutting.
This method works great if you want to start multiple small batches at once. You can even label each cup with different seeds for variety.
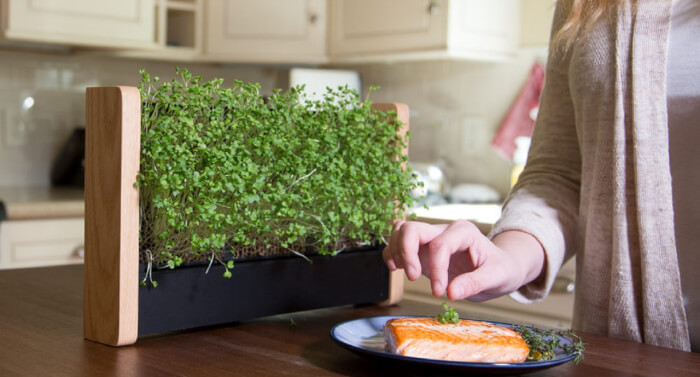
#2 Indoor Food Garden
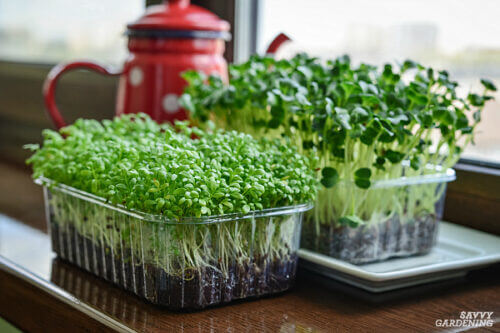
Turning a corner of your home into a mini food garden brings both freshness and beauty indoors. Use shallow trays or boxes filled with soil and arrange them neatly in one spot with good light.
Plant different microgreens together, like radish, kale, and sunflower, for a colorful harvest. Keep the soil consistently damp but not waterlogged to ensure quick germination.
In less than two weeks, you’ll have a vibrant patch of greens that feels like a mini farm inside your house. It’s a rewarding way to combine décor and food in one project.
#3 Inside Eggshells
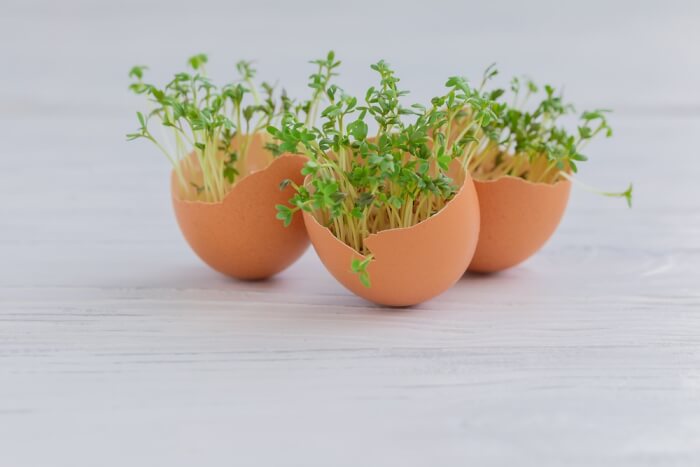
Eggshells create tiny, eco-friendly planters that are perfect for small microgreen harvests. After cracking the eggs, clean and dry the shells, then fill them halfway with soil. Scatter seeds on top and mist lightly to keep them hydrated.
Place the shells in an egg carton to keep them stable while they grow. In just over a week, you’ll see delicate sprouts peeking out. Once harvested, you can even crush the shells into your compost for zero waste.
#4 In Tin Pails
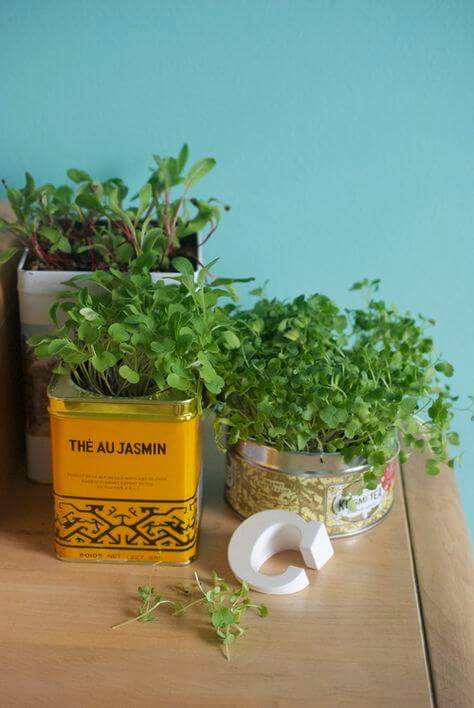
Tin pails give a rustic touch to your indoor garden while being sturdy enough for repeated use. Fill them with a nutrient-rich soil mix and sow microgreen seeds in an even layer.
Keep the pails near a sunny window or under grow lights to help the greens thrive. A gentle misting every day will keep the soil moist without drowning the roots.
Within two weeks, you’ll have a lush pail of greens ready to snip. This setup works especially well as a decorative centerpiece in your kitchen.
#5 In Pots
Small clay or ceramic pots are a classic choice for growing microgreens. Their breathable material helps regulate moisture, preventing soggy soil.
Start by filling the pot with a lightweight soil mix, scatter seeds on top, and cover them lightly with soil. Water gently and keep the pot in a bright location.
You’ll soon enjoy a healthy crop of greens that are easy to cut and add to meals. Pots also let you reuse the soil by refreshing it between plantings.
#6 In A Vertical Growing Station
A vertical growing station is perfect if you’re short on space but want a large yield. Stack trays or shelves vertically and plant microgreens in each layer.
This setup maximizes light exposure and gives you a steady supply of greens in one compact area. Make sure each tray has proper drainage to avoid water pooling.
With a little daily misting, the greens will be lush and full within days. It’s a clever way to create an indoor garden wall filled with food.
#7 In Coconut Shell
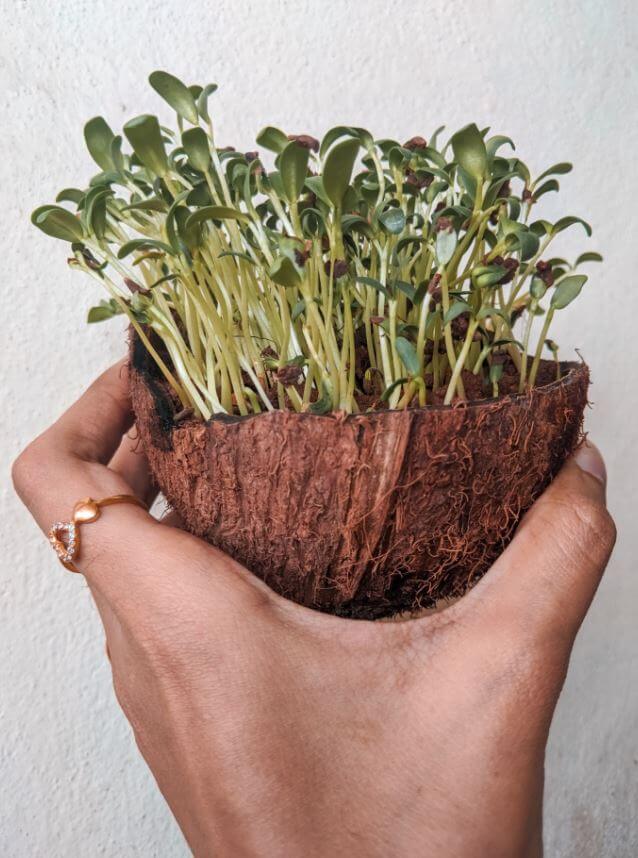
Coconut shells make charming and natural-looking planters for microgreens. Slice the shell in half, scoop out the flesh, and fill the hollow with soil. Sprinkle seeds on top and press them gently into the surface.
The shell not only holds the soil but also adds an earthy touch to your home. Place it in a sunny spot and mist it regularly to keep the seeds moist. Within a short time, you’ll have a small but delightful crop of microgreens.
#8 In Jar
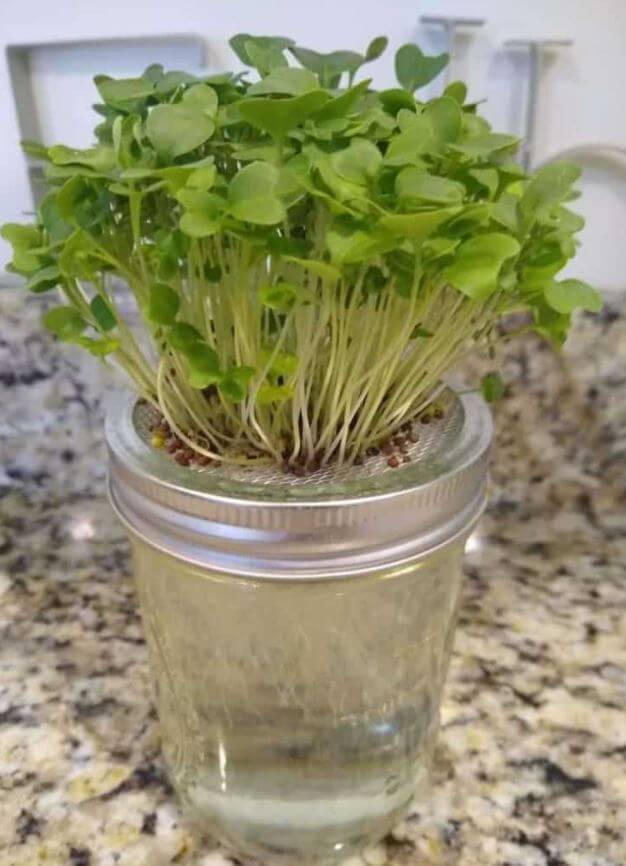
Glass jars are an easy and clean option for growing microgreens without soil. Instead of dirt, you can use a hydroponic mat or even damp paper towels at the bottom. Scatter seeds evenly and spray with water daily.
The transparent glass makes it fun to watch roots develop as the greens grow. Place the jars on your kitchen counter where they can catch indirect sunlight. In about 10 days, your jar will be filled with edible greenery.
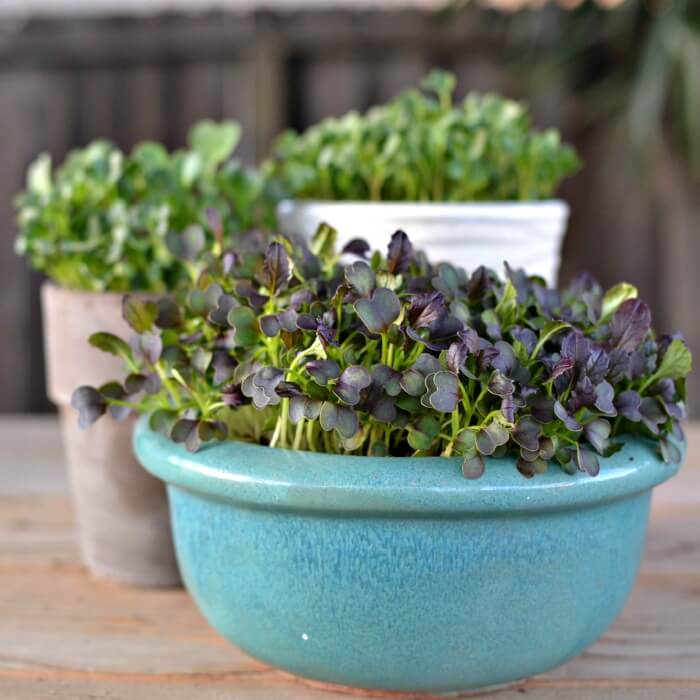
#9 Glass Bowl
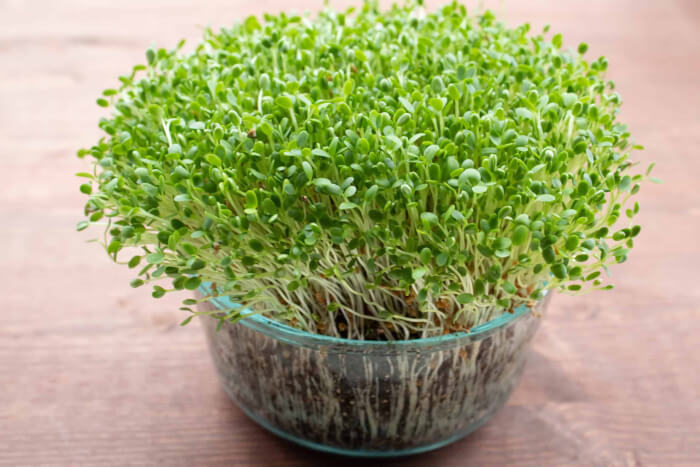
A wide glass bowl lets you grow microgreens in style while showing off the soil and roots. Start by layering pebbles at the bottom for drainage, then add soil and seeds. Keep the bowl in a bright spot and water gently to avoid over-saturation.
The clear sides make it easy to monitor moisture levels. Within two weeks, you’ll have a fresh crop ready to harvest. This option doubles as a decorative centerpiece for your dining table.
#10 On the Kitchen Countertop
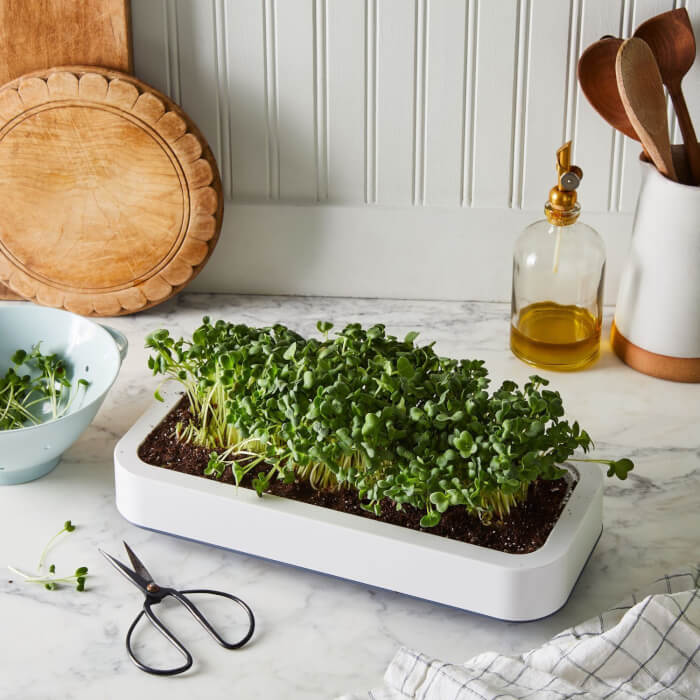
If you want convenience, simply dedicate a spot on your kitchen countertop to growing microgreens. Use shallow trays or any container that fits your space.
Sow seeds evenly, mist them daily, and make sure they get enough light from a nearby window or grow lamp. The location makes it easy to harvest just before cooking.
In less than two weeks, you’ll be cutting fresh greens right where you prepare meals. It’s a simple way to bring food production into your daily routine.
#11 Tin Cans
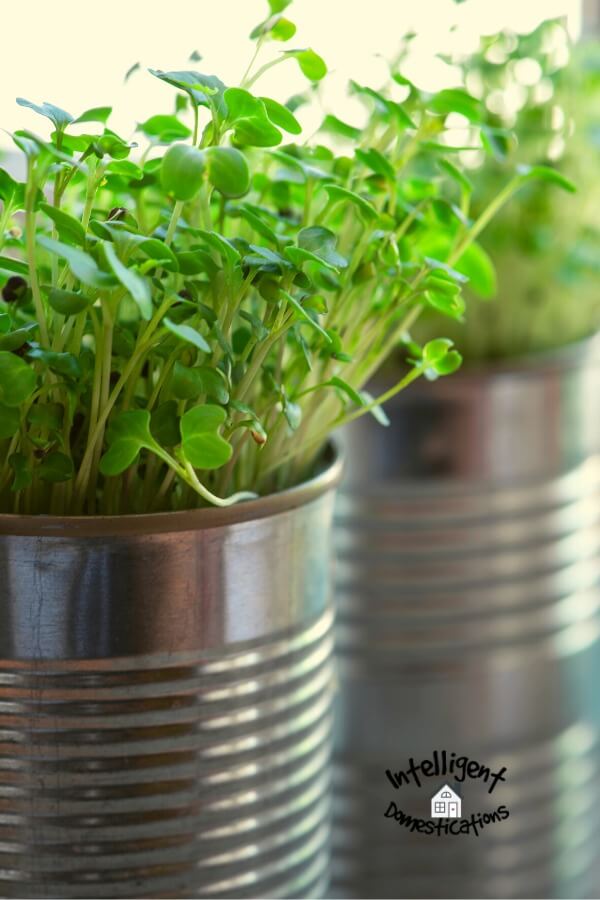
Tin cans are a creative way to recycle while growing food at home. Wash and dry the cans, then poke holes at the bottom for drainage. Add soil and seeds, and keep the cans near sunlight. Mist daily until the microgreens sprout and grow lush.
You can paint or decorate the cans to match your kitchen style. This idea blends sustainability with function, giving old cans a brand-new purpose.
#12 In Cup
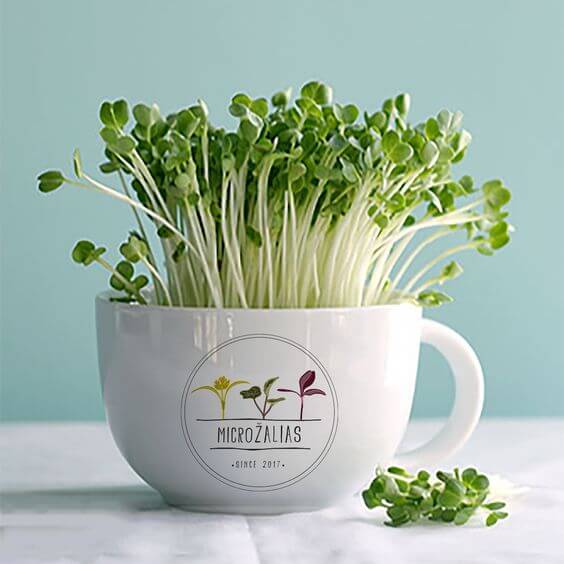
A simple ceramic cup can turn into a charming planter for microgreens. Fill it with potting soil and sprinkle seeds on top, pressing them lightly into place. Water just enough to keep the soil damp and set the cup in a sunny window.
In about 10 days, you’ll have a cheerful cluster of greens ready to snip. Using cups makes it easy to grow several varieties at once without taking up much space. Plus, they add a cozy, homey feel to your indoor garden.