If you have unused glass bottles around your kitchen or garage, these 19 Easy Handmade Glass Bottle ideas are excellent additions to the garden for sure!
Whether your glass bottles are old or new, they alike can get a new life by adding creative ideas such as lighting and other beautiful outdoor landscape elements. It’s time to put on your creative hat and craft some brilliant yard decors using the list of creative ideas below.
Each of these garden decorations can be completed with a minimal amount of tools and little creativity. The collection has gathered inspiration that lends itself to a host of uses for budget-friendly backyard items, such as garden fountains or outdoor sculptures, all are easy to make on days off. After reading the article, you will want to save the empty bottles from now on!
This article contains affiliate links. If you purchase through them, I may earn a small commission at no extra cost to you. Thank you for your support!
#1. Hanging Candle Lantern
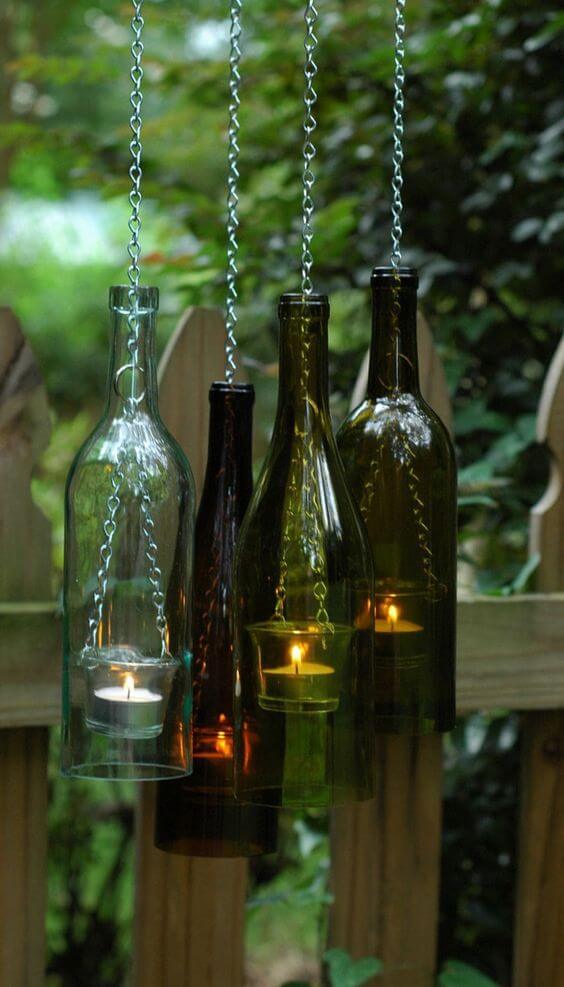
Whether it’s a romantic dinner or a quiet evening on the porch, these recycled bottle lanterns add warmth and character to any outdoor space.
 SHOP WINE BOTTLES
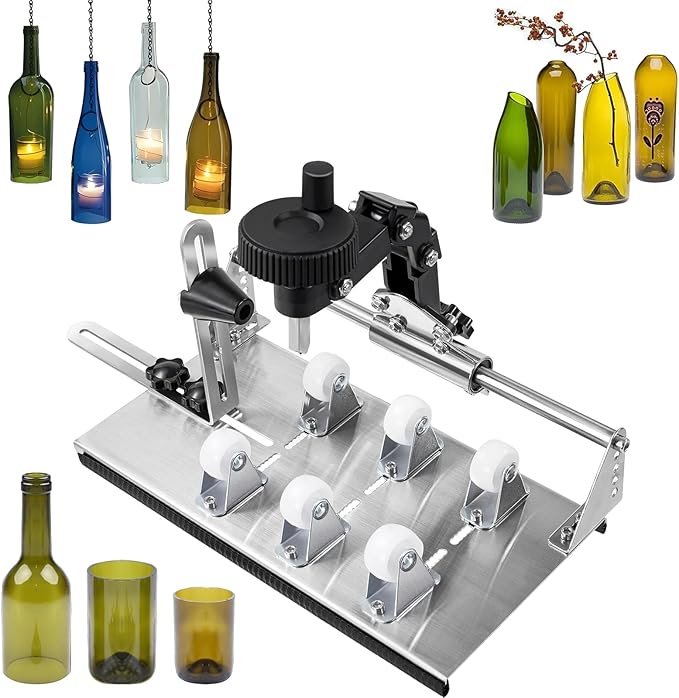 SHOP BOTTLE CUTTER TOOL
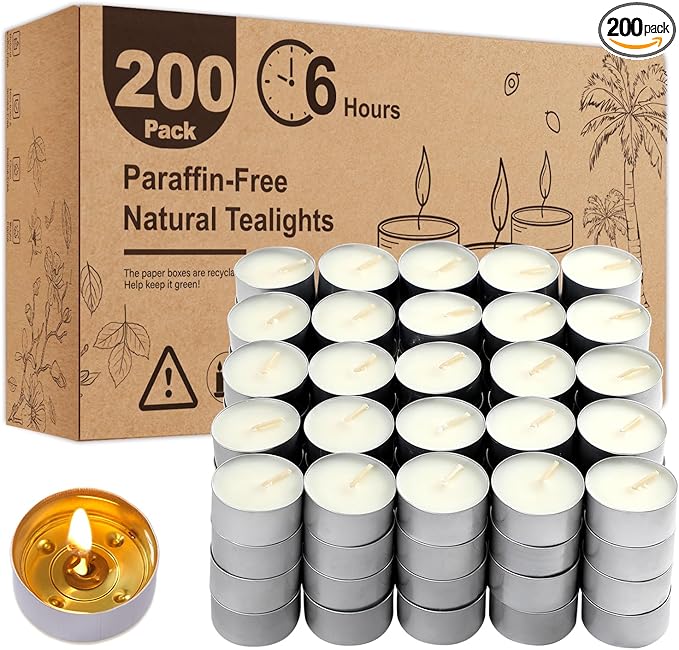 SHOP TEALIGHT CANDLES
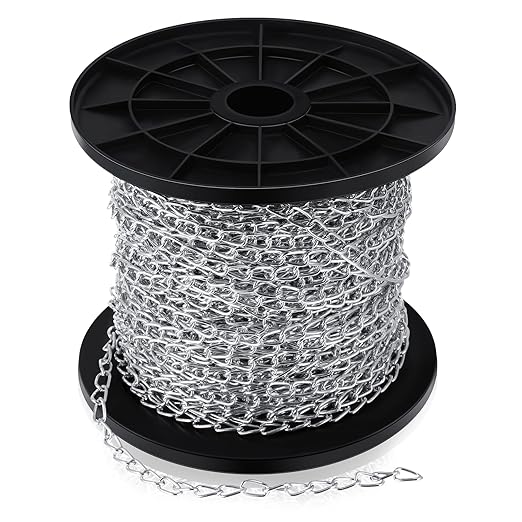 SHOP METAL CHAINS
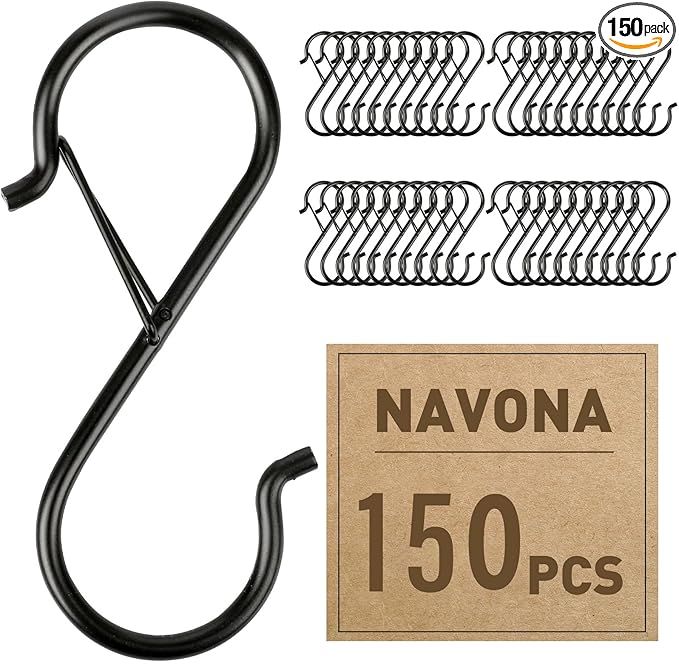 SHOP S-HOOKS
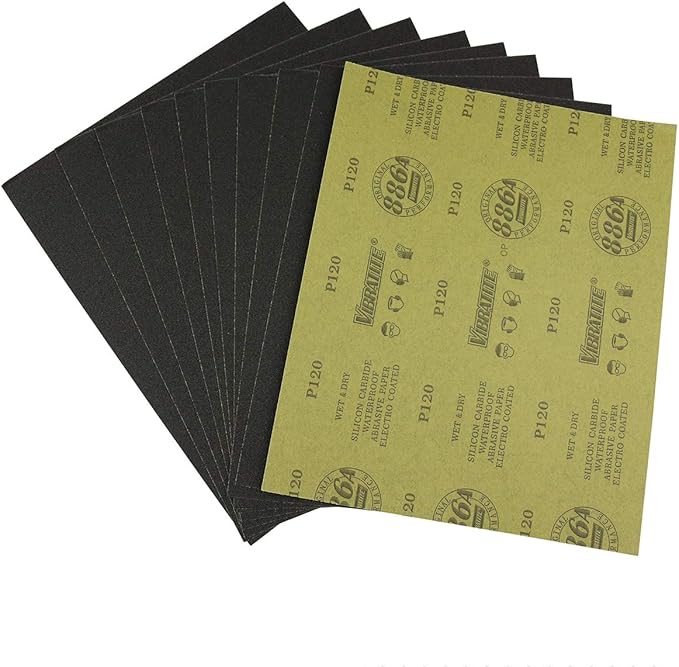 SHOP FINE GRIT SANDPAPER
Materials Needed
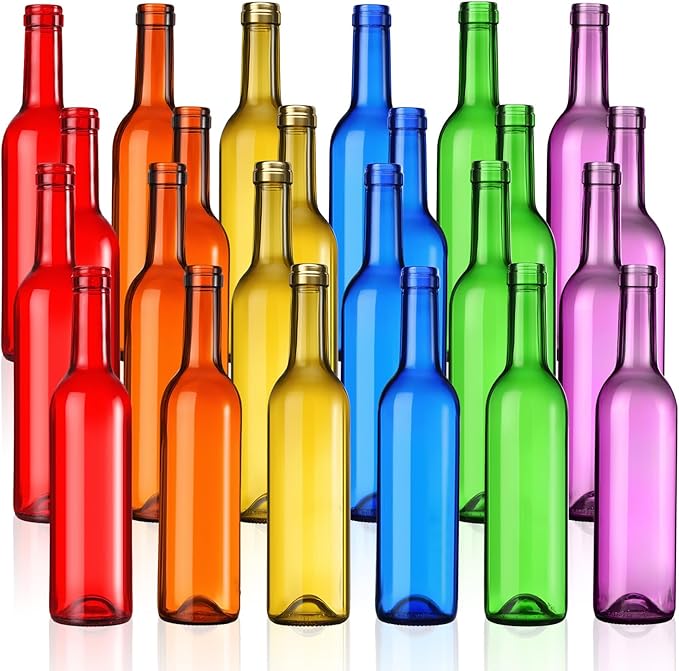
- 4 empty wine bottles (each approx. 11–13 inches tall)
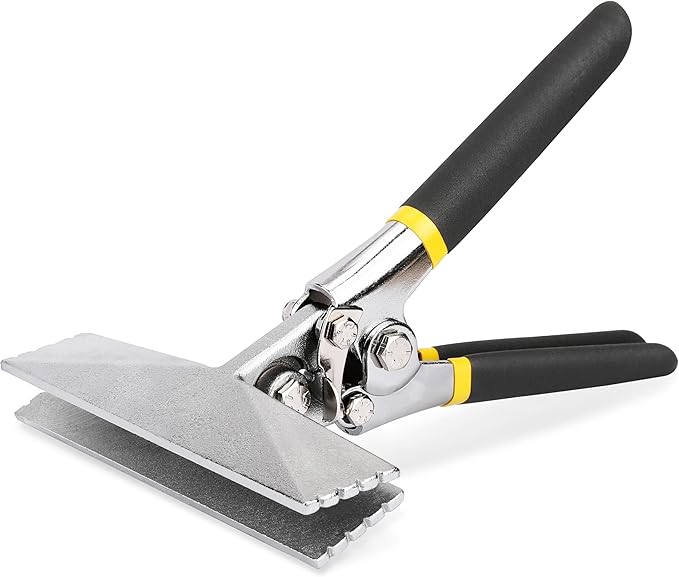
- Bottle cutter tool
- 4 tealight candles
- Sturdy metal chains
- S-hooks
- Protective gloves and goggles
- Fine grit sandpaper
Step-by-step Guide
Step 1: Clean the wine bottles thoroughly and remove all labels using warm water and dish soap. Let them dry completely.
Step 2: Using the bottle cutter tool, carefully score and separate the bottom third of each bottle. Follow the tool’s instructions, and always wear protective gear.
Step 3: Sand the cut edges with fine grit sandpaper until smooth and safe to touch.
Step 4: Attach small chains to the tealight holders, creating three evenly spaced hanging points. Use wire or jump rings to secure the chains if necessary.
Step 5: Thread the chain through the bottle neck so that the holder hangs freely inside the bottle. The candle should rest just above the bottom edge.
Step 6: Insert a tealight candle into each holder. Hang the lanterns using S-hooks or ceiling hooks from a pergola, branch, or patio beam.
#2. Pathway Lights
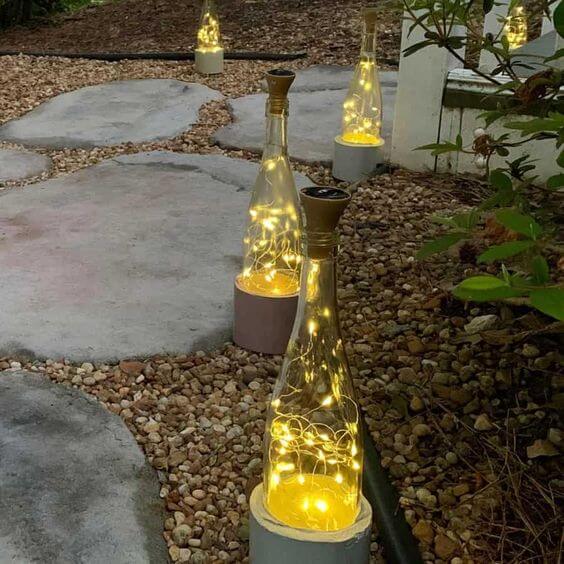
Simple, elegant, and made from scraps that once had no purpose, this project made me fall in love with the idea of lighting that tells a story.
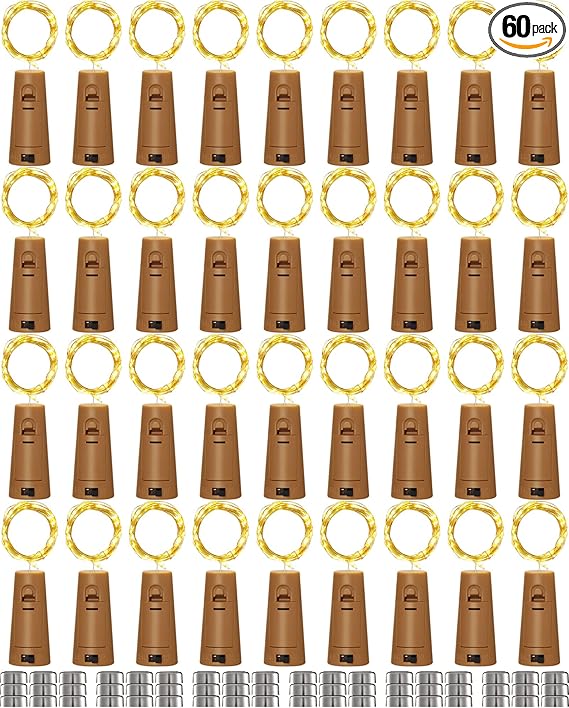
Materials Needed
- 6–8 clear glass wine
- Warm white LED fairy lights
- Bottle cork string light tops
- Concrete molds
- Optional: Acrylic spray sealant
Step-by-step Guide
Step 1: Wash and dry each bottle thoroughly. Remove labels using warm water and dish soap or adhesive remover. Let dry completely.
Step 2: Coil the fairy lights inside the bottle, starting from the base upward. Try not to overcrowd the space as it looks best with a loose, organic swirl of light.
Step 3: Secure the battery or solar-powered cork light into the neck of each bottle. Make sure it fits snugly.
Step 4: Place the bottles into your concrete or weighted garden edging bases. These keep the bottles stable and upright, especially in wind or rain.
#3. DIY Wine Fountain
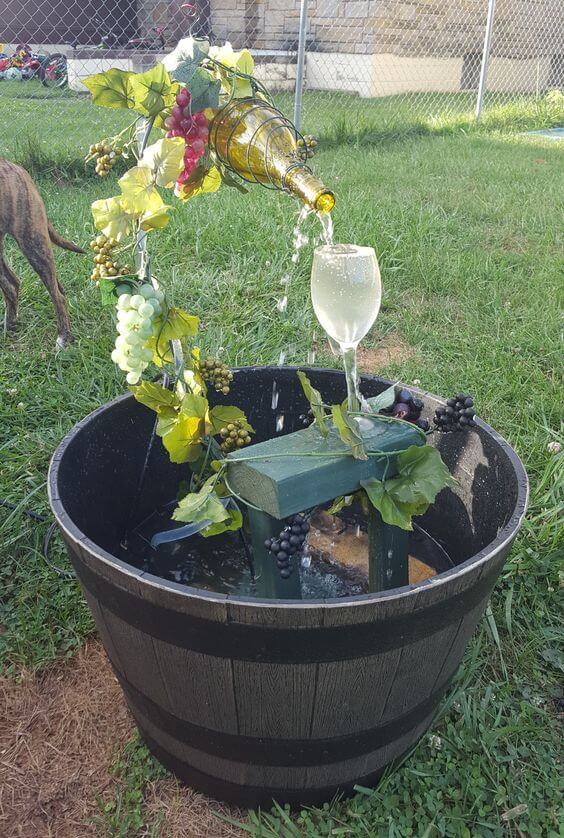
Watching the water trickle from a floating wine bottle into a tilted glass instantly adds a sense of play and personality to your yard.
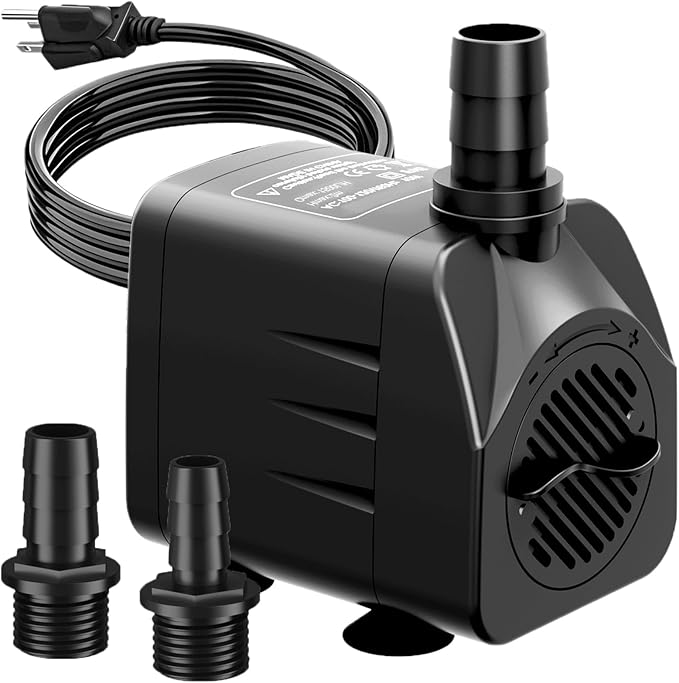 SHOP SUBMERSIBLE WATER PUMP
 SHOP HALF BARREL PLANTER
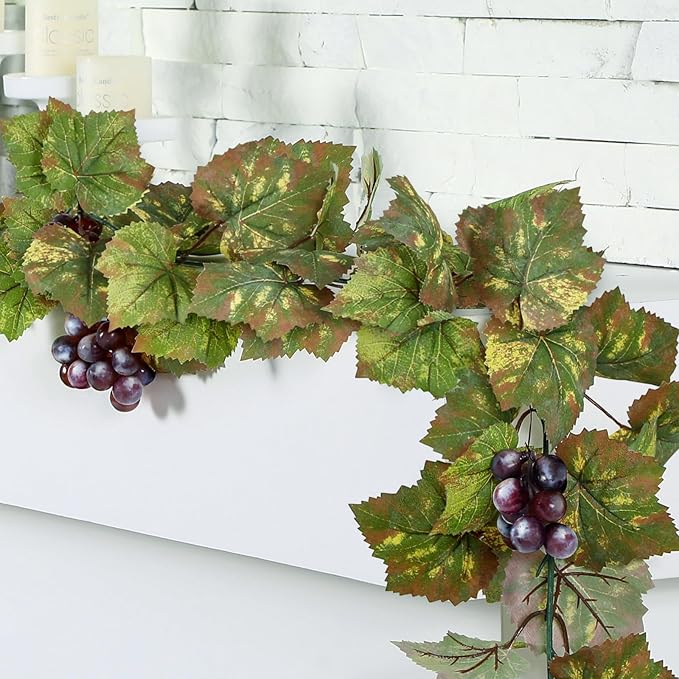 SHOP ARTIFICIAL GRAPE VINES
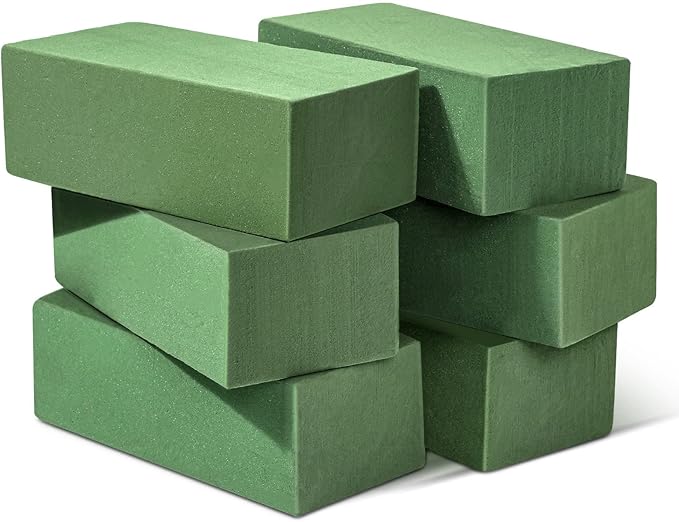 SHOP FOAM BLOCK
Materials Needed
- 1 empty wine bottle and 1 clear wine glass
- 4 ft flexible clear tubing (3/8 inch diameter)
- Submersible water pump
- Half-barrel planter (18–24 inches diameter)
- Artificial grape vines
- Decorative filler (foam block, small crate, stones)
- Silicone sealant
- Drill with glass-cutting bit
Step-by-step Guide
Step 1: Drill a small hole at the bottom of the bottle using a glass drill bit. Feed the tubing through the bottle neck or hole until only 1–2 inches remain visible.
Step 2: Secure the tubing near the top of the wine glass using clear tape or discreet glue points so water pours directly into the bowl. Hide the tubing behind faux vines for a floating effect.
Step 3: Anchor the wine glass on a raised platform inside the barrel using floral foam, a small crate, or bricks.
Step 4: Place the pump in the bottom of the barrel and connect it to the bottom end of the tubing. The wrap grape vines around the tubing and bottle for decoration.
#4. Outdoor Candle Holder

It’s romantic, rustic, and incredibly easy to make. Plus, it’s a clever way to reuse bottles that would otherwise end up in the recycling bin.
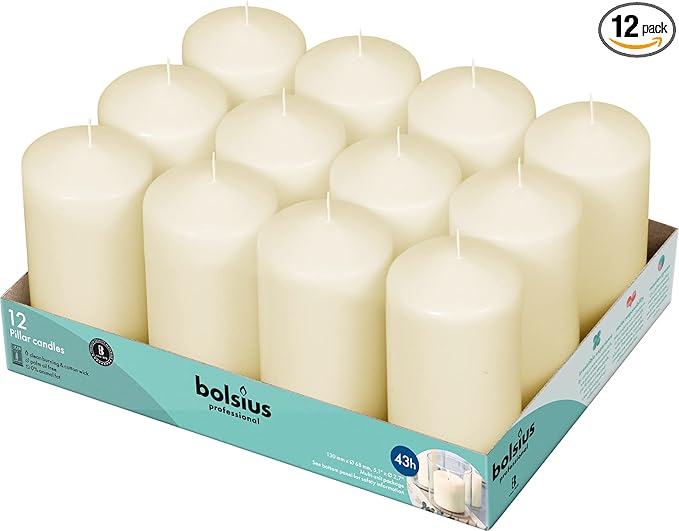
Materials Needed
- 3 empty wine bottles
- Glass cutter tool
- Sandpaper (220–400 grit)
- 3 pillar candles (3–4 inches tall)
Step-by-step Guide
Step 1: Use the glass cutter to score a straight, even line around the bottom third of each bottle.
Step 2: Apply the thermal shock method: pour hot water over the score line, followed by ice water. Repeat until the bottle separates cleanly.
Step 3: Sand the cut edges carefully to avoid sharp surfaces. Use a sanding sponge or fine-grit sandpaper until the rim feels smooth.
Step 4: Place a lit candle on a heat-safe outdoor surface, and carefully lower the bottle over it.
#5. Amazing Wine Bottle Sculpture
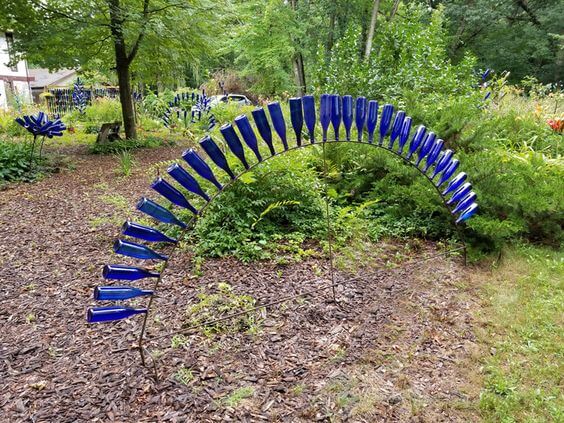
I love how it feels both artistic and earthy. You don’t need to be a sculptor to pull this off, it just takes a little patience, some basic materials, and a love for bold outdoor decor.
Materials Needed
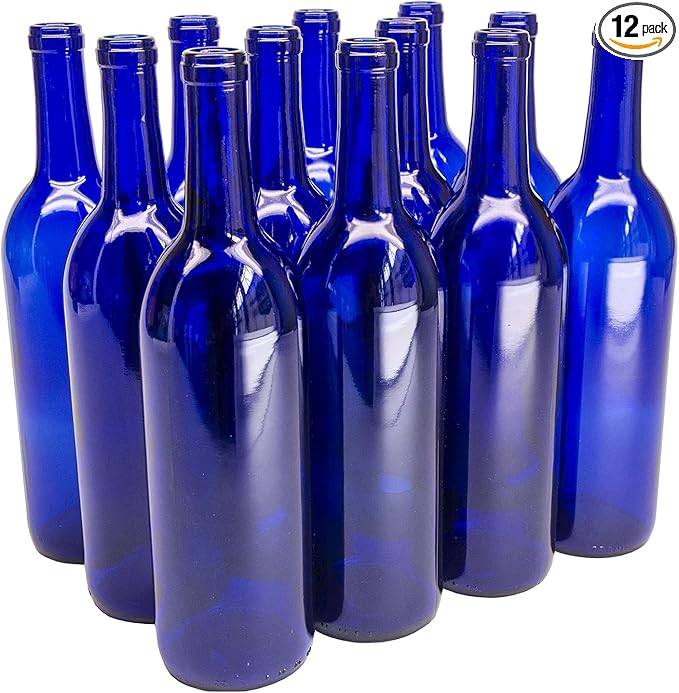
- 30–40 cobalt blue bottles
- 2-3 sturdy steel rods (6 ft–8 ft)
- Metal bending tool
- Ground stakes
- Protective gloves and eyewear
Step-by-step Guide
Step 1: Use a bending tool to shape your steel rods into a smooth, wide arch. Test placement in your garden to ensure stability and desired height.
Step 2: Drive the base ends of the rebar into the ground using a mallet and reinforce with stakes or concrete if needed. The arch should be secure and level.
Step 3: One by one, slide the bottles neck-first onto the rebar. Space them evenly along the entire curve to create a balanced, glowing rainbow.
#6. Brilliant Rain Chain
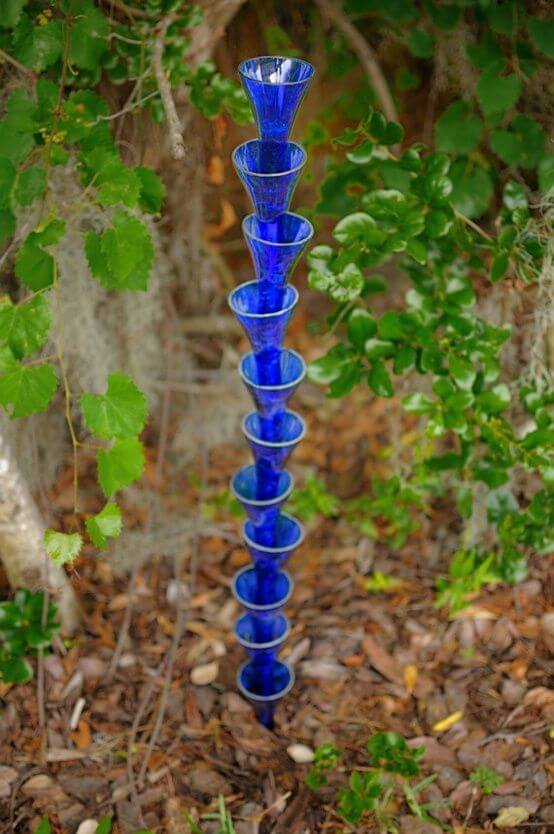
This striking garden totem made from stacked blue goblets is an elegant, vertical statement that brings instant charm to flower beds or shaded nooks.
Materials Needed
- 12 cobalt blue bottle necks
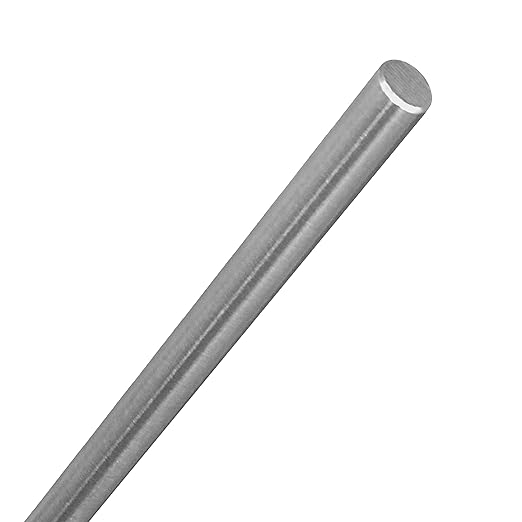
- 1 metal rod (3/8” to 1/2” diameter, 36–48 inches long)
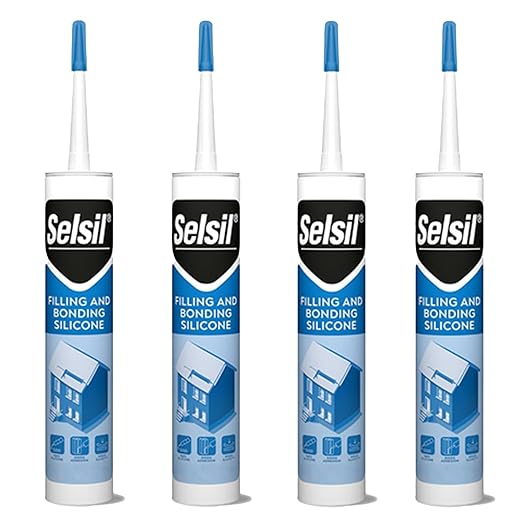
- Silicone adhesive
- Rubber gloves and eye protection
Step-by-step Guide
Step 1: Find a stable, flat section of garden soil and firmly drive the rod into the ground at least 8–12 inches deep. Use a mallet if needed.
Step 2: Begin stacking the necks upside down over the rod, one at a time. Add a small dab of silicone glue between each one for extra grip and long-term durability.
Step 3: Continue until all glasses are placed, ensuring they are centered and snug around the rod. Adjust as needed to keep the totem straight.
Step 4: Allow the adhesive to cure for 24 hours. Once secure, gently wipe any fingerprints or smudges from the glass.
#7. Wine Bottle Lighthouse
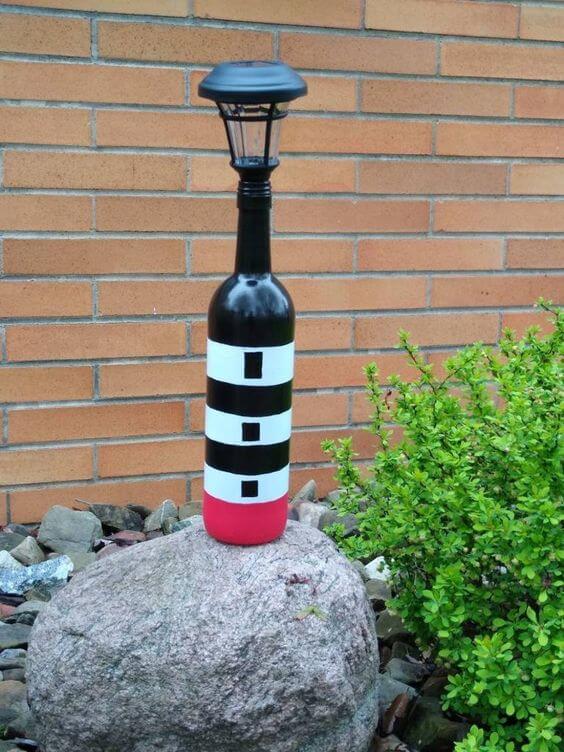
With the bold stripes and a solar lamp top, this lighthouse adds a nautical charm to any flower bed, rock garden, or patio edge.
Materials Needed
- 1 empty wine bottle
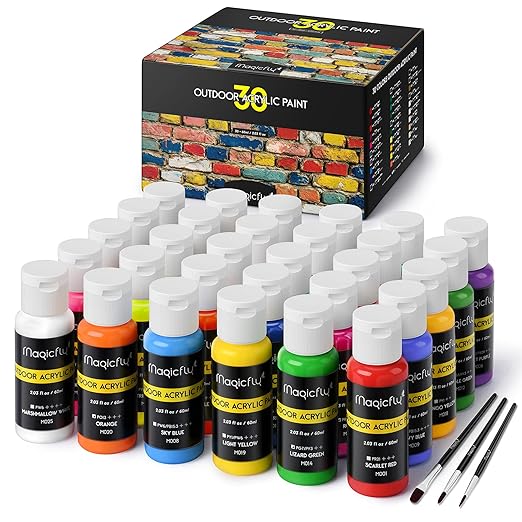
- Outdoor acrylic paints (black, white, red)
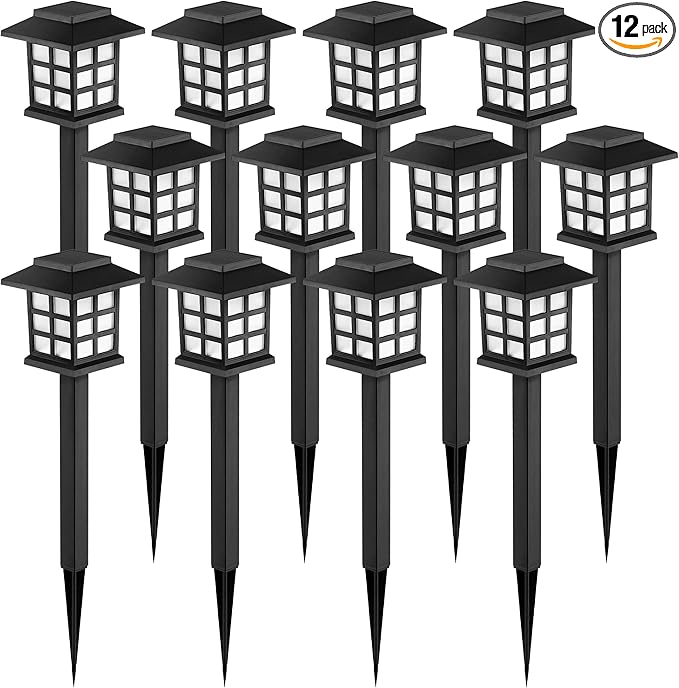
- Solar garden light top
- Painter’s tape
- Strong adhesive
Step-by-step Guide
Step 1: Use painter’s tape to mark off horizontal stripes around the bottle. Paint alternating sections in black and white, leaving the bottom portion for a bright red base. Let each layer dry before moving to the next color.
Step 2: Remove the tape carefully and do any touch-ups needed for crisp lines. Paint small black squares for “windows” in each white band.
Step 3: Once the paint is fully dry and cured (around 24 hours), glue the solar light top to the bottle neck or press-fit it if the size allows.
#8. A Big Flower
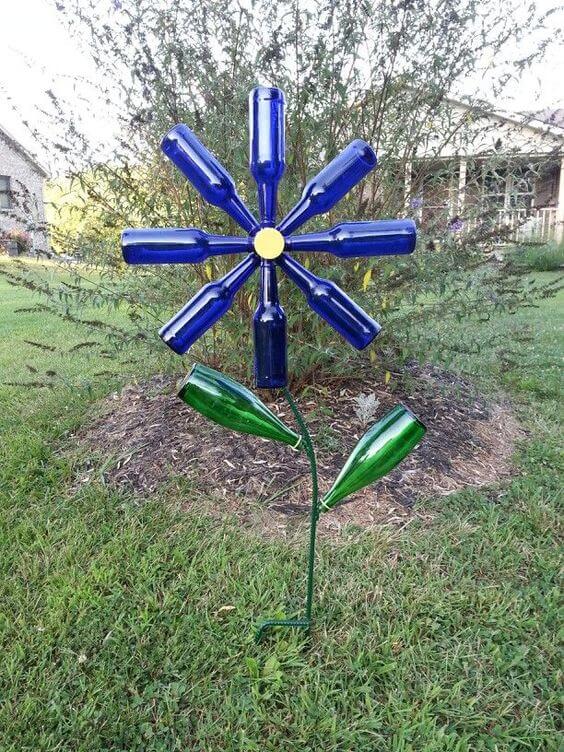
This bold and brilliant glass bottle flower brings a pop of color and whimsy to your yard, made entirely from repurposed wine bottles and metal.
Materials Needed
- 8 blue glass bottles, 2 green bottles
- 1 yellow painted wood disc (approx. 3″ diameter)
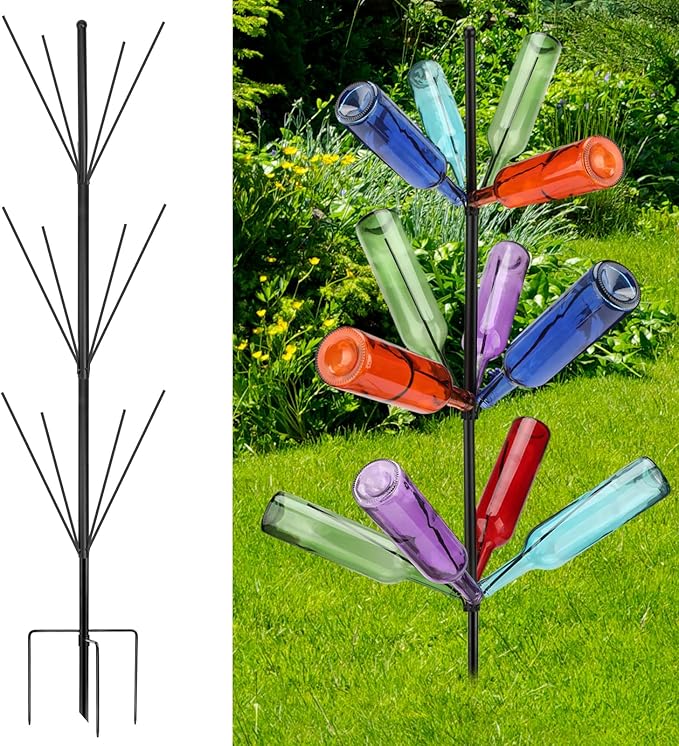
- Thick garden stake (approx. 3–4 ft)
- Bottle tree arms
- Green spray paint
- Drill with metal bit
Step-by-step Guide
Step 1: Paint your metal stake with green spray paint to resemble a flower stem. Let it dry completely before moving to the next step.
Step 2: Arrange and weld (or screw in) metal arms to the top portion of the stake in a radial pattern to hold the 8 blue bottles like petals. Make sure they’re evenly spaced and secure.
Step 3: Attach your yellow wood disc to the center of the “flower” using epoxy it in place.
Step 4: Position the two green bottles diagonally opposite each other as leaves and mount them using bent rods or welded arms. Adjust the tilt to give it a natural leafy angle.
#9. Glass Bottle Fence
It acts as both a decorative focal point and a semi-private barrier for patios or garden entrances. When the sun hits the bottles, the light dances through the colors like stained glass.
Materials Needed
- 50–60 glass bottles
- 12 rebar rods (4–6 ft each)
- Two 4×4 wooden posts (7 ft or taller)
- Top and bottom 2×4 crossbeams (2 pcs)
- Drill with glass/tile bit
- Outdoor solar lights (optional)
Step-by-step Guide
Step 1: Use a glass drill bit to carefully drill a small hole in the bottom center of each bottle.
Step 2: Feed bottles onto the metal rods, alternating colors and shapes. Leave some space between bottles for light to pass through. Space the rods evenly depending on your wall width.
Step 3: Build your wooden frame by securing the 4×4 posts upright into the ground using quick-set concrete or deep anchors. Then attach the 2x4s horizontally at the top and bottom.
Step 4: Mount the loaded metal rods vertically between the top and bottom crossbeams. Secure them tightly with clamps or brackets to prevent movement.
Step 5: Optionally, attach solar lights to the tops of the 4×4 posts for a glowing nighttime feature.
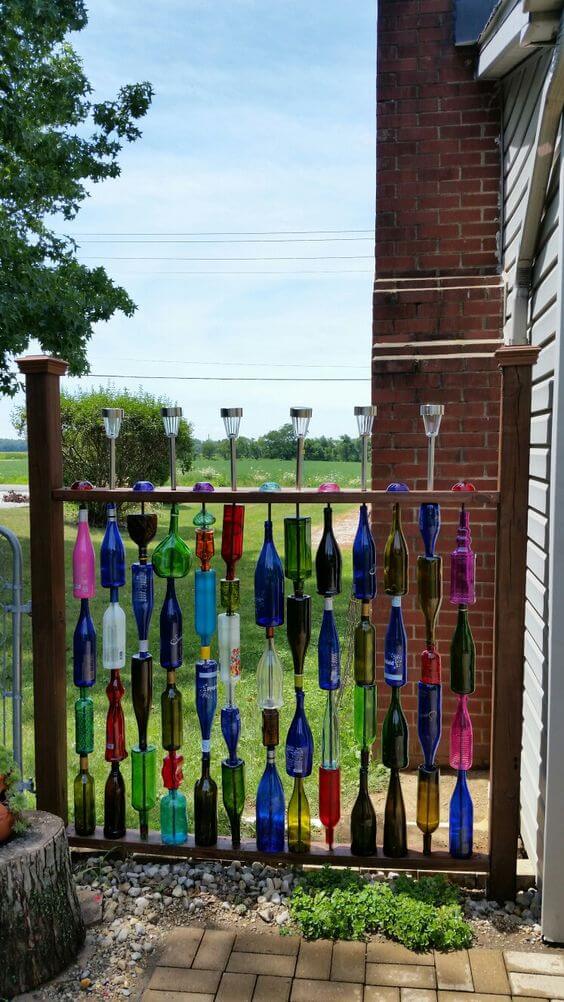
#10. Walls Made Of Wine Bottles

Built for privacy, but designed with pure imagination, it creates a kaleidoscope of light and shadow through hundreds of hanging bottles.
Materials Needed
- 500 glass bottles
- Heavy-duty wire (6–10 ft long)
- Sturdy wooden pavilion frame
- Metal hooks
- Glass drill bit set
- Outdoor-rated gloves and safety goggles
Step-by-step Guide
Step 1: Using a glass drill bit, carefully drill a hole near the bottom center of each bottle for threading. Work slowly, and wear protective gear.
Step 2: Organize bottles by color and size for a balanced layout. String them vertically using steel wire or slide them onto rebar rods. Secure the ends with knots, washers, or welded stoppers.
Step 3: Attach the wires to the roof beams and base rail of your wooden structure. Keep lines evenly spaced to create full visual coverage and airflow.
Step 4: Double-check stability. Make sure all bottles are secured against swinging in high winds. Add horizontal supports or tension clips if needed.
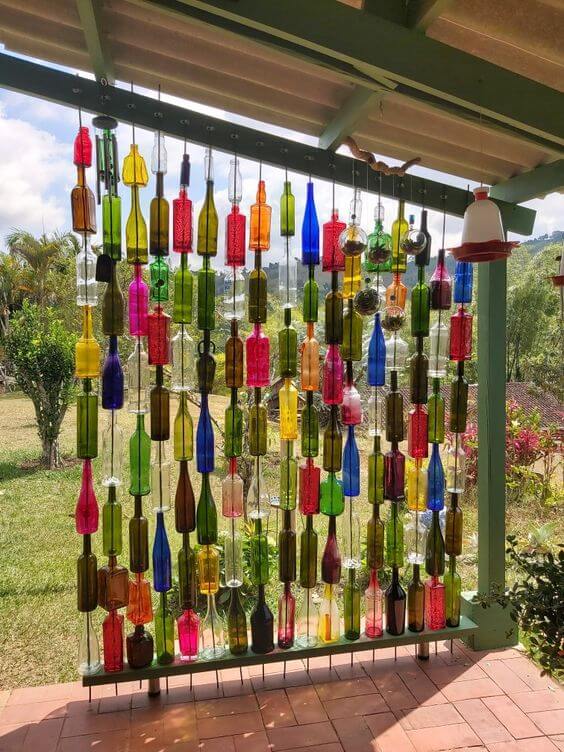
#11. Wine Bottle Wind Chimes
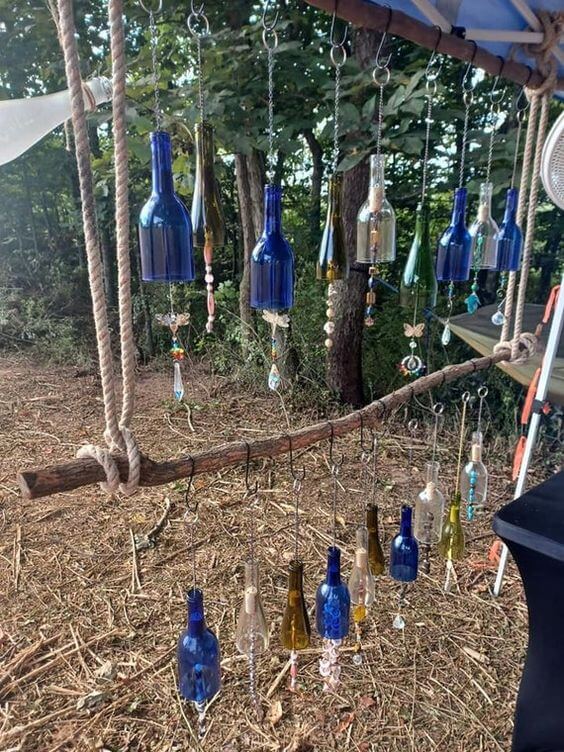
This DIY hanging curtain isn’t just garden décor, it’s a melodic, light-catching sculpture.

Materials Needed
- 20 assorted glass bottles
- 20 ft strong rope (¼ inch thick)
- Driftwood ( 3–4 ft long)
- Sturdy screw hooks
- Glass drill bits
- Beading wire
- Glass beads, crystals, charms (optional)
Step-by-step Guide
Step 1: Drill a small hole into the base or side of each bottle depending on your hanging style. Use glass drill bits, go slow, and use water to keep the glass cool.
Step 2: Tie the thick rope securely around both ends of the branch. Hang it between two posts, trees, or from a pergola frame.
Step 3: Using wire or heavy-duty hooks, attach each bottle evenly along the branch, varying heights for a layered effect. Tie on glass beads, shells, or metal charms below each bottle for added movement and sparkle.
Step 4: Double-check knots and hooks for security. Hang the installation in a partially shaded area to enjoy reflections and tinkling sounds in every breeze.
#12. Glass Bottle Bird Feeder
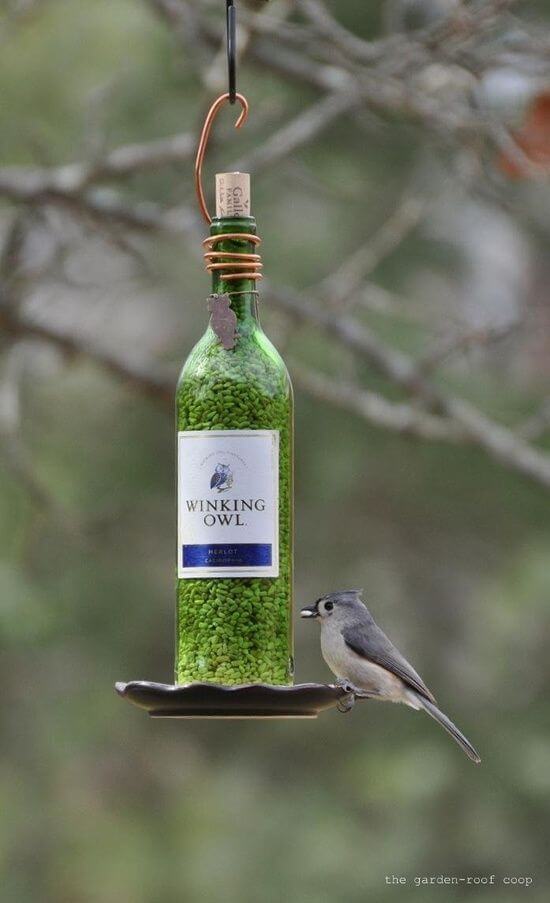
If you love both wine and birds, this charming garden project is a match made in heaven.
Materials Needed
- 1 empty wine bottle
- Copper wire (at least 12 gauge, 3–4 feet)
- Shallow dish
- Bird seed
- Cork (optional)
- Heavy-duty hanging hook
Step-by-step Guide
Step 1: Wrap copper wire tightly around the neck of the bottle several times. Create a loop at the top for hanging and twist the end into a decorative spiral or secure coil.
Step 2: Fill the bottle with bird seed using a funnel. Use a cork if you’re moving it before hanging to avoid spills.
Step 3: Attach the bottle upside down over a shallow dish. You can glue it in place using waterproof epoxy or simply rest it with the mouth of the bottle just above the dish, allowing seed to flow freely.
Step 4: Hang from a tree branch, hook, or pergola beam and watch your feathery visitors arrive in no time.
#13. Glass Bottle Paving
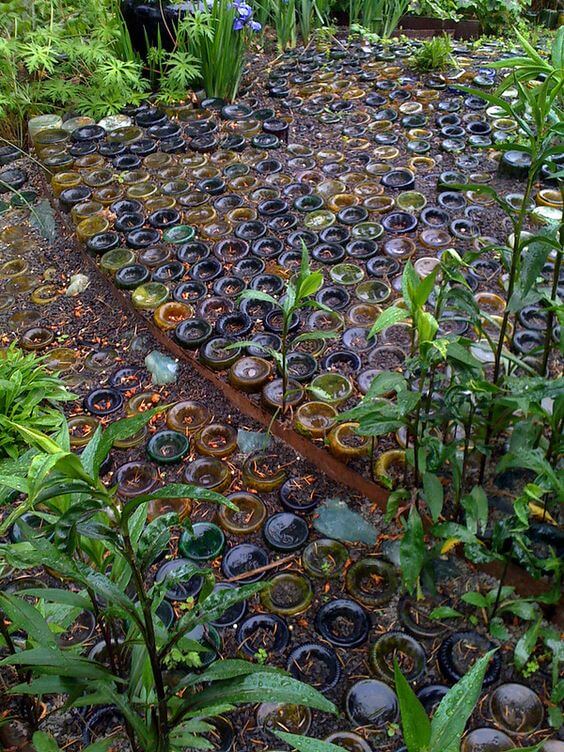
Each step you take across these bottle bottoms feels like walking on preserved celebration, as if every bottle once held a toast.
Materials Needed
- Glass bottles (100+ depending on the area)
- Shovel
- Sand or pea gravel
- Rubber mallet (optional)
- Work gloves
- Garden edging
Step-by-step Guide
Step 1: Dig a shallow trench in the shape of your desired path, about 4–6 inches deep and wide enough for walking comfortably.
Step 2: Pour a layer of sand or pea gravel into the trench to help with drainage and provide a stable bed.
Step 3: Place the bottles upside down, bottoms up, side by side. Press them firmly into the sand and level with a rubber mallet if needed. Keep the tops buried for even footing.
Step 4: Once your path is complete, fill the gaps with more sand or soil and pack it down. Add edging to hold everything in place and prevent shifting.
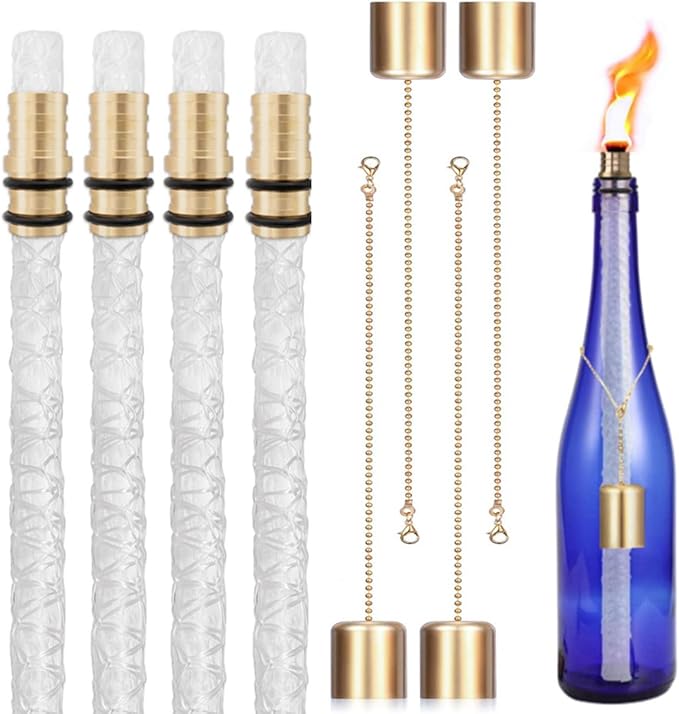
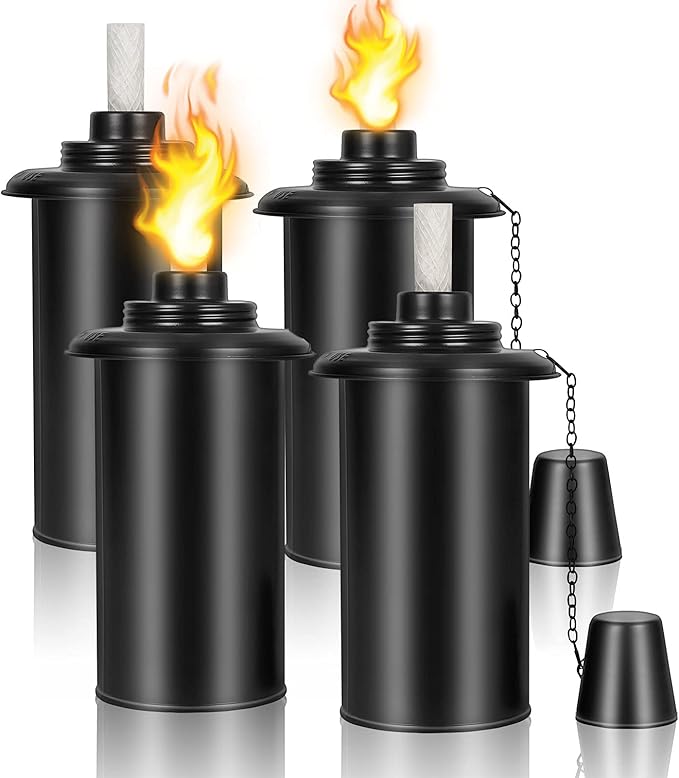
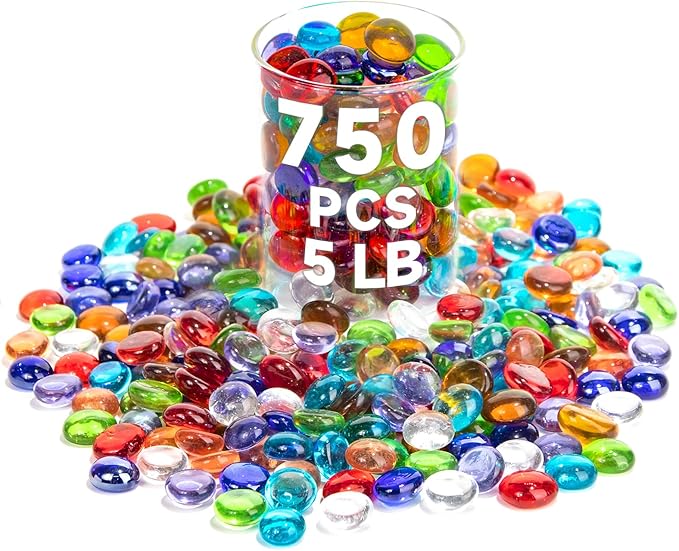
#14. DIY Wine Bottle Citronella Candles
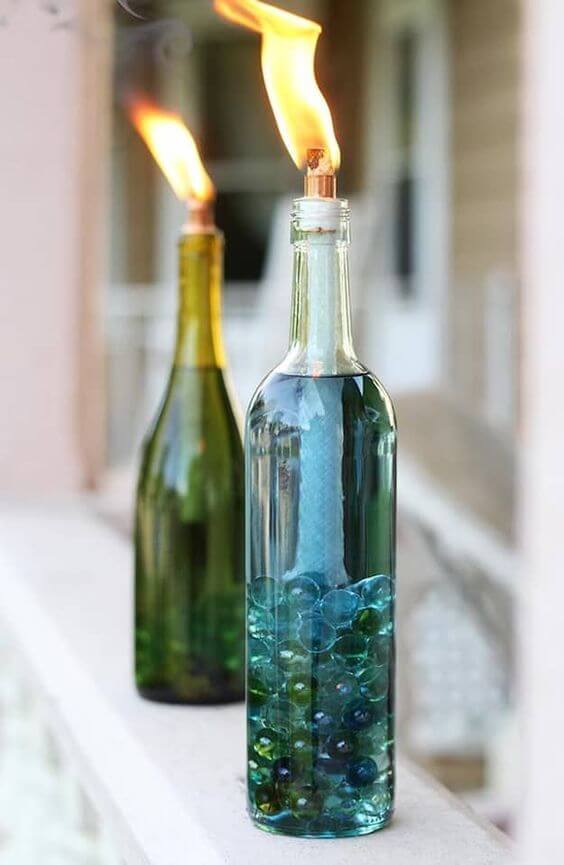
These DIY wine bottle tiki torches not only look amazing with their glowing flames and colorful fillers but also help keep mosquitoes away when filled with citronella oil.
Materials Needed
- Empty wine bottles
- Tiki torch wick and copper fitting kit
- Citronella torch fuel
- Glass filler stones
- Funnel
Step-by-step Guide
Step 1: Add decorative marbles or stones to the bottle bottom. They not only look good but help stabilize the bottle if used on flat surfaces.
Step 2: Using a funnel, pour citronella or torch fuel into the bottle, filling it about three-quarters full.
Step 3: Insert the tiki torch wick into the copper fitting and place it into the bottle neck. Let the wick soak up the fuel for at least 30 minutes before lighting.
#15. Front Porch Privacy Screen
If you’re someone who loves color, light play, and recycling, this project will feel like a dream come true.
Materials Needed
- 100 assorted colorful glass bottles
- Heavy-duty eye screws
- Steel wire
- Drill with glass/tile bit (optional)
- Support beam or wooden frame
Step-by-step Guide
Step 1: If threading wire through the bottles, drill small holes in the bottoms using a diamond bit while keeping the glass wet to prevent cracks.
Step 2: Measure and cut equal lengths of wire or fishing line. Thread or wrap each wire through the neck of a bottle and secure it tightly. You can hang 5–7 bottles per strand.
Step 3: Attach the strands to a horizontal wood or metal support beam using eye screws or hooks. Space them evenly and secure tightly.
#16. DIY Wall Planters

These upcycled wine bottle planters are a brilliant way to turn a plain wall into a vertical garden. They’re especially perfect for succulents, herbs, or trailing greenery.
Materials Needed
- Empty wine bottles
- Metal wire (about 2–3 feet per bottle)
- 1 decorative knobs/hooks per bottle
- Glass cutter tool
- Small succulents or herbs
- Potting soil
- Wine corks
Step-by-step Guide
Step 1: Insert a cork in the bottle’s neck to act as a stopper and drainage control. If you’re planting directly inside, fill the base with a little gravel for drainage.
Step 2: Wrap the wire securely around the body of each bottle. Twist the ends into a sturdy loop or hook for hanging.
Step 3: Fill the bottle with soil and add your plant. Water lightly, these don’t need much if you’re planting succulents.
Step 4: Attach a knob to the fence or wall and hang the planter by its wire loop.
#17. Creative DIY Garden Bed
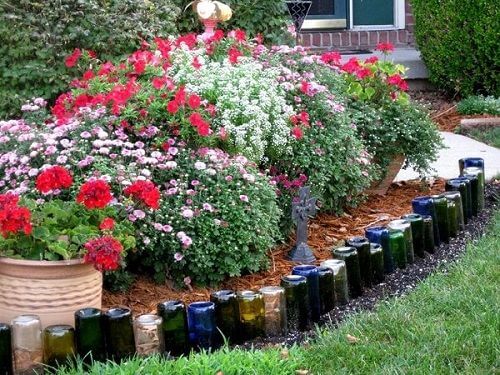
This creative garden border made from upcycled glass bottles is a stunning way to outline your flower beds while giving a second life to your recyclables.
Materials Needed
- 50 assorted glass bottles
- Rubber mallet
- Shovel
- Garden gloves
- Optional: String line
Step-by-step Guide
Step 1: Mark your border area using string or tape. Dig a narrow trench about 6–8 inches deep along the marked line.
Step 2: Place the bottles upside-down into the trench, neck down. Space them tightly together for support and visual impact.
Step 3: Gently tap each bottle with a rubber mallet to set them evenly into the soil. Check for height consistency as you go.
#18. Backyard Bottle Tree
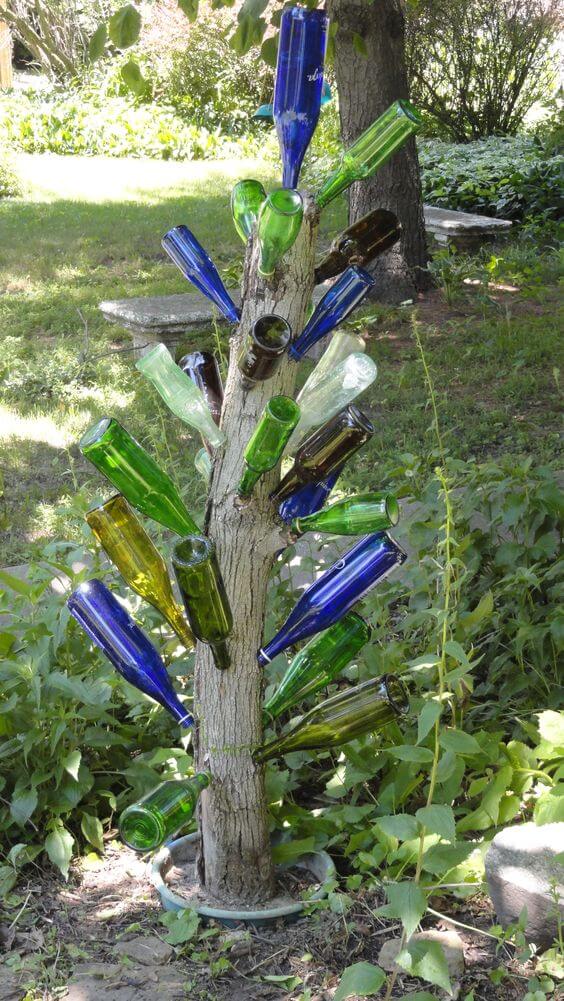
The vibrant hues of the bottles catch sunlight throughout the day, casting playful shadows and instantly transforming the space into something magical.
Materials Needed
- Tree stump (approx. 3–5 feet tall)
- Drill and 5/8-inch drill bit
- 30 assorted wine bottles
- Dowels (optional)
- Protective gloves and eyewear
Step-by-step Guide
Step 1: Choose a sturdy, weathered tree trunk or a trimmed log post and anchor it in a flowerbed, pot, or directly into the soil for balance.
Step 2: Use a drill to create angled holes (about 4–6 inches deep) evenly spaced around the trunk. These will hold the necks of the bottles.
Step 3: Slide each bottle gently into the drilled holes, adjusting the angles to create a blooming, tree-like shape. Mix colors for a playful effect.
#19. DIY Garden Art Plant Waterer
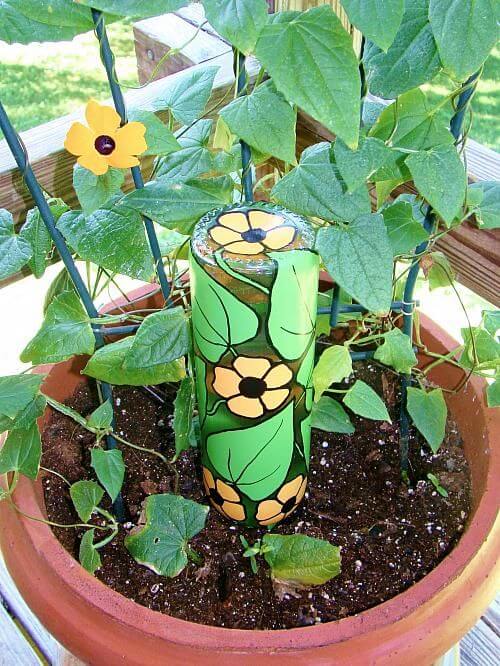
With cheerful yellow blooms painted on the surface, this spike blends beauty with function. It slowly releases water into the soil, keeping your plants hydrated while you enjoy the view.
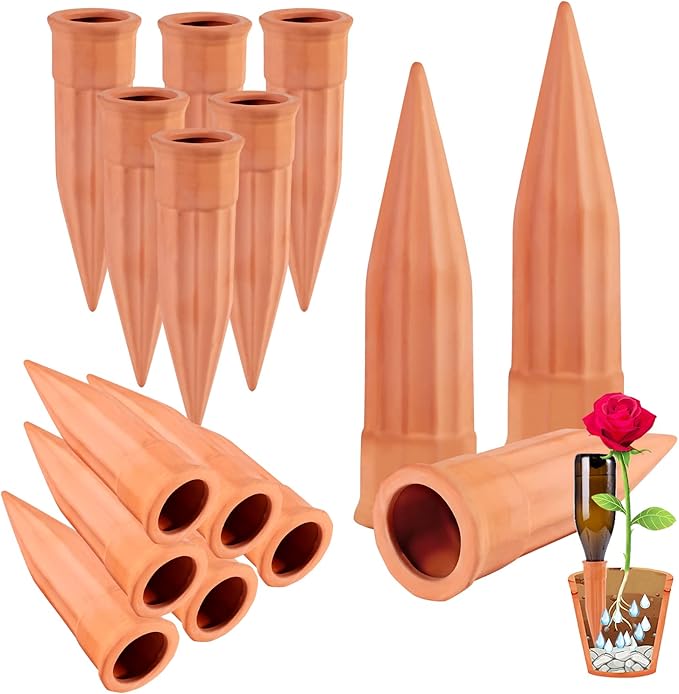
Materials Needed
- Glass wine bottle
- Paint brush set
- Self-watering ceramic stake
- Clear acrylic sealant
- Water and funnel (optional)
Step-by-step Guide
Step 1: Use your paint pen to decorate the outside. Floral patterns, vines, or whimsical swirls work beautifully. Let it dry fully, then seal with acrylic spray.
Step 2: Fill the bottle with water. Place the ceramic watering stake into the soil of your plant pot.
Step 3: Invert the bottle and insert it into the stake. It will slowly release water into the soil as needed.