Turmeric, known for its wide range of culinary and medicinal uses, can thrive in a container garden, even if you don’t have a spacious backyard. The process of growing turmeric in containers is relatively simple, but it still brings the exotic flavors of this golden root straight to your home. Not only will you enjoy fresh, organic turmeric, but the lush foliage and striking flowers make it a visually pleasing addition to your garden.
From preparation and container selection to maintenance and harvest, this guide will lead you through the steps to successfully grow turmeric in containers.
Planting Turmeric In Containers
1. Choose A Sunny Location
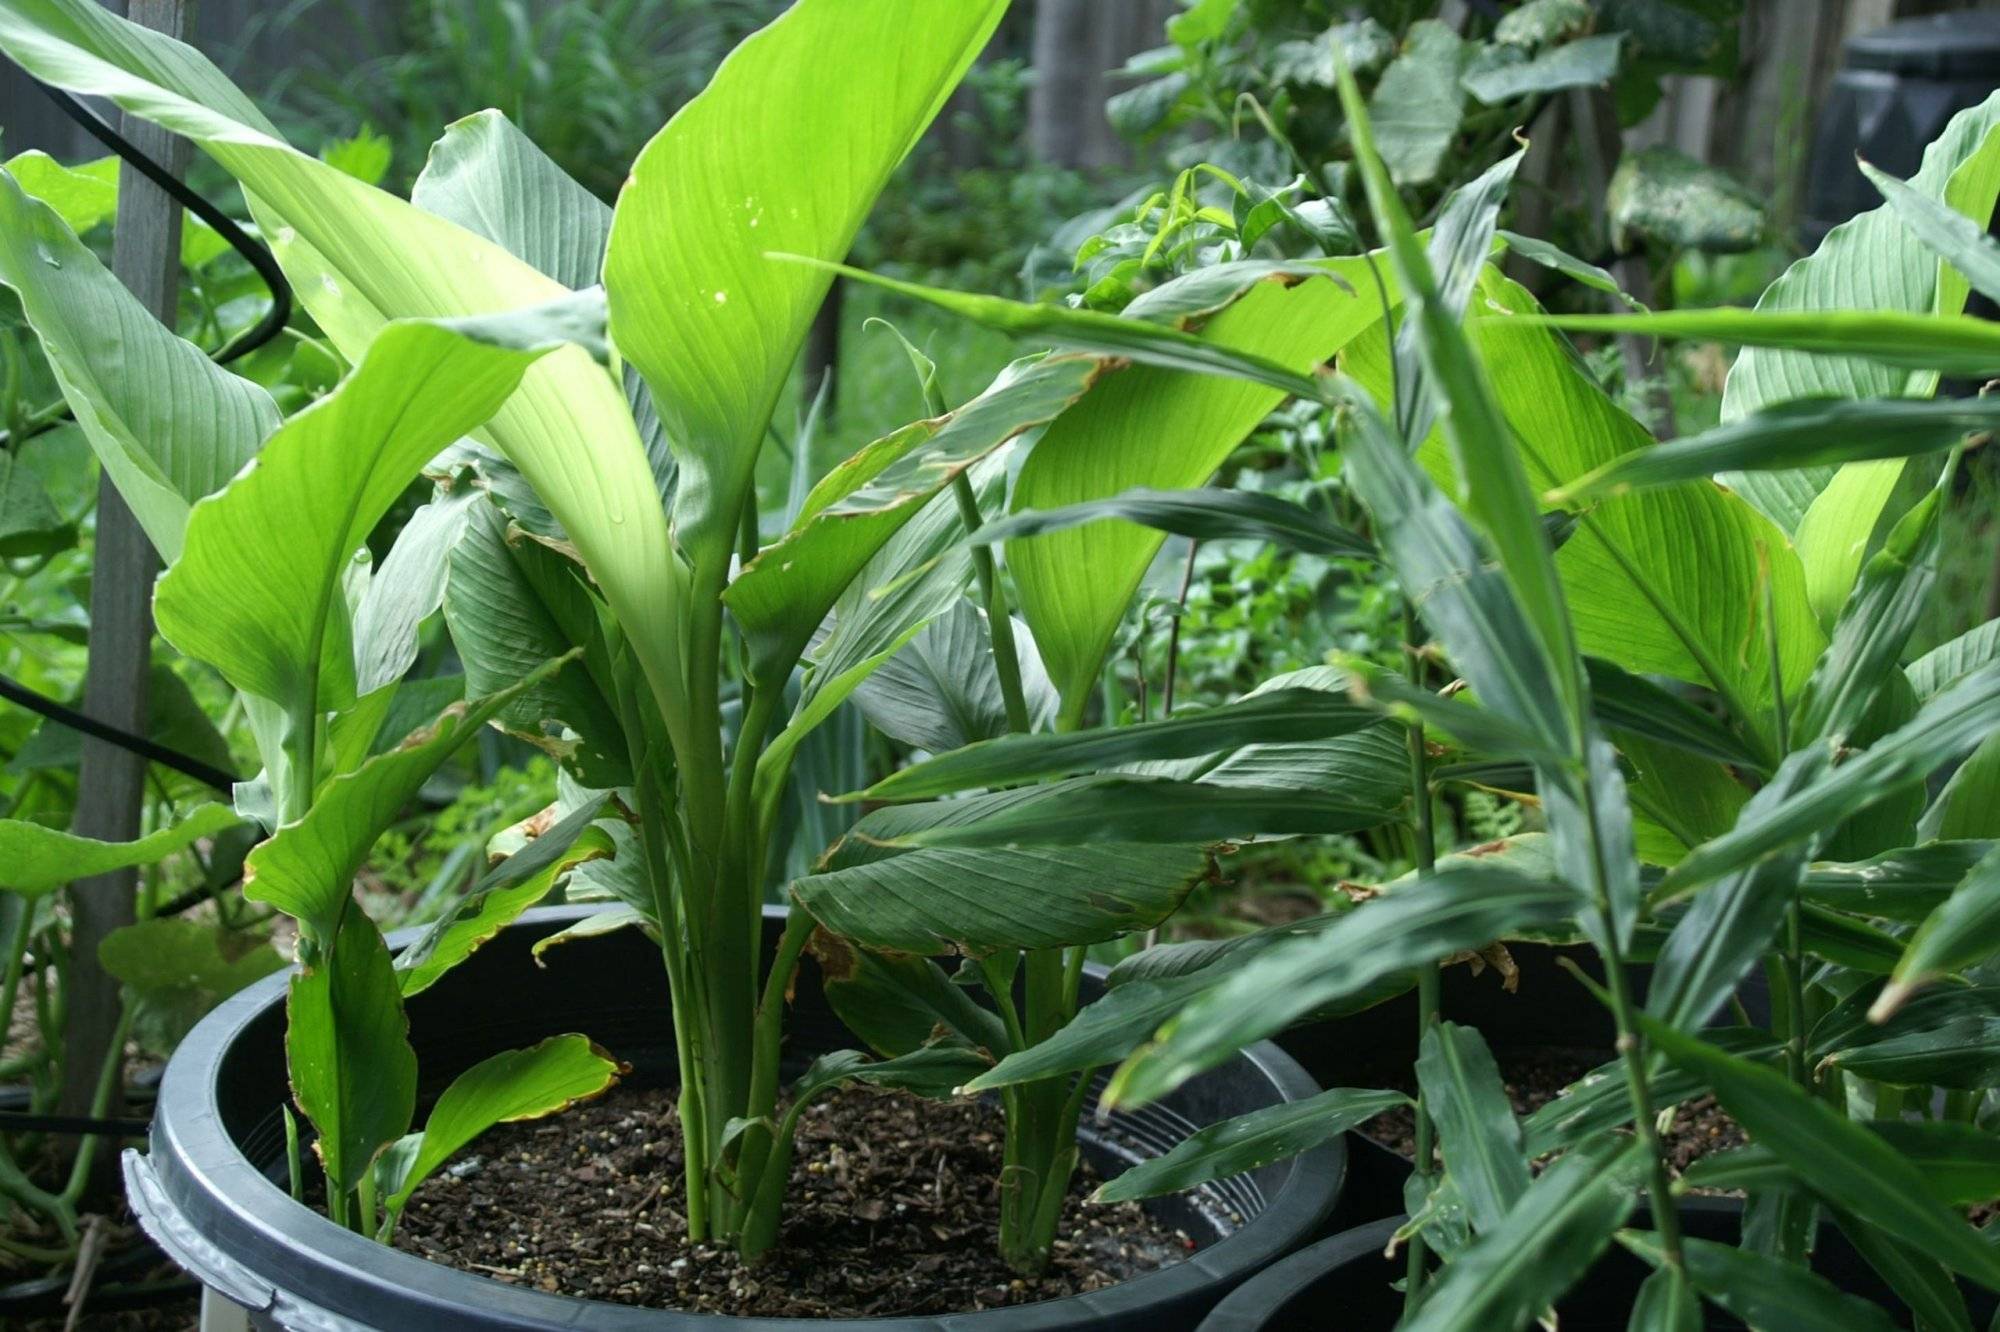
Turmeric (Curcuma longa) is a tropical plant that requires a warm, humid environment to flourish. This means that if you live in a region with cold winters, growing it in a pot is an excellent option. Turmeric loves a suitable location with plenty of sunlight, whether it’s a sunny windowsill, a balcony, or a patio. Just ensure that your chosen spot receives at least 6 to 8 hours of indirect sunlight.
2. Choosing A Large Enough Pot
Selecting the right container is pivotal for the success of your turmeric crop. Turmeric needs room to spread its rhizomes, so opt for a container that’s at least 18 inches in diameter and 12 inches deep. Your pot should have drainage holes to prevent waterlogged soil, which can lead to root rot.
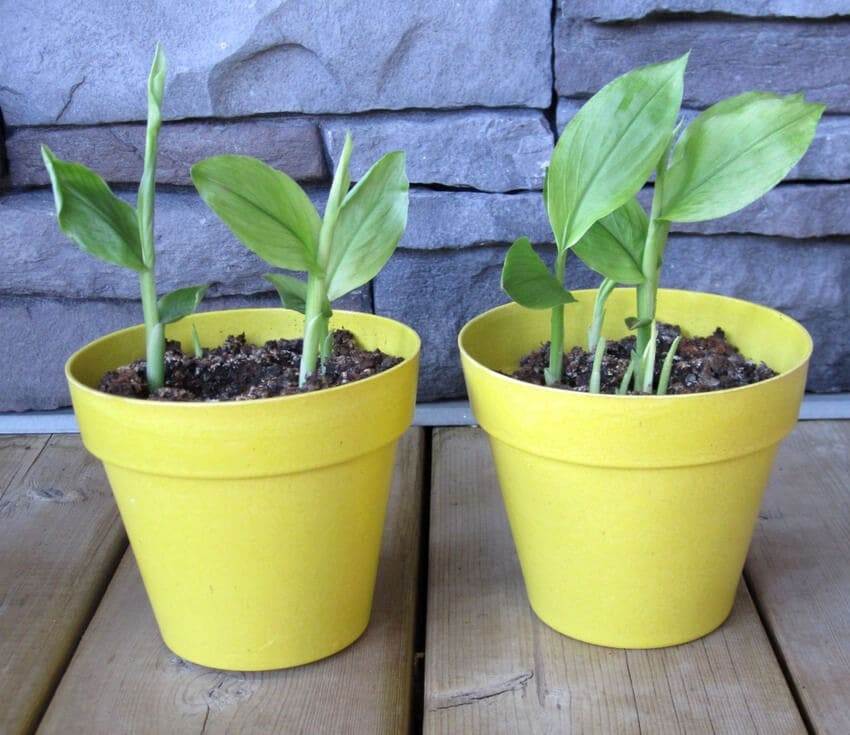
Containers made of clay or plastic are common choices, but any material that retains moisture and heat will work. Keep in mind that turmeric is perennial, so consider the longevity and durability of your chosen pot.
3. Selecting Healthy Turmeric Rhizomes
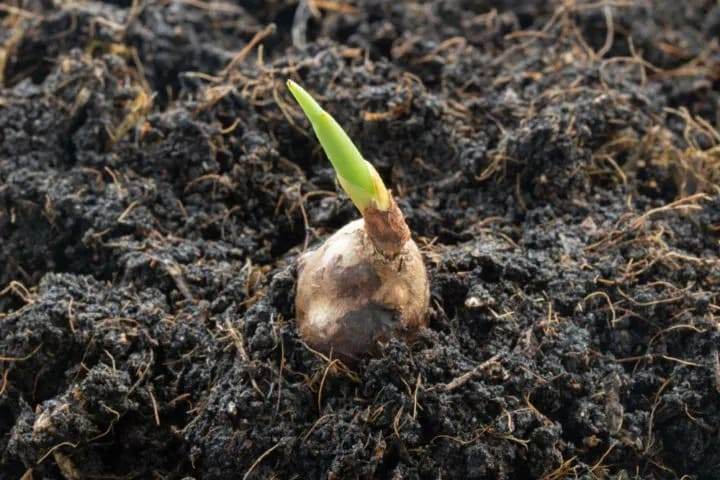
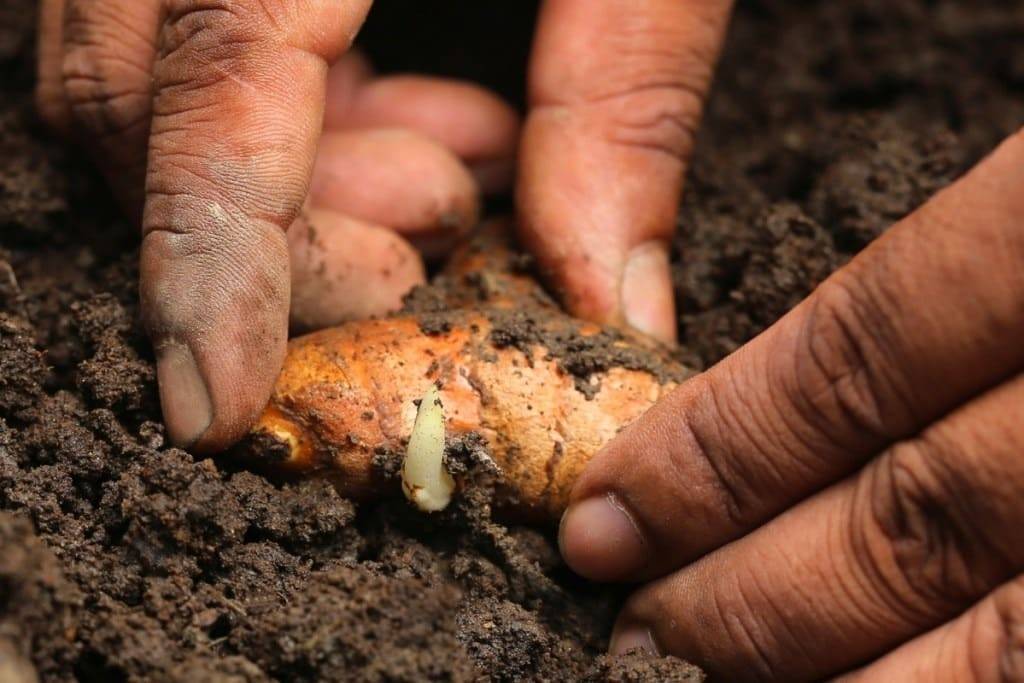
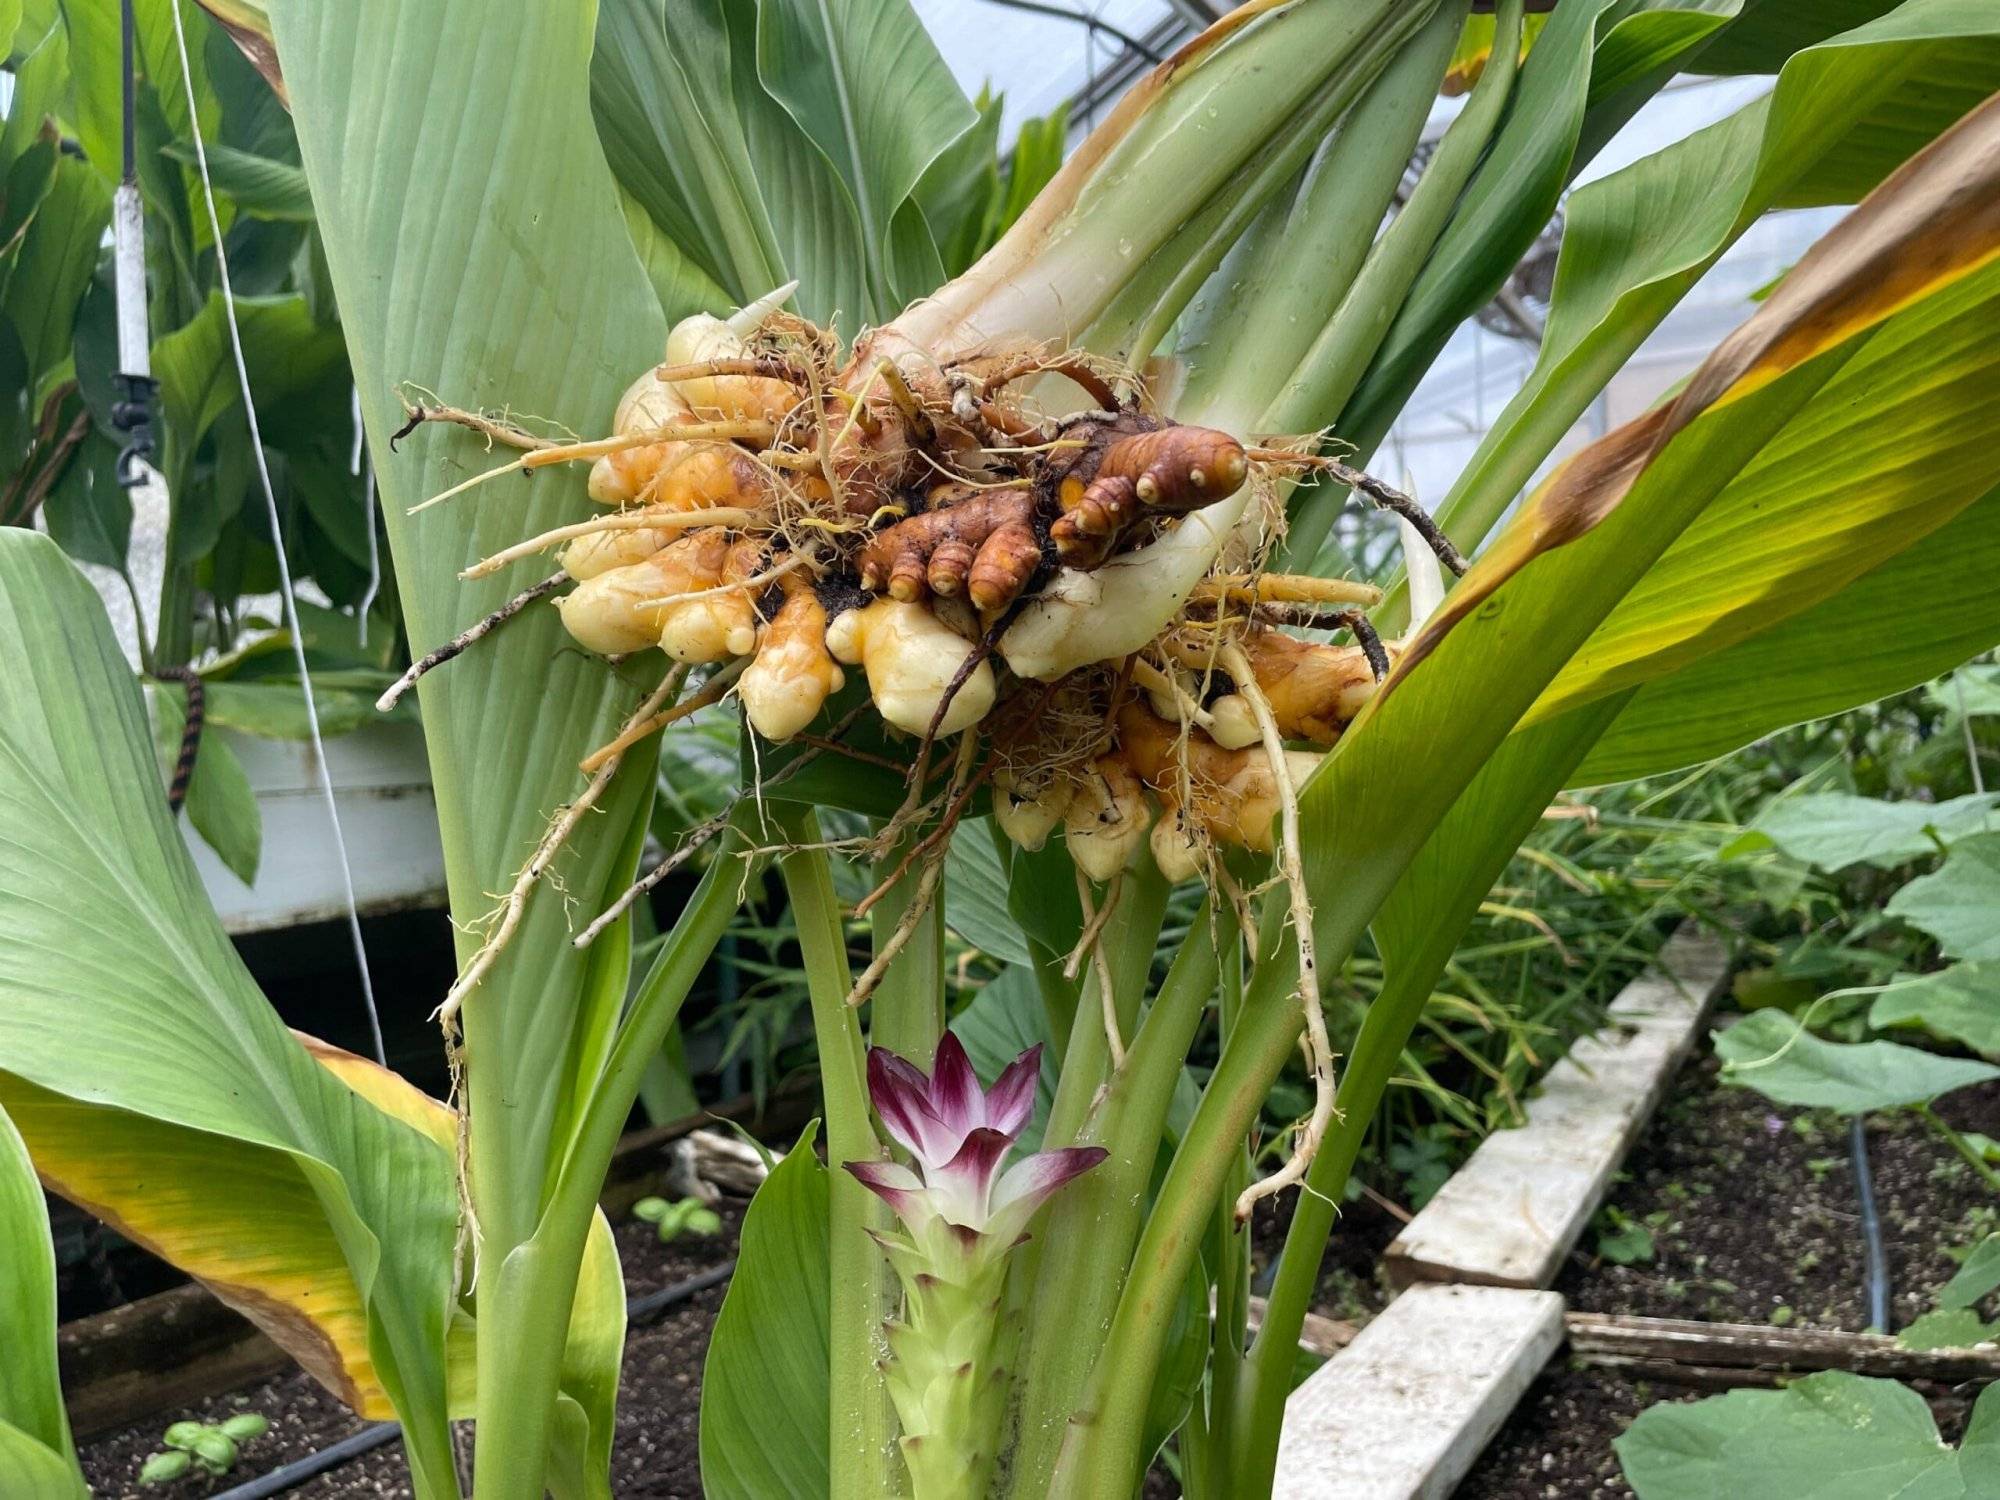
The quality of your turmeric rhizomes is a key factor in successful cultivation. Choose fresh and healthy rhizomes, preferably from a reputable nursery or online source. Cut the rhizomes into smaller pieces, each with a couple of buds, and allow them to air-dry for a day or two.
In terms of soil, turmeric thrives in well-draining, loose, and rich organic soil. A mix of potting soil and compost works well. You can add a bit of sand to enhance drainage.
4. Planting Turmeric Rhizomes
Plant your prepared rhizomes about 2 inches deep, with the buds facing up. Space them about 4 to 6 inches apart in the container. Water thoroughly after planting to settle the soil. You’ll see sprouts emerging within a few weeks. However, turmeric is a slow grower, and it may take several months before you see significant growth.
Key Turmeric Requirements
1. Water
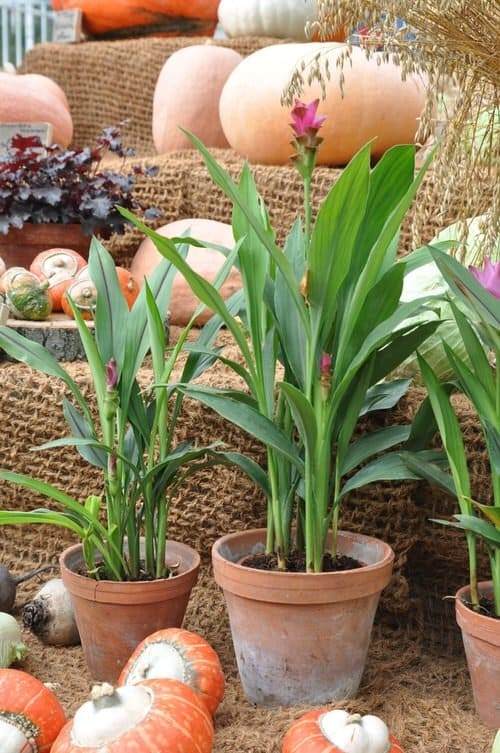
The watering needs for turmeric are similar to ginger. It is important to keep the soil consistently moist during the growing season, from spring to fall. During dry weather, you can spray the leaves with water to increase the humidity around the plant. Another helpful tip is to group turmeric with other plants to create a microclimate.
2. Temperature
Turmeric grows best when the temperature is between 68-95 F (20 and 35 °C). If the temperature falls below 50 F (10 C), the plant may experience difficulties.
3. Fertilizer
To promote the healthy growth of turmeric in pots, it is recommended to apply a general liquid fertilizer every month during the growing season. Dilute the fertilizer to 1/4 of its original strength for optimal results. Additionally, incorporating manure or compost as a side dressing can further enhance the plant’s nourishment. Another option for you is to include kelp and neem cake meals in the fertilization routine.
4. Overwinter
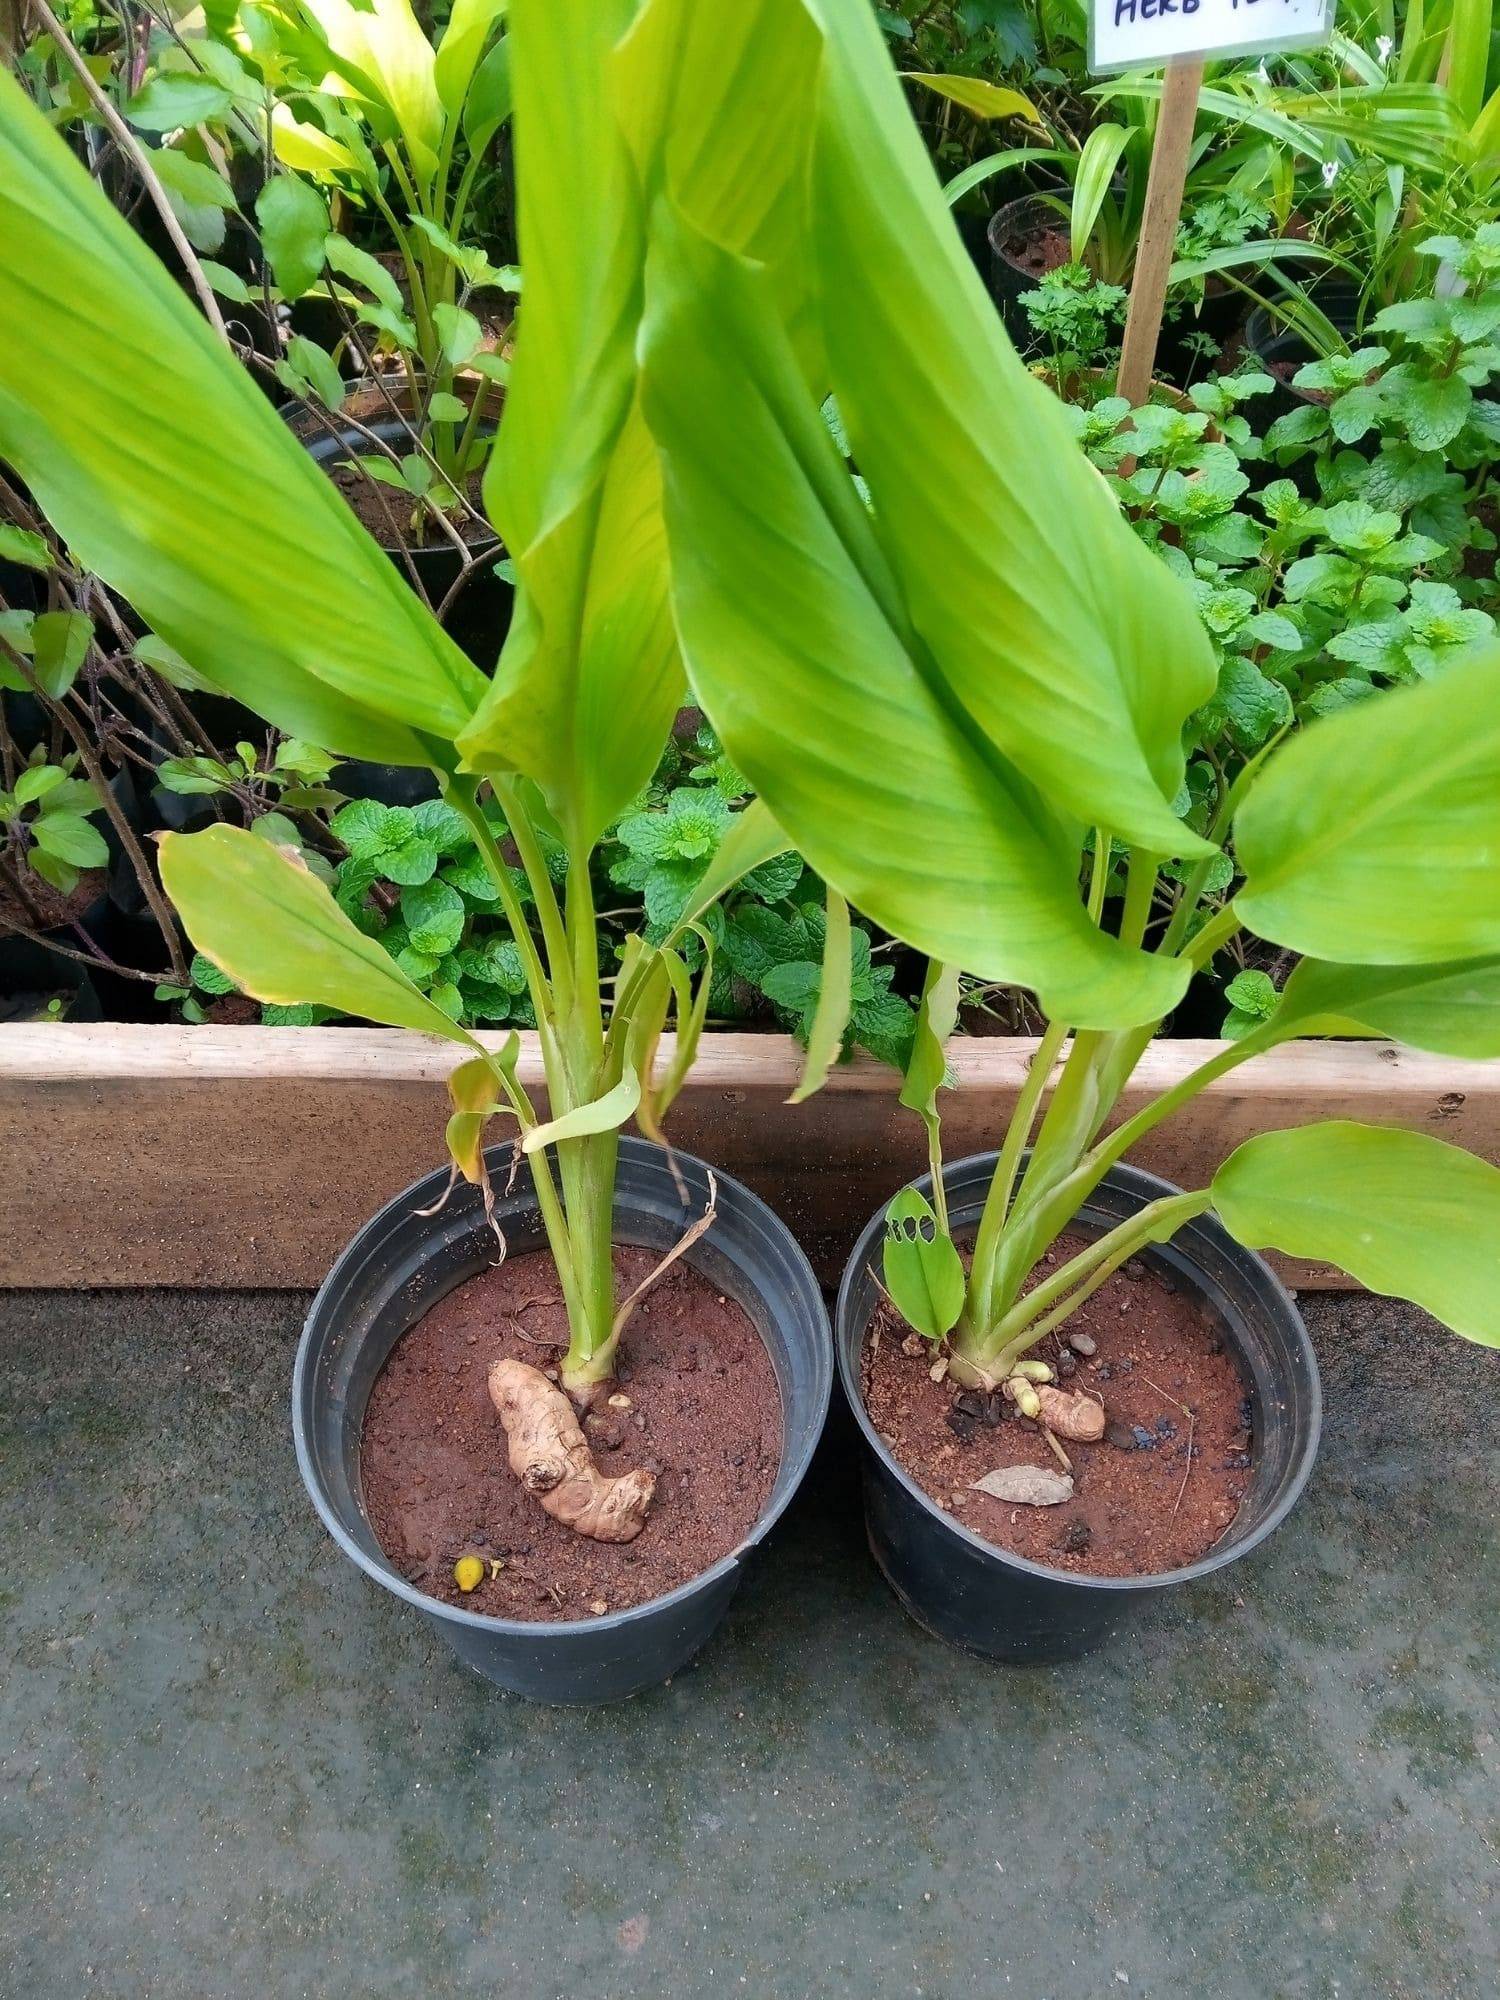
As you’re cultivating turmeric in a pot, make sure to bring the plant indoors, even under low-light conditions. The main goal is to protect the roots throughout the winter period. It’s crucial to maintain a minimum temperature of approximately 60–64 F (15–18 C) when growing turmeric indoors. Additionally, you can also enjoy harvesting it during this time.
Harvest Time
1. Harvesting
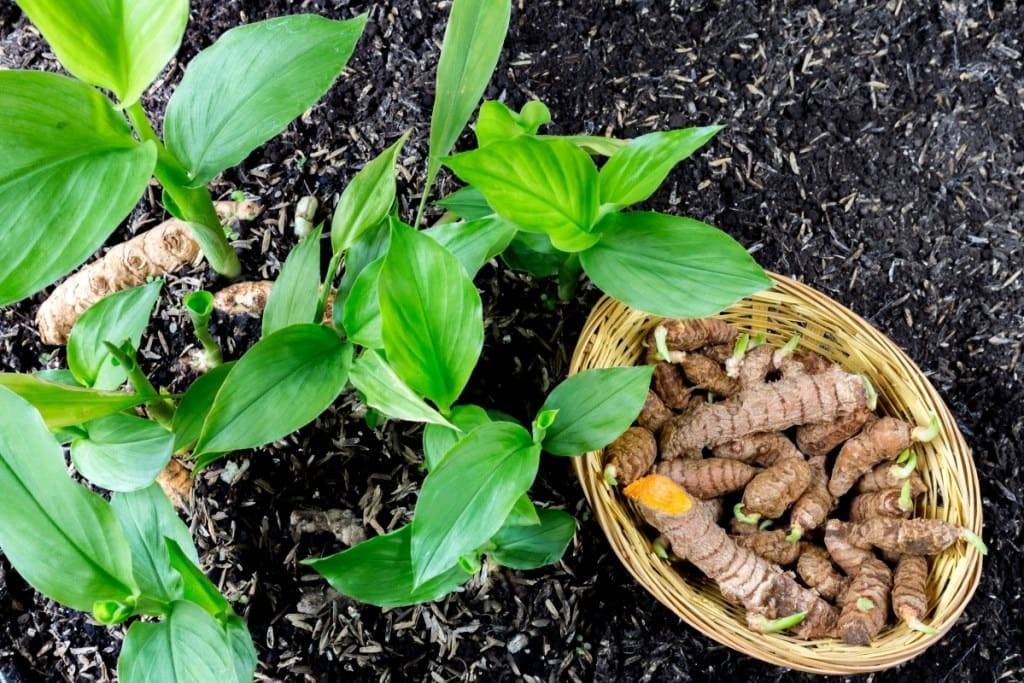
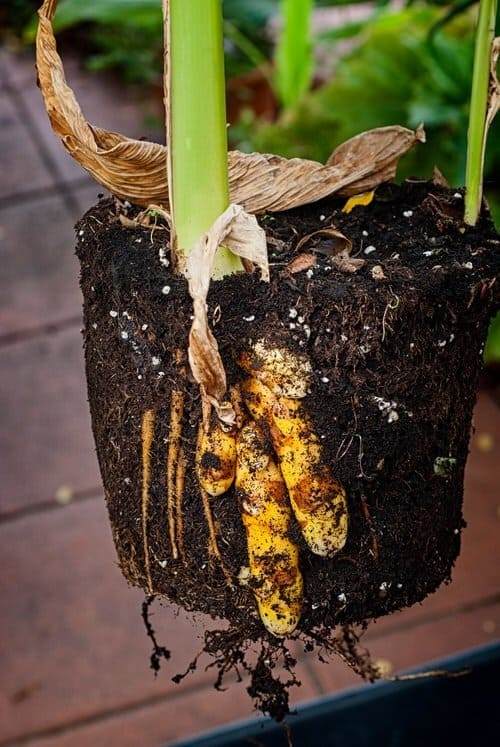
When the leaves of your turmeric plant begin to turn yellow and dry up, it’s time to harvest. Dig up the rhizomes carefully to avoid damaging them. You can harvest the entire crop or leave some rhizomes to continue growing.
2. Storage
Store your harvested rhizomes in a cool, dark, and dry place. They can last for several months if stored correctly. Plus, remember to keep some rhizomes for replanting in the next growing season.
FAQS
1. Are There Common Pests Or Diseases To Watch Out For?
Turmeric is relatively pest and disease-resistant, but you should monitor for garden pests like aphids and mealybugs. Neem oil or insecticidal soap can help if needed.
2. Can I Use Fresh Turmeric For Its Potential Health Benefits?
Yes, fresh turmeric is celebrated for its potential health benefits, particularly its anti-inflammatory and antioxidant properties. You can use it to make turmeric tea or incorporate it into your daily cooking.
3. Can I Use Turmeric Leaves?
Another surprising benefit of growing turmeric in containers is that you can make use of its leaves. Similar to banana leaves, they can be used to wrap fish and other items that are placed on the grill. Additionally, they can be dried and ground into a vibrant green powder to enhance the flavors of various Indian-inspired dishes. When harvesting, just keep in mind to harvest one or two leaves from each plant to avoid causing stress.
Turmeric is a superfood with boundless benefits that deserves a place in your garden or balcony. Now that you’re equipped with all the essentials, it’s time to embark on your container turmeric-growing journey, enjoy the satisfaction of nurturing this exotic spice from a pot, and savor the rich flavors and potential health benefits it brings to your table.
