If you are wondering how to decorate for winter with grey and dim weather, see 22 DIY Home Decoration Ideas with Birch Logs, and you will get inspiration to make your home a cozy vibe.
Using beautiful birch tree logs is a great way to decorate all the small corners and rooms in your home. They are wonderful for tiny houses, apartments, and condos, too!
There are many ways to decorate with birch that will leave you amazed. Beautiful centerpieces, wall decorations, or dazzling lanterns are all great natural gifts that you can make out of original birch logs and then refashion into your own ingenious works of art.
This article contains affiliate links. If you purchase through them, I may earn a small commission at no extra cost to you. Thank you for your support!
#1. Birch Log Candle Holder
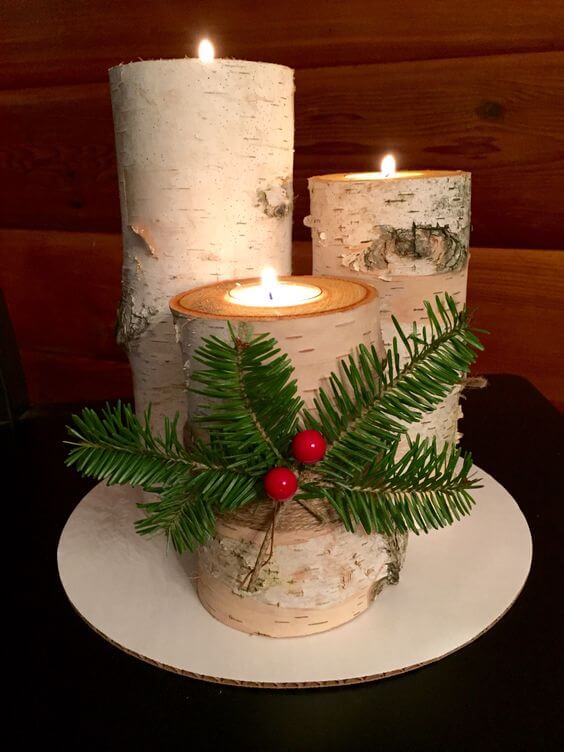
I created these rustic birch log candle holders for a cozy winter centerpiece, and they add warmth and natural charm to any room.
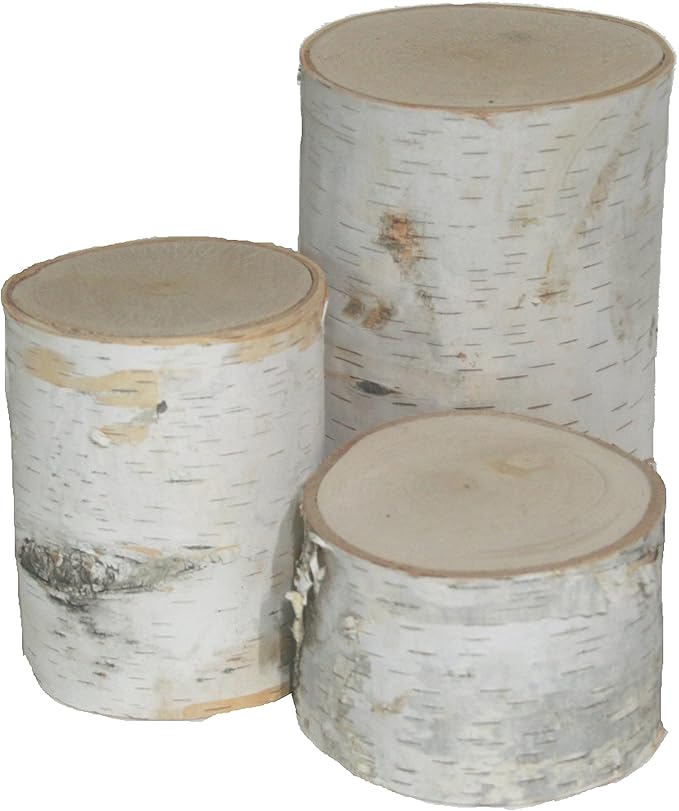 SHOP BIRCH PILLARS
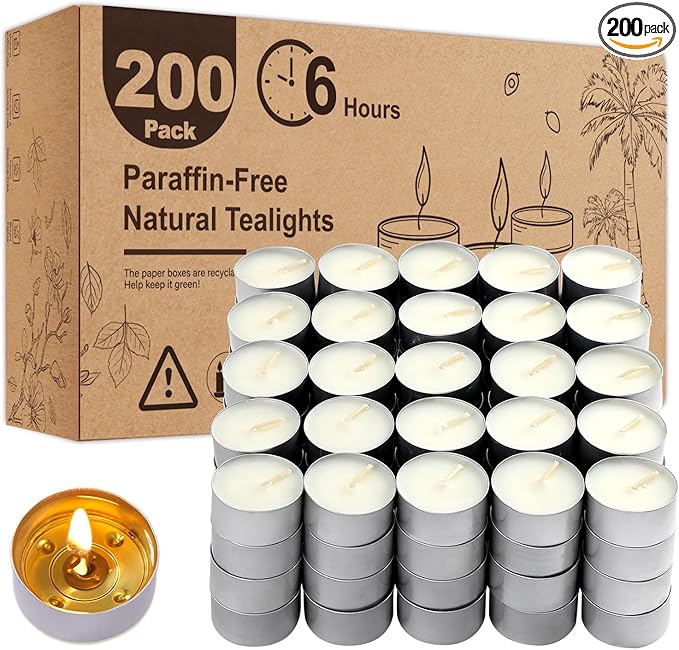 SHOP TEA LIGHT CANDLES
 SHOP DRILL
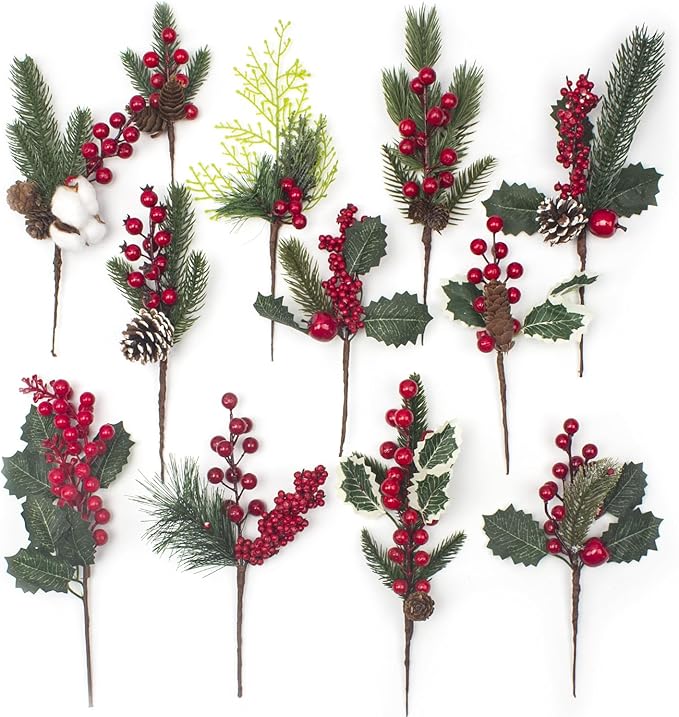 SHOP RED BERRIES
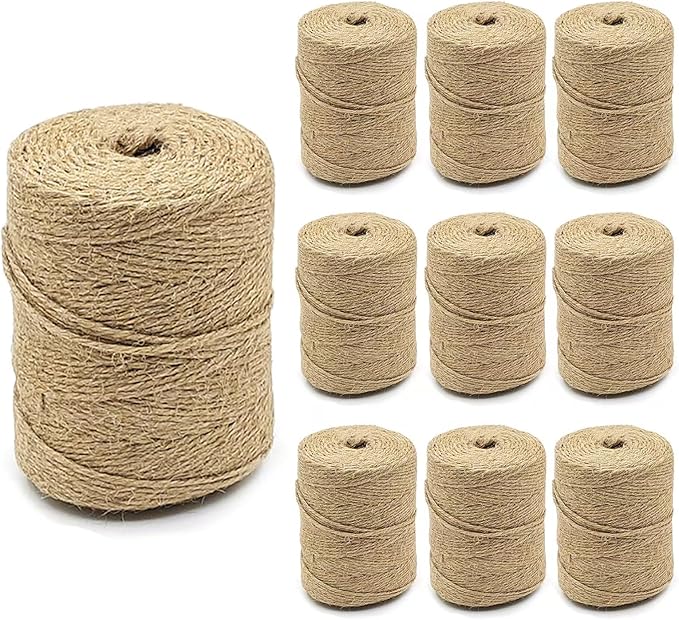 SHOP TWINE
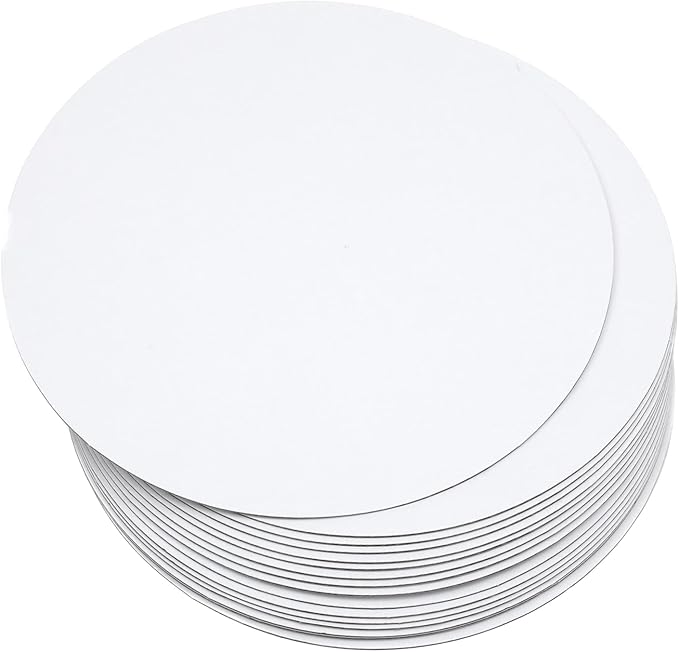 SHOP ROUND CARDBOARD BASE
Materials Needed
- 3 birch logs (approx. 6 to 10 inches tall)
- 3 tea light candles
- Drill with 1.5-inch spade drill
- Red berries decoration
- Twine
- Round cardboard base (about 12 inches diameter)
Step-by-step Guide
Step 1: Using the drill and spade bit, carefully hollow out a hole in the top center of each birch log, deep enough to securely hold a tea light candle.
Step 2: Insert a tea light candle into each hole to check fit and stability. Adjust depth or diameter if needed.
Step 3: Wrap twine around the middle of one or more logs and tie a simple bow to add a rustic touch.
Step 4: Attach fir sprigs and red berries to the twine by tucking or tying them in place for a festive accent.
Step 5: Arrange the birch logs on the round base in a cluster, varying heights for visual interest, then light the candles to enjoy the warm, inviting glow.
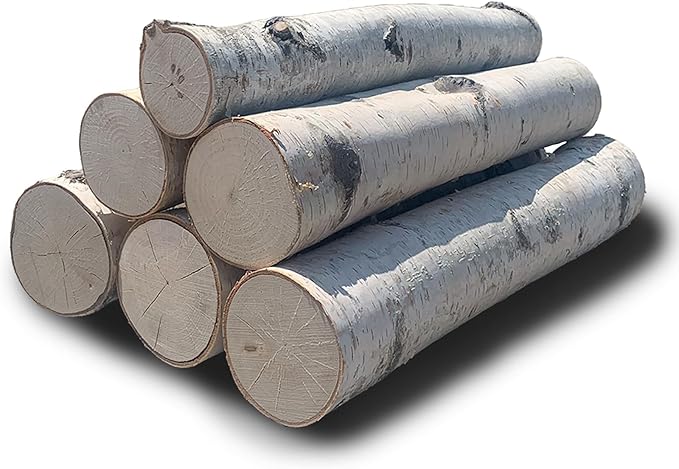
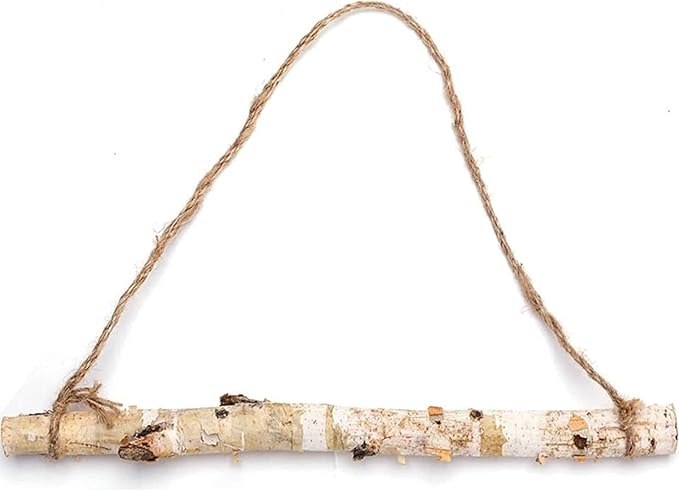
#2. A Bundle Of Birch Log For Christmas Decoration
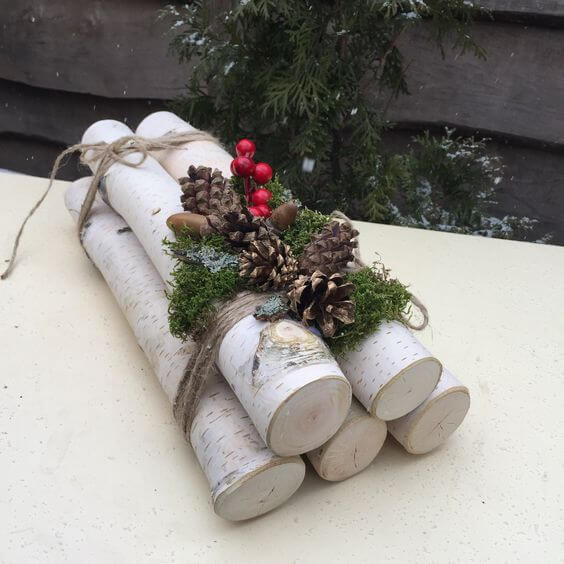
You can make this birch log bundle to bring a touch of woodland magic indoors.
Materials Needed
- 5 birch logs (approx. 12-16 inches long each, diameter 2-3 inches)
- Twine (about 3 yards)
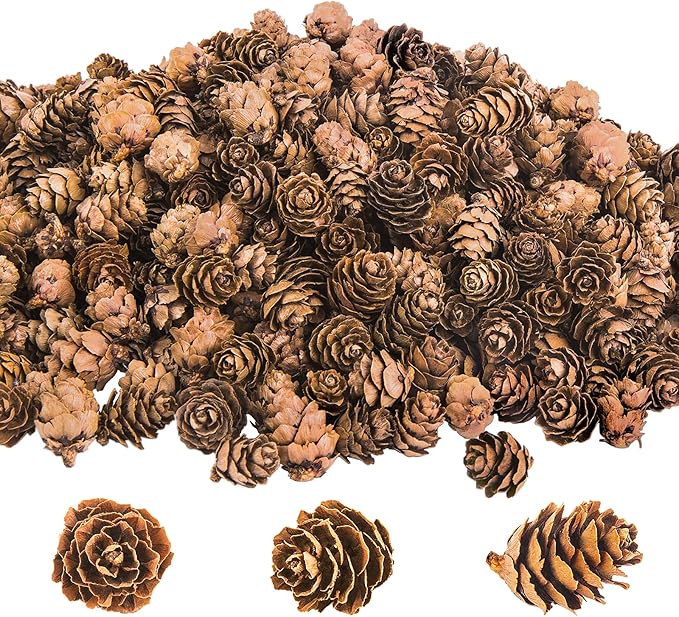
- 5 small pinecones
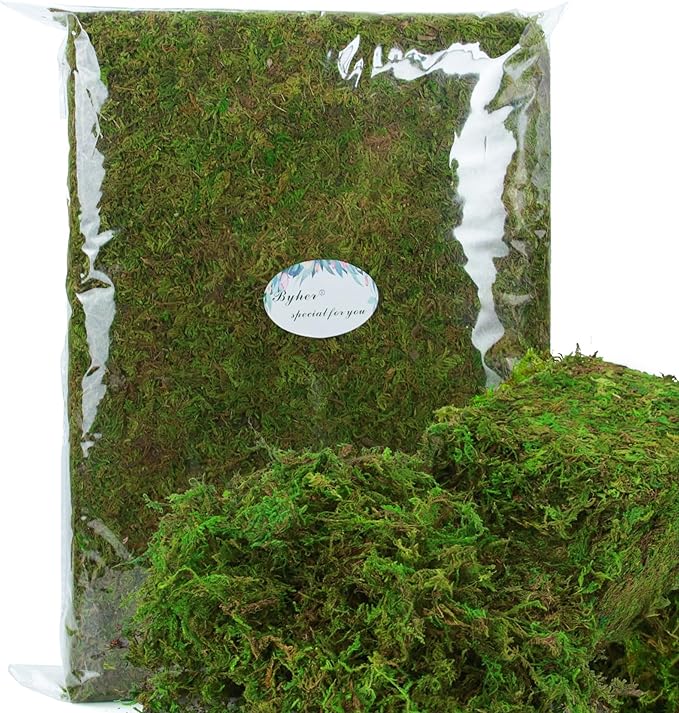
- Preserved moss
- Red faux berries (1 small bunch)
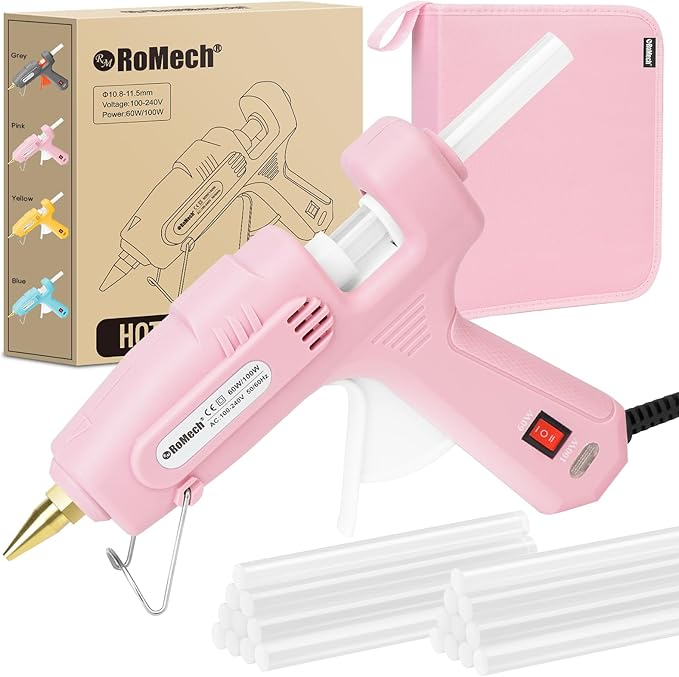
- Hot glue gun and glue sticks
Step-by-step Guide
Step 1: Arrange the birch logs side by side in a neat bundle with the cut ends aligned.
Step 2: Wrap the twine tightly around the center of the bundle several times and tie a secure knot or bow to hold the logs together.
Step 3: Using the hot glue gun, attach pinecones, moss, and red berries along the twine area to create a natural decorative cluster.
#3. Front Yard Decoration
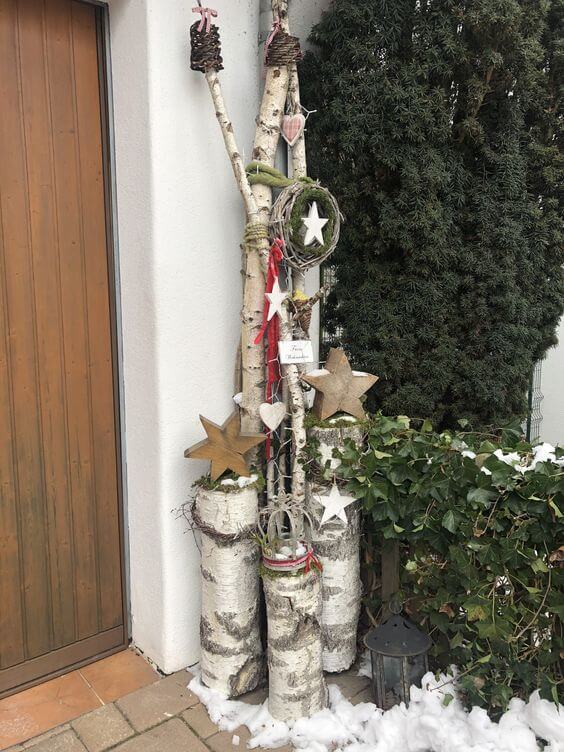
The mix of tall and short logs paired with rustic stars, wreaths, and heart ornaments creates a charming seasonal statement that’s both inviting and stylish.
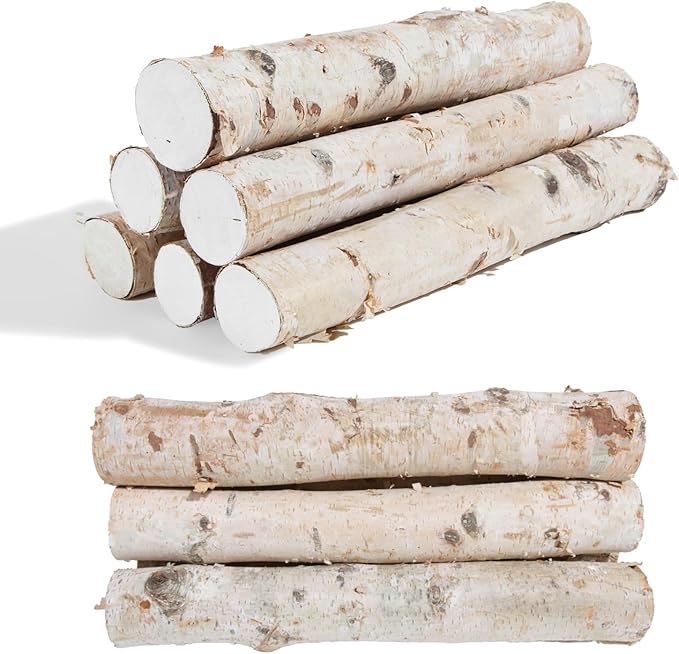
 SHOP ASSORTED-SIZE BIRCH LOGS
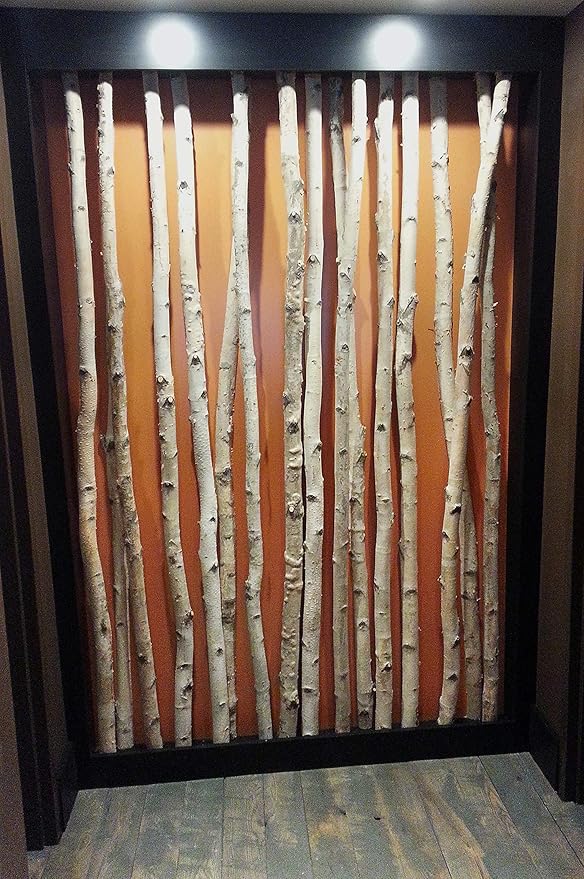 SHOP LONG BIRCH POLES
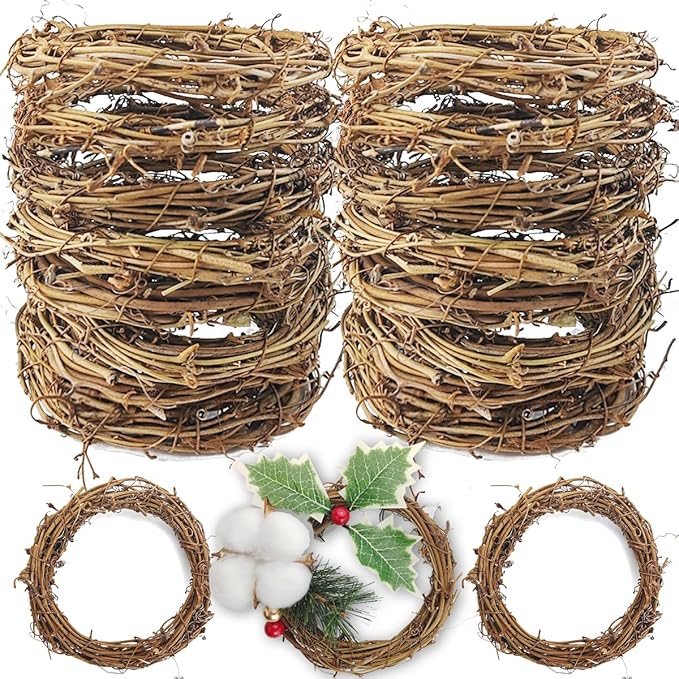 SHOP NATURAL WREATH
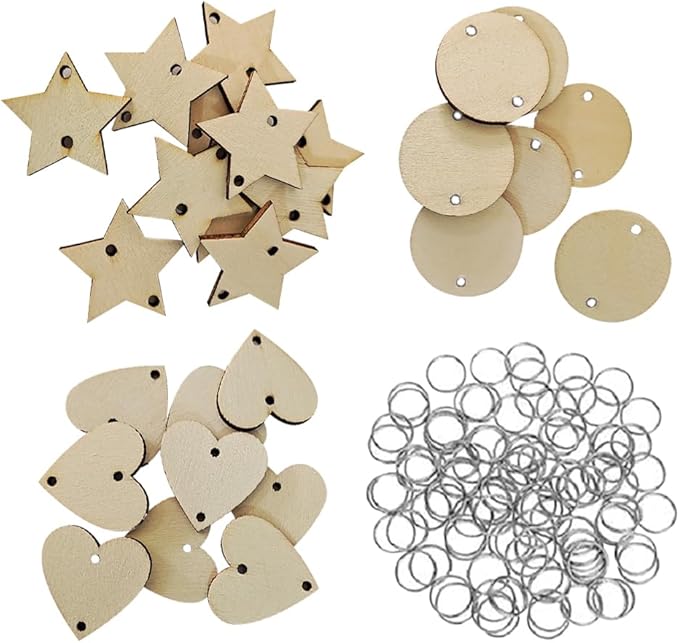 SHOP WOODEN STAR AND HEART ORNAMENTS
 SHOP DECORATIVE RIBBONS
Materials Needed
- 7 birch logs (from approx. 1 to 4 feet tall)
- 3 natural wreaths and small grapevine circles
- 4 wooden stars and heart ornaments
- Twine (about 5 yards)
- Decorative ribbons in red and green (optional)
- Hot glue gun and glue sticks
Step-by-step Guide
Step 1: Arrange the birch logs standing upright in a cluster near your porch or entryway, grouping by height for visual interest.
Step 2: Secure wreaths and grapevine circles onto the logs by tying with twine or attaching with hot glue for extra hold.
Step 3: Decorate the logs with wooden stars and heart ornaments by hanging them from twine or gluing them onto the bark.
Step 4: Add festive ribbons by tying them around logs or wreaths for splashes of color and texture.
#4. DIY Birch Log Ladder
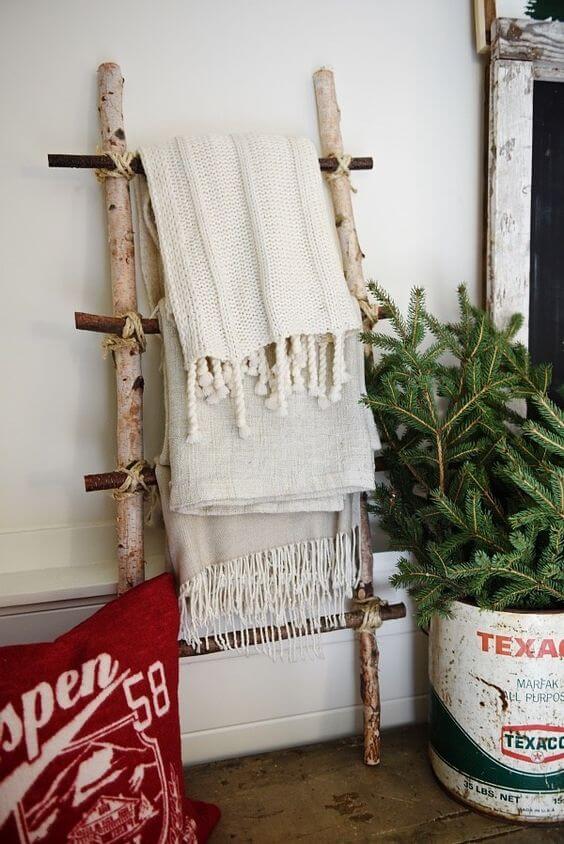
I crafted this birch log ladder to add rustic charm to my living room while keeping blankets and throws neatly displayed.

Materials Needed
- 2 birch logs (approx. 4 feet long each)
- 4 smaller wood branches (approx. 2 feet long)
- Twine (about 10 feet)
- Saw
- Scissors
Step-by-step Guide
Step 1: Lay the two long birch logs parallel on the floor, spaced about 18-20 inches apart.
Step 2: Position the smaller wood branches horizontally between the two birch logs as ladder rungs, spacing evenly (about 12 inches apart).
Step 3: Use twine to securely tie each rung to the vertical logs on both ends with tight knots, wrapping several times for stability.
Step 4: Stand the ladder upright and place blankets or throws over the rungs for a functional, natural décor piece.
#5. Birch Log Divider
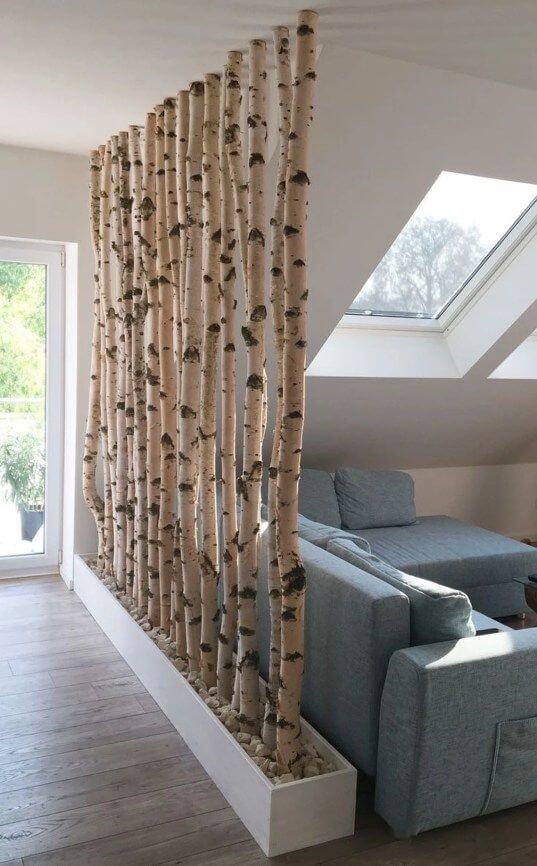
The vertical logs bring an organic feel while maintaining openness and light flow, making it a stylish yet functional focal point.

Materials Needed
- 15 straight birch logs (approx. 7 feet tall, diameter 2-3 inches)
- Long planter box (approx. 8 feet long, 1 foot wide, 1 foot tall)
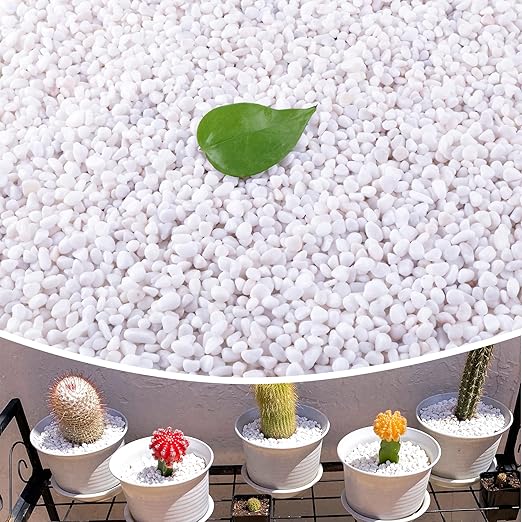
- Small decorative stones
- Wood glue
- Saw
Step-by-step Guide
Step 1: Cut birch logs to uniform height if needed, ensuring all are straight and smooth at the base for stable placement.
Step 2: Fill the planter box with a layer of small stones or pebbles for drainage and support.
Step 3: Stand birch logs vertically inside the planter, spacing them evenly and pressing into the stones for stability.
Step 4: Secure logs further by adding wood glue at the base and between logs if needed.
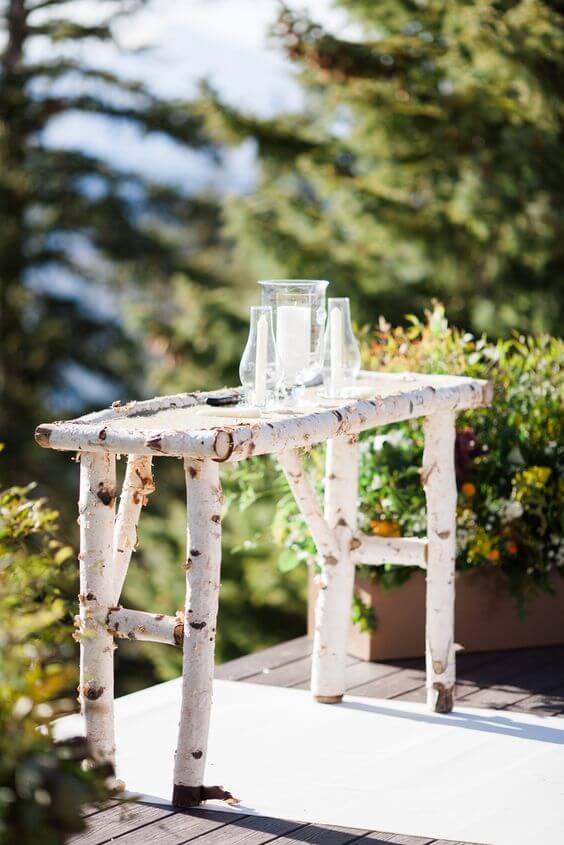
#6. Birch Log Side Table
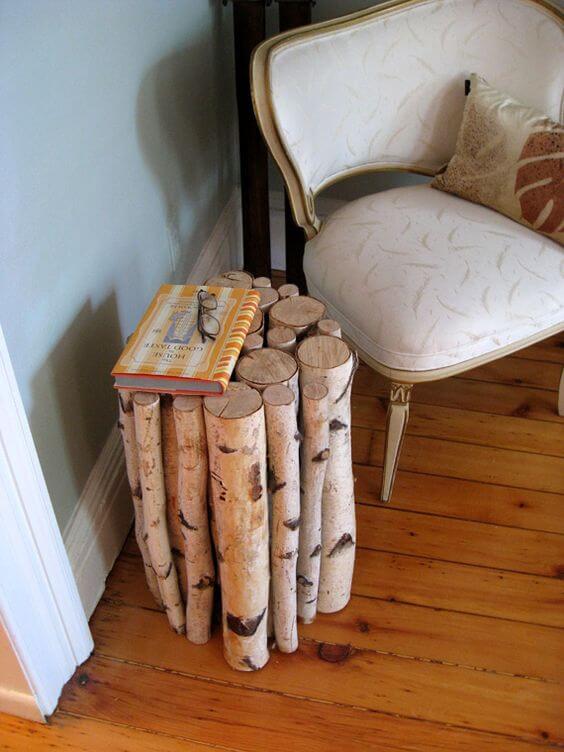
The natural texture of the logs creates a striking contrast with the smooth wooden floor and upholstered chair, making it both functional and a unique decor piece.
Materials Needed
- 20 birch logs (varying diameters between 2 to 4 inches, lengths approx. 16 inches)
- Strong wood glue
- Sandpaper (medium grit)
- Clamps
Step-by-step Guide
Step 1: Sand the cut ends of each birch log to create a smooth, flat surface for stable stacking and gluing.
Step 2: Arrange the logs tightly side by side in a rectangular or square formation, aligning the flat ends to form the tabletop surface.
Step 3: Apply wood glue to the sides where logs touch each other and press firmly together. Use clamps or heavy weights to hold the assembly in place while the glue cures.
#7. Birch Lantern
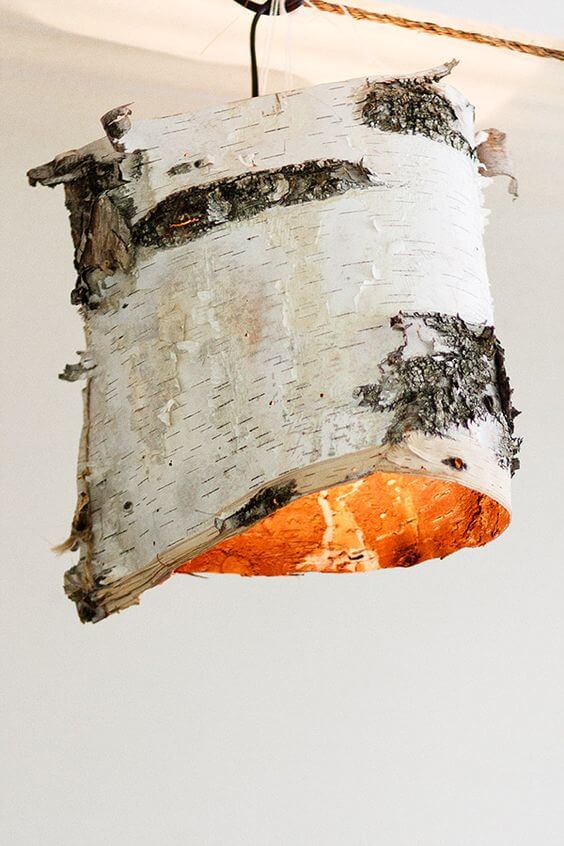
The unique texture and soft glow create a cozy atmosphere that highlights the beauty of raw, organic materials.


Materials Needed
- Large piece of birch bark (approx. 12 x 12 inches)
- Pendant light kit with socket and cord
- Heat-resistant adhesive
- Scissors
- Sandpaper (optional)
Step-by-step Guide
Step 1: Carefully shape the birch bark into a cylinder or semi-circle that fits around the light socket, trimming edges as needed.
Step 2: Use heat-resistant adhesive to secure the bark edges together, forming the lamp shade shape.
Step 3: Attach the birch bark shade to the pendant light kit socket, ensuring it sits securely and safely around the bulb.
Step 4: Install the pendant lamp in your desired location and enjoy the warm, natural glow that complements rustic or modern decor.
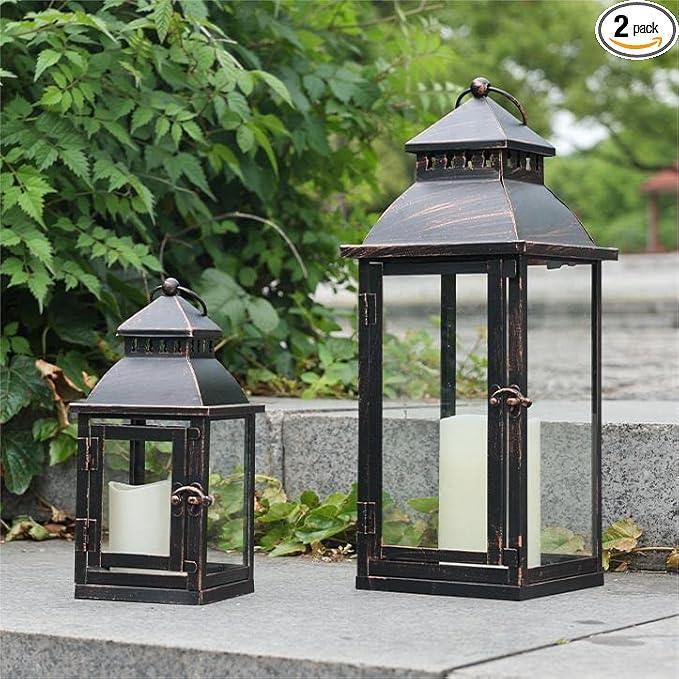
#8. A Modern Rustic Christmas
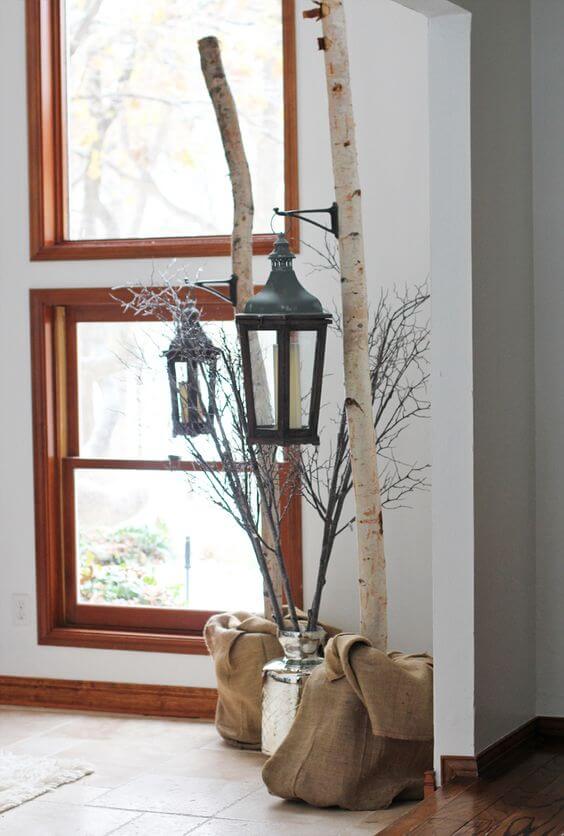
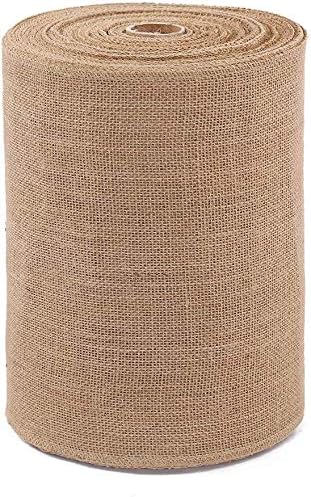
The mix of tall logs, burlap bases, and vintage-style lanterns creates a cozy focal point that’s both natural and stylish.
Materials Needed
- 2 birch logs (approx. 6-7 feet tall, straight)
- 2 large metal lanterns
- 2 burlap fabric pieces
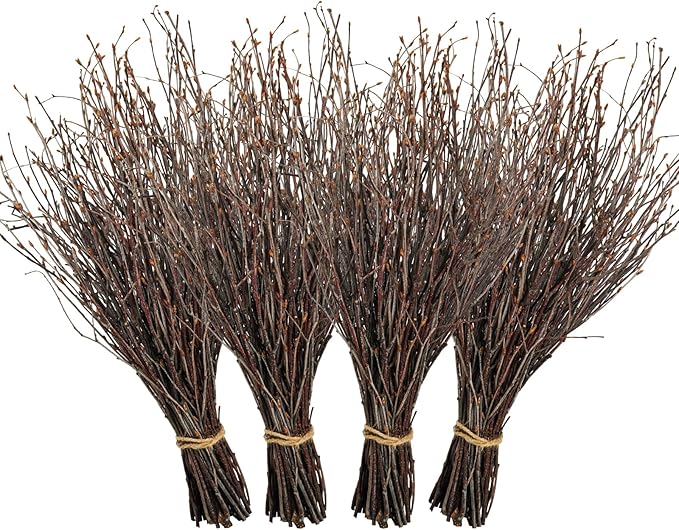
- Decorative branches
- 2 heavy vase
- Rope
Step-by-step Guide
Step 1: Secure each birch log upright inside a heavy vase or weighted container for stability.
Step 2: Wrap the burlap fabric around the base of each log and tie it tightly with rope or twine, creating a natural sack look.
Step 3: Position the metal lanterns on hooks or brackets attached to the logs or place them at the base for ambient lighting.
Step 4: Add decorative branches or twigs inside the vases or around the logs to enhance the rustic aesthetic.
#9. The Beauty of Branches
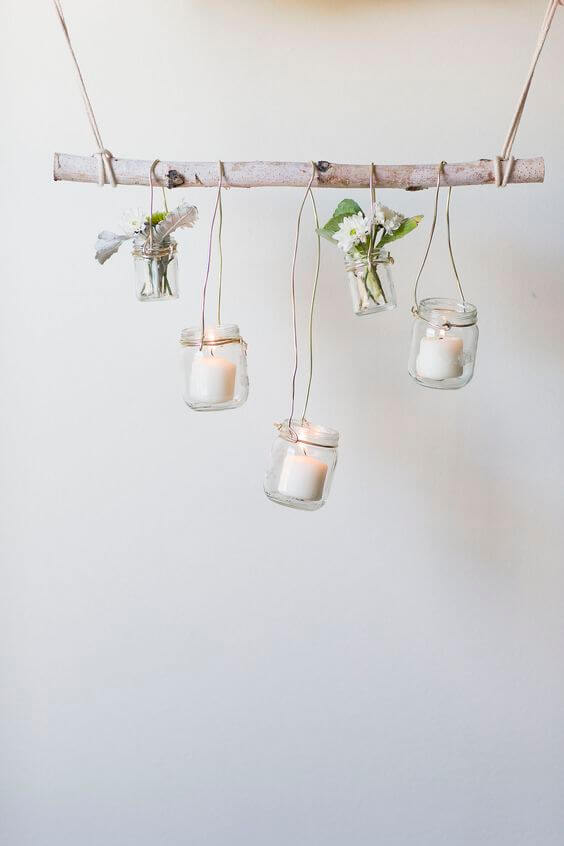
I crafted this delicate hanging display using a slender birch branch to create a light, airy decoration perfect for adding charm to any room.

Materials Needed
- Thin birch branch (about 18-24 inches long)
- 5 small glass jars
- 3 tea light candles
- Fresh or faux small flowers and greenery (optional)
- Twine (about 6 feet)
- Scissors
Step-by-step Guide
Step 1: Tie a long piece of twine securely to each end of the birch branch to create a hanger for the whole piece.
Step 2: Attach twine to the rims of the small glass jars, making sure they are sturdy enough to hold the jars’ weight.
Step 3: Hang the jars at varying lengths from the birch branch by tying their twine loops to the branch.
Step 4: Place tea light candles in some jars and arrange fresh or faux flowers in others for a balanced, charming look.
#10. Easy Corner Decoration
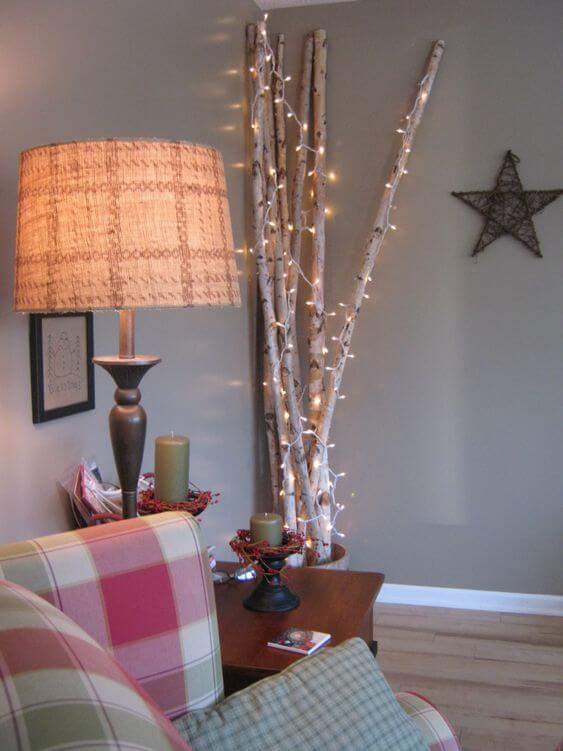
You can this cozy corner with tall birch logs wrapped in delicate string lights to create a warm, inviting glow.
Materials Needed
- 8 birch logs (approx. 5-6 feet tall)
- Battery-operated string lights (20-30 feet long)
- Large floor vase
Step-by-step Guide
Step 1: Arrange the birch logs upright inside the floor vase or planter, ensuring they stand securely.
Step 2: Wrap the string lights evenly around the birch logs from bottom to top, spacing the lights to create a balanced glow.
Step 3: Plug in or switch on the string lights and adjust the position of the logs if needed for an even light distribution.
#11. Birch Tree Wood Wall Art

The natural white bark, scattered branches, and soft moss base create a beautiful textured piece that adds depth and organic charm to any wall.


Materials Needed
- 10 birch logs (approx. 12-15 inches each)
- Twigs and small branches
- Moss
- Wooden frame (approx. 24 x 12 inches)
- Strong wood glue
Step-by-step Guide
Step 1: Arrange the birch log sections vertically on the backing panel, spacing evenly to create a forest-like appearance.
Step 2: Attach the twigs and small branches by gluing them randomly among the birch logs for natural texture and dimension.
Step 3: Glue moss along the bottom edge of the backing panel, covering the base of the birch logs for a soft, natural finish.
Step 4: Secure the arrangement inside the wooden frame or shadow box and hang it on the wall to enjoy a beautiful, nature-inspired accent.
#12. DIY Birch Log Christmas Tree Candleholder
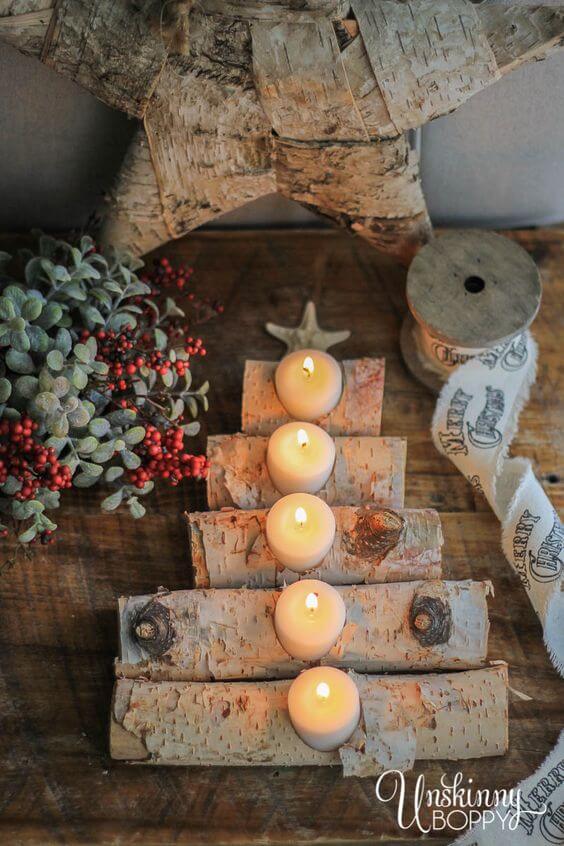
The tiered logs with glowing candles stacked like a minimalist tree create a warm centerpiece that’s simple, elegant, and perfect for seasonal charm.
Materials Needed
- 5 birch logs (lengths approx. 10, 8, 6, 4, and 2 inches)
- 5 tea light candles
- Hot glue gun (optional)
- Small star ornament (optional)
Step-by-step Guide
Step 1: Arrange the birch logs in a stepped pyramid shape, with the largest log at the bottom and the smallest at the top.
Step 2: Place a tea light candle on the flat surface of each log, centering them carefully.
Step 3: Add a small star ornament on top or nearby to complete the festive look.
#13. Fresh Wall Decoration
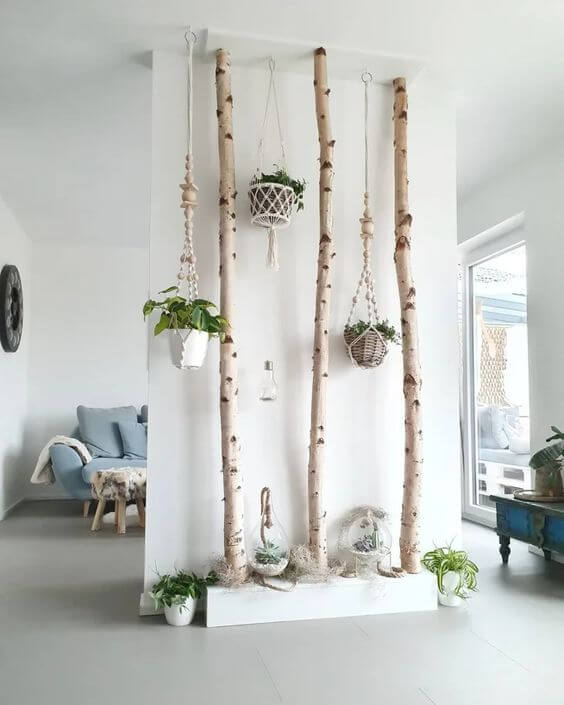
The tall birch logs combined with hanging macramé plant holders create an airy, elegant focal point that’s both minimalist and inviting.
Materials Needed
- 3 birch logs (approx. 7 feet tall, straight and sturdy)
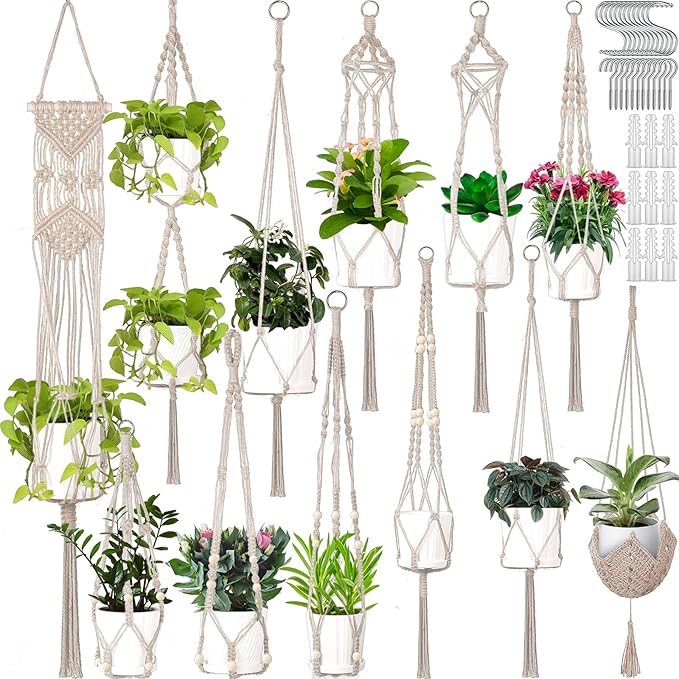
- 3 hanging macramé plant holders
- 3 small potted plants
- Potting soil
- Twine (optional)
Step-by-step Guide
Step 1: Secure the birch logs upright in the planter box or heavy base to ensure stability.
Step 2: Hang the macramé plant holders at varying heights from ceiling hooks or from the birch logs themselves.
Step 3: Place small potted plants inside the holders, arranging for an even, balanced look.
Step 4: Position additional small plants or moss around the base to enhance the natural feel of the display.
#14. Birch Log Bedroom Idea
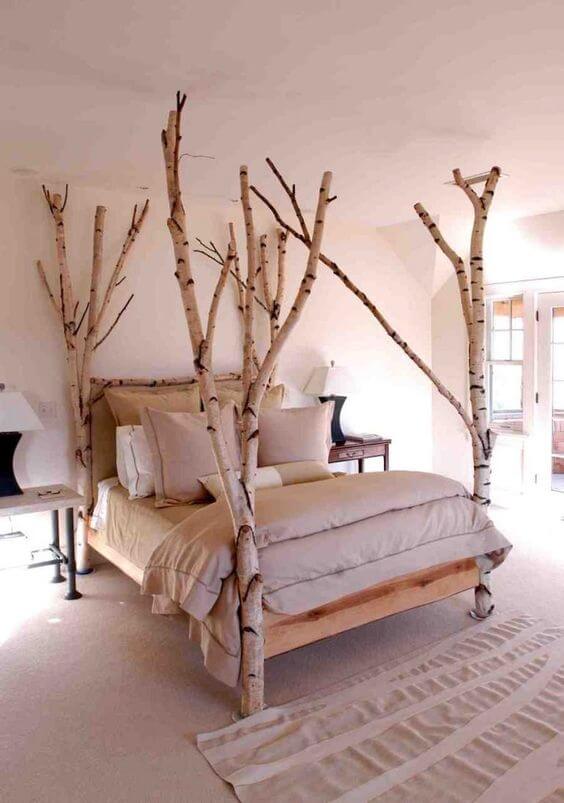
Nothing better than building this stunning birch log canopy bed frame to bring a raw, woodland-inspired elegance into my bedroom.
Materials Needed
- 4 birch logs or branches (approx. 7-8 feet)
- Smaller birch branches
- Wood screws and brackets
- Power drill and saw
- Sandpaper
Step-by-step Guide
Step 1: Cut and prepare the four tall birch logs to serve as the bed’s vertical posts, ensuring stability and smooth bases.
Step 2: Secure the vertical posts to the bed frame corners using wood screws and brackets for strong support.
Step 3: Attach smaller birch branches horizontally between the vertical posts to form the canopy structure overhead.
Step 4: Optionally, add decorative branches or smaller twigs around the posts and canopy to enhance the natural look.
#15. Spring Table Decor
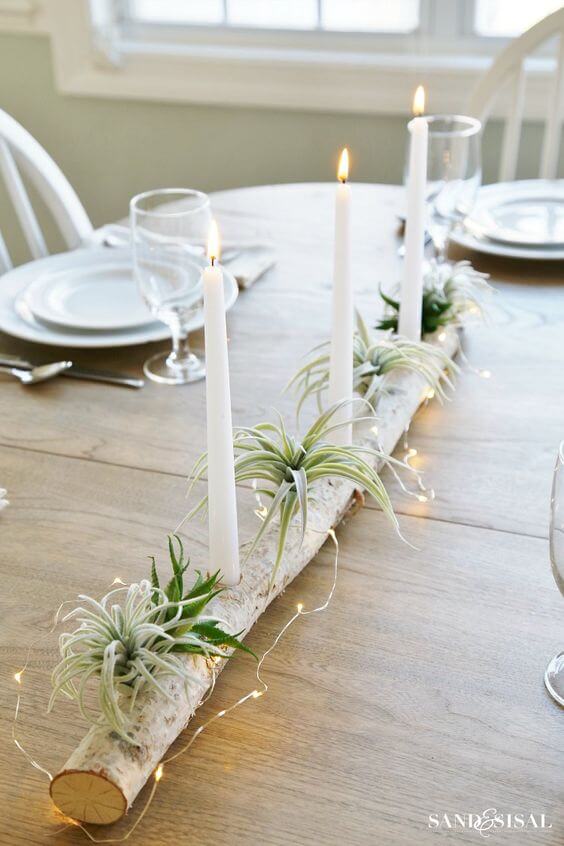
The combination of tall white candles and delicate air plants on the rustic log brings freshness and warmth, making every meal feel special.
Materials Needed
- Birch log (approx. 24-30 inches)
- 3 tall white taper candles
- 4 air plants
- Drill with 1-inch spade bit
- Fairy string lights (optional, about 5 feet)
Step-by-step Guide
Step 1: Drill evenly spaced holes along the length of the birch log, sized to fit the taper candles securely.
Step 2: Insert the taper candles into the drilled holes, making sure they stand upright and stable.
Step 3: Place air plants between the candle holes by securing them on the log surface or tucking them into small natural crevices.
Step 4: Optionally, wrap fairy string lights loosely around the log to add a soft, glowing effect.
#16. Birch Furniture
The natural curves and textures of the logs bring an organic feel that perfectly complements the surrounding greenery, making it ideal for casual gatherings.
Materials Needed
- 4 birch logs (approx. 2.5 feet tall each)
- 7 birch branches or smaller logs (approx. 4 feet long)
- Wood screws
- Power drill and screwdriver
- Sandpaper (medium grit)
- Wood sealer (optional)
Step-by-step Guide
Step 1: Cut and sand the birch logs and branches to your desired size, ensuring all legs are even and tabletop pieces fit together smoothly.
Step 2: Assemble the tabletop by aligning the birch branches side by side and securing them together on the underside with additional wooden supports or screws.
Step 3: Attach the legs securely to the tabletop using wood screws and a power drill, making sure the table stands stable.
Step 4: Optionally, apply wood sealer or outdoor finish to protect the table from weather damage.
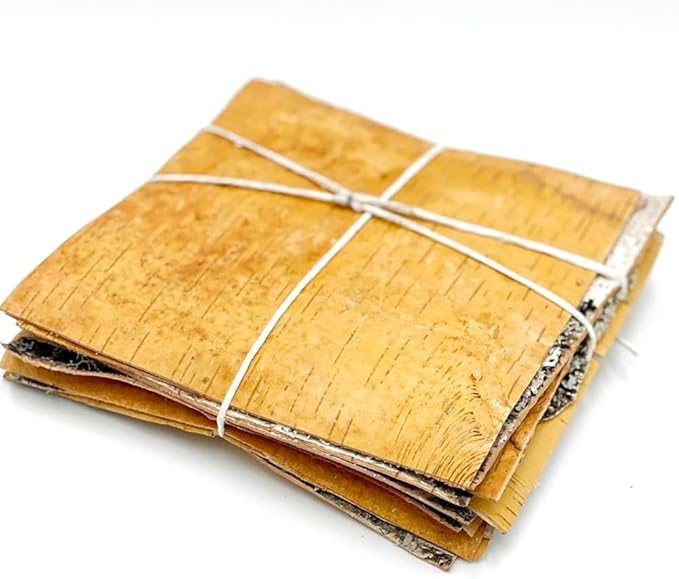
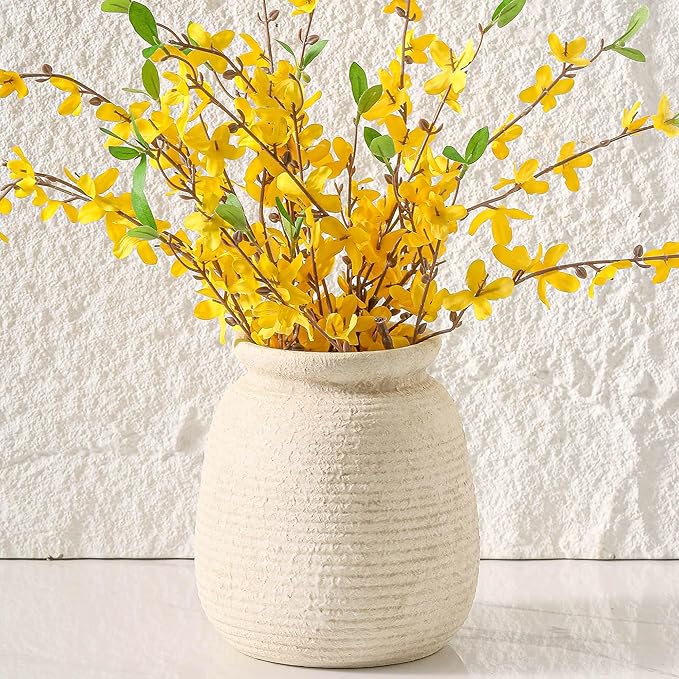
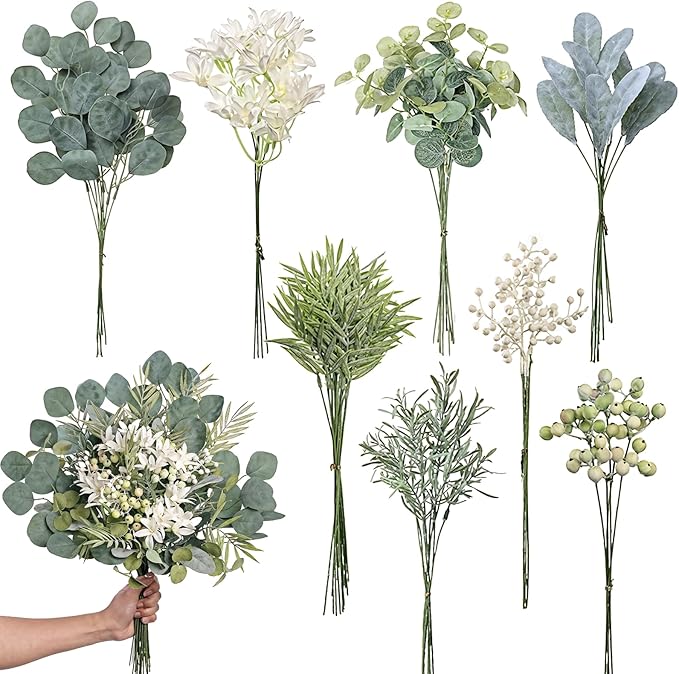
#17. A New Flower Vase Version
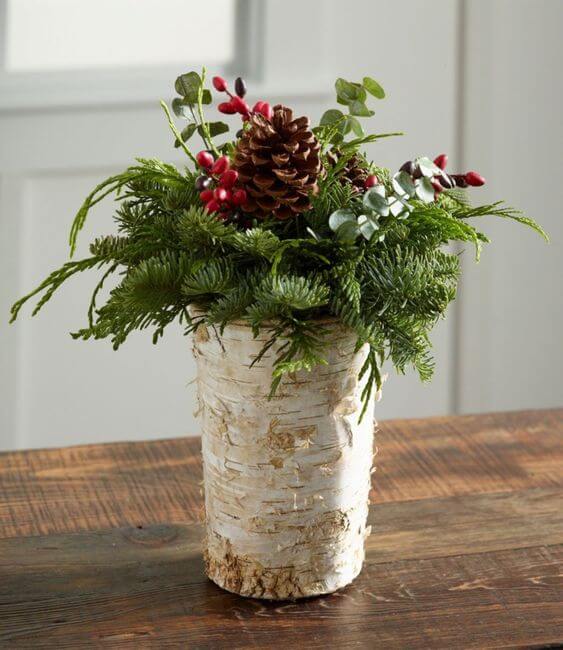
I love how this birch bark wrapped vase brings a touch of winter woodland magic indoors.

Materials Needed
- Vase (any size)
- Birch bark sheet
- Fresh or faux evergreen branches, pinecones, and red berries
- Floral foam (optional)
- Hot glue gun
- Scissors
Step-by-step Guide
Step 1: Wrap the birch bark sheet around the vase and secure it with hot glue or double-sided tape. Trim any excess bark for a neat finish.
Step 2: Place floral foam inside the vase if using, to anchor the greenery securely.
Step 3: Arrange evergreen branches, pinecones, and red berries inside the vase, adjusting for fullness and balance.
#18. DIY Front Bench
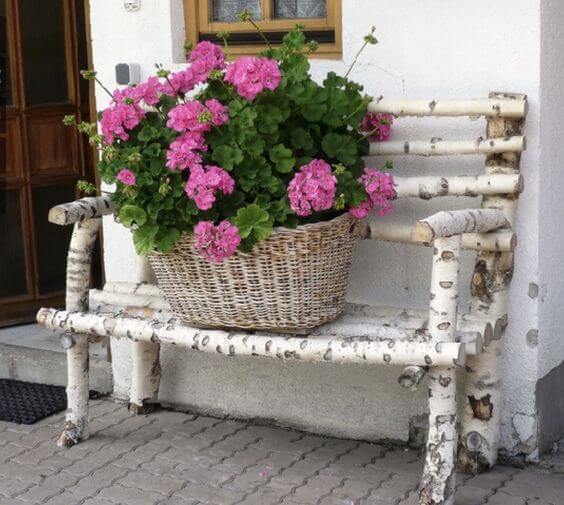
The sturdy logs combined with natural textures make it a welcoming place to relax surrounded by nature and colorful blooms.
Materials Needed
- 14 birch logs (varying lengths)
- Wood screws or nails
- Power drill and screwdriver
- Saw
- Sandpaper
- Outdoor wood sealant (optional)
Step-by-step Guide
Step 1: Cut the birch logs to desired lengths for the seat, backrest, and legs, ensuring smooth, level ends.
Step 2: Assemble the seat frame by securing several logs side by side with screws or nails. Attach the legs securely to the seat frame, ensuring the bench stands stable and level.
Step 3: Fix the backrest logs vertically or horizontally, attaching firmly to the seat and legs.
Step 4: Sand any rough edges and apply outdoor sealant or varnish if desired for weather protection.
#19. Make A Succulent Centerpiece
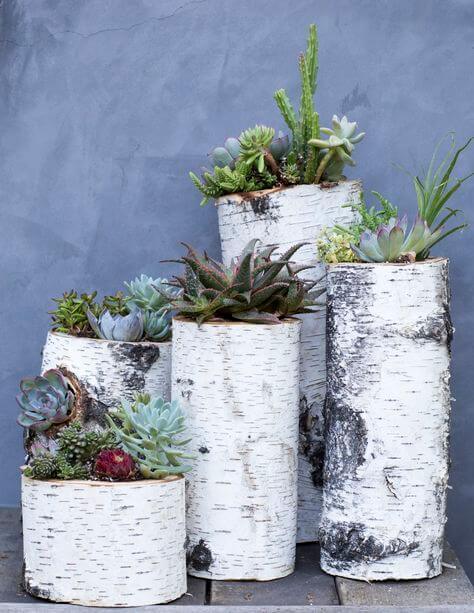
The natural birch bark containers perfectly showcase the varied textures and colors of the succulents, creating a serene and stylish botanical display.

Materials Needed
- 5 birch logs (varying heights approx. 8-15 inches)
- Drill with large hole saw bit
- Succulents
- Potting soil
- Small rocks
- Sandpaper (optional)
Step-by-step Guide
Step 1: Drill a deep hole in the top center of each birch log, large enough to hold soil and succulents securely. Sand any rough edges around the hole for a clean finish.
Step 2: Add a layer of small rocks or gravel inside the hole to promote drainage.
Step 3: Fill the hole with succulent potting soil and arrange succulents inside, adjusting for fullness and balance.
#20. Natural White Birch Wreath
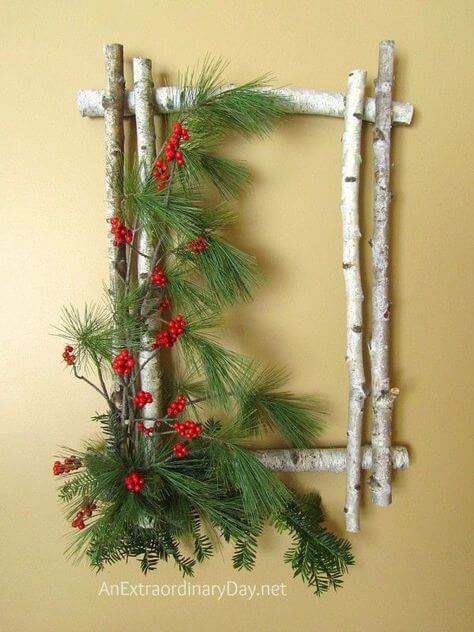
The combination of raw birch branches and festive greenery with red berries creates a striking and warm accent piece for any wall.
Materials Needed
- 6 birch branches (approx. 12-18 inches long)
- Hot glue gun and glue sticks
- Wire
- Fresh or faux pine branches and red berries
- Scissors
Step-by-step Guide
Step 1: Arrange the birch branches into a rectangular frame shape and secure the corners using hot glue and wire or twine. Attach additional branches to reinforce the frame if needed for sturdiness.
Step 2: Wire pine branches and red berries along one corner or side of the frame for a festive touch.
Step 3: Allow glue to dry completely before hanging the frame on the wall.
#21. Birch Branches Clothing Hanger
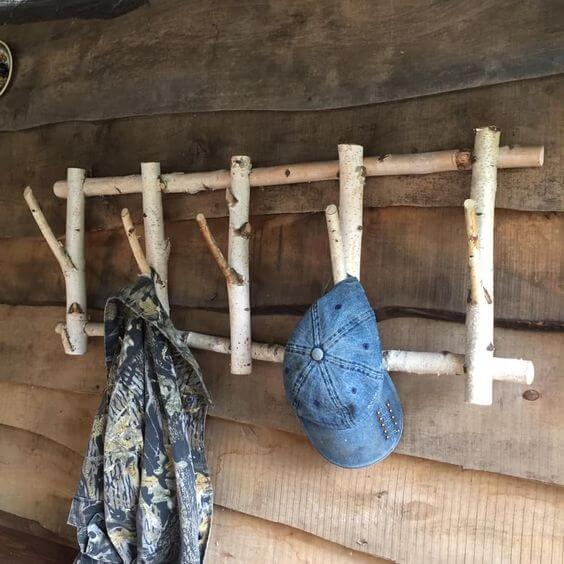
The sturdy branches serve as hooks for coats, hats, and bags, combining rustic style with practical storage.
Materials Needed
- 5 birch branches (approx. 18-24 inches long)
- 2 longer birch branches (approx. 30-36 inches)
- Wood screws and wall anchors
- Drill and screwdriver
- Sandpaper (optional)
- Saw
Step-by-step Guide
Step 1: Cut the birch branches to size, ensuring the forked ends are usable as hooks.
Step 2: Lay the two longer branches parallel as the rack frame, and position the shorter branches evenly spaced between them as hooks.
Step 3: Secure the shorter branches to the longer ones by drilling pilot holes and screwing them firmly in place.
Step 4: Mount the coat rack on the wall using screws and anchors, then hang coats, hats, or bags on the natural forked hooks.
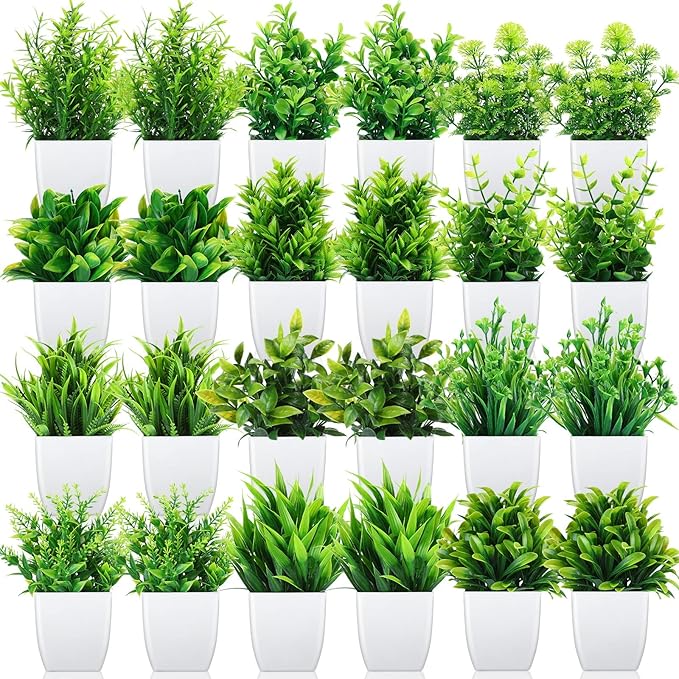
#22. Birch Tree Air Plant Holder
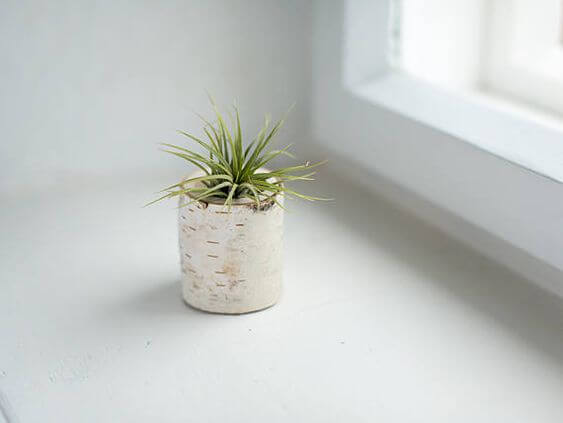
This mini birch log air plant holder is clean, natural, and fits perfectly in small spaces while bringing a bit of greenery and woodland charm into the home.
Materials Needed
- 1small birch log (approx. 2–3 inches tall and 2 inches in diameter)
- Drill with 1–1.5 inch spade bit
- 1 air plant
- Sandpaper (optional)
Step-by-step Guide
Step 1: Use the spade bit to carefully drill a shallow hole into the top of the birch log, just deep and wide enough to cradle an air plant.
Step 2: Sand the hole edges if needed to remove any rough spots, then place the air plant inside the hole, adjusting it gently so it sits upright.