Always finding ways to get rid of insects and mischievous animals visiting your garden? But after reading the post today, you will love their appearance in your garden. They don’t damage your vegetables, flowers, or other plants; in contrast, they look so cute and lovely to make your landscape more inviting.
Check out 25 DIY Cute Animals and Insects that will be the focal point of your outdoor space. They are fun, creative, and easy to make!
They are garden art ideas that are made with a little effort and dedication to add a splash of color to your garden, yard, or anywhere around your home without spending your money. Get inspired and happy crafting!
This article contains affiliate links. If you purchase through them, I may earn a small commission at no extra cost to you. Thank you for your support!
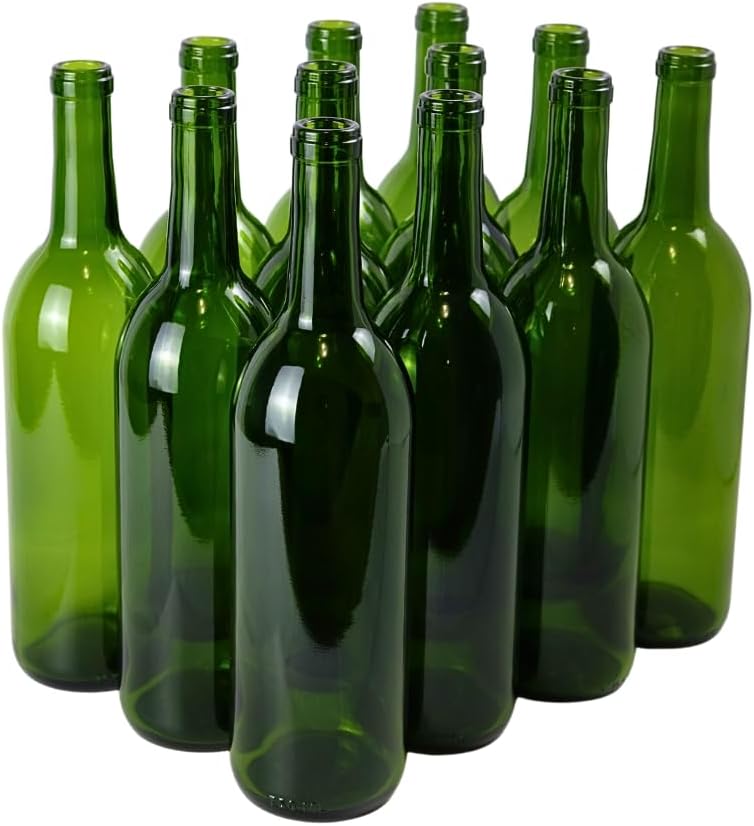
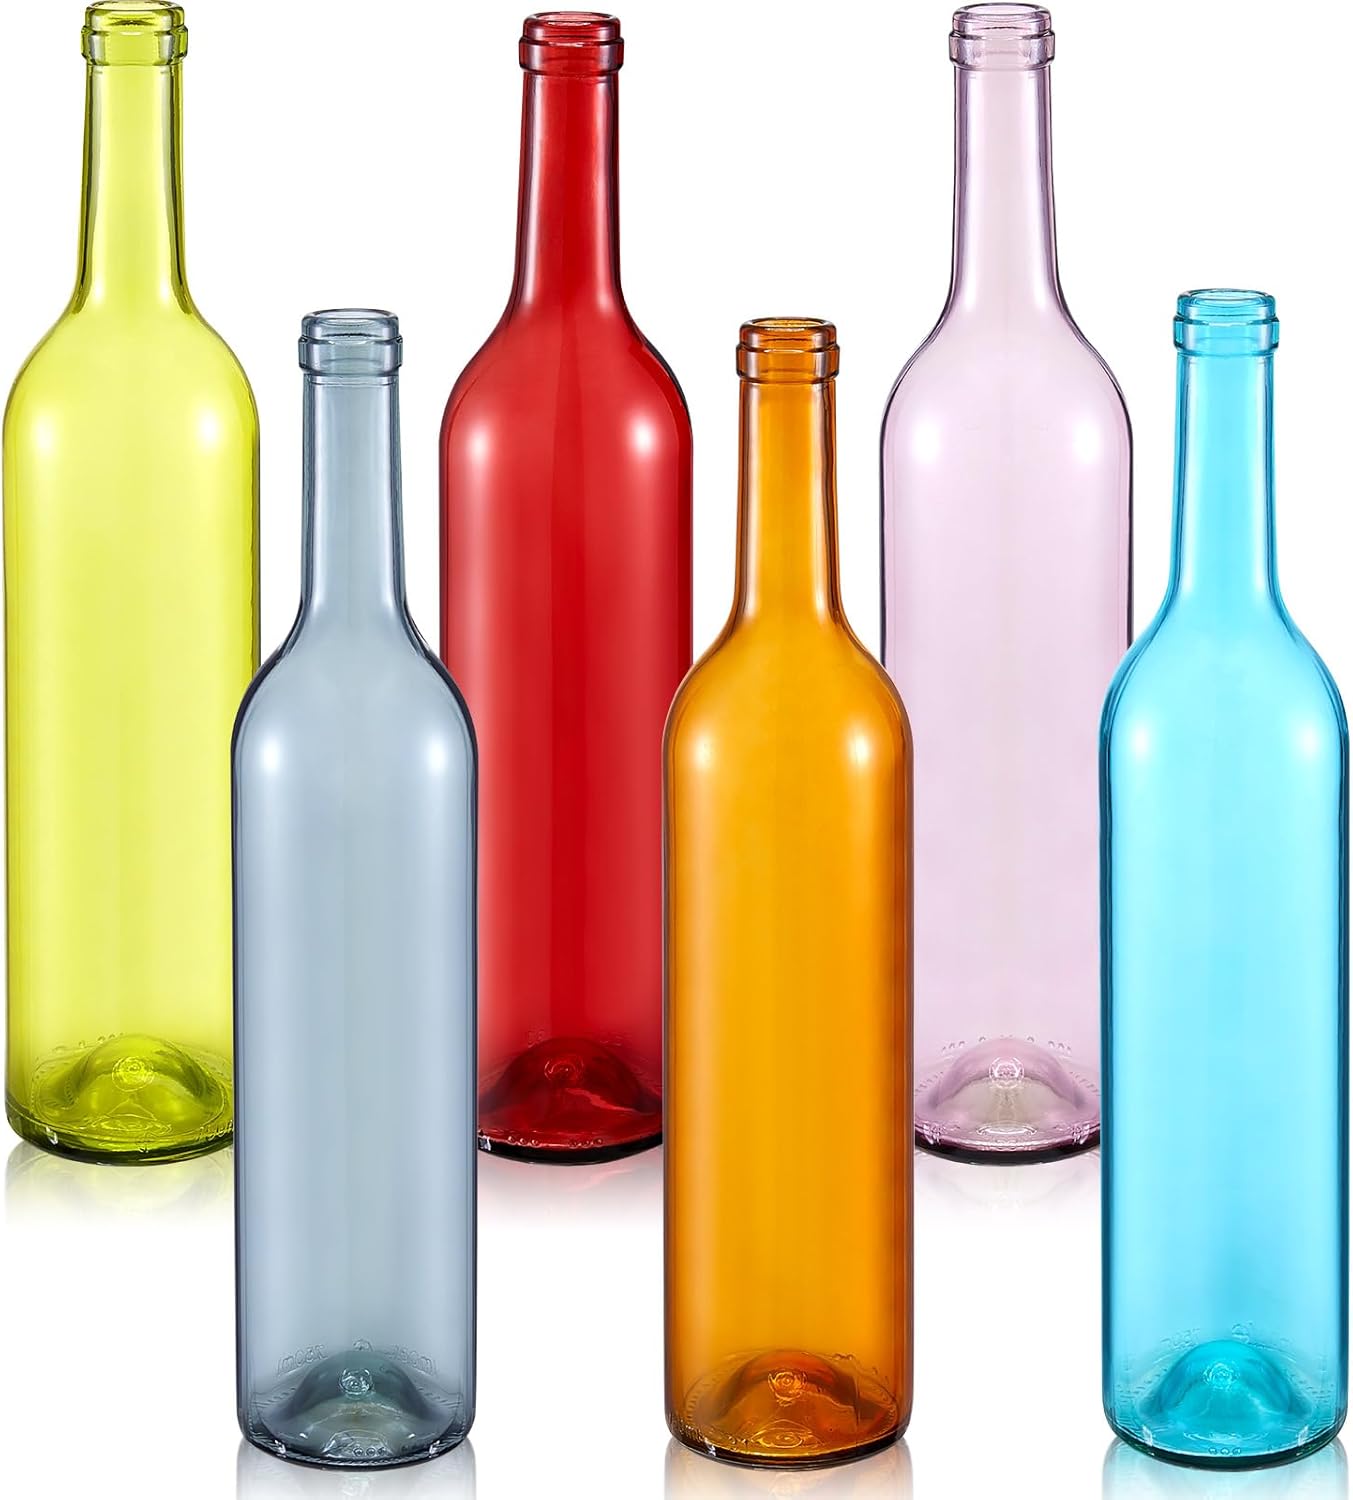
#1. DIY Glass Bottle Dragon Fly

There’s something captivating about a dragon gently spinning in your garden, adding both movement and charm.
 SHOP GREEN GLASS BOTTLES
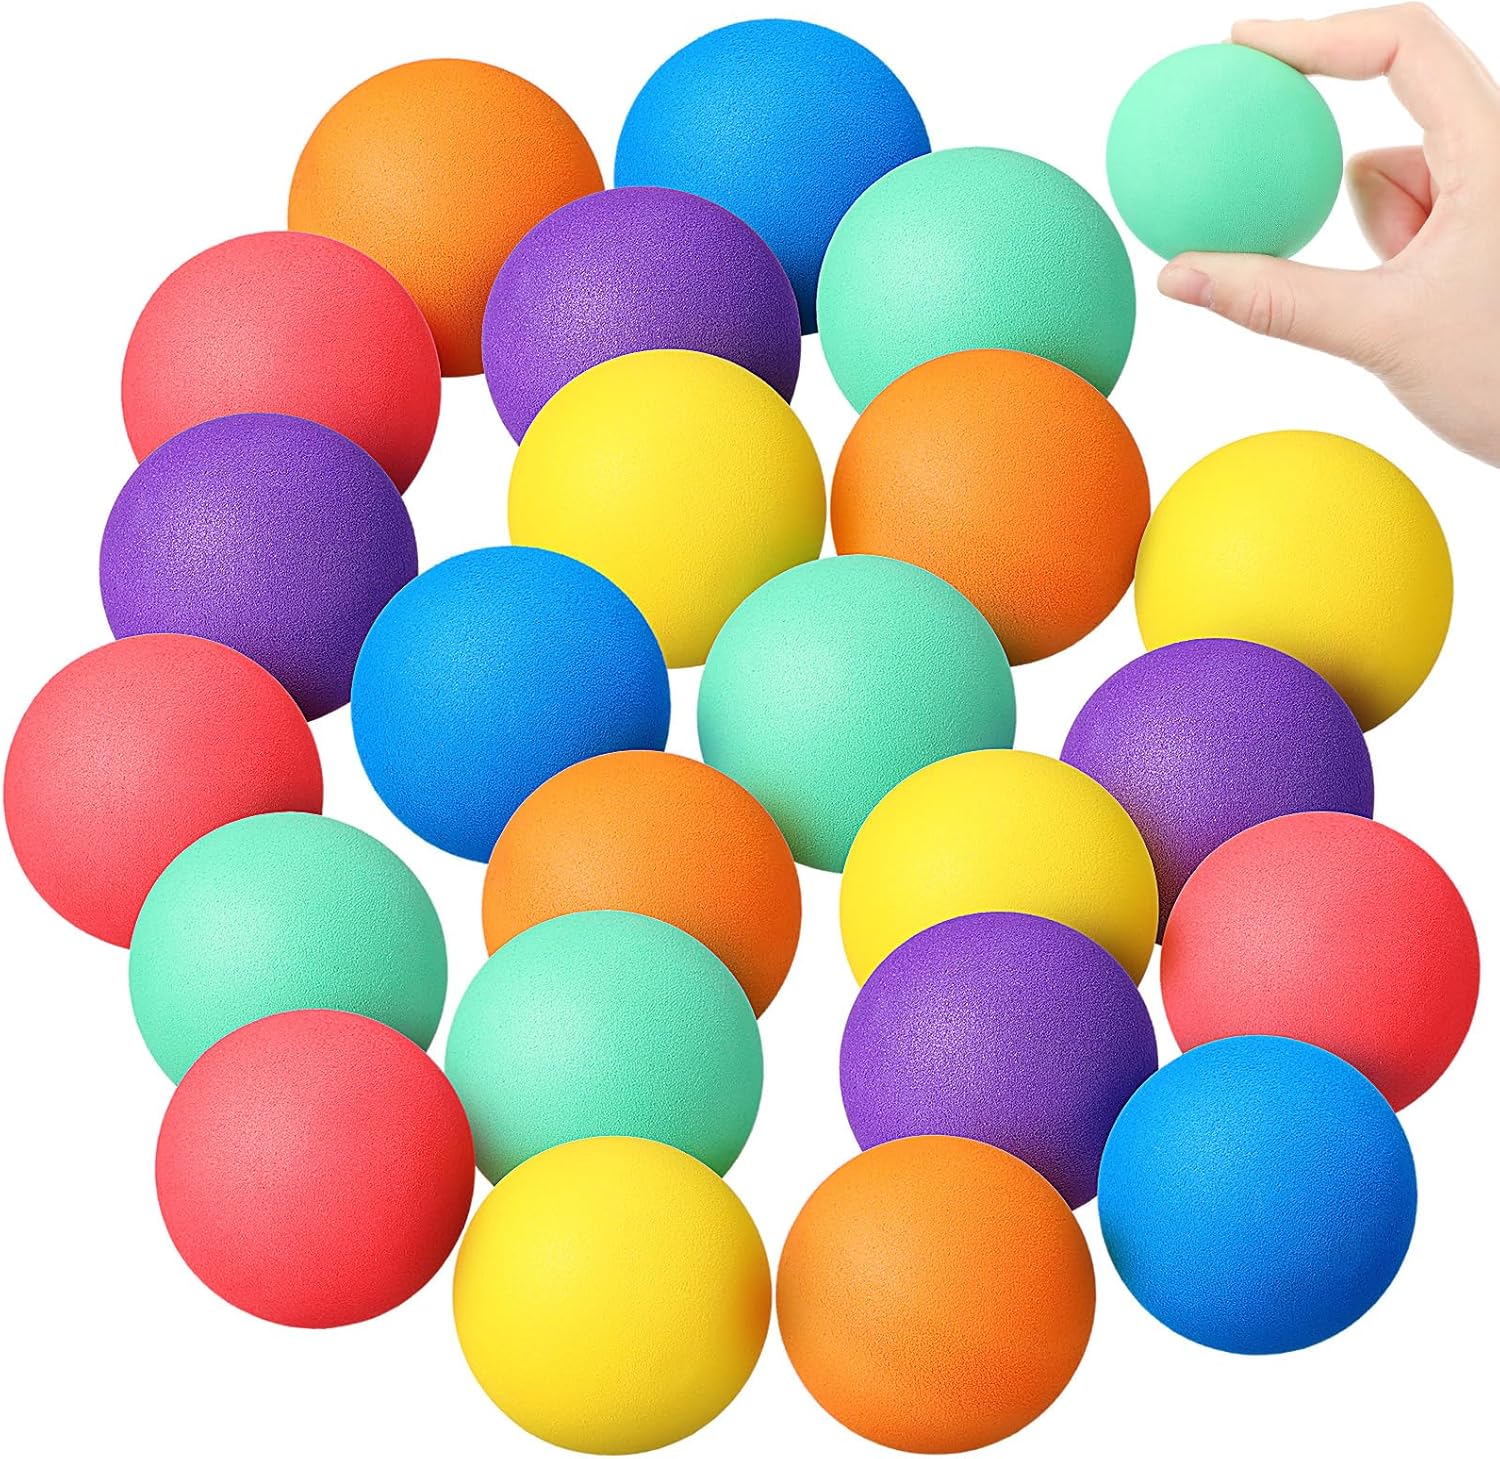 SHOP GLITTER FOAM BALLS
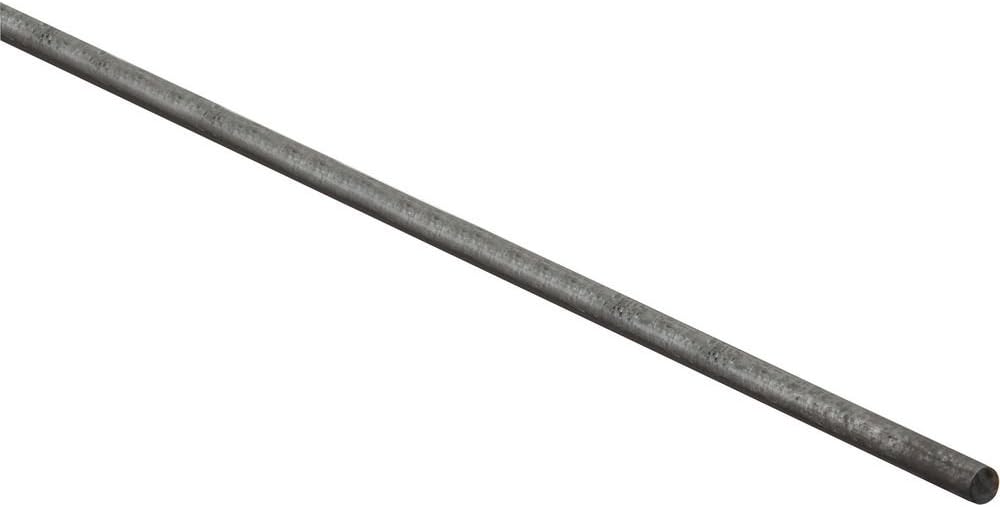 SHOP METAL ROD
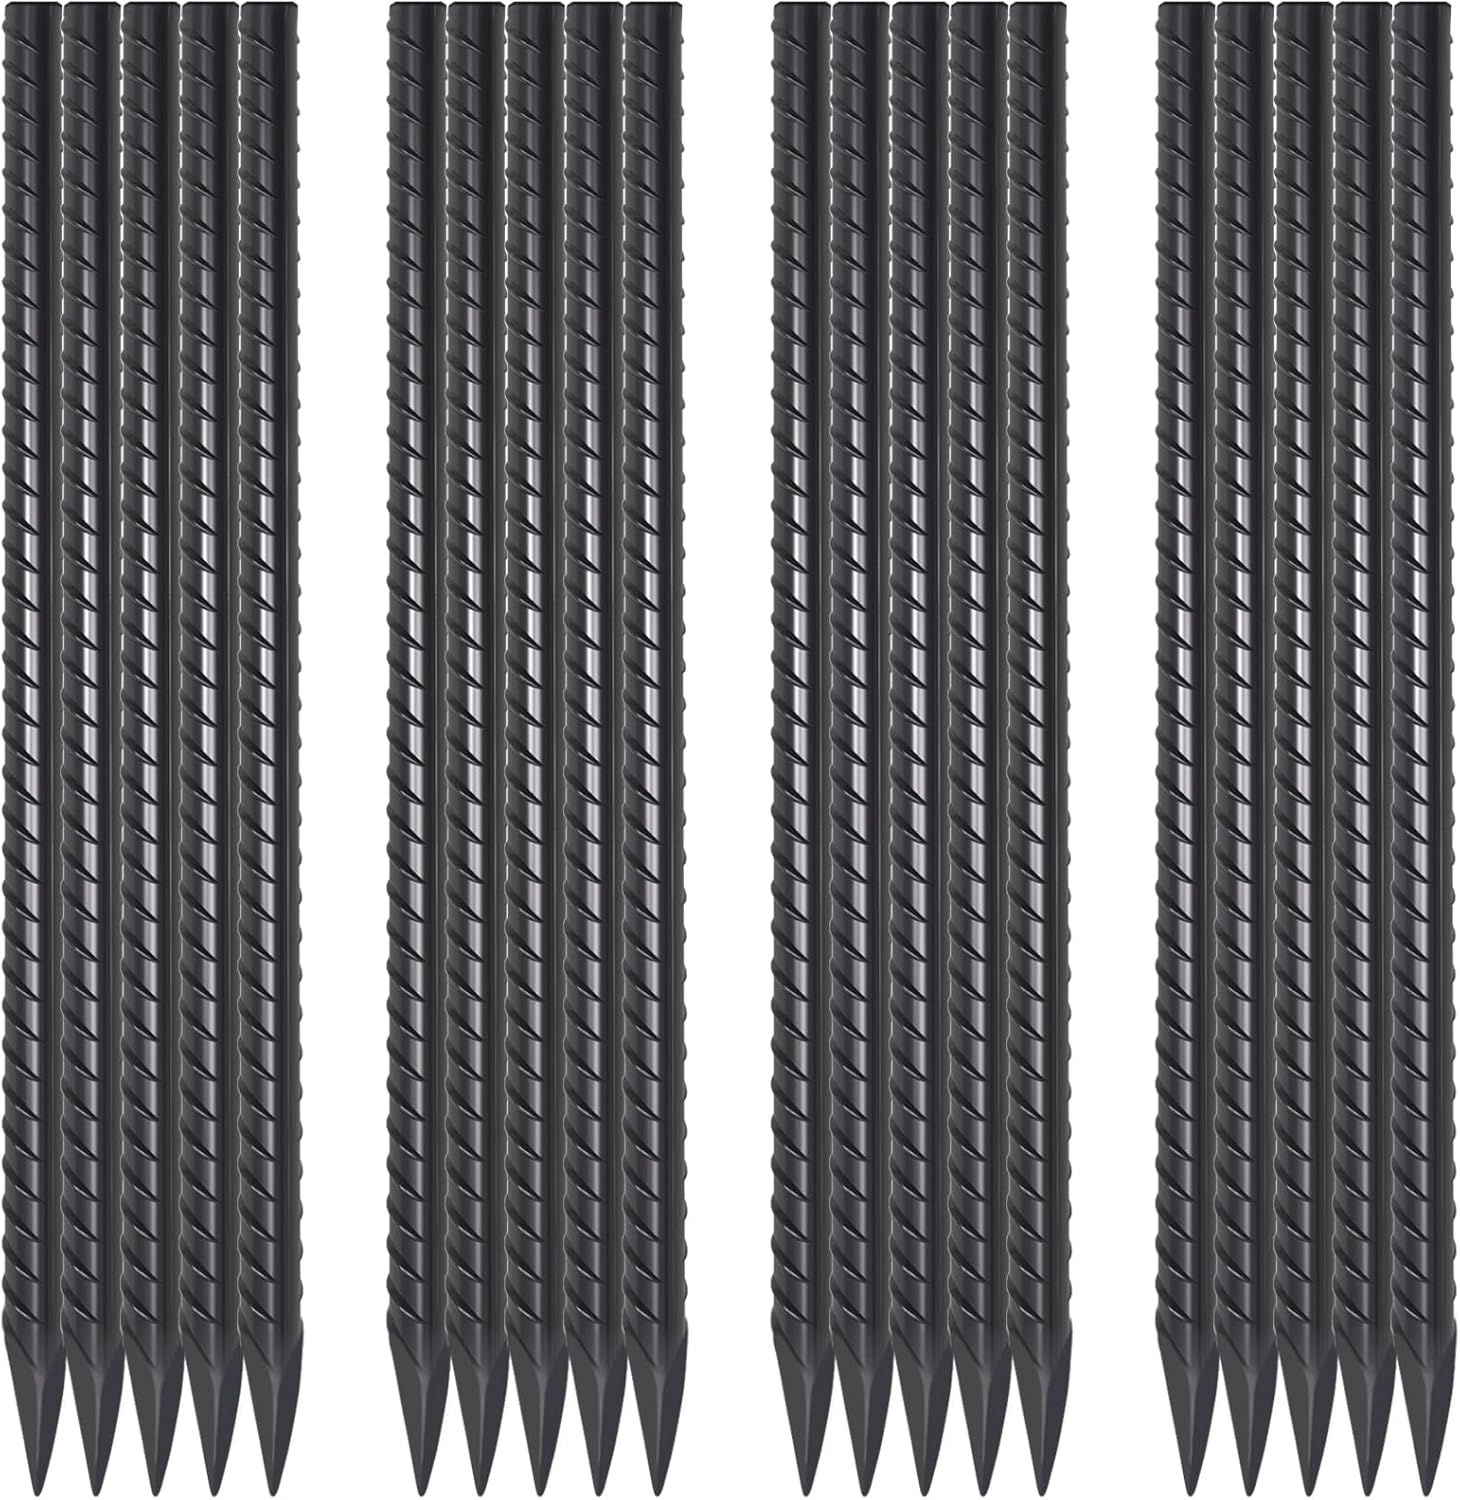 SHOP GARDEN STAKE
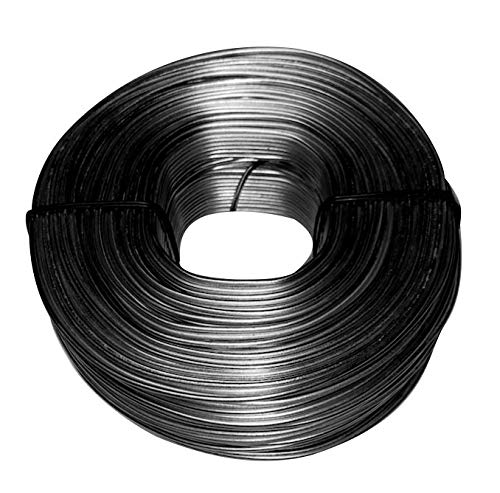 SHOP STRONG WIRE
 SHOP STRONG ADHESIVE
Materials Needed
- 4 recycled green glass bottles
- 2 glitter foam balls (approx. 3-4 inches diameter)
- Metal rod (about 18 inches long)
- Heavy-duty garden stake (about 2 feet)
- Strong wire
- Strong adhesive
Step-by-step Guide
Step 1: Clean and dry your green bottles thoroughly. Arrange them evenly around the metal rod, with necks pointing inward.
Step 2: Use zip ties or strong wire to tightly fasten the bottles to the rod, ensuring they are secure and evenly spaced.
Step 3: Attach the glitter foam balls on either side of the rod with adhesive, creating decorative “eyes” for your windmill.
Step 4: Bend the flexible wire or garden stake into a sturdy base or mount, then securely attach the windmill rod so it can spin freely in the breeze.
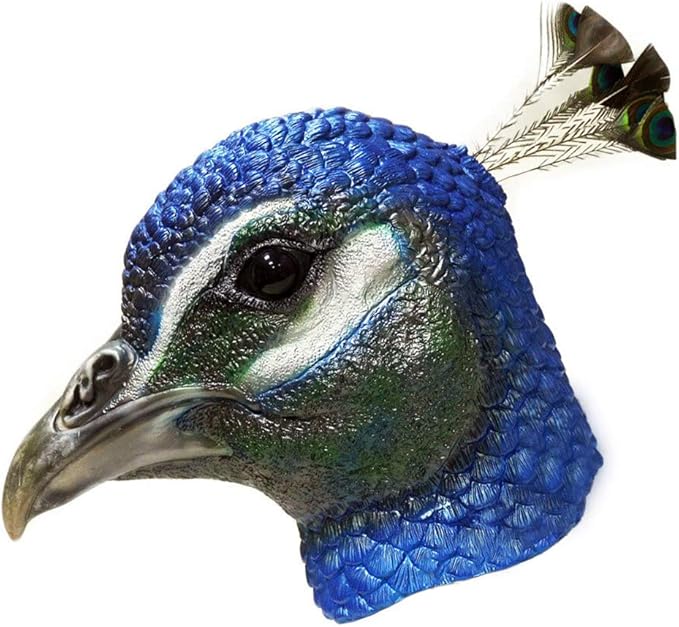
#2. Glass Bottle Peacock
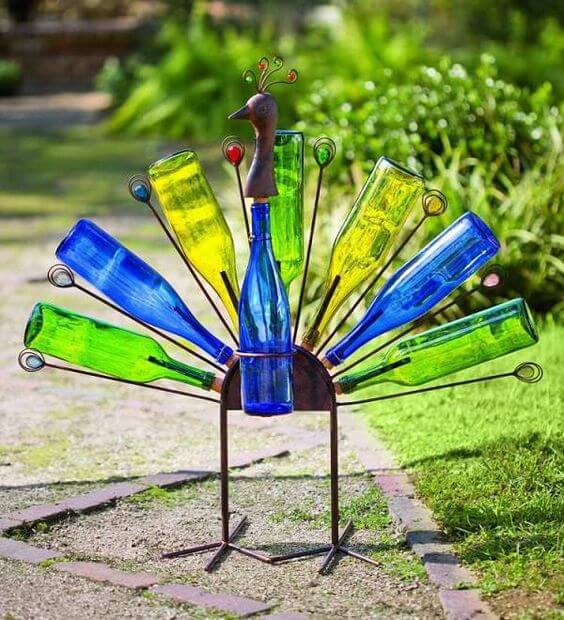
This sparkling peacock sculpture made from colorful glass bottles instantly adds life and whimsy to any garden.
Materials Needed
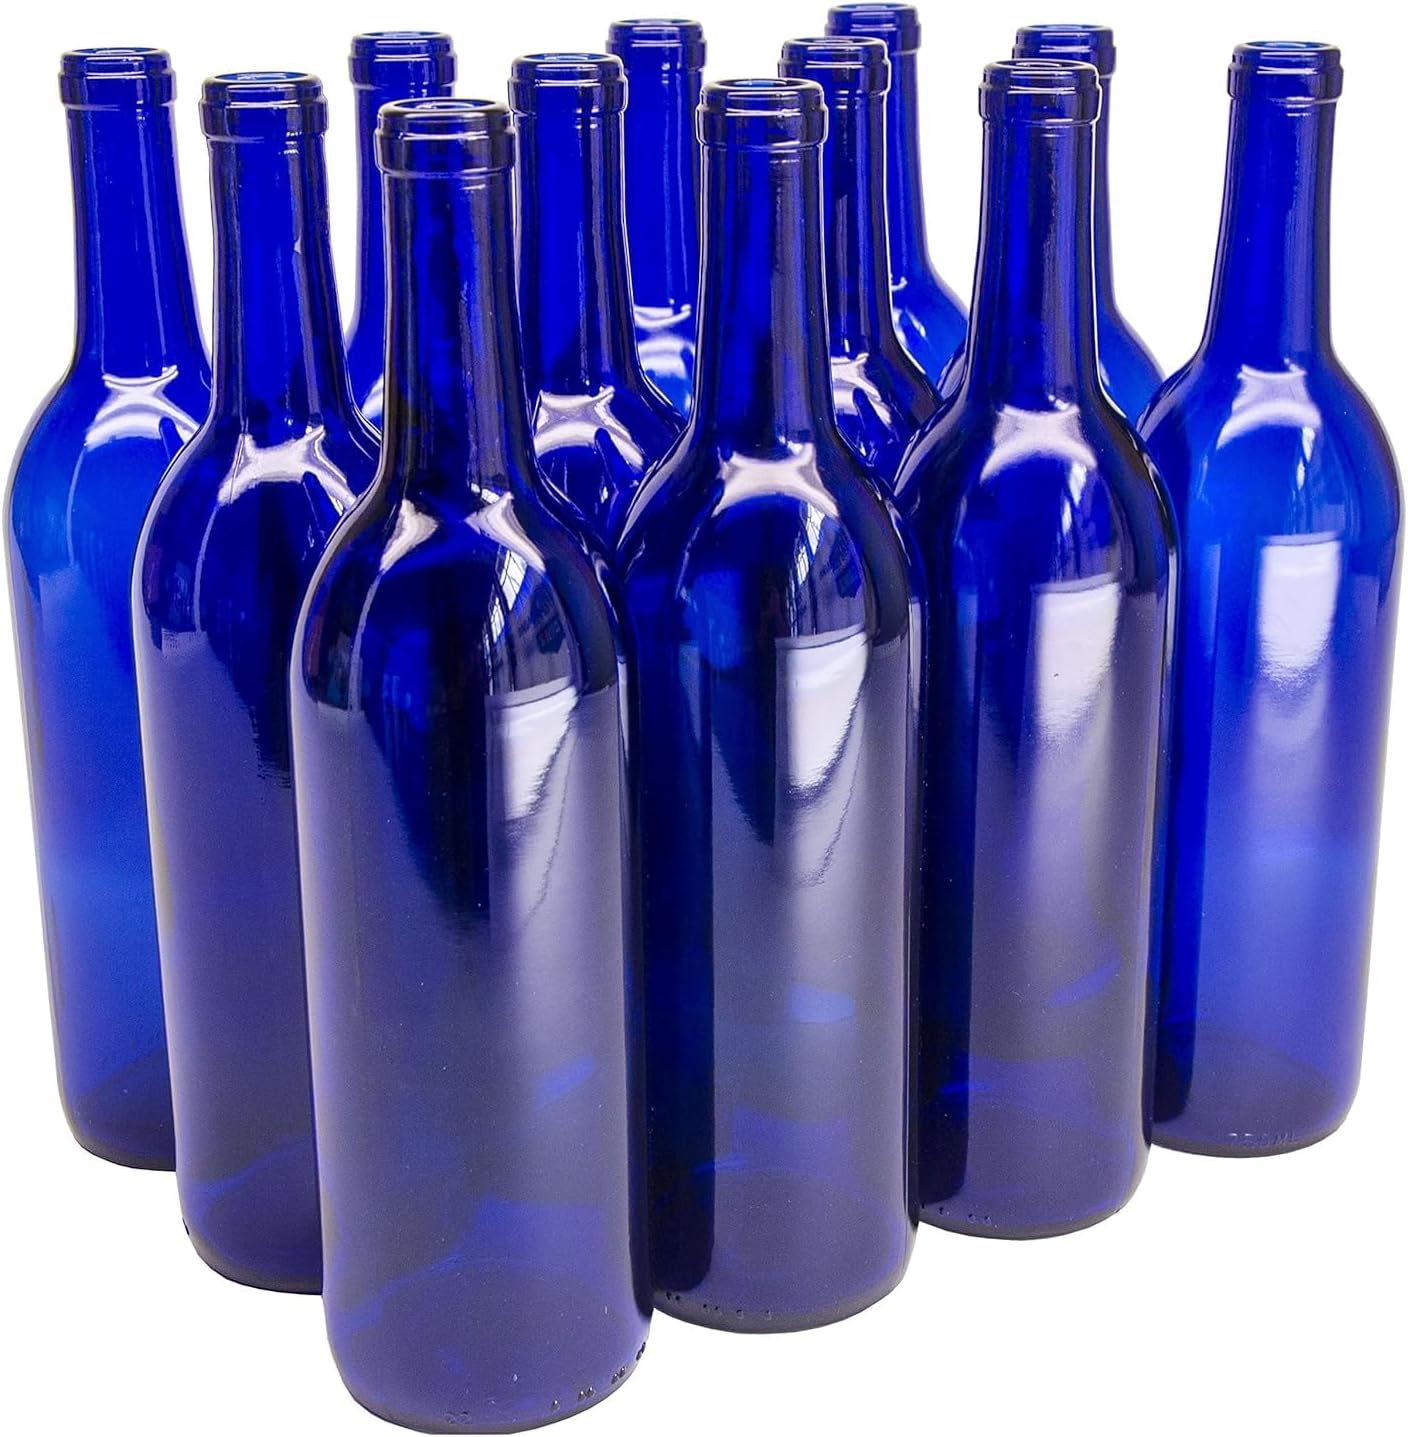
- 3 blue glass bottles, 3 green glass bottles, 2 yellow glass bottles
- Wire rods (about 12 inches long)
- Metal frame
- Decorative metal piece for the peacock head
- Strong wire
- Adhesive glue
Step-by-step Guide
Step 1: Construct the metal frame for the peacock’s body and legs, ensuring it stands sturdy on the ground.
Step 2: Attach the blue bottle vertically in the center to form the peacock’s body using strong wire or zip ties.
Step 3: Arrange the green and yellow bottles in a fan shape behind the body to mimic the peacock’s tail feathers. Secure them with wire rods or zip ties.
Step 4: Attach the decorative peacock head piece atop the blue bottle, fixing it securely with adhesive or wire.
Step 5: Add any additional decorative wire loops or beads on tail feathers for extra flair, securing them carefully.
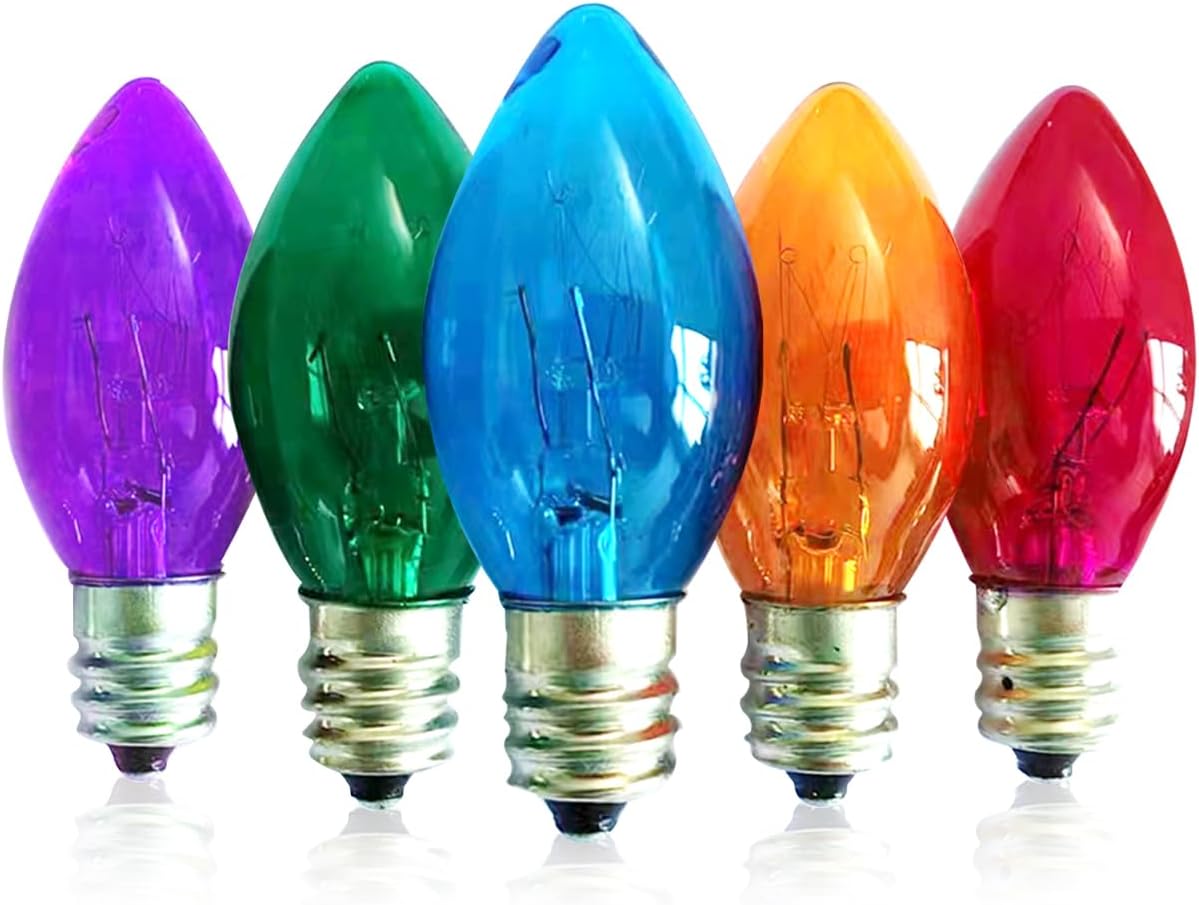
#3. A Little Bug
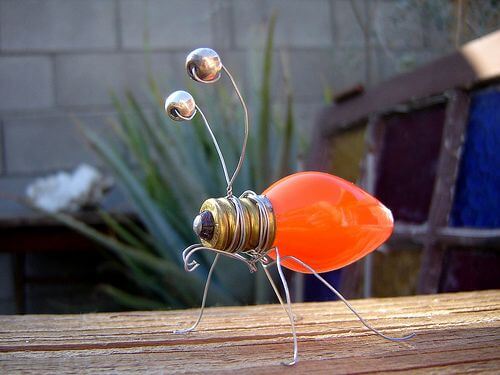
Crafted from a colorful light bulb and flexible wire, it’s an inexpensive project that lets creativity shine.
Materials Needed
- 1 colorful light bulb
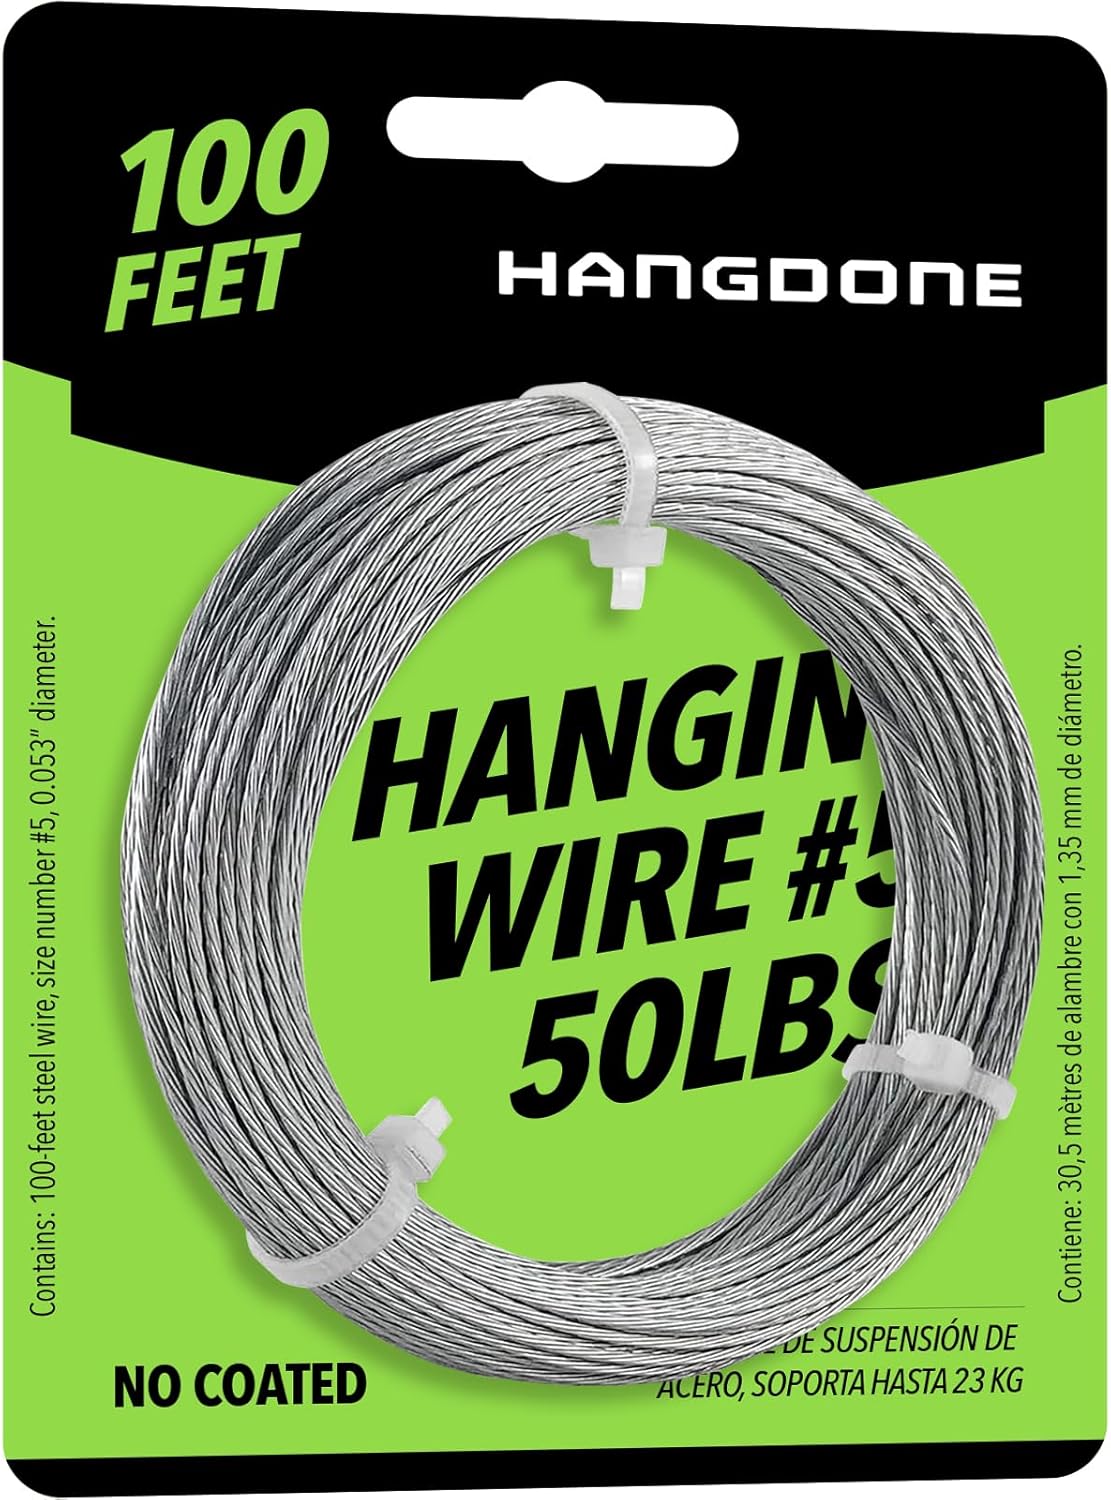
- Flexible wire (about 20 inches)
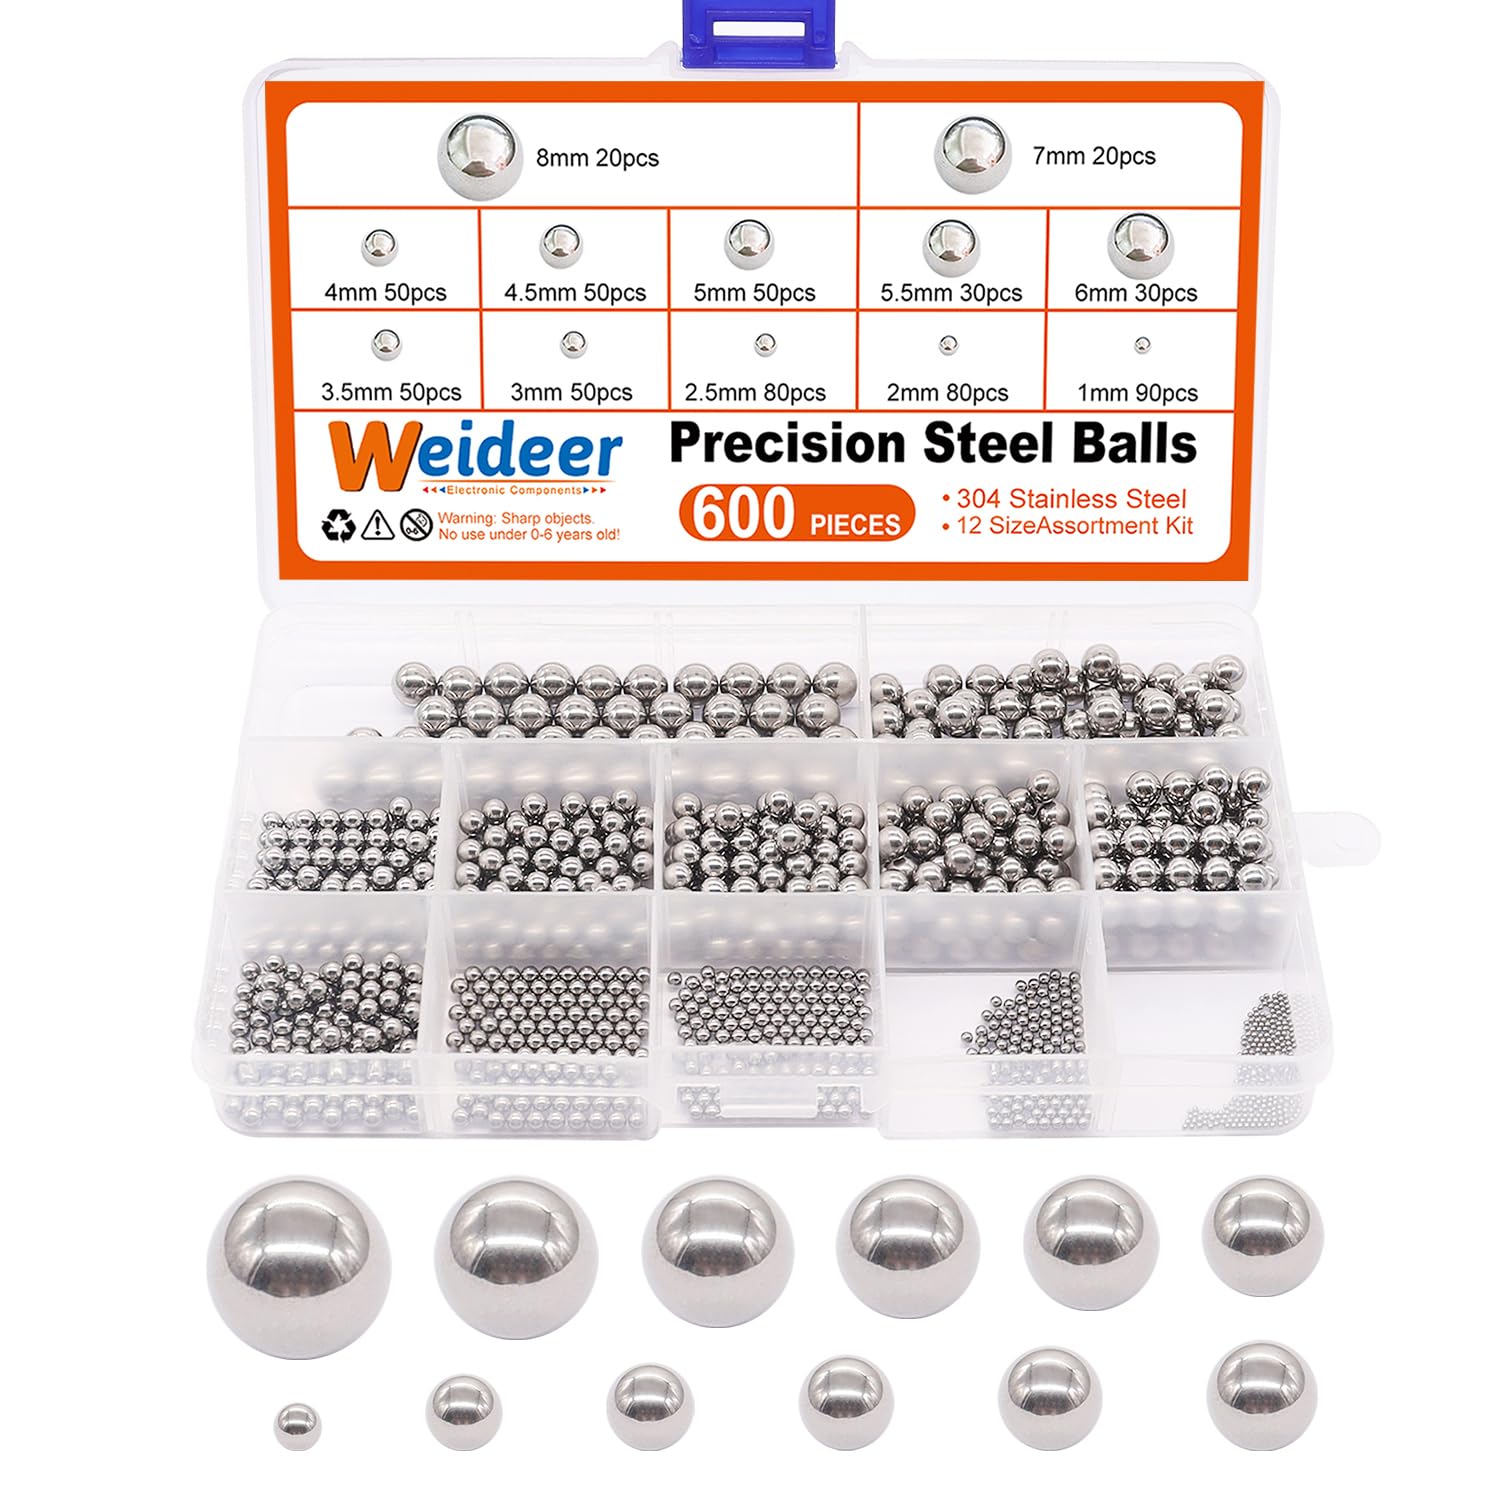
- Small metal balls (optional)
- Wire cutters and pliers
Step-by-step Guide
Step 1: Securely wrap the wire around the metal base of the light bulb to form the bug’s body and hold the bulb in place.
Step 2: Shape the wire into legs by bending four segments and twist tightly at the base to keep them sturdy.
Step 3: Create the antennae by bending two thin wire pieces and attaching metal balls to the ends for eyes.
Step 4: Adjust all wire parts to balance the sculpture so it stands firmly on the legs.
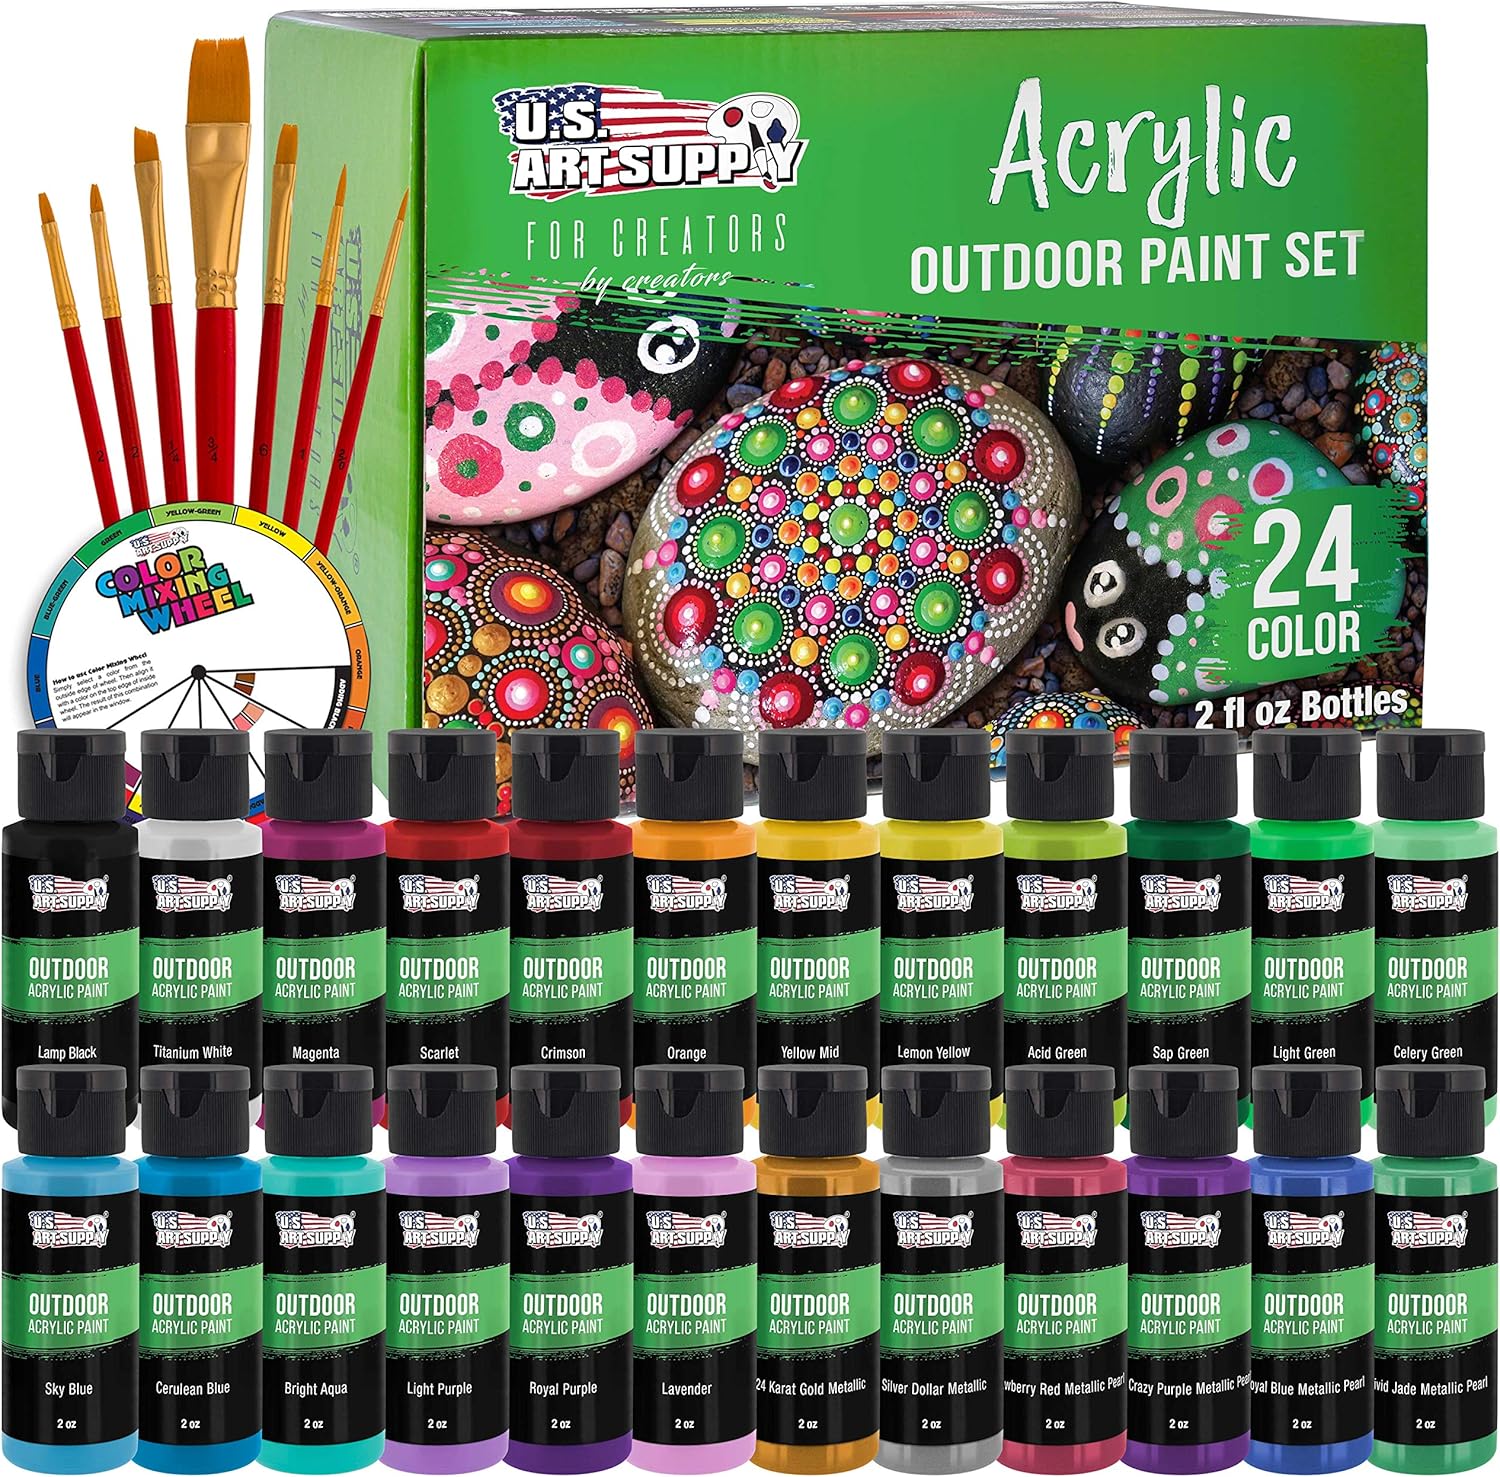
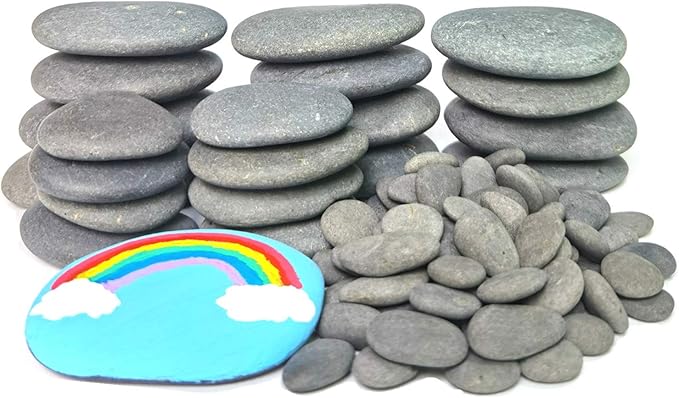
#4. Beautiful Painted Rocks
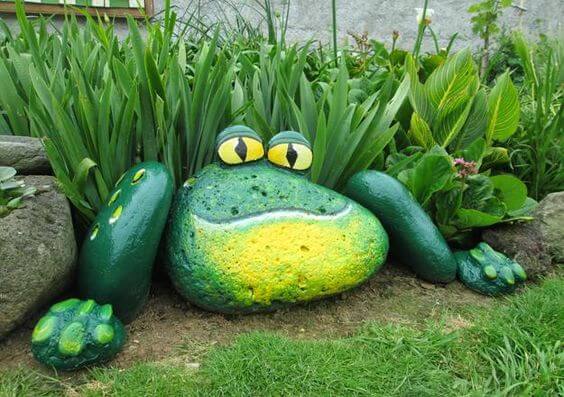
This playful frog sculpture brings a delightful pop of personality to your garden with simple, natural elements.

Materials Needed
- 6-8 smooth rocks of various sizes
- Outdoor acrylic paints in shades of green, yellow, and black and paintbrushes
- Clear outdoor sealant spray
Step-by-step Guide
Step 1: Collect and clean your rocks, choosing shapes that fit well together for the frog’s body parts.
Step 2: Paint the largest rock green with a yellow belly and add facial features including eyes, nostrils, and a smile.
Step 3: Paint the medium-sized rocks for the arms and smaller ones for the feet, adding detail to resemble toes.
Step 4: Let the paint dry completely, then spray the rocks with clear sealant to weatherproof your creation.
Step 5: Arrange the rocks in your garden to form the frog shape, positioning it partially hidden for a natural look.
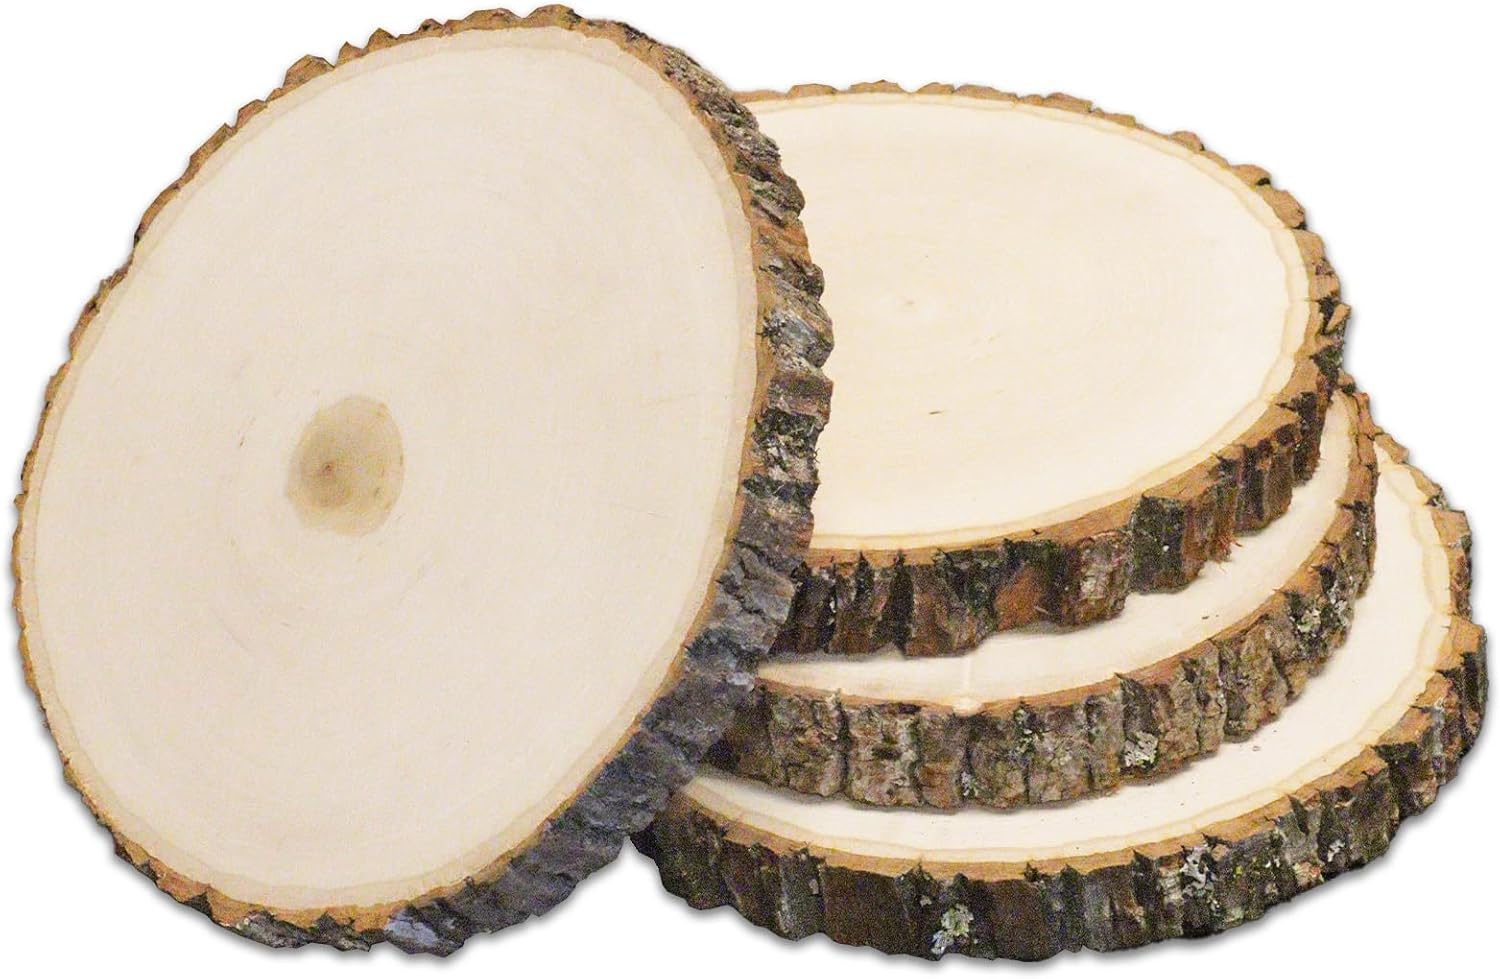
#5. Wood Rabbit
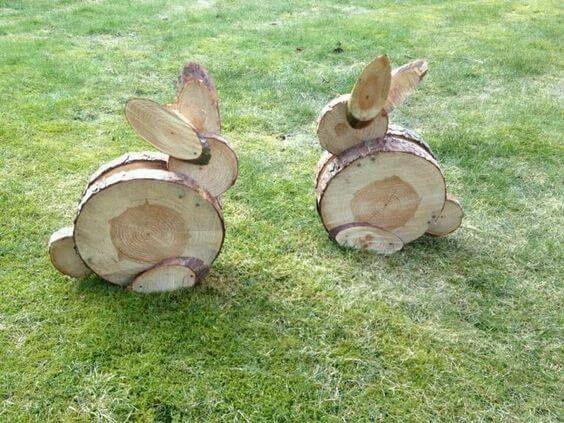
I love how earthy and authentic this project feels, it’s budget-friendly and eco-conscious too!
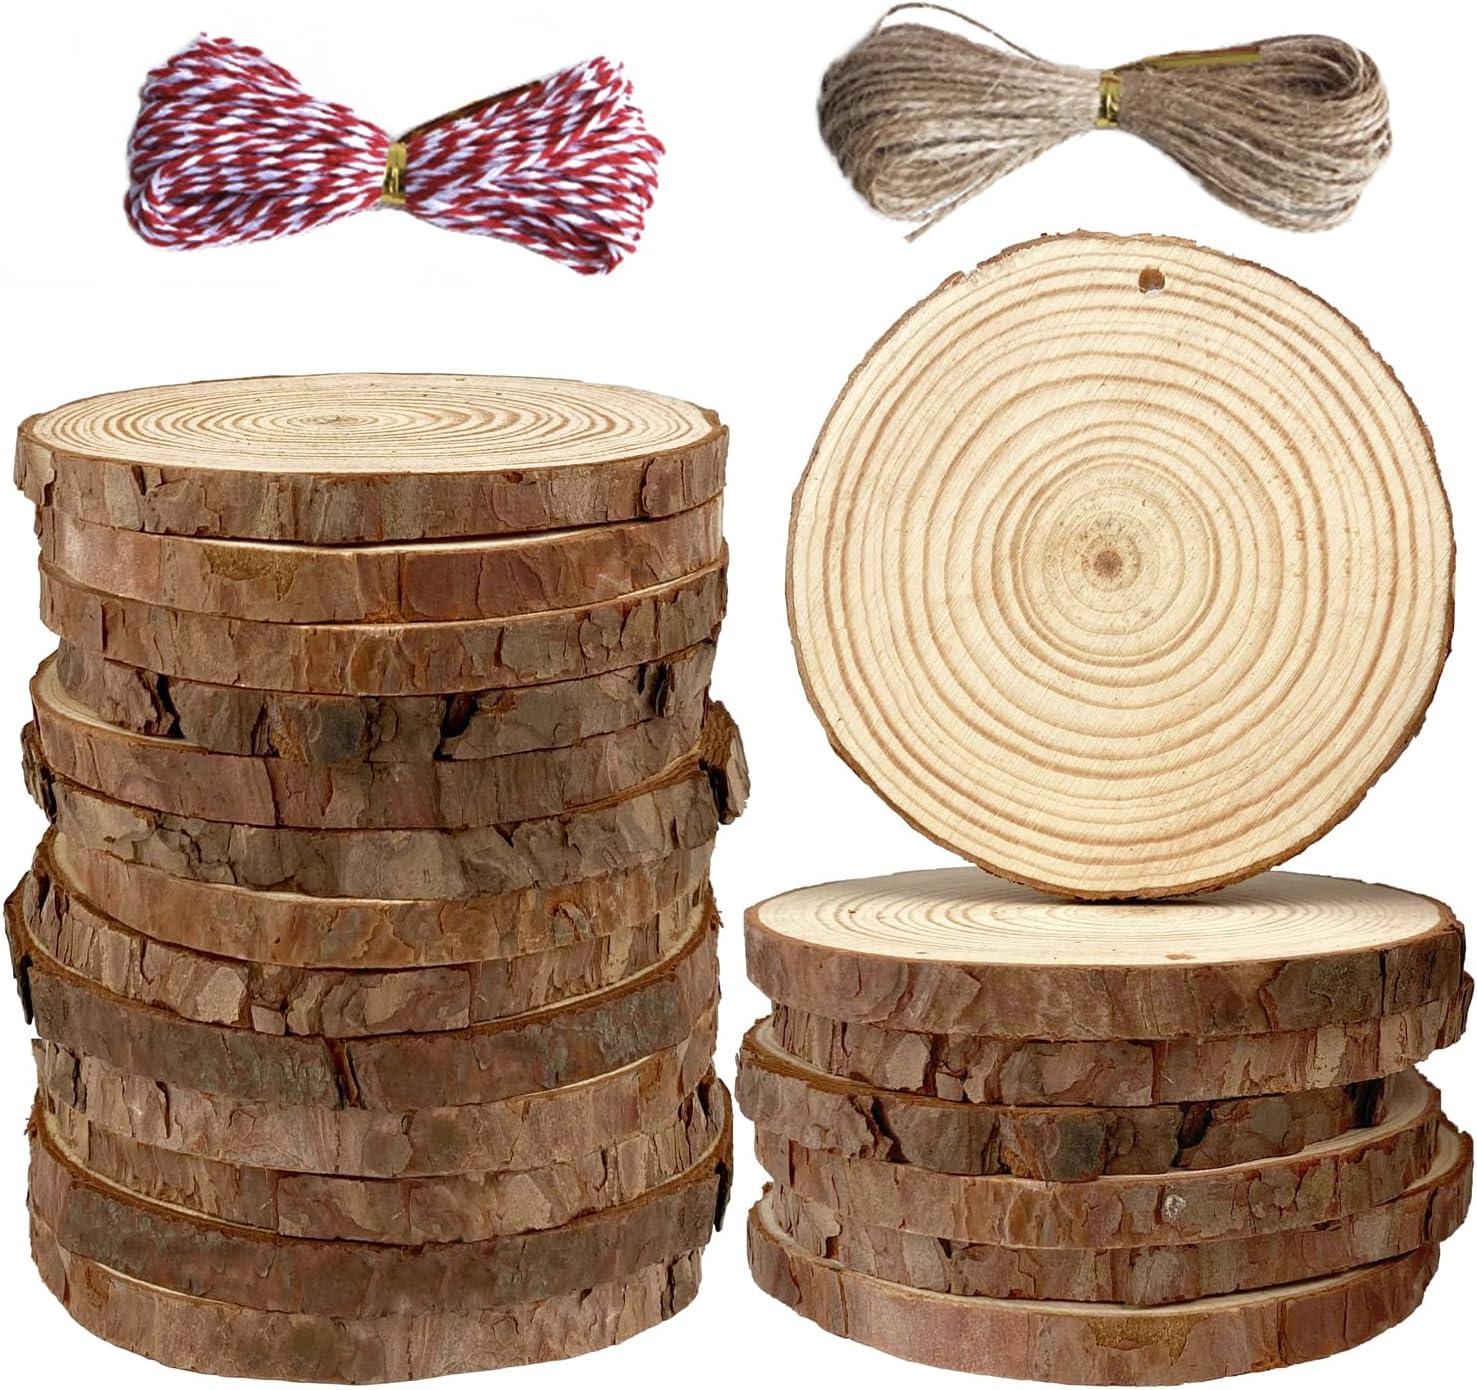
Materials Needed
- 2 large wood slices (about 10-12 inches diameter)
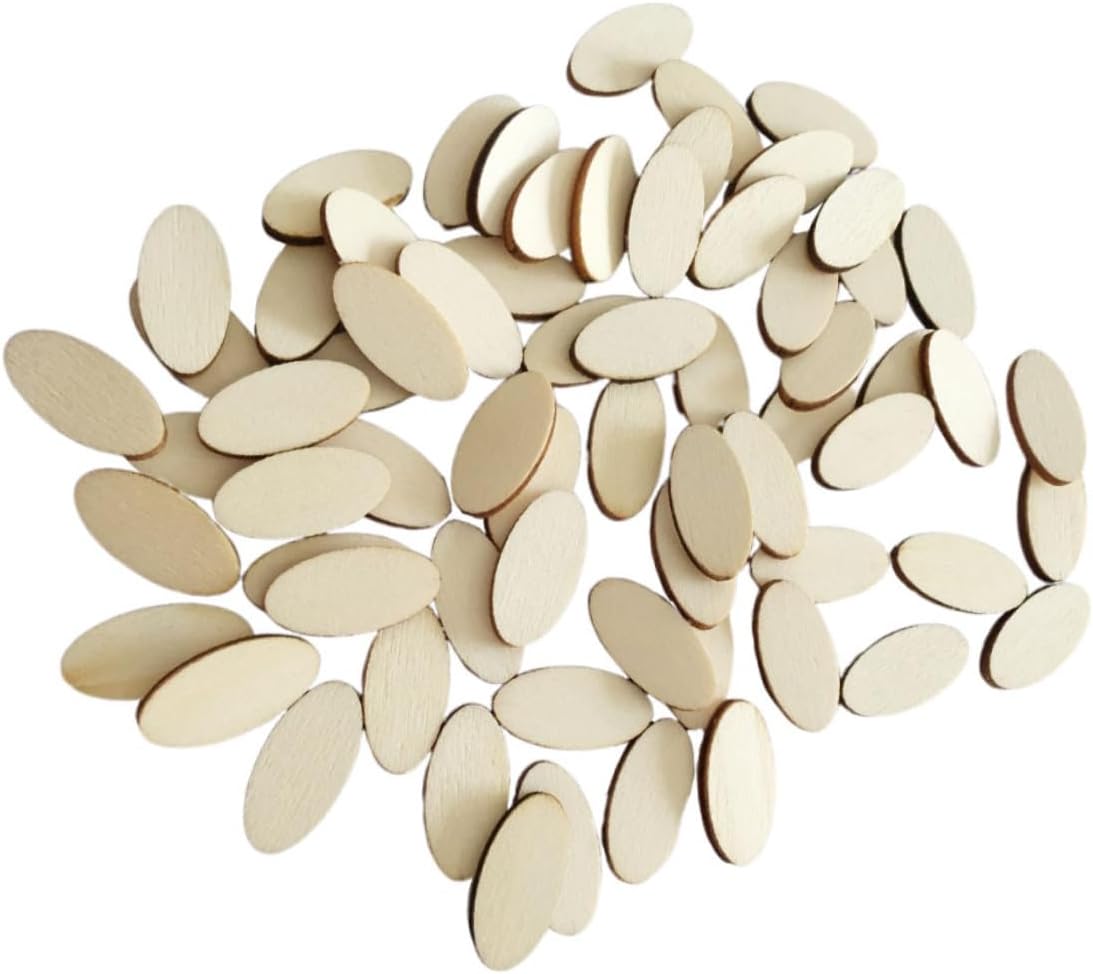
- 6 smaller wood slices (3-5 inches diameter)
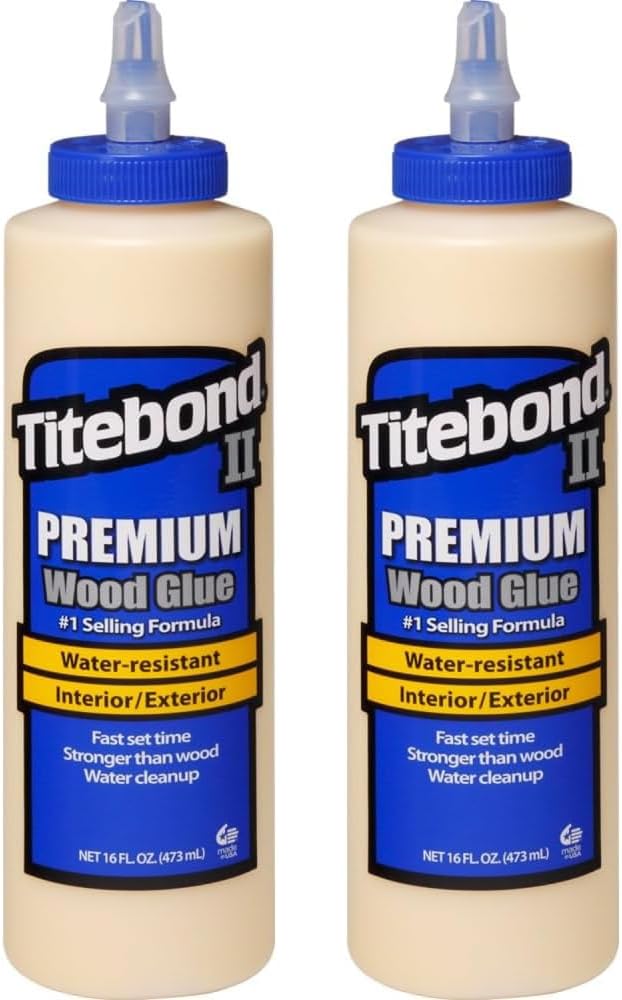
- Wood glue
- Sandpaper (optional)
Step-by-step Guide
Step 1: Gather all wood slices and sand the edges if needed for a smooth finish.
Step 2: Arrange the slices to form the bunny shape with large slice for body, smaller slices for ears, tail, and feet.
Step 3: Use wood glue to carefully attach the ears and feet to the body slice, holding firmly until secure.
#6. Scrap Metal Spider
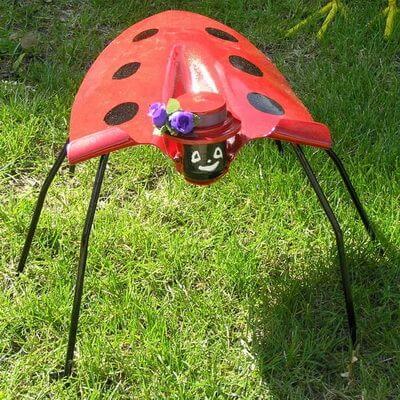
Crafted from recycled metal and painted in vibrant reds and blacks, it’s a fun, eco-friendly project that really stands out.
Materials Needed
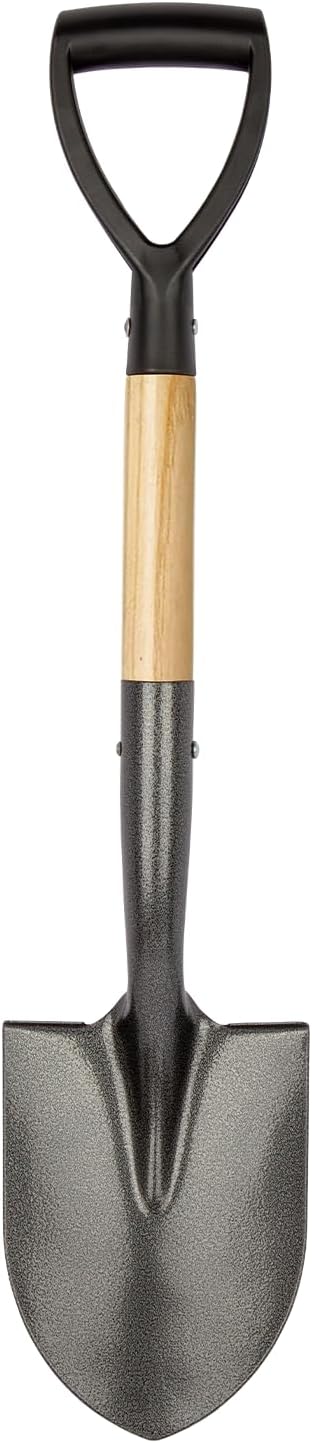
- Metal shovel
- 4 metal rods (approx. 2-3 feet long)
- Red and black spray paint
- 1 tin can and small hat
- Outdoor adhesive
Step-by-step Guide
Step 1: Clean and prepare the shovel, then paint it red and add black dots to mimic a ladybug’s shell.
Step 2: Attach four metal rods evenly spaced on the underside of the barrel as legs. Use outdoor adhesive for stability.
Step 3: Paint the tin can black and add a friendly face using weatherproof paint. Attach this as the ladybug’s head to the front of the shovel.
Step 4: Add decorative touches like a small hat or flowers to personalize your ladybug sculpture.
#7. Lovely Pigs
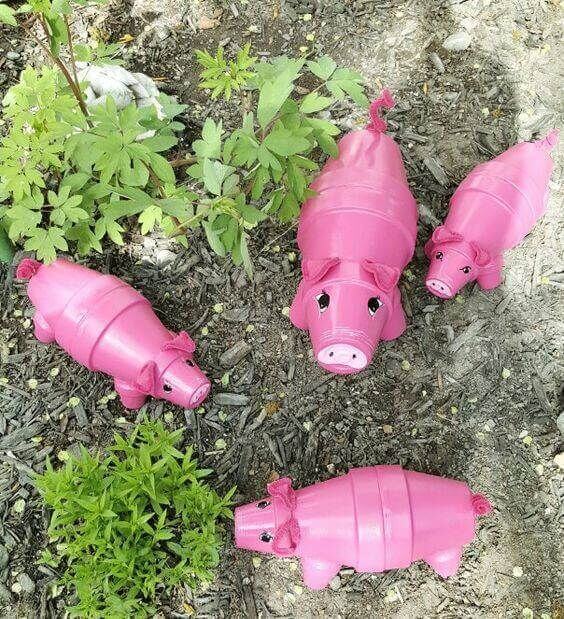
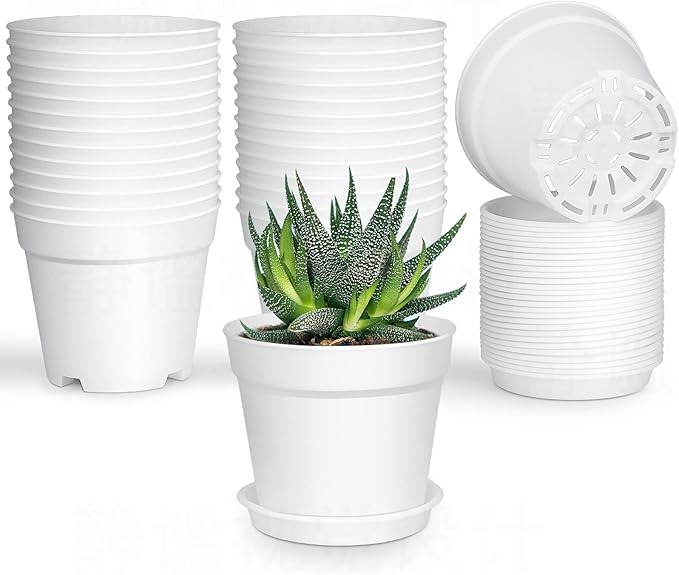
Made from repurposed plastic bottles painted bright pink, they’re an easy, eco-friendly way to bring personality to your outdoor space.
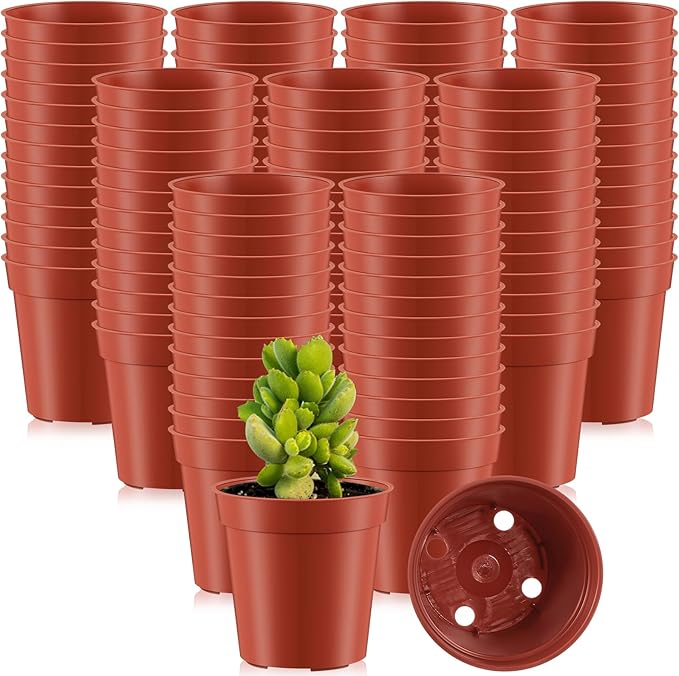
Materials Needed
- 2 empty plastic pots (4”), 1 plastic pot (2”), 4 plastic pots (1-1.5”)
- Pink outdoor spray paint
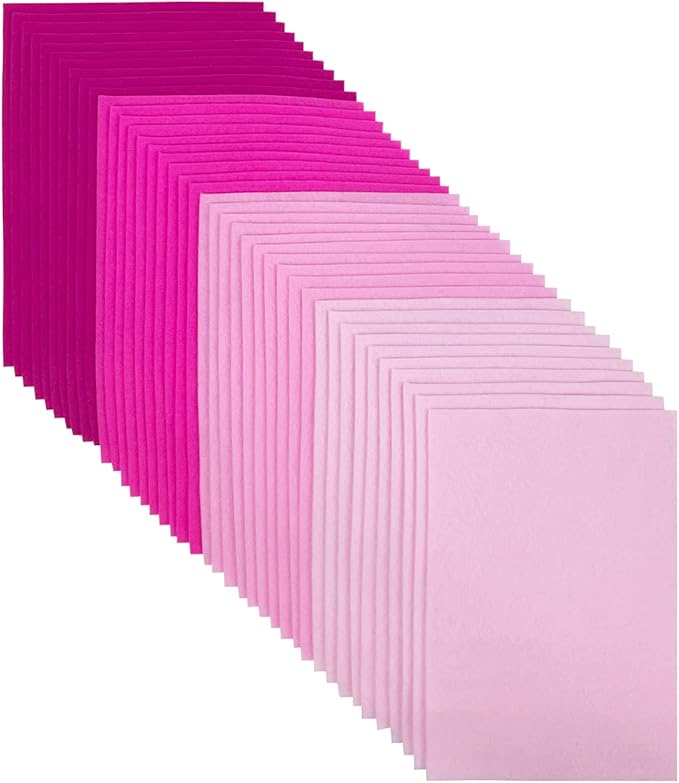
- Pink fabric scraps
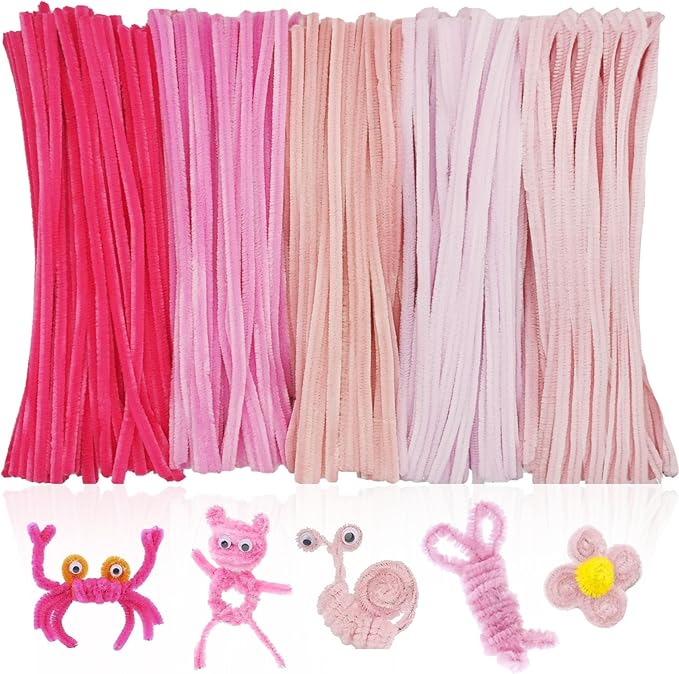
- Pink pipe cleaner
- Black and white paint pens
- Scissors and craft glue
Step-by-step Guide
Step 1: Clean and dry the plastic bottles thoroughly, then spray paint the pots pink. Let dry completely between coats.
Step 2: Use pink pipe cleaners to make curly tails and glue them onto the back. Cut small fabric triangles for ears and attach to the bottle neck.
Step 3: Draw eyes and nostrils with paint pens on the front to give your piglets personality.
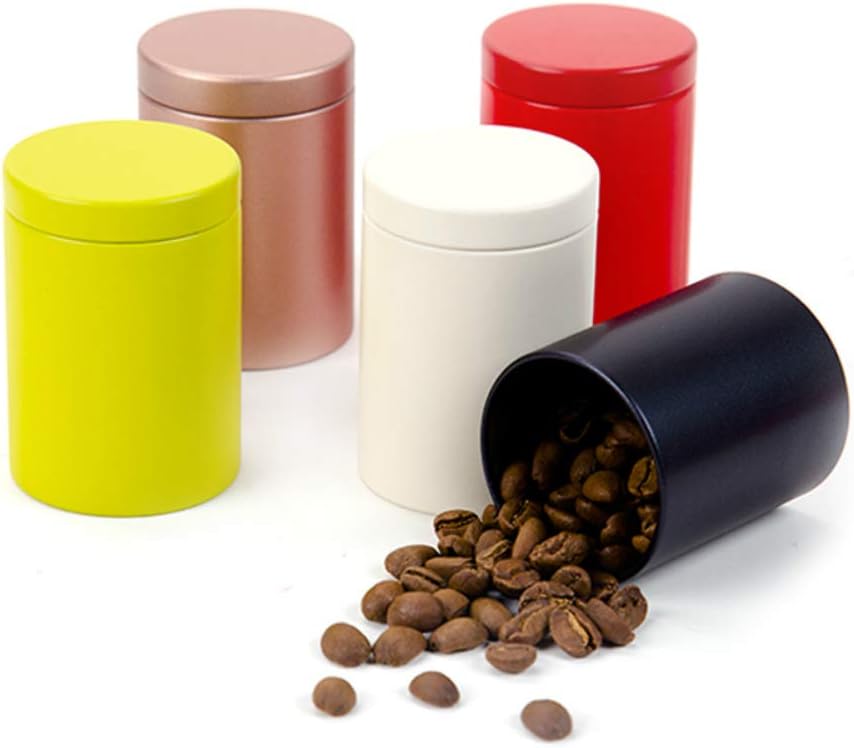
#8. Hanging Tin Can Bee
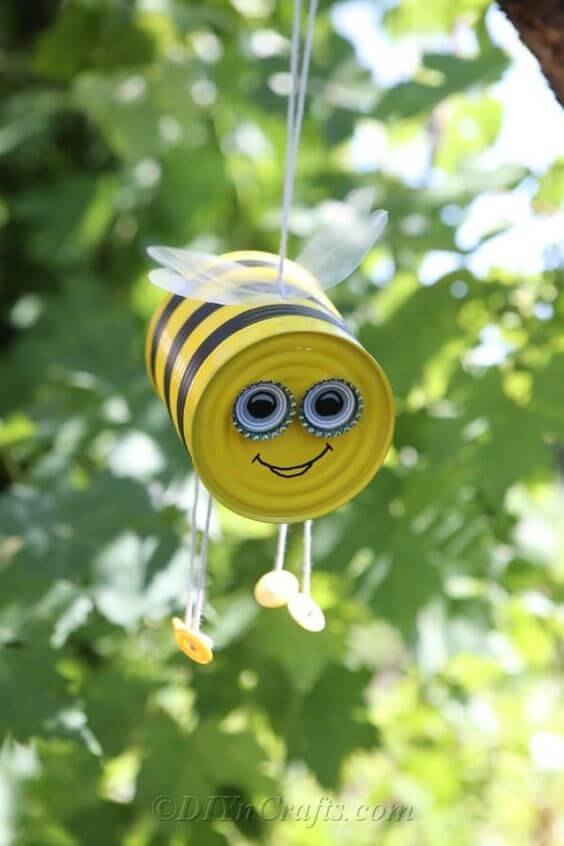
Made from a recycled tin can, painted bright yellow with black stripes, it’s both eco-friendly and charming.


Materials Needed
- 1 empty tin can
- Yellow and black spray paint
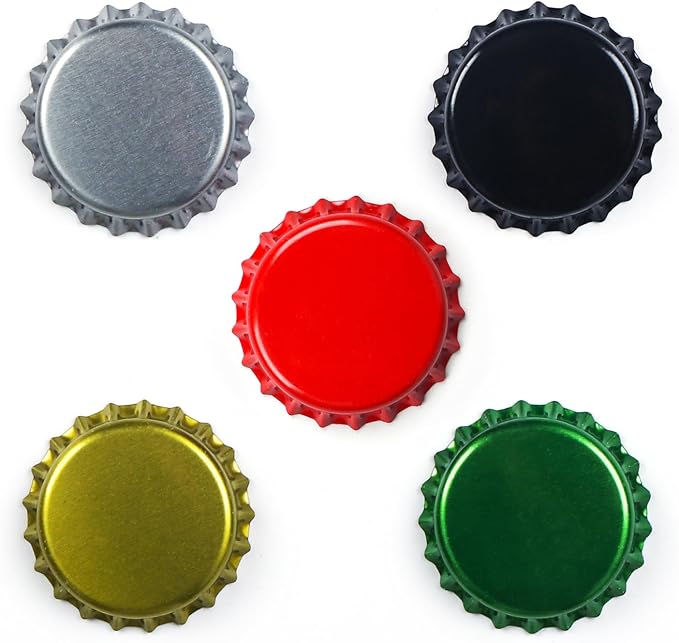
- 2 bottle caps
- Googly eyes
- String
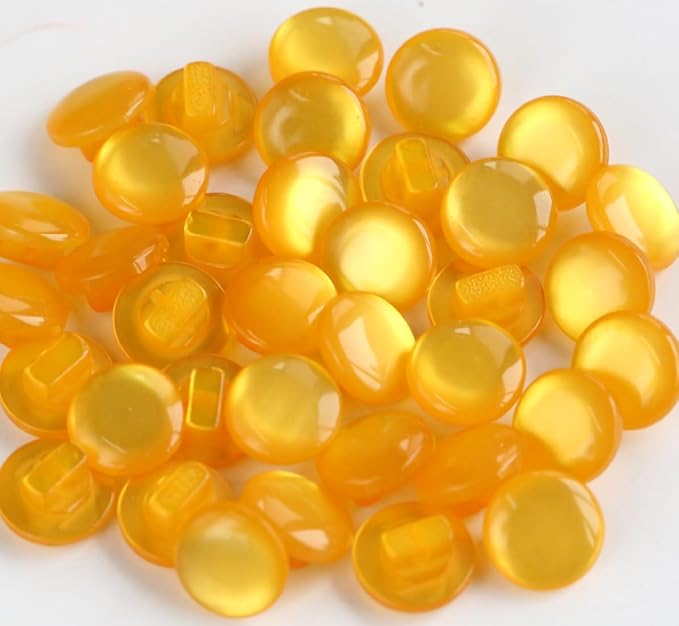
- 4 yellow buttons
- Clear plastic sheet
- Glue gun and glue sticks
Step-by-step Guide
Step 1: Paint the tin can yellow. Once dry, add black stripes using painter’s tape as a guide.
Step 2: Attach googly eyes inside bottle caps and glue them onto the can’s front for eyes.
Step 3: Cut wing shapes from clear plastic and glue onto the top back of the can.
Step 4: Tie string for hanging at the top and make legs by threading string through holes at the bottom, adding yellow buttons as feet.
#9. A Cow from an Old Bathtub
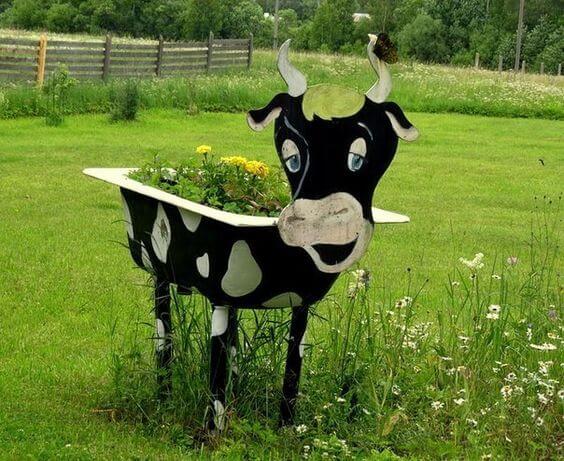
This upcycled project not only saves materials but also transforms your outdoor space with personality and charm.

Materials Needed
- Old bathtub or large planter
- Outdoor paint
- Wood sheets
- Mounting hardware and screws
- 4 wooden poles
- Primer and sealant
Step-by-step Guide
Step 1: Clean and prep the bathtub, then paint the bathtub in black and white cow patterns. Let dry completely.
Step 2: Cut the cow’s face, ears, and horns from wood or metal sheets. Paint the details like eyes, nose, and mouth with acrylic paint.
Step 3: Attach the cow’s face and legs securely to the bathtub using screws and mounting hardware.
Step 4: Apply a sealant over the entire planter to protect from weather damage.
#10. A White Duck
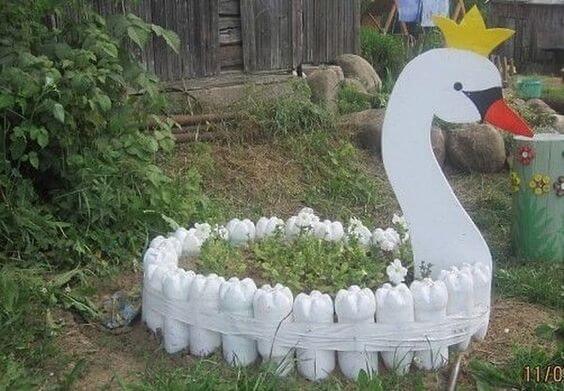
I love how this project transforms simple bottles into an artistic statement piece that also nurtures your plants.

Materials Needed
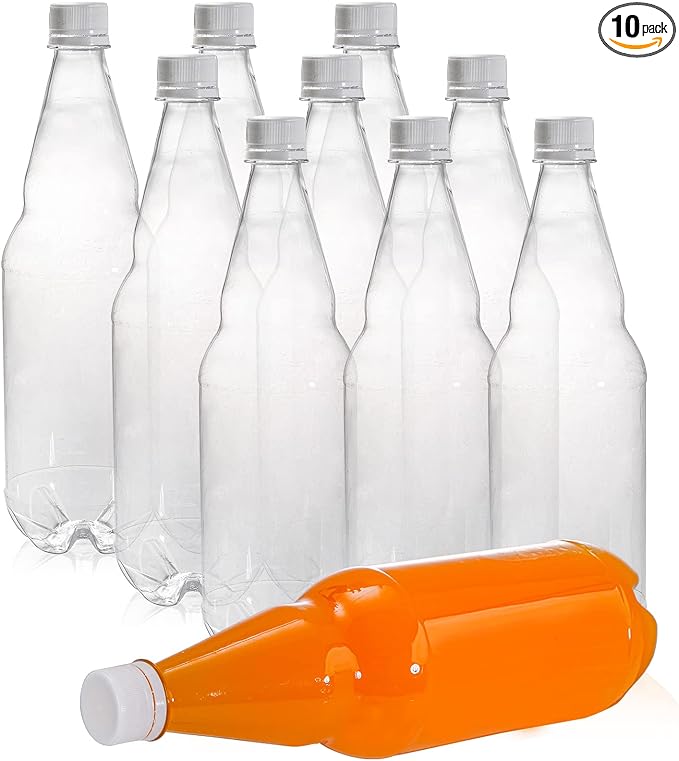
- 50 empty plastic bottles (1-2-liter size)
- White exterior paint (weatherproof)
- Plywood sheets
- Acrylic paint set
- Strong adhesive
- Garden soil and plants of your choice
Step-by-step Guide
Step 1: Clean the plastic bottles and cut the bottoms off to create uniform shapes.
Step 2: Attach the bottles side-by-side in a circular formation using zip ties or adhesive to form the body of the swan.
Step 3: Paint all bottles white and allow them to dry completely.
Step 4: Cut the swan neck and head shape from plywood, then paint the beak orange, eyes black, and crown yellow. Attach the neck securely to the bottle body.
Step 5: Fill the planter body with soil and add your favorite plants to complete the look.
#11. Tire Frog
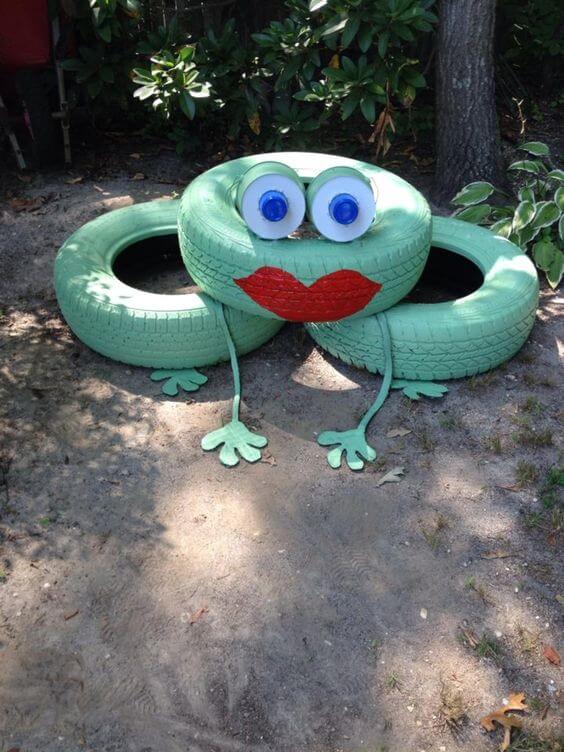
This charming frog made from old tires brings a playful, whimsical vibe to any garden.
Materials Needed
- 3 used tires (medium size)
- Green and red outdoor spray paint
- 2 plastic lids
- Green craft foam
- Strong adhesive
Step-by-step Guide
Step 1: Thoroughly clean the tires and spray paint them green. Allow them to dry fully.
Step 2: Stack two tires flat on the ground and place the third tire on top, offset slightly to form the frog’s head and body.
Step 3: Attach the googly eyes or plastic lids on top of the upper tire to create expressive eyes.
Step 4: Paint a bright red mouth on the front of the top tire.
Step 5: Cut out four legs and webbed feet from green craft foam or cardboard and attach them to the bottom tires using adhesive or screws.
#12. Rock Bugs
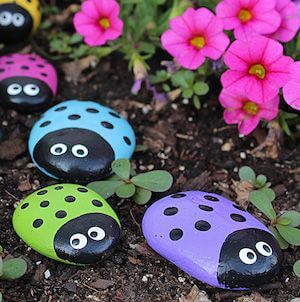
These adorable ladybugs made from painted rocks add a cheerful, whimsical touch to any garden.
Materials Needed
- 5 smooth garden rocks (medium size)
- Acrylic paint in various colors
- Fine-tip black paint pen
- Clear outdoor sealant spray
Step-by-step Guide
Step 1: Wash and dry your rocks thoroughly to remove dirt, then paint half of each rock black for the ladybug’s head, then paint the rest in your choice of bright colors for the body.
Step 2: Use a paint pen to add black spots on the colored portion and paint white eyes with black pupils on the head.
Step 3: Let the paint dry completely, then spray with a clear sealant to protect the design from weather.
#13. Rock Dragon Fly
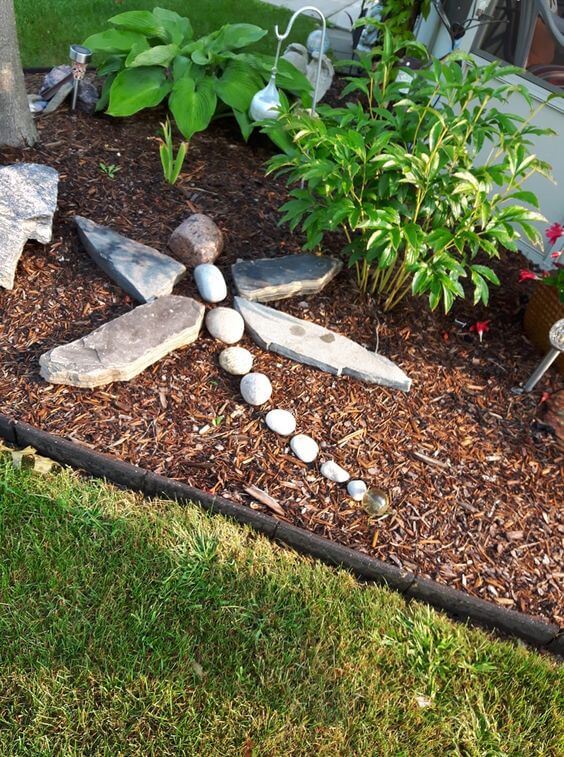
The earthy tones blend beautifully with the soil and plants, making this dragon an organic and timeless piece.

Materials Needed
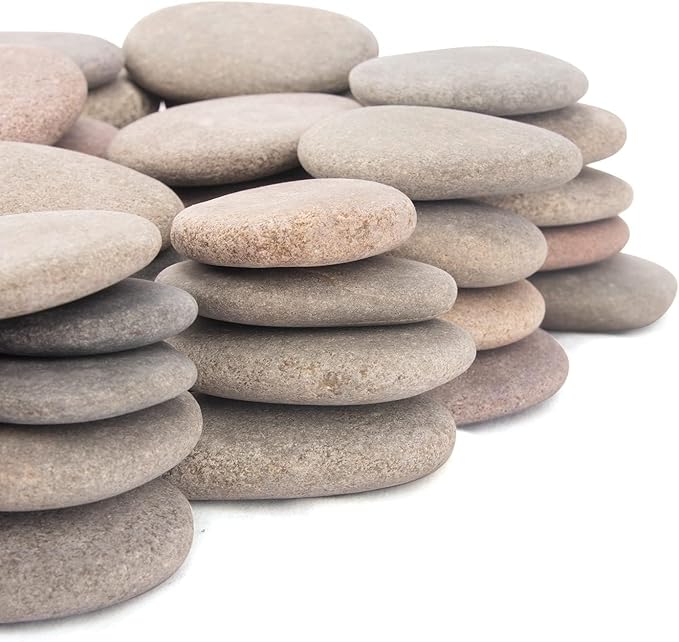
- 8-10 smooth round stones
- 4 flat slate pieces ( about 6-10 inches each)
- Garden adhesive
Step-by-step Guide
Step 1: Choose a flat, clear spot in your garden for your dragonfly display.
Step 2: Arrange the round stones in a straight line for the dragonfly’s body, starting with larger stones near the head and smaller towards the tail.
Step 3: Place the flat slate pieces on each side of the body to mimic wings, positioning them symmetrically.
Step 4: Secure each stone and slate piece with garden adhesive to keep the dragonfly intact through weather changes.
#14. Rock Geckos
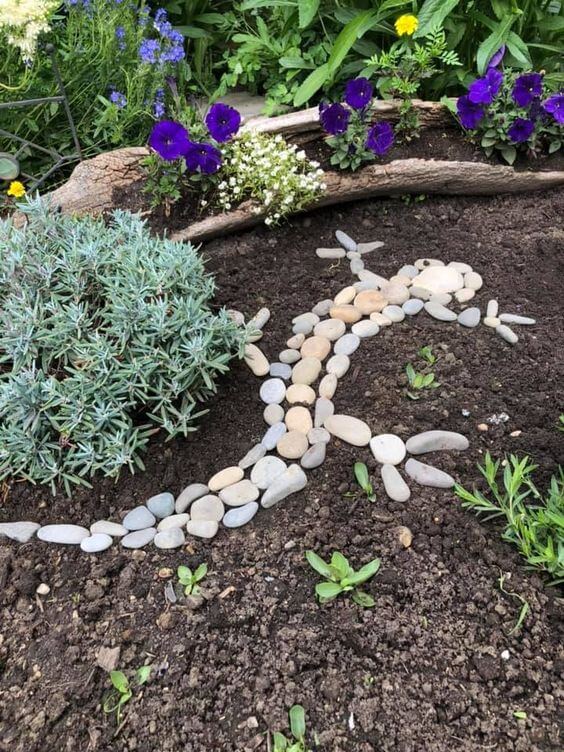
I enjoyed crafting this because it requires minimal materials and is a great way to reuse stones from your yard or local park.
Materials Needed
- 40 smooth river stones (various sizes)
- 15 flat small stones
- Garden adhesive (optional)
Step-by-step Guide
Step 1: Arrange the larger smooth stones in a curved shape to form the lizard’s body, leaving space for the head, legs, and tail.
Step 2: Position the smaller flat stones to create legs and a tail, replicating the lizard’s shape.
Step 3: Use garden adhesive to secure stones if you want the design to be permanent, especially in areas prone to wind or animals.
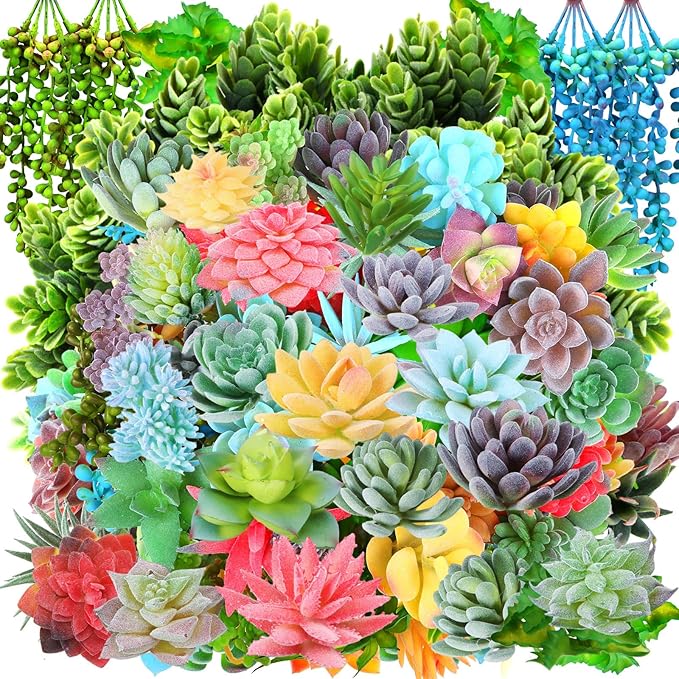
#15. A Succulent Turtle
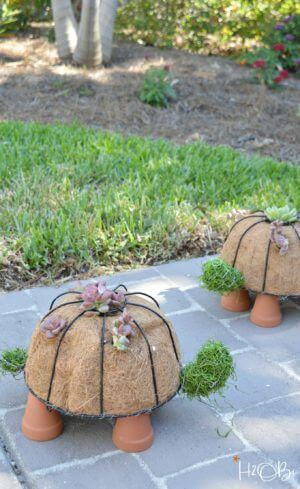
I found this project fun and surprisingly simple, perfect for gardeners wanting to craft something unique that blends well with greenery.
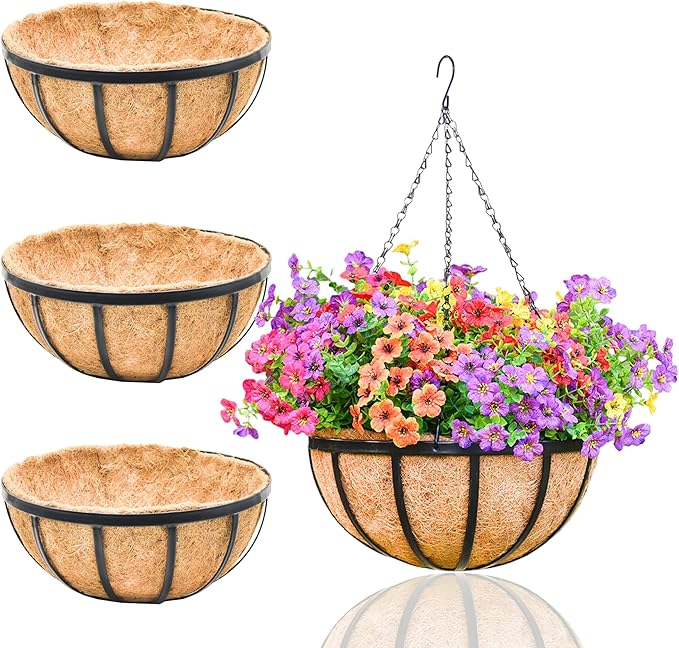
Materials Needed
- 1 coco coir basket (about 12-15 inches diameter)
- 4 terracotta pots (about 3-4 inches each)
- Wire frame
- Succulent plants (small size, 3-4 pieces)
- Floral wire
Step-by-step Guide
Step 1: Secure the coco coir basket into the wire frame, forming the turtle’s shell shape.
Step 2: Attach the terracotta pots as the turtle’s legs using wire or zip ties, ensuring they’re stable.
Step 3: Plant succulents in small holes or pockets within the coco coir shell to mimic the turtle’s shell decoration.
Step 4: Use floral wire to secure the succulents in place and add any final touches to the turtle’s appearance.
#16. Bowling Ball Bugs
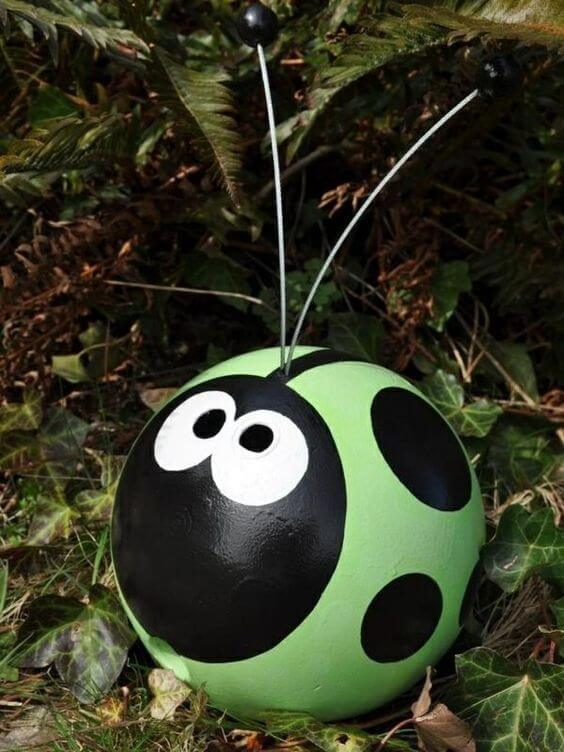
This adorable garden ladybug instantly brightens up any outdoor space with its cheerful colors and playful design.
Materials Needed
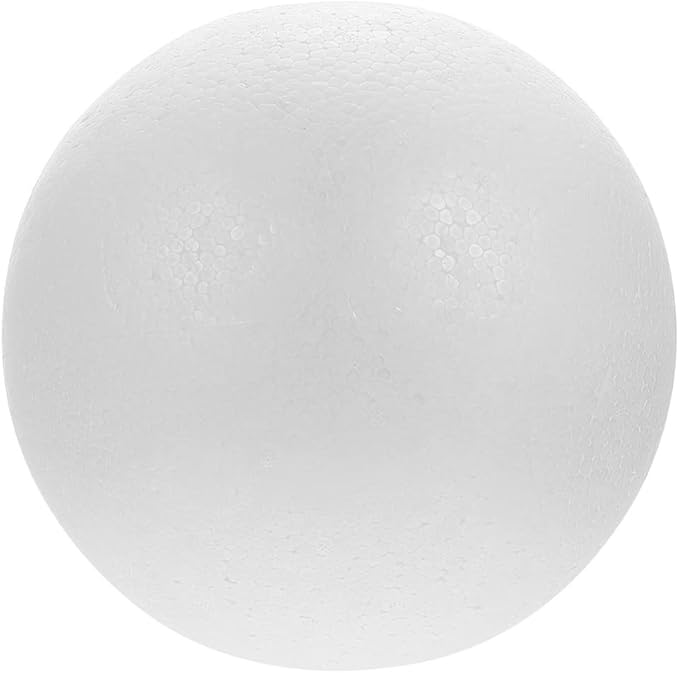
- Large Styrofoam (around 12-14 inches diameter)
- Acrylic paint set and paintbrushes
- Thin wire (about 18-20 gauge)
- Two black beads
- Hot glue gun and sticks
Step-by-step Guide
Step 1: Paint the entire ball green as the base color and let it dry completely, then paint the face area black and add large white eyes with black pupils.
Step 2: Add black dots evenly spaced on the green body to mimic ladybug spots.
Step 3: Cut two pieces of wire for antennae, glue black beads at the ends, and attach them to the top of the ball using hot glue.
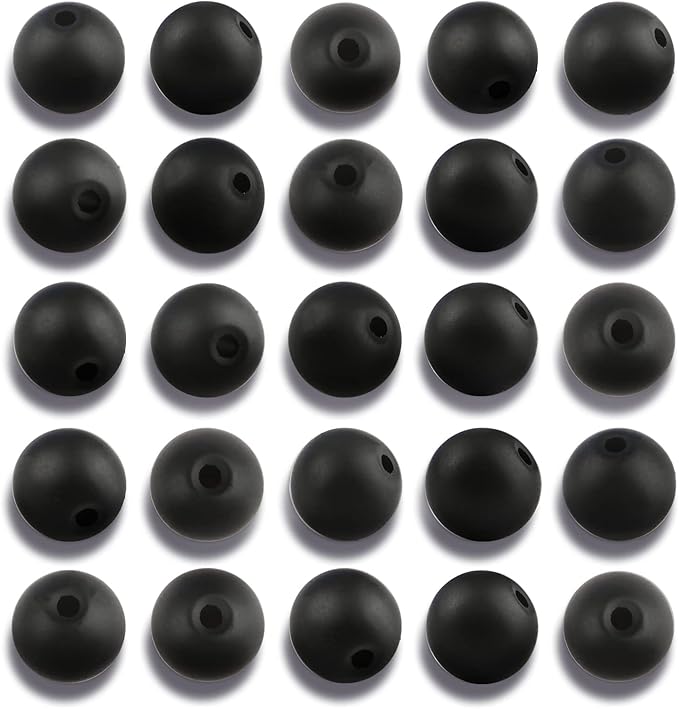
#17. Bowling Ball Bee
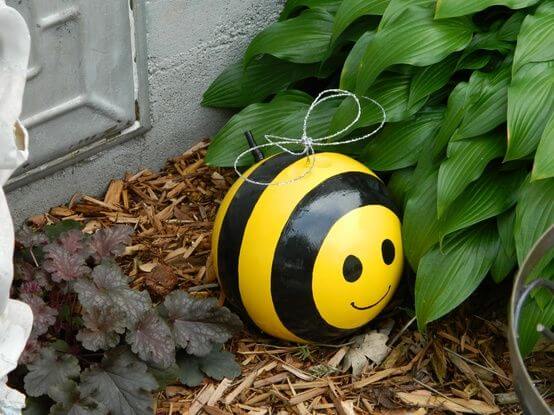
With its bright yellow and black stripes and charming smile, it’s a delightful way to add color and character to your garden.
Materials Needed
- Large round garden ornament (around 12 inches diameter)
- Acrylic paint set and paintbrushes
- Thin wire
- Hot glue gun and sticks
Step-by-step Guide
Step 1: Paint the entire ball yellow as the base and let dry fully. Add thick black stripes around the body and paint a friendly smiley face on one side.
Step 2: Form two antennae using wire or string, attaching small beads or painted tips, and secure them on top with hot glue.
Step 3: Add a hanging loop or simply place the bee in your garden for a lively pop of color.
#18. Bowling Worm
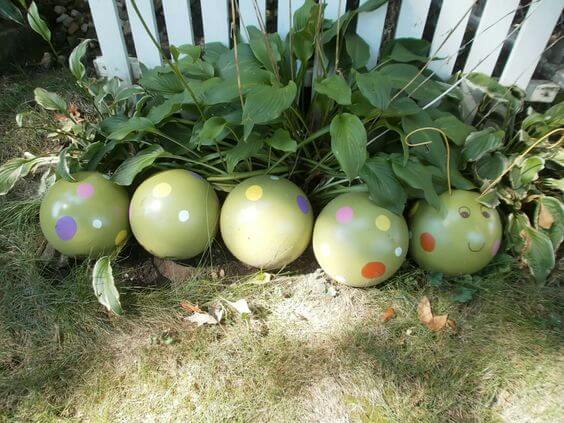
Crafted from painted spheres arranged in a row, it brings a whimsical touch to your garden with its colorful spots and friendly face.
Materials Needed
- 5 round garden balls (approximately 10-12 inches each)
- Acrylic paint and paintbrushes
- Thin wire
- Black marker
Step-by-step Guide
Step 1: Paint all the balls green and allow them to dry completely. Add colorful spots randomly across each ball using your choice of paint colors.
Step 2: Draw eyes and a smiling mouth on the head ball using a marker or paint pen.
Step 3: Attach wire or pipe cleaners as antennae to the head ball using glue or by poking small holes.
#19. Tire Turtle
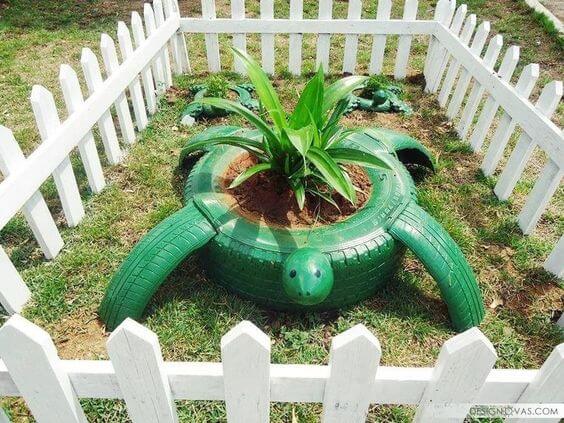
This garden turtle planter instantly transforms your garden with a splash of creativity and green life.

Materials Needed
- 3 old tires
- Green outdoor paint and paintbrushes
- Electric drill
- Soil and plants
- Optional: Garden fence
Step-by-step Guide
Step 1: Thoroughly clean the tires and drill drainage holes in the bottom of the large tire.
Step 2: Paint all tires with outdoor green paint, applying multiple coats for an even finish.
Step 3: Arrange the tires with the large one in the center and the smaller tires as legs, securing them if necessary.
Step 4: Fill the large tire with soil and plant your chosen greenery. Then, surround your turtle planter with a garden fence for a charming enclosed look.
#20. Clay Horse Flower Pot
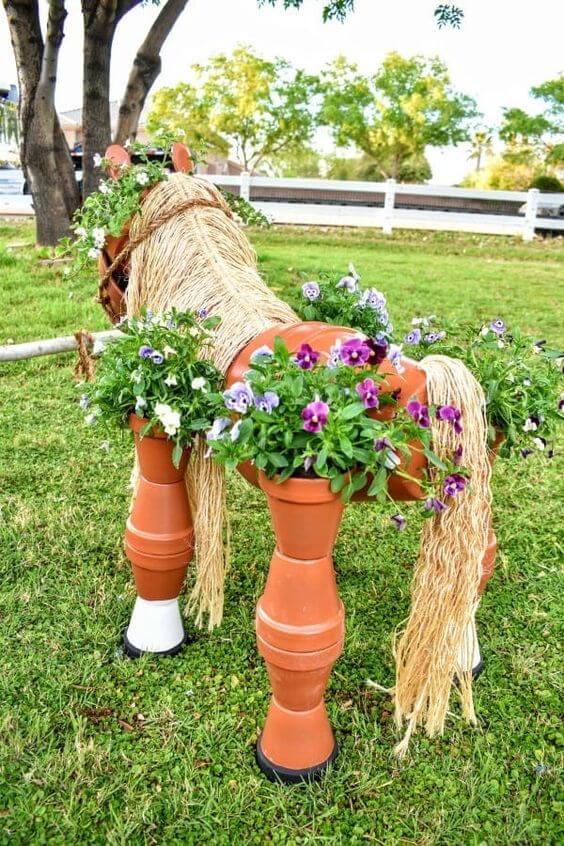
This DIY horse planter made from terra cotta pots is one of the most charming and creative garden pieces I’ve seen in a long time.
Materials Needed
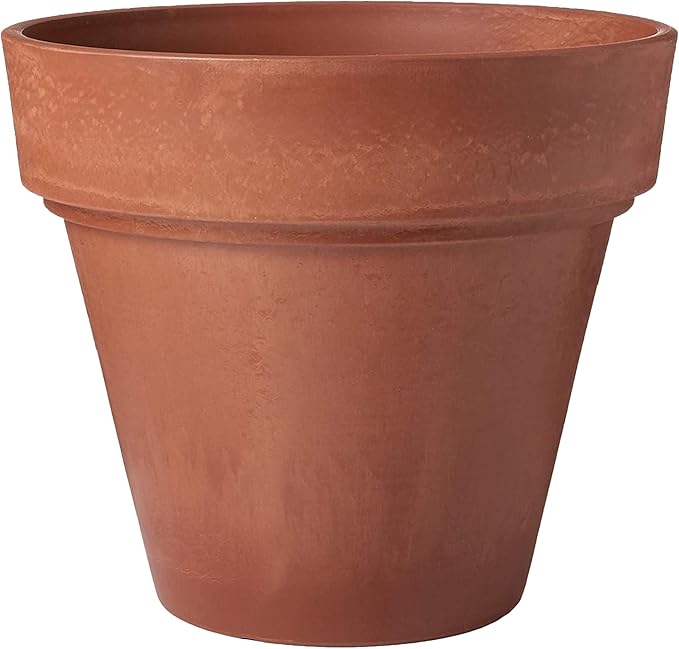
- 12 medium-sized terra cotta flower pots (approx. 6–8” diameter)
- 2 large terra cotta pots (12” or larger)
- 1 small terra cotta pot
- Hot glue gun
- Black and white acrylic paint
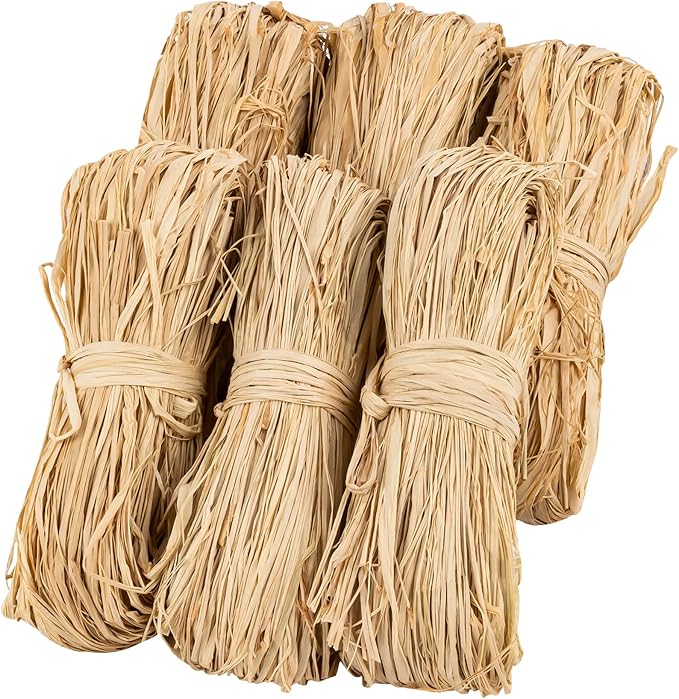
- Dried raffia
- Metal wire
- Drill
- Soil and flowering plants
Step-by-Step Guide
Step 1: Begin by assembling the legs: stack two medium-sized pots upside down for each leg and secure them together using adhesive or zip ties through drilled holes. Paint the bottom pot’s rim black or white to mimic hooves.
Step 2: Position two large terra cotta pots horizontally to form the body. Attach them securely with wire or glue. This will serve as the planting space.
Step 3: Add the head using a smaller pot placed at an angle. Attach raffia at the top for the mane, and at the back for the tail. Paint a simple horse face like eyes, smile, maybe a little snout on the front.
Step 4: Fill the upper body pots with soil and insert your chosen flowers. Choose trailing varieties for the best overflowing effect. Add final decorative touches like a bridle made from rope or flowers in the mane for extra whimsy.
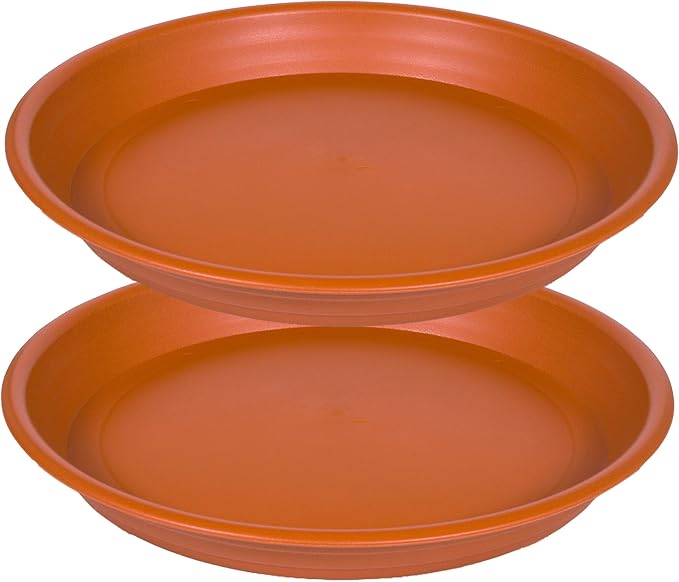
#21. Super Cute
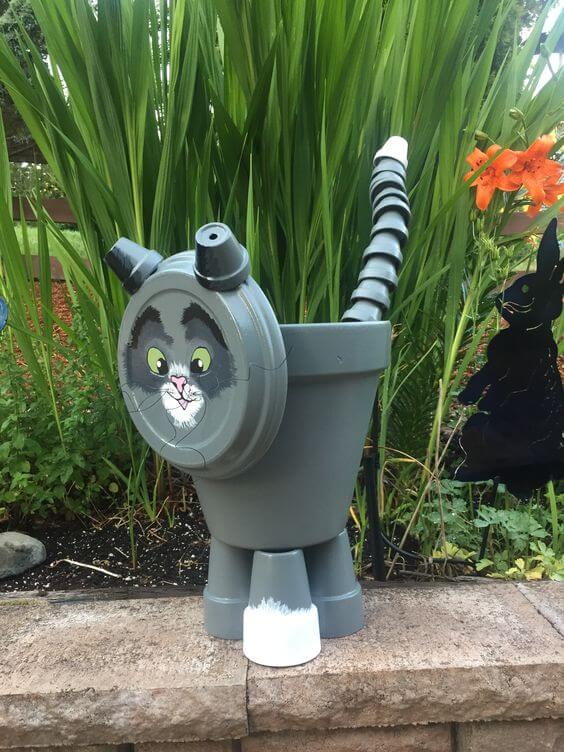
Whether you’re crafting it for yourself or as a fun weekend project with kids, this cat is guaranteed to steal hearts.
Materials Needed
- 1 large plastic flower pot (10–12” diameter)
- 1 small plastic pot saucer
- 4 small plastic pots (about 3–4”)
- 12 mini plastic pot (1.5”)
- Acrylic paint set
- Hot glue gun
- Clear sealant spray
Step-by-Step Guide
Step 1: Start by spray painting all plastic pots, lid, and accessories in a uniform base color (like gray). Let them dry completely.
Step 2: Paint on the cat face details—eyes, nose, whiskers, and mouth—on the saucer or lid. Use white for paws and add pink inside the ear pieces. Let dry and spray with a sealant if the cat will stay outdoors.
Step 3: Attach the legs to the base of the large pot using hot glue or adhesive. Position the smaller pots upside down to act as paws.
Step 4: Glue the lid with the cat face onto the top of the large pot as the head. Add the ears using bottle caps or elbow pieces. Insert the hose into the back of the pot for the tail (you can drill a small hole if needed).
#22. Cute Dog
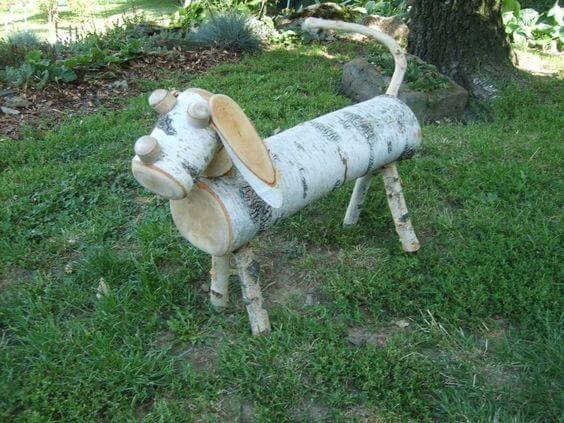
With natural materials and minimal cost, you can create a whimsical pup that won’t bark or dig up your flowers.
Materials Needed
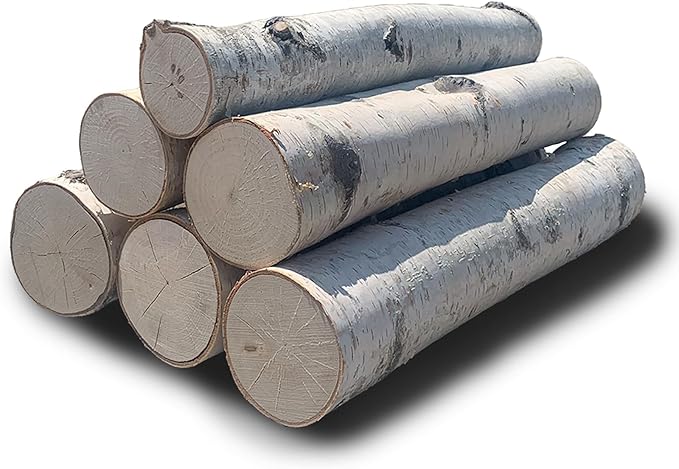
- 1 birch log (18–24 inches long, ~4–6” diameter)
- 1 small birch log (6–8 inches long, ~4–5” diameter)
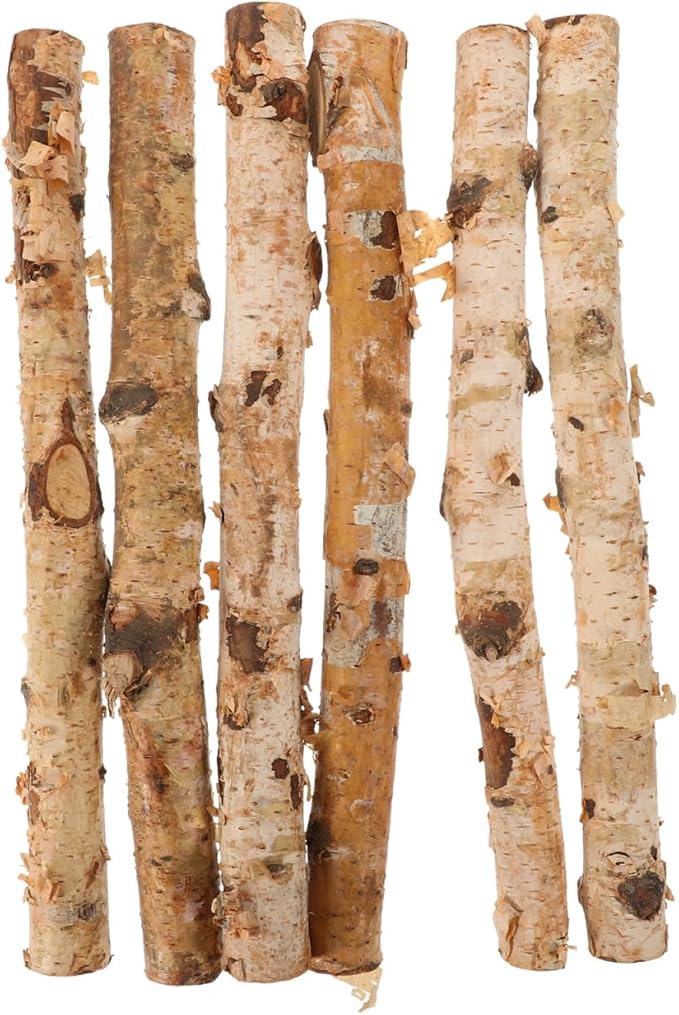
- 4 small branches or birch sticks (~1–1.5” diameter, 10–12” long)
- 2 thin wood slices (~5” diameter)
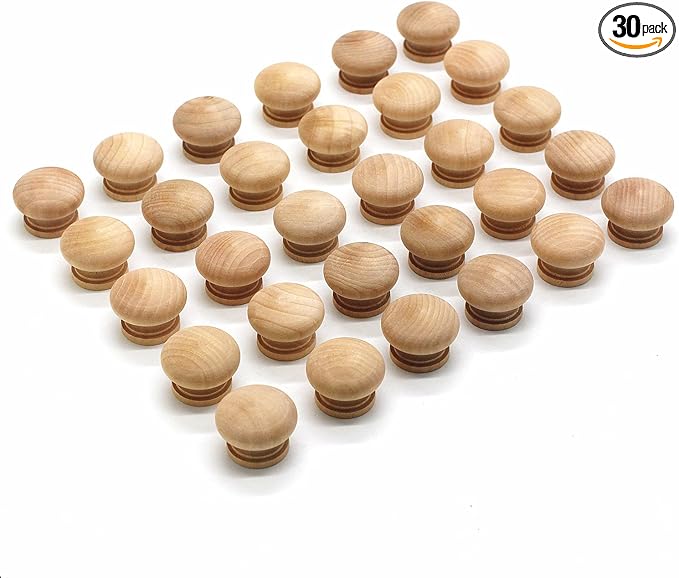
- 3 small wood knobs (~1” diameter)
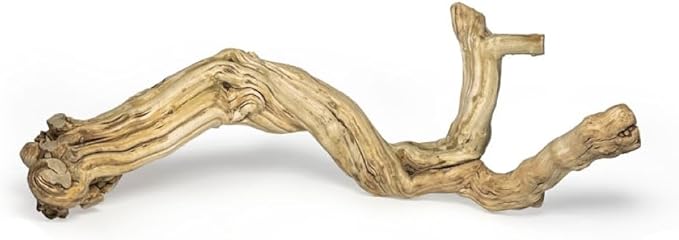
- 1 slender branch (15–20” long)
- Outdoor wood glue
- Drill
- Wood screws (~2” to 3”)
- Clear matte sealer (optional)
Step-by-Step Guide
Step 1: Drill four holes underneath the large birch log for the legs. Insert each branch piece and secure with wood glue and screws.
Step 2: Attach the head log vertically to the front of the body using wood glue and a couple of long screws from the top or bottom. Make sure it’s stable and aligned.
Step 3: Glue or screw the ears on the sides of the head using the thin wood slices. Then add the small wood pieces as eyes. You can also add a nose by using a small knob or cork.
Step 4: Attach the tail at the back by drilling a hole slightly smaller than your branch and inserting the piece with glue. Let everything dry thoroughly.
#23. Hedgehog from Plastic Bottle
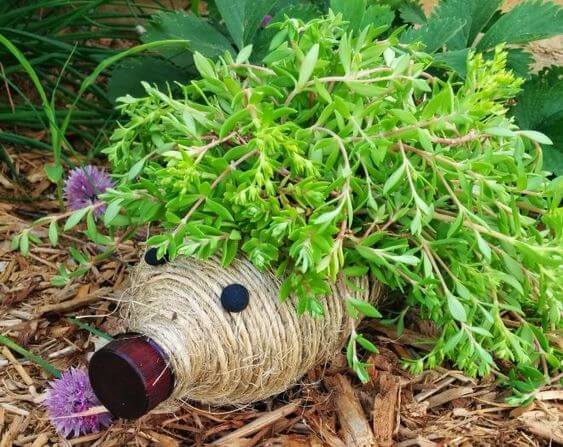
This DIY hedgehog planter absolutely stole my heart. It cost me under $10 to make, and it gets compliments all the time.
Materials Needed
- 1 medium plastic bottle (1–1.5 liters)
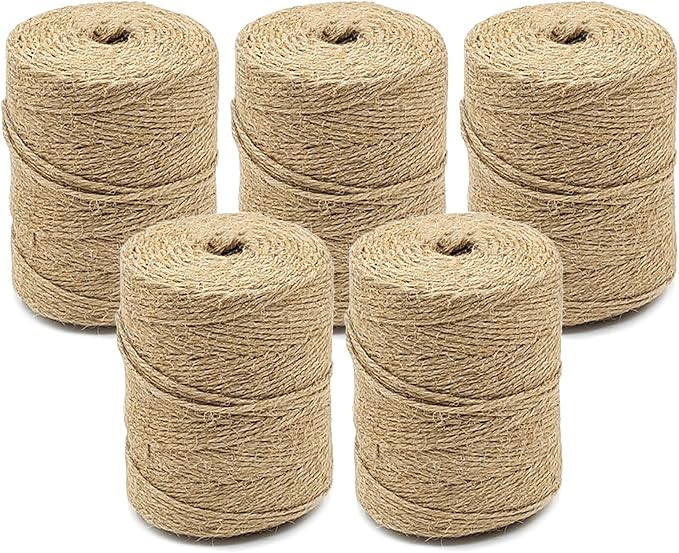
- Twine (approx. 10–15 meters)
- Hot glue gun with sticks
- 2 black buttons
- Wine bottle cork
- Succulent plant
- Craft knife/scissors
- Potting soil
Step-by-Step Guide
Step 1: Cut an opening on the top side of the bottle, leaving room for planting soil and roots. Ensure it’s wide enough for your succulent to sit comfortably.
Step 2: Using a hot glue gun, tightly wrap the entire bottle with twine, gluing every few inches for stability. Leave the opening on top clear.
Step 3: Glue two buttons on the front as eyes and attach the cork or plastic cap to the bottle’s mouth area for the nose.
Step 4: Fill the opening with potting soil and gently plant your succulent. Water lightly.
#24. Pretty Pigs

These piglet planters made from recycled plastic jugs are not just clever, they’re charming, functional, and environmentally friendly.
Materials Needed
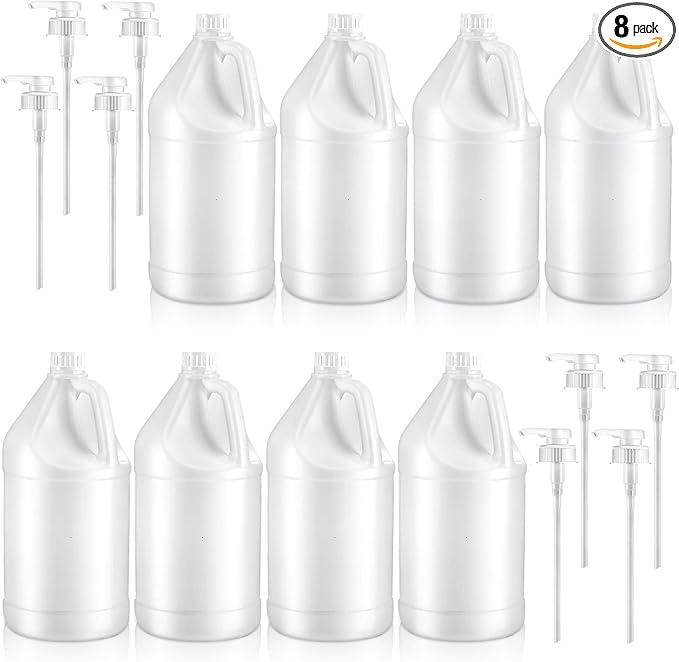
- 1-gallon plastic jugs with bottle cap
- Utility knife
- Acrylic paint
- Hot glue gun with glue sticks
- Pipe cleaners
- Potting soil + flowers or herbs
Step-by-Step Guide
Step 1: Cut a rectangular hole in the top of each plastic jug for planting. Make small drainage holes at the bottom too.
Step 2: Paint the jug light pink or leave it semi-transparent for a fun minimalist look. Let dry.
Step 3: Glue on a bottle cap as the snout. Add black dots for nostrils and glue on eyes above the cap.
Step 4: Use triangular pieces from the cutout plastic or cardboard to form pig ears. Attach them near the top rim.
Step 5: Add a ribbon, bow, or pipe cleaner tail to personalize your piggy. Fill with soil and plant your favorite flowers or herbs.
#25. A Shoe Bird
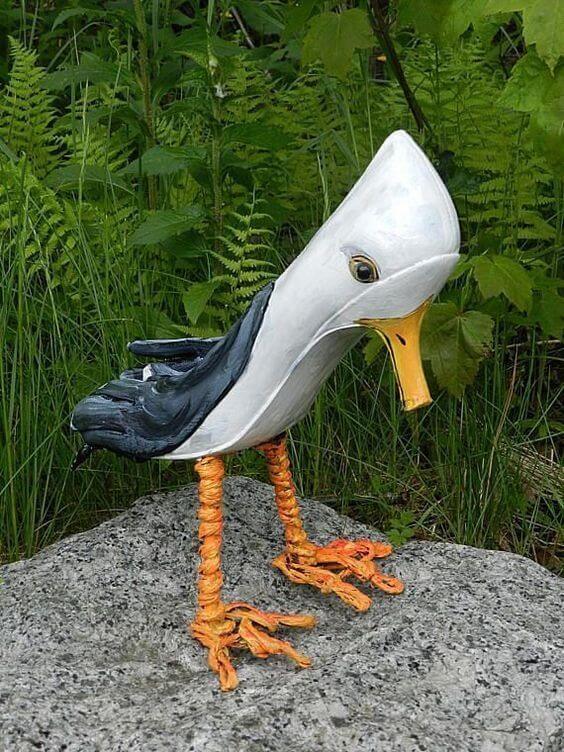
This whimsical seagull sculpture combines creativity and resourcefulness, perfect for adding charm and character to any garden or patio.

Materials Needed
- Your old heel
- Acrylic paint
- Wire (around 16 gauge recommended)
- Twine (orange or natural color)
- Hot glue gun and sticks
- Googly eyes
- Clear sealer spray (optional)
Step-by-Step Guide
Step 1: Use your old heel as the body, then paint it white and black as the seagull pattern.
Step 2: Bend and shape the wire to form the legs, feet, and neck structure. Wrap the legs and feet with orange twine or rope securely using hot glue.
Step 3: Attach the legs and neck to the body with hot glue. Paint or attach googly eyes, then paint the beak yellow-orange.
Step 4: Seal the sculpture with a clear coat for weather resistance, if desired. Place in your garden or patio for a delightful decorative touch.