Apart from painting, another way to make your home feel cozy and lively is wall hanging decorations. Wall hanging is easy for you as you can put artistic and creative crafts on walls you create yourself. It’s become trendy and many people enjoy adding wall hangings to their living space, including living rooms, bedrooms, and even home offices.
However, traditional wall hangings like pictures and paintings are not enough to make a room pop and stand out, today we need more than that. We’ve gathered fantastic wall hanging decor to bring a new aesthetic to your home. Ranging from various styles and shapes, the best DIY wall hanging ideas are perfect for helping you redesign your home’s atmosphere.
Even the most simple designs are possible for wall hangings, in addition to the most elaborate ones. Regardless of the type of wall hanging you select, every new one is a wonderful way to liven up the house while retaining that own flair. Please check the link in every pic for more details!
This article contains affiliate links. If you purchase through them, I may earn a small commission at no extra cost to you. Thank you for your support!
#1. A DIY Seashell Wall Hanging Item
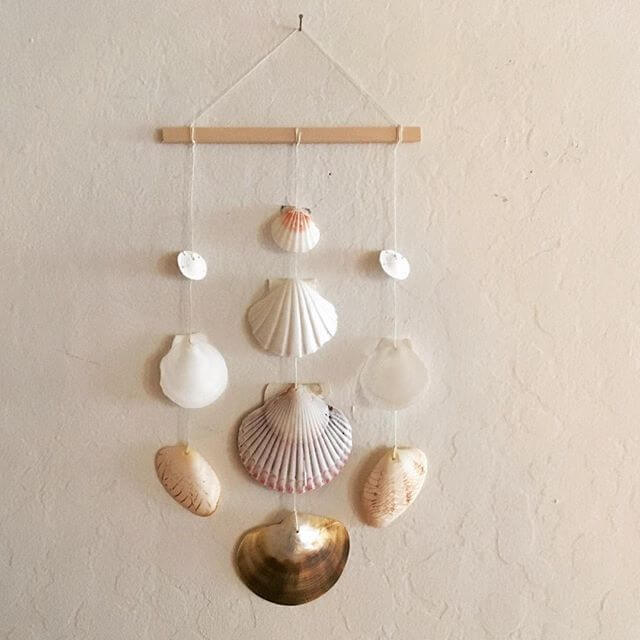
Bring a soft ocean breeze into your home with this minimalist seashell wall hanging.
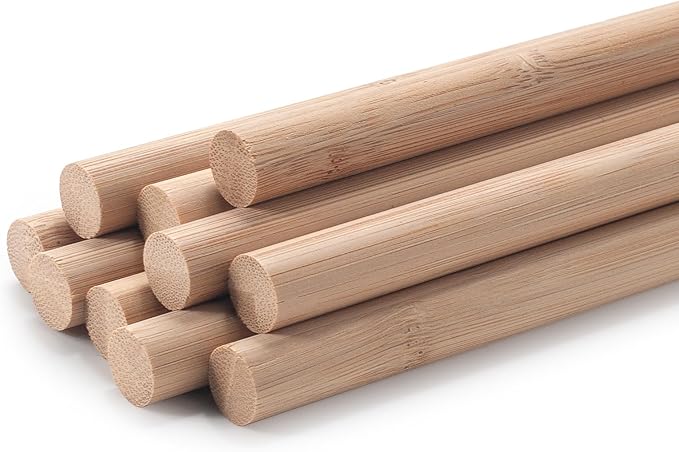 SHOP WOODEN DOWEL ROD
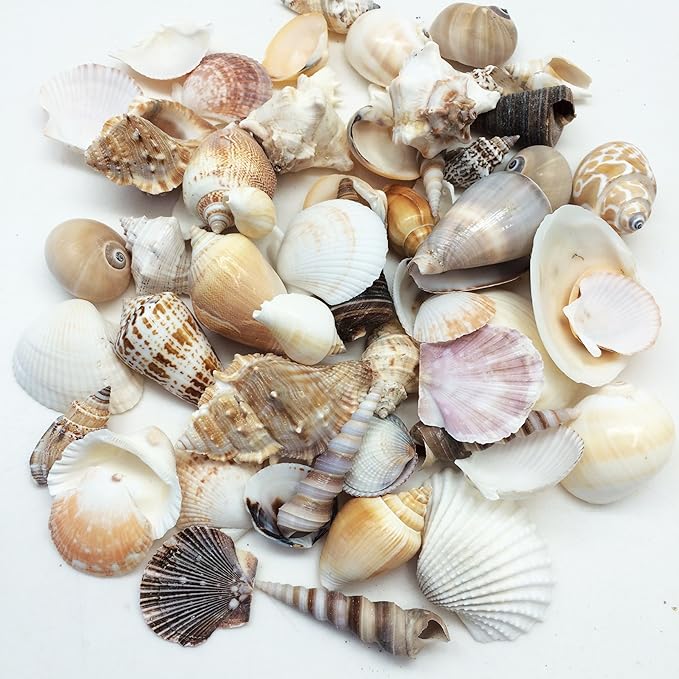 SHOP ASSORTED FLAT SEASHELLS
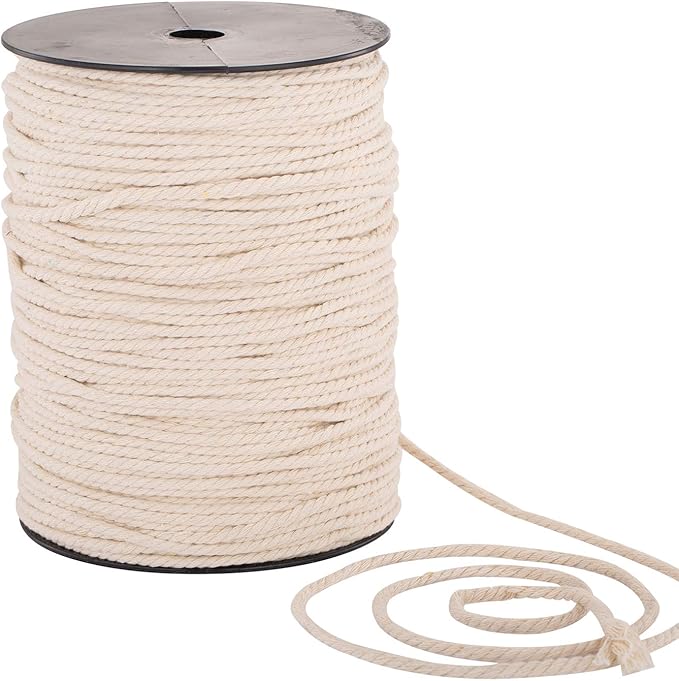
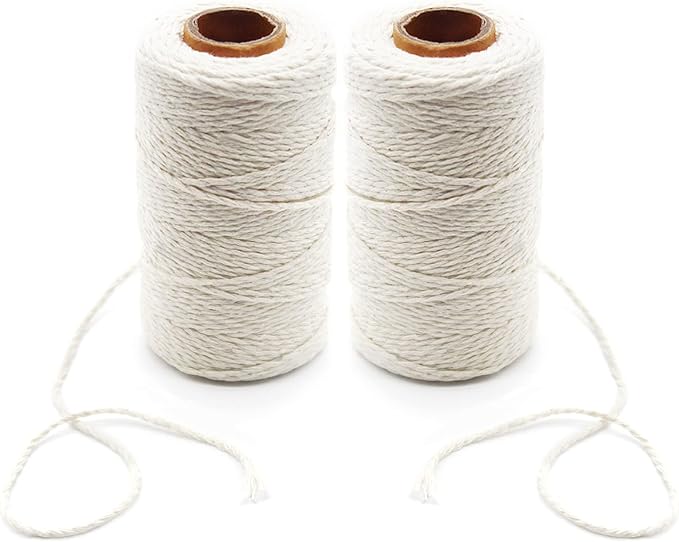 SHOP WHITE COTTON STRING
 SHOP CEILING HOOK
 SHOP HOT GLUE GUN
Materials Needed
- 1 wooden dowel rod (12 inches long, ½ inch diameter)
- 9–10 assorted flat seashells
- 3 lengths of white cotton string
- 1 small ceiling hook
- Hot glue gun
Step-by-step Guide
Step 1: Cut three lengths of cotton string, about 20-24 inches each. Knot one end of each string to evenly spaced points along the dowel.
Step 2: Lay out your seashells in a pattern you like before assembling. Use shells with natural holes or carefully drill tiny holes at the top edge.
Step 3: Tie the shells onto each string, spacing them about 3–4 inches apart. Use double knots to secure, or a dab of hot glue if the shell is slick.
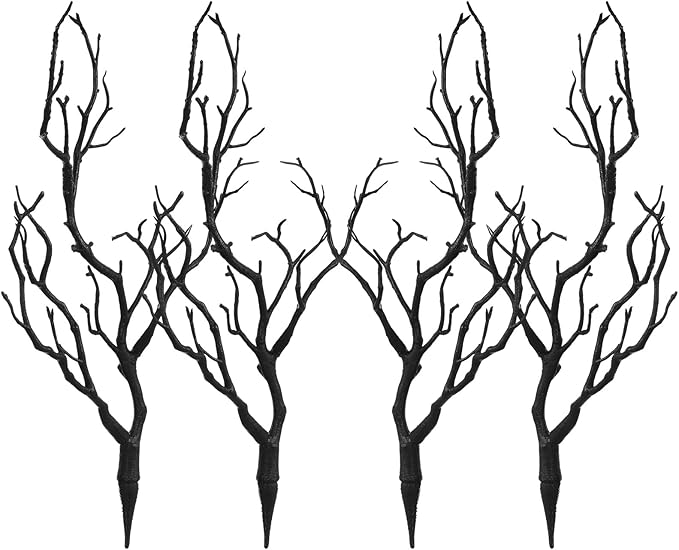
#2. A Rustic Dyed Wooden Stick Heart Hanging Decor
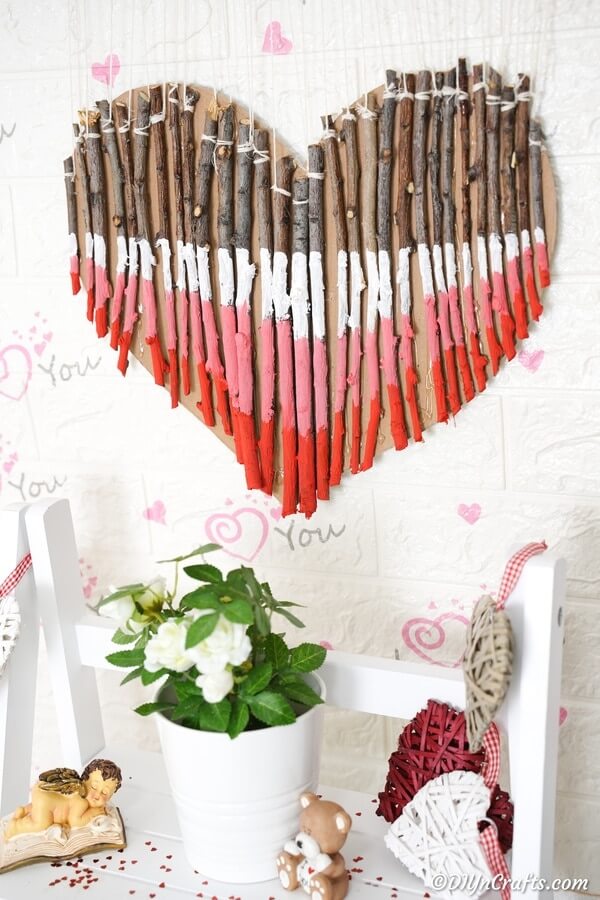
The gradient effect in red, pink, and white makes it pop, like a love letter in three colors. It’s perfect for Valentine’s Day or just as a sweet everyday reminder of affection.
Materials Needed
- 1 heart-shaped cardboard (approx. 14–18″ wide)
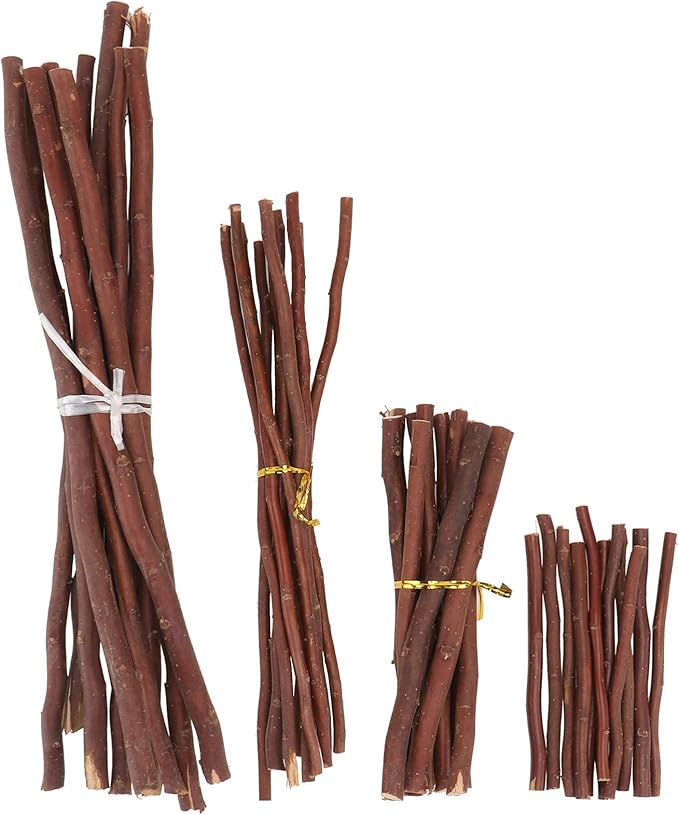
- 25–30 small twigs, trimmed 10–12″ long
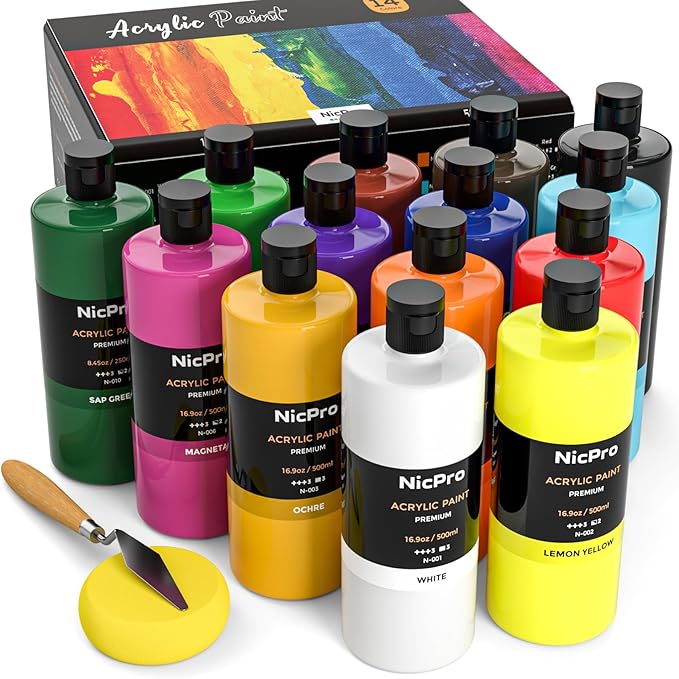
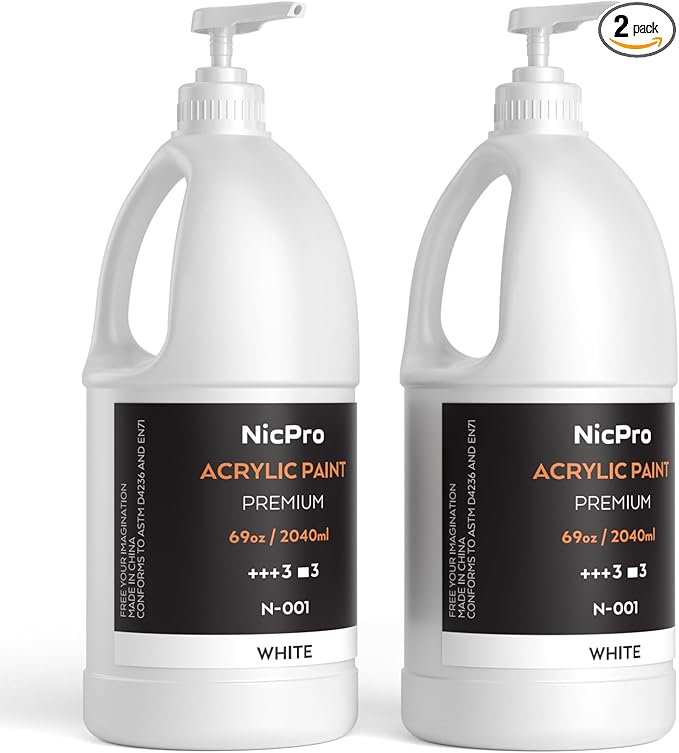
- Acrylic paint set
- Twine
- Hot glue gun
- Paintbrushes, scissors
Step-by-step Guide
Step 1: Paint the lower third of the twigs in red, the middle third in pink, and the top third in white. Let dry completely.
Step 2: Arrange the painted twigs on the heart base, aligning from left to right in a curved pattern to follow the heart’s shape. Glue each one down securely.
Step 3: Attach twine to the top corners of the heart backing and tie into a loop for hanging. Hang on a wall or door and enjoy your woodland-inspired love note!
#3. A Vintage Macramé DIY Wall Hanging
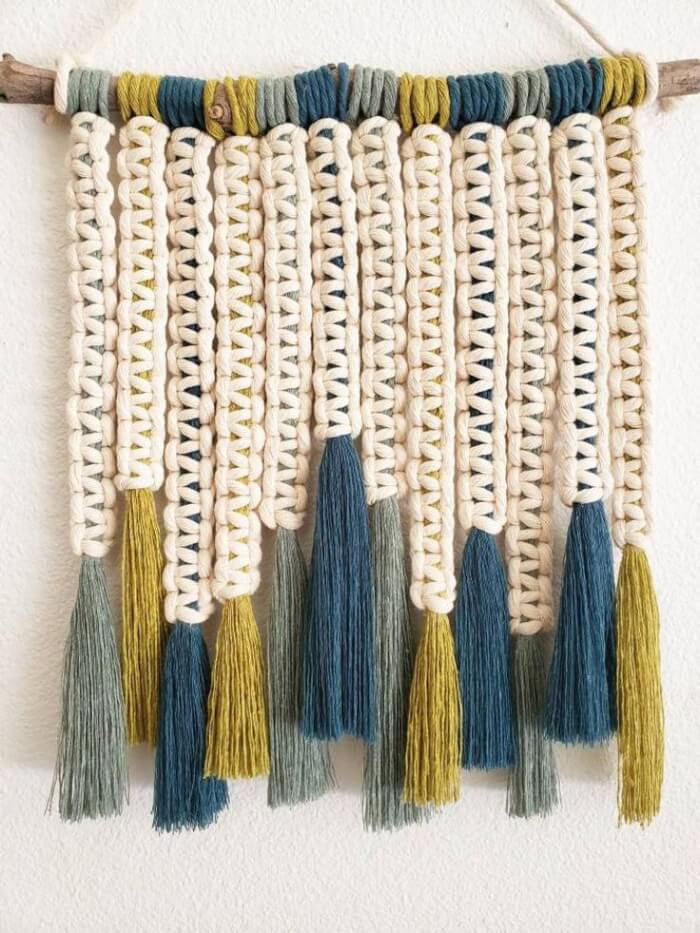
Using thick cotton cord and earthy yarns in moss green, denim blue, and mustard, you can create a cozy color story with rhythmic texture.

Materials Needed
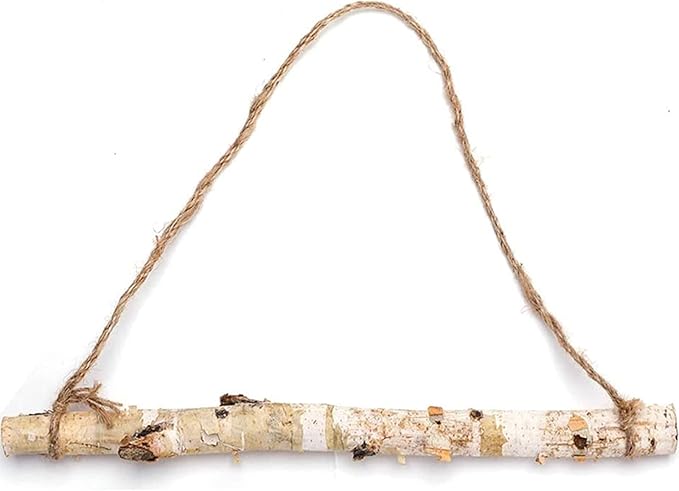
- 1 smooth tree branch (approx. 16–20 inches long)
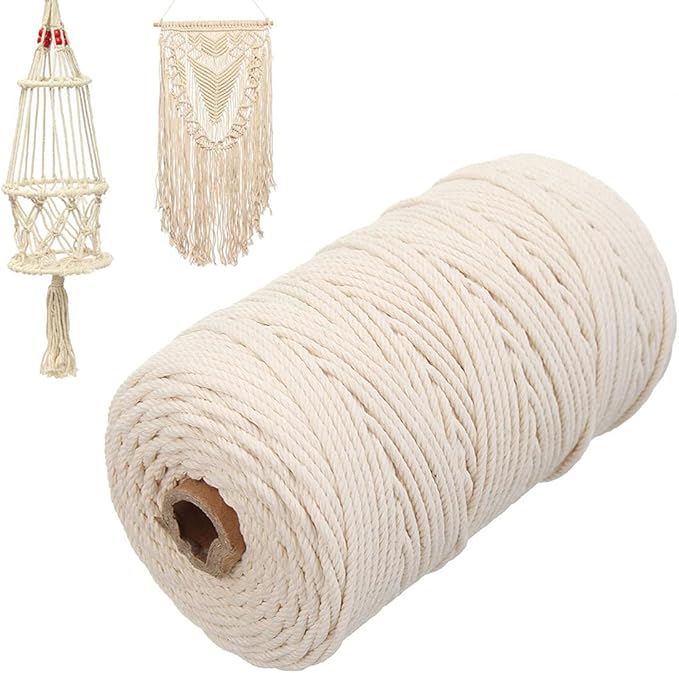
- 8mm cotton macrame cord (50–70 feet total)
- Cotton yarn in 3 colors: moss green, deep blue, and slate (approx. 30 ft per color)
- Scissors, hot glue (optional), measuring tape
Step-by-step Guide
Step 1: Cut 12–14 equal lengths (around 40″) of macrame cord. Fold each in half and attach them to the dowel using a lark’s head knot.
Step 2: Use simple square knots (or just twist them if you’re new) to create the body. Leave some space at the end of each column.
Step 3: Create yarn tassels by wrapping each color around your hand 20–25 times, then tie at the top and snip the bottom. Make 9–11 tassels in alternating colors.
Step 4: Attach a tassel to the end of each hanging strand using a slip knot or glue for extra hold. Add string to the top of the dowel for hanging.
#4. DIY Macrame Plant Holder Wall Hanging
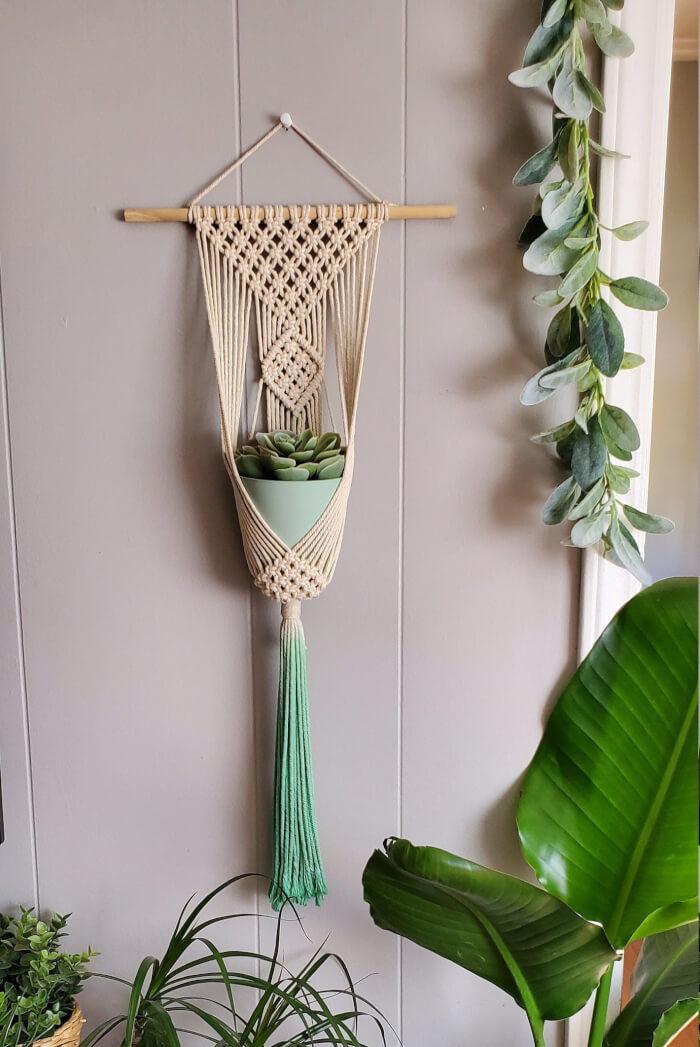
The ombre-dipped tassel adds a touch of whimsy, and the way it cradles a small potted plant makes it feel like nature is giving your wall a warm hug.
Materials Needed
- 1 wooden dowel (approx. 12–14 inches)
- 5mm cotton macrame cord, at least 80–100 feet
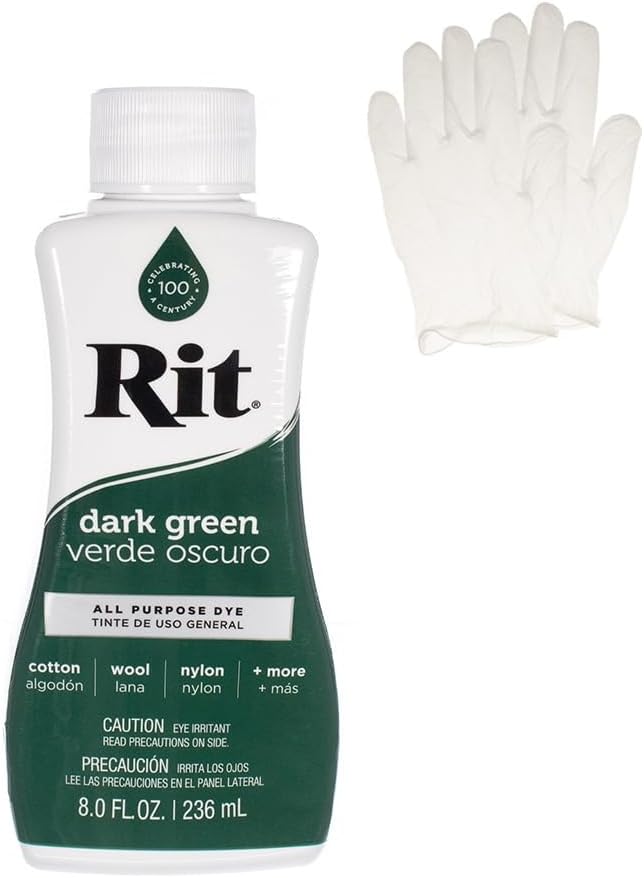
- Fabric dye in green
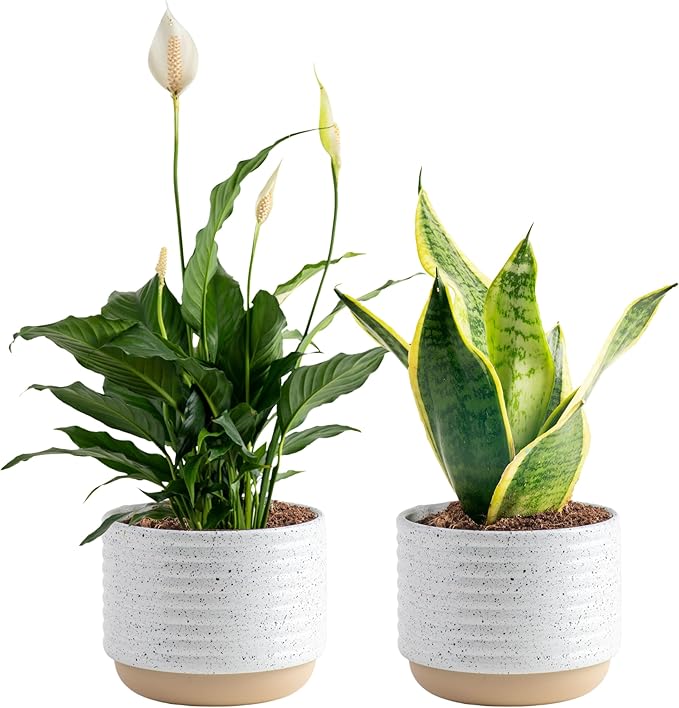
- Small plant pot
- Scissors, comb, measuring tape
Step-by-step Guide
Step 1: Cut 16 lengths of macrame cord at 80 inches each. Fold each in half and loop them evenly across your dowel using a lark’s head knot.
Step 2: Create rows of square knots, alternating pattern levels to form a diamond-shaped center. Use tighter knots at the bottom to begin forming the plant pocket.
Step 3: Shape the pocket by gathering the cords together and tying a large square or wrap knot about 5–6 inches below the diamond center. Make sure your pot fits snugly.
Step 4: Submerge the bottom tassel area in a diluted green dye bath for 5–10 minutes, then hang to dry.
#5. Paper Art Origami Wall Decor
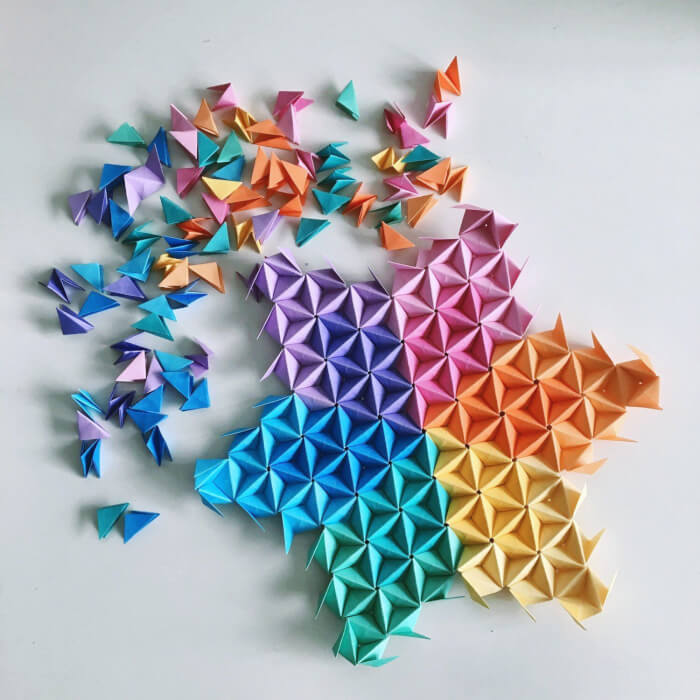
Whether you’re covering a canvas or an entire wall section, it’s a vibrant, creative escape that requires only time and patience.
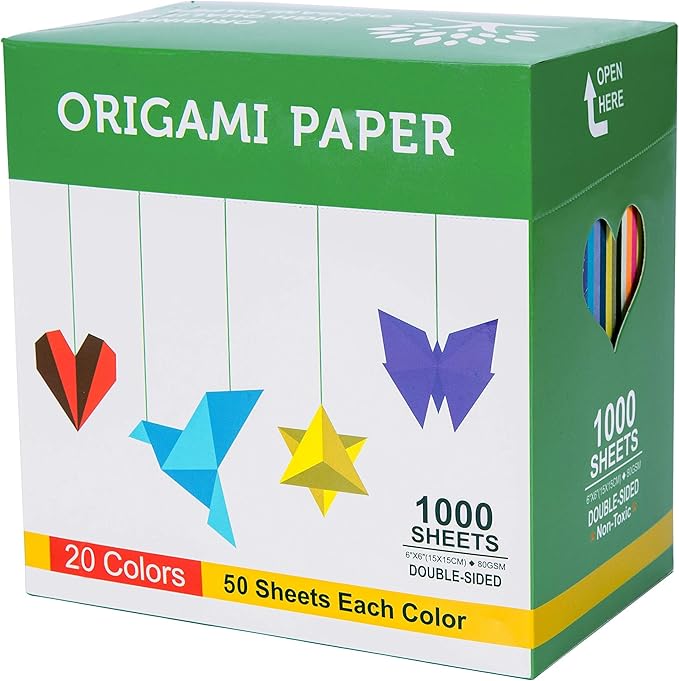
Materials Needed
- 200–300 origami papers, 3″x3″ squares
- Double-sided adhesive dots
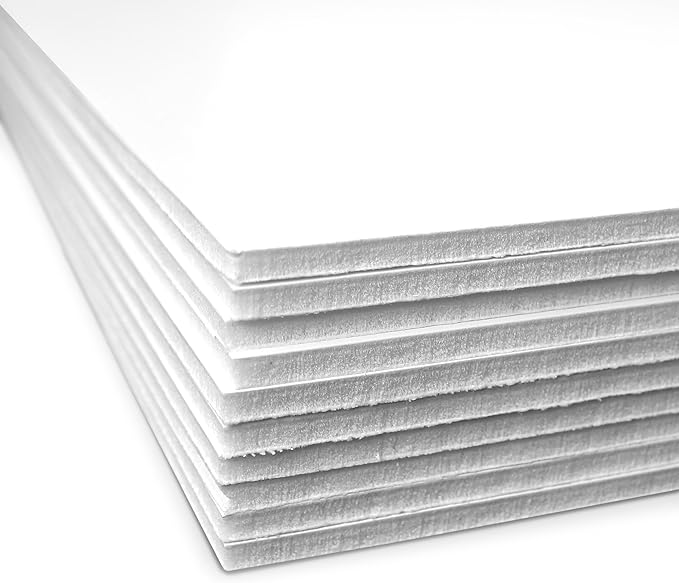
- Foam board 20″x30″
Step-by-step Guide
Step 1: Cut your origami paper into squares if needed. Begin folding each square into a 3D triangle module by folding in half diagonally, then tucking the edges into the center to form a “flower-like” structure.
Step 2: Sort the folded triangles by color and lay them out on your board or surface to plan the gradient or rainbow transition.
Step 3: Attach each triangle using double-sided adhesive or removable glue dots, working from one corner outward to build the shape.
#6. Paper ARt Leaf Wall Hangings
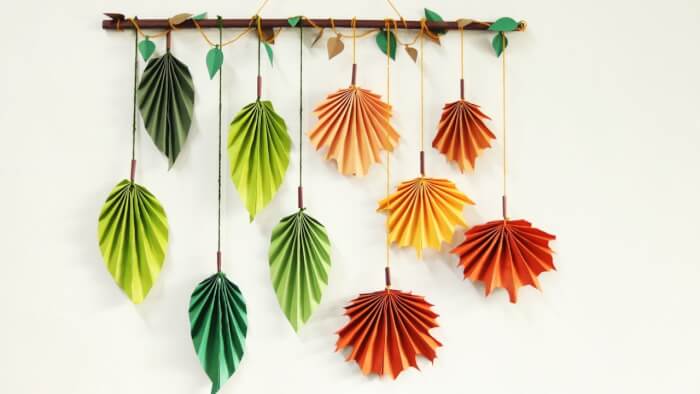
Each leaf is folded with care and when they’re strung together by hue, they mimic the transition from late-summer green to golden autumn.

Materials Needed
- 15-20 colored craft papers
- Scissors and hot glue gun
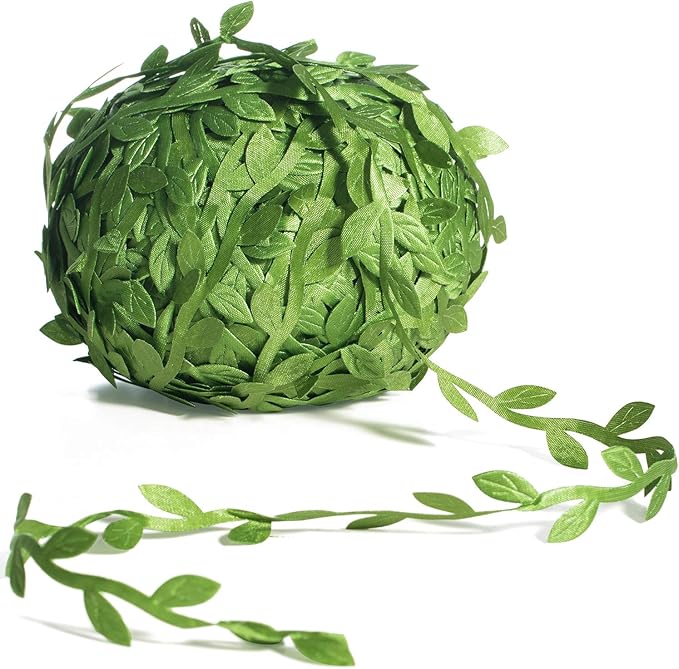
- Twine
- Wooden dowel rod (approx. 18–24″ long)
- Optional: hole punch and small faux leaves
Step-by-step Guide
Step 1: Cut paper into rectangles (approx. 6″x9″). Fold each one accordion-style, then pinch and glue the center to create the leaf’s spine.
Step 2: Trim the top and bottom edges into rounded or pointed shapes to resemble different leaf types. Fold gently in half and secure with glue to form a fan-like leaf.
Step 3: Attach each leaf to a piece of jute string using glue or a hole-punch-and-knot method.
Step 4: Finally, tie or glue each leaf string to your branch or dowel, spacing them evenly. Add small cut paper or faux leaves at the top for extra charm.
#7. DIY Twig Wall Art
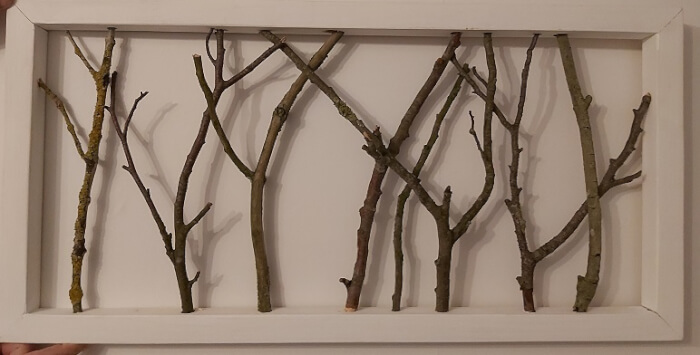
This piece is meditative to make, zero cost if you forage materials, and turns any blank wall into something quietly poetic.
Materials Needed
- 8-10 dry twigs (12″–18″)
- Shadow box (approx. 10″x20″)
- Hot glue gun and glue sticks
- Optional: white acrylic paint
Step-by-step Guide
Step 1: Arrange the twigs upright within the frame, like trees in a forest.
Step 2: Once satisfied with the layout, use hot glue to secure each twig to the frame’s backing or inner rim. Let it dry for 10–15 minutes.
Step 3: Mount the frame on your wall using command strips or sawtooth hooks. If you’d like, lightly dry-brush white paint on the twigs to give it a frosted or Scandinavian feel.
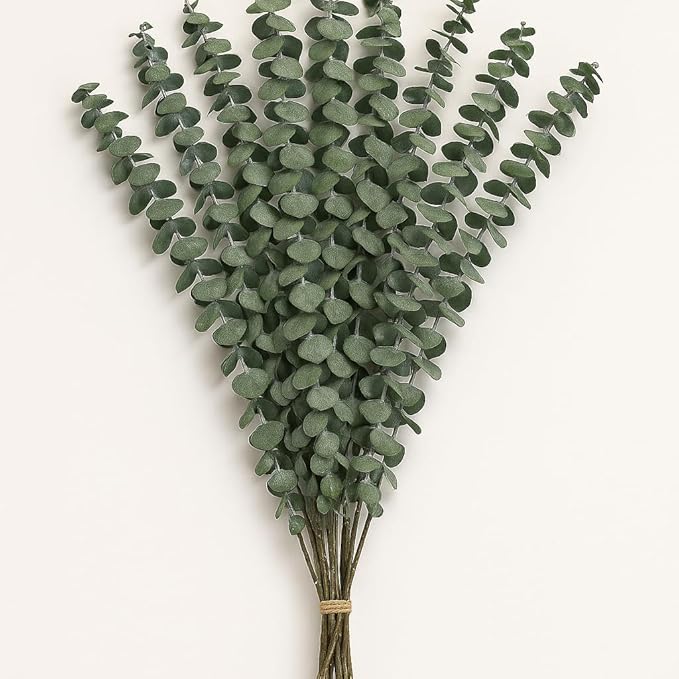
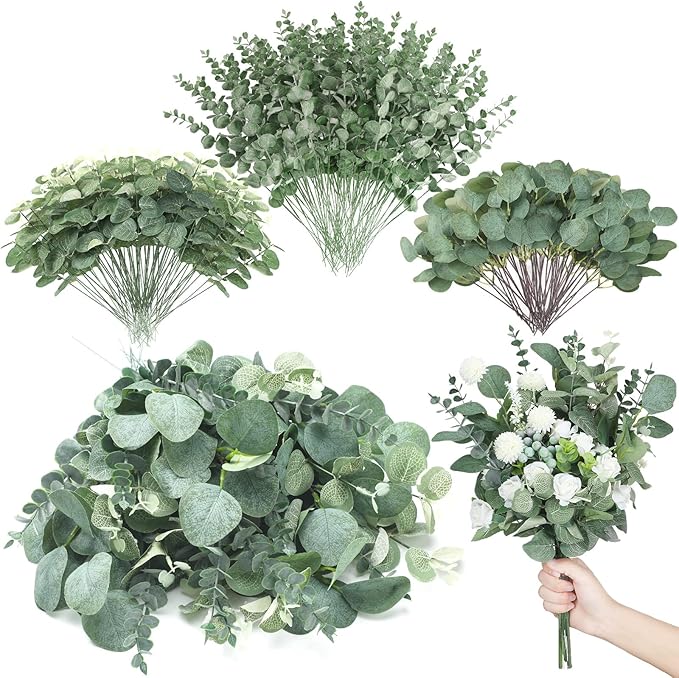
#8. Large Real Dried Eucalyptus Driftwood Wall Hangings
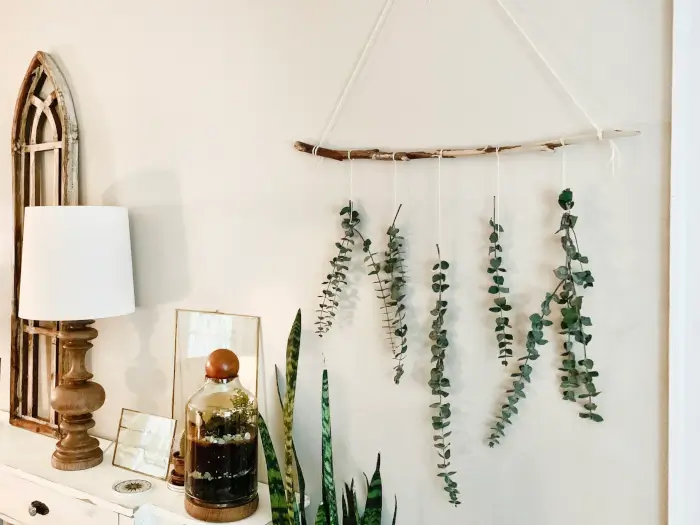
This eucalyptus wall hanging is effortlessly calming and perfect for any natural, minimalist, or boho decor theme.
Materials Needed
- 1 foraged branch (approx. 20″ long)
- 8 stems of dried eucalyptus
- Twine
- Scissors and a hook
Step-by-step Guide
Step 1: Tie a long piece of twine to each end of the stick to create a triangular hanging loop. Adjust length to suit your wall height.
Step 2: Cut several equal lengths of string (roughly 12″–18″), then tie one end of each to the stick, spacing them evenly.
Step 3: Attach eucalyptus stems by tying or wrapping the lower part of the stem with the string, then hang on a small hook and let the subtle scent fill your room.
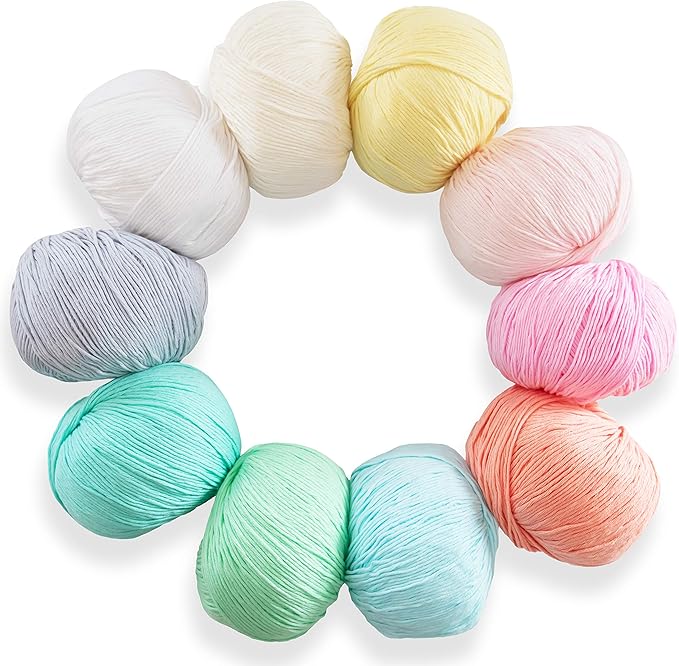
#9. Handmade Tassel Wall Hanging
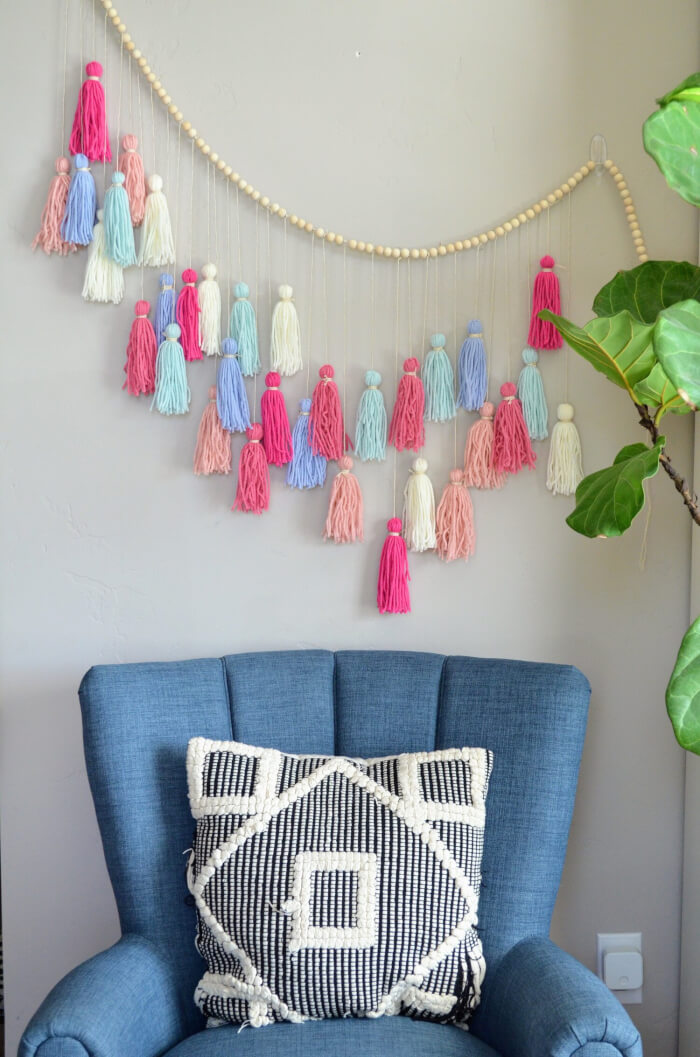
This pastel tassel garland brings out a lighthearted, whimsical charm perfect for nurseries, craft rooms, or any space needing a pop of cheer.
Materials Needed
- Assorted pastel yarns (25 yards each)
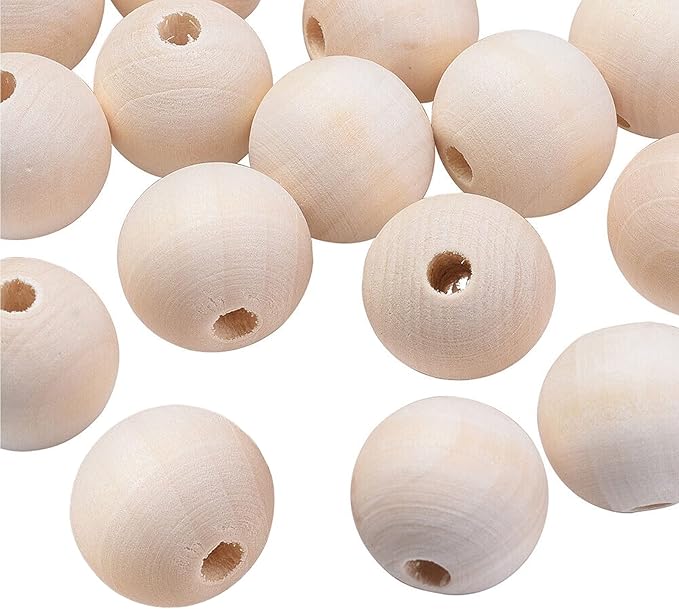
- 30 wooden beads (1″ and ¾” diameter)
- Twine
- Scissors and a large-eye needle (optional)
Step-by-step Guide
Step 1: Wrap yarn around your hand or a book about 6–7 inches tall until it’s thick enough (around 20 wraps), then slide it off and tie near the top to create the tassel “head.”
Step 2: Tie a piece of yarn around the top quarter to form the tassel neck. Trim the ends even.
Step 3: Slip a wooden bead onto the top of each tassel for a more finished look. Repeat to make as many tassels as you like.
Step 4: Tie each tassel onto the long twine string, spacing them out evenly.
#10. Mix Match Hoops With Tassel

I made a similar set to hang above my writing desk and they instantly softened the wall.


Materials Needed
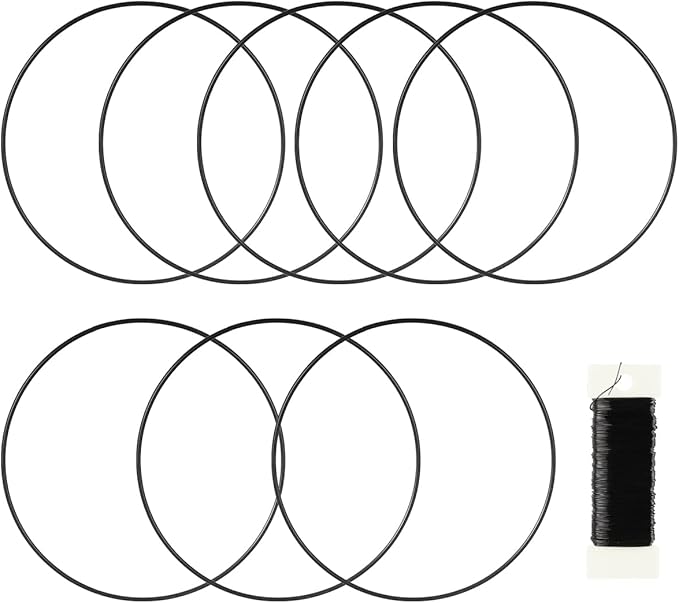
- 3 metal hoops (10″ in diameter)
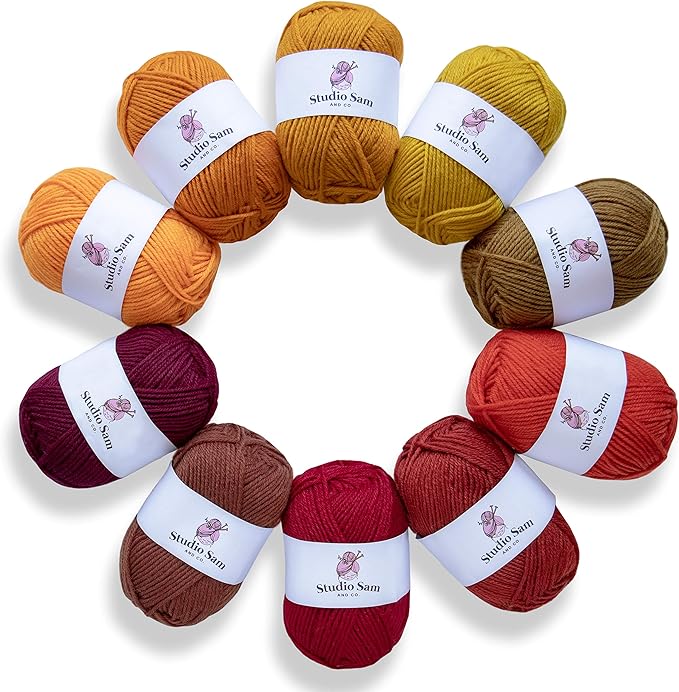
- Yarn (50 yards each)
- 3 small wood beads (¾” diameter)
- Scissors
- 1 sturdy branch (2.5–3 feet long)
- Optional: hook
Step-by-step Guide
Step 1: Cut strands of yarn about 36 inches long. Fold each in half and loop them over the hoop using a lark’s head knot until the bottom half is filled.
Step 2: Create one tassel per hoop: wrap yarn around your hand 20 times, slide it off, tie at the top, and slip a wood bead over the tassel before tying to the center of each hoop.
Step 3: Attach each hoop to the branch using a piece of matching yarn, spacing them evenly.
#11. DIY Picture Wall Hanging

This is a heartfelt way to display memories without using traditional frames, and it adds a natural, rustic vibe to any room.
Materials Needed
- 1 sturdy tree branch (about 24–30 inches long)
- 18-20 instant photos (3×4 inches)
- White cotton string
- Mini adhesive photo tabs
- Hook
- Optional: clear washi tape
Step-by-step Guide
Step 1: Cut equal lengths of string for each strand. Tape or tie one end to the back of each photo with a small gap between them.
Step 2: Tie the tops of each strand to the branch at even intervals, adjusting for visual balance.
Step 3: Add a final long string to the ends of the branch and tie the center to a wall hook.
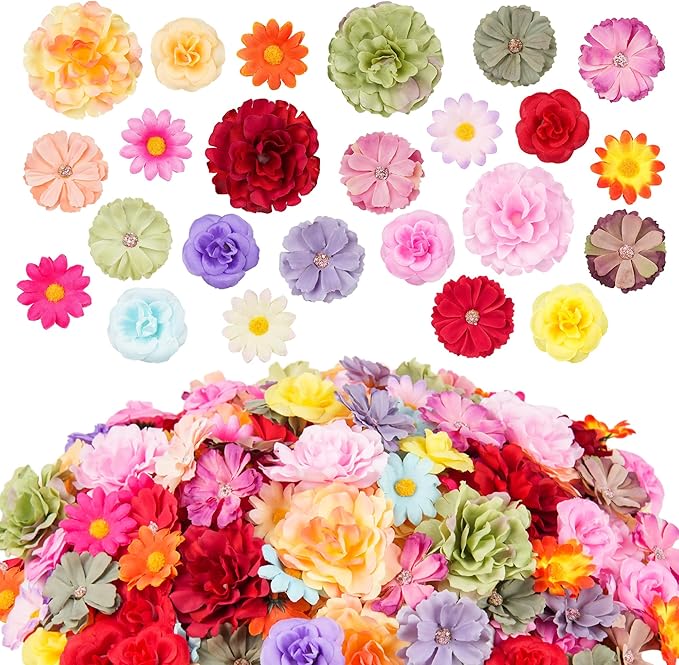
#12. DIY Round Floral Wall Hanging Wreath
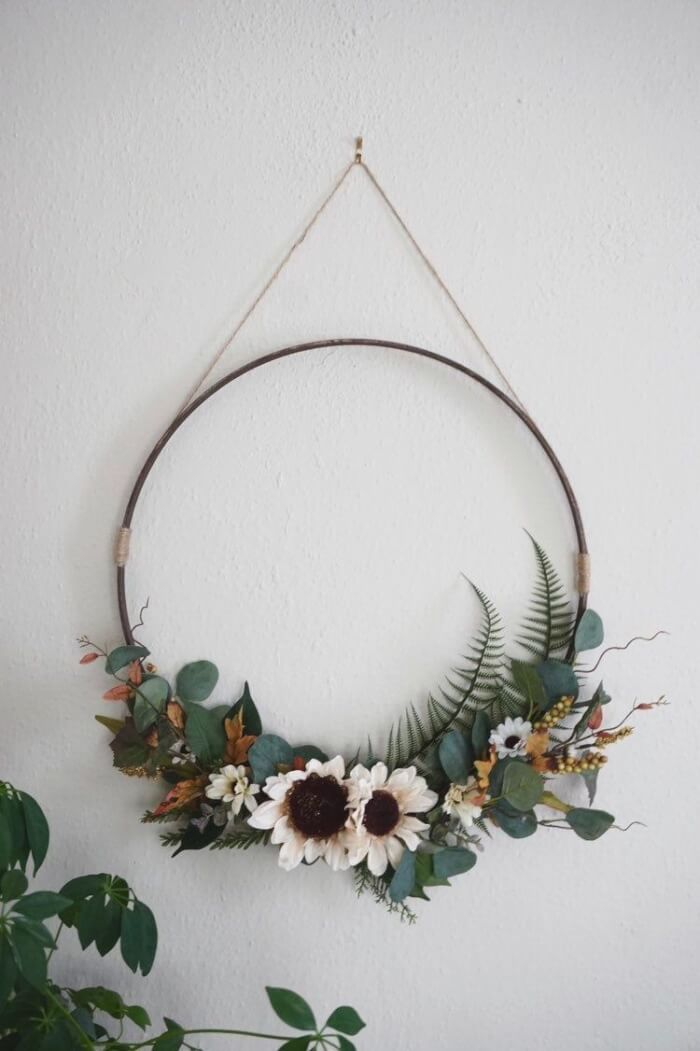
I hung it near the entryway, and every time I walk past, it gives the softest, most inviting vibe.
Materials Needed
- 1 metal hoop (approx. 12–14 inches wide)
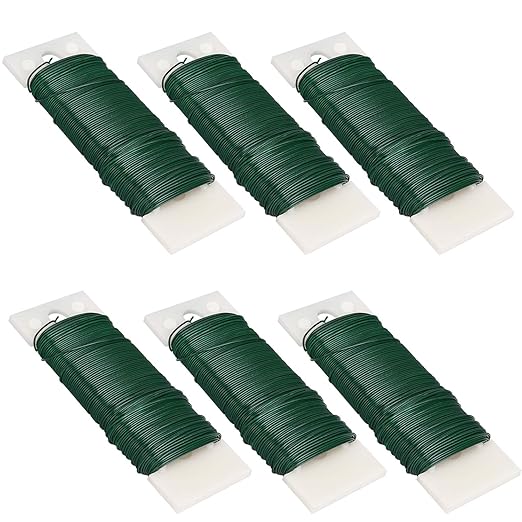
- Floral wire
- Faux greenery sprigs (3–5 stems)
- Faux flowers (2–3 statement flowers)
- Jute rope
Step-by-step Guide
Step 1: Secure the stems to the hoop with floral wire or tape, wrapping tightly so nothing wiggles loose. Trim any excess stems.
Step 2: Place your faux flowers in the center of the greenery cluster. Secure each one with more floral wire.
Step 3: Wrap a small length of jute rope around each side of the hoop where the greenery ends to give it a polished touch. Add a loop of twine across the top to hang on the wall.
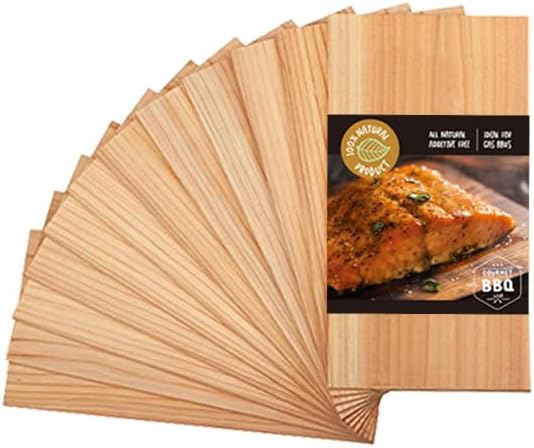
#13. Simple Hanging Shelves With Triangle Shapes
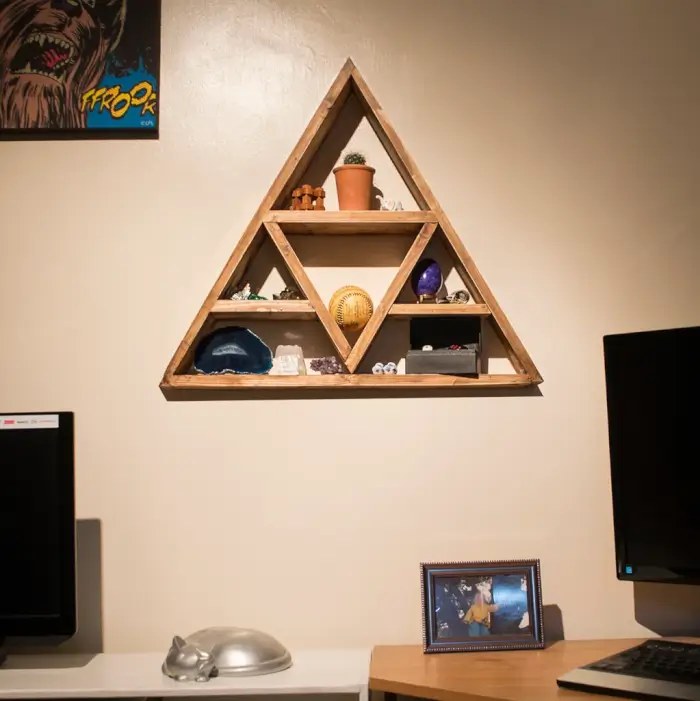
This geometric triangle shelf brought both style and structure to a plain wall in my home office.

Materials Needed
- Six 1″x4″ wood planks (each cut to approx. 18″ long)
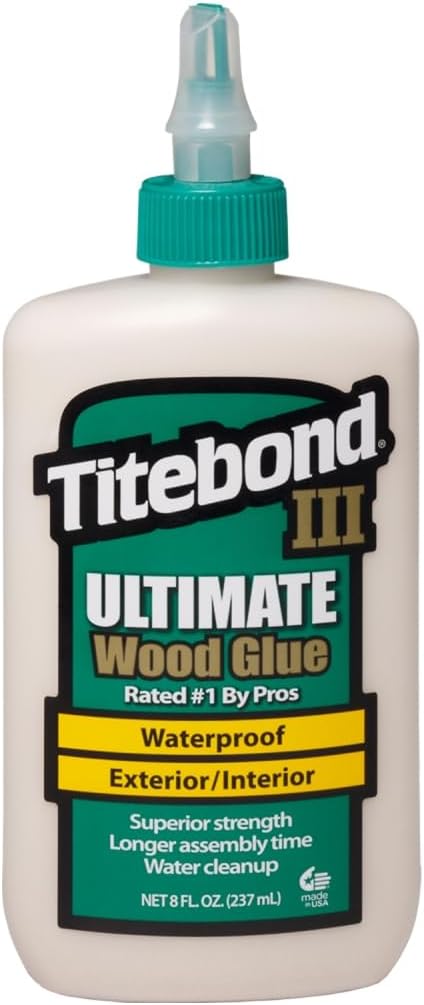
- Wood glue and finishing nails
- Wood stain
- D-ring hangers
- Optional divider pieces
Step-by-step Guide
Step 1: Cut all six main boards at 30° angles to form equilateral triangles. Lay them out into a large triangle and glue each corner together. Secure with nails and let dry.
Step 2: Cut additional short pieces at matching angles to form inner dividers if desired. Use glue and a clamp to hold each divider firmly in place.
Step 3: Sand down the entire frame to remove splinters or rough edges. Apply your choice of wood stain or paint, and let it dry overnight.
Step 4: Attach D-ring or sawtooth hangers to the back, making sure the frame hangs level.
#14. Simple But Artistic Hanging Shelves
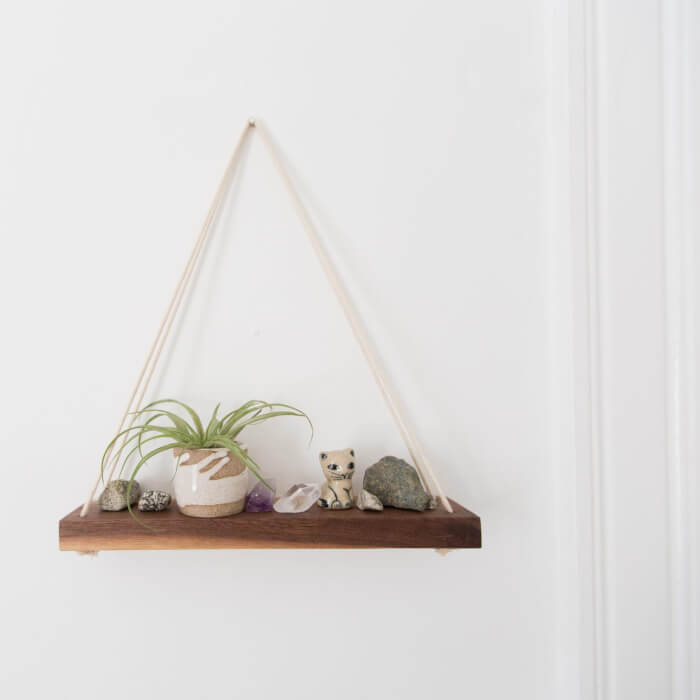
This simple rope-hung wall shelf is lightweight, easy to make, and perfect for adding natural vibes to any small space.
Materials Needed
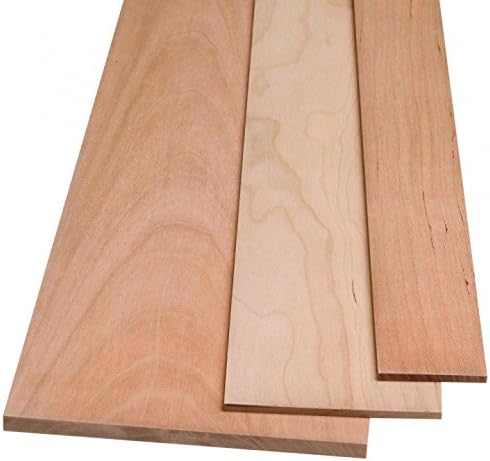
- 1 wooden board (16″ to 20″ long, 4″ to 6″ wide, ¾” thick)
- 2 eye screws (½” to 1″ size)
- 6–8 ft of cotton rope
- Wall hook
Step-by-step Guide
Step 1: Mark and drill two holes near the front corners of the wood (about 1″ in from each side). Thread rope ends through each hole and tie secure knots underneath.
Step 2: Screw eye hooks into the back corners of the board to stabilize the shelf and keep it level when hung.
Step 3: Bring both rope ends up, forming a triangle, and tie them together at the top.
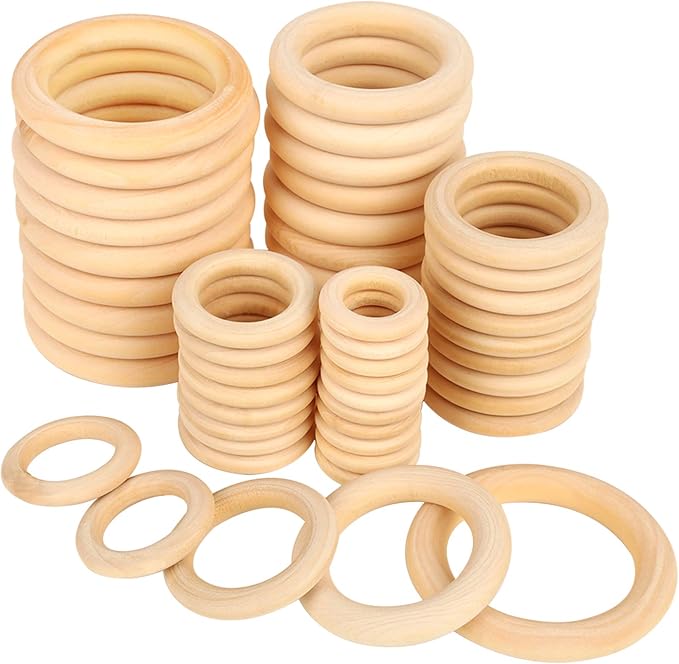
#15. Clay Craft Wall Hangings
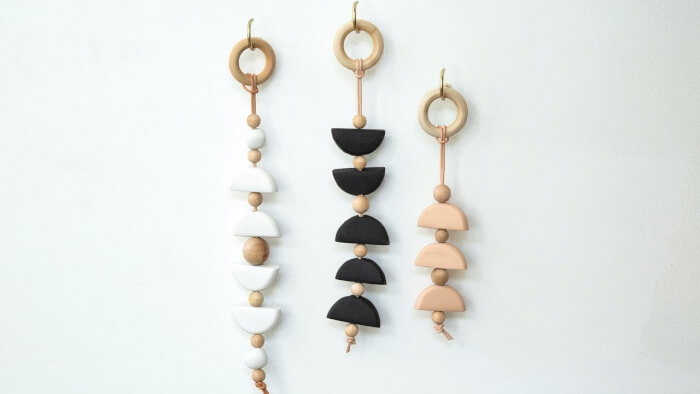
These chic clay and wood bead hangings add the perfect touch of texture and minimalism.
Materials Needed
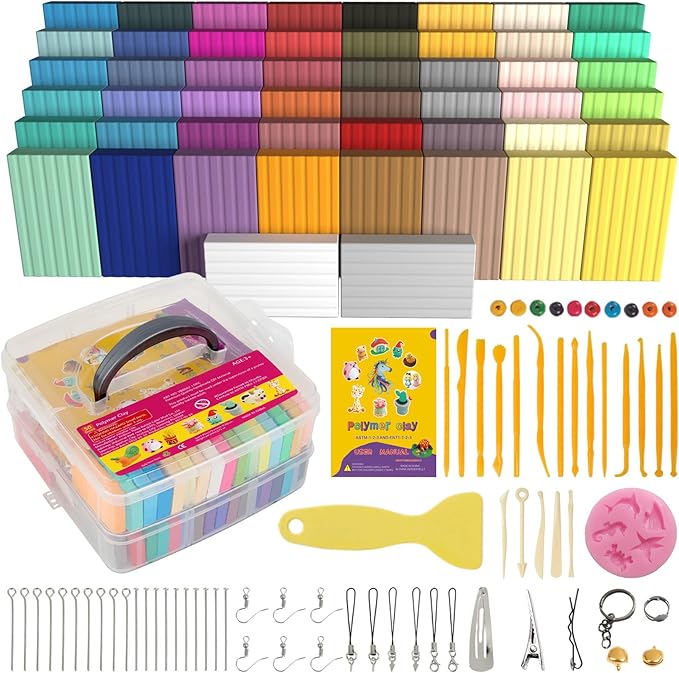
- Polymer clay (white, black, and terracotta colors)
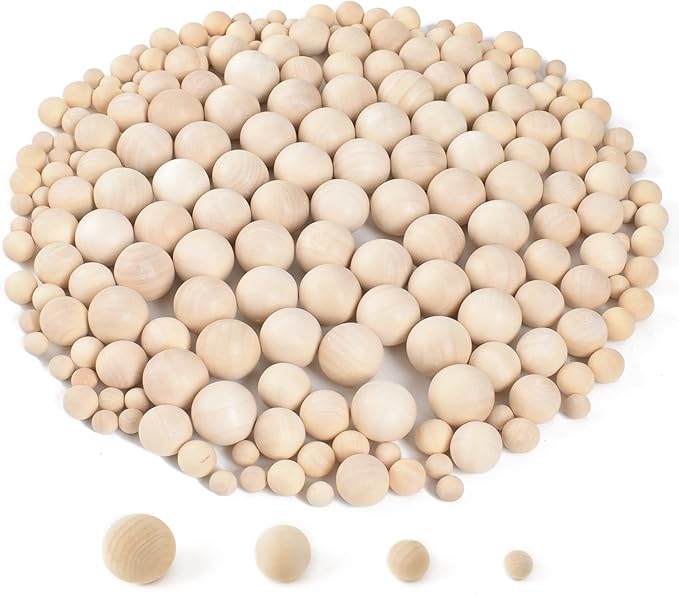
- 15-20 wooden beads
- 3 wooden rings (2” to 3” diameter)
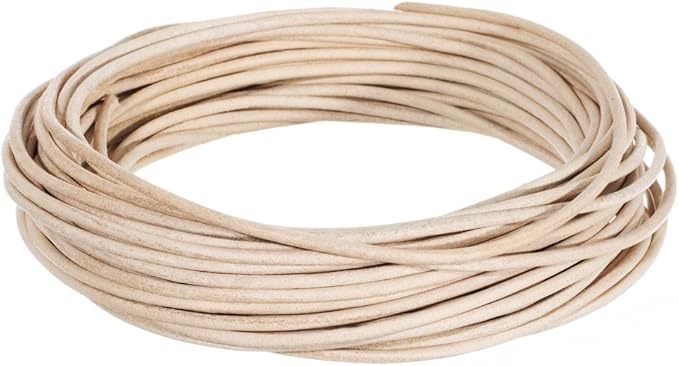
- Leather cord
- Clay tools
Step-by-step Guide
Step 1: Condition your polymer clay and roll it out to about ¼” thick. Use a small round cutter or bottle cap to make circles. Slice the circles in half to create clean semicircles.
Step 2: Use a toothpick or skewer to poke a hole through each semicircle and bead to string them later. Bake clay pieces according to your clay brand’s instructions (usually ~275°F for 15 minutes).
Step 3: Once cooled, string clay pieces and beads onto the leather cord in alternating patterns. Tie the top of the cord onto a wooden ring.
#16. A Diy Vinyl Records Shelf Display
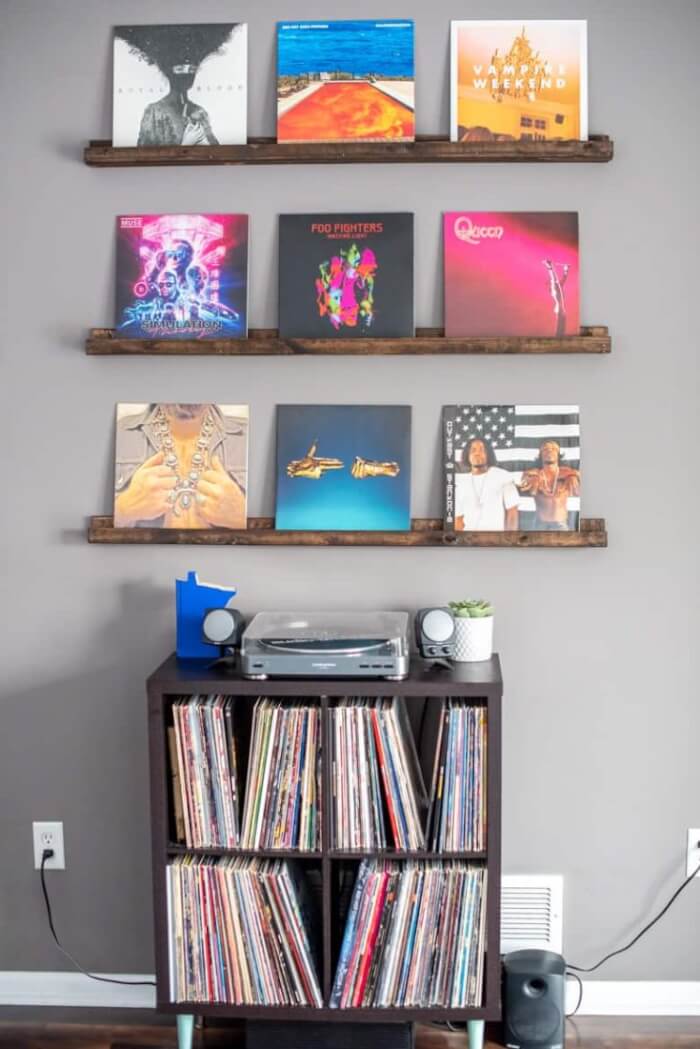
This DIY project is perfect for anyone who wants to show off their favorite vinyl album covers.
Materials Needed
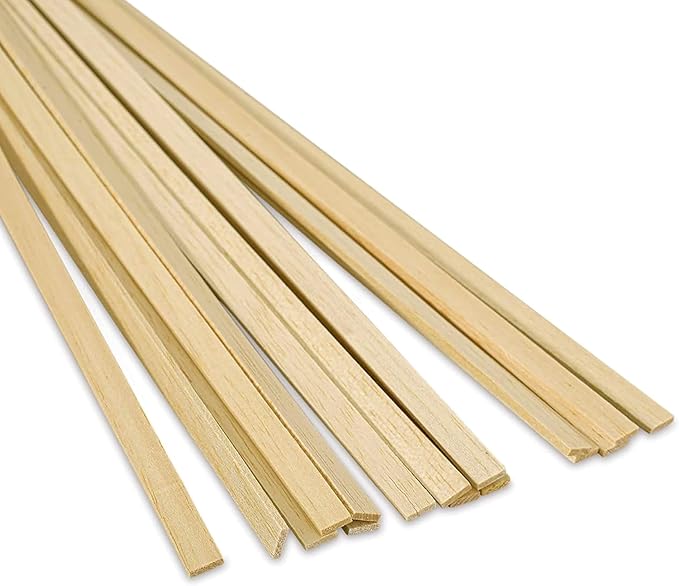
- 3 1″x4″ pine boards (36″ each)
- 3 1″x2″ pine boards (36″ each)
- Wood glue and 1¼” nails or screws
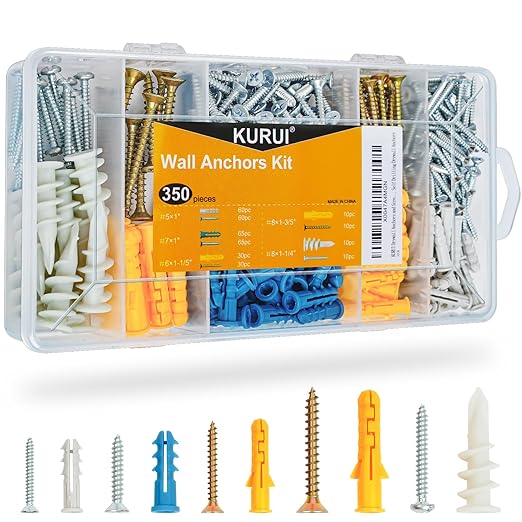
- Wall anchors + screws
- Stain
- Drill, saw, sandpaper
Step-by-step Guide
Step 1: Cut your boards to your desired width (36″ is perfect for 3 records per shelf). Lightly sand the edges and surface for a clean finish.
Step 2: Attach each 1″x2″ board to the front edge of a 1″x4″ base using wood glue and nails.
Step 3: Once assembled, stain or paint the shelves and let them dry fully. Then, mount the shelves to your wall using screws and anchors.
#17. DIY Farmhouse Sign Decor
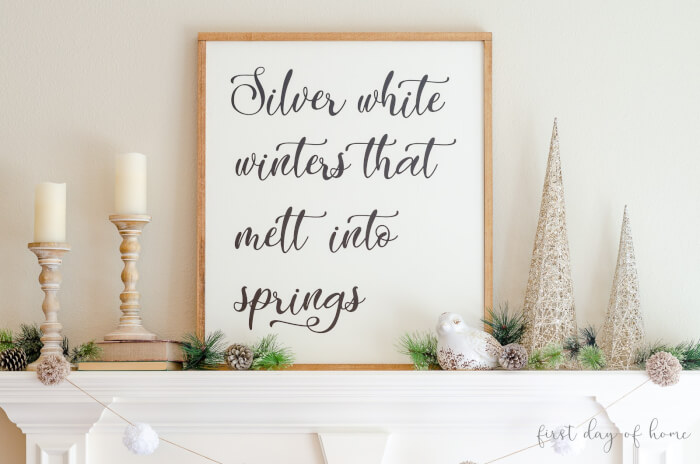
You can customize the phrase to anything that speaks to your heart from holiday lyrics to favorite poems.


Materials Needed
- 1 sheet of MDF board (18″x24″)
- Pine boards (2 pieces at 24″, 2 pieces at 18″)
- Vinyl quote decal
- White acrylic paint, black paint or permanent marker
- Wood glue
- Sandpaper and clear sealant (optional)
Step-by-step Guide
Step 1: Paint the MDF board with two coats of white paint. Let it dry completely before applying the quote.
Step 2: Add your vinyl decal using graphite paper and a printed template. Fill in the lettering using a black paint pen or brush.
Step 3: Cut and stain the pine trim pieces. Attach them around the board’s edges using wood glue or a nail gun.
Step 4: Add hanging hardware to the back or lean it against the wall. Style with pinecones, garland, and candles for that seasonal charm.
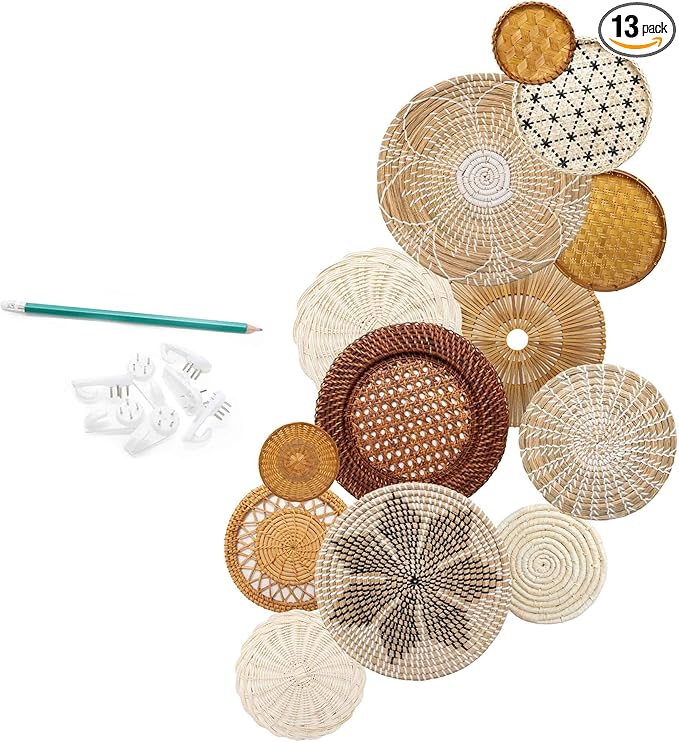
#18. Boho Wall Decor
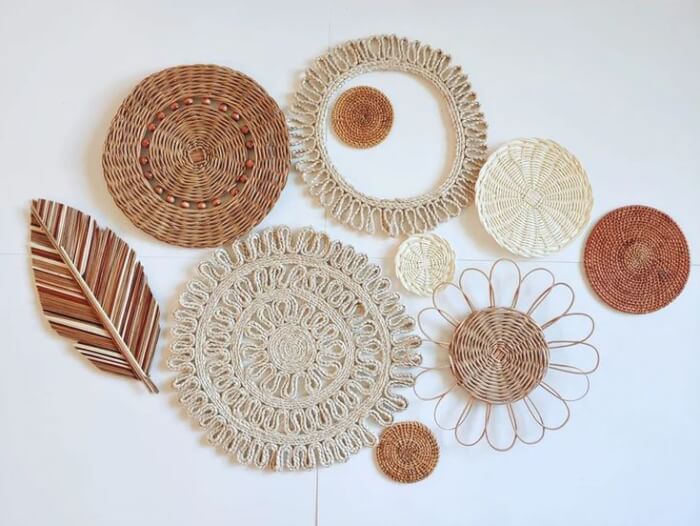
You can use thrifted pieces, placemats, or handmade woven chargers.

Materials Needed
- 8–10 assorted woven baskets (sizes 4″–16″)
- Double-sided wall-safe adhesive
- Optional accents: jute twine, beads, painted wood details
- Level, pencil, and paper cutouts
Step-by-step Guide
Step 1: Lay out all baskets on the floor and test arrangements. Add enhancements if desired, wrap some basket rims with jute twine or glue on wood beads for added texture.
Step 2: Use wall-safe adhesive or small nails to attach each basket. Start with the center or largest piece and build outward.
Step 3: Step back and adjust spacing as needed. Overlap slightly for a fuller look, or spread them evenly for a cleaner vibe.
#19. Honeycomb Wall Decal
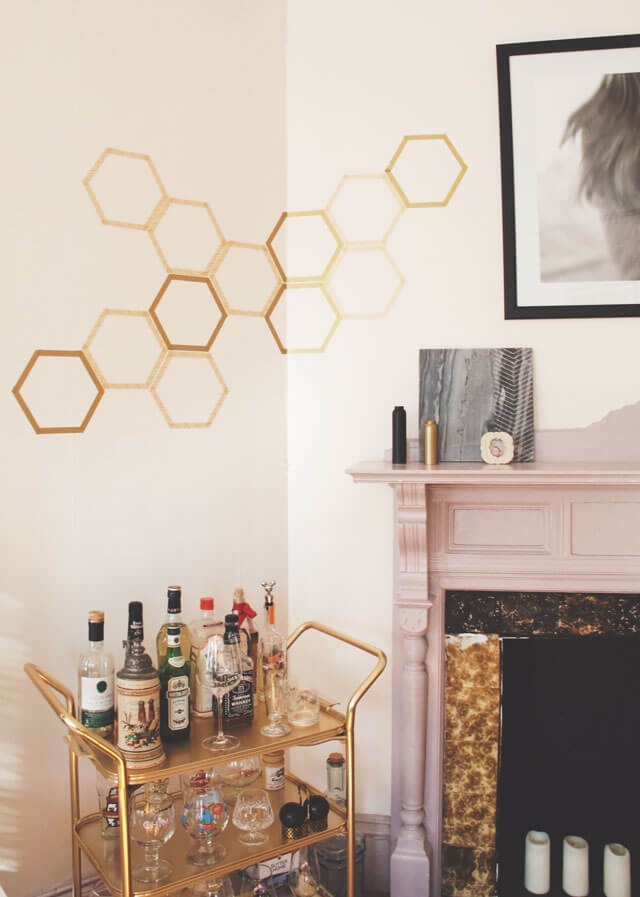
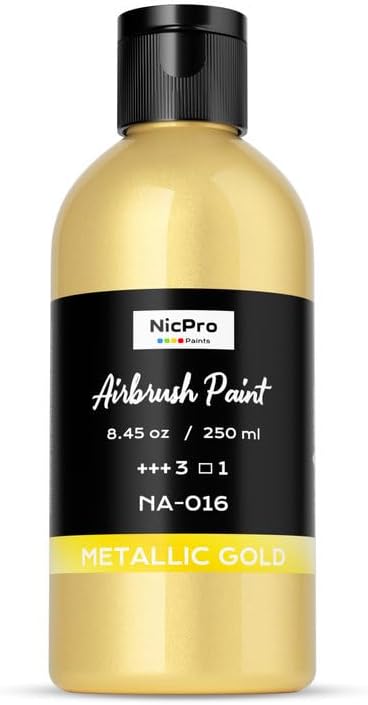
This gold honeycomb wall feature gives any space an upscale, designer touch using just wooden craft pieces and metallic spray paint.
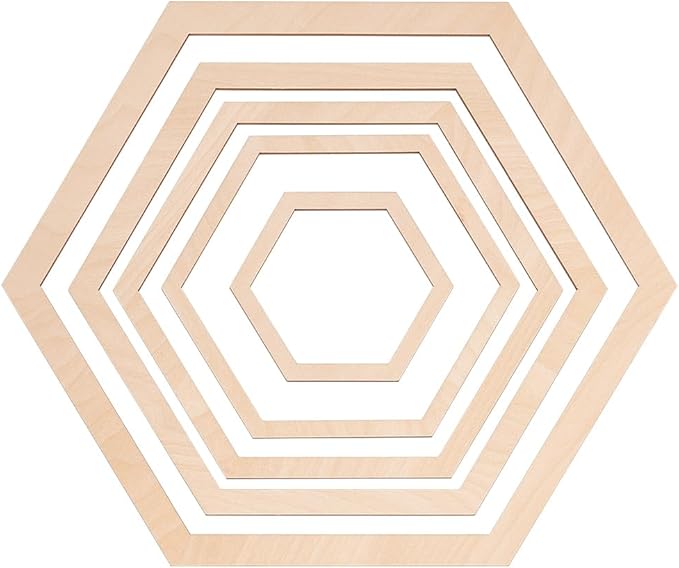
Materials Needed
- 12 wooden hexagon frames (6-inch side-to-side)
- Gold spray paint
- Double-sided mounting tape
- Protective gloves and drop cloth
Step-by-step Guide
Step 1: Lay out your hexagons on the floor in a honeycomb pattern.
Step 2: Take the hexagons outdoors or to a well-ventilated area. Spray them evenly with metallic gold paint. Let dry completely, about 1–2 hours.
Step 3: Use double-sided mounting tape to attach each hexagon to the wall. Start from the center and work outward to keep alignment clean.
#20. Simple Washi Tape Wall Art
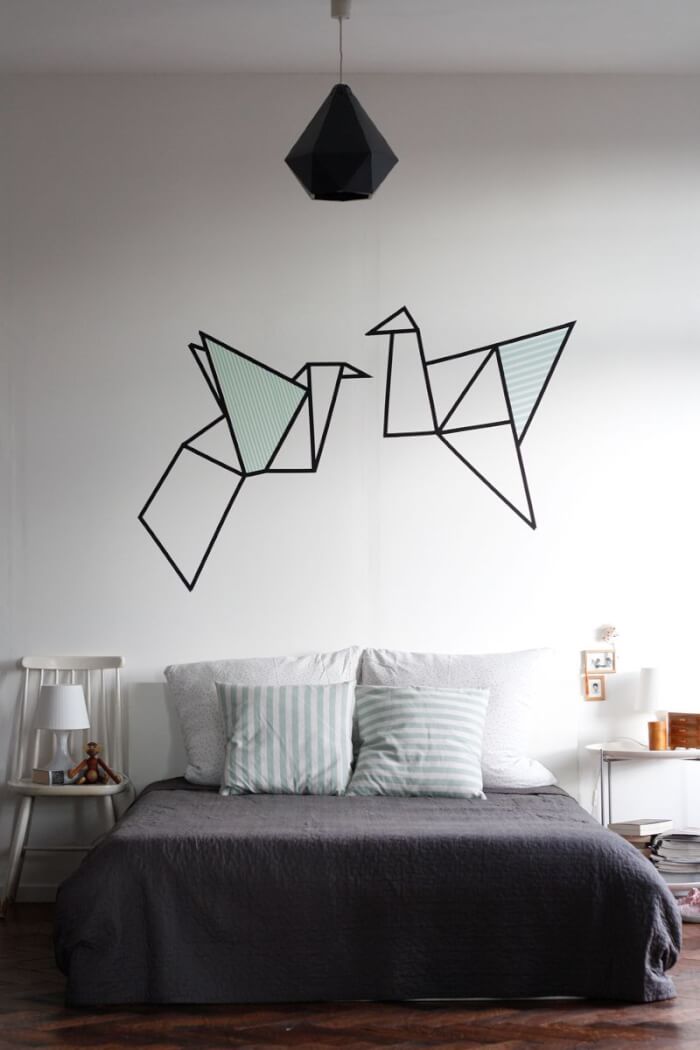
Inspired by origami, it’s created entirely with washi tape or vinyl strips, perfect for renters, budget decorators, or anyone who loves a quick refresh with serious style.
Materials Needed
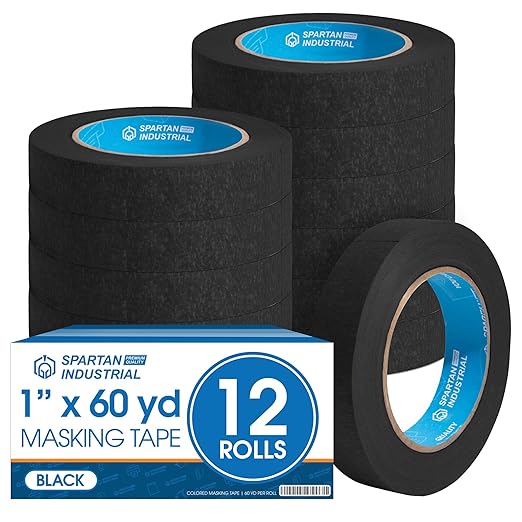
- 2 black washi tape rolls
- Ruler and pencil
- Paper (optional)
- Colored contact paper
- Double-sided tape
Step-by-step Guide
Step 1: Sketch your bird shapes on paper or directly on the wall using a light pencil. You can use simple triangle and trapezoid shapes to form an origami bird silhouette.
Step 2: Measure and cut the black washi tape into straight strips according to your sketch. Apply the tape to the wall, smoothing carefully as you go to avoid air bubbles or wrinkles.
Step 3: For the filled-in wing shapes, cut contact paper into matching triangles. Stick these shapes gently into the matching tape outlines.
#21. An Awesome Cork Board Wall Project You Can Do
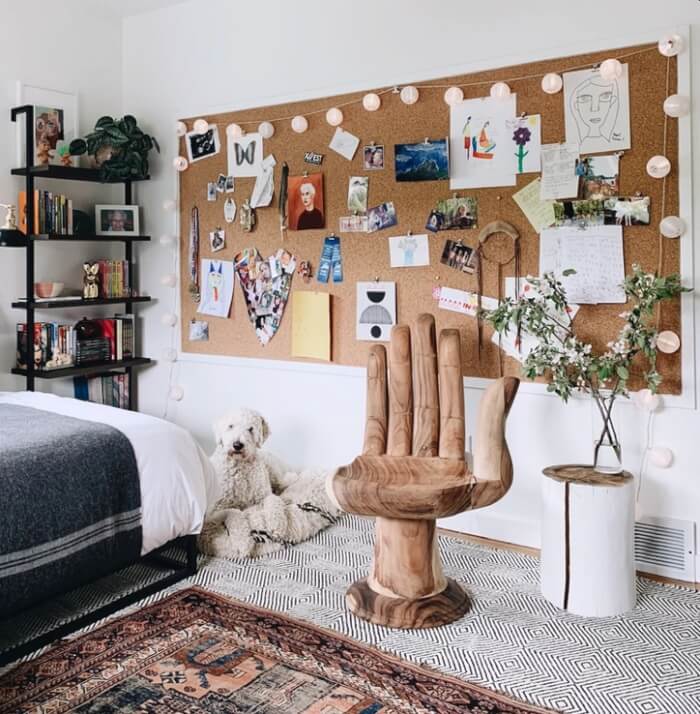
Whether you’re showcasing kids’ artwork, travel photos, ticket stubs, or daily affirmations, this project becomes your story told in pinned snapshots.
Materials Needed
-
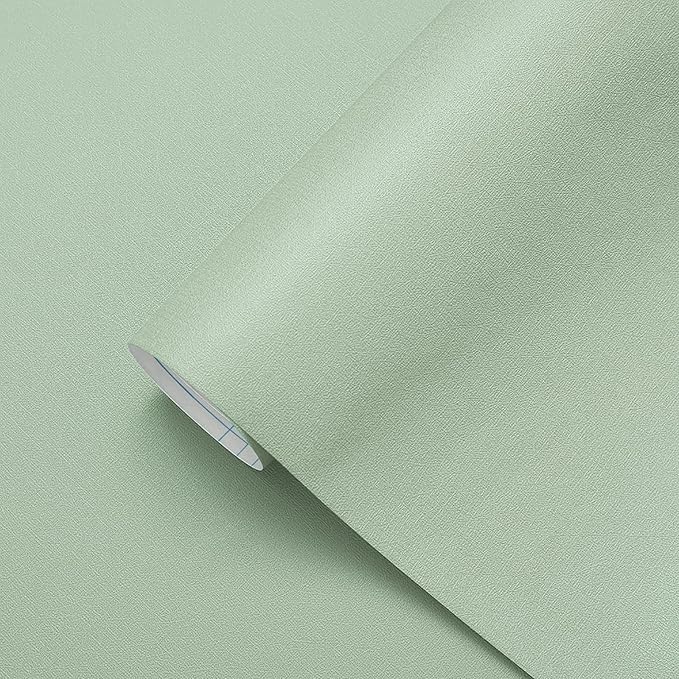
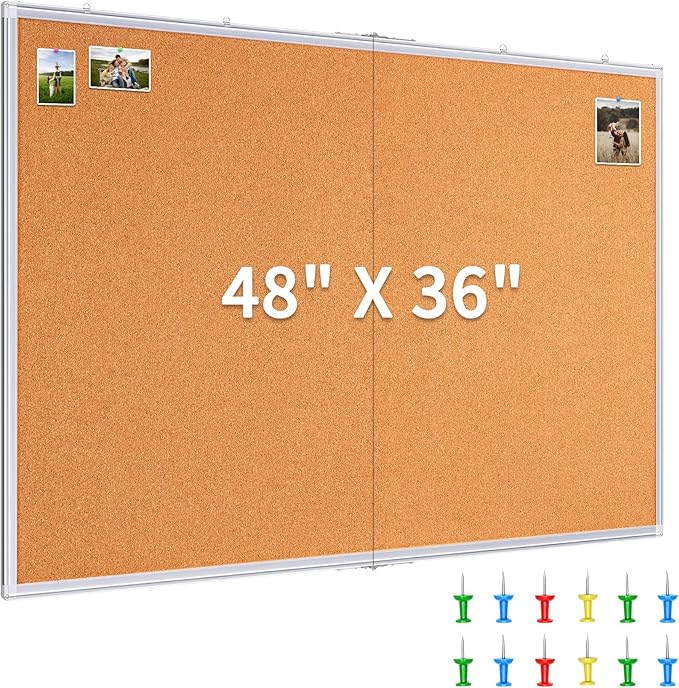
- 1 large corkboard panel (at least 48″ x 36″)
- Simple wooden frame strips (1″–2″ wide)
- Box of clear pushpins
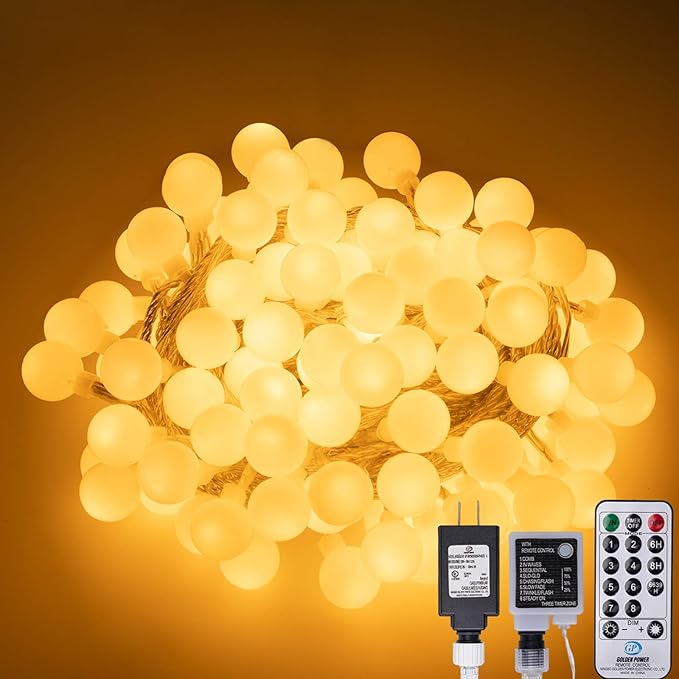
- String lights
- Mounting tools: wall anchors, screws, or command strips
Step-by-step Guide
Step 1: Mount the corkboard to the wall using wall anchors or command strips. For larger boards, it’s best to secure all corners.
Step 2: Attach frame trim if desired. Nail or glue around the edge to create a cleaner, finished look.
Step 4: String up lights around the border using transparent hooks or clips, then begin pinning with art, snapshots, quotes, tickets, fabric swatches.
#22. Easy Metal DIY Moon Phases Wall Hangings
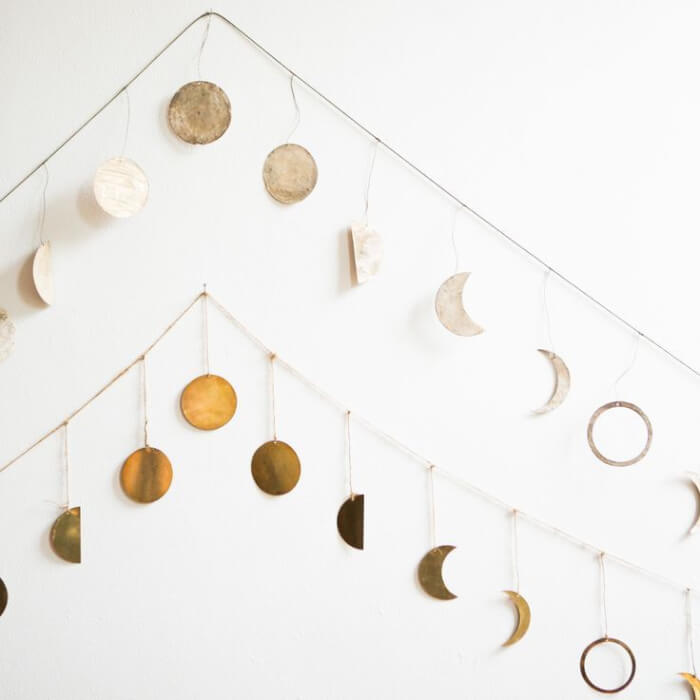
Inspired by the lunar cycle, the golden and pearl-toned pieces catch sunlight during the day and cast enchanting shadows by night.
Materials Needed
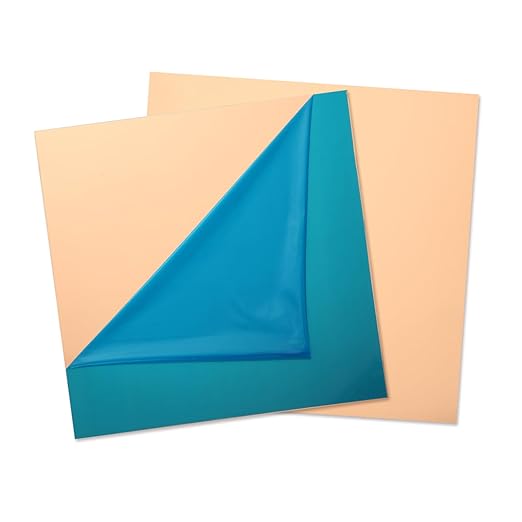
- 15-20 metal sheets (1.5″–2.5″ wide)
- Capiz shell discs
- Twine
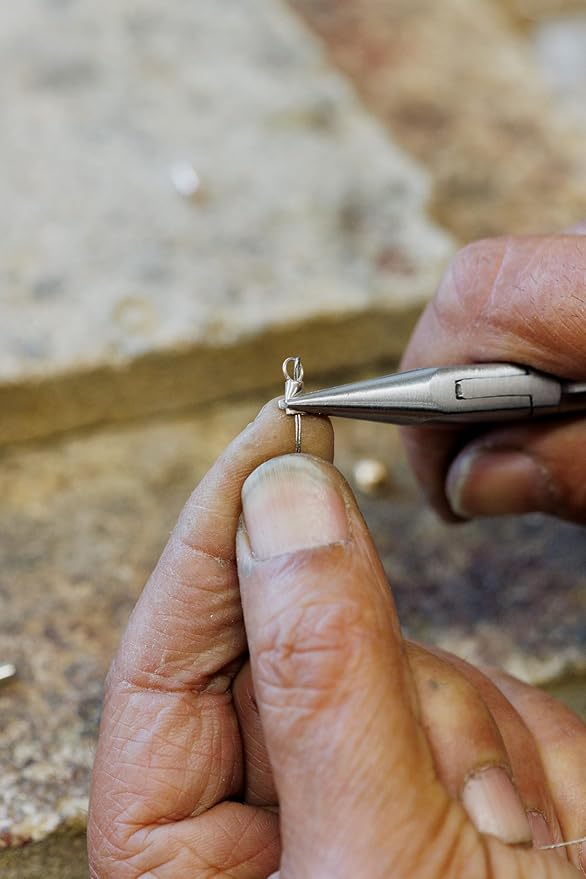
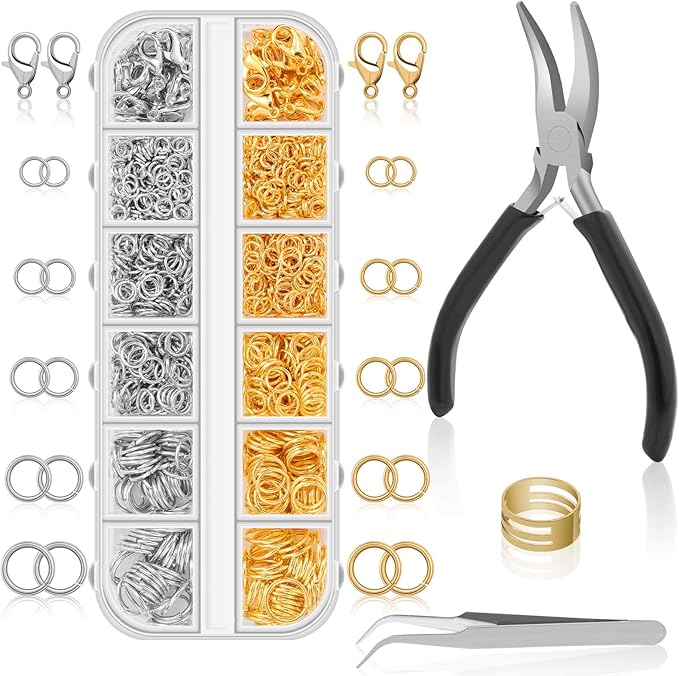
- Small jewelry pliers and jump rings
- Mini drill
- Wall hooks
Step-by-step Guide
Step 1: Arrange your moon phases on a flat surface—mix full, half, crescent, and gibbous shapes in brass and capiz for contrast.
Step 2: Drill small holes (⅛”) near the top of each disc. Use pliers and jump rings to attach them to a main strand of twine or string, evenly spaced about 2–3 inches apart.
Step 3: Create two or three separate strands and stagger them to form a triangle or cascading formation on the wall.
Step 4: Secure each end to the wall using clear adhesive hooks, or tie the strands to a lightweight dowel or stick for a mobile-style hanging.
#23. Paper Chain Wall Hangings
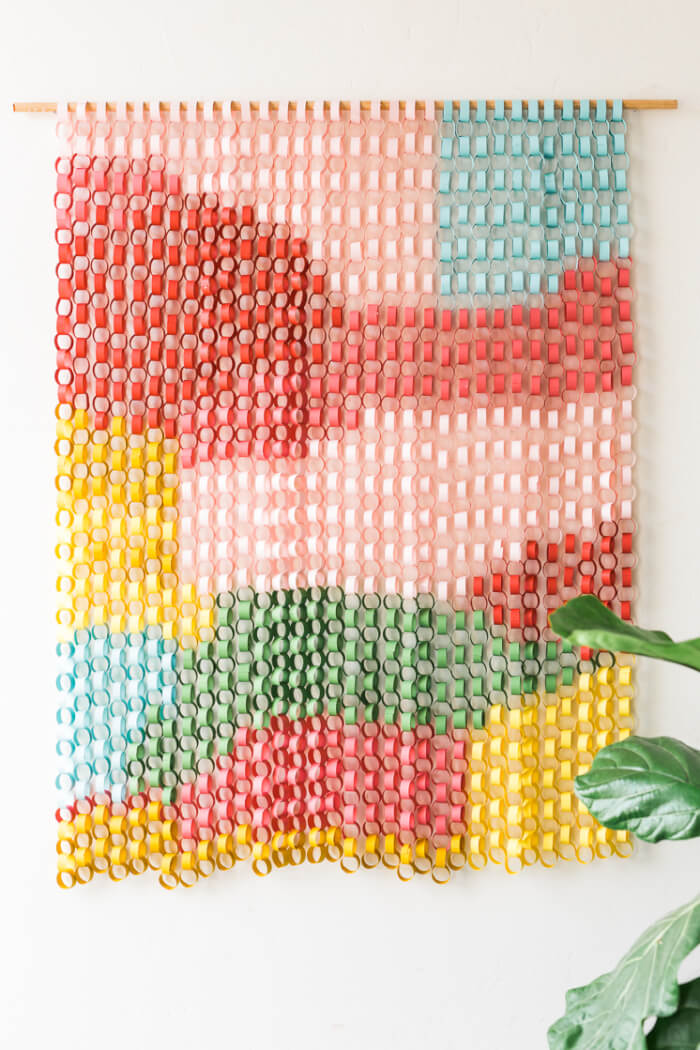
Each tiny loop is handcrafted, forming a gradient of playful color blocks that feel like a blend of 80s art and modern punch.
Materials Needed
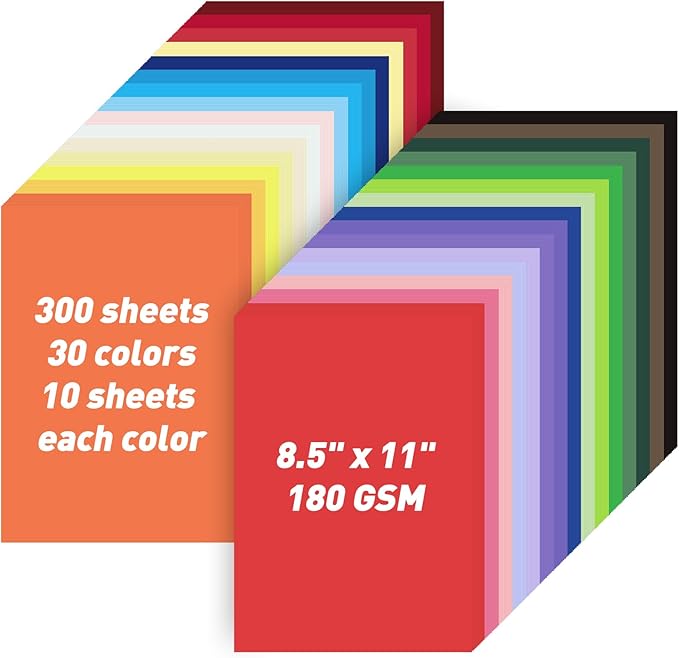
- 10 cardstock papers (cut into ½” x 3″ strips)
- Hot glue gun
- Wooden dowel rod (24–30″ long, ½” thick)
- Fishing line
Step-by-step Guide
Step 1: Cut your cardstock into ½” x 3” strips, then form each strip into a loop and glue the ends together. Create long vertical chains by gluing one loop through the next, like a paper chain curtain.
Step 2: Once your chains are ready, glue the top loop of each to the wooden dowel in your planned order.
Step 3: Tie twine to each end of the dowel, hang it up, and fluff your paper chains if needed.
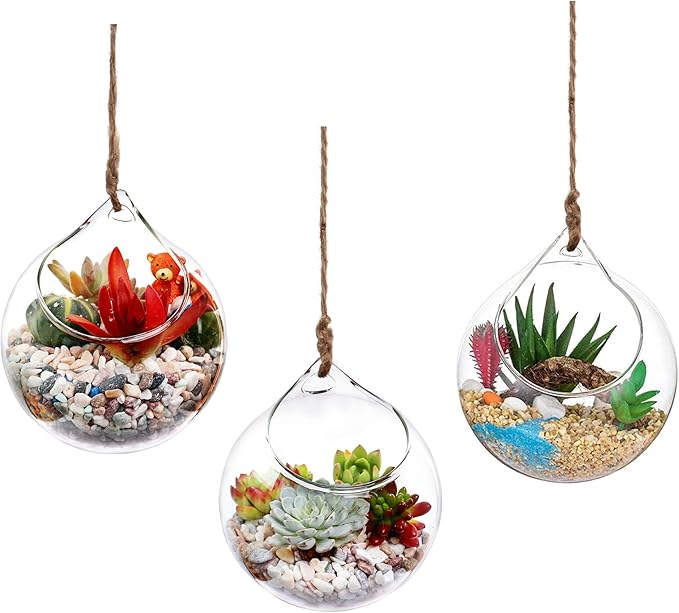
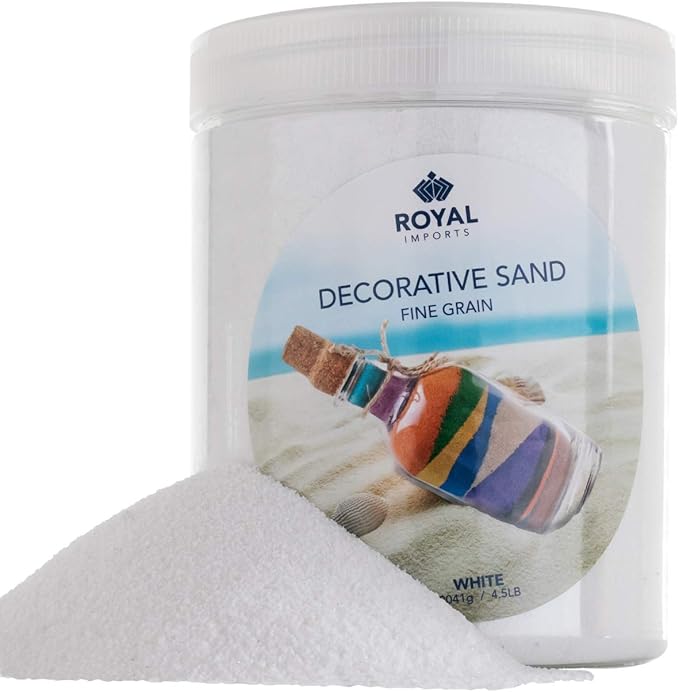
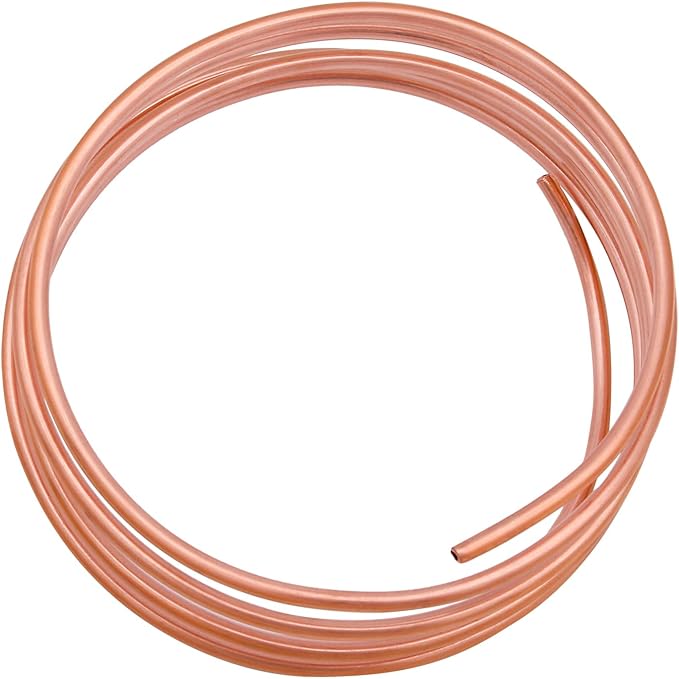
#24. DIY Hanging Succulent Wall Decor
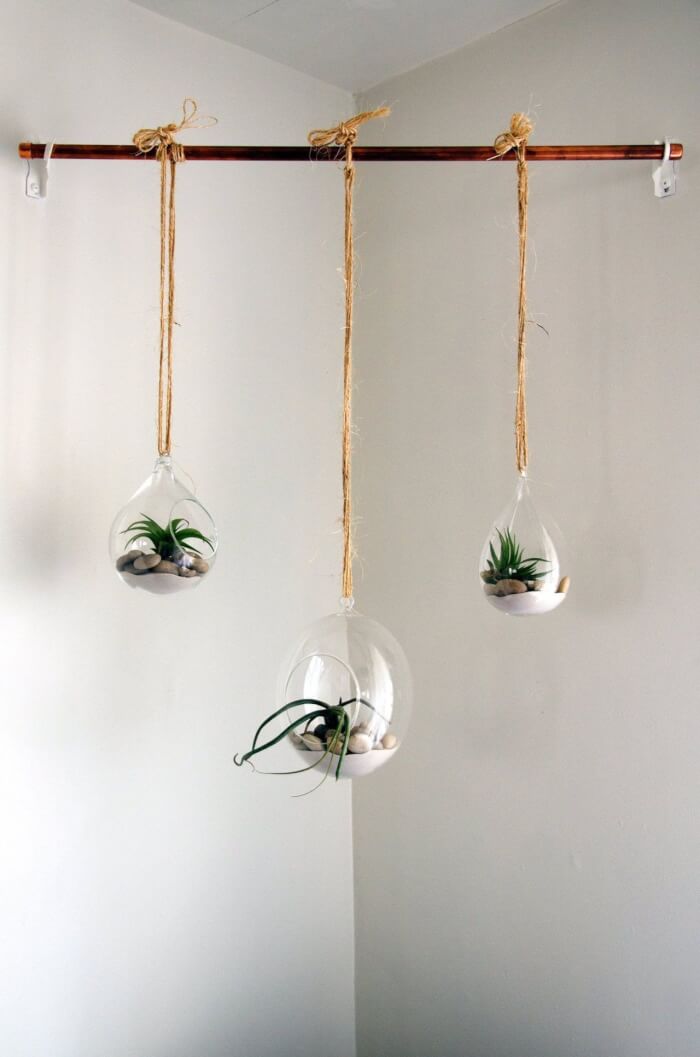
The floating glass, wrapped in rustic jute, adds an airy, modern feel to your corner without taking up any floor space.

Materials Needed
- 3 glass hanging terrariums
- White sand
- Air plants
- Jute twine
- Copper pipe (24–30″)
- Ceiling hooks
Step-by-step Guide
Step 1: Fill the bottom of each terrarium with a small layer of pebbles or sand. Nestle one air plant inside each.
Step 2: Cut three equal lengths of jute rope. Tie one securely to the top loop of each terrarium, adjusting height as needed.
Step 3: Loop the other end of the rope around your copper pipe and knot it tightly, then mount your copper pipe to the ceiling or wall with brackets or heavy-duty hooks.
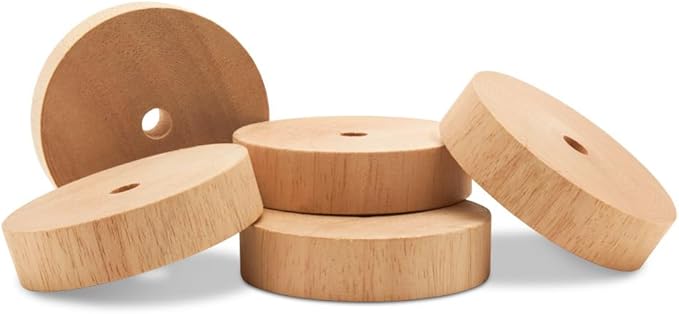
#25. DIY Wall Propagation Tubes
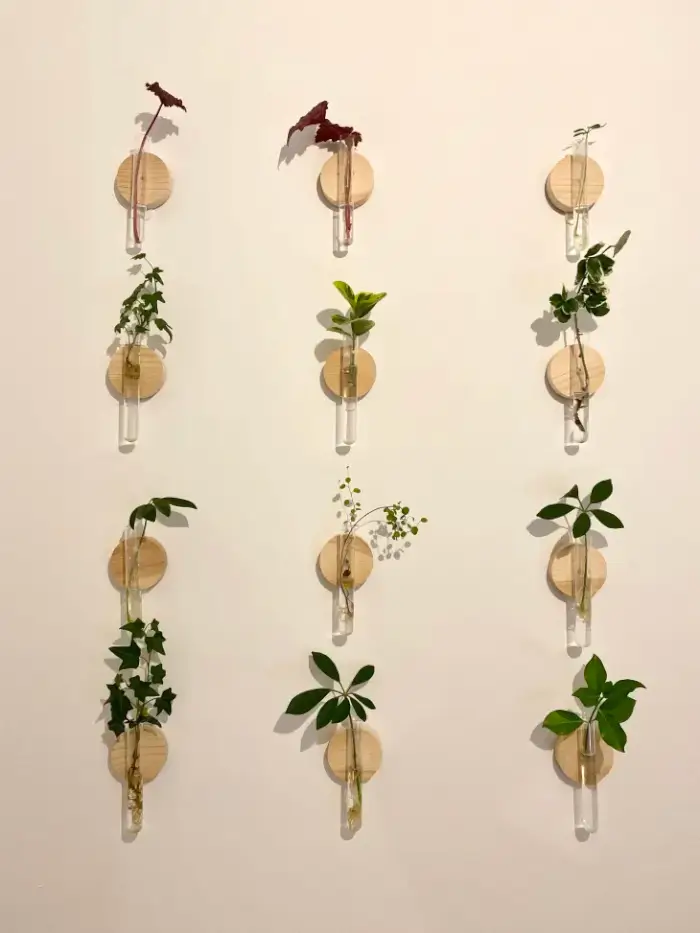
I love how it brightens up an empty wall with greenery while doubling as a propagation station.

Materials Needed
- 12 glass test tubes (6″ tall, 1″ wide)
- 9 wood discs (2.5″–3″ diameter)
- Copper, brass
- Screws and drywall anchors
- Small fresh plant cuttings
- Drill + level + pencil
Step-by-step Guide
Step 1: Attach each tube clamp to the center of a wooden disc using a screw or strong adhesive. Let dry if using glue.
Step 2: Mount each disc onto the wall using screws and wall anchors, aligning with your marked grid.
Step 3: Slide your test tubes into the clamps and tighten gently to hold them in place, then add cuttings of your favorite greenery.
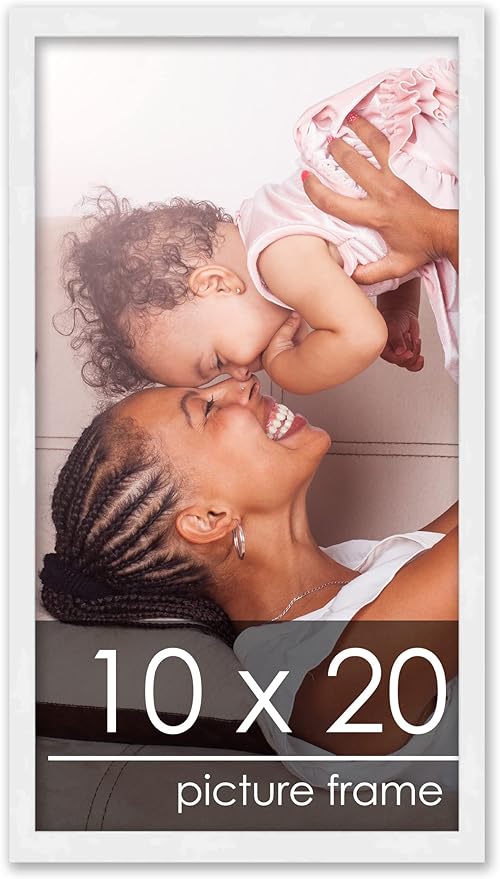
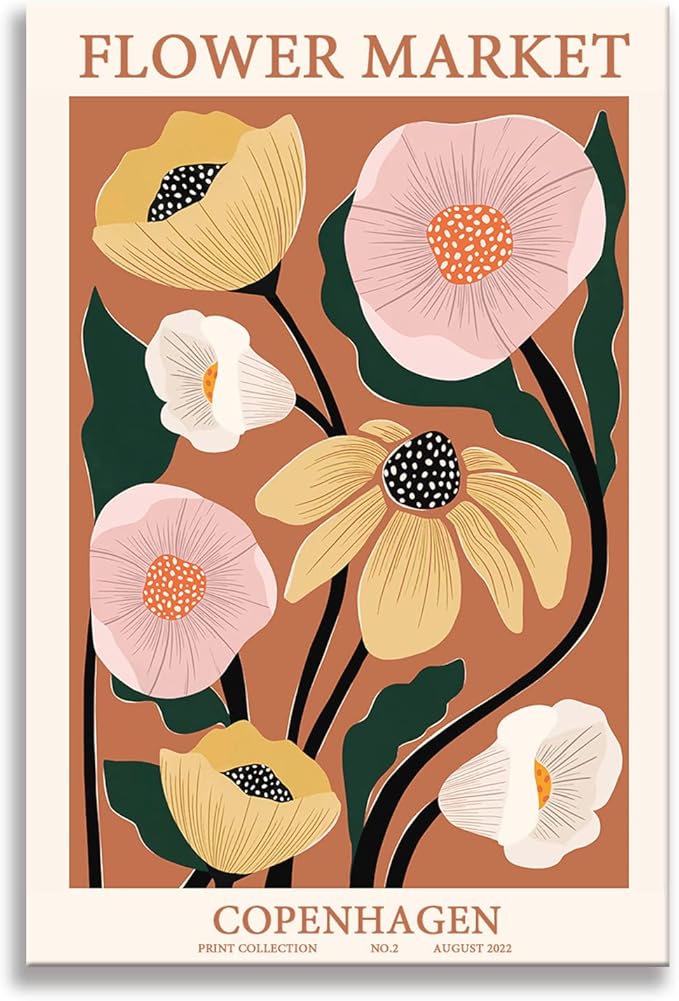
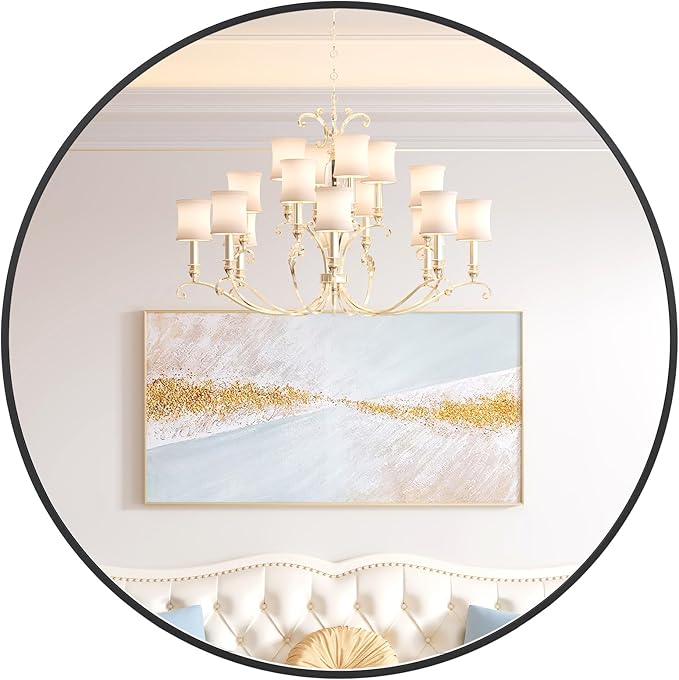
#26. DIY Beautiful Floral Art
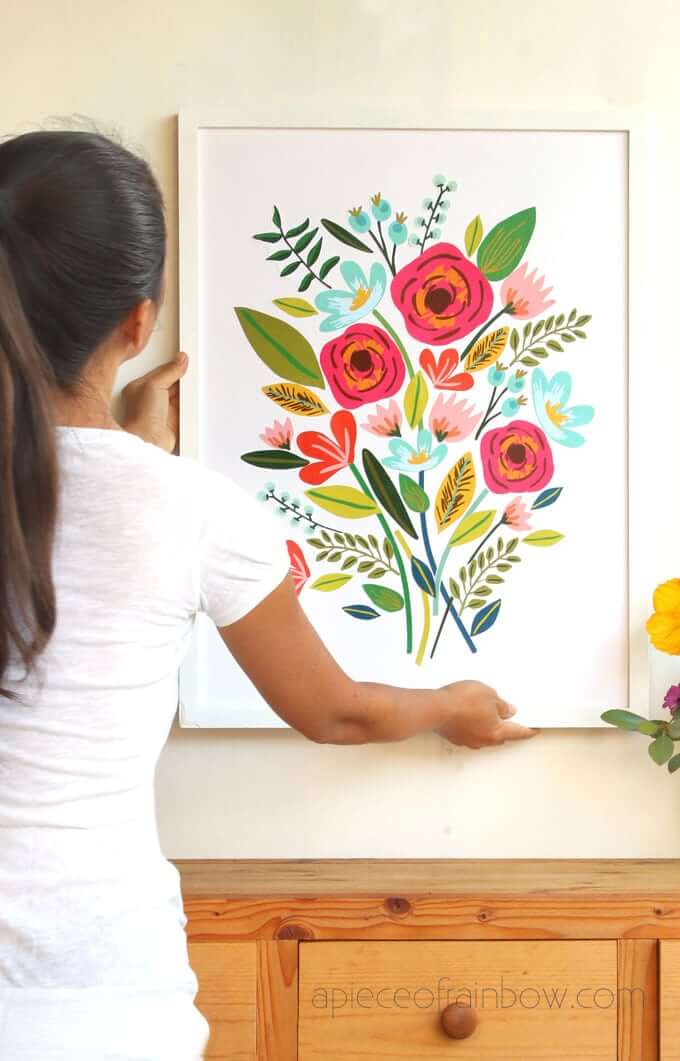
A vibrant floral print like this instantly becomes the heart of a space, especially when paired with a simple wooden frame.
Materials Needed
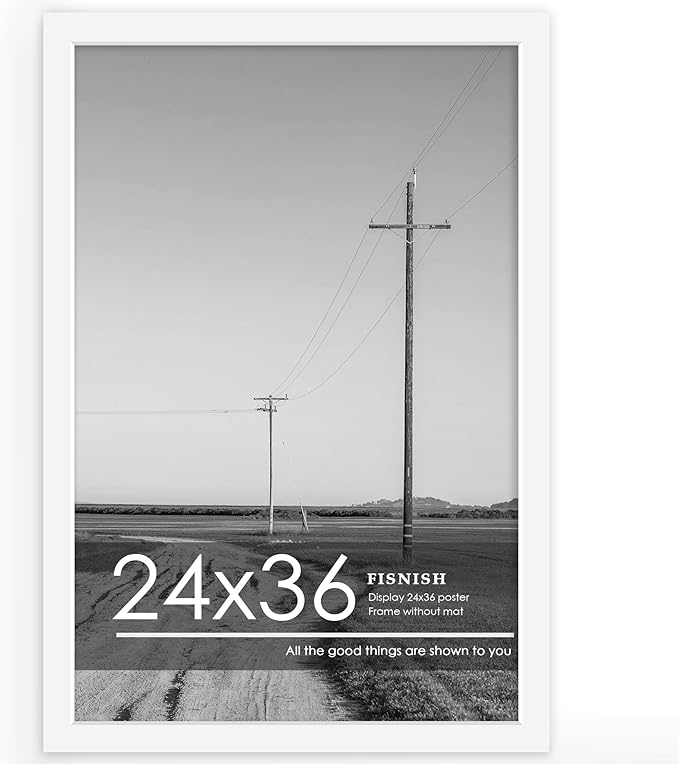
- Floral poster (size 18″x24″ or 24″x36″)
- Lightweight poster frame (optional glass or acrylic cover)
- Double-sided mounting tape
- Optional: Matte board backing
Step-by-step Guide
Step 1: Print or order your floral poster in the desired size. Use high-quality paper for better color vibrancy.
Step 2: If you’re building a frame, cut and assemble wooden slats to form the border. Otherwise, insert your poster into a store-bought frame.
Step 3: Attach double-sided mounting tape to the back of the frame, especially in the corners and center.
#27. Random Ribbon Wall Hanging With Tassels And Ties
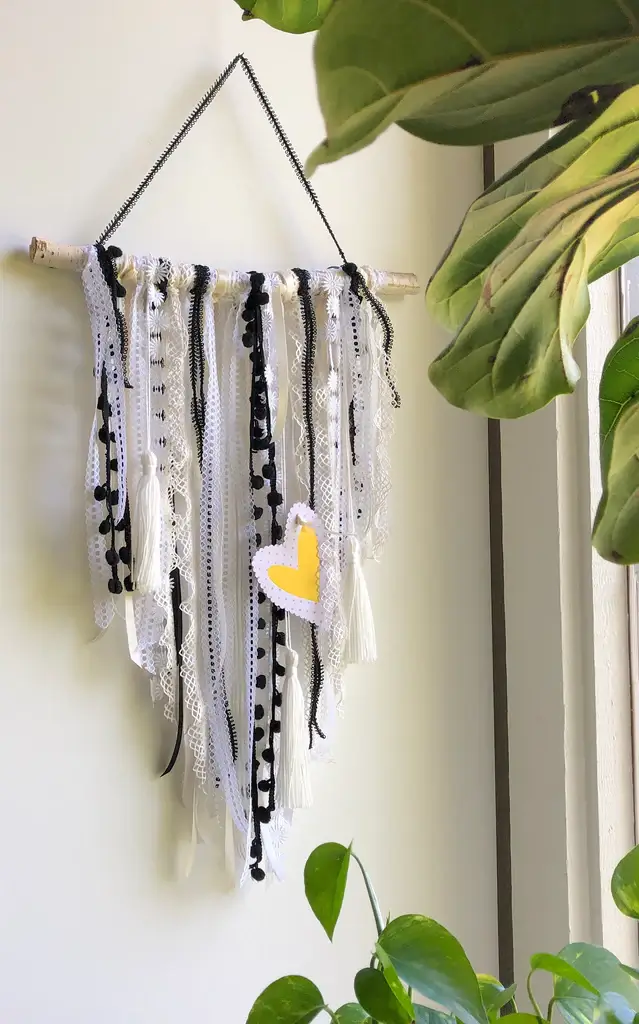
This dreamy hanging brings together scraps of lace, tassels, pom-pom trims, and a sweet paper heart to add softness and joy to any room.


Materials Needed
- 1 natural wood stick (about 14″–18″ long)
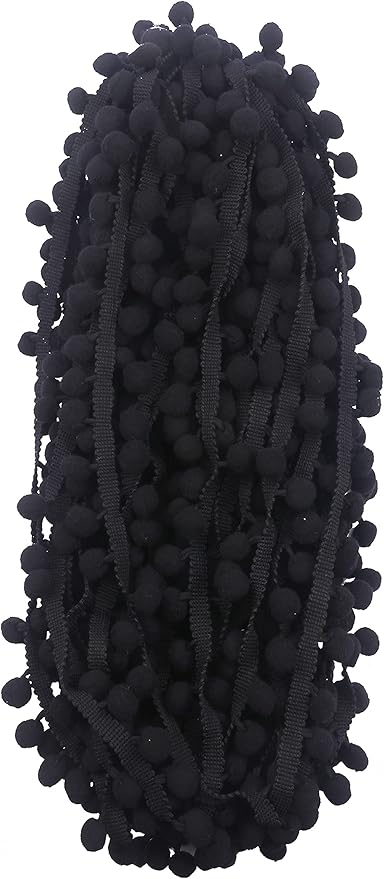
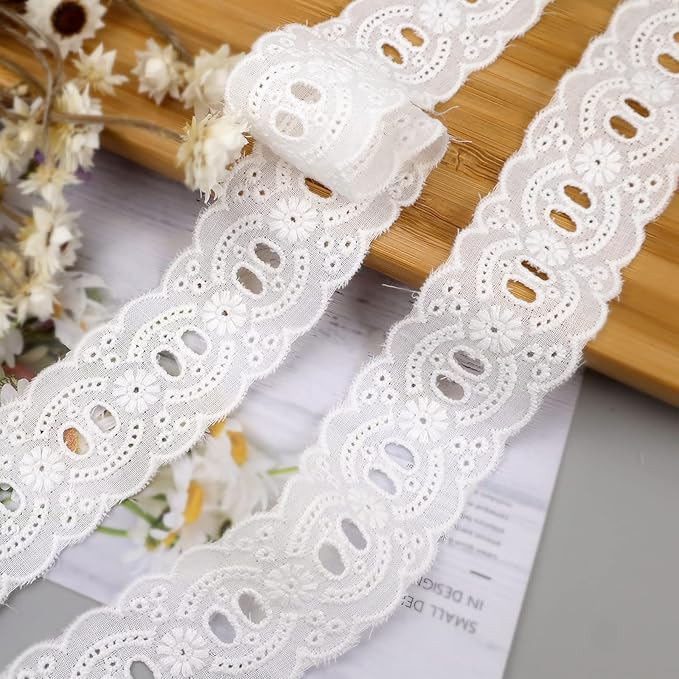
- Assorted black, white, and ivory ribbons (lace, satin, pom-poms, cotton trim)
- White yarn
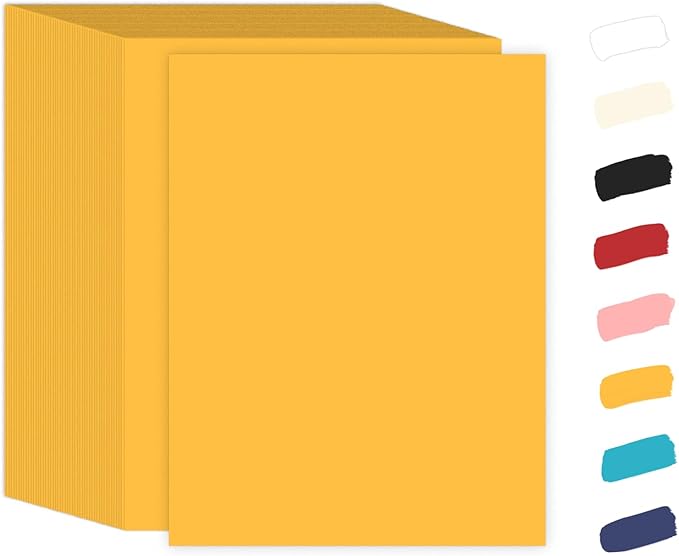
- Yellow cardstock
- Scissors, hot glue gun, and optional hole punch
Step-by-step Guide
Step 1: Cut various ribbons and trims into equal lengths (20–30″). Fold each piece in half and loop them over the stick using a lark’s head knot or simply tie them on.
Step 2: Create 2–3 small tassels using white yarn and tie them into the hanging for volume and softness.
Step 3: Cut a small heart from yellow cardstock. Punch a hole at the top, tie a thread through it, and let it dangle playfully in the center.
#28. DIY Modern Art Copy Fabric Wall Hanging
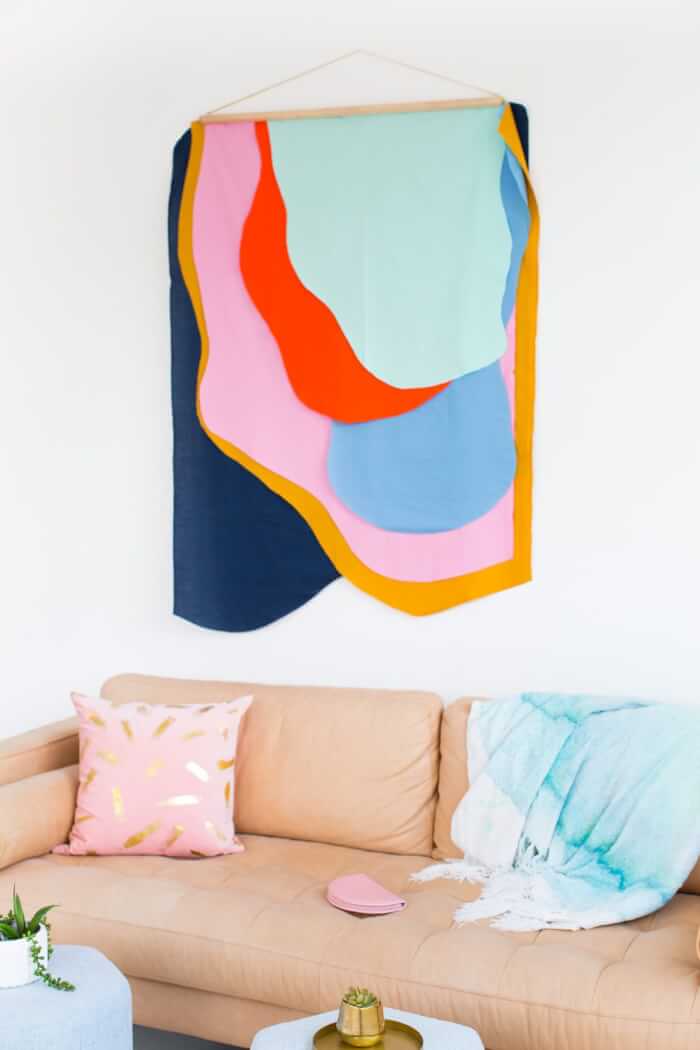
I remember making one with my favorite color combos and it turned a bland corner into a conversation piece.

Materials Needed
- 1 wooden dowel rod (about 24″ wide, ¾” thick)
- 5–6 colors of felt (each around 18″x24″)
- Fabric glue
- Sharp fabric scissors
- Hot glue gun
- Cotton rope
Step-by-step Guide
Step 1: Cut each piece of fabric into soft, curved abstract shapes. Think puddles, blobs, or topographic layers, don’t overthink the shapes, just flow with it.
Step 2: Start with the largest background layer (like the navy one). Lay it flat, then layer each shape on top, gluing or pinning in place as you go.
Step 3: Once all pieces are layered and secured, attach the top edge to your dowel using hot glue, staples, or by folding it over and stitching the fabric to form a sleeve.
Step 4: Tie cotton rope or twine to each end of the dowel and hang it up like a banner.
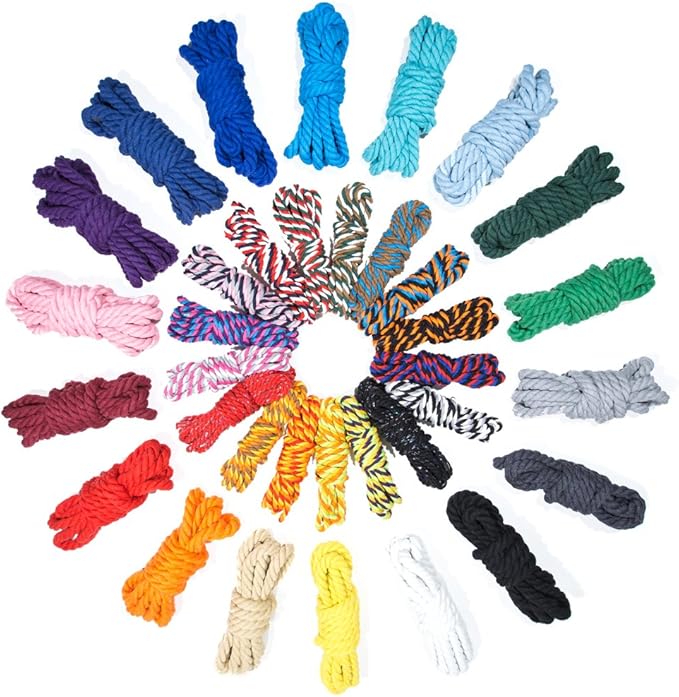
#29. Draped Colorful String Wall Decor
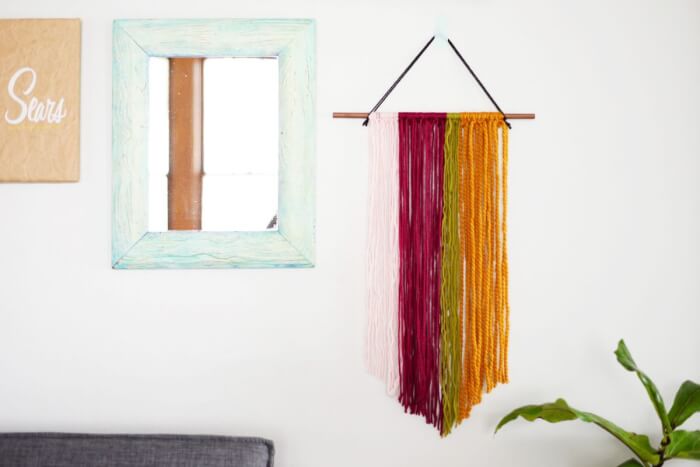
This was one of the quickest wall decor projects I ever made, yet the effect was so bold.
Materials Needed
- 1 wooden dowel rod (18–24″ wide, ¾” thick)
- 4–6 colors of yarn (30 yards)
- Fabric scissors
- Cotton rope
Step-by-step Guide
Step 1: Cut yarn strands about 36–40 inches long (they’ll hang folded in half). You’ll need about 10–12 strands per color block depending on width and fullness.
Step 2: Use a lark’s head knot to attach each yarn strand to the dowel. Fold the yarn in half, slide the loop over the dowel, pull the ends through the loop, and tighten.
Step 3: Group your yarn by color in sections, like light pink, wine red, olive green, and mustard yellow to create an ombre or striped effect.
Step 4: Once all yarn is attached, trim the bottom into a sharp V, gentle curve, or leave it raw and boho-style.
#30. DIY Mirror And String Wall Décor Tassels
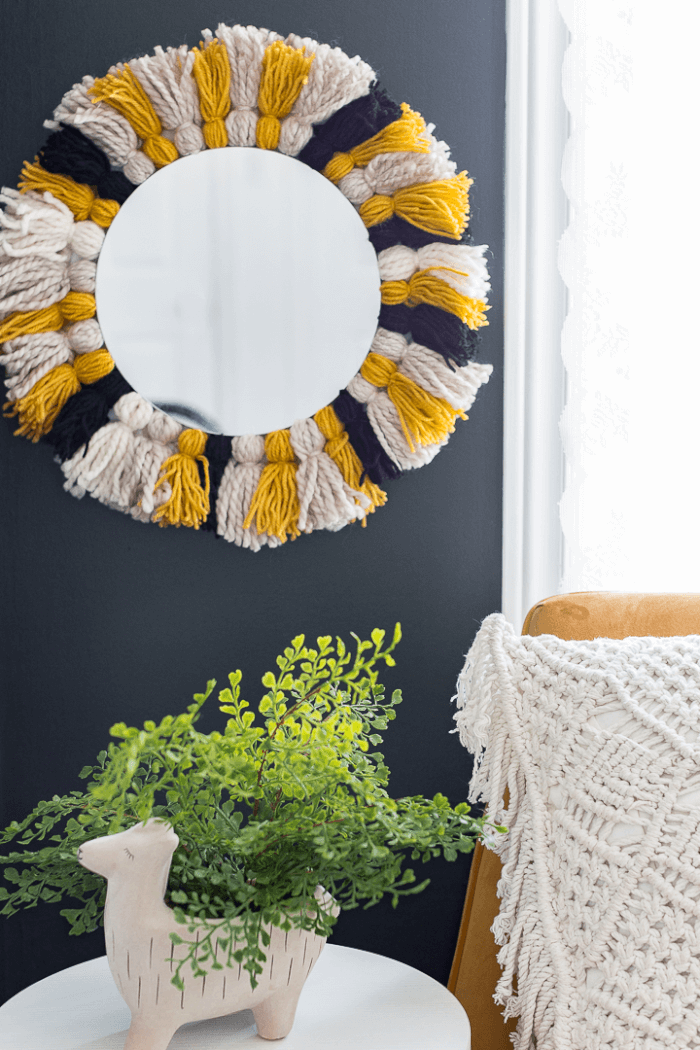
This project is full of satisfying little moments, cutting strands, bundling tassels, watching a flat mirror come to life with warm texture.
Materials Needed
- 1 round mirror (12″–18″ diameter, frameless)
- Thick yarn in 3 colors (mustard, cream, black – approx. 50 yards each)
- Hot glue gun + glue sticks
- Cardboard piece
- Scissors
Step-by-step Guide
Step 1: Cut a piece of cardboard around 6–7 inches wide. Wrap yarn around it about 10 times, then cut across the bottom and tie one end with a short piece of yarn to create a tassel. Repeat to make around 30 tassels in total, alternating colors.
Step 2: Trim and fluff each tassel to even out the ends. Group them in color sequences, like 2 mustard, 2 cream, 1 black, then repeat the pattern.
Step 3: Flip the mirror over. Using your glue gun, attach each tassel around the back edge, letting the tops of the tassels peek over the mirror rim.
#31. DIY Fringed Mirror Wall Hanging
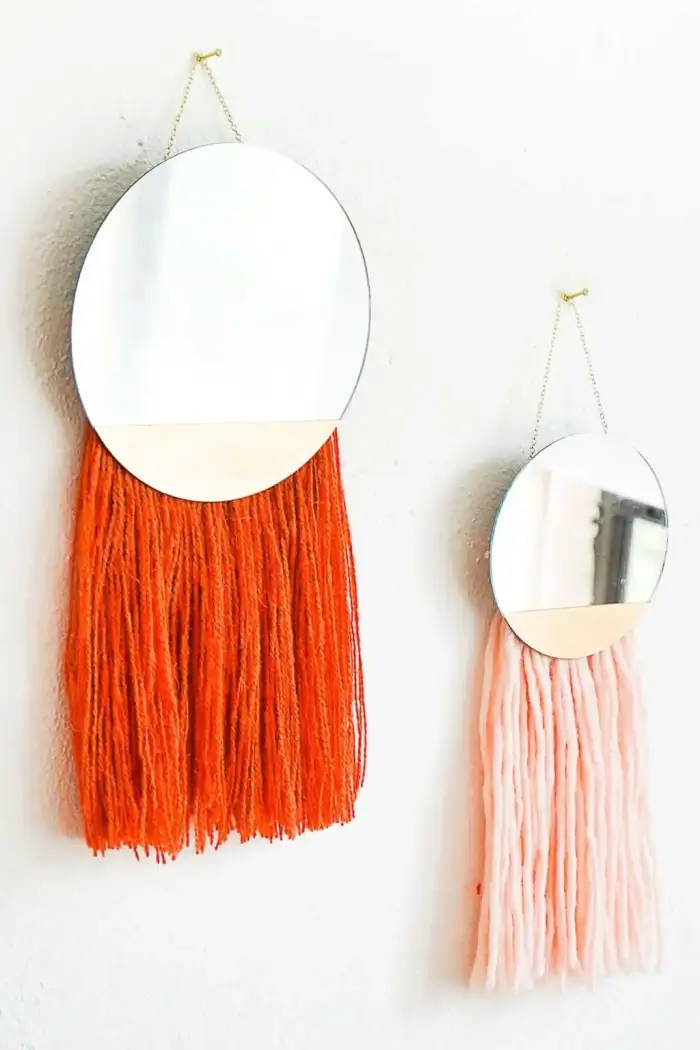
The yarn softens the mirror’s edge, and that fringe movement catches light just right when the window’s open.
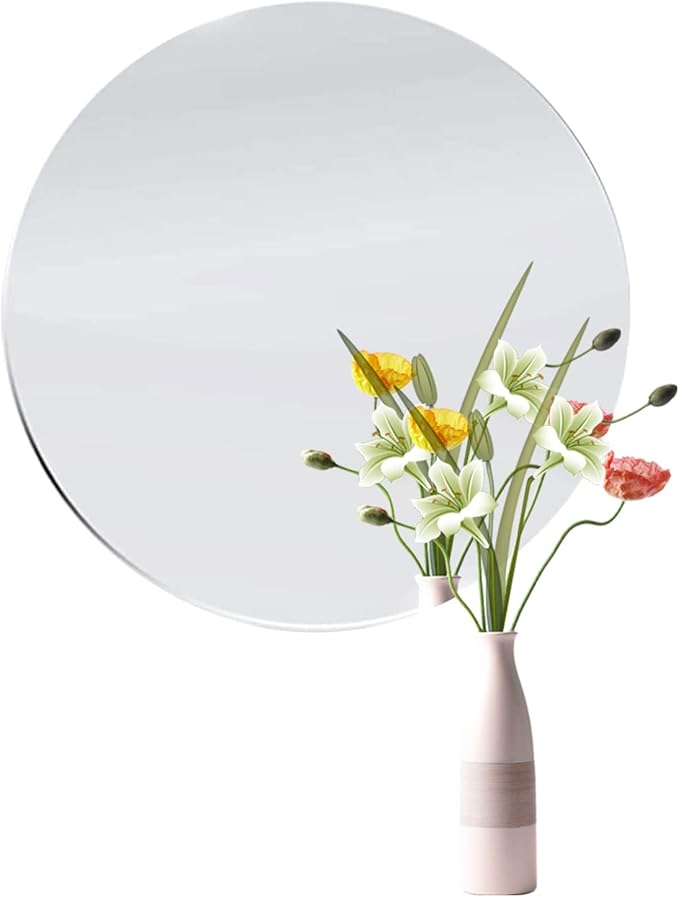
Materials Needed
- 2 round frameless mirrors (small: 6″, large: 10″)
- Yarn skeins (about 25 yards per mirror)
- Hot glue gun + glue sticks
- Hanging chain
- Scissors and ruler
Step-by-step Guide
Step 1: Cut yarn strands around 20 inches long (adjust for how long you want the fringe). You’ll need about 40–60 pieces per mirror.
Step 2: Flip the mirror over. Create a thick line of glue along the lower back edge and press in the yarn strands side-by-side. Let the strands hang freely from the bottom.
Step 3: Once dry, flip the mirror over and trim the yarn ends evenly or give it a soft tapered shape with sharp scissors.
Step 4: Attach chain or twine to the back using more hot glue or mirror-safe adhesive hooks.