Have you ever looked at your old jewelry and wondered what to do with it? Maybe it’s a collection of sentimental pieces that no longer match your style or a handful of mismatched earrings you just can’t throw away.
This list of 32 Stunning DIY Jewelry Crafts to Breathe New Life into Treasured Old Pieces is your solution. From turning vintage brooches into dazzling wall art to creating bookmarks from delicate chains, these projects combine creativity with a touch of nostalgia.
Whether you’re crafting unique gifts or refreshing your home decor, these ideas are perfect for making the most of your treasured keepsakes.
This article contains affiliate links. If you purchase through them, I may earn a small commission at no extra cost to you. Thank you for your support!
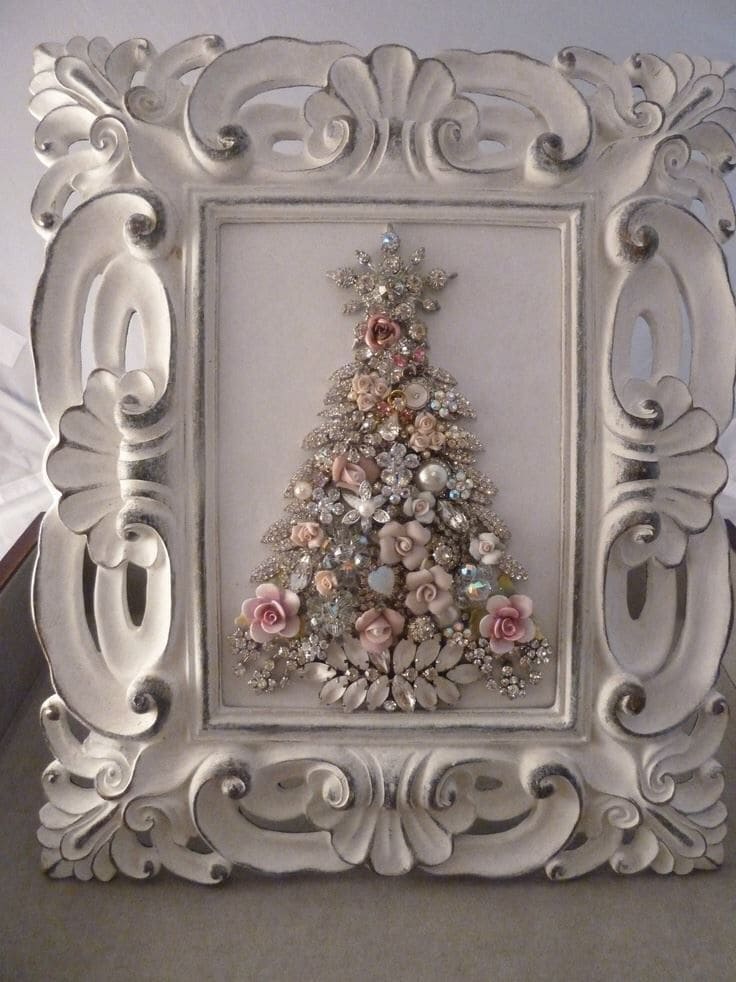
#1. Glittering Jewelry-Embellished Christmas Canvas Art
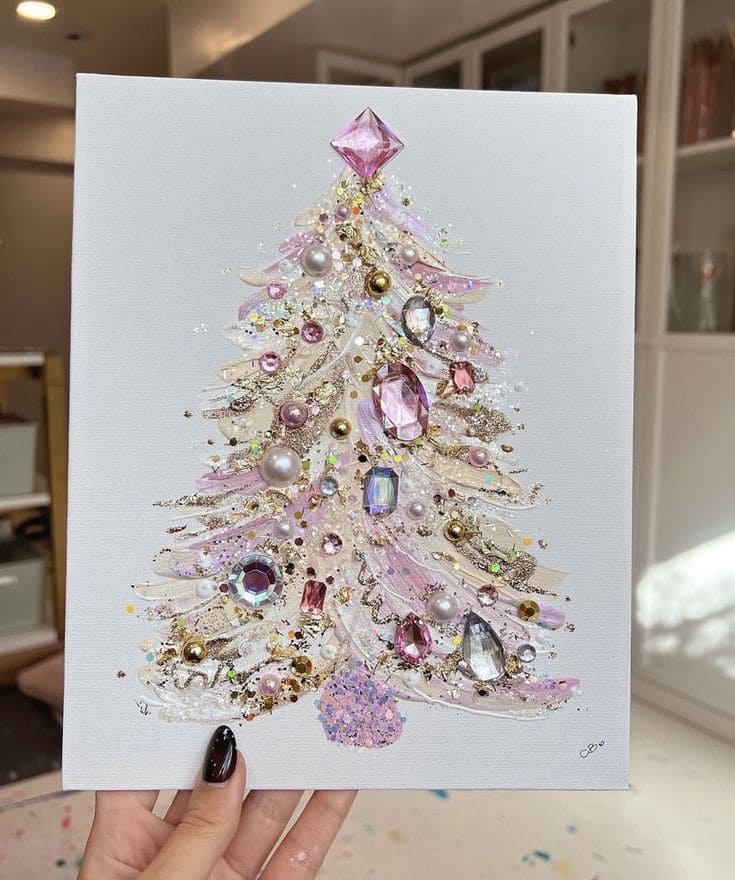
On the next Christmas season, transform your old jewelry into a dazzling masterpiece like this festive tree canvas. The entire project cost under $15, and it felt like building a jewelry box directly onto a painting.
 SHOP WHITE STRETCHED CANVAS
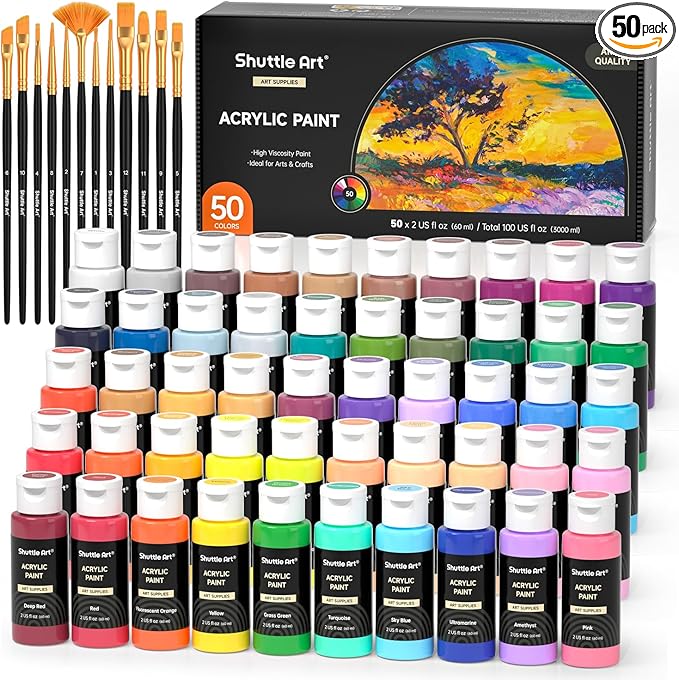 SHOP ACRYLIC PAINT SET AND PAINTBRUSHES
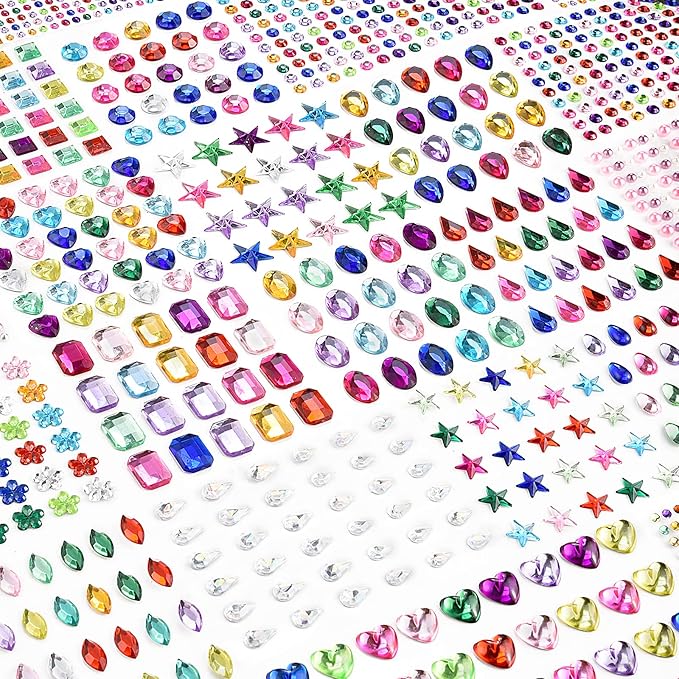 SHOP RHINESTONE
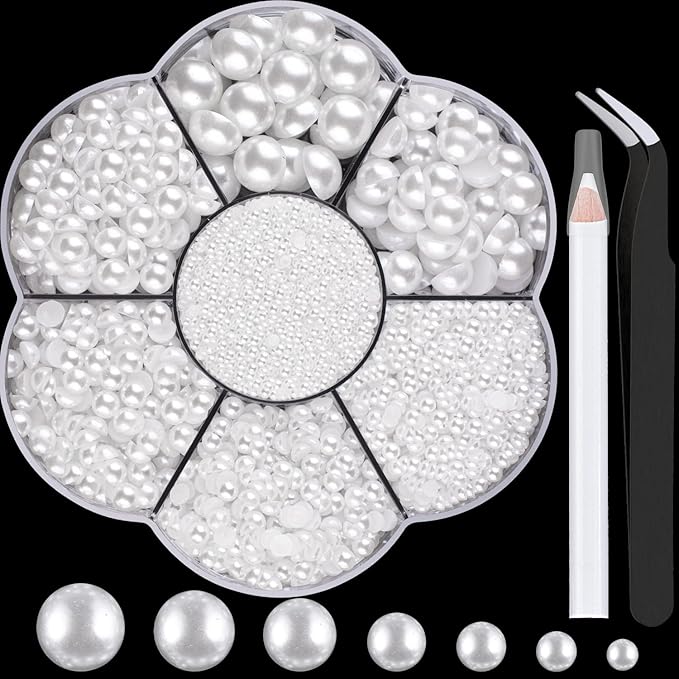 SHOP CRAFT PEARLS
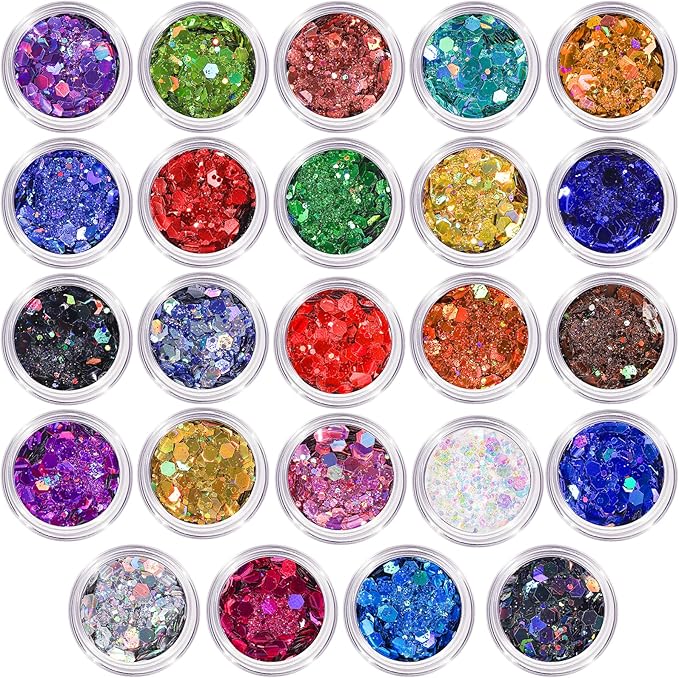 SHOP CHUNKY GLITTER
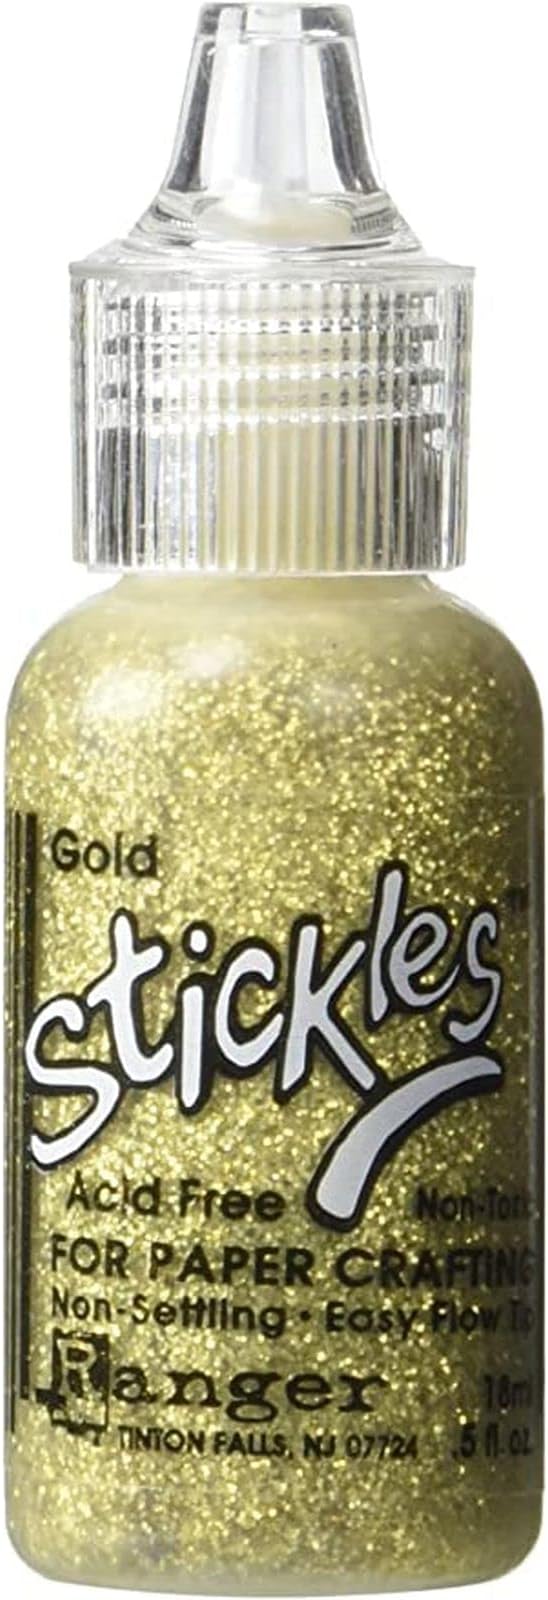 SHOP GOLD GLITTER GLUE
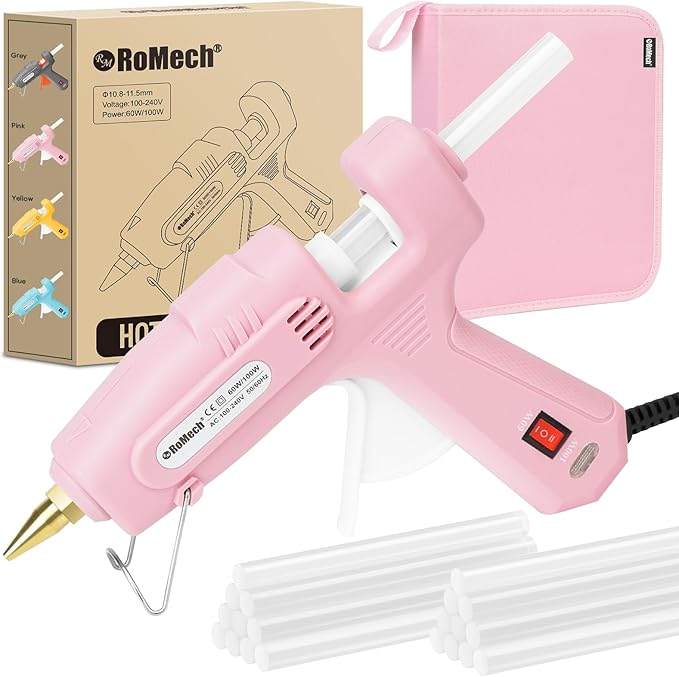 SHOP HOT GLUE GUN AND GLUE STICKS
Materials Needed
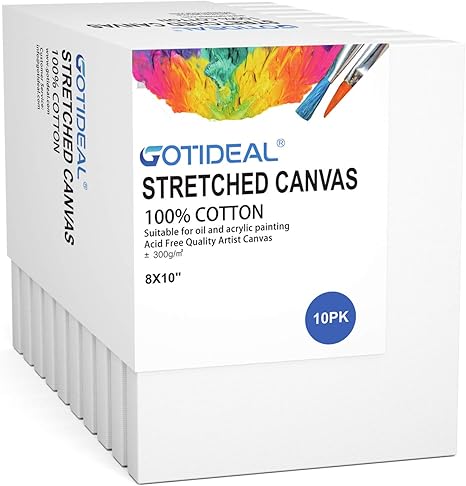
- White stretched canvas, 8×10 inches
- Acrylic paint set with gold, pinks, and white
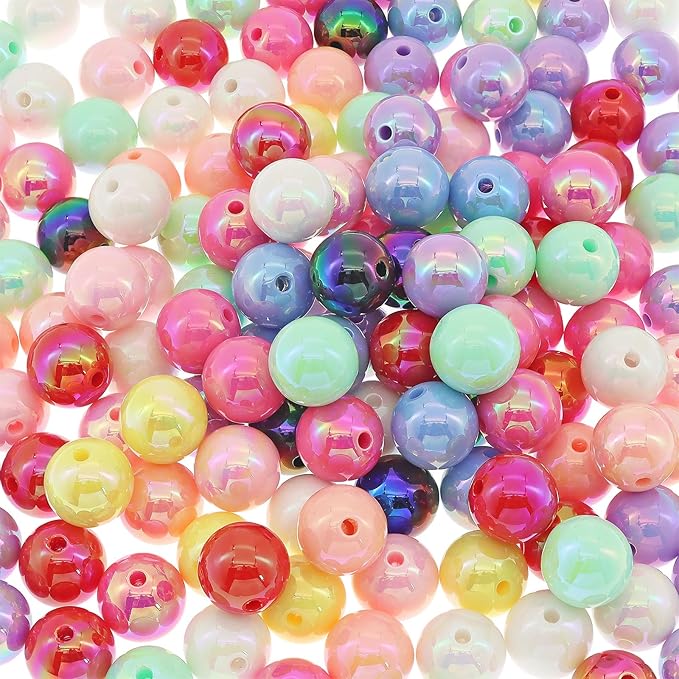
- 30 Assorted flatback rhinestones & gems
- Craft pearls, 5mm–10mm – approx. 12 pieces
- Chunky glitter
- Metallic gold glitter glue
- Hot glue gun
Step-by-step Guide
Step 1: Paint your base tree shape using acrylic paints. I blended whites, pale pinks, and lilacs with soft feathered brushstrokes to mimic wispy branches. Let it dry completely.
Step 2: Start adding sparkle! Use gold glitter glue to trace sections of the branches and sprinkle glitter while it’s still wet. Add chunky glitter and confetti along the edges of your tree.
Step 3: Carefully glue your gems, pearls, and sequins throughout the tree, place larger rhinestones centrally and smaller ones toward the tips. Finish with a large pink gem at the top for a tree topper and a textured paint blob for the base.
#2. Dazzling Canvas Art With Jewelry Accents
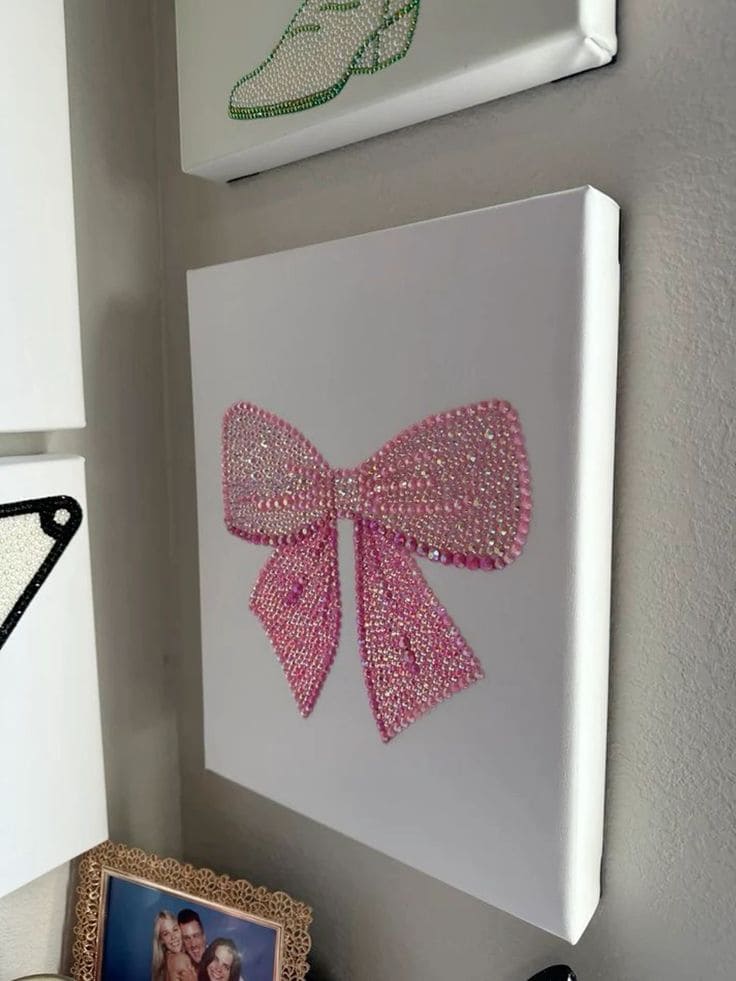
This crystal bow canvas is the kind of glam wall art I’d happily make again, equal parts cute, sparkly, and satisfying.
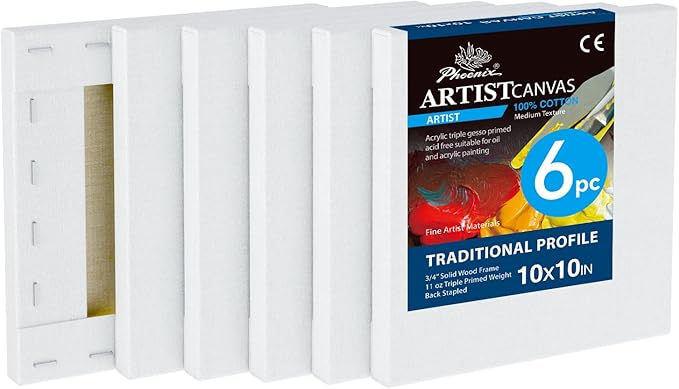 SHOP WHITE STRETCHED CANVAS 10X10
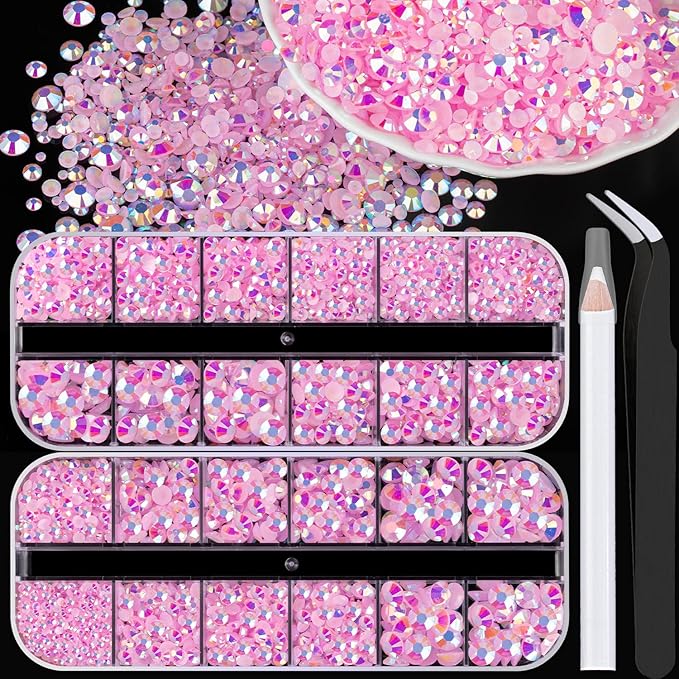 SHOP PINK FLATBACK RHINESTONES
 SHOP HOT FIX RHINESTONE APPLICATOR
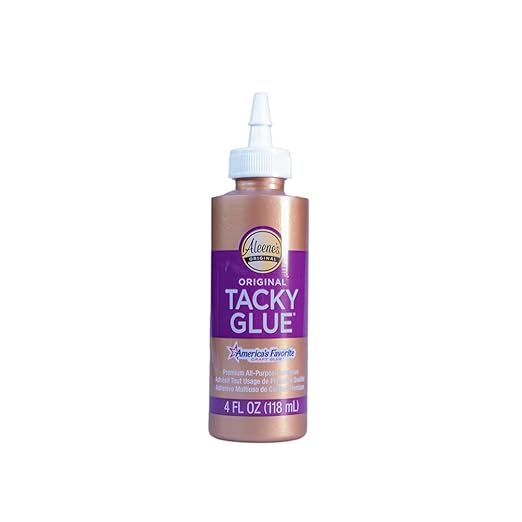 SHOP STRONG TACKY GLUE
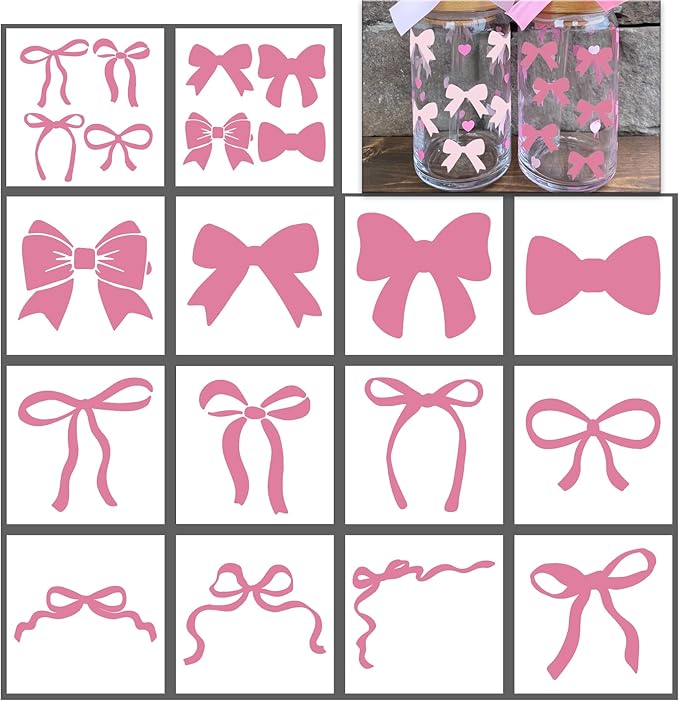 SHOP BOW STENCIL TEMPLATE
Materials Needed
- White stretched canvas, 10×10 inches
- 600–800 Light pink flatback rhinestones, 3mm to 6mm mix
- Hotfix rhinestone applicator
- Strong tacky glue
- Bow stencil template
- White colored pencil
Step-by-step Guide
Step 1: Lightly trace your bow shape onto the canvas using a chalk marker or white pencil. You can freehand it or use a stencil depending on your comfort.
Step 2: Begin applying glue inside the traced section, working in small sections to avoid drying too quickly. Start from the center of the bow and move outward for symmetry.
Step 3: Use tweezers or an applicator to press rhinestones into the glue, mixing sizes for texture and sparkle. Once complete, let it dry flat for at least 4–6 hours before hanging or framing.
#3. Charming Framed Jewelry Holiday Decorations
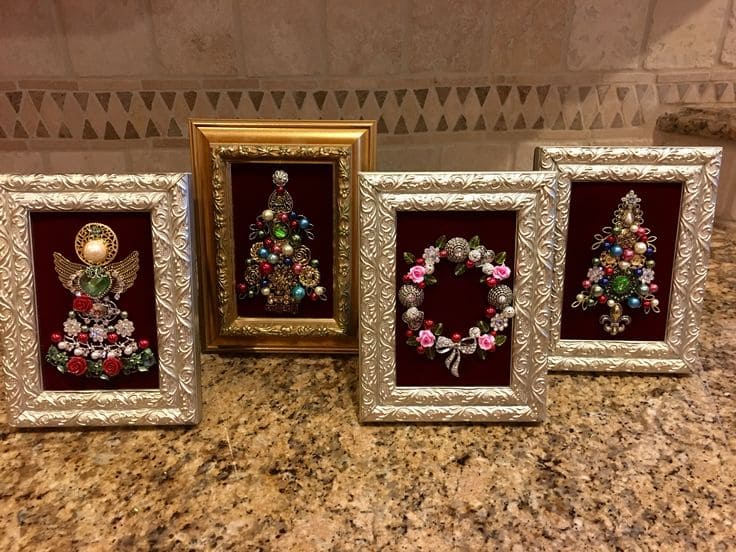
I made mine using old brooches from my grandmother’s jewelry box, giving them a second life in a way that felt both creative and meaningful.
 SHOP VINTAGE-STYLE FRAMES
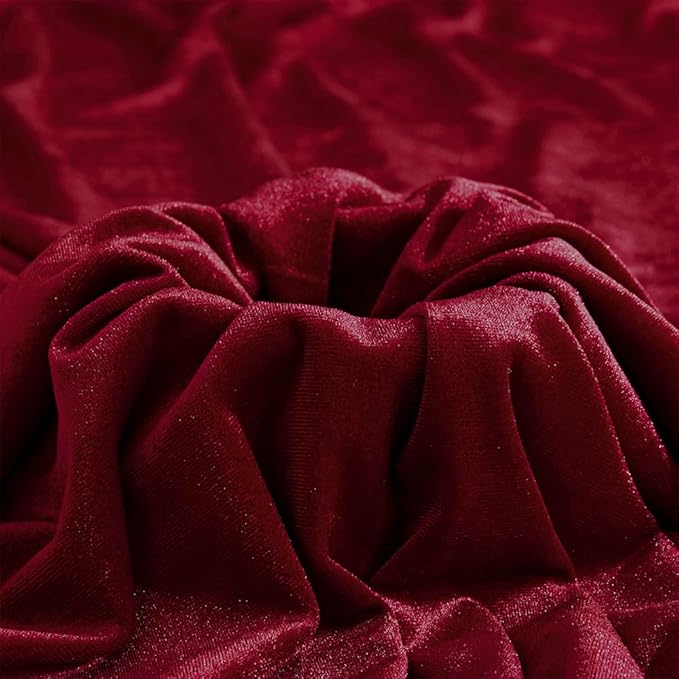 SHOP DEEP RED VELVET FABRIC
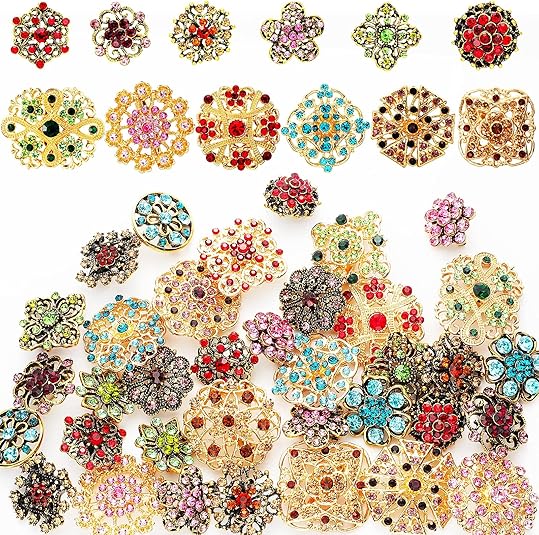 SHOP COSTUME JEWELRY
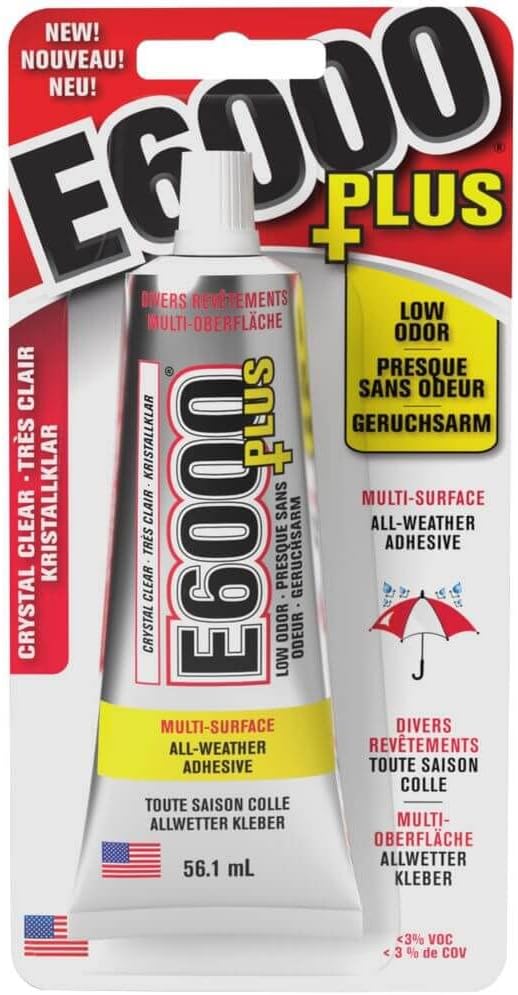 SHOP E6000 CRAFT ADHESIVE
 SHOP STIFF CARDSTOCK
Materials Needed
- Vintage-style frames, 5×7 inches
- Deep red velvet fabric (12×12 inches)
- 15–25 Assorted costume jewelry or brooches
- E6000 craft adhesive
- Stiff cardstock
- Needle-nose pliers
Step-by-step Guide
Step 1: Cut your velvet fabric to fit snugly over a piece of cardstock backing. Stretch and glue it around the back using hot glue or spray adhesive. Let dry completely.
Step 2: Arrange your jewelry into a desired holiday shape – tree, wreath, angel, or abstract star. Lay it all out before gluing to make sure the balance of color and size feels right.
Step 3: Using E6000 glue, carefully affix each jewelry piece to the velvet surface. Let it cure flat for 24 hours before inserting into the frame.
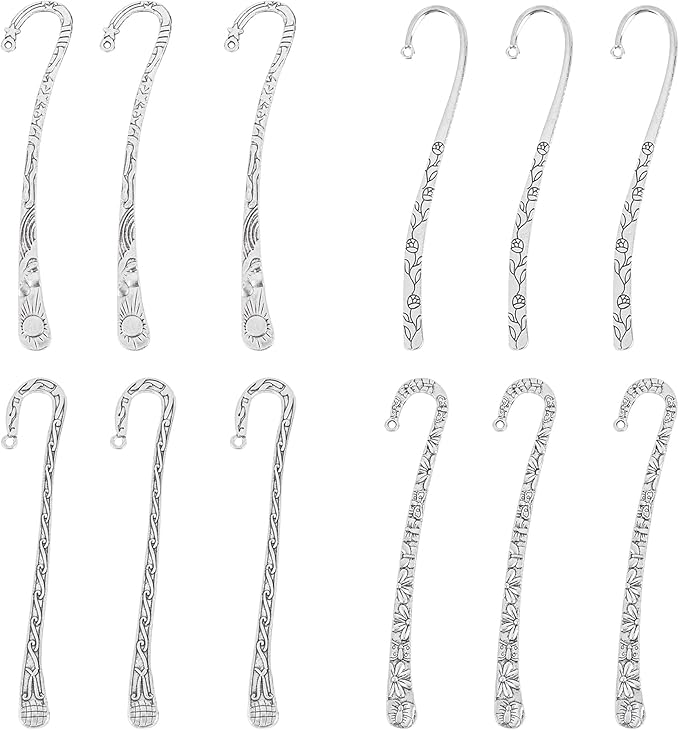
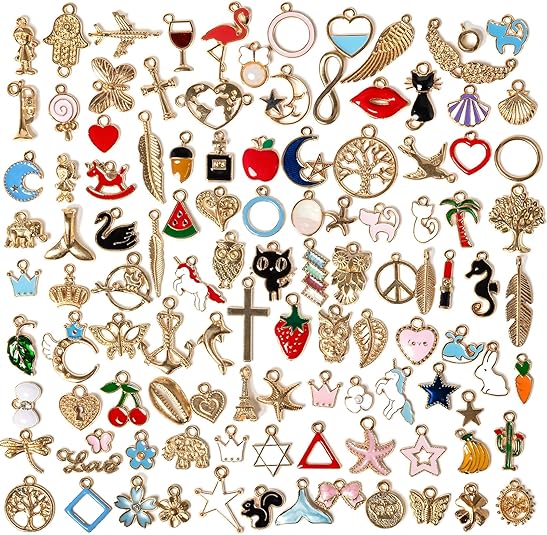
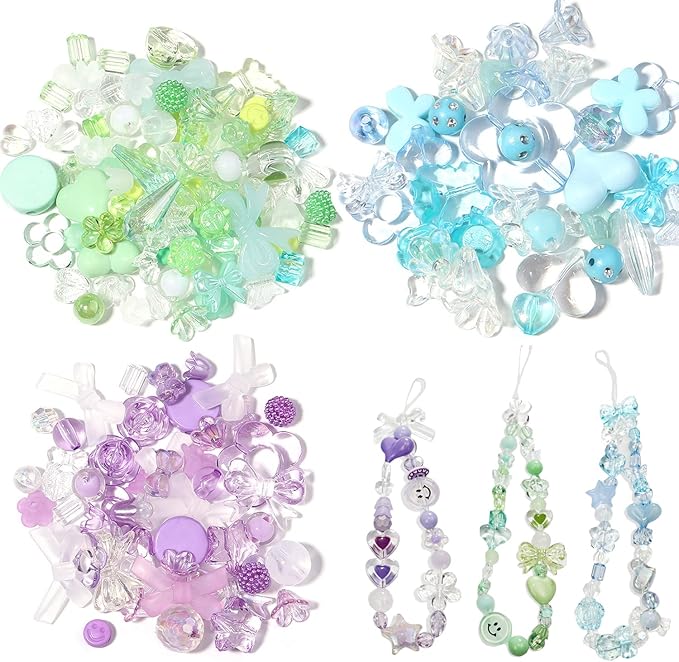
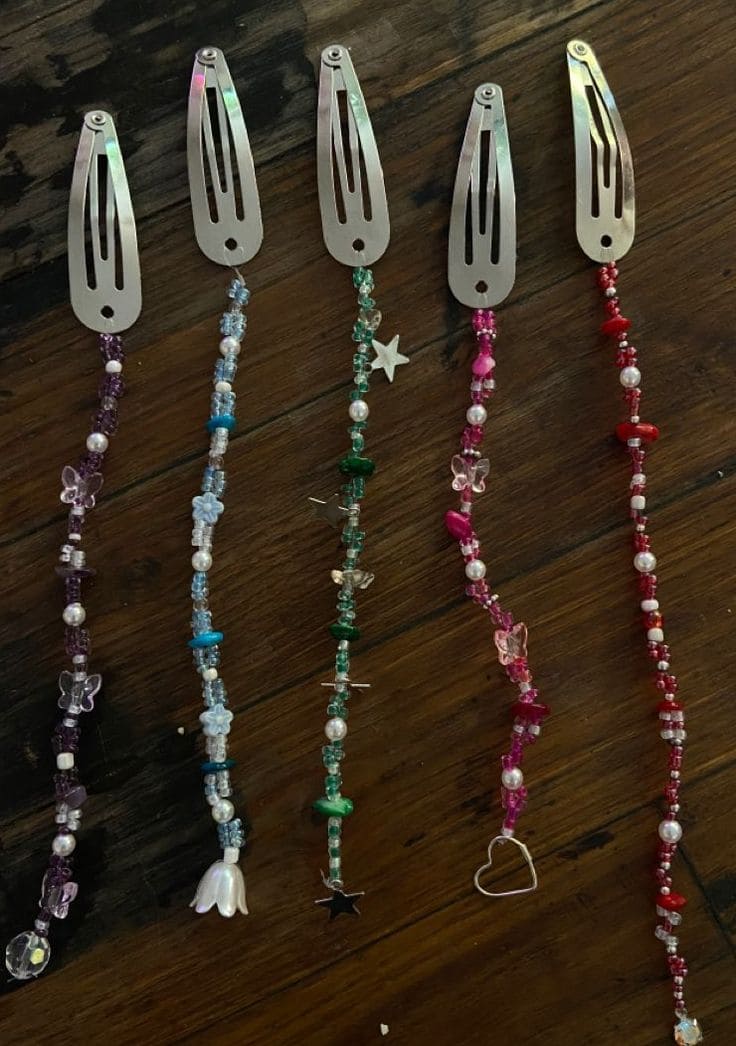
#4. Charming Bookmarks Made from Old Jewelry
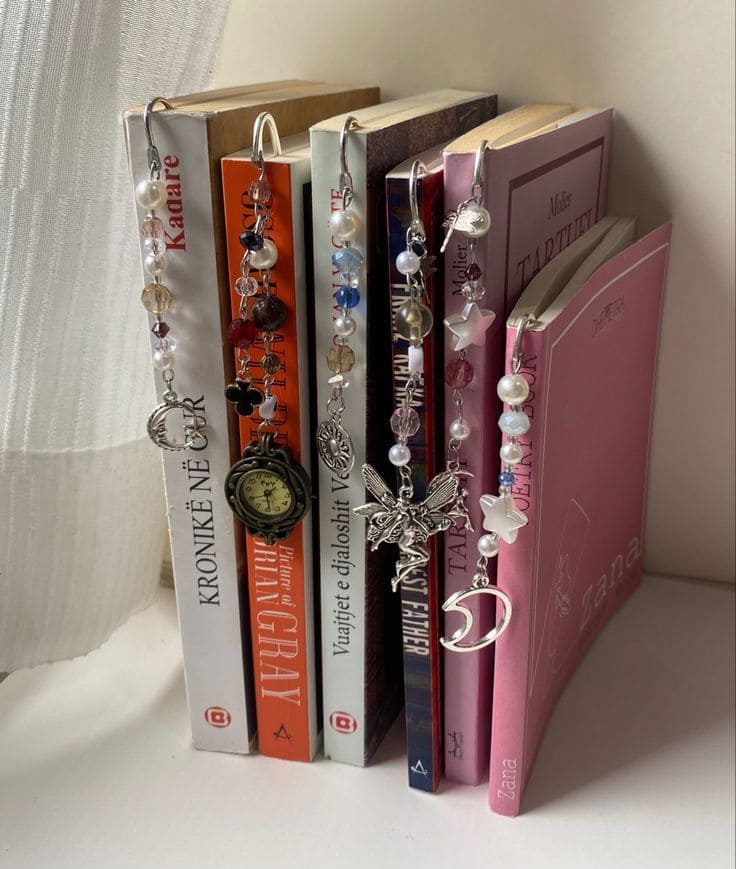
These DIY beaded charm bookmarks feel like something out of a fantasy novel – dainty, whimsical, and completely one-of-a-kind.
Materials Needed
- 6 Metal bookmark hooks, 4.7-inch silver-tone
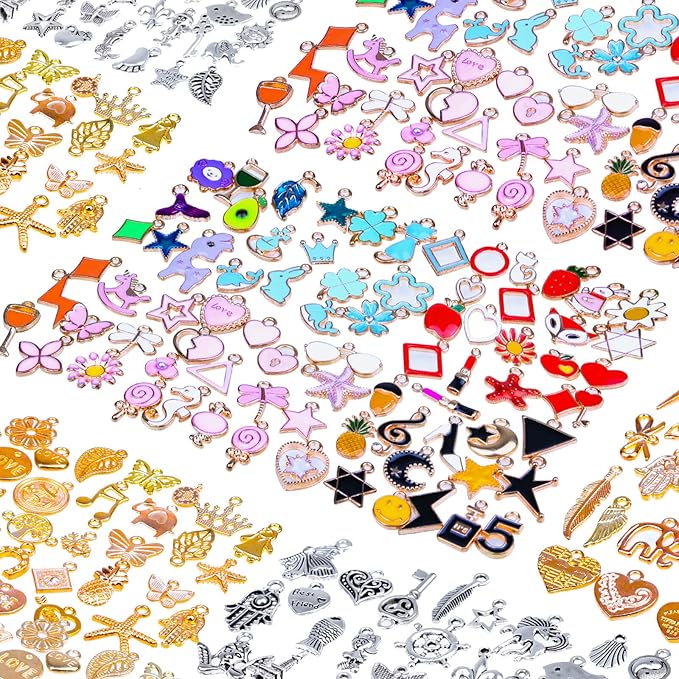
- Assorted charms (moon, key, fairy, watch)
- 6–10 Bead assortment (glass, pearl, acrylic) per bookmark
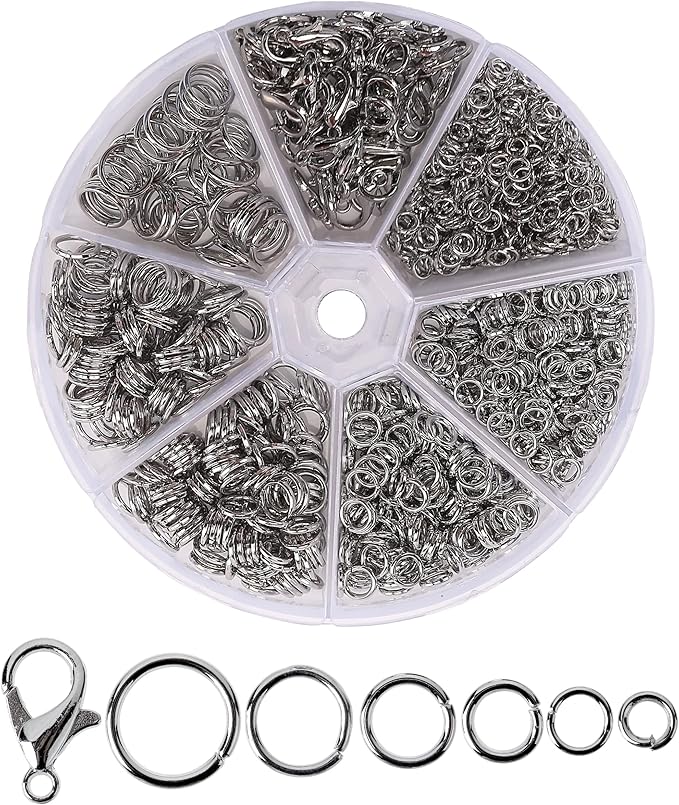
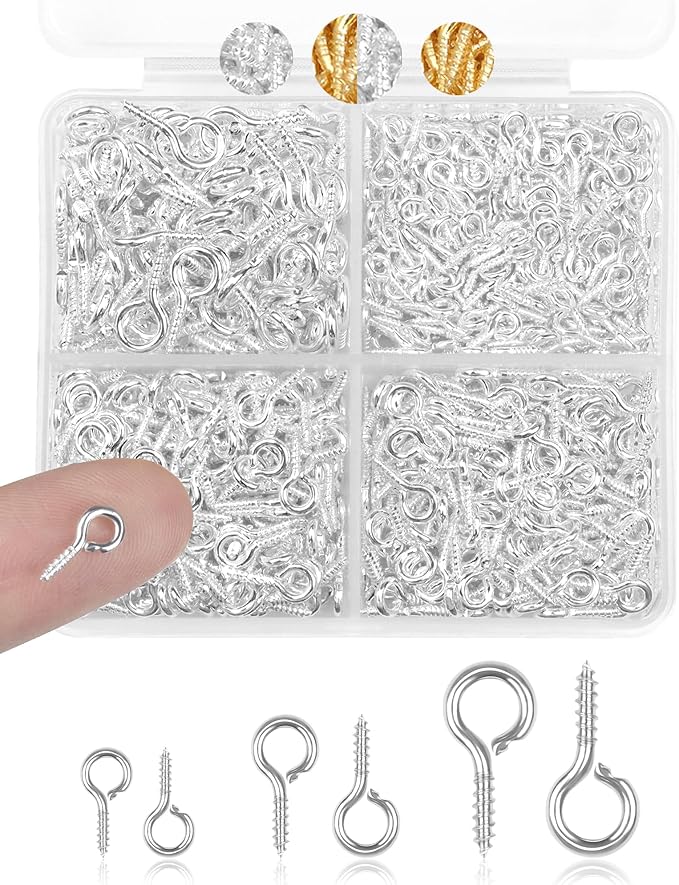
- 5mm Jump rings and 50mm eye pins
- Flat nose jewelry pliers
Step-by-step Guide
Step 1: Slide beads onto an eye pin in a pattern that fits your aesthetic – alternate shapes, sizes, and textures for a unique look. Use the pliers to form a loop at the top once beaded.
Step 2: Attach your charm to the bottom loop of the eye pin. Then, connect the top loop to your metal bookmark hook using a jump ring. Secure all links tightly with your pliers.
Step 3: Repeat with different color themes or charms for a full collection. Packaged in a little organza bag, these make sweet, heartfelt gifts for any book lover.
#5. Whimsical Beaded Curtains From Old Jewelry
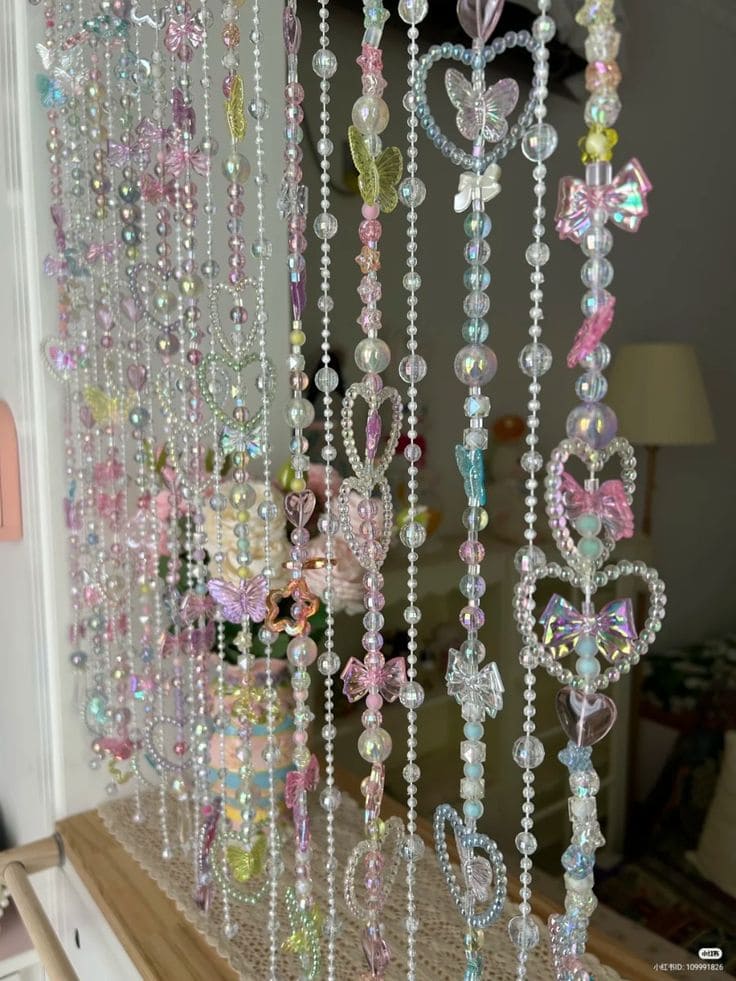
It’s surprisingly therapeutic to string them together, and you get to design every strand exactly the way you want.
 SHOP PASTEL BEAD MIX
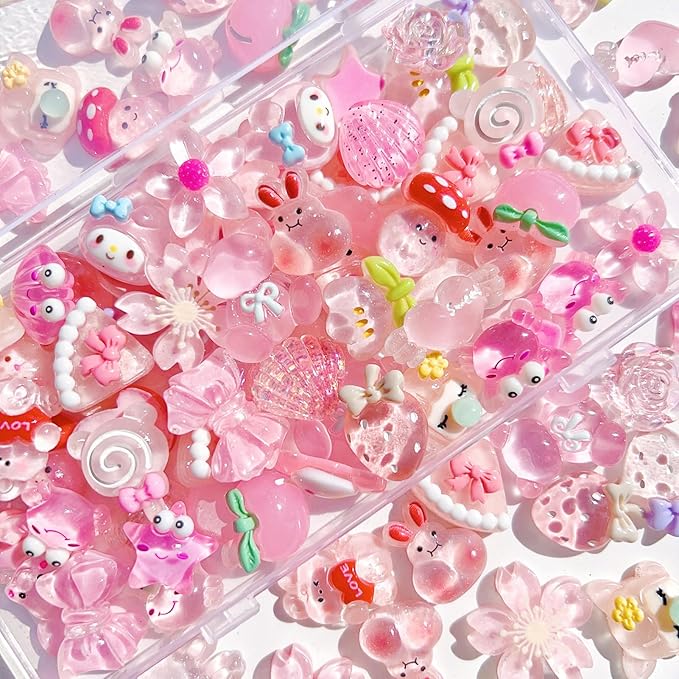 SHOP KAWAII CHARMS SET
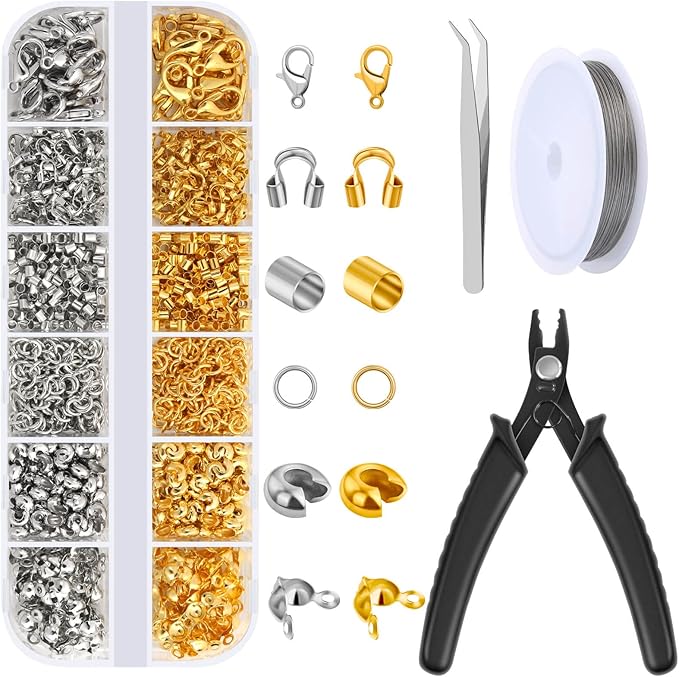 SHOP CRIMP BEADS KIT
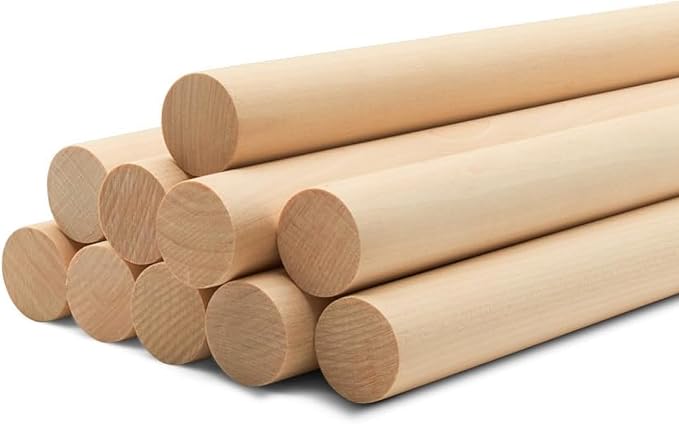 SHOP WOODEN DOWEL ROD
Materials Needed
- Clear fishing line (0.5 mm, 100 m)
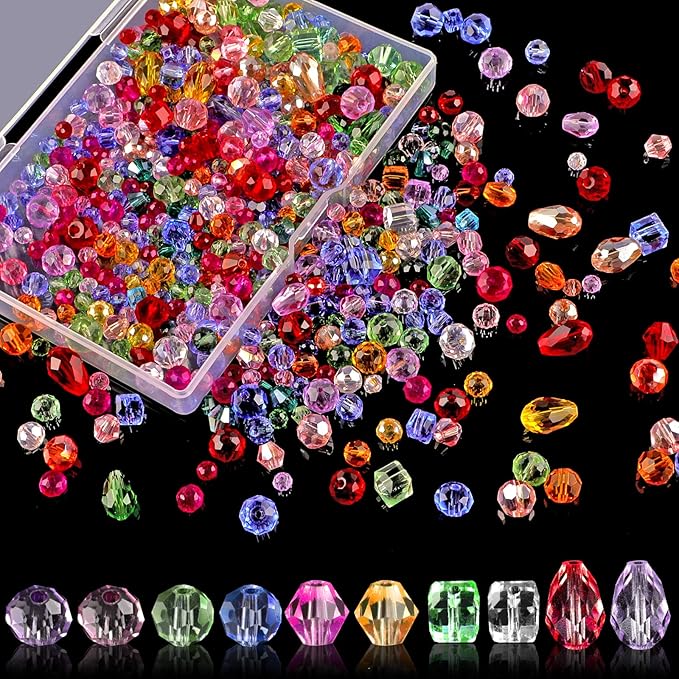
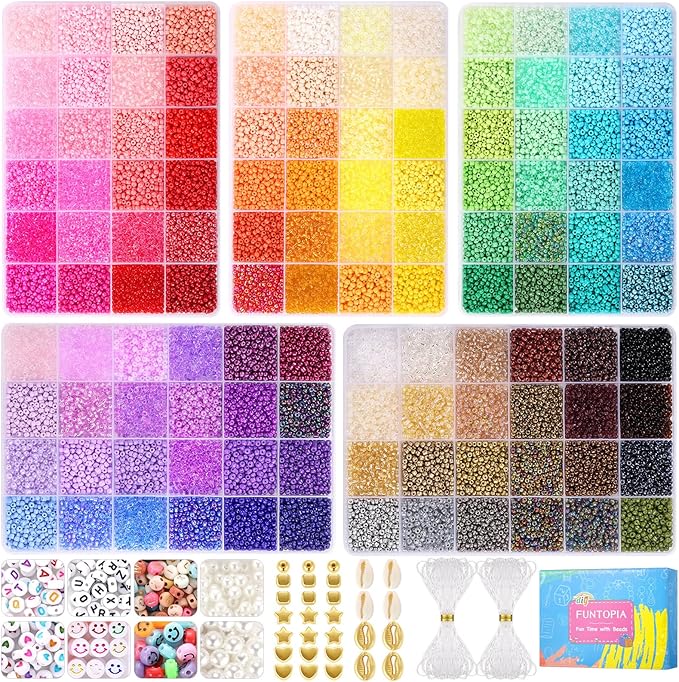
- 600 pcs Pastel bead mix (pearls, acrylics, crystals) for 20 strands
- 50+ Kawaii charms set (butterflies, bows, hearts)
- Crimp beads + stopper beads
- Wooden dowel rod (0.5 inch × 36 inch)
- Mini hook screws
Step-by-step Guide
Step 1: Cut your fishing line into strands twice the height of your window or divider. Tie one end securely to the wooden rod, adding a crimp bead to hold it tight.
Step 2: Thread beads and charms in your chosen order. Vary colors and sizes as you go for texture and visual interest. Add a focal charm (like a large heart or butterfly) every few inches.
Step 3: Once your strand is complete, secure the end with a crimp bead and a small knot. Repeat until your dowel is full.
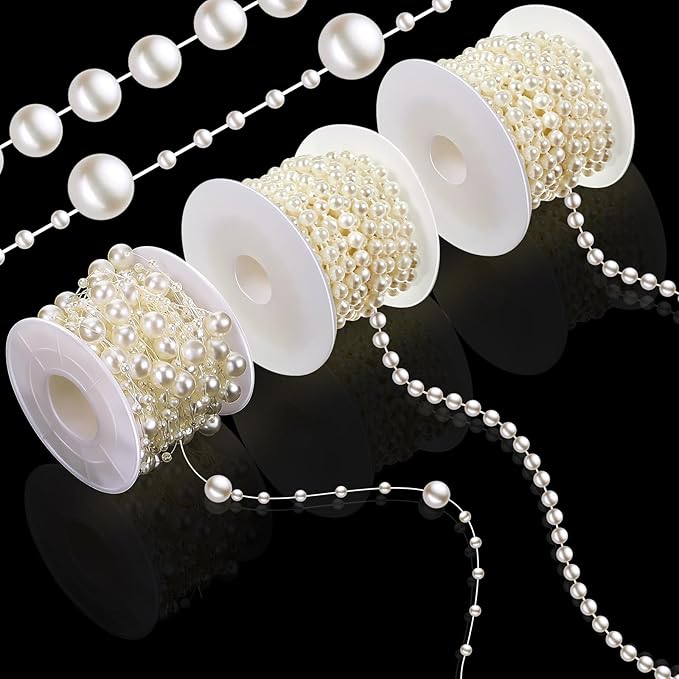
#6. Elegant Pearl Nest for Easter Decor
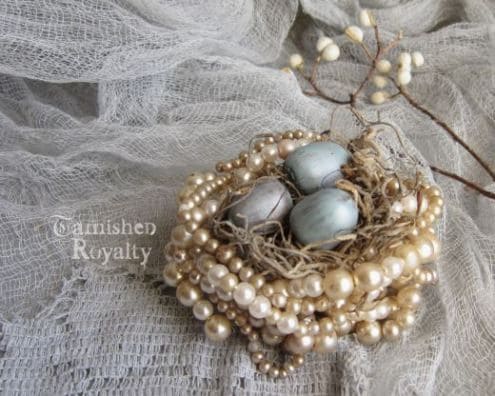
The softness of pearl beads paired with faux moss and silver-washed eggs creates a blend of vintage beauty and natural texture.
 SHOP ASSORTED FAUX PEARL BEAD CHAINS
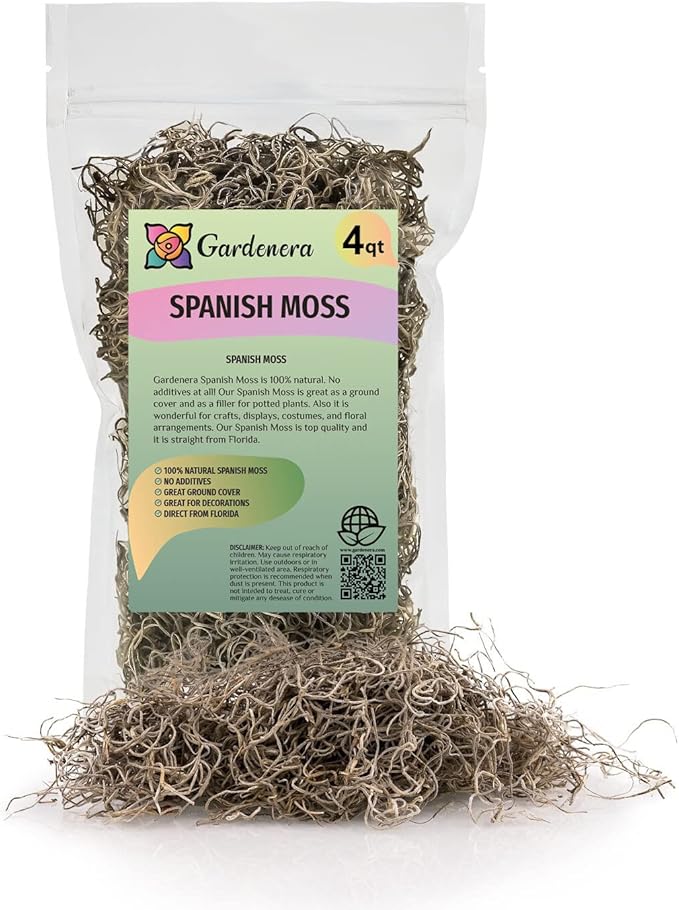 SHOP NATURAL SPANISH MOSS
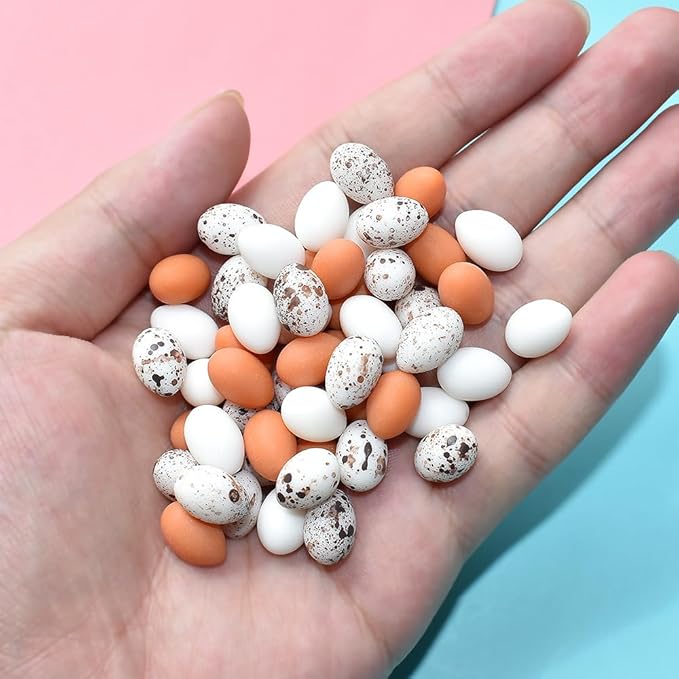 SHOP MINI PLASTIC EGGS
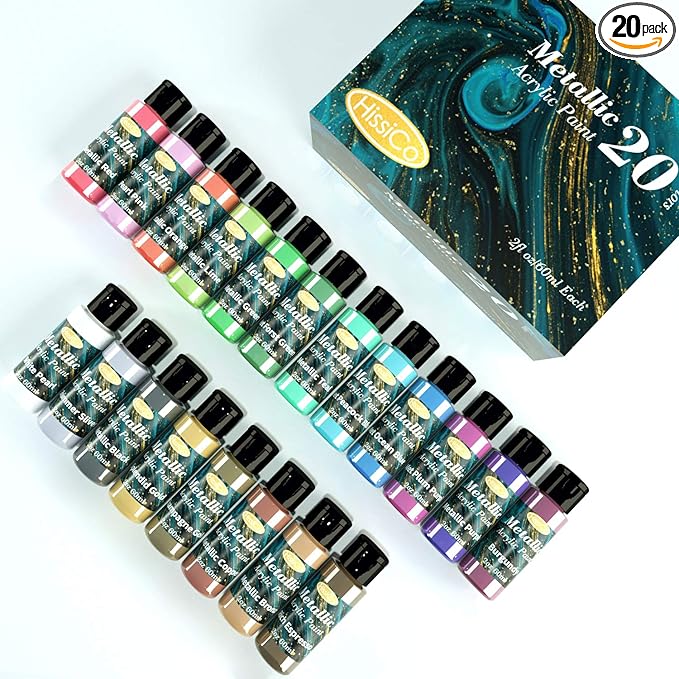 SHOP METALLIC ACRYLIC PAINT
Materials Needed
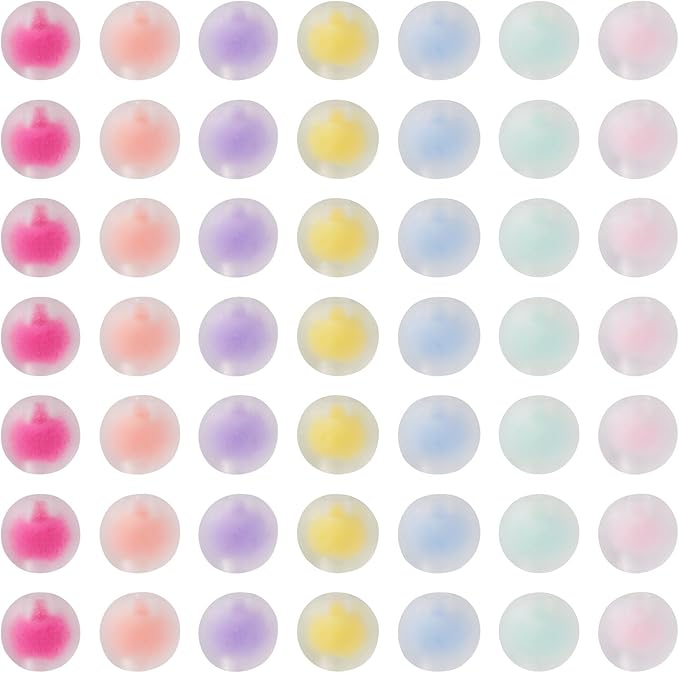
- Assorted faux pearl bead strands (4mm–10mm, cream and champagne tones)
- Natural Spanish moss
- 3 Mini plastic eggs (1.5 inch)
- Metallic acrylic paint (silver and pearl)
- Hot glue gun with fine tip + sticks
Step-by-step Guide
Step 1: Begin by wrapping your faux pearl strands into a loose circular nest shape. Use your bowl or mold to help form a gentle dip. Secure each loop with tiny dots of hot glue as you build up the layers.
Step 2: Add tufts of raffia or moss around the center. Glue lightly to keep everything in place without flattening the fibers.
Step 3: Paint your mini eggs using pearl and silver metallic acrylics, then let them dry. Once dry, nestle them gently into the center and glue discreetly underneath to secure.
#7. Vintage Clock Enhanced with Sparkling Jewelry
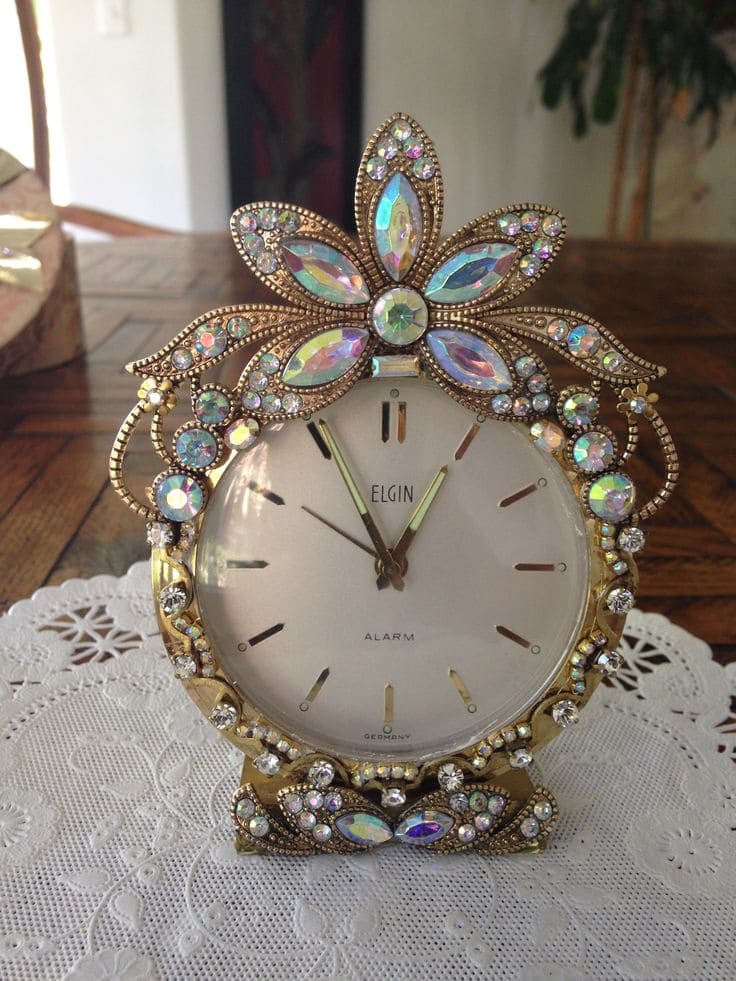
This jeweled clock makeover is pure vintage glam. It started with an old Elgin alarm clock I picked up at a thrift store for $6.
Materials Needed
- Vintage-style alarm clock (preferably metal, 4–6 inches)
- 60–80 Assorted AB rhinestones (5mm–20mm)
- 5-6 Jewelry brooches with floral motifs
- E6000 glue
- Jewelry tweezers and wax pencil
- Soft cloth and isopropyl alcohol
Step-by-step Guide
Step 1: Clean the surface of the clock thoroughly using alcohol and a soft cloth.
Step 2: Plan your layout with the largest brooches at the top and bottom, creating a balanced focal point. Remove pins or backings, then glue in place with E6000. Let them sit for 10 minutes.
Step 3: Use your tweezers and wax pencil to place smaller crystals along the clock’s rim and around the base. Vary sizes and shapes to add texture and depth. Let dry flat for at least 24 hours.
#8. Elegant Jewelry-Encrusted Photo Frame Art
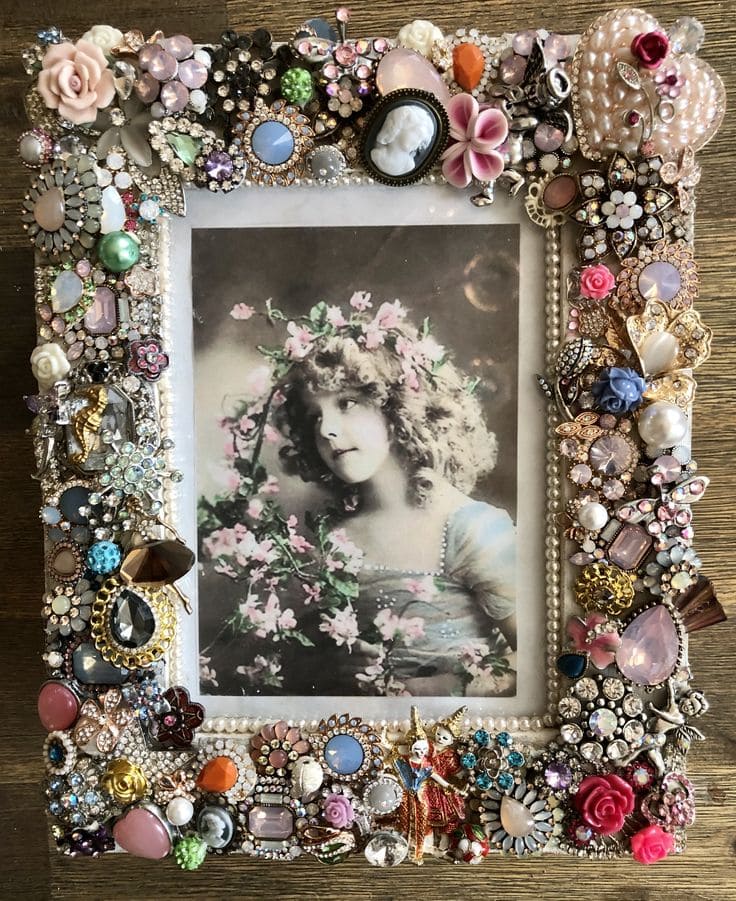
What about showcasing cherished memories with a jewelry-encrusted photo frame?
Materials Needed
- 1 Plain wooden photo frame (5×7 inches or larger)
- E6000 glue
- 30 to 50 Assorted vintage brooches, rhinestones, broken jewelry bits
- Jewelry tweezers and wax picker
- Flatback pearls and filler rhinestones (4mm–8mm)
Step-by-step Guide
Step 1: Start by arranging the largest jewelry pieces on your frame corners, spacing them out to anchor the design.
Step 2: Begin gluing the large pieces with E6000, applying small amounts to the back and pressing firmly onto the frame. Let it set a few minutes.
Step 3: Fill in all gaps using flatback rhinestones, tiny pearls, and buttons. Work in sections and press smaller accents between larger ones until your frame is fully embellished. Let dry flat for 24 hours.
#9. Glamorous Bejeweled Gourd Birdhouse Art
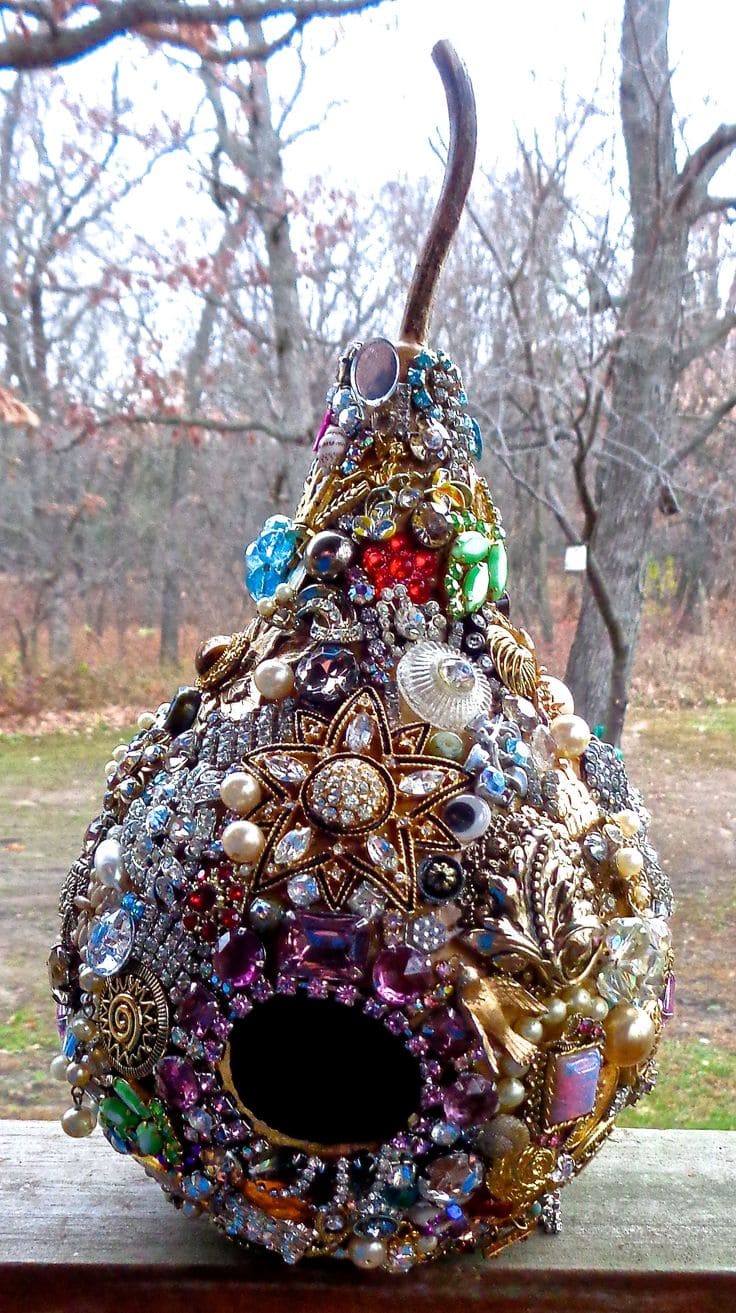
I believe this bejeweled gourd birdhouse is a dazzling addition to any outdoor space. Cover a dried gourd with vintage jewelry pieces, pearls, and gems for a unique sparkle.
Materials Needed
- 1 Dried gourd with a birdhouse hole
- E6000 craft adhesive
- 50–80 Assorted broken jewelry pieces, rhinestones, costume earrings, cabochons
- Flatback pearls and filler gems
- Toothpicks and tweezers
- Spray sealant
Step-by-step Guide
Step 1: Clean and lightly sand the gourd. If it’s not pre-cut, carefully drill a round hole about 1.5–2 inches wide near the bottom for birds to enter.
Step 2: Start gluing the largest jewelry elements around the focal point, typically the entrance hole. Work outward with medium and small-sized pieces, layering shapes and textures.
Step 3: Use tweezers and toothpicks to fit flatback pearls and tiny gems into the smaller spaces. Once dry, spray a light coat of sealant to weatherproof it.
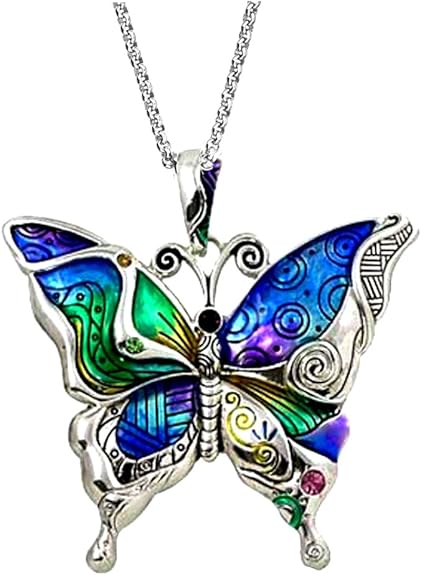
#10. Whimsical Butterfly-Inspired Jewelry Belt Design
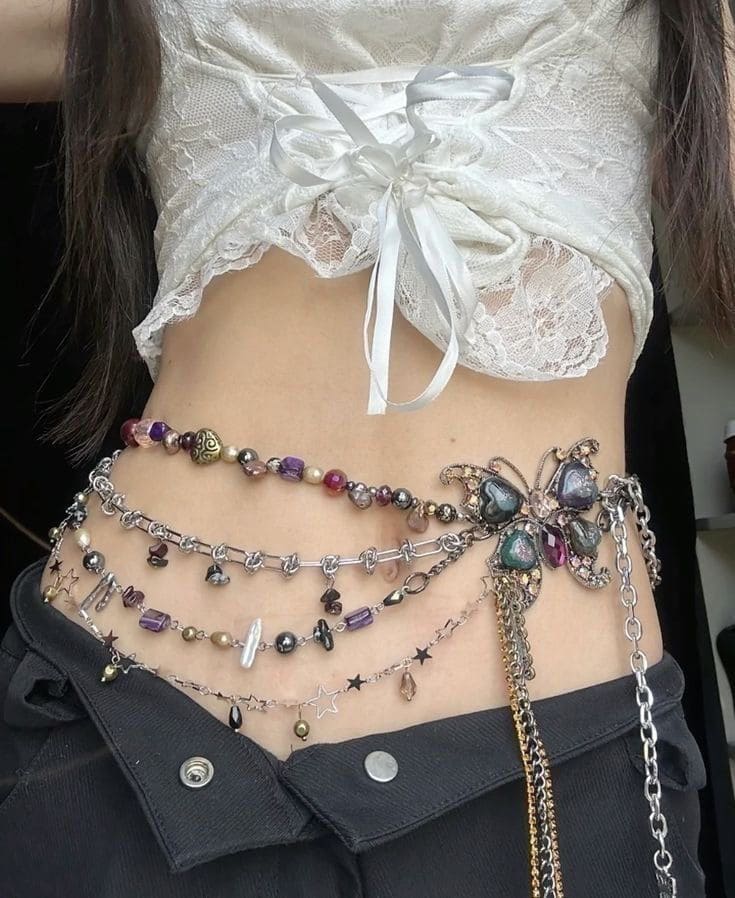
Inspired by vintage elegance and modern flair, this jewelry belt transforms old pieces into a statement accessory.
Materials Needed
- 50–100 Assorted bead mix set
- 1 meter jewelry chain roll (silver/gold)
- Butterfly pendant or large statement charm
- 10 Jump rings
- 0.5mm strong thread
- Jewelry pliers set
Step-by-step Guide
Step 1: Cut your chain into desired lengths (3–5 layers work beautifully). Measure around your waist, then subtract 1–2 inches for the clasp zone.
Step 2: Bead your individual strands using beading wire or connect directly to chain links using jump rings. Mix metals, shapes, and textures for a layered aesthetic.
Step 3: Attach each strand to the butterfly pendant on one side, and finish the other end with jump rings and a clasp.
#11. Pearl-Adorned Decorative Keys Project
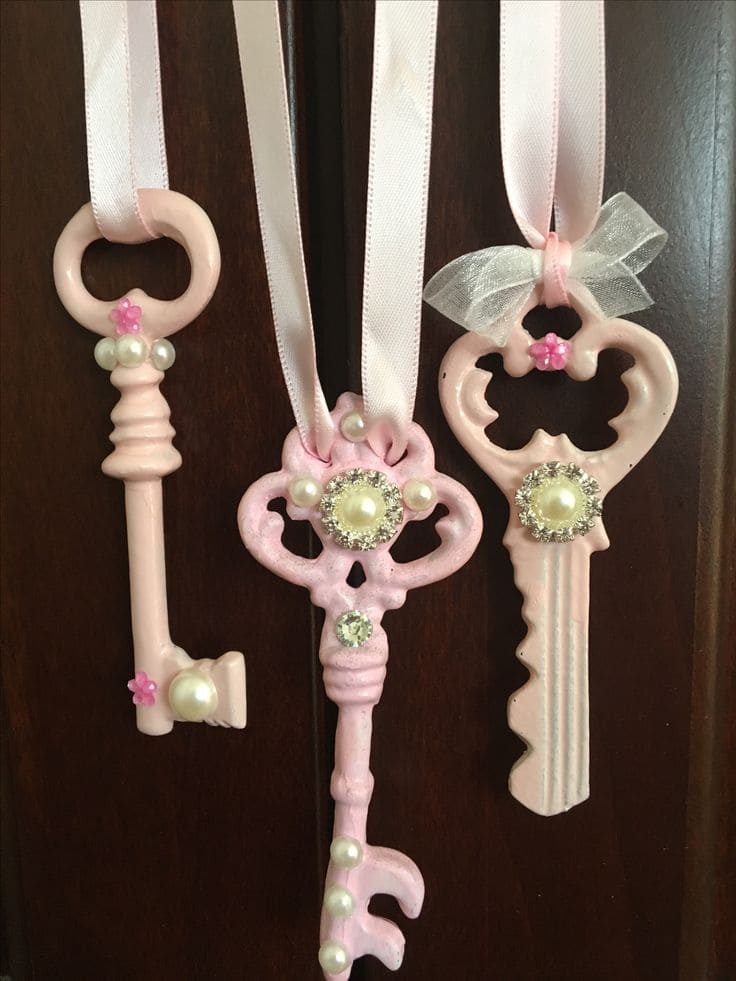
Whether you hang them on a wall, wear them as necklaces, or use them as ornaments, they’re a sweet way to repurpose vintage-style keys into magical keepsakes.
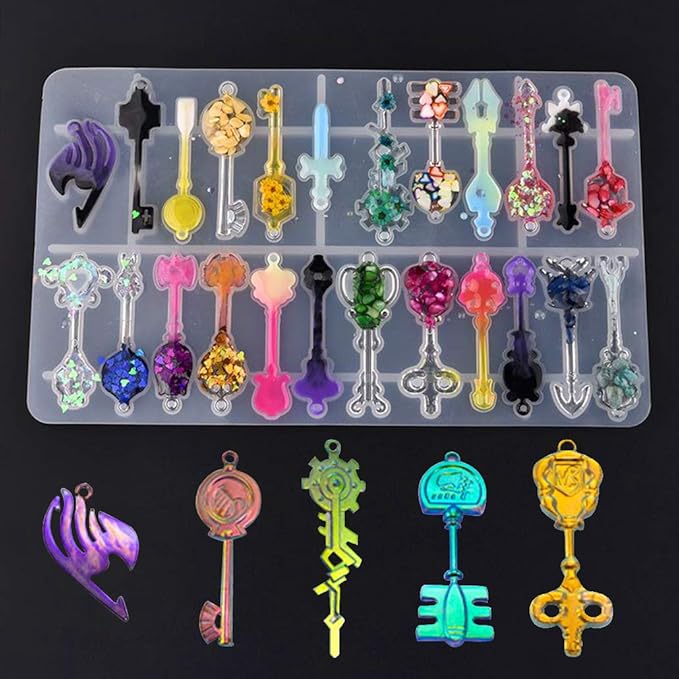 SHOP VINTAGE-STYLE KEY MOLDS
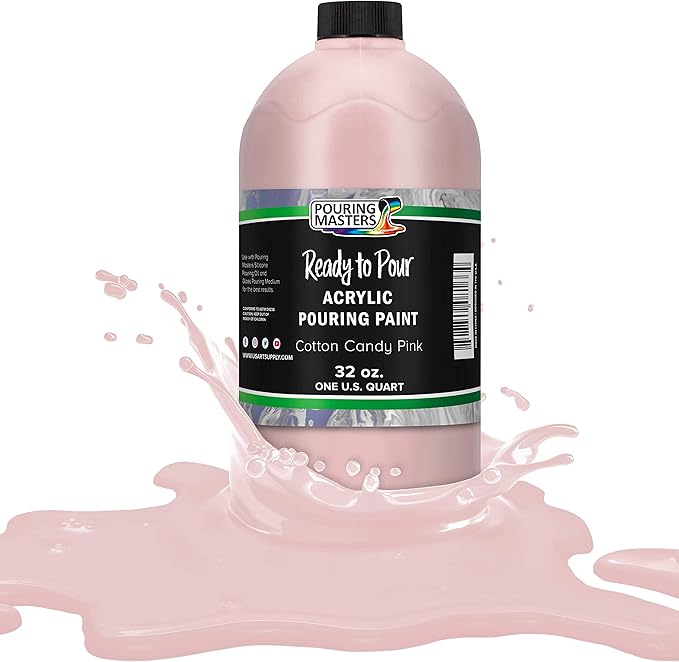 SHOP BABY PINK ACRYLIC PAINT
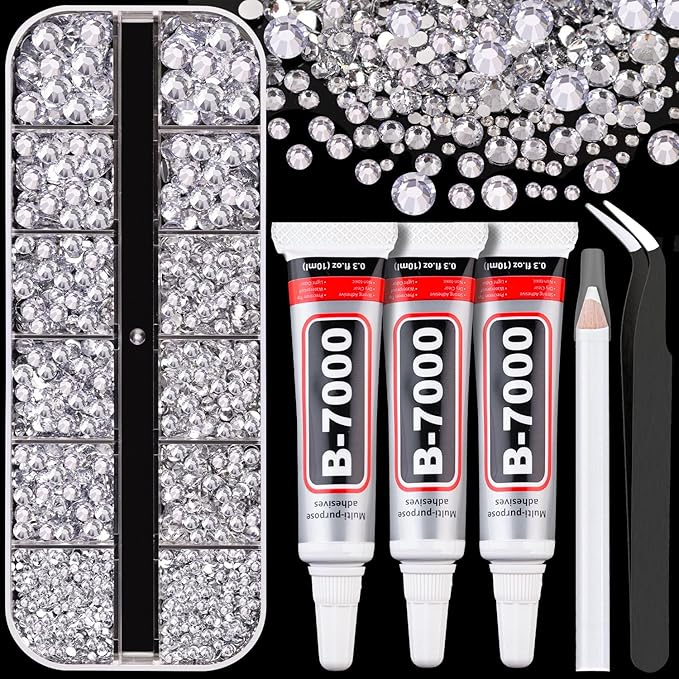 SHOP FLATBACK PEARL BEADS
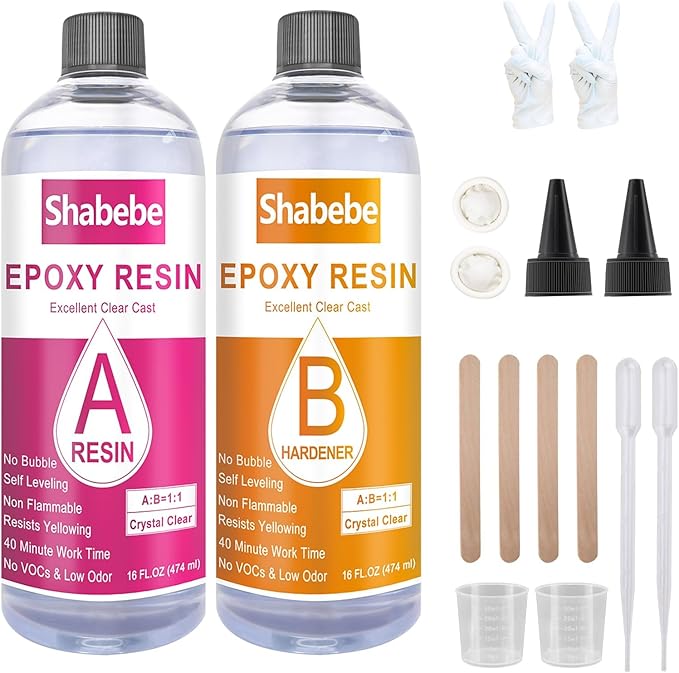 SHOP EPOXY
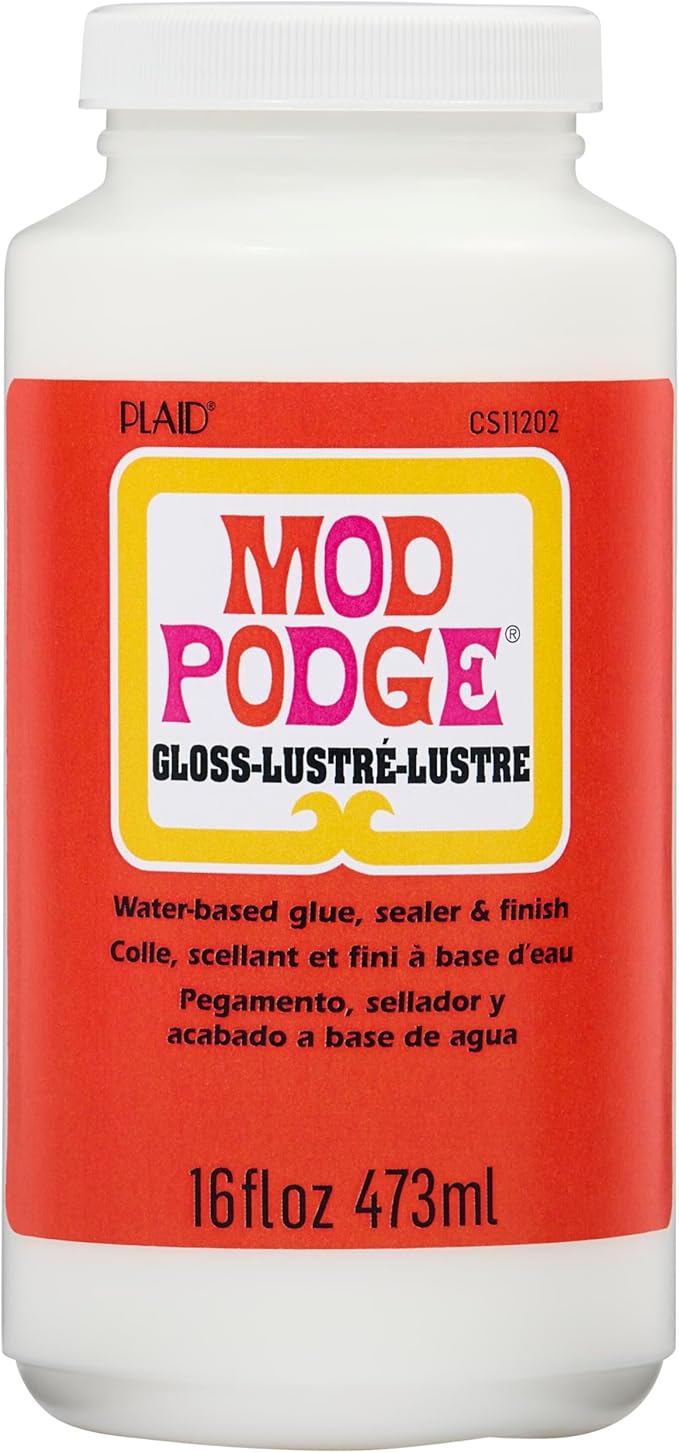 SHOP MOD PODGE
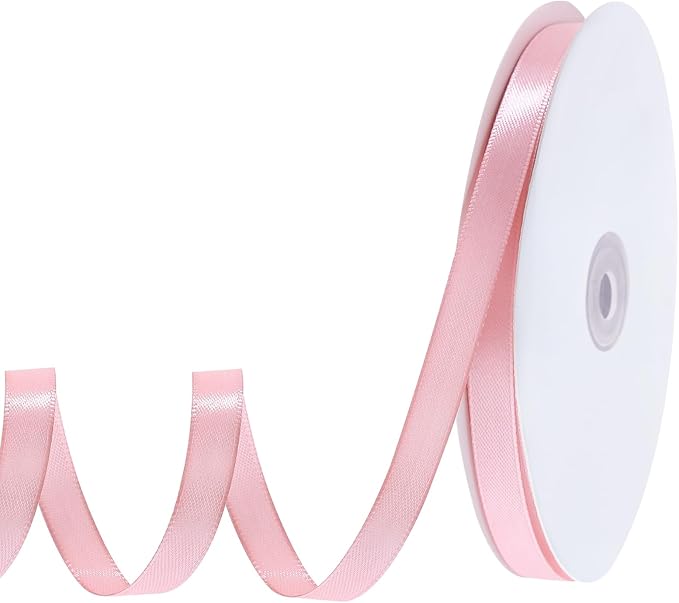 SHOP SATIN RIBBON
Materials Needed
- 3 Resin vintage-style key molds
- Baby pink acrylic paint (2 oz)
- 50–100 Flatback pearl beads (mixed sizes)
- 10-12 Mini rhinestone charms
- 1 lb Epoxy
- Mod Podge
- Satin ribbon (3/8 inch wide)
Step-by-step Guide
Step 1: Mix and pour resin into the key-shaped molds. Let them set fully overnight,.
Step 2: Once dry, paint the keys in soft pink using 1–2 coats of acrylic paint. Let them dry completely and seal with a gloss finish to protect and shine.
Step 3: Use glue to attach pearl beads and rhinestones in your chosen patterns. You can also add a bow using ribbon or hot glue the ribbon loop directly for hanging.
#12. Elegant Pearl and Crystal Wreath Art
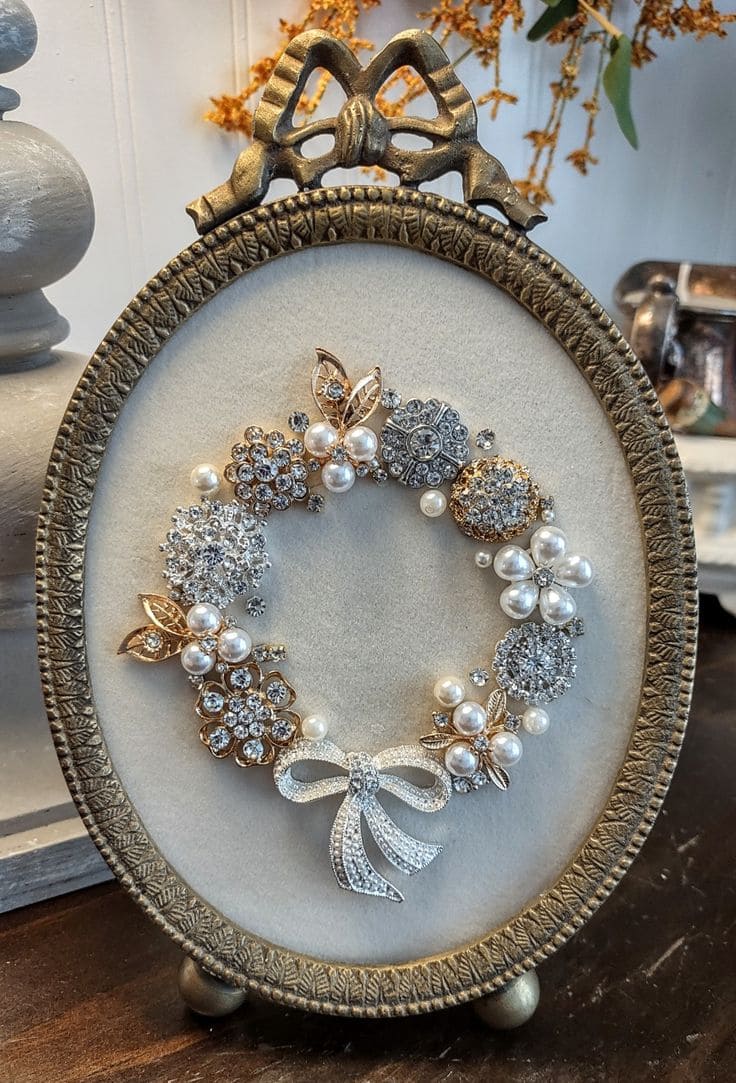
This elegant DIY brooch wreath is the kind of piece that makes you pause and smile every time you walk by.
 SHOP VELVET FABRIC-COVERED BOARD
 SHOP ANTIQUE-STYLE FRAME
 SHOP ASSORTED VINTAGE BROOCHES
 SHOP WREATH TEMPLATE
Materials Needed
- Velvet fabric-covered board 8×10 inches
- Antique-style frame 8×10 inches
- 10–15 Assorted vintage brooches
- 100 Flatback pearls (varied sizes)
- E6000 adhesive
- Wreath template 4-inch
Step-by-step Guide
Step 1: Place your velvet board inside the frame or secure it to a flat surface. Lightly trace a 4-inch circle in the center to guide your wreath placement.
Step 2: Start placing the brooches symmetrically around the circle. Begin with the larger pieces and fill in gaps with smaller ones, pearls, or crystal elements. Use adhesive to fix everything securely.
Step 3: Finish the design with a rhinestone bow at the bottom of the circle. Let dry fully overnight.
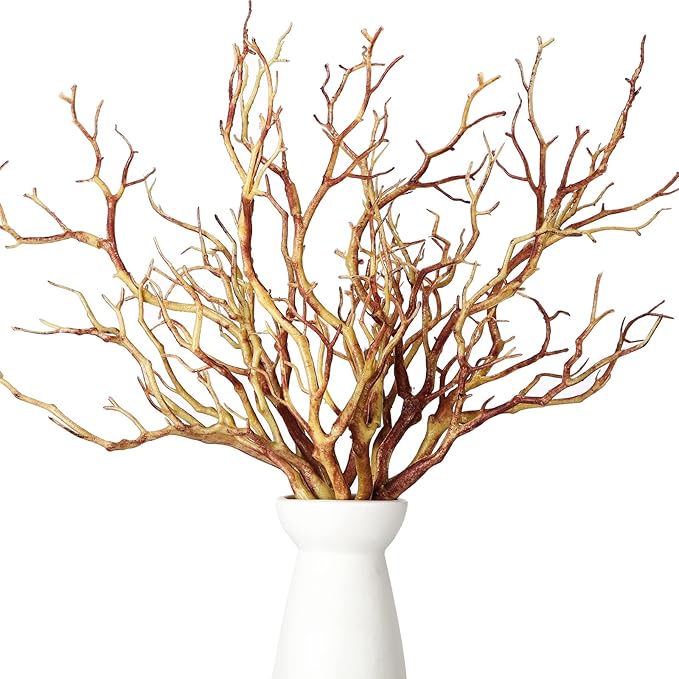
#13. Elegant Wall Jewelry Tree Display
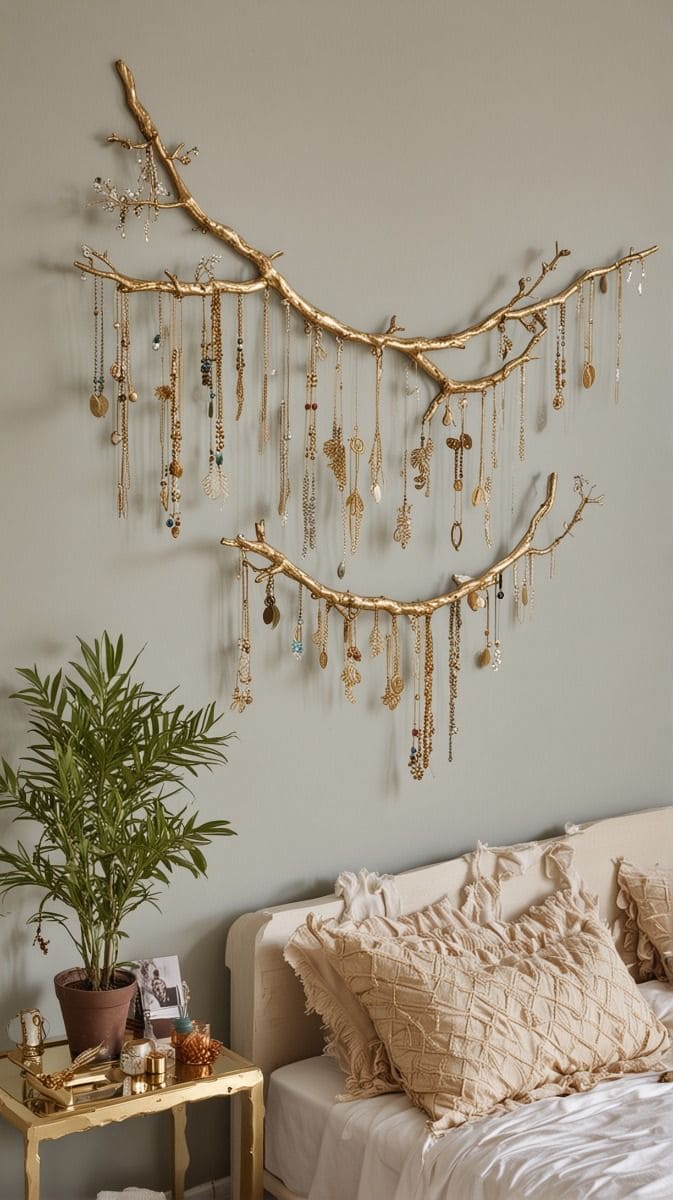
I made something similar for my own bedroom, and every morning it feels like I’m picking necklaces from a piece of enchanted woodland.
 SHOP TREE BRANCHES
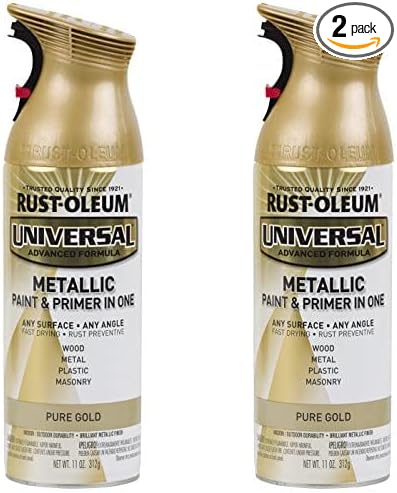 SHOP METALLIC GOLD SPRAY PAINT
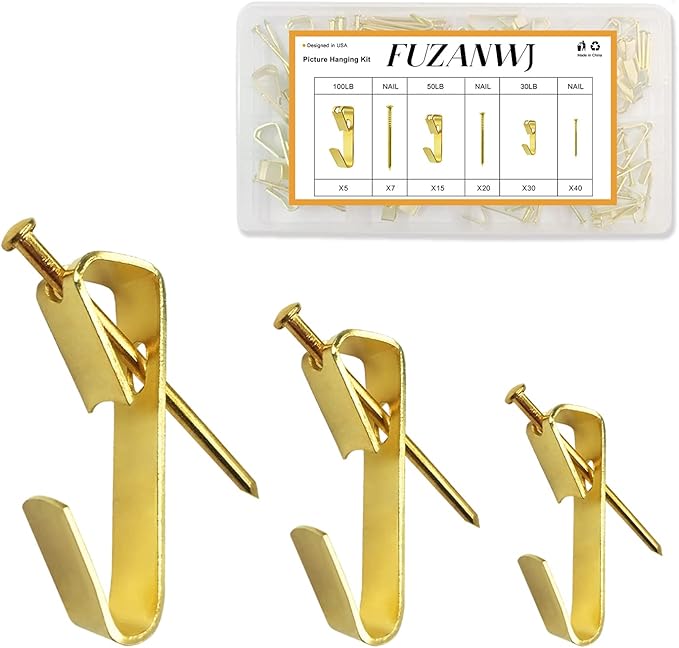 SHOP PICTURE HANGERS
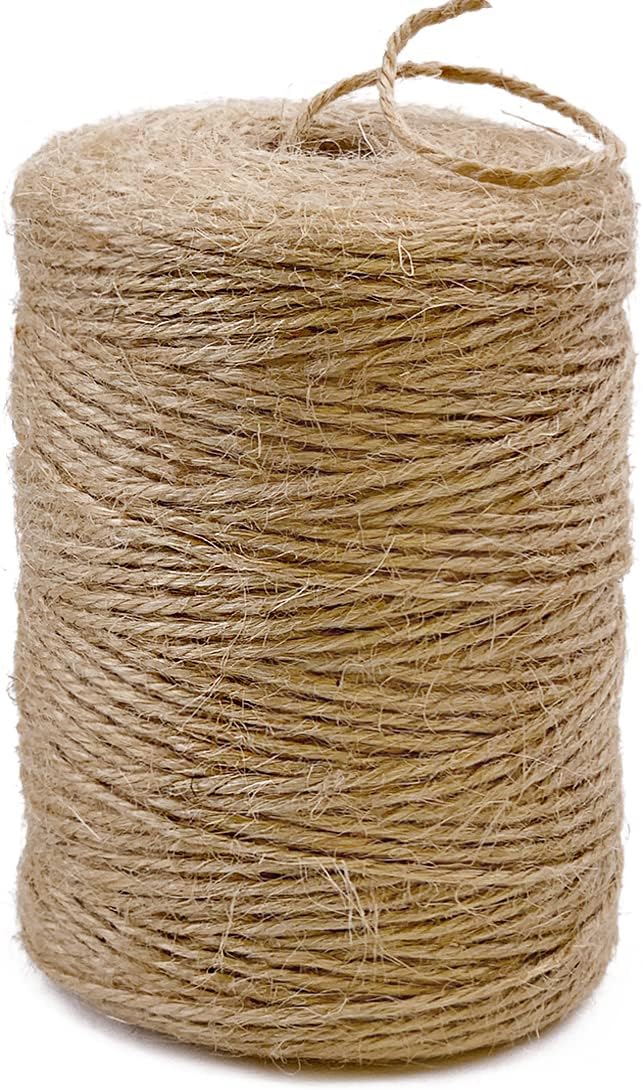 SHOP TWINE
Materials Needed
- 2 Tree branches (cleaned and dried) approx. 30–36 inches long
- Metallic gold spray paint
- 4 to 6 Heavy-duty picture hangers
- Clear matte sealer spray
- Twine
- Screw-in cup hooks
Step-by-step Guide
Step 1: Find and clean your branches – remove any loose bark and let them dry completely. Lightly sand rough patches if needed.
Step 2: In a well-ventilated area, spray paint your branches gold. Let them dry, flip, and coat all sides. Once dry, add a layer of matte sealer for durability.
Step 3: Mount the branches on your wall using strong picture hangers or wall hooks. Angle them naturally and space them apart as desired.
Step 4: Once secure, hang your necklaces, earrings, or even lightweight charms from the branches.
#14. Exquisite Butterfly Mosaic from Jewelry
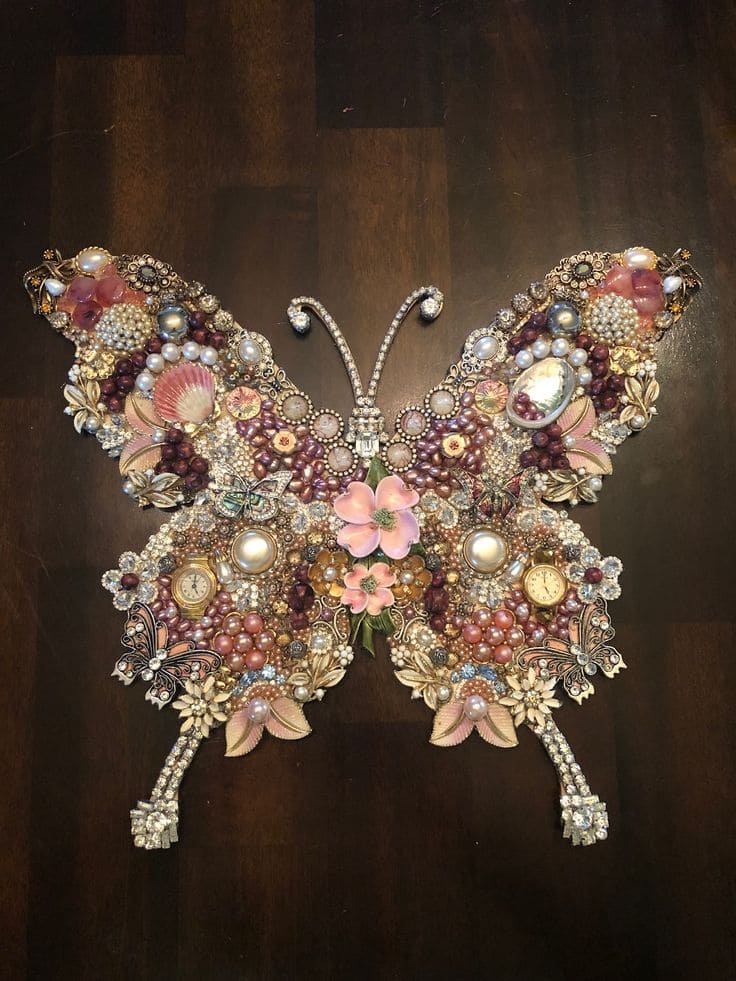
Any admirer of elegance will adore this butterfly crafted entirely from vintage jewelry.
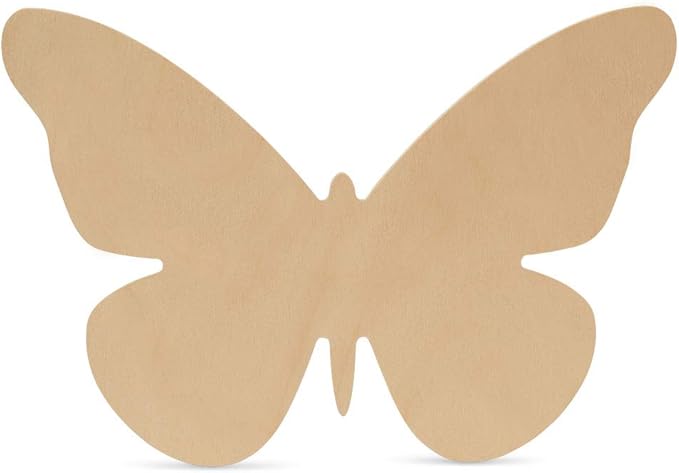 SHOP WOODEN BUTTERFLY BASE
 SHOP STRONG CRAFT ADHESIVE
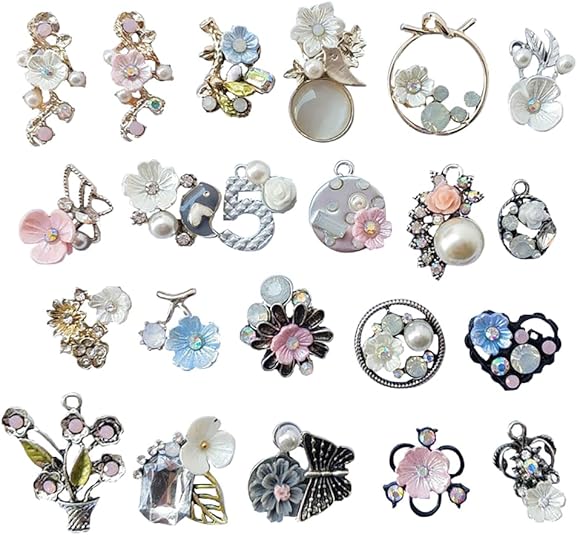 SHOP ASSORTED VINTAGE JEWELRY PIECES
 SHOP CRYSTAL CHAIN
 SHOP FAUX FLOWER EMBLISHMENTS
Materials Needed
- Wooden butterfly base 12″ wide
- Strong craft adhesive
- 40–60 Assorted vintage jewelry pieces
- Crystal chain
- Faux flower embellishments
- Tweezers and jewelry pliers
Step-by-step Guide
Step 1: Arrange your largest pieces on the wings first to anchor the design – mirroring them symmetrically if you like balance.
Step 2: Begin gluing the largest pieces, then fill in spaces with mid-size brooches, pearls, and layered flat-back jewels. Use tweezers for tighter spots. Shape rhinestone chain into antennae and glue them in place.
Step 3: Finish with details, add tiny pearls or micro rhinestones to fill small gaps and smooth transitions. Let everything dry overnight.
#15. Enchanting Tree of Life Jewelry Art
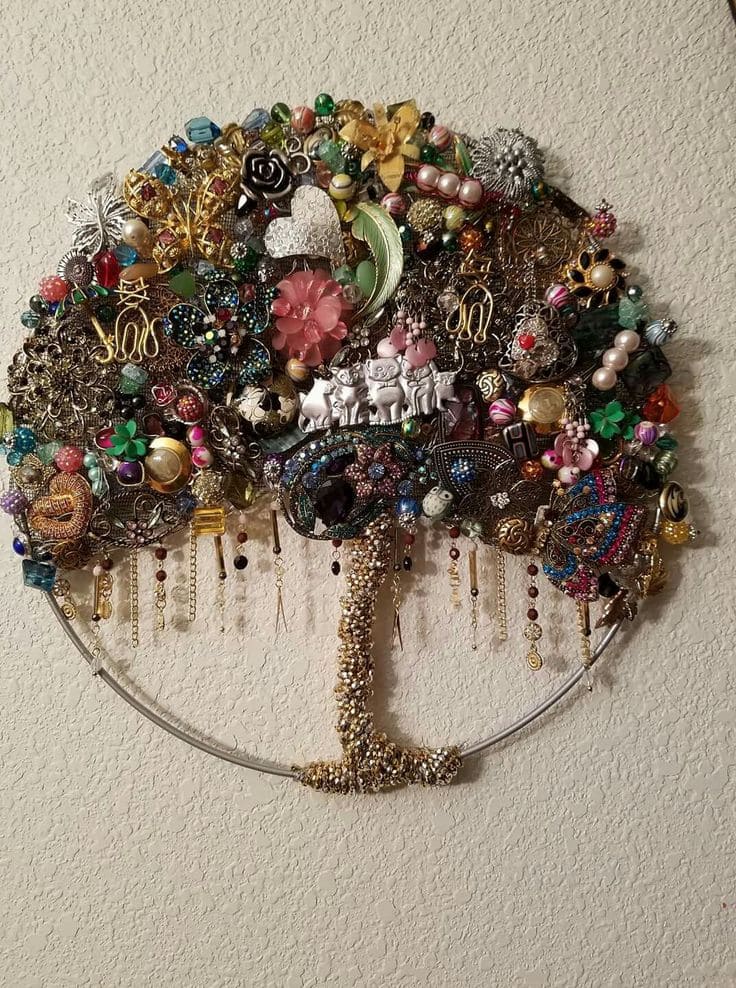
This “Tree of Life” is one of the most meaningful jewelry crafts I’ve ever made and the moment you make your own, you’ll understand why.
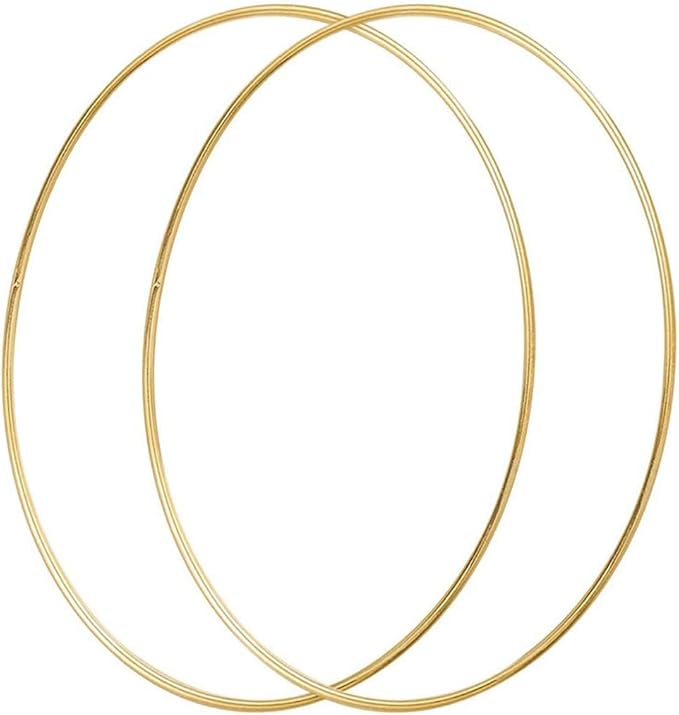

Materials Needed
- Metal floral hoop 12–16 inch diameter
- Jewelry glue or E6000 adhesive
- 50+ Assorted vintage jewelry pieces
- Gold seed beads
- 24–28 thin craft wire gauge
- Mini pliers set
Step-by-step Guide
Step 1: Wrap the lower portion of the hoop with wire, covering it with gold seed beads using glue as needed. This forms the sturdy, textured trunk.
Step 2: Start arranging your largest brooches, statement earrings, or centerpiece jewelry across the top half of the hoop like a leafy canopy. Cluster symmetrical shapes on both sides of the trunk.
Step 3: Fill in the rest with medium and small beads, layering depth using wire or adhesive. Hang drop earrings and chain pieces from the bottom branches.
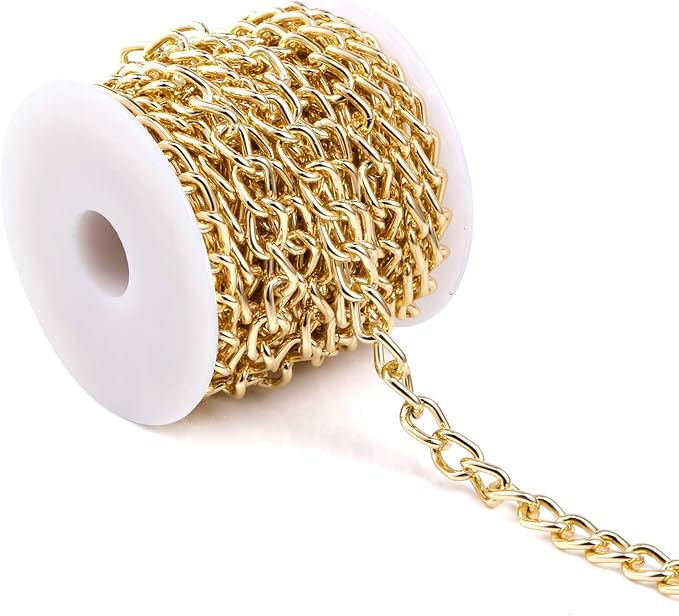
#16. Boho-Chic Denim Bag Jewelry Makeover
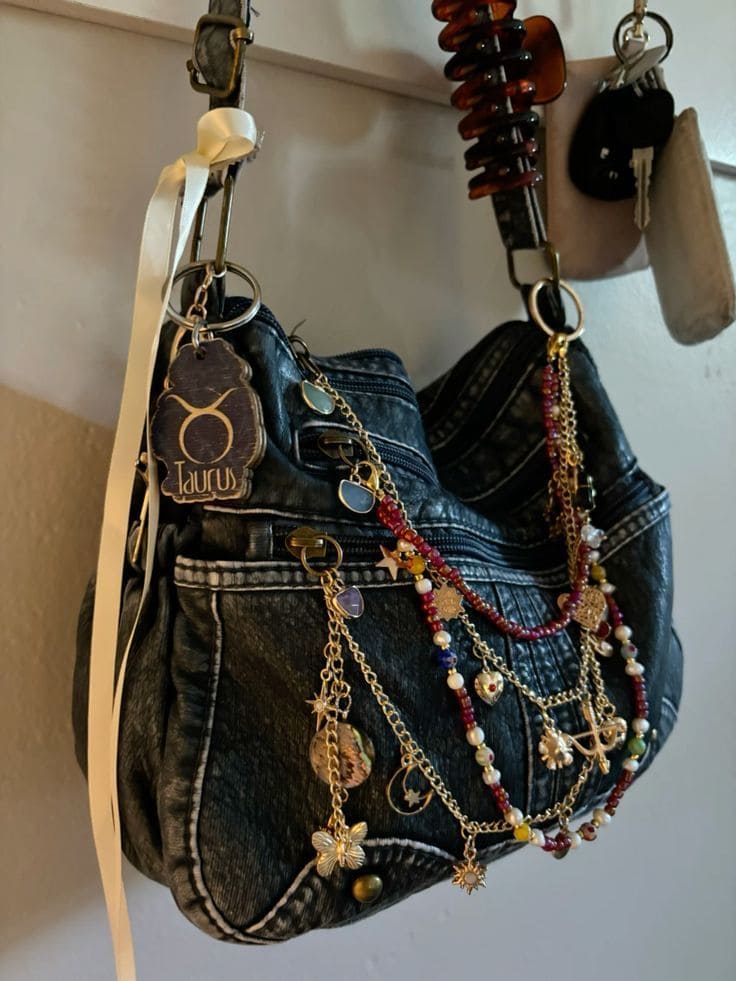
For cool girls craving unique accessories, this revamped denim bag becomes a bohemian masterpiece with chains, charms, and colorful beads from vintage jewelry.
 SHOP GOLD LINK CHAIN
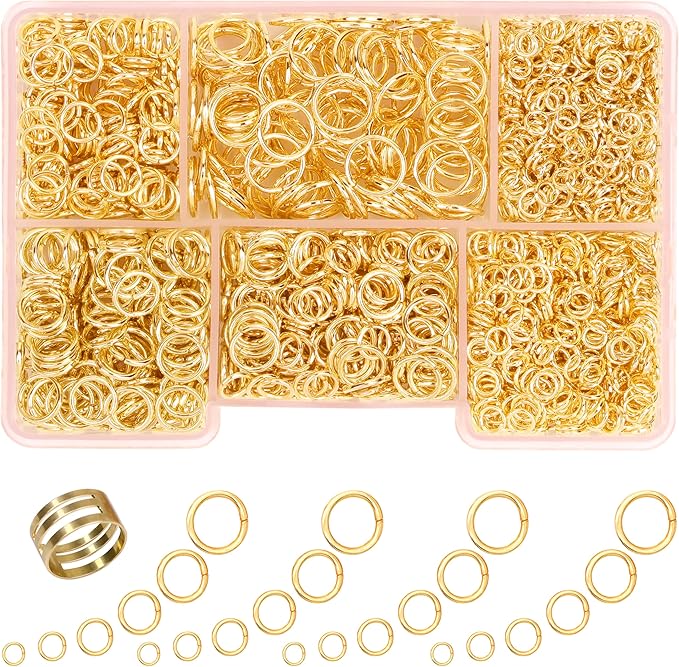 SHOP GOLD JUMP RINGS
 SHOP LOBSTER CLASPS
 SHOP ZODIAC CHARMS SET
 SHOP BEAD MIX
 SHOP HEAD PINS
Materials Needed
- Gold link chain – 1 meter, 4–6 mm links
- Jump rings 6 mm to 10 mm
- Lobster clasps 2 large-size
- Zodiac charms set
- Mini pliers toolkit
- 200–300 Bead mix
- Headpins
Step-by-step Guide
Step 1: Start by measuring how many layers you want across the bag. Cut varying chain lengths (shortest around 6″, longest about 12″).
Step 2: Use headpins to string beads, forming mini dangles. Attach to chain links with jump rings – alternate between charms and beads for a whimsical, uneven effect.
Step 3: Add lobster clasps to both ends of each chain layer. Hook them directly to your bag’s D-rings, strap loops, or belt holes.
#17. Dazzling Cat Art from Vintage Jewelry
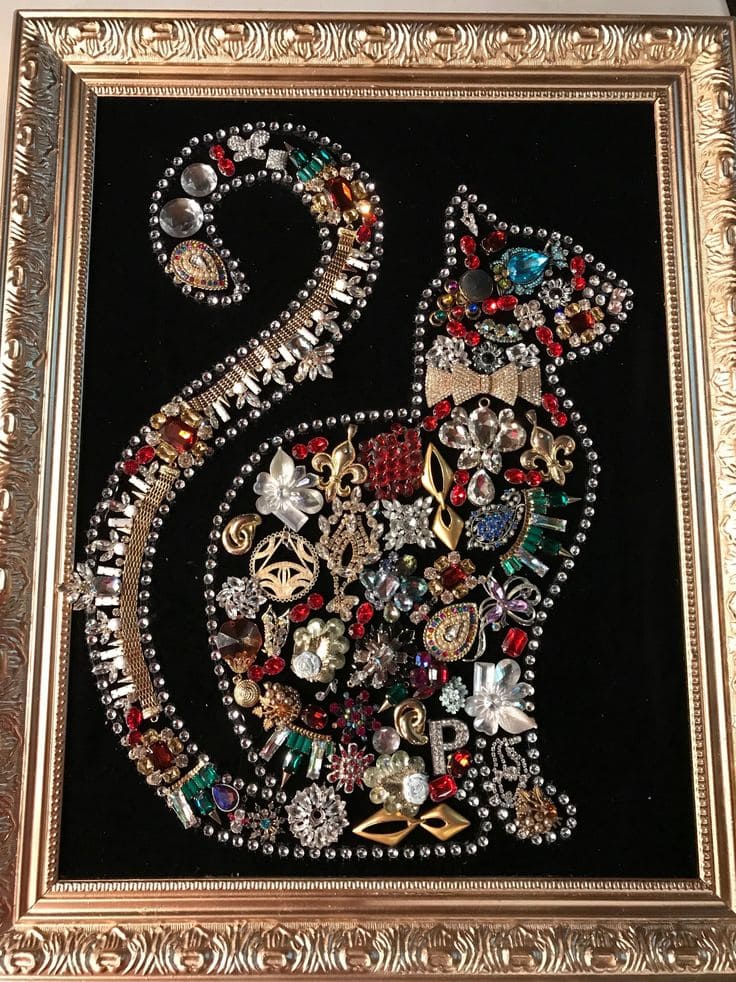
I made it using a mix of old brooches, single earrings, broken chains, and anything I couldn’t bear to toss.
Materials Needed
- Gold picture frame 11″ x 14″
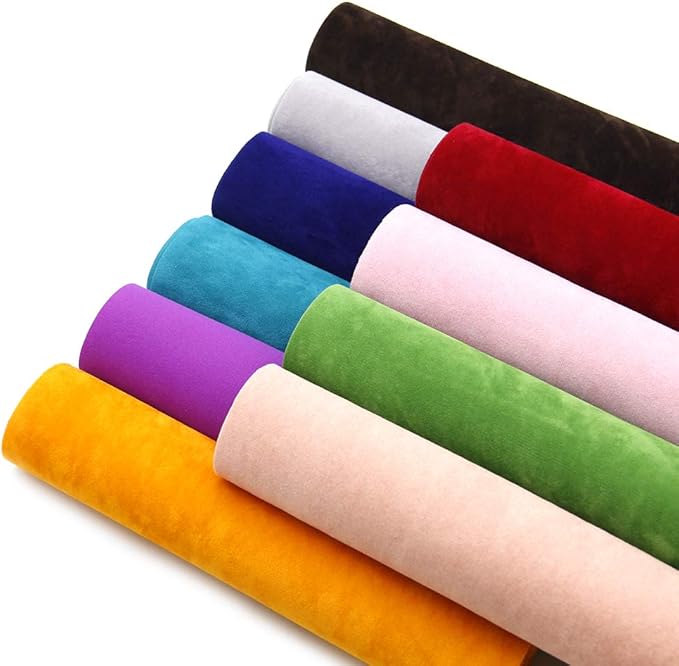
- Black velvet fabric 12″ x 15″
- 50–70 Jewelry pieces & brooches
- Strong jewelry glue
- Rhinestone chain trim 1 yard
- Chalk pencil
Step-by-step Guide
Step 1: Begin by removing the backing of your frame and stretching black velvet across it. Secure with hot glue or staples.
Step 2: Lightly sketch a cat silhouette on the velvet using a chalk pencil. Start with a sitting pose and swirl the tail for elegance.
Step 3: Use rhinestone chain or pearl trim to outline the silhouette first. Then, fill in the shape by arranging your jewelry pieces. Mix colors, textures, and shapes to give your cat depth and sparkle.
Step 4: Once you’re happy with the layout, glue each piece down firmly and let dry overnight.
#18. Stunning Jewelry-Adorned Mannequin Art Piece
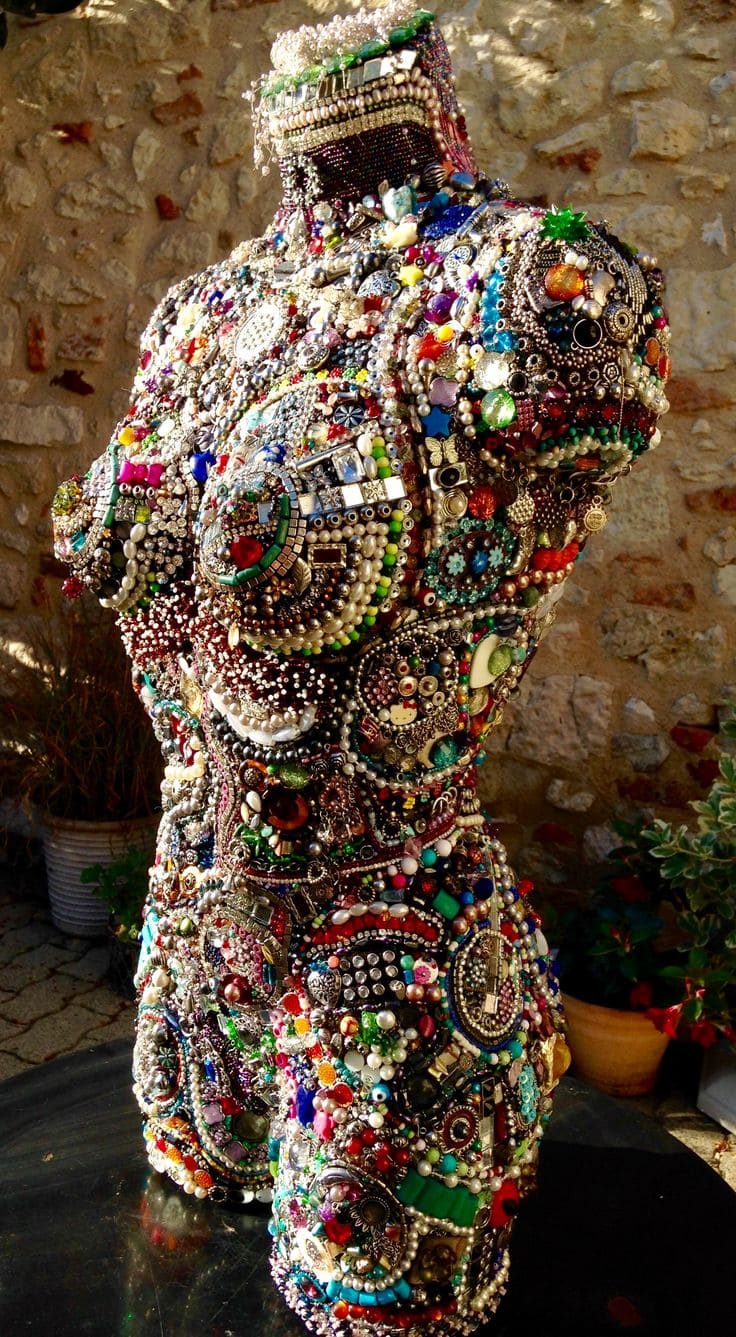
This is more than a sculpture, it’s a shrine to feminine strength, creative reuse, and unapologetic sparkle.
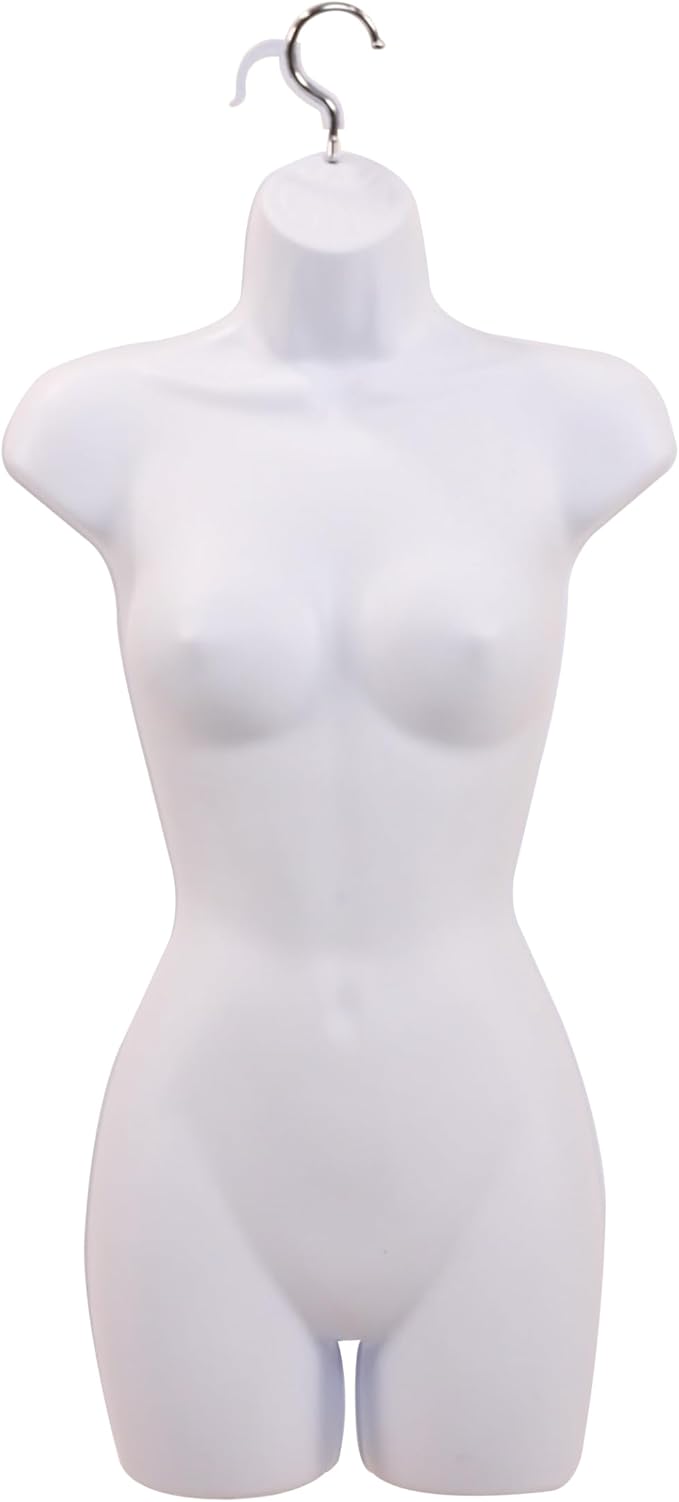
Materials Needed
- Female torso mannequin
- E6000 jewelry glue
- 100–150 Mixed vintage jewelry lot
- 500 Loose beads and pearls
- Tweezers and small pliers
- Spray sealant
Step-by-step Guide
Step 1: Begin by lightly sanding your torso mannequin for better glue grip. Clean with alcohol wipes and let it dry.
Step 2: Start at the chest or shoulder and work your way down, layering large statement pieces first. Fill in gaps with pearls, rhinestones, beads, and chains. Mix materials intentionally – plastic next to crystal, matte next to glossy.
Step 3: Continue gluing in sections, giving each layer time to set before moving. Once complete, finish with a clear protective spray.
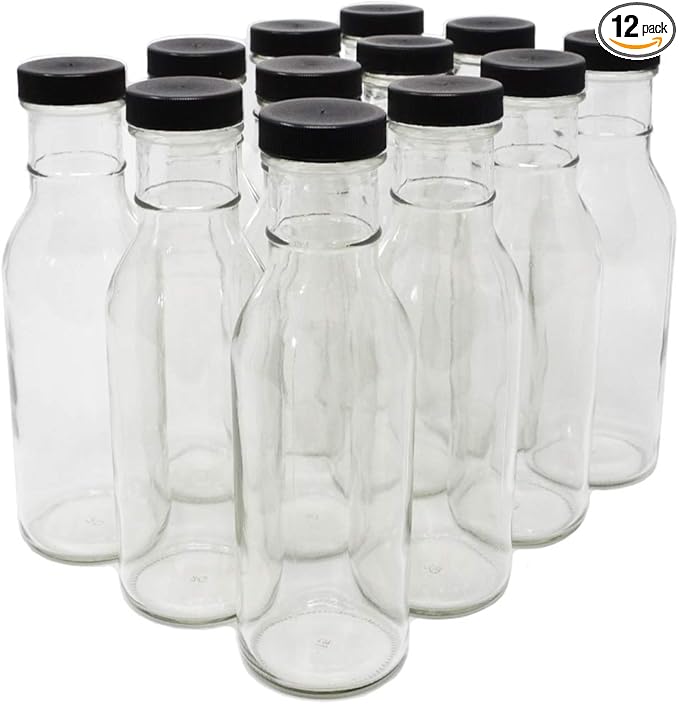
#19. Vintage-Inspired Bottles with Jewelry Accents

These vintage-inspired jewel-topped potion bottles feel like something you’d find tucked away in a forgotten Parisian apothecary.
 SHOP GLASS BOTTLES
 SHOP FRENCH-STYLE PRINTABLE VINTAGE LABELS
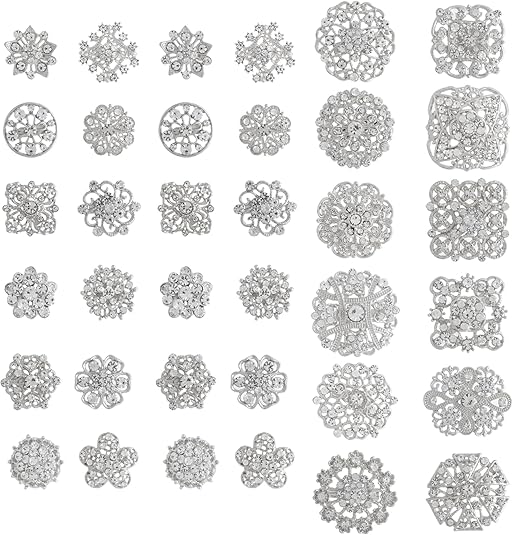 SHOP RHINESTONE BUTTONS
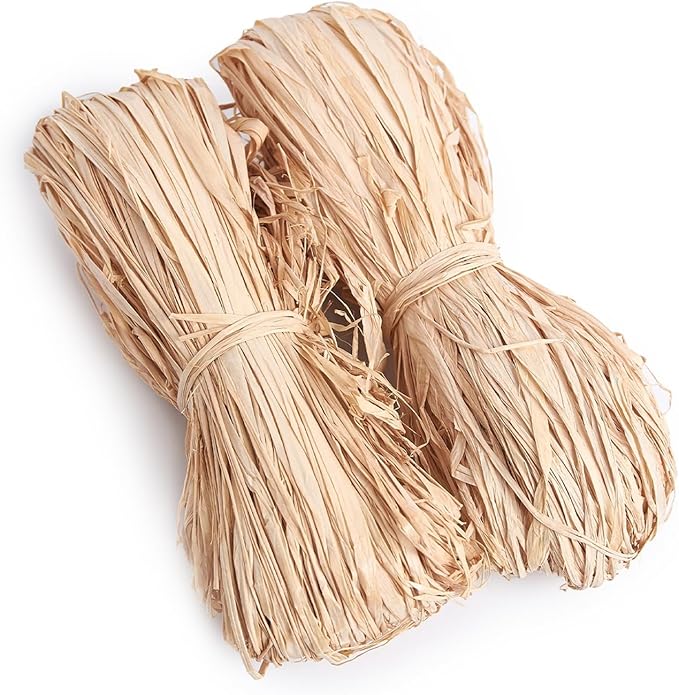 SHOP RAFFIA
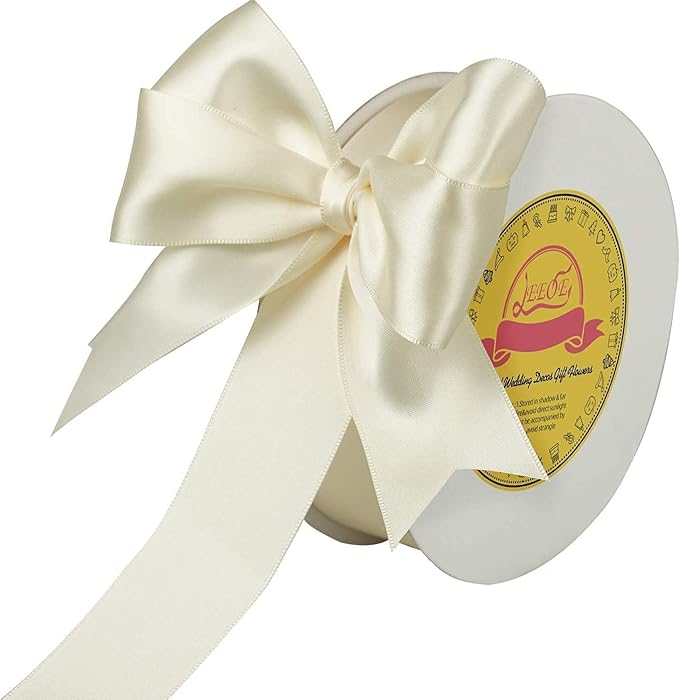 SHOP SILK RIBBON
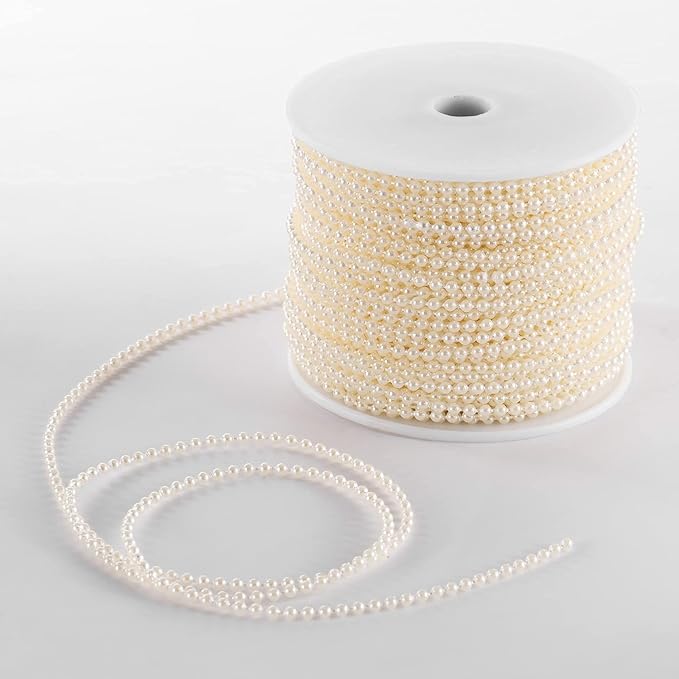 SHOP FAUX PEARL STRINGS
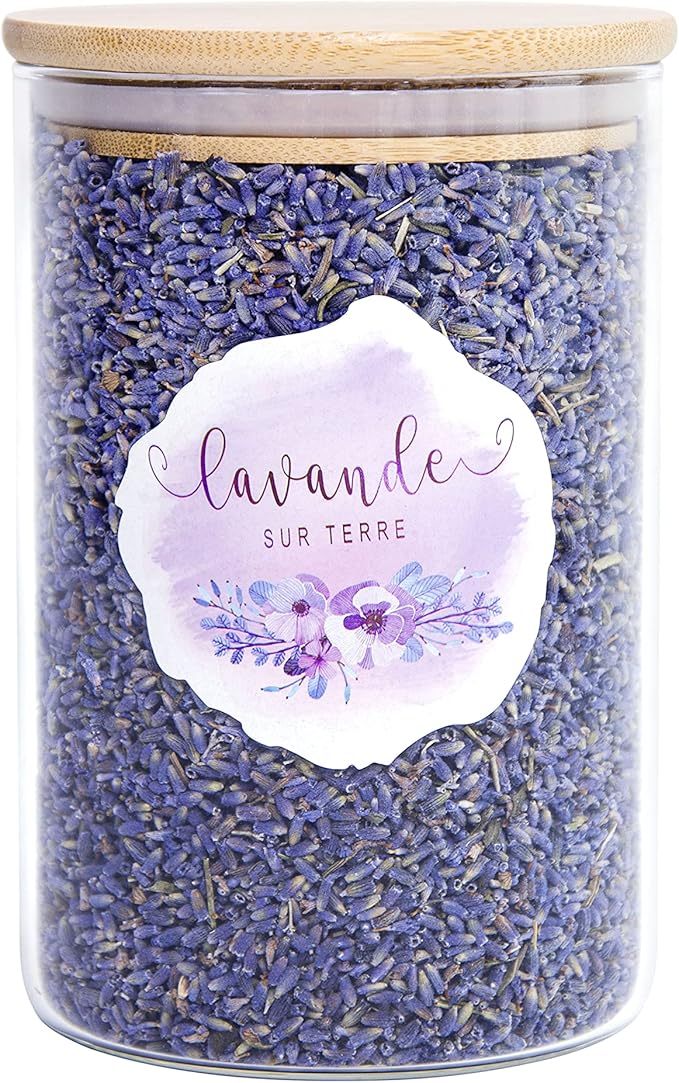 SHOP DRIED LAVENDER
 SHOP RICE
 SHOP SALT
Materials Needed
- 8–10 Glass bottles with cork stoppers 4–7 inches tall
- 8-10 French-style Printable vintage labels
- 10 Assorted vintage brooches or rhinestone buttons
- Hot glue gun and glue sticks
- Natural ribbon or silk ribbon
- Small pearls or faux pearl strands
- Dried lavender, rice, or bath salts
Step-by-step Guide
Step 1: Fill your bottles with dried rice, lavender, or any small filler of choice. Avoid anything moist unless you’re sealing it airtight.
Step 2: Wrap and tie a piece of ribbon around the bottle neck and hot glue a brooch or pearl detail on top. For extra flair, wrap pearl strands like garlands around the shoulders.
Step 3: Print your vintage labels on textured paper, cut them out carefully, and glue them onto the bottles using a glue stick or mod podge. Finish by hot-gluing a rhinestone brooch onto the cork top as the crown jewel.
#20. Glamorous Curtain Tiebacks Using Vintage Jewelry

I made this one to give my workspace a hint of vintage glam without sacrificing practicality and wow, does it sparkle in the morning light!
Materials Needed
- Pink glass beads – approx. 36 beads per strand, 8mm
- Light pink faux pearls
- Crystal rhinestone chain
- 18 inches gold link chain
- 3 feet jewelry wire
- 2 lobster clasps or curtain hooks
- Needle nose pliers
Step-by-step Guide
Step 1: Start by stringing your beads onto separate lengths of wire—about 18 inches each. You can alternate styles and sizes for texture: faceted beads, pearls, crystal chain.
Step 2: Use needle nose pliers to secure both ends of each wire strand with loops, adding jump rings or attaching directly to the lobster clasp. Layer the strands in your desired order before fully tightening the ends.
Step 3: Finish by attaching all strands to the lobster clasp or curtain hook on each end. Wrap it around your curtain and clasp it like jewelry.
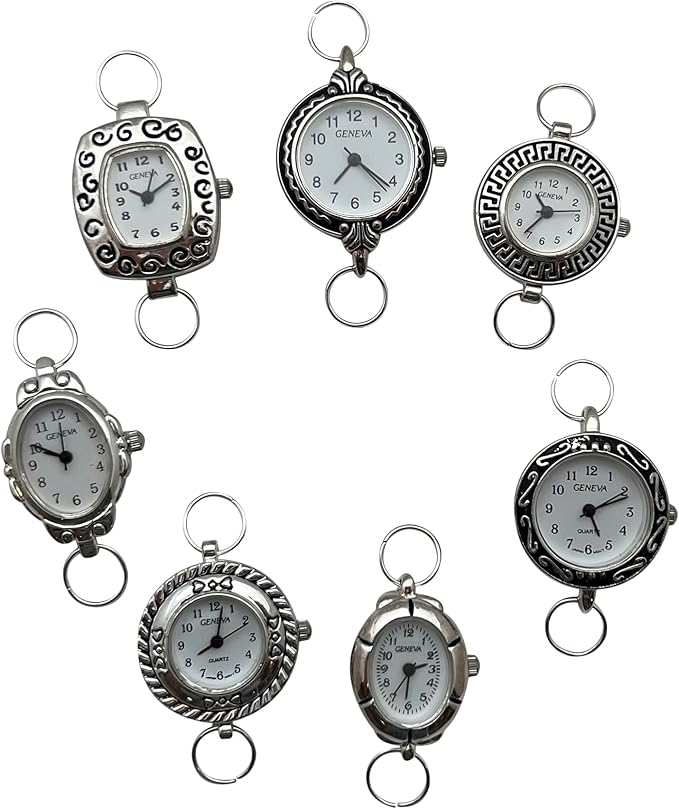
#21. Vintage Charm Watch Pendant Creation
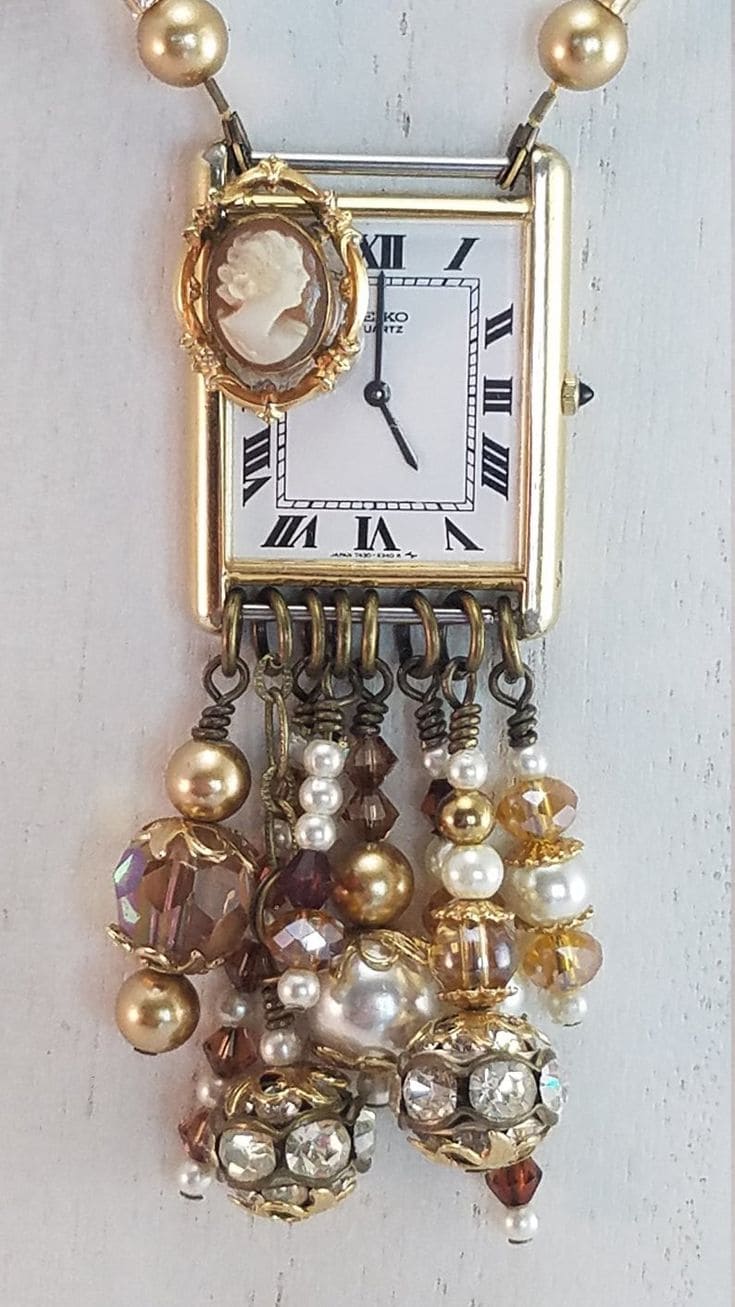
The combination of antique pearls, warm amber crystals, and the tiny cameo gives it a romantic, heirloom feel.
 SHOP VINTAGE-STYLE WATCH FACE PENDANT
 SHOP ASSORTED GLASS BEADS
 SHOP GOLD HEADPINS
 SHOP MINI CAMEO CHARM
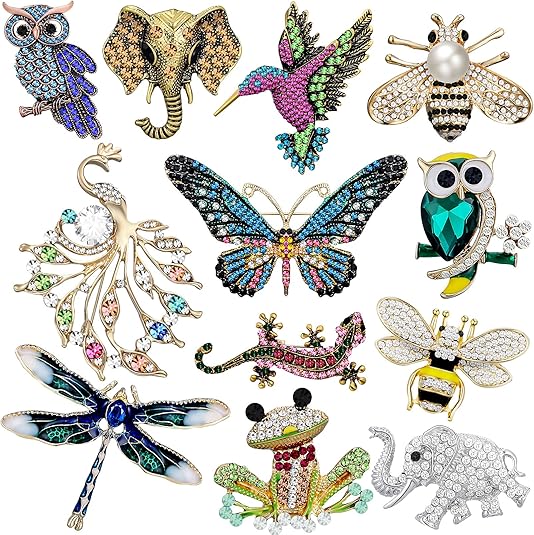 SHOP BROOCH
 SHOP SMALL CHAIN
Materials Needed
- Vintage-style watch face pendant
- 4mm to 10mm Assorted glass pearls and crystal beads
- 50 gold headpins 2-inch
- 6mm Antique bronze jump rings
- Mini cameo charm or brooch
- Round nose pliers & cutters
- Optional: small chain
Step-by-step Guide
Step 1: Attach 7–9 jump rings to the loops on the bottom edge of your watch face.
Step 2: Create your charms: thread beads onto headpins in varying combinations and lengths. Curl the top of each pin into a loop using round-nose pliers, then hook them onto the jump rings.
Step 3: Add the cameo using a small jump ring – center it just above the watch face or directly onto a beaded charm if you prefer asymmetry.
#22. Charming Beaded Hair Clip Designs
Whether you’re dressing up your everyday ponytail or gifting your bestie, this craft hits that nostalgic sweet spot.
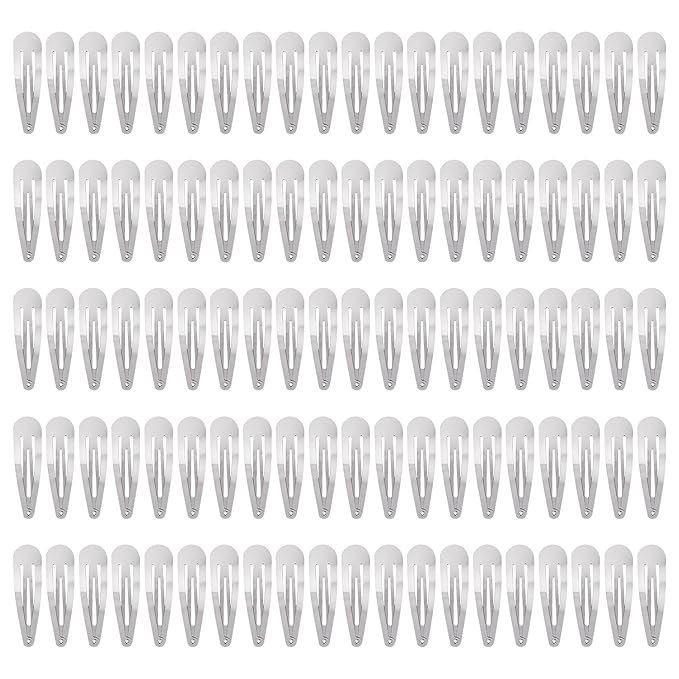
Materials Needed
- 5 Metal snap hair clips 2″
- Nylon cord – 24–26 gauge
- Seed beads and glass beads
- Mini charms
- Crimp beads
- Jewelry pliers
- 4–6mm jump rings
Step-by-step Guide
Step 1: Cut a piece of beading wire about 6–7 inches long. Thread on a crimp bead, loop it through a jump ring, and back through the crimp.
Step 2: Start adding your beads in any pattern or color combo you love. Mix shapes and sizes for playful texture, and add a charm at the end for extra personality.
Step 3: Once you’ve reached your desired length, finish with another crimp bead. Loop it through a second jump ring, crimp to secure, then snip excess wire.
Step 4: Open the jump ring with pliers and attach it through the hole at the bottom of the metal snap clip. Close tightly.
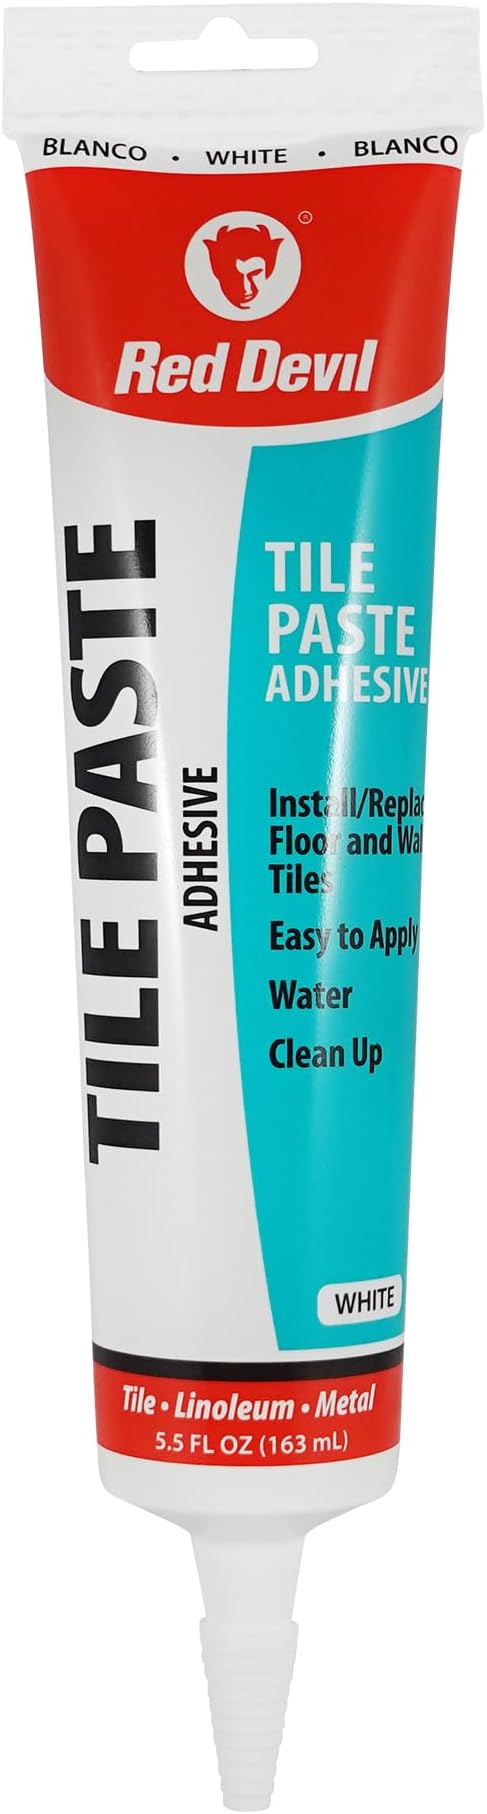
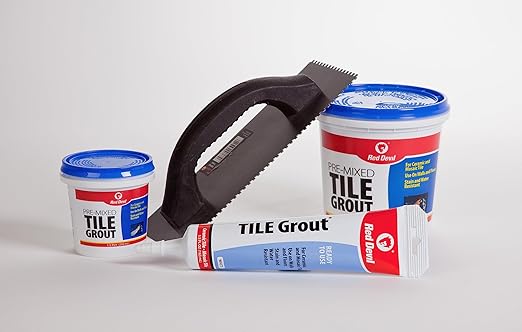
#23. Mosaic Initials Jewelry Art
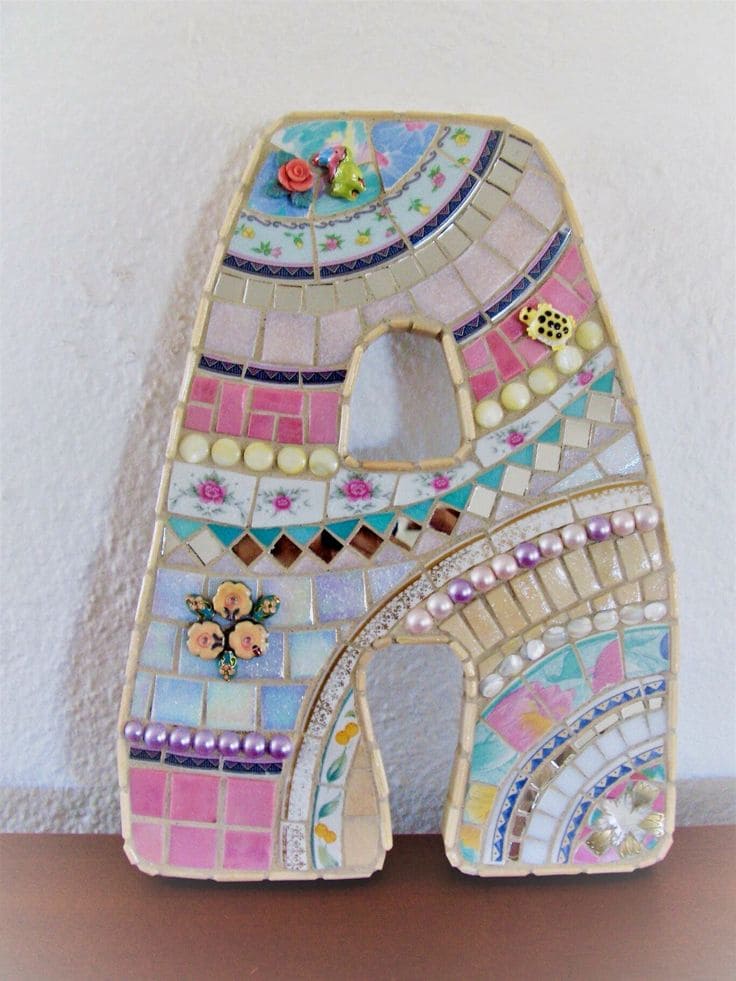
This mosaic letter “A” is a sparkly explosion of charm and color, exactly the kind of project that brings quiet joy to any lazy afternoon.
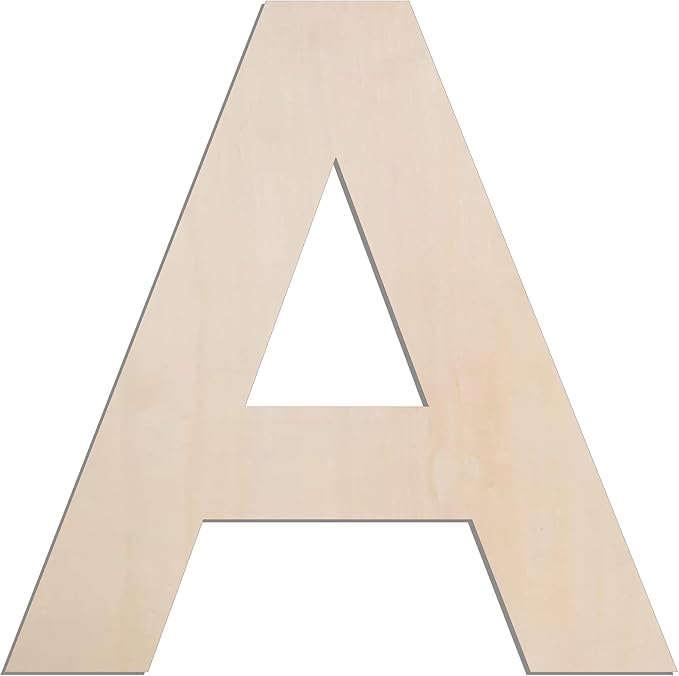
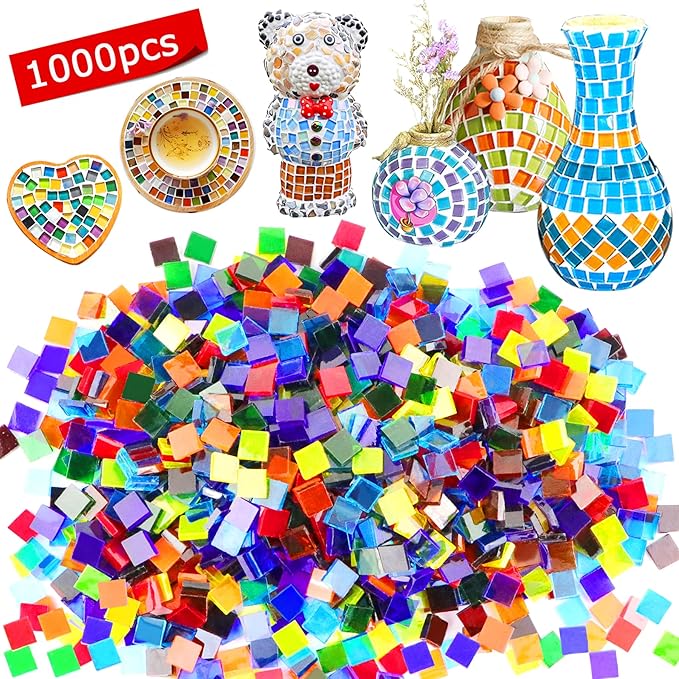
Materials Needed
- Wooden letter base (8–12 inch tall)
- Tile adhesive
- Assorted mosaic tiles
- 20–30 Flat-back pearls and mini embellishments
- Grout (non-sanded, white or pastel) – ½ cup
- Palette knife
- Sponge or soft cloth
Step-by-step Guide
Step 1: Clean your wood or MDF letter thoroughly. Apply tile adhesive using a palette knife in small sections, and begin pressing in tiles, bits of dishware, pearls, or charms in your desired pattern. Let dry completely (about 6–12 hours).
Step 2: Once the adhesive has cured, mix your grout with water until it’s the consistency of thick cake frosting. Spread it across the surface, pressing it into the gaps with your fingers or a squeegee.
Step 3: After 10–15 minutes, wipe the surface gently with a damp sponge to remove excess grout and reveal your beautiful mosaic. Let dry overnight.
#24. Glittering Ornament from Vintage Jewelry
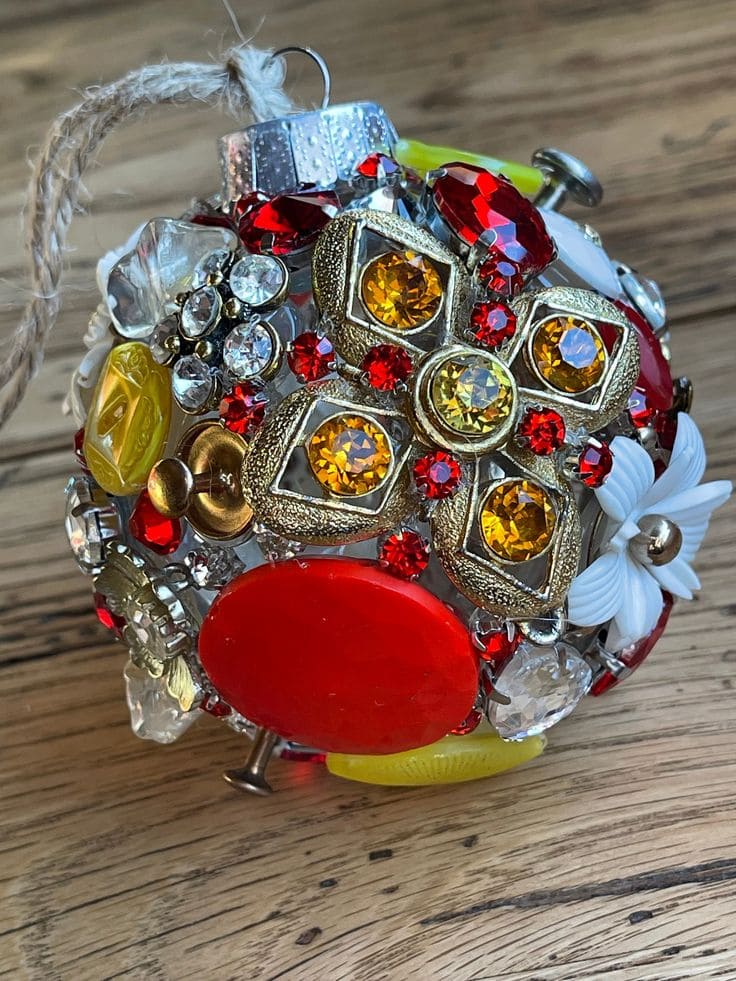
There’s a nostalgic joy in breathing new life into forgotten trinkets, every piece tells a story, and now they all shimmer together in one tiny treasure globe.
 SHOP GLASS ORNAMENT BASE
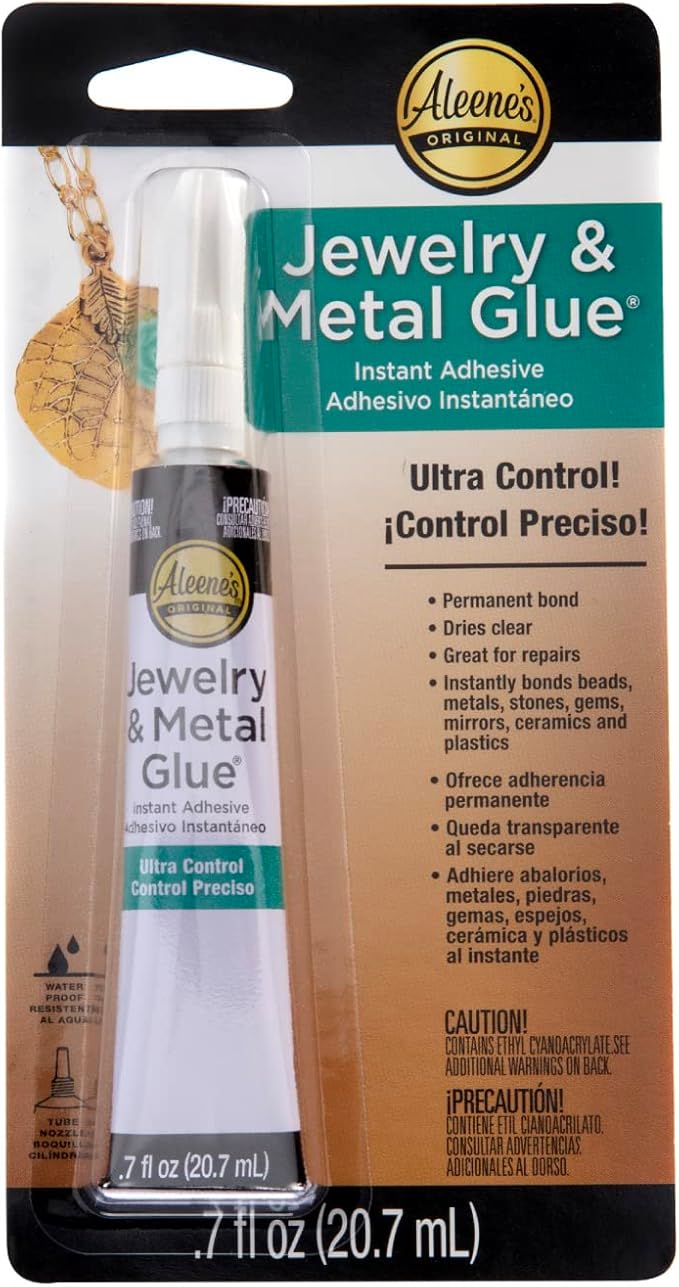 SHOP STRONG JEWELEY GLUE
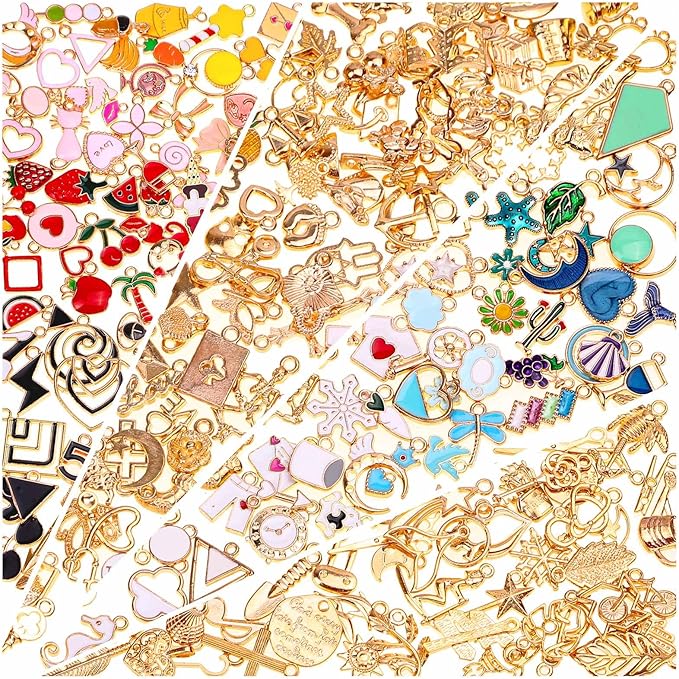 SHOP ASSORTED OLD JEWELRY PIECES
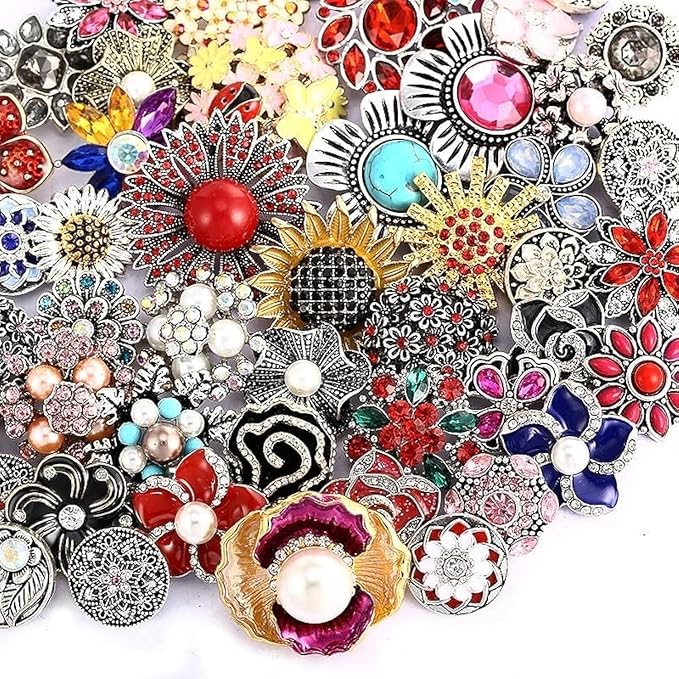 SHOP RHINESTONES
 SHOP WHITE TWINE
Materials Needed
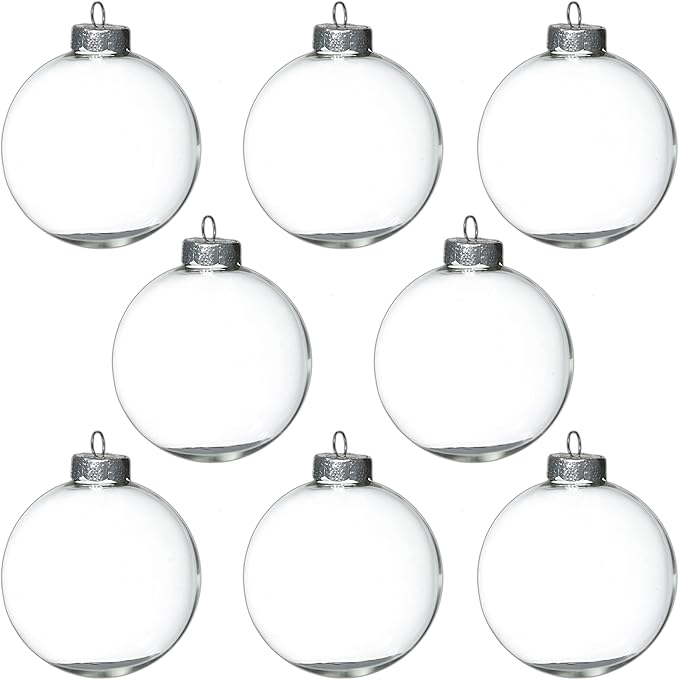
- Glass ornament base (3–4 inch)
- Strong jewelry glue
- 30–50 Assorted old jewelry pieces, buttons, rhinestones
- 5mm–10mm Flat-back gems and faux pearls
- Twine, ribbon, or wire
Step-by-step Guide
Step 1: Clean your ornament surface with a soft cloth. Layout your jewelry bits, rhinestones, and buttons in a rough design before starting.
Step 2: Begin by gluing the largest and most eye-catching pieces first. Press firmly and allow them to set for a few minutes. Then, fill in the gaps with smaller pieces, gems, or pearls until the entire surface is covered.
Step 3: Let everything dry for 24 hours. Once cured, tie a piece of twine or ribbon to the top for hanging.
#25. Elegant Beaded Spider Brooch Creation
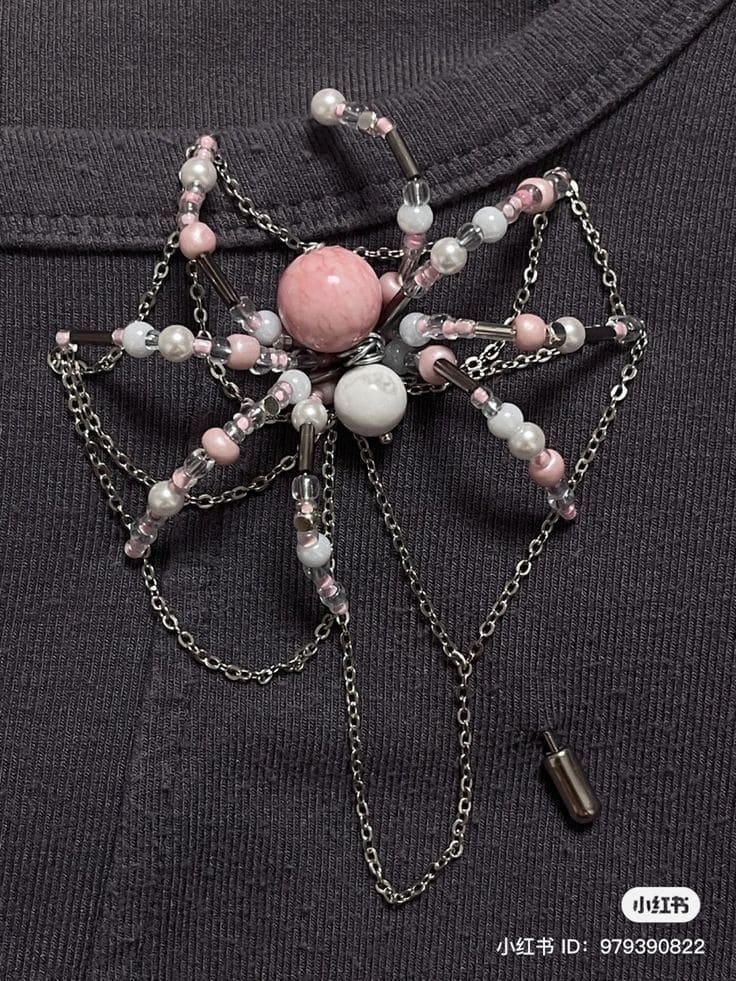
The pink and pearl beads add a romantic charm, while the silvery chains create a web effect that looks bold and ethereal all at once.
 SHOP ROUND BEADS
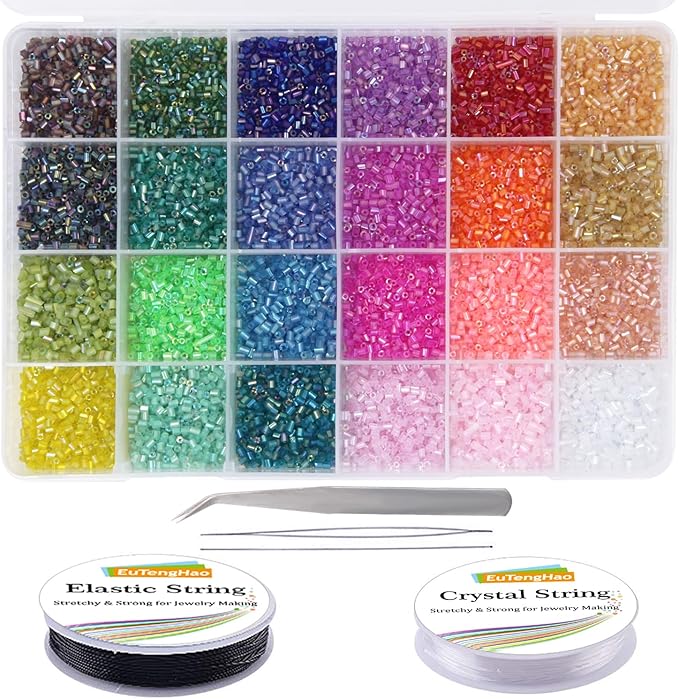 SHOP BUGLE BEADS
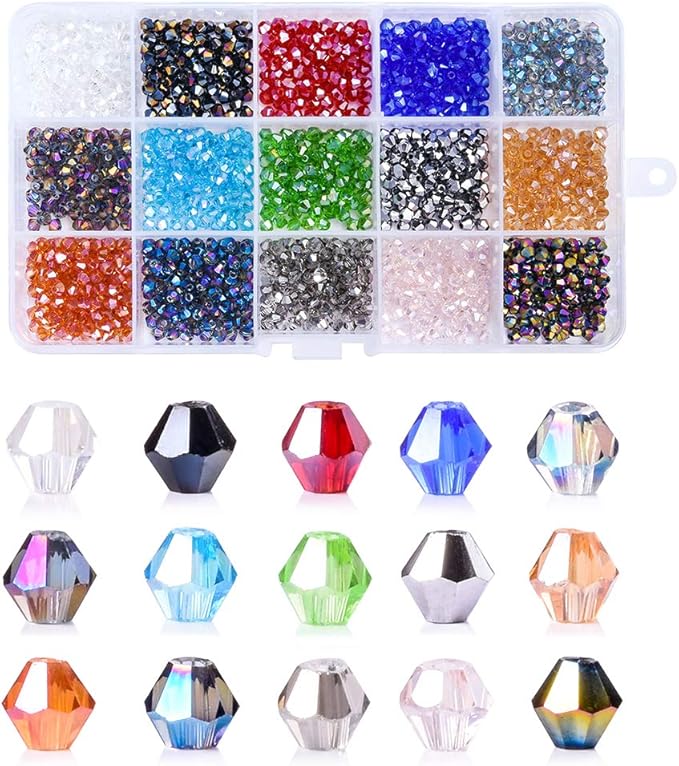 SHOP CYLINDDRICAL METAL BEADS
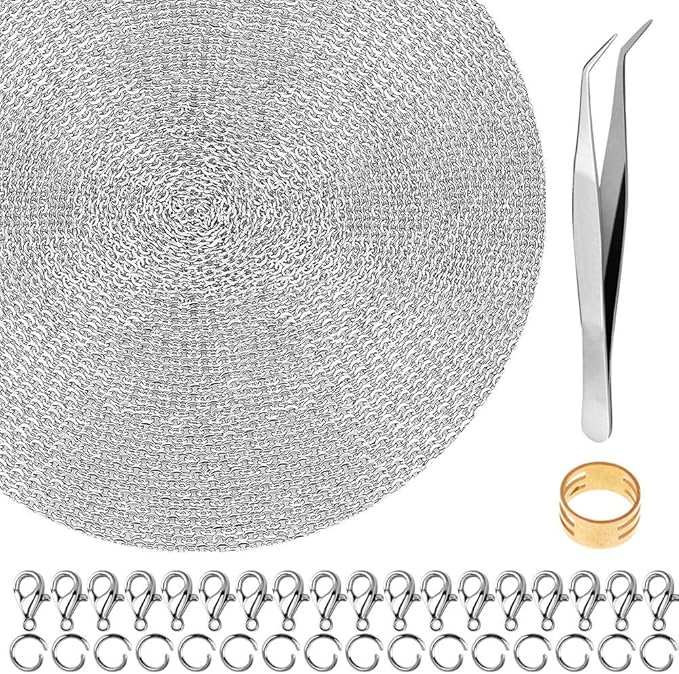 SHOP SILVER JEWELRY CHAIN
 SHOP BROOCH PIN BACK
Materials Needed
- Large round bead (14mm–16mm)
- Smaller round bead (10mm–12mm)
- 70-80 glass seed beads and small pearls (2mm–6mm)
- 16 small bugle beads or cylindrical metal beads (6mm)
- Thin craft wire (26–28 gauge, silver)
- 60 cm silver jewelry chain
- Brooch pin back
- Jewelry pliers set
Step-by-step Guide
Step 1: Start by creating the spider’s body. Thread your wire through the large bead and twist it tightly with the smaller bead on top.
Step 2: Cut 8 equal lengths of wire (each around 6–7cm) and string the legs with alternating pearl, seed, and bugle beads. Attach 4 legs to each side of the body by twisting the wire ends around the central body wire.
Step 3: Use jewelry pliers to shape the legs slightly, giving them a natural bend. Now, take your chain and drape it between the legs in a webbed pattern, attaching it delicately using jump rings or wire loops.
Step 4: Secure the spider onto a brooch pin or a safety pin by wrapping the central wire around the pin base. Add a touch of glue to keep it fixed if needed.
#26. Vintage Jewelry Wreath of Memories
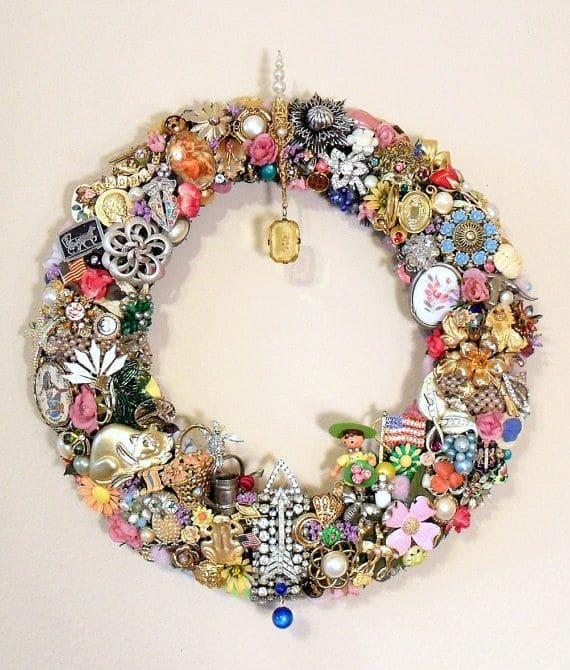
If you treasure sentimental keepsakes, transform old brooches, earrings, and trinkets into a dazzling wreath.
Materials Needed
- Foam wreath base (12″–16″)
- Hot glue gun
- 60–100 Vintage or costume jewelry (brooches, earrings, buttons, charms)
- Velvet or satin ribbon (optional)
- Filler pieces like faux pearls, rhinestones, and beads
- Floral wire (22 gauge)
- Spray paint (gold or white, optional)
Step-by-step Guide
Step 1: If using foam, spray-paint it gold or cover it in ribbon for a polished look. Let dry completely.
Step 2: Lay out your jewelry pieces and group them by size and color. Place the largest and most ornate pieces first, spacing them evenly around the wreath.
Step 3: Attach the large items with hot glue, holding each one for 15–30 seconds. For heavy brooches or odd shapes, use floral wire to secure through the back of the base.
Step 4: Fill in the gaps with medium and small items, layering creates depth. Add loose rhinestones, tiny flowers, and bead clusters to fill exposed areas.
Step 5: Finish with a ribbon loop for hanging or a jewel at the center for extra dazzle.
#27. Elegant Vintage Jewelry Christmas Tree Art
With timeless elegance and a touch of nostalgia, craft a jewelry Christmas tree encased in a sophisticated frame.
Materials Needed
- Ornate picture frame (8″x10″ or 11″x14″)
- Velvet or linen backing fabric
- 30–50 Assorted vintage jewelry (brooches, clip-ons, pearls, rhinestones)
- Hot glue gun and glue sticks
- Needle-nose pliers or wire snips
- Jewelry filler: seed beads, tiny roses, pearls
- Foam board backing
Step-by-step Guide
Step 1: Remove the glass from your frame and cut velvet or linen to fit the backing board snugly. Glue or tape the fabric tightly onto the board.
Step 2: Lay out the jewelry pieces in the shape of a Christmas tree, starting from the star topper down to the wide base. Use large pieces for structure and symmetry.
Step 3: Use pliers to remove pins, earring backs, or heavy clasps. This helps the pieces sit flat. Begin gluing from the center out, holding each piece for 20 seconds.
Step 4: Once the main structure is glued, fill in the tree using small beads, rhinestones, and pearls to create flow and sparkle. Layer slightly to create texture.
Step 5: When complete, insert your board into the frame without the glass and secure.
#28. Radiant Brooch Bouquet for Weddings
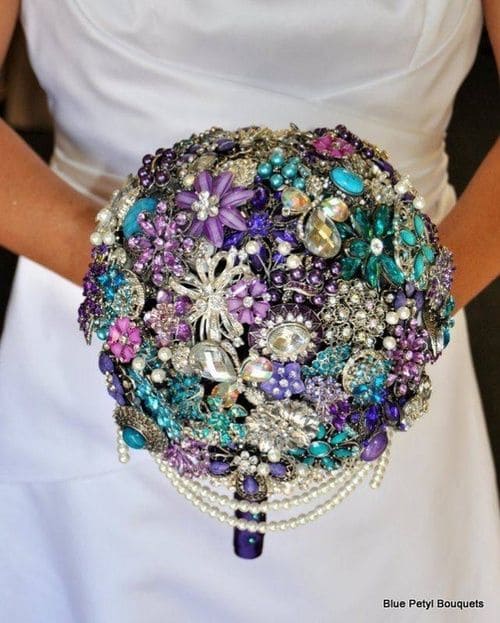
If you’re looking for a unique twist on a wedding bouquet, craft one using old brooches and jeweled pieces.
 SHOP FOAM BOUQUET HOLDER
 SHOP EARRINGS
 SHOP RHINESTONE PINS
 SHOP BEAD TRIM STRANDS
 SHOP FAUX FLORALS
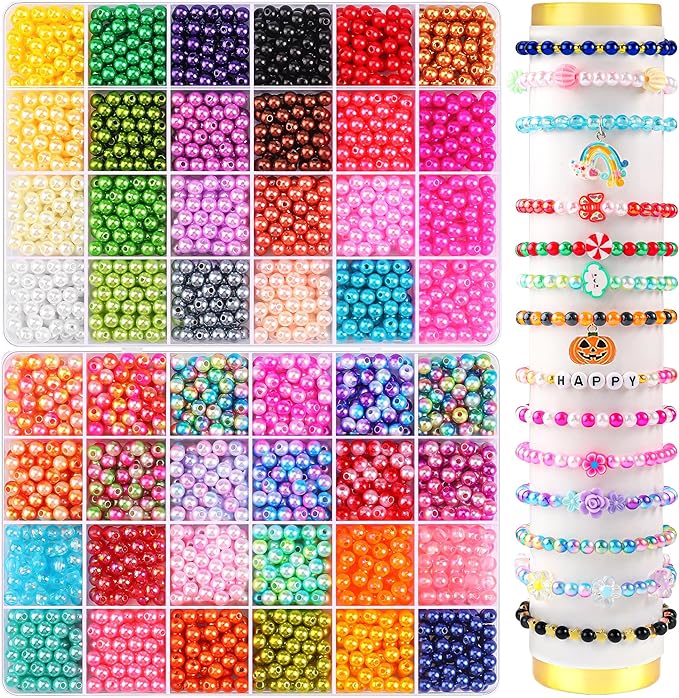 SHOP FILLER BEADS
Materials Needed
- Foam bouquet holder with handle (6–7″ diameter)
- 50 to 70 Assorted vintage brooches, earrings, and rhinestone pins
- Floral wire (22 gauge)
- Wire cutters and jewelry pliers
- Hot glue gun + low-temp glue sticks
- Bead trim strands
- Faux florals or filler beads
- Satin ribbon
Step-by-step Guide
Step 1: Start by wrapping your foam bouquet handle in satin ribbon. Secure the ends with glue for a polished, bridal look.
Step 2: Prep each brooch or earring by removing pins or backs. Cut an 8″ length of floral wire, thread it through or wrap it around the piece securely, then twist to form a pick.
Step 3: Begin inserting the wired pieces into the foam, starting from the center top and working your way outward in circular layers. Space evenly for visual balance.
Step 4: Fill in gaps with smaller earrings, rhinestones, or faux flower heads. Use hot glue for pieces that can’t be wired, but secure only after placement is confirmed.
Step 5: Wrap and pin draped pearl strands between pieces to create a cascading effect. Add hanging elements or charms if desired.
Step 6: Once fully covered, adjust pieces for height and angle. Gently secure wobbly ones with extra glue. Finish by fluffing out pearls or accents and securing the final ribbon around the base of the handle.
#29. Dazzling Jewelry-Inspired Chandelier Art
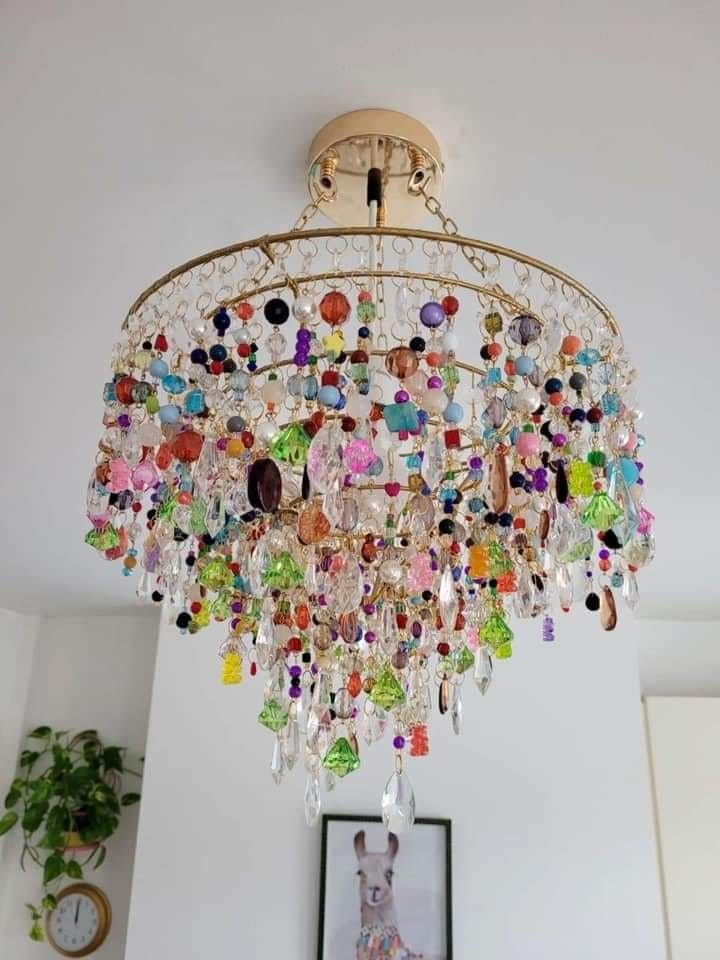
This chandelier is pure magic. It’s the kind of DIY that makes you feel like a color-happy magician, turning a simple light fixture into a boho-glam explosion of joy.
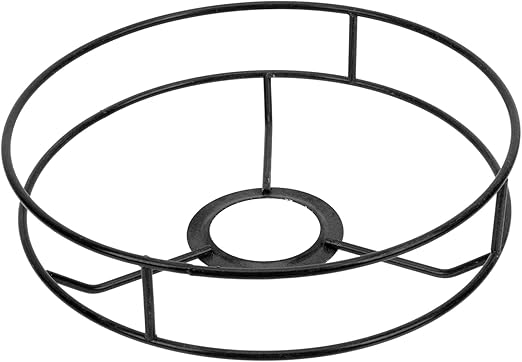 SHOP WIRE CHANDELIER FRAME
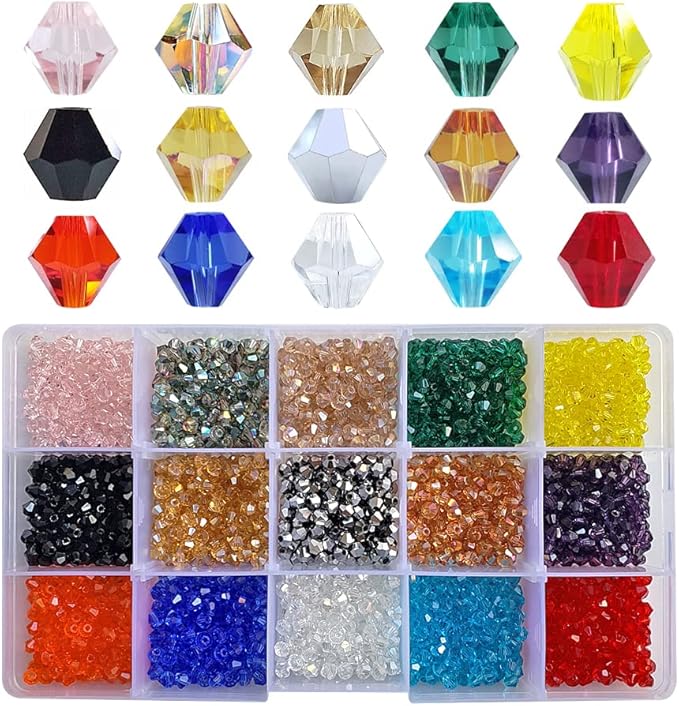 SHOP BICONE GLASS BEADS
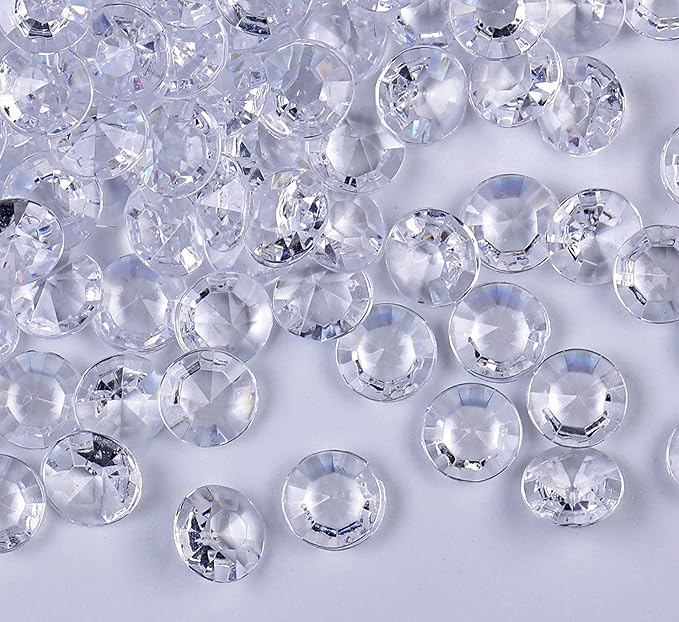 SHOP ACRYLIC GEMS
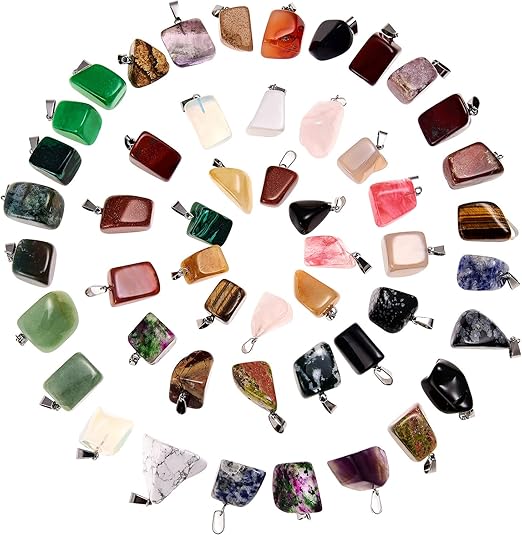 SHOP PENDANTS
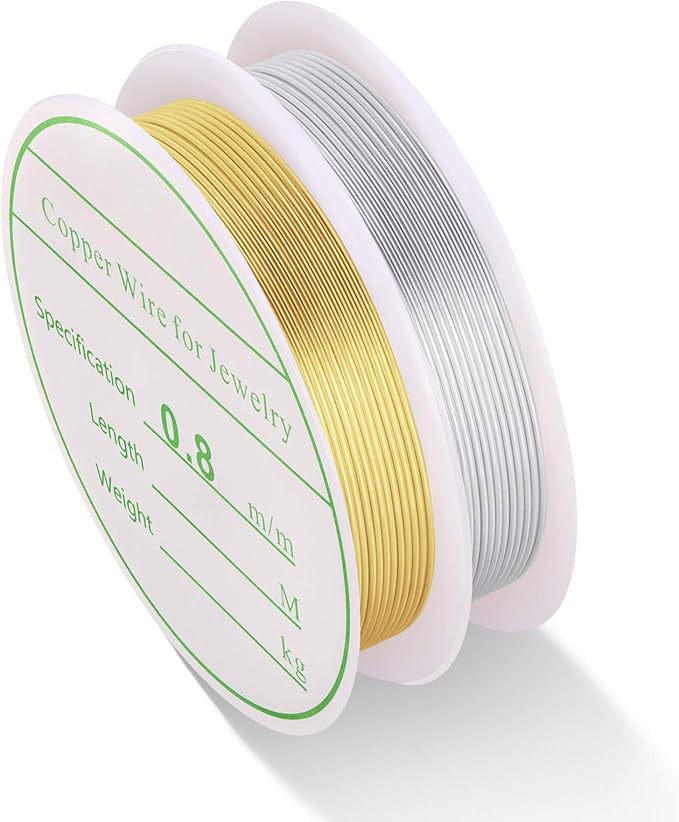 SHOP JEWELRY WIRE
 SHOP CEILING LIGHT BASE
 SHOP BEADING CHAIN
Materials Needed
- Wire chandelier frame (12–16″ diameter)
- 300–400 Assorted glass beads, acrylic gems, old earrings or pendants
- 30+ feet Gold or silver jewelry wire
- 100 Jump rings (6mm–8mm)
- Needle nose pliers & wire cutters
- Ceiling light base
- Optional: beading chain
Step-by-step Guide
Step 1: Secure your chandelier frame onto the light fixture base or prep it for hanging. You can spray-paint the frame gold or silver for a luxe base if needed.
Step 2: Lay out your beads by color and size. Start with larger drops (14mm–20mm) for the longest bottom strands, and save smaller pieces (4mm–8mm) for the top tiers.
Step 3: Cut 5–8 inch lengths of wire. Thread 3–6 beads or gems per strand, twist or loop the wire ends securely, and attach them to jump rings.
Step 4: Begin from the bottom tier of your chandelier frame and work upward. Attach each strand using the jump rings, spacing evenly but varying lengths for a cascading effect.
Step 5: Once the frame is covered, hang it up and adjust strands for balance.
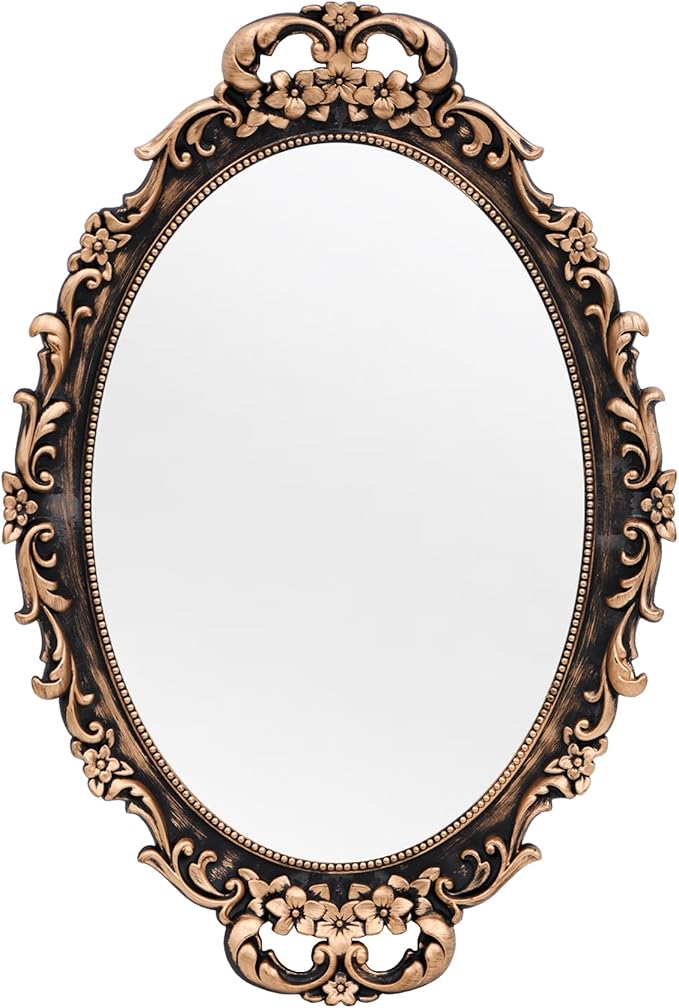
#30. Glamorous Mirror Frame with Vintage Jewelry
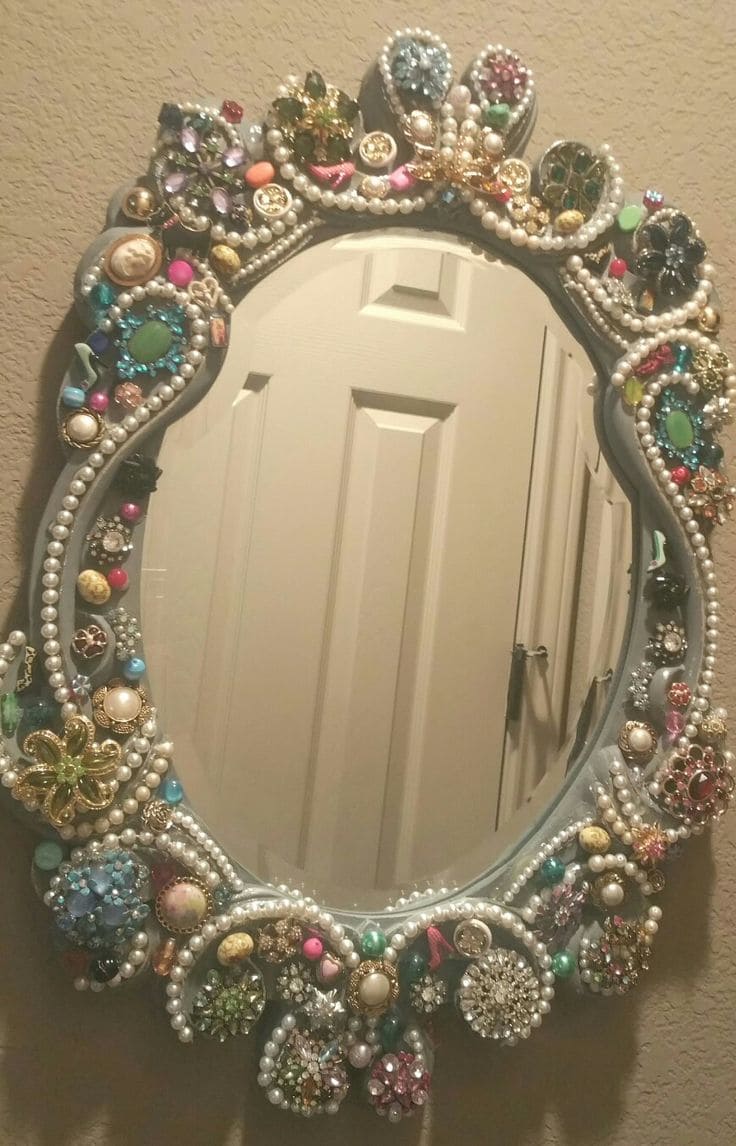
This jeweled mirror frame has serious fairytale energy, like something a vintage-loving queen might use to check her crown.

Materials Needed
- Ornate mirror frame (wood or resin)
- 50–80 Assorted vintage jewelry: brooches, rhinestones, beads, clip-ons
- Flatback pearls
- Industrial-strength glue (like E6000)
- Precision applicator tool
- Optional: Spray paint (metallic gold or white)
Step-by-step Guide
Step 1: Lay out your jewelry pieces and pearls across the frame to test placement. Start with large pieces at corners and the crest (top-center), and taper smaller items around curves or dips.
Step 2: Use glue to secure larger brooches and statement pieces first, spacing them 1–2 inches apart to leave room for filler details.
Step 3: Fill in gaps with medium and small beads, pearls, and rhinestones. Curling lines of flatback pearls between big gems will help soften the look and add elegance.
Step 4: Let the entire frame dry flat for at least 24 hours before hanging.
#31. Elegant Monogram Art Using Vintage Jewelry
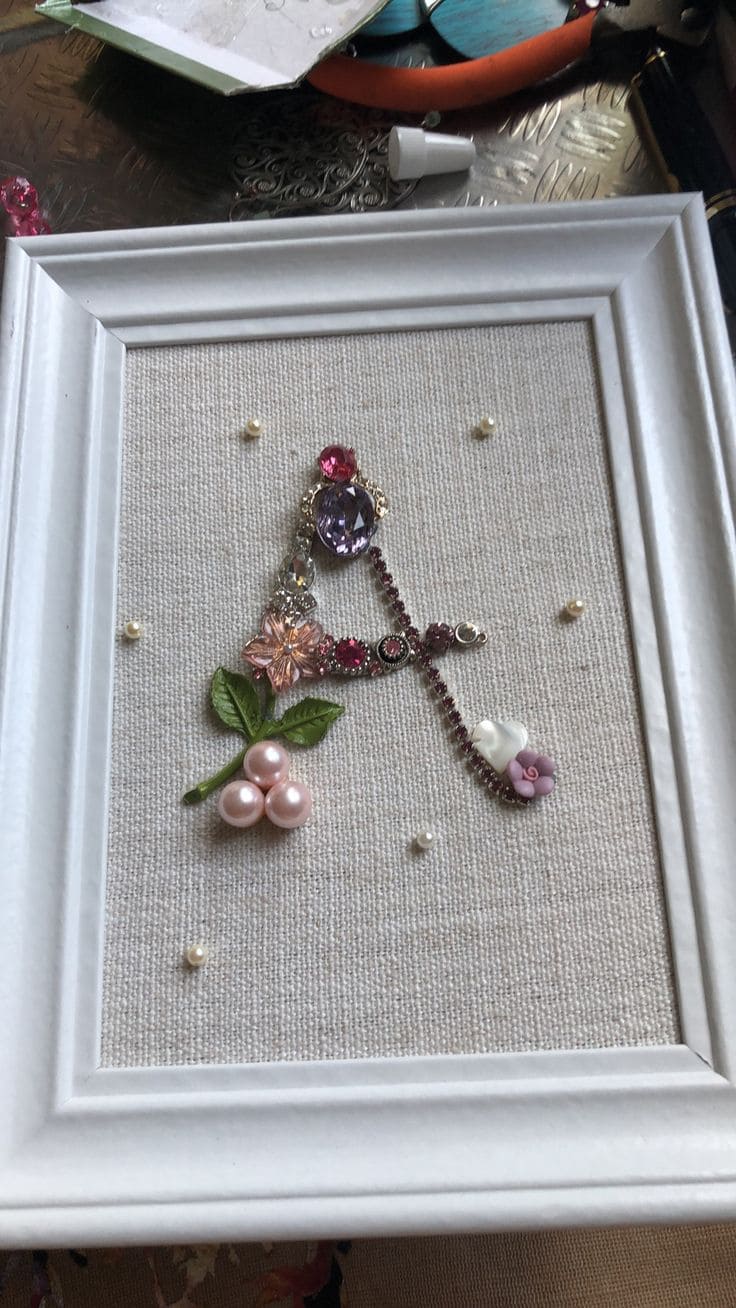
I’ve made something similar as a custom birthday gift, and the reactions were always warm and teary-eyed.
 SHOP WHITE FRAME
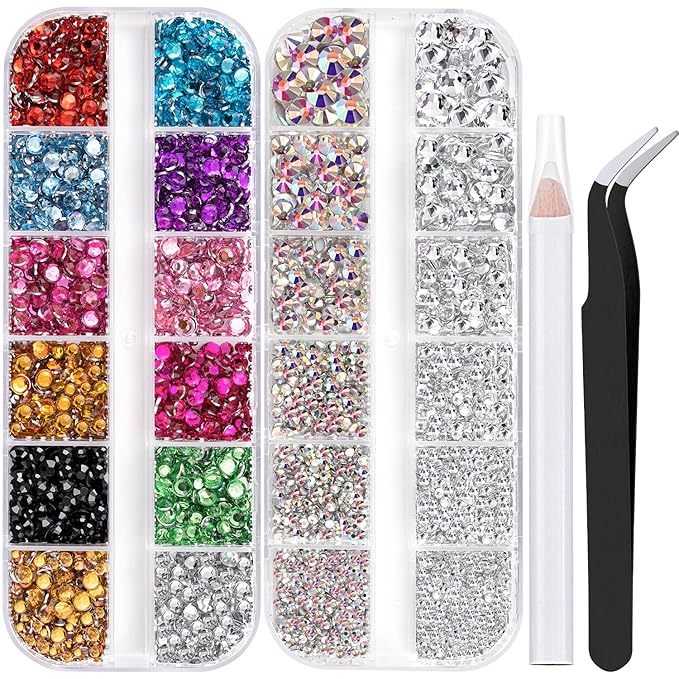 SHOP FLATBACK RHINESTONES
 SHOP MINI FAUX LEAVES
 SHOP PEARL BEADS
 SHOP MINI FLOWER CABOCHONS
Materials Needed
- 8″x10″ white frame with linen backing
- 10–15 Assorted flat-back rhinestones and brooch parts
- 3–5 Mini faux leaves and pearl beads
- Strong jewelry adhesive like E6000
- Optional: Mini flower cabochons
- Optional: Tweezers or wax pencil
Step-by-step Guide
Step 1: Sketch your monogram letter lightly on the linen using a pencil. This will guide your jewel placement, especially for curves and crossbars.
Step 2: Begin placing your largest statement gems at the top and bottom points of the letter to anchor the design. Secure each with a dot of glue.
Step 3: Fill in the structure of the letter with a mix of rhinestones and beads, following the shape carefully. For a delicate look, use small gems for finer strokes and mix in metal pieces for contrast.
Step 4: Add accent details like faux leaves, pearls, or mini florals at key corners, like the base or middle of the letter. These soften the look and add movement.
Step 5: Let everything dry for at least 24 hours flat before displaying upright.
#32. Miniature Cuckoo Clocks with Watch Faces
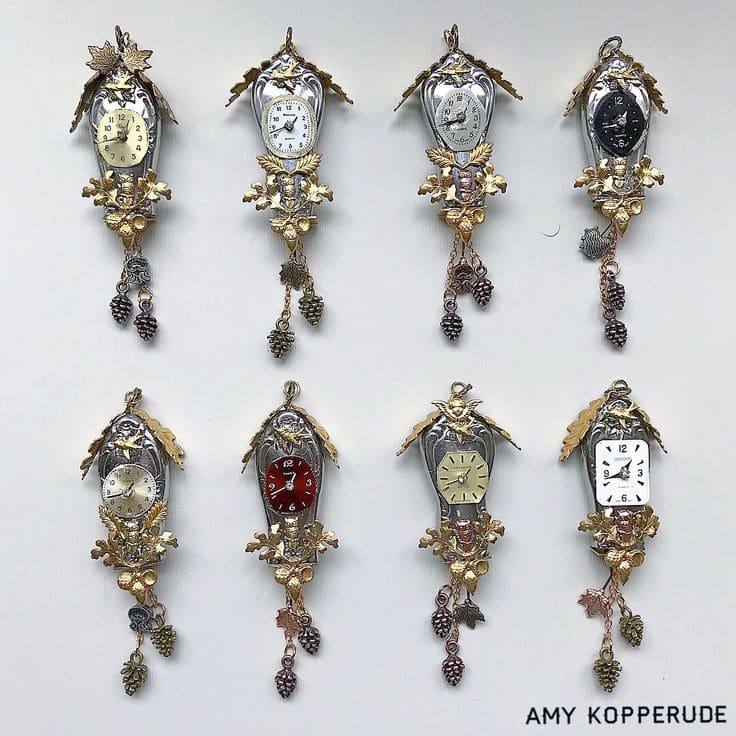
Do you adore the charm of vintage clocks? Transform old watch faces into enchanting miniature cuckoo clocks using intricate jewelry pieces and metallic embellishments.
 SHOP VINTAGE WATCH FACES
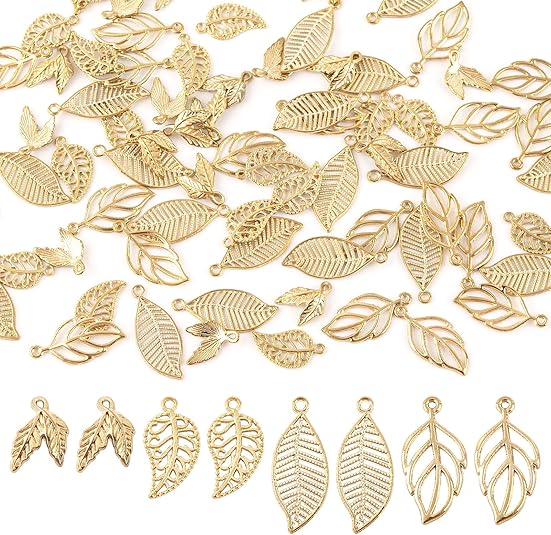 SHOP LEAF CHARMS
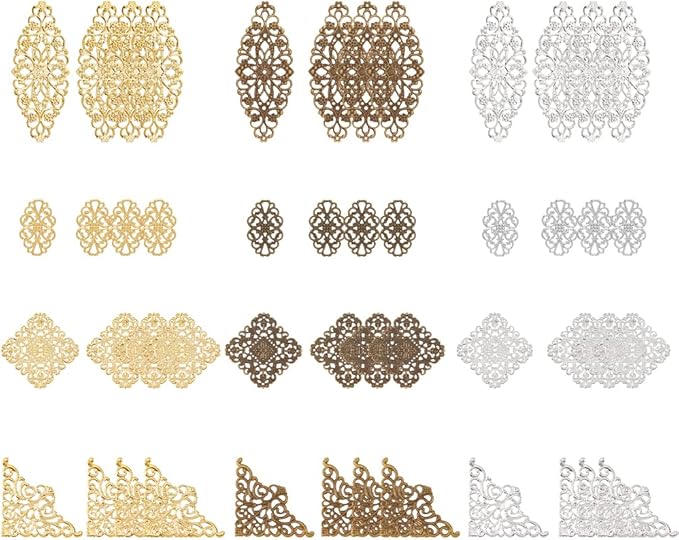 SHOP FILIGREE STAMPINGS
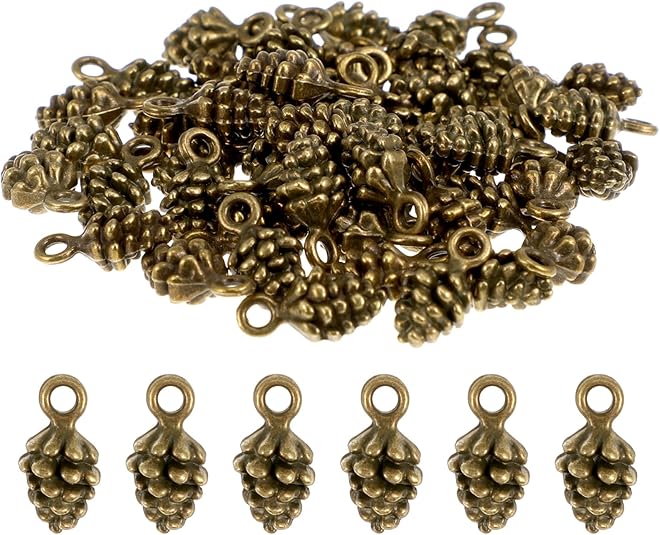 SHOP MINI METAL PINECONES
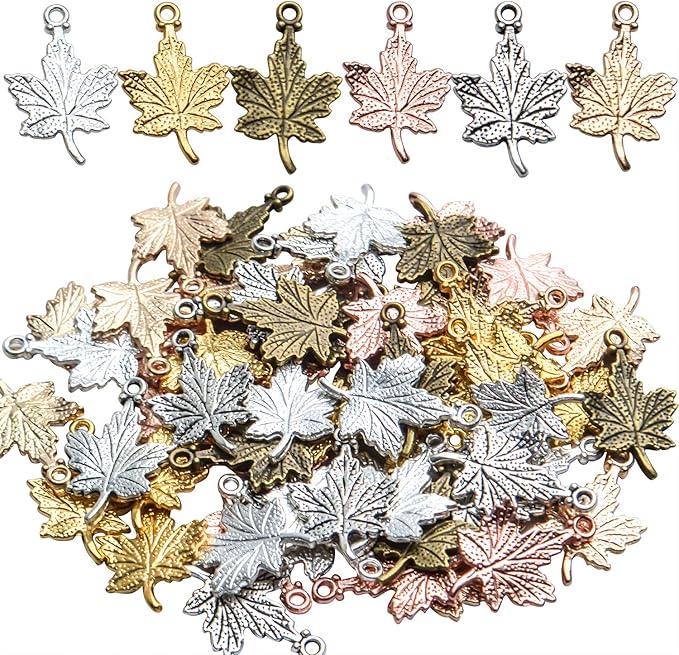 SHOP DANGLING LEAVES
Materials Needed
- Vintage watch faces
- Metal grapevine charms
- Filigree stampings in gold and silver
- Mini metal pinecones, and dangling leaves
- Jewelry pliers and jump rings
- Strong metal adhesive like E6000
- Optional: Pin backs or pendant bails
Step-by-step Guide
Step 1: Start by selecting a filigree base with enough surface area and design to hold a watch face. Use jewelry glue to attach the face securely to the center.
Step 2: Layer gold or bronze leaves above and below the face to mimic a roof and floral pedestal. Use jump rings or glue depending on the charm type.
Step 3: Add grape bunches, pinecones, or acorn dangles to the bottom point of the filigree using eye pins or jump rings. These hanging pieces add lovely movement and character.
Step 4: To create the “roof” of the cuckoo clock, glue brass leaves angled upward on each side above the watch. Accent with small metal berries or flowers to complete the forest vibe.
