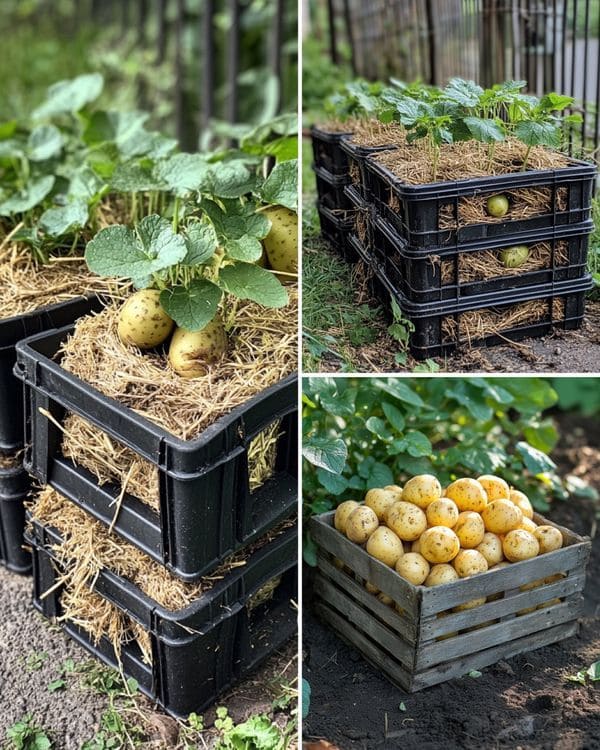
I’ve tried many ways to grow potatoes over the years, from traditional garden beds to buckets and grow bags. But one of my favorite methods, especially for small spaces, is using milk crates.
They provide excellent drainage, allow for easy harvesting, and are perfect for patios, balconies, or backyard gardens.
If you’ve ever wanted to grow your own potatoes but don’t have a lot of space, this method is for you.
Why Grow Potatoes in Milk Crates?
Potatoes need loose, well-draining soil to develop properly, and milk crates offer the perfect solution. The open structure allows for excellent airflow, reducing the risk of rot and disease.
Plus, they make harvesting a breeze, no more digging through hard-packed soil! Simply tip the crate over, and your potatoes are ready to collect.
Another big advantage? Milk crates are reusable and easy to store when not in use. I love that I can stack them away without taking up much space once the season is over.

What You’ll Need
Before we get into planting, here’s what you’ll need to gather:
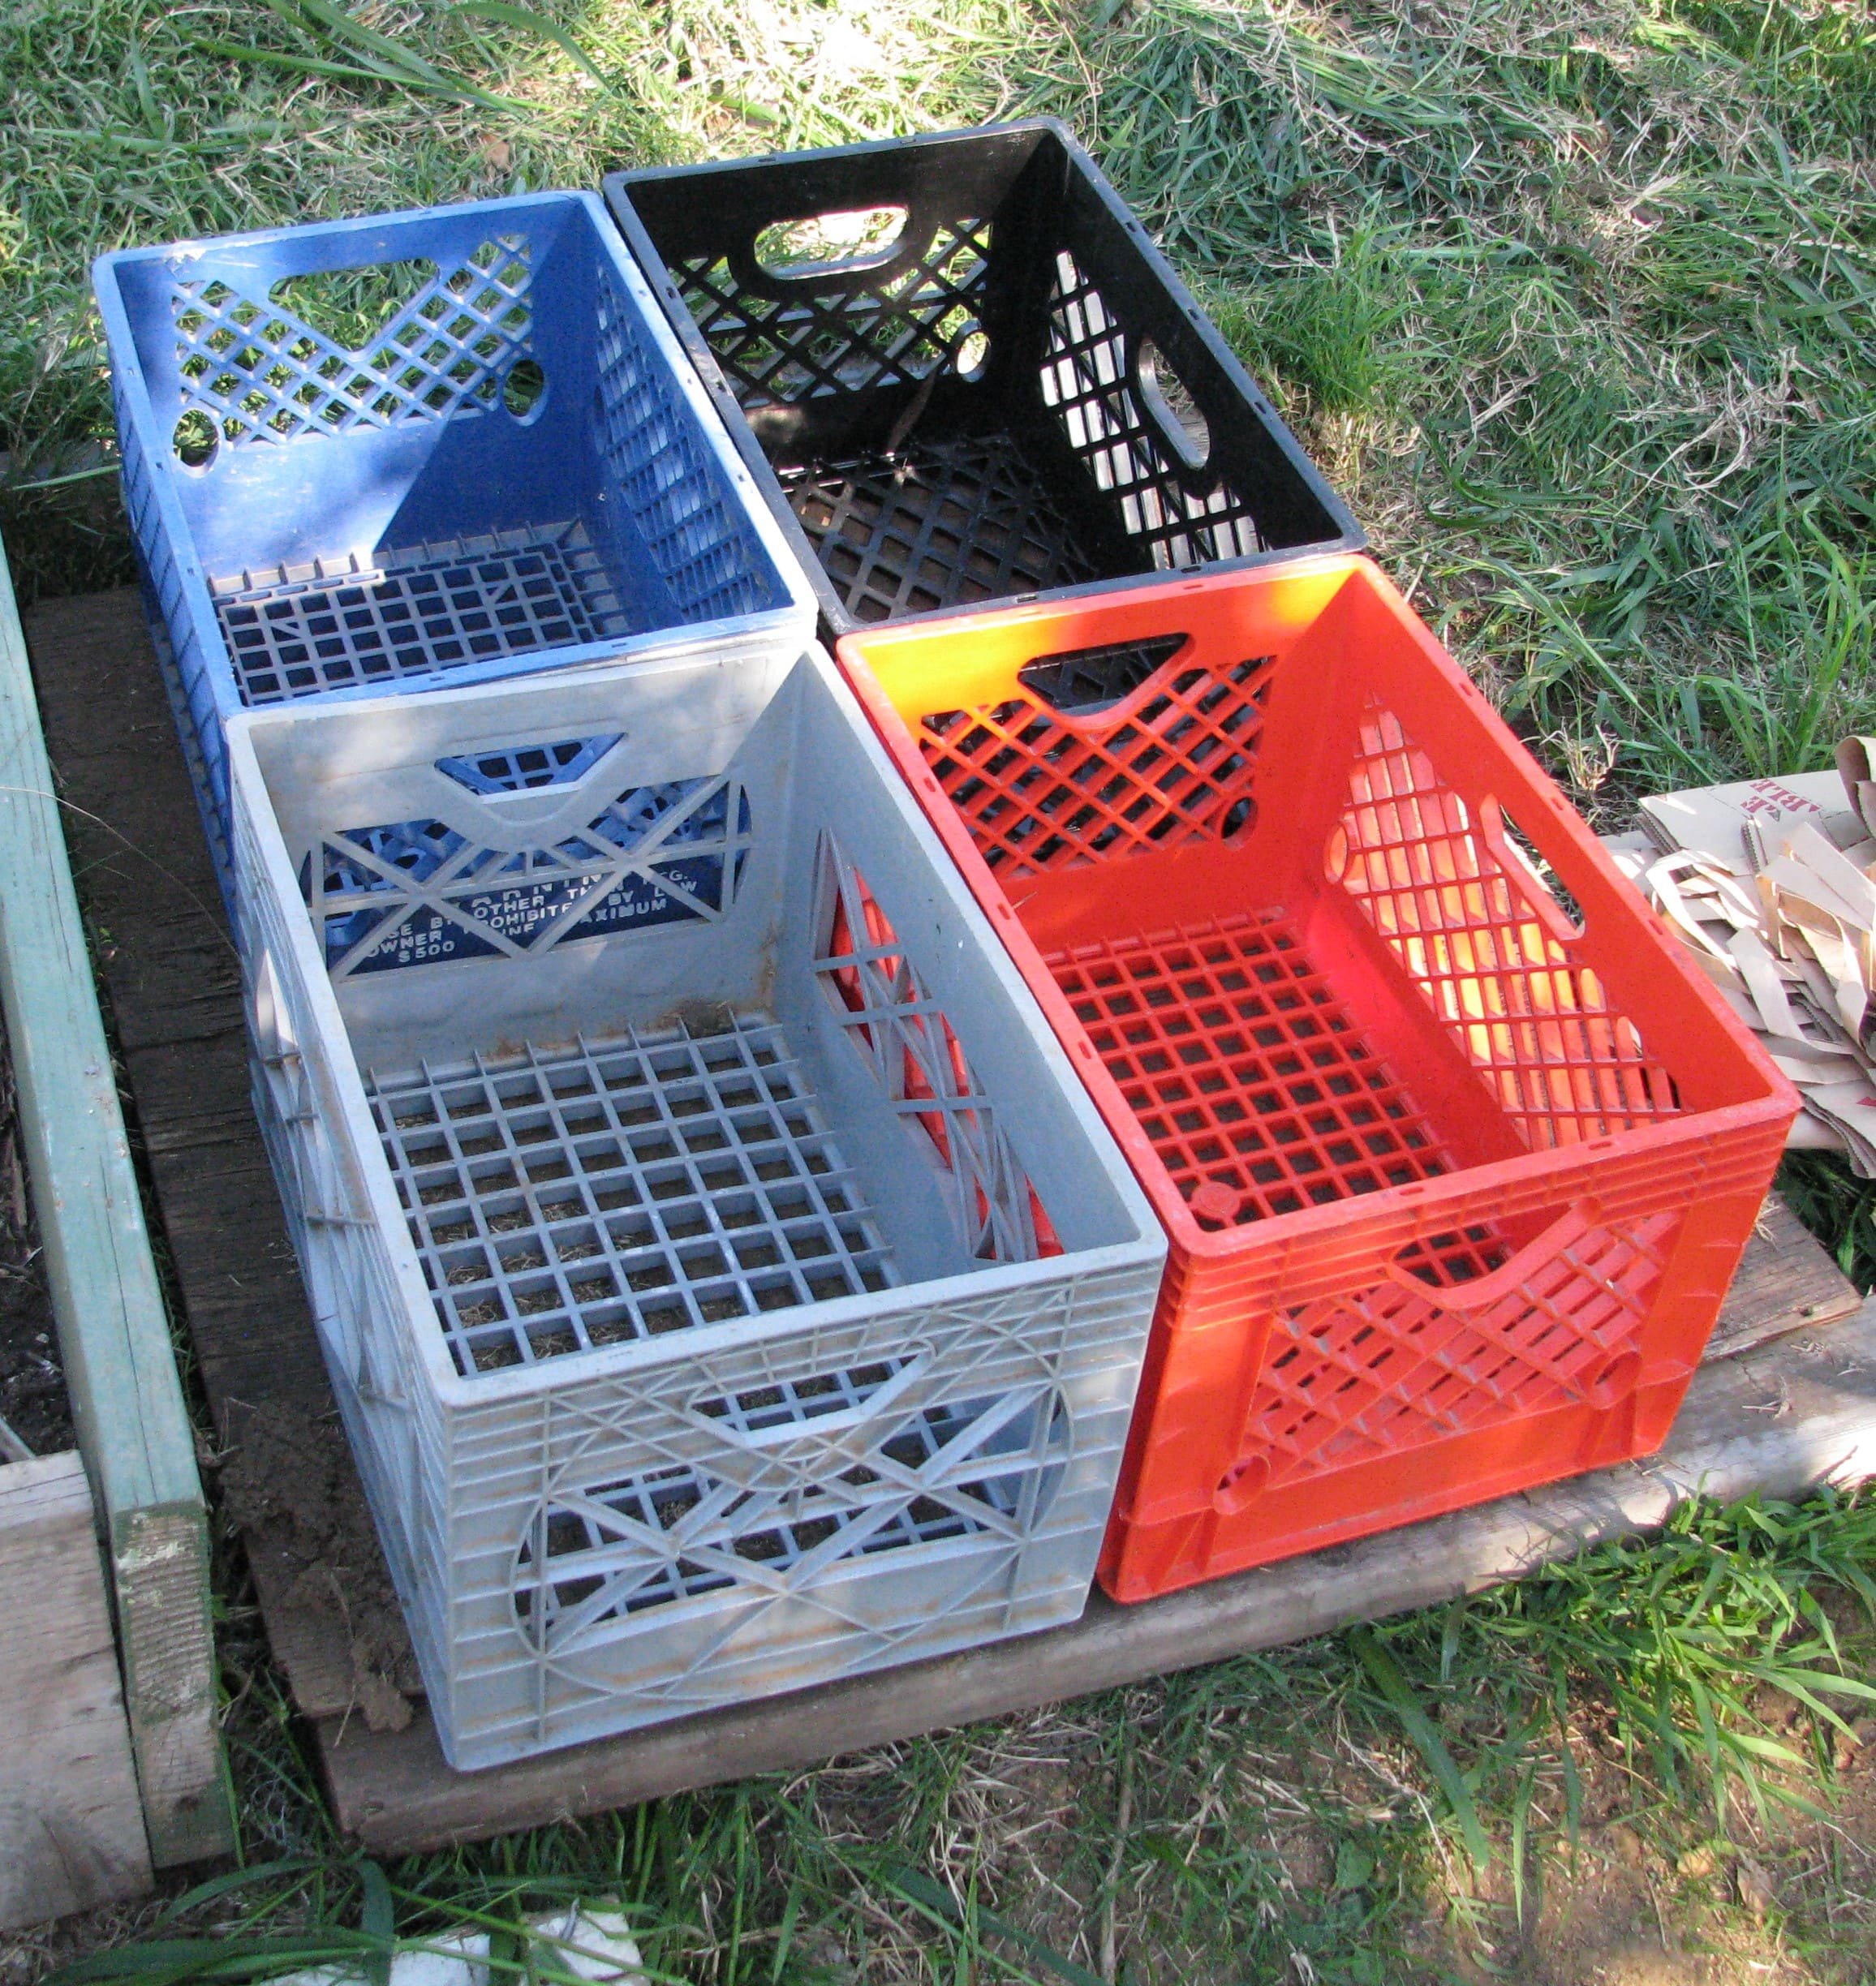
- Milk crates – One crate 3-4 potato plants works best. You can find these at grocery stores, online, or sometimes even free at farmers’ markets.
- Landscaping fabric or burlap – This helps keep the soil in while allowing for drainage.
- Potato seed tubers – Choose a variety suited for container growing, like Yukon Gold, Red Pontiac, or Fingerlings.
- High-quality potting soil – Loose, well-draining soil is essential for potatoes to form properly. A mix of compost and potting soil works well.
- Straw or mulch – Helps retain moisture and keeps growing potatoes from turning green.
- A sunny spot – Potatoes need at least 6–8 hours of sunlight daily.
Step-by-Step Guide to Growing Potatoes in Milk Crates
Step 1: Prepare Your Crates
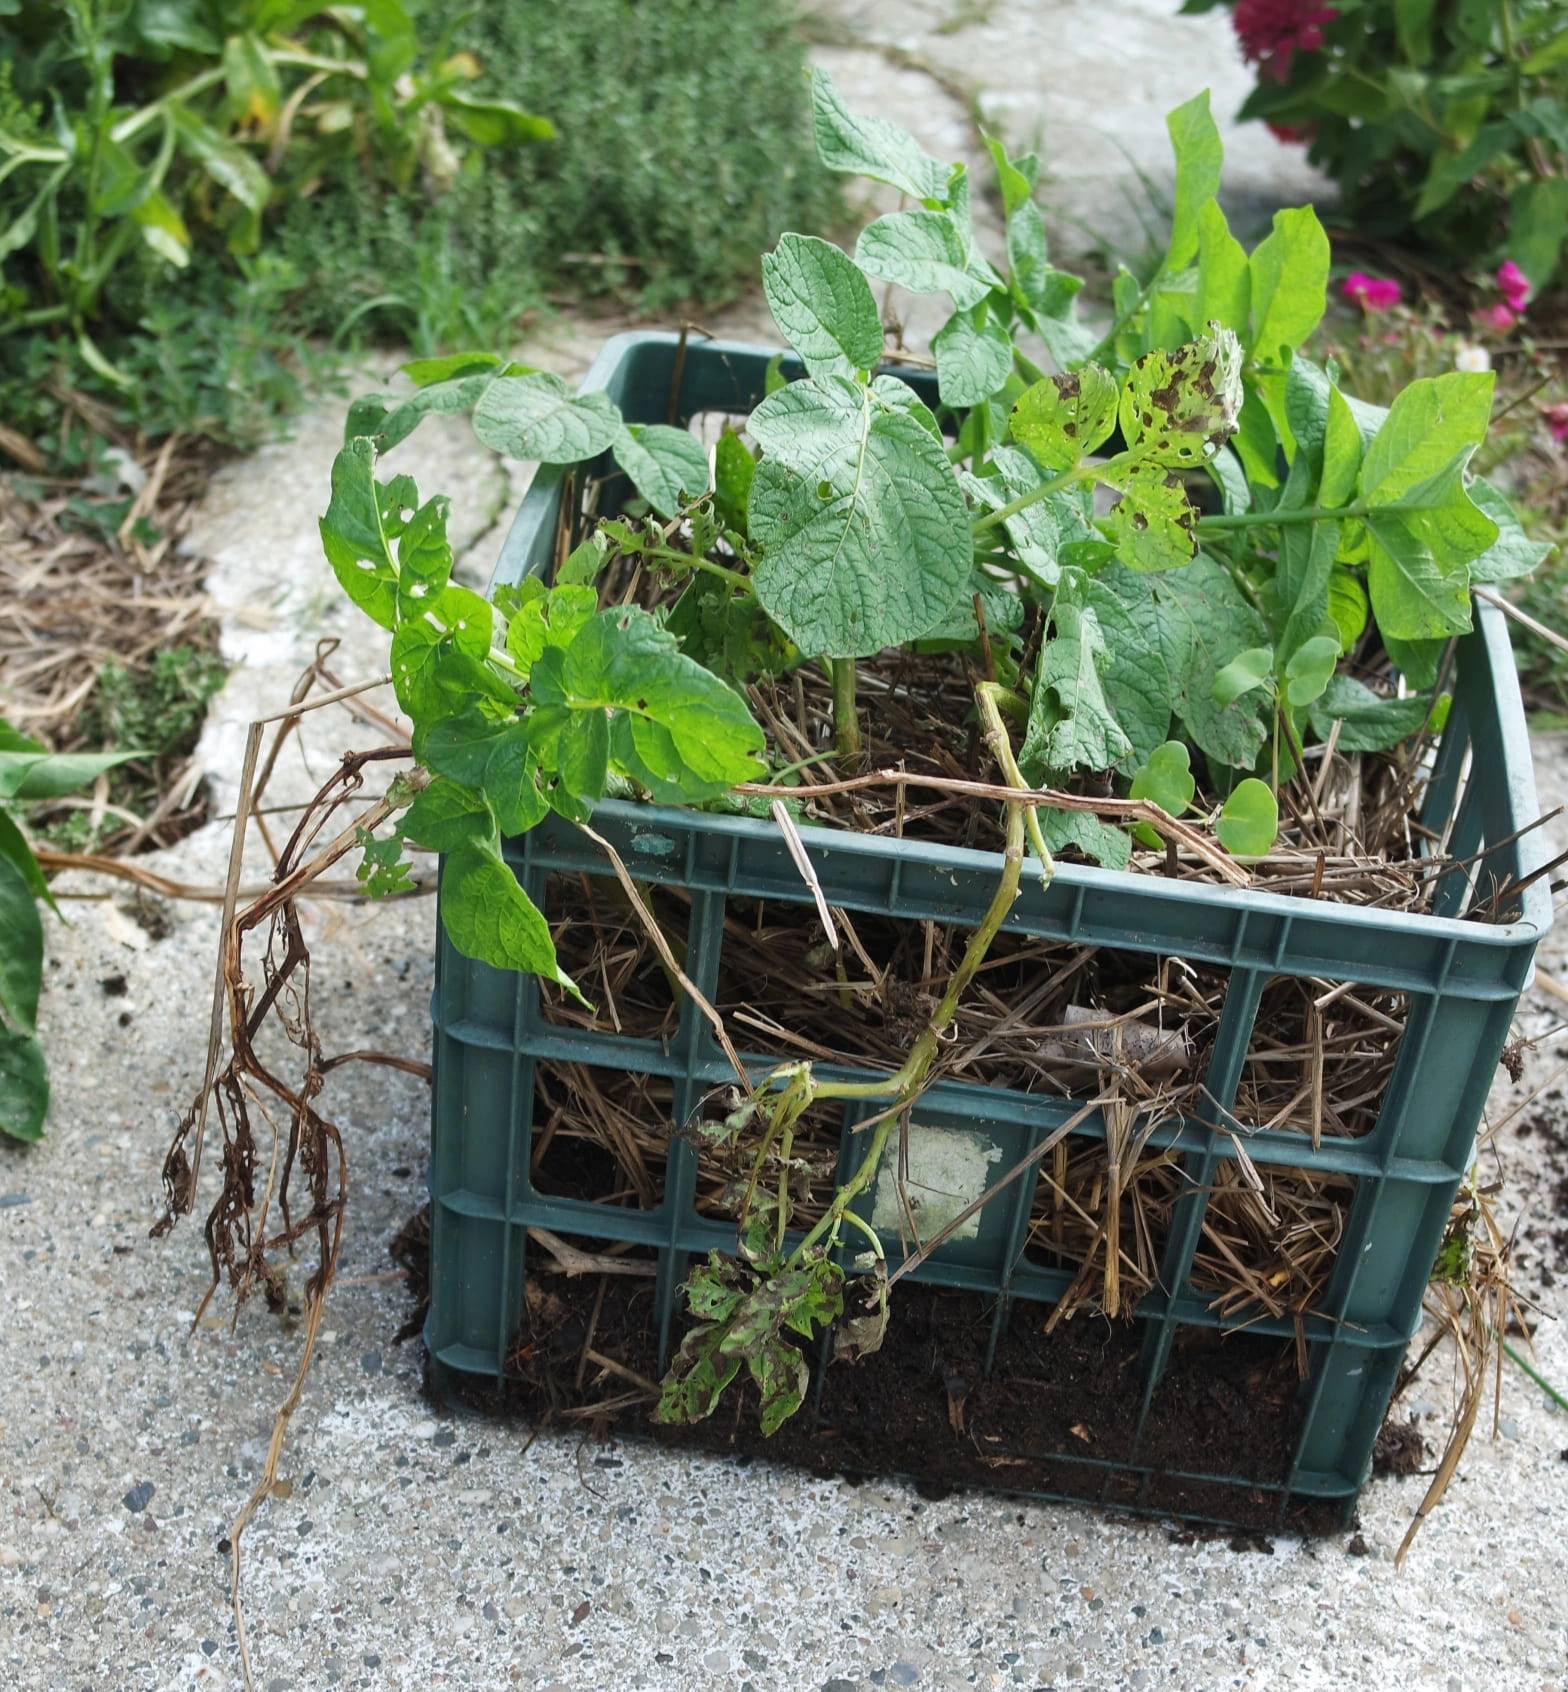
Start by lining each milk crate with landscaping fabric or burlap. This keeps the soil contained while still allowing for good drainage. Make sure the fabric extends slightly over the edges so that soil doesn’t escape through the holes.
If you’re using burlap, I recommend double-layering it, as it can break down over time. Secure the lining with clips or fold it over the edges to hold it in place.

Step 2: Fill the Crate with Soil
Add about 4–6 inches of soil to the bottom of the crate. Use a mix of compost and high-quality potting soil to give your potatoes plenty of nutrients.
If your soil feels heavy, mix in some sand or perlite to improve drainage.

Step 3: Plant the Seed Potatoes
Cut your seed potatoes into chunks, making sure each piece has at least one or two “eyes” (the small sprouts on the surface). Let the cut pieces dry for a day or two before planting, this helps prevent rot.
Next, place the seed potatoes cut side down, sprout side up, spacing them about 4–5 inches apart. You can typically fit 3–4 seed potatoes per crate. Cover them with another 3–4 inches of soil.
Step 4: Watering and Care
Potatoes need consistent moisture but don’t like soggy soil. Water your crates deeply but infrequently, keeping the soil damp but not soaked.
If you’re unsure, stick your finger in, if the top inch feels dry, it’s time to water.
Since crates allow air to circulate freely, they tend to dry out faster than garden beds, so check them regularly, especially in hot weather.

Step 5: Hilling for a Bigger Harvest
As your potato plants grow, you’ll need to “hill” them to encourage more tubers to form. When the plants reach about 6 inches tall, add more soil or straw to cover the lower stems, leaving only the top few inches exposed.
Repeat this process every 2–3 weeks until the crate is nearly full. This step is crucial as more soil means more room for potatoes to develop!
Step 6: Sunlight and Fertilizing
Potatoes thrive in full sun, so place your milk crates in a spot that gets at least 6–8 hours of direct sunlight daily.
Every 3–4 weeks, feed your plants with an organic fertilizer high in phosphorus and potassium.
A compost tea or diluted fish emulsion works well. Avoid high-nitrogen fertilizers, as they encourage leafy growth at the expense of tubers.
Step 7: Watching for Pests and Diseases
Milk crates offer good airflow, but pests like potato beetles and aphids can still show up. Check the leaves regularly and hand-pick any beetles you see. A light spray of neem oil can help with aphids.
If you notice yellowing or wilting leaves, it could be a sign of overwatering, nutrient deficiency, or disease. Try adjusting your watering routine and ensure your soil has proper drainage.

Step 8: Harvesting Your Potatoes

After 10–12 weeks, your potatoes will be ready to harvest. You’ll know they’re done when the foliage turns yellow and begins to die back.
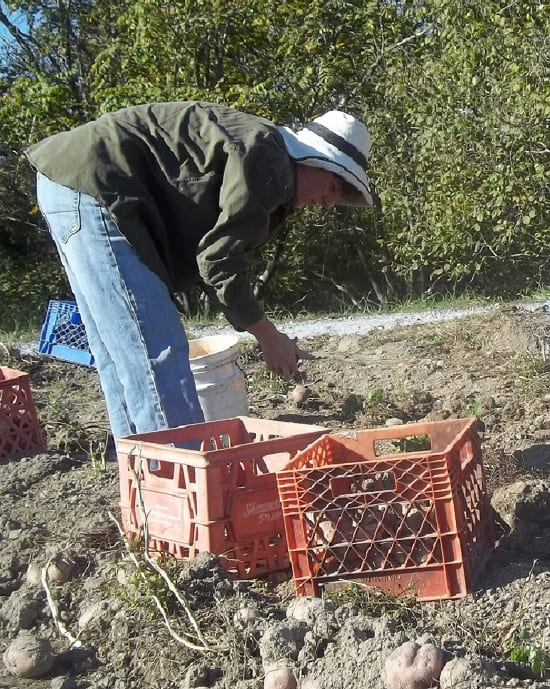
The best part? Harvesting is incredibly easy! Instead of digging, simply tip the crate over onto a tarp or in your garden. Gently sift through the soil, and you’ll find your homegrown potatoes ready to enjoy.
For new potatoes, you can harvest a few early while the plants are still green. If you want full-sized potatoes, wait until the plants die back completely.

