Looking for a fun and simple way to unleash your creativity? Popsicle stick crafts are a perfect choice for families looking to bond while making something special!
Whether you’re designing colorful photo frames, building playful animals, or crafting holiday decorations, these projects are easy, inexpensive, and offer endless possibilities. With just a few basic supplies, you can transform ordinary popsicle sticks into incredible creations that everyone will enjoy.
Ready to dive in? Keep reading to discover 35 amazing popsicle stick craft ideas that will inspire your next family project.
This article contains affiliate links. If you purchase through them, I may earn a small commission at no extra cost to you. Thank you for your support!
#1. Rustic Popsicle Stick Nativity Scene

This charming DIY nativity scene made from popsicle sticks and wooden pegs is a heartwarming reminder of simplicity and peace.
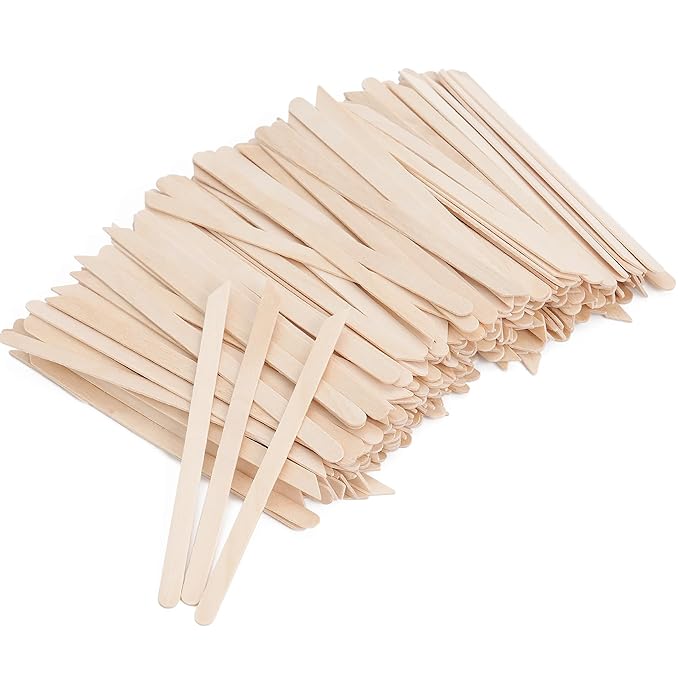
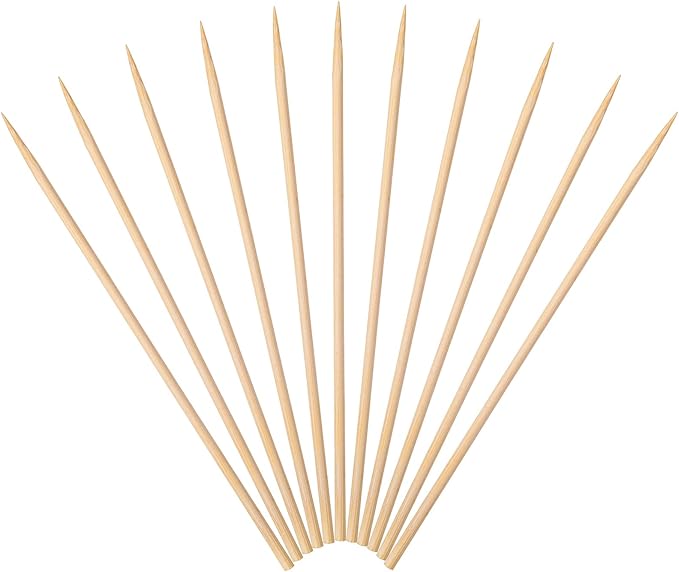
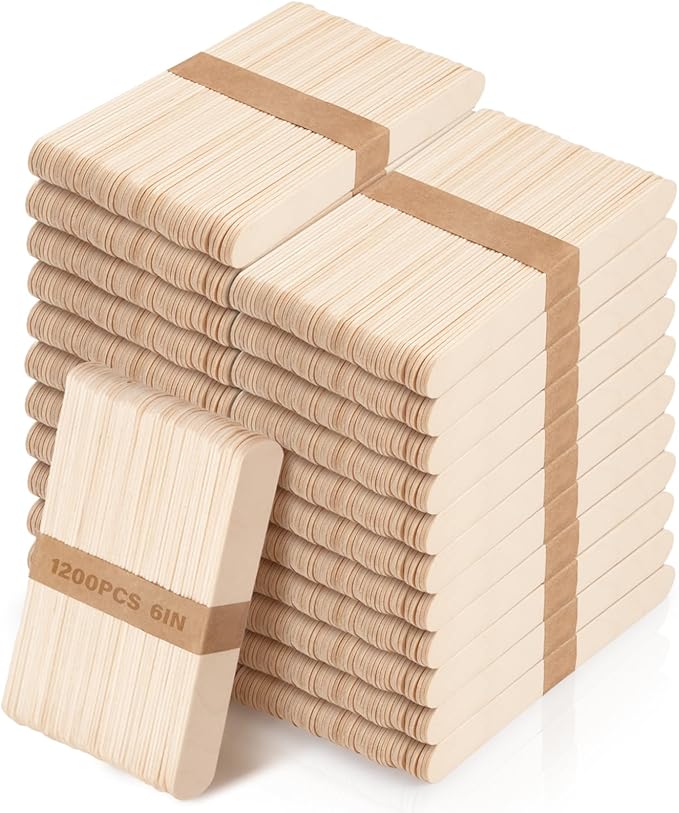 SHOP POPSICLE STICKS
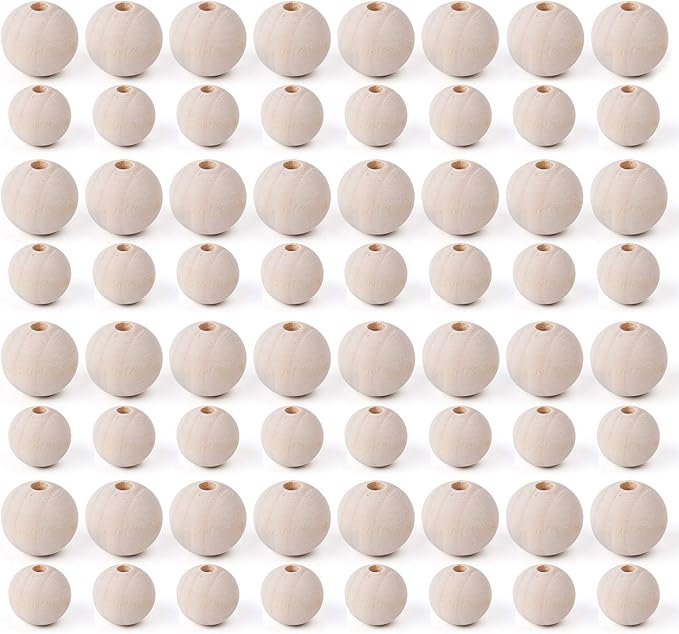 SHOP WOODEN BEADS
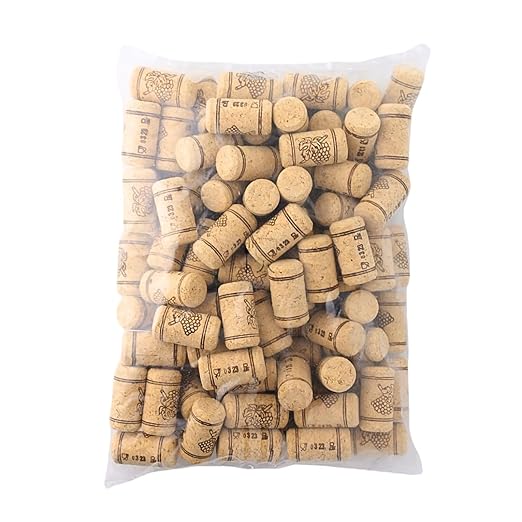 SHOP WINE CORKS
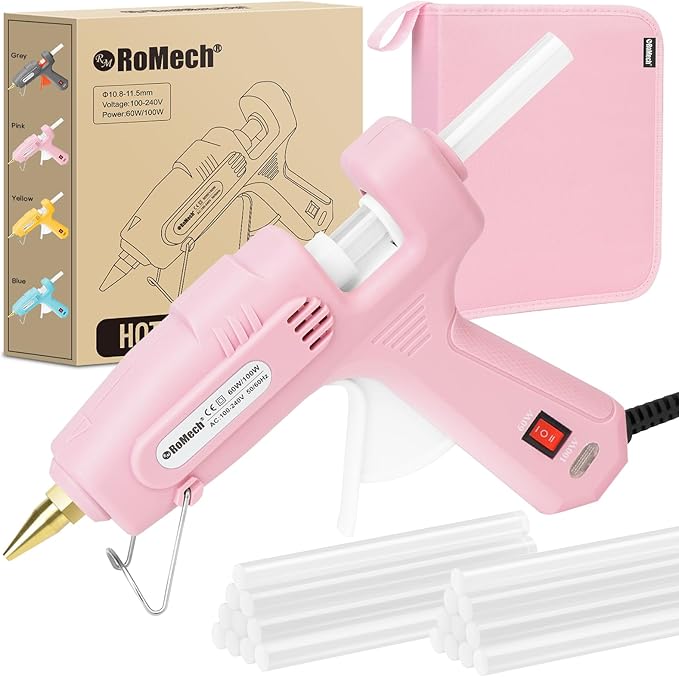 SHOP HOT GLUE GUN AND GLUE STICKS
 SHOP FELTS
 SHOP PIPE CLEANERS
 SHOP TWINE
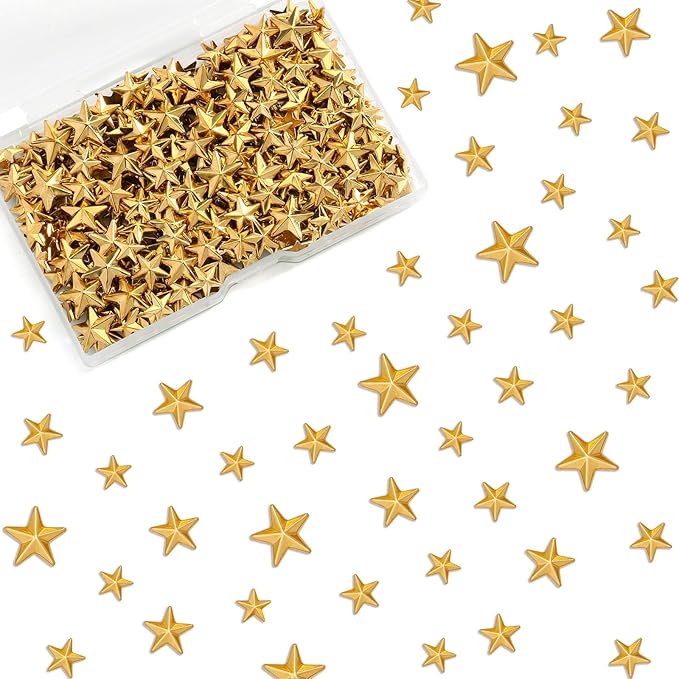
 SHOP WOODEN STAR
Materials Needed
- 16 popsicle sticks
- 3 wooden beads and 2 wine corks
- Hot glue gun + glue sticks
- Brown and white felt
- Silver pipe cleaner
- Twine + small wooden star
- Scissors & marker
Step-by-step Guide
Step 1: Begin by constructing the stable frame. Use 3 popsicle sticks as the base, then glue 3 vertical sticks for the sides. Angle and attach 3 more for the roof.
Step 2: For Mary and Joseph, glue wooden beads on top of wine corks. Wrap them in small strips of white or brown felt to resemble robes.
Step 3: Swaddle a small bead in felt for Baby Jesus. Use two toothpicks or trimmed popsicle sticks to create a simple manger.
Step 4: Glue the family into the stable. Add silver pipe cleaner as a halo over the baby. Attach the star at the top, wrap with twine.
#2. Adorable Popsicle Stick Train Ornaments
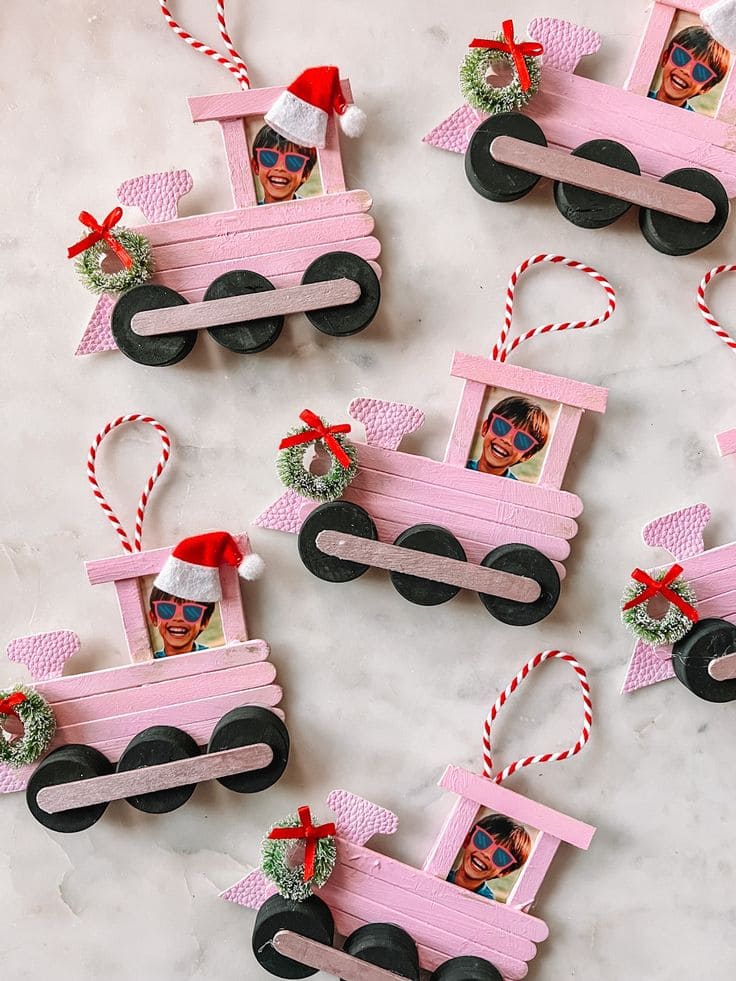
This adorable popsicle stick train is more than just festive, it’s personal. Add a child’s photo to make it the ultimate handmade ornament for grandparents or classroom keepsakes.
 SHOP WOODEN WAX STICKS
 SHOP BLACK BUTTONS
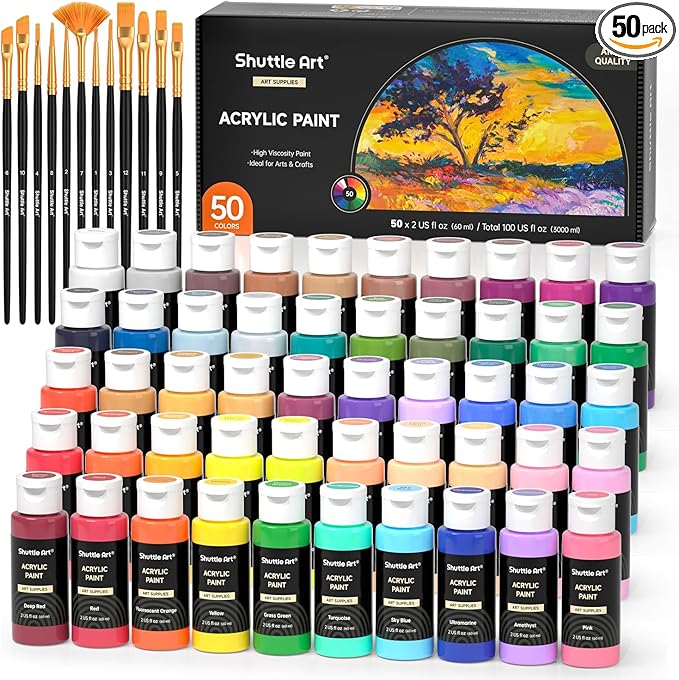 SHOP ACRYLIC PAINT SET AND PAINTBRUSHES
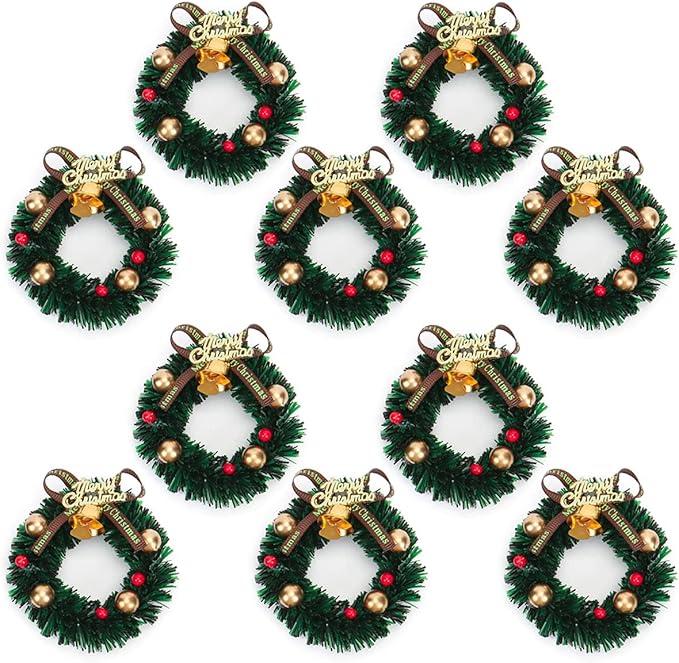 SHOP MINI WREATHS
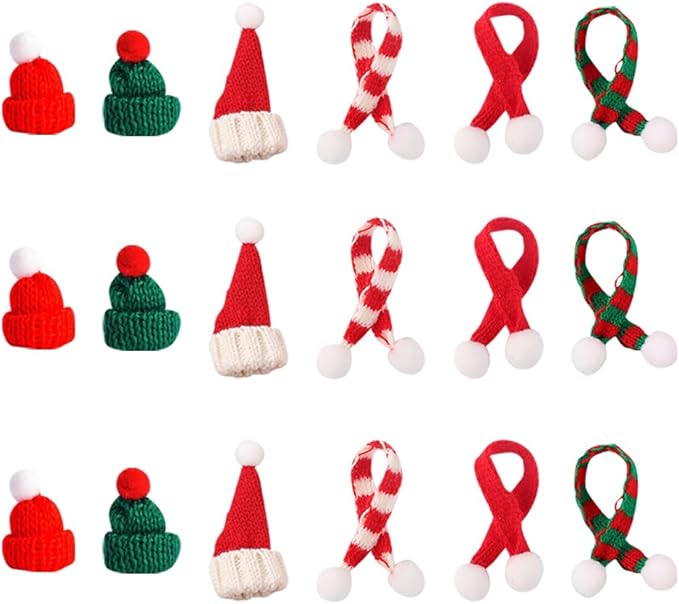 SHOP TINY SANTA HATS
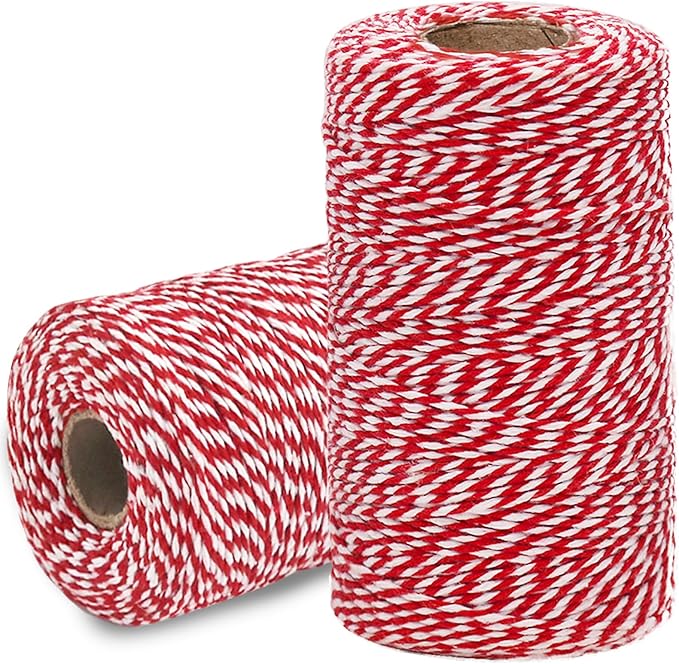 SHOP RED AND WHITE TWINE
Materials Needed
- Wooden wax sticks (6 per train)
- Black buttons (3 per train)
- Acrylic paint
- Mini wreaths
- Tiny Santa hats
- Red and white twine
- Photo printout
- Glue gun, scissors, paintbrush
Step-by-step Guide
Step 1: Paint 4 popsicle sticks in your desired train color. Let dry and glue them horizontally to form the train’s body. Cut one stick in half and use it vertically to make the cab.
Step 2: Paint black circles or buttons for wheels, and glue three evenly at the bottom. Use a slim stick or strip across the wheels for added detail.
Step 3: Cut and attach small triangle shapes for the engine’s front, and glue on mini wreaths or other festive elements.
Step 4: Trim and attach a small photo behind the cab window, then glue a tiny Santa hat at an angle on top. Add a loop of twine at the back for hanging.
#3. Charming Popsicle Stick Angel Ornaments

These popsicle stick angels are pure charm. Soft pastel tones, dainty wings, and sweet expressions, each one feels like a tiny guardian for your tree.
Materials Needed
- 3 popsicle sticks and 4 wooden wax sticks per angle
- Small wooden beads
- Acrylic paint set
- Pipe cleaners
- Craft foam
- Mini snowflake embellishments
- Twine
- Glue gun, scissors, black fine-tip marker
Step-by-step Guide
Step 1: Paint three sticks the same pastel color for the angel’s robe. Let dry and glue side-by-side. Glue a short piece of contrasting color stick below for feet.
Step 2: Paint two sticks a lighter tone for the arms. Glue diagonally across the robe, touching in the middle as if holding a snowflake.
Step 3: Glue a wooden bead on top as the head. Use marker to draw eyes, and paint on hair and cheeks.
Step 4: Cut and decorate wings from foam. Add swirl designs or glitter glue for a magical finish, then glue behind the body.
Step 5: Shape a small halo using a pipe cleaner, attach it above the head, and glue a twine loop on the back to hang.
#4. Colorful Popsicle Stick Christmas Trees
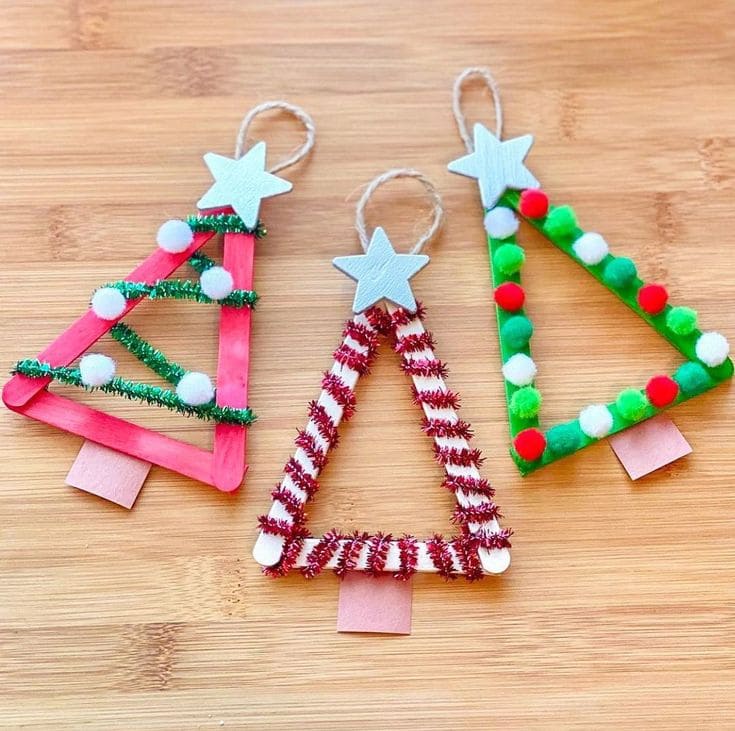
These mini popsicle stick trees capture the holiday spirit with playful colors and textures. They’re perfect for a DIY session with kids or just a solo evening of cheerful crafting.

Materials Needed
- 3 popsicle sticks per ornament
- Acrylic paint
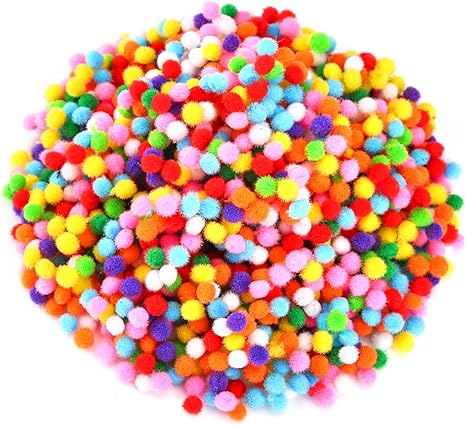
- Mini pom-poms
- Pipe cleaners
- Wooden stars
- Twine/string
- Hot glue gun, small brush, scissors, brown paper
Step-by-step Guide
Step 1: Paint popsicle sticks in your chosen colors and let them dry. Each triangle tree needs three sticks glued together in a triangle.
Step 2: Cut a small rectangle from brown paper or felt and glue to the base for the tree trunk.
Step 3: Wrap one or two pipe cleaners diagonally across the tree. Glue mini pom-poms around the edges to mimic ornaments.
Step 4: Add a wooden star to the top and glue a twine loop on the back for hanging.
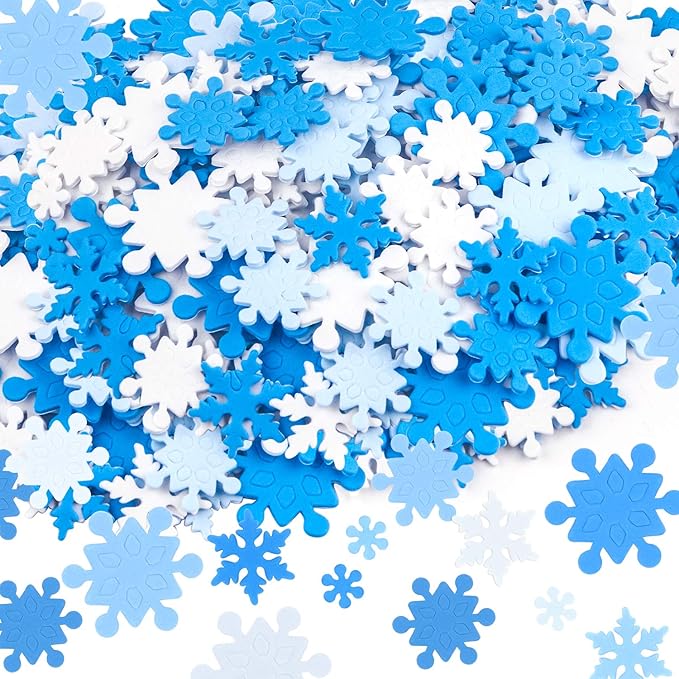
#5. Glittery Popsicle Stick Snowflake Creations

Nothing says winter wonderland like these sparkly blue snowflake ornaments. I had so much fun experimenting with different textures from soft pom-poms to crunchy glitter.
Materials Needed
- 4 popsicle sticks per snowflake
- Blue & white acrylic paint
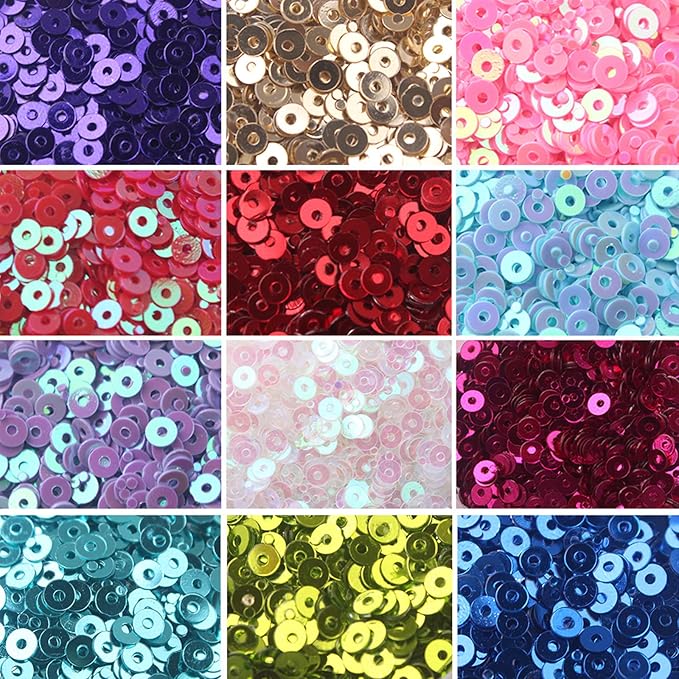
- Mini pom-poms and sequins
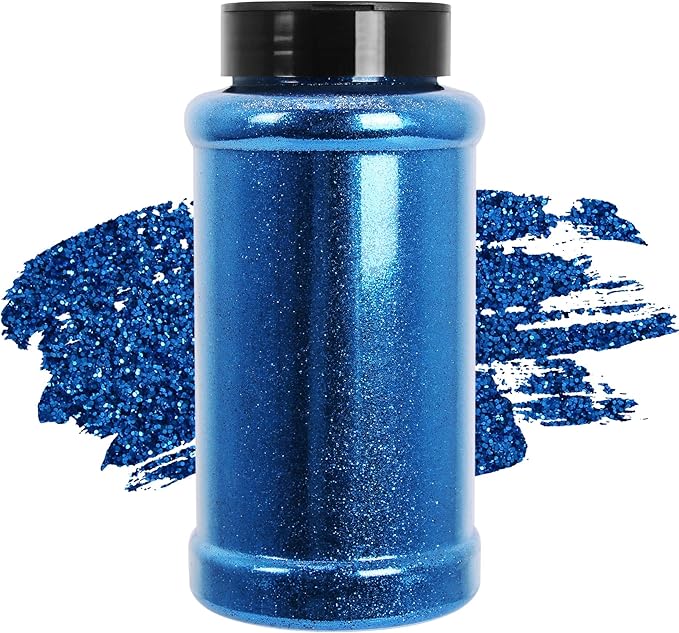
- Blue glitter, mod podge (optional)
- Twine
- Hot glue gun, paintbrush, scissors
Step-by-step Guide
Step 1: Paint all popsicle sticks in your chosen shades of blue. Let dry completely.
Step 2: Glue 4 sticks in a star or snowflake pattern. For more detailed designs, use 6 sticks crisscrossed.
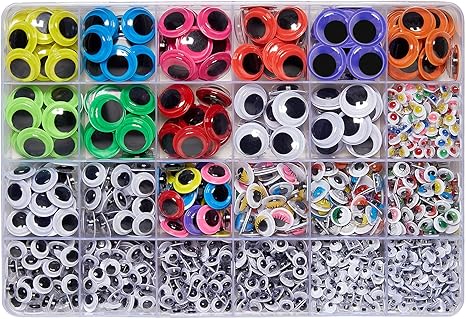
Step 3: Decorate each tip with pom-poms, sequins, or googly eyes. Add glitter or snowflake stickers to give them extra sparkle.
Step 4: Glue a loop of twine to the back for hanging and let everything set.
#6. Rustic Popsicle Stick Candle Holder

This rustic popsicle stick candle holder adds just the right amount of handmade charm to your winter decor.
Materials Needed
- 12 regular craft sticks
- Wood glue or hot glue gun
- One clear glass votive candle
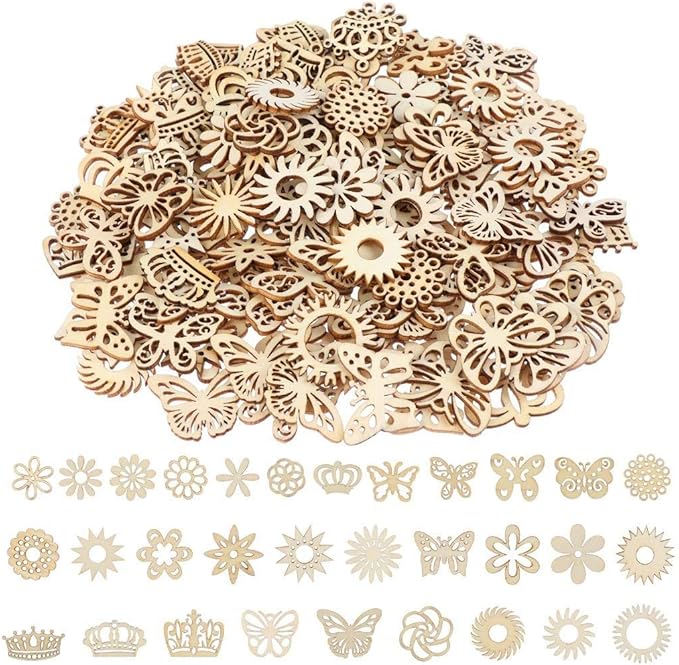
- Wooden embellishments (Deer, snowflakes, ornaments, or trees)
Step-by-step Guide
Step 1: Arrange three craft sticks vertically side by side to form one panel. Glue a horizontal stick across the bottom and another across the top. Repeat to make four panels.
Step 2: Join the four panels into a cube shape using glue. Let it dry thoroughly to ensure sturdiness.
Step 3: Place the votive candle inside the cube, ensuring it fits snugly, then add wooden embellishments to the sides with glue.
#7. Elegant Tiered Popsicle Stick Tree

This modern Christmas tree-shaped shelf stole my heart. It’s sleek, natural, and surprisingly sturdy.

Materials Needed
- 96 jumbo popsicle sticks (approximately 6″ each, flat edges)
- Hot glue gun & sticks
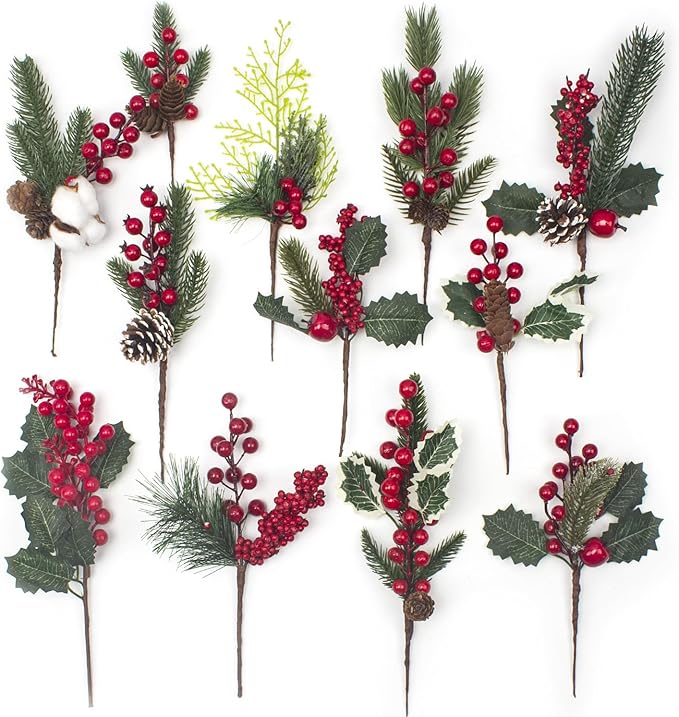
- Mini pinecones, faux greenery, dried cinnamon sticks, and ornaments
- Wood stain or acrylic paint (optional)
- Sandpaper
Step-by-step Guide
Step 1: Start by building triangle frames. Use three popsicle sticks per triangle and glue the ends together. Create 10-12 triangles for layering strength.
Step 2: Glue identical triangles together in stacks to form thick triangle shelves (three layers each). Let dry fully before continuing.
Step 3: Stack and glue your three triangle shelves into a tree shape, largest on the bottom, medium in the middle, smallest on top.
Step 4: Decorate each tier using natural elements: tiny pinecones, matte ornaments, faux eucalyptus, or baby’s breath.
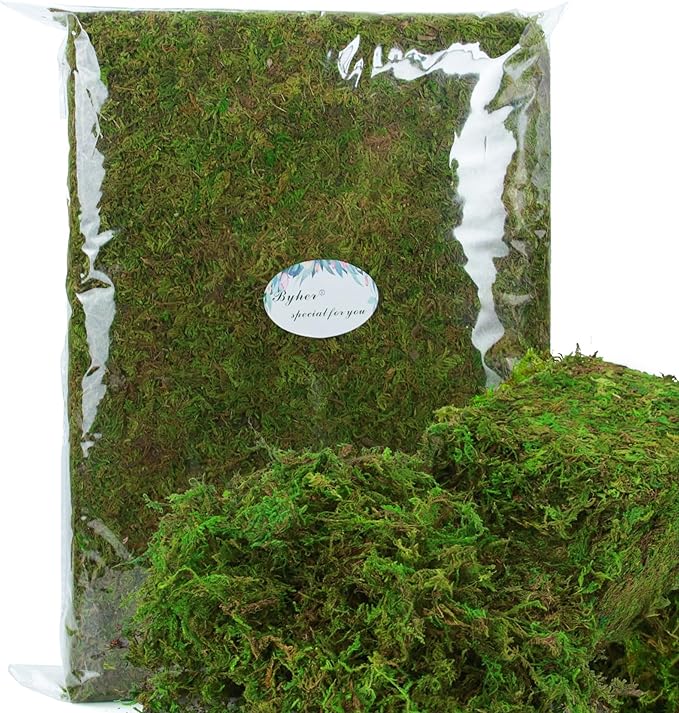
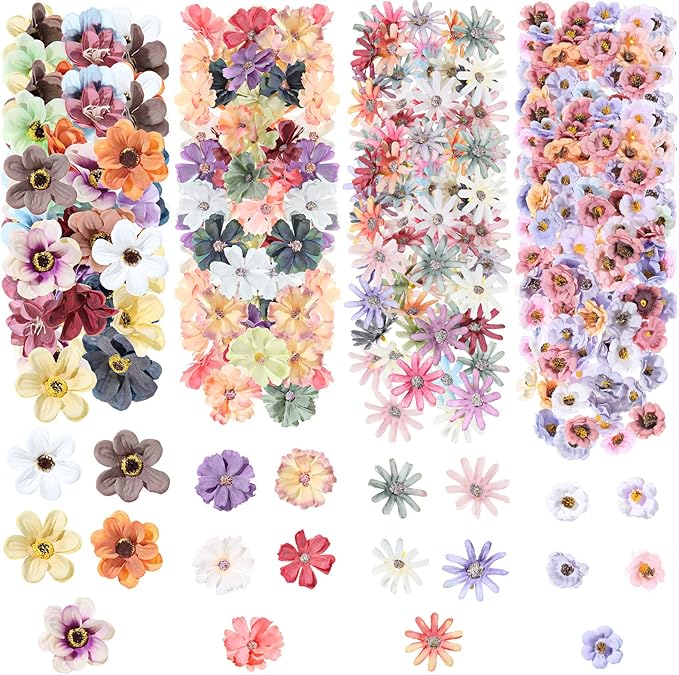
#8. Whimsical Mossy Popsicle Stick Fairy House

Topped with moss and crowned with flowers, this little cottage is perfect for garden corners, window sills, or anywhere that needs a touch of magic.
Materials Needed
- 70 jumbo and standard popsicle sticks
- Hot glue gun & sticks
- Craft moss and faux flowers
- Acrylic paint in earthy tones
- Scissors, ruler, small twigs, and optional door knob
Step-by-step Guide
Step 1: Start with a rectangular base. Glue popsicle sticks side by side to form the floor. Create four walls using the same method, use jumbo sticks for height and glue supports crosswise on the inside.
Step 2: Assemble the walls into a box and attach a pitched roof made by overlapping sticks. Sand edges lightly for a snug fit.
Step 3: Use craft paint or a wood stain to give your house an aged, mossy finish. Let dry before decorating.
Step 4: Add moss to one side of the roof and tuck in faux flowers for a forest-floor vibe. Attach a tiny twig wreath and glue on a popsicle sign labeled “Fairy House.”
#9. Minimalist Popsicle Stick Star Ornament
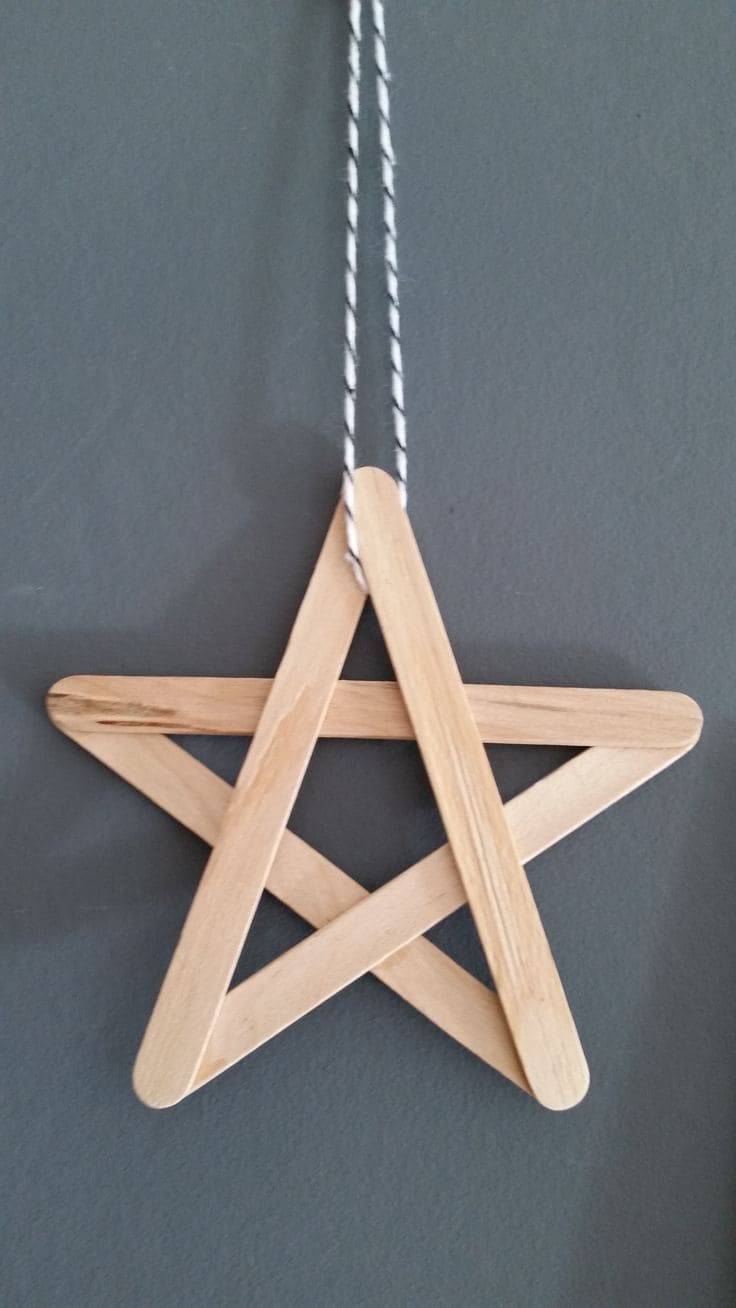
Sometimes, simplicity is the most striking form of beauty. This minimalist star is one of my favorite quick crafts, it takes barely 10 minutes but adds a rustic, Scandinavian charm to any space.
Materials Needed
- 5 wooden popsicle sticks
- Hot glue gun
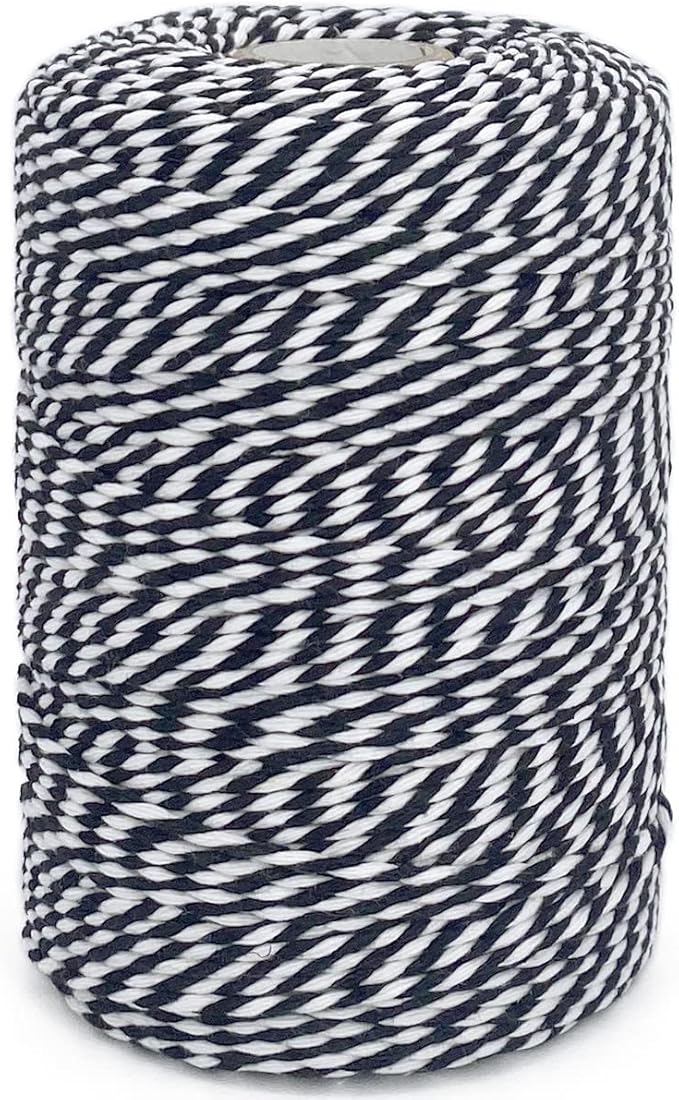
- Yarn loop
Step-by-step Guide
Step 1: Lay out the 5 sticks in a star shape, create a triangle first, then overlap the remaining sticks diagonally to form the five points.
Step 2: Once you’re satisfied with the alignment, glue each connection where two sticks overlap. Let it sit for a minute to firm up.
Step 3: Flip the star and attach a loop of twine at the top point using glue.
#10. Charming Festive Popsicle Stick Houses

These cozy little popsicle stick houses make the perfect handmade ornaments or door tags. Each one feels like a mini invitation to holiday cheer.
Materials Needed
- 14 popsicle sticks per house
- Foam sheet (red + white)
- Mini embellishments (Christmas trees, snowflakes, sequins, or foam stickers)
- Hot glue gun
- Twine
Step-by-step Guide
Step 1: Lay out popsicle sticks to form a square or house shape. Glue them together, then create the roof by overlapping two sticks into a triangle.
Step 2: Cut a triangle from red cardstock for the house backing. Glue it to the back of the roofline. Add a strip at the base for the snowy ground.
Step 3: Cut and decorate a red foam or cardstock door and a mini snowman using white and black foam. Attach them with glue.
Step 4: Decorate with glitter trees, snowflakes, or message tags like “Merry Christmas.” Tie a twine loop at the top for easy hanging.
#11. Festive Popsicle Stick Snowman Ornament

Who could resist that happy little face? This popsicle stick snowman brings winter cheer with every glance.
Materials Needed
- 7 mini popsicle sticks
- Acrylic paint
- Red ribbon
- Small green bow
- Orange paper
- Black marker
- Silver pipe cleaner
- Hot glue gun
Step-by-step Guide
Step 1: Line up six popsicle sticks side by side vertically. Hot glue two small horizontal sticks behind them to hold everything together.
Step 2: Paint the top third of the sticks black to form the hat. Then glue a full-length stick horizontally across for the brim.
Step 3: Add a red ribbon just below the brim and attach a bow or mini embellishment on one side for a festive touch.
Step 4: Cut a small triangle for the nose and glue it in place. Use a marker to draw eyes and a dotted smile.
Step 5: Glue a looped silver pipe cleaner to the back for hanging.
#12. Festive Popsicle Stick Top Hat

Classic, rustic, and so satisfying to make, this snowman hat ornament captures the spirit of homemade holidays.
Materials Needed
- 7 mini popsicle sticks
- Black and red acrylic paint
- Green felt
- 3 different sizes red buttons
- Baker’s twine
- Glue gun
Step-by-step Guide
Step 1: Paint six popsicle sticks black, the left one is red and allow them to dry completely.
Step 2: Line up five sticks vertically, slightly overlapping. Glue the sixth and the seventh stick horizontally across the bottom to form the brim.
Step 3: Cut out two small holly leaves from green felt and glue them in place on one side of the band, then glue three red buttons over the leaves to represent berries.
Step 4: Attach a loop of baker’s twine on the back to hang your ornament.
#13. Rustic Popsicle Stick Mini Sleds
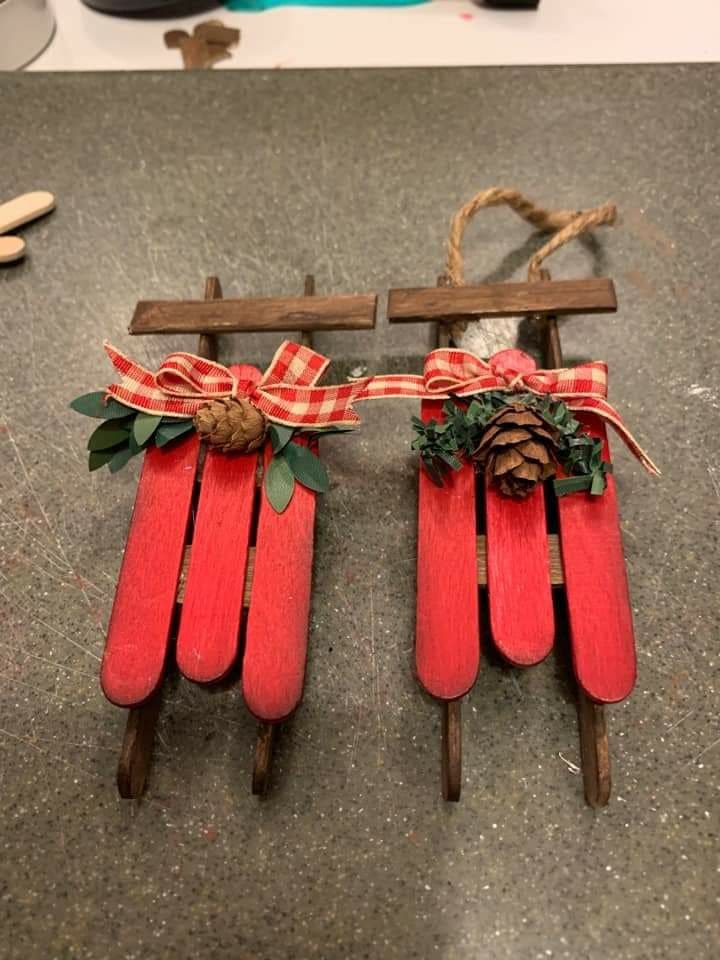
This charming sled ornament feels like something out of a vintage winter postcard. It’s a nostalgic piece that instantly brings warmth to your holiday setup.

Materials Needed
- 6 mini popsicle sticks
- Brown and red acrylic paint
- Red gingham ribbon
- Mini pinecones and faux greenery
- Twine
- Hot glue gun
Step-by-step Guide
Step 1: Paint three popsicle sticks bright red and two sticks dark brown for the sled runners. Let dry completely.
Step 2: Glue the red sticks side by side vertically to form the sled base. Attach the brown sticks underneath, slightly angled to resemble curved sled runners.
Step 3: Glue another brown stick horizontally across the top to act as the sled handlebar.
Step 4: Add a loop of twine to the back for hanging, then decorate with a mini pinecone, a small sprig of faux greenery, and a gingham bow for that festive rustic finish.
#14. Colorful Popsicle Stick Elf Decorations
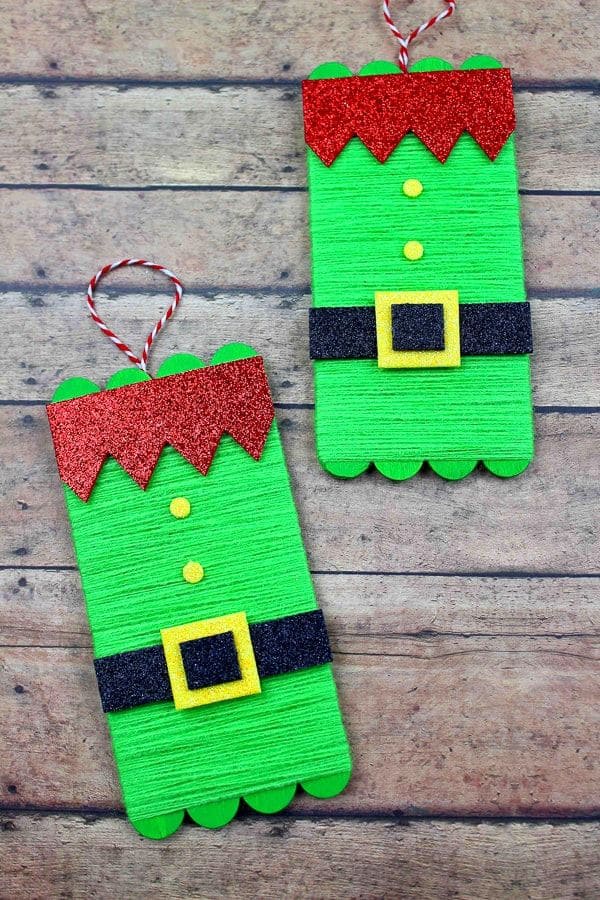
Cheerful, bold, and ridiculously fun, this elf suit craft brings a whole new level of personality to your Christmas tree.
Materials Needed
- 4 jumbo popsicle sticks
- Bright green acrylic paint
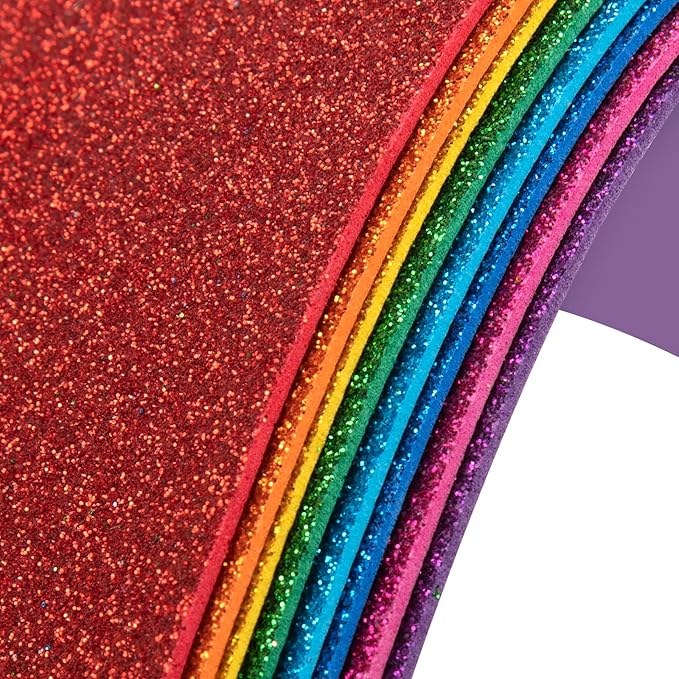
- Red, black and yellow glitter foam sheet
- Red & white baker’s twine
- Hot glue gun
Step-by-step Guide
Step 1: Paint all popsicle sticks green and let them dry. Align them vertically and glue them side by side.
Step 2: Cut a zigzag strip from the red glitter foam to mimic the elf collar and glue it to the top.
Step 3: Glue a strip of black foam across the middle, then add a yellow foam square with a smaller black square inside for the belt buckle.
Step 4: Stick two small yellow dots down the front for decoration, then attach a loop of baker’s twine to the back to turn it into a hanging ornament.
#15. Charming Popsicle Stick Holiday Cottage

This adorable little frosted window scene feels like it came straight out of a storybook.

Materials Needed
- 15 popsicle sticks and 2 wooden wax sticks
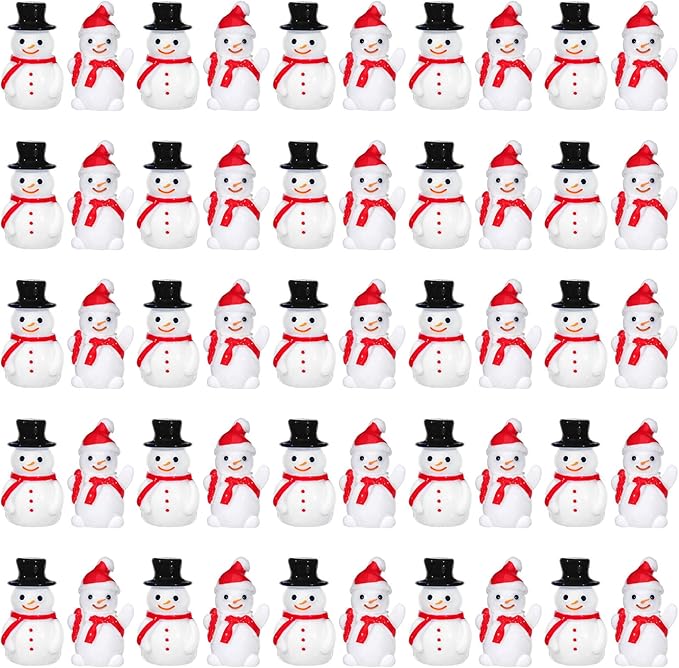
- Mini snowman figurine
- Red fabric with stars
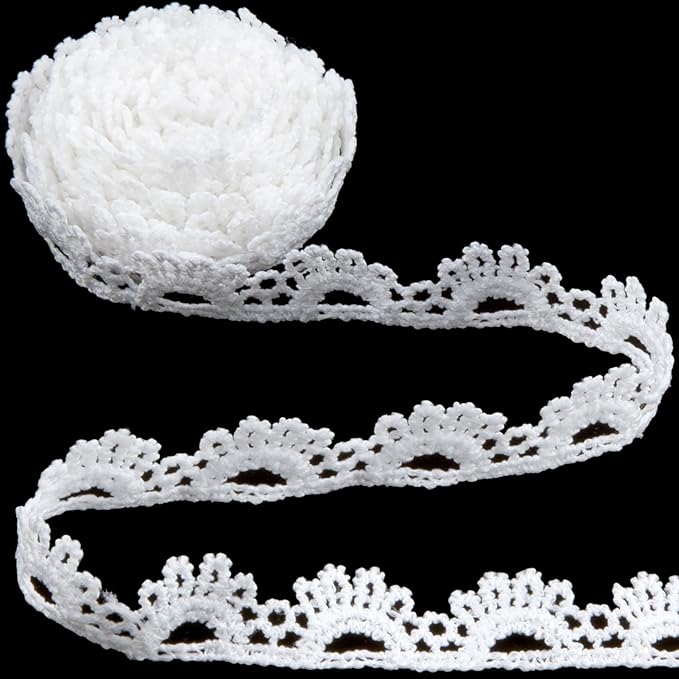
- White lace trim
- Mini gold star and beads (red/white/gold)
- Silver/white paint
- Hot glue gun
- Twine
Step-by-step Guide
Step 1: Assemble the base window using 4 popsicle sticks in a square, with two vertical dividers in the middle. Glue securely.
Step 2: Build the roof using 2 angled sticks and one short one across the top. Paint them silver or white, then dot on red, gold, and white beads to mimic ornaments.
Step 3: Attach the red star-patterned fabric as a curtain behind the window frame. Add the white lace trim as a valance.
Step 4: Glue on a mini snowman to one corner of the fence. Create the picket fence using 4–5 vertical sticks along the bottom, then dry-brush with white paint for a frosted effect.
Step 5: Add a glitter star above the window, and attach a hook or twine at the top for hanging.
#16. Festive Popsicle Stick Sled and Skis
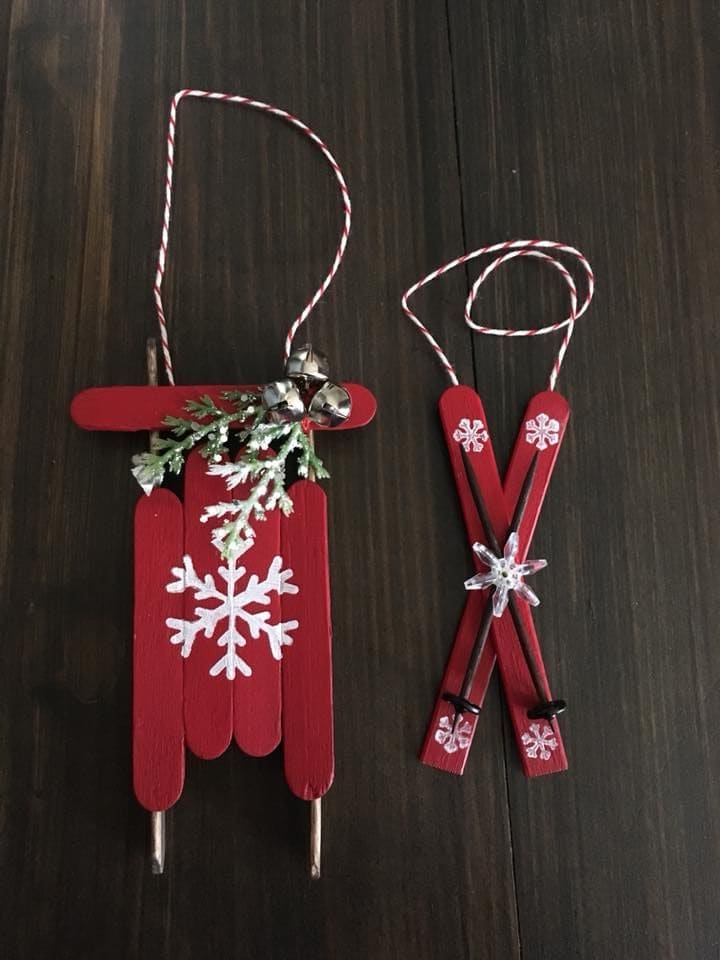
Whether you’re decorating your tree or topping off a wrapped gift, these miniatures instantly add warmth and cheer.
Materials Needed
- 8 popsicle sticks
- Red acrylic paint
- White paint pen or marker
- Mini evergreen twigs and small pine sprigs
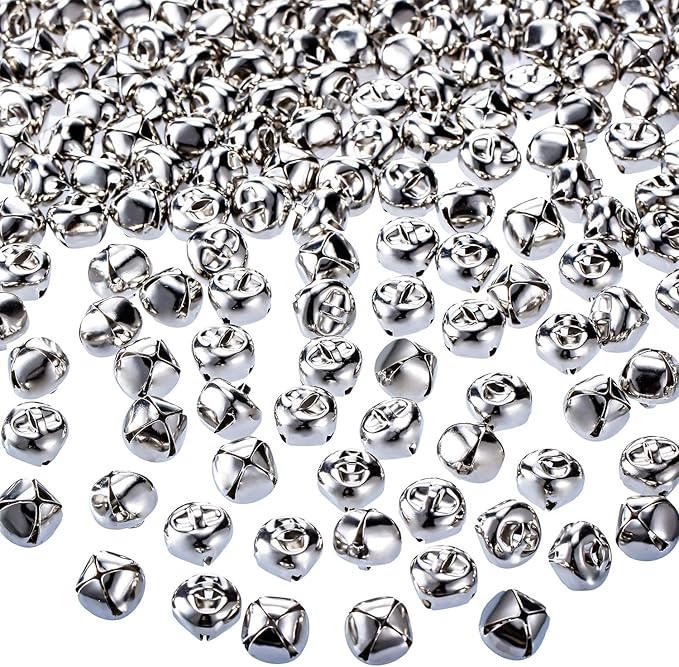
- Tiny bells and twine
- Glue gun & sticks
- Thin black wire
- Clear snowflake button
Step-by-step Guide
Step 1: Paint all your sticks red and let them dry.
Step 2: For the sleigh: arrange and glue 4 wide sticks vertically. Attach a horizontal popsicle stick across the top, then glue the runners underneath at an angle. Add the evergreen and bell bundle to one corner and paint on a large white snowflake.
Step 3: For the skis: glue two red sticks in an X shape. Paint or stencil small snowflakes at the tips. Use thin black wire or string for ski poles, attaching a bead or loop on one end. Finish with a clear snowflake charm where the skis cross.
Step 4: Add twine loops to the top of both pieces for hanging. Make sure everything is secure before displaying.
#17. Adorable Popsicle Stick Reindeer Face

With its googly eyes, button cheeks, and a big red bow, it captures that classic holiday spirit in the most charming way.
Materials Needed
- 7 popsicle sticks
- Brown acrylic paint or wood stain
- 2 large googly eyes
- 2 red buttons
- Red ribbon and small snowflake embellishment
- White glue pen
- Craft glue
Step-by-step Guide
Step 1: Line up 7 popsicle sticks vertically and glue a shorter stick horizontally across the back to hold them in place. You can add a second horizontal stick lower down for extra support.
Step 2: Paint the sticks brown. Let them dry completely.
Step 3: Use white puffy paint to create a fun frosting border along the sides and bottom, mimicking icing on a gingerbread cookie.
Step 4: Glue on two large googly eyes near the top center. Add the red buttons below for “blushing” cheeks.
Step 5: Tie a red ribbon into a bow, glue it above the eyes, and place a snowflake sticker or embellishment in the center for an extra festive flair.
#18. Vibrant Popsicle Stick Christmas Trees

These glossy and vibrant ornaments steal the spotlight with their sleek layered look and sparkling decorations.
Materials Needed
- 6 popsicle sticks per tree
- Green acrylic paint
- Mini craft jewels
- Star foam sticker
- Craft glue
- Twine
Step-by-step Guide
Step 1: Trim 5 popsicle sticks into gradually shorter lengths to form the tree’s layers. Paint them all green and let them dry.
Step 2: Arrange the painted sticks in a tree shape, gluing them horizontally onto a full-size unpainted stick (acting as the trunk).
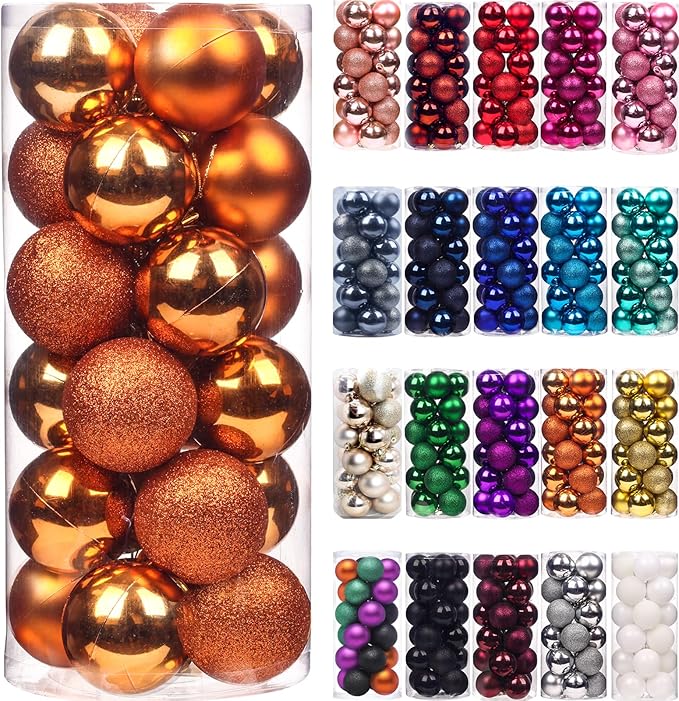
Step 3: Add a glittery star at the top using glue, then decorate the tree with mini ornaments like pearls, rhinestones, or tiny pom-poms. Play with colors for contrast.
Step 4: Attach a twine loop to the top back for hanging.
#19. Charming Popsicle Stick Welcome Signs

These sweet little signs radiate warmth and personality, each one delivering a heartfelt message in Italian and decorated with the cutest polymer clay cacti.
Materials Needed
- 5 popsicle sticks per sign
- Hot glue gun + glue sticks
- Polymer clay (green, brown, red, yellow, etc.)
- Permanent marker
- Twine
- Optional: Mod Podge
Step-by-step Guide
Step 1: Lay out 5 sticks side by side horizontally. Use small craft sticks or cut pieces vertically across the back to glue and hold them together securely.
Step 2: Roll and shape mini cactus plants from polymer clay. Add tiny red flowers or hearts for charm, then bake as per clay instructions.
Step 3: Once cooled, glue the cacti onto one side of the popsicle stick board.
Step 4: Use a marker or paint pen to write your chosen quote or welcome phrase.
Step 5: Attach a loop of twine to the back for hanging. Optionally, seal the entire piece with Mod Podge for a lasting finish.
#20. Rustic Popsicle Stick Holiday Wreath

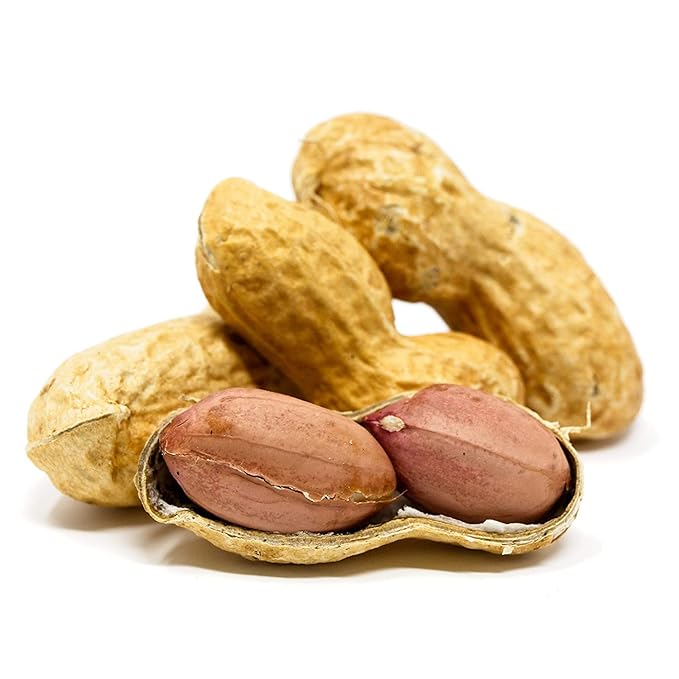
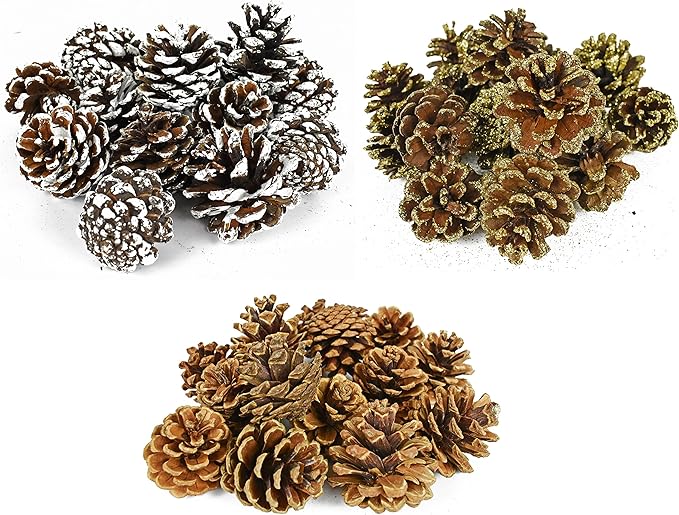
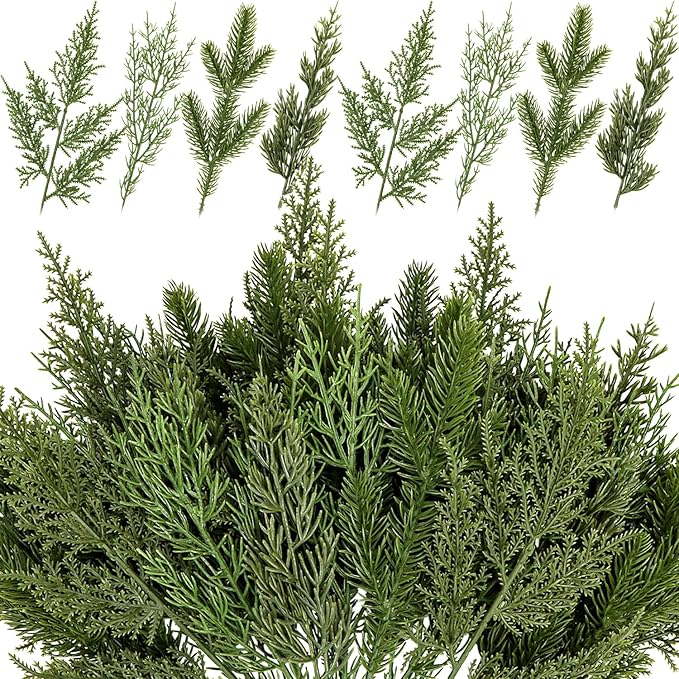
Crafted from intersecting popsicle sticks, the wreath is brought to life with pinecones, evergreen sprigs, gift-wrapped minis, red bows, and the cutest peanut birds.

Materials Needed
- 30 wood craft sticks
- Hot glue gun & glue sticks
- 5 peanuts in shells and 5 mini pinecones
- Greenery sprigs
- Mini gift boxes (optional)
- 3 red mini bows
- Hook
Step-by-step Guide
Step 1: Begin by creating the wreath frame. Glue popsicle sticks together into overlapping diamonds or star shapes. Let it dry completely before decorating.
Step 2: Arrange and hot glue the pinecones and greenery at the bottom center of the wreath for a balanced, full look. Add a few silver mini gift boxes between them for extra sparkle.
Step 3: For the birds, glue peanuts in shell at the top curve of the wreath. Add a red bow below each one to give them a festive flair.
#21. Vibrant Popsicle Stick Floral Holders

This sweet, vertical floral wall piece combines rustic popsicle charm with bright paper blooms. It feels like something you’d see in a cozy country kitchen or a handmade gift from a child to their mom.

Materials Needed
- 50 popsicle sticks
- Hot glue gun & glue sticks
- Thick cardboard tube
- Red glitter ribbon (0.5 inch width)
- Colored craft paper
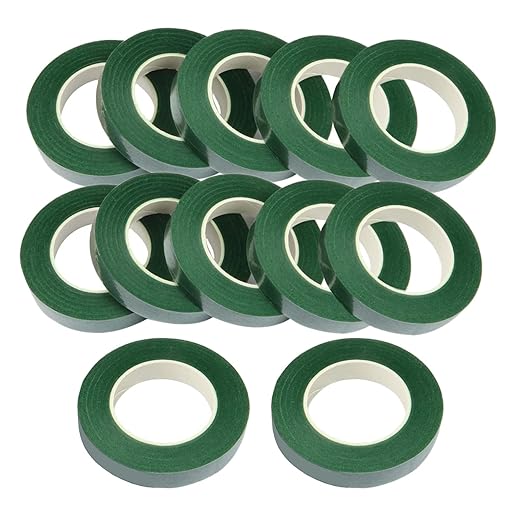
- Green floral tape
- Twine
Step-by-step Guide
Step 1: Start with the base by gluing a row of 20 popsicle sticks side-by-side vertically. Reinforce the back with two horizontal sticks glued across.
Step 2: Cut a thick cardboard tube in half vertically. Glue popsicle sticks around the curve to form a rustic bucket. Trim excess at the base.
Step 3: Decorate the bucket with red glitter ribbon, two near the top, and two at the bottom for a festive finish.
Step 4: Glue the bucket-shaped vase to the lower center of your baseboard. Add a triangular hanger at the top using three sticks to complete the hanging look.
Step 5: Create vibrant paper flowers using craft paper (cut petal strips, curl edges, and glue to stems). Add green leaves for volume.
#22. Elegant Popsicle Stick Christmas Trees

Each tree is topped with a small starfish, adding that oceanic charm, while the layered sticks mimic pine needles cascading downward like falling snow.
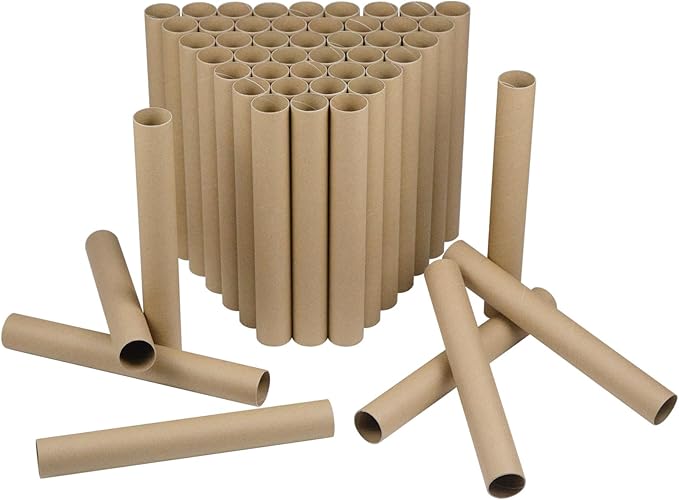
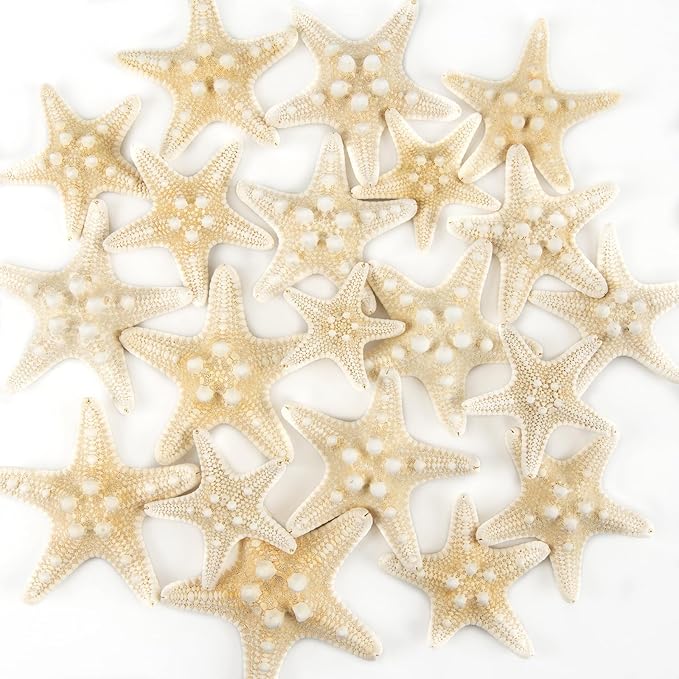
Materials Needed
- 100 popsicle sticks per tree
- Cardboard tubes (12–18 inches tall)
- Hot glue gun & glue sticks
- Optional paint or wood stain
- Mini starfish toppers
Step-by-step Guide
Step 1: If you’re going for a driftwood or whitewashed tone, lightly stain or paint the popsicle sticks and allow them to dry.
Step 2: Begin gluing the sticks around the bottom of your tube, angling them slightly downward like shingles. Overlap them slightly for a natural layered effect.
Step 3: Continue layering the sticks row by row, working your way up the cone. Alternate stick sizes or trim a few to taper the shape for more realism.
Step 4: Once you reach the top, glue a starfish onto the tip. You can enhance it with small pearls or glitter if you’d like some extra sparkle.
#23. Vibrantly Personalized Handprint Popsicle Art

These make wonderful holiday gifts or Mother’s Day treasures and are super easy for little hands to help make.
Materials Needed
- 9 popsicle sticks per plaque
- Acrylic paint in multiple colors
- Twine
- Hot glue gun
- Black marker
Step-by-step Guide
Step 1: Line up 7 sticks side-by-side to form a rectangle. Glue 2 sticks across the back horizontally to hold them together and add structure.
Step 2: Let your child dip their hand in paint (use multiple colors for a tie-dye effect). Help them gently press it onto the front of the stick plaque.
Step 3: Allow the paint to dry completely. Use a fine-point marker or paint pen to write the child’s name and year in a bottom corner.
Step 4: Cut a small piece of twine and glue it to the back as a hanger. Optionally, seal the paint with a layer of clear glue or Mod Podge for durability.
#24. Charming Popsicle Stick Scarecrow Faces

Whimsical, rustic, and bursting with personality, these scarecrow face plaques are the perfect fall decor project for kids and adults alike.
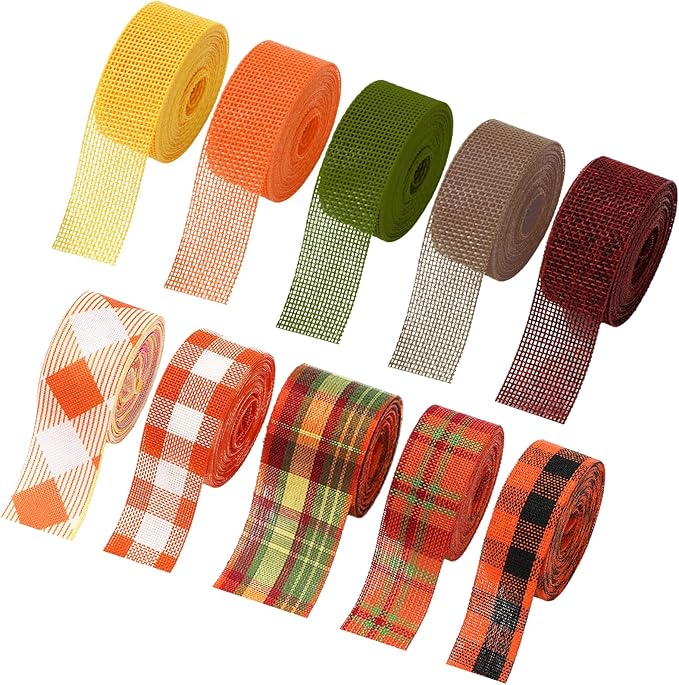
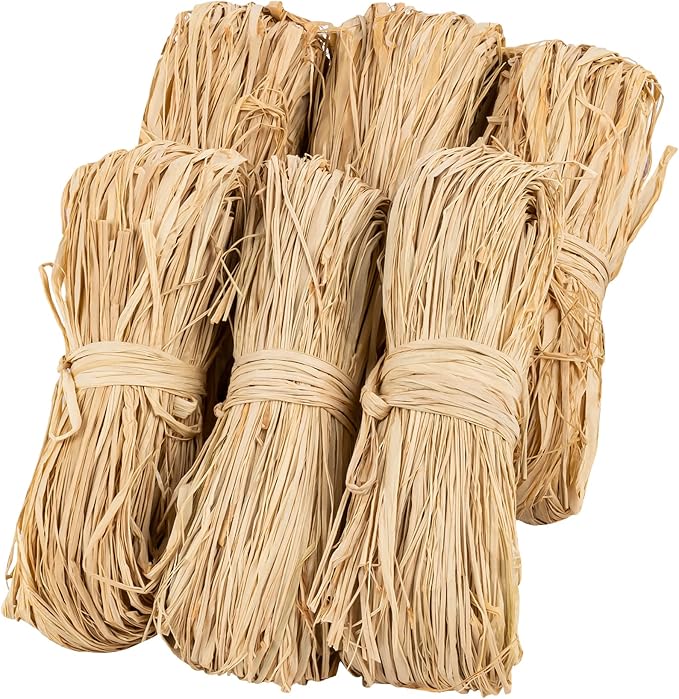
Materials Needed
- 7 jumbo popsicle sticks per face
- Brown and white acrylic paint
- Black paint marker
- Hot glue gun
- Assorted fall ribbons, raffia, twine
- Twine/string
Step-by-step Guide
Step 1: Line up 4 sticks vertically to form the scarecrow’s face. Glue 2 horizontal sticks across the back to hold them together.
Step 2: Glue one stick horizontally across the top front to act as the brim of the scarecrow’s hat. Paint the top portion (above the brim) brown and the bottom half white. Let dry.
Step 3: Paint or draw the scarecrow’s face including triangle eyes, stitched smile, and a carrot-shaped nose using orange felt or paint.
Step 4: Tie together raffia or fabric scraps and ribbons to create a festive bow. Hot glue it near the brim.
#25. Festive Popsicle Stick Star Decorations

Combining the simplicity of popsicle sticks with the texture of real pine sprigs and pinecones, they’re perfect for rustic winter decor or heartfelt handmade gifts.
Materials Needed
- 5 popsicle sticks per ornament
- Hot glue gun + glue sticks
- Fresh or faux pine branches
- Mini pinecones
- Red/gold berries or beads
- Twine
Step-by-step Guide
Step 1: Form a star base by gluing five popsicle sticks in a star shape, first a simple X, then layer the remaining two in between, spaced evenly. Let it dry.
Step 2: Layer pine sprigs onto the center and ends of each snowflake arm. Secure with hot glue, arranging them to create a balanced, full look.
Step 3: Add pinecones, red berries, and small accents like ornaments, glitter balls, or bells to fill in any gaps and bring it to life.
Step 4: Glue or tie a piece of string or ribbon on the back for hanging.
#26. Adorable Reindeer Popsicle Stick Cards

These handmade reindeer cards are the perfect way to add a personal, crafty touch to your holiday greetings.
Materials Needed
- 3 popsicle sticks per reindeer
- Googly eyes (12–15mm)
- Small red buttons
- Pipe cleaners (any festive color)
- Hot glue gun
- Blank kraft paper cards
Step-by-step Guide
Step 1: Arrange two popsicle sticks in a wide “V” shape, then glue the third stick horizontally across the top to create the face and antler base.
Step 2: Cut a pipe cleaner in half, twist each piece into an antler shape, and glue them behind the horizontal stick.
Step 3: Glue on the googly eyes and the red pom-pom nose.
Step 4: Once the reindeer has dried, glue it to the front of a blank card or cardstock. Add a simple “Merry Christmas” greeting below using a pen or stamp.
#27. Popsicle Stick Lantern Craft

This lantern-style lamp made from popsicle sticks adds a cozy, minimalist glow to any room. It combines geometric beauty with a warm ambiance, perfect for accent lighting or tabletop décor.

Materials Needed
- 120 popsicle sticks
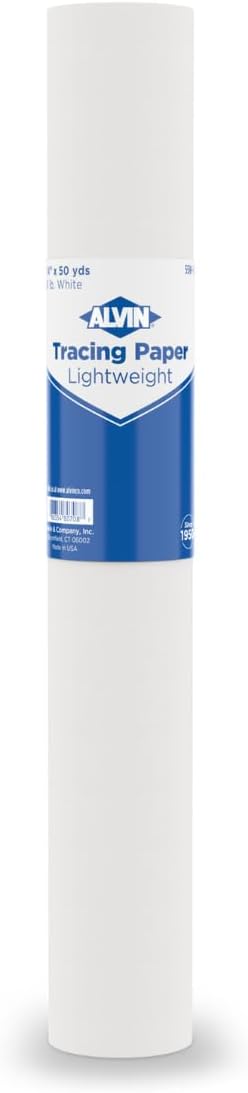
- Thin tracing paper
- Hot glue gun
- LED candle
- Wood stain (optional)
- Craft knife and ruler
Step-by-step Guide
Step 1: Begin by creating the four rectangular wall frames using vertical corner sticks and evenly spaced horizontal sticks. Build up each panel using glue, keeping the slats parallel with small gaps in between.
Step 2: Cut four equal pieces of tracing paper or vellum to size, then glue them on the inside of each frame. This will help diffuse the light softly.
Step 3: Assemble the four panels into a cube or rectangular tower by gluing them edge to edge. Use popsicle sticks along the inner corners for extra support.
Step 4: Construct the base separately with overlapping layered popsicle sticks or a flat square platform. Once dry, attach the lantern body to the base.
Step 5: Place a battery-operated LED light or small bulb inside. Avoid open flames unless you use flame-resistant materials.
#28. Charming Festive Popsicle Stick Cottage

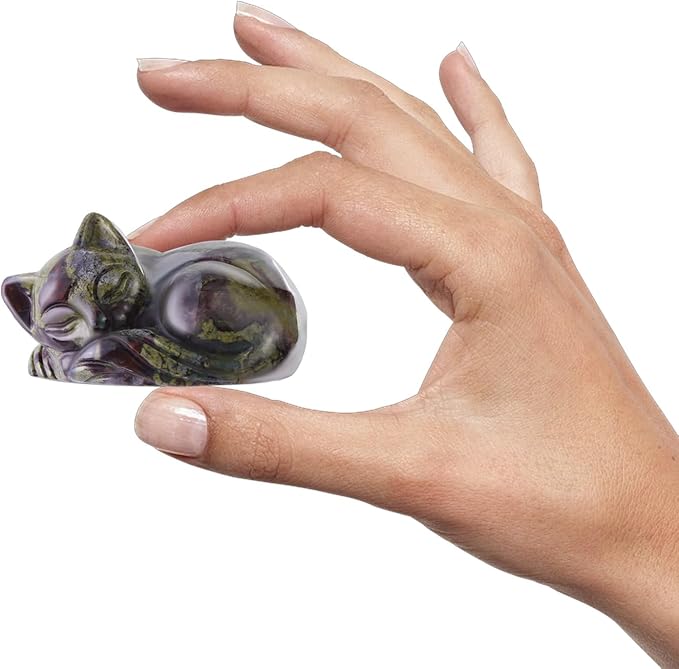
This miniature winter cottage captures the warmth of the holidays with its rustic door, pinecones, snowy accents, and a sleeping painted cat.
Materials Needed
- 40 popsicle sticks
- Hot glue gun
- Acrylic paints (white, brown, grey)
- Mini pinecones
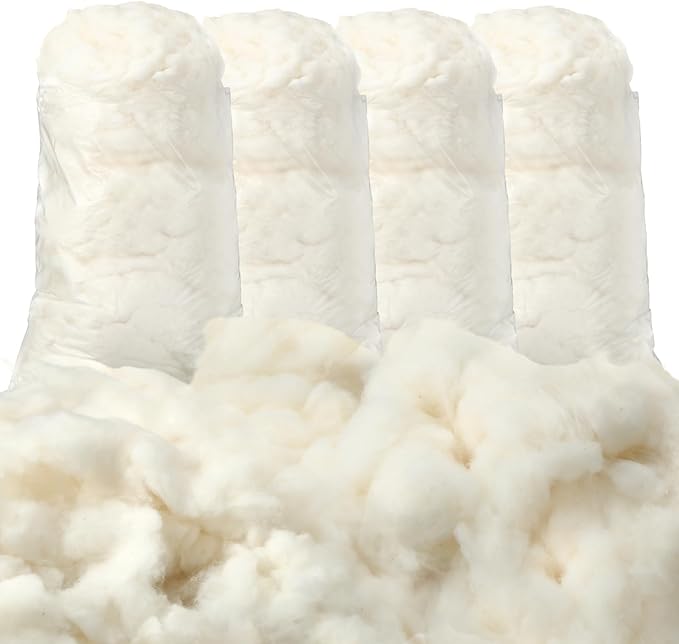
- Cotton batting
- Wood button
- Mini ribbon bow
- Decorative accessories (painted stone cat, lace, glitter twigs, “Merry Christmas” label)
- Scissors & ruler
Step-by-step Guide
Step 1: Form the house frame by aligning 8–10 popsicle sticks horizontally for the wall. Glue two vertical sticks on the back to secure the shape.
Step 2: Construct the roof using 6–8 sticks laid at an angle and trimmed if needed to fit. Glue them in place above the house wall.
Step 3: For the door and fences, glue together trimmed popsicle sticks vertically and add painted details like a button doorknob and white dry-brushed highlights.
Step 4: Add fluffy cotton to the roof and base for a wintry look. Attach pinecones, a painted rock animal or mini tree, and glittery twigs to decorate.
Step 5: Attach a “Merry Christmas” tag and a big decorative bow at the top. Add a loop of ribbon at the back for hanging.
#29. Popsicle Stick Wishing Well

This charming wishing well is a peaceful, old-world style project that adds a lovely rustic touch to any windowsill, shelf, or garden-themed décor.
Materials Needed
- 60 jumbo popsicle sticks
- Small dowel rod
- Twine
- Mini bucket
- Hot glue gun + glue sticks
- Small screw, wood peg
- Wood square base
- Scissors
Step-by-step Guide
Step 1: Make the circular wall of the well. Arrange popsicle sticks vertically around a small container (like a cup) to get the curve, then hot glue them side-by-side into a freestanding circle.
Step 2: Build the base by forming a square platform using overlapping sticks. Glue the circular well structure in the center of this base.
Step 3: Create two upright beams using 2–3 stacked popsicle sticks per side for strength. Glue these vertically onto the base on opposite sides of the well.
Step 4: Insert a dowel rod across the top of the two beams to act as the crank rod. Wrap and glue a piece of string around the rod, letting it dangle into the well. Attach the mini bucket to the end.
Step 5: Create the roof by gluing two flat panels of popsicle sticks at an angle, forming a triangle shape. Attach this to the top of the upright beams.
#30. Vibrant Popsicle Stick Chalkboard Frames

These adorable little frames are full of color, charm, and joy, perfect for kids’ rooms, classroom gifts, or even a cheerful fridge magnet.
Materials Needed
- 4 popsicle sticks per frame
- Black cardstock
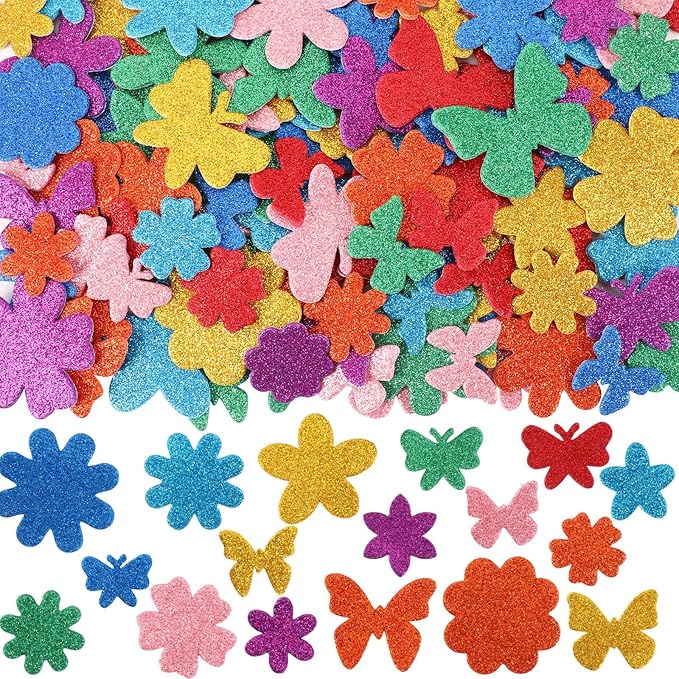
- Foam birds, butterflies, hearts, and flowers
- Glue gun
- Scissors
Step-by-step Guide
Step 1: Arrange and glue four popsicle sticks into a square frame. Let dry or set with hot glue.
Step 2: Cut a small rectangle of chalkboard sheet or black cardstock and glue it to the back of the frame to serve as the “picture” area.
Step 3: Stick foam birds at the top center, flowers at the bottom corners, and sprinkle hearts or stars along the sides. Add dimension with glitter or rhinestones.
#31. Colorful DIY Popsicle Stick Airplanes

Whether you’re hosting a kids’ craft day or need a whimsical DIY party favor, these popsicle stick planes are budget-friendly and totally charming.
Materials Needed
- 2 large craft sticks and 1 mini craft stick per airplane
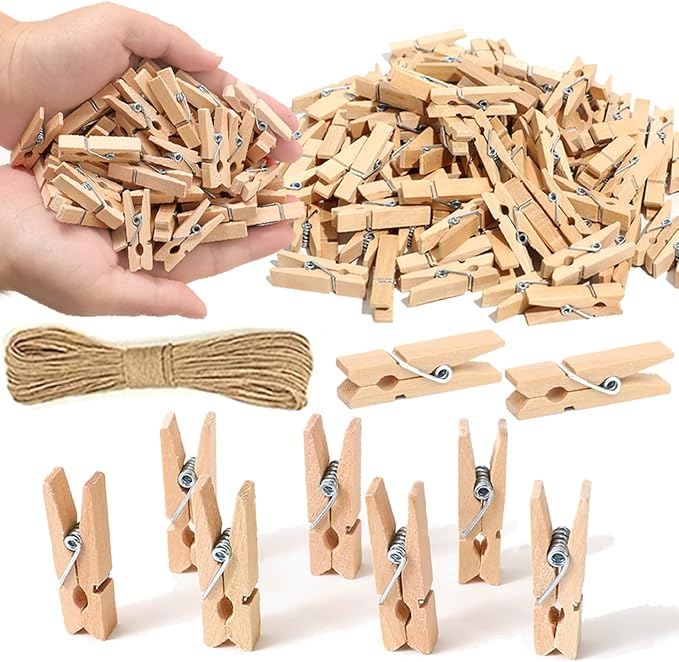
- 1 clothespins per airplane
- Acrylic paint
- Craft glue
- Decorations (optional): washi tape, stickers, paint pens
Step-by-step Guide
Step 1: Paint the clothespin and both large craft sticks. Use one as the top wing and the other as the bottom wing.
Step 2: Paint or decorate the mini craft stick separately for the tail fin.
Step 3: Once all pieces are dry, glue one large stick to the top of the clothespin and the second to the bottom. Align them symmetrically.
Step 4: Attach the mini craft stick across the back end of the clothespin (perpendicular to the “plane body”) to create the tail.
#32. Colorful Functional Popsicle Stick Organizer

This cheerful wall hanging organizer combines creativity and functionality, ideal for small rooms, study corners, or craft spaces.
Materials Needed
- 20 large craft sticks
- 4 mini paper cups
- Acrylic paints and brushes
- Strong glue
- Screws
- Markers
Step-by-step Guide
Step 1: Paint the popsicle sticks in your chosen color themes for each row. Allow to dry completely.
Step 2: Glue 5–6 sticks horizontally side-by-side to form one board. Repeat for each section you want to add.
Step 3: Decorate the boards with words like “Home,” “Sweet,” or quotes. Add small designs like stars, vines, or flowers for flair.
Step 4: Paint the cups in bright, contrasting colors and add dotted or textured patterns if desired. Let them dry.
Step 5: Attach each cup to the center-right or center-left of the boards using strong glue.
Step 6: Use two vertical sticks as the support frame and glue all the horizontal panels to it, then attach your project into the wall by a screw.
#33. Lovely Popsicle Stick Photo Frames

These adorable mini houses bring warmth and charm to your tree or wall during the holidays. Each one frames a cherished photo, turning a simple popsicle stick base into a festive keepsake.
Materials Needed
- 8 craft sticks per house
- Acrylic paint (red, pink, white)
- Printed photos
- Faux snow
- Lace trims or rickrack
- Snowflake embellishments
- Ribbons
- Glue gun
Step-by-step Guide
Step 1: Paint the popsicle sticks in your chosen colors (typically 6 for the wall, 2 for the roof). Let them dry.
Step 2: Glue 6 sticks side-by-side vertically to create the base wall. Add two diagonally at the top to form a roof.
Step 3: Add a cut-to-size photo at the center using glue. Frame it with lace trim or rickrack to create a soft border.
Step 4: Decorate the roof edge with faux snow or cotton balls to mimic snow. Add embellishments like snowflakes or bows for detail. Attach ribbo to the back of the roof for hanging.
#34. Popsicle Stick Nativity Ornament

Made with just a few popsicle sticks, a paper circle, and a humble touch of raffia for hay, it’s a great project for kids, Sunday schools, or anyone who loves heartfelt handmade holiday decor.
Materials Needed
- 3 popsicle sticks
- 1 small wood circle
- Brown triangle cardstock
- Raffia
- Black marker
- Hot glue gun
- Twine
Step-by-step Guide
Step 1: Arrange two popsicle sticks in a wide “V” shape. Glue the third stick across them near the top to form the manger.
Step 2: Cut a triangle from brown cardstock or felt. Glue it in the center to resemble a swaddled baby.
Step 3: Glue the raffia behind the triangle as hay peeking out from the manger.
Step 4: Draw a smiling face on the wood/paper circle and attach it at the top of the triangle.
Step 5: Add a piece of twine to the top corners of the ornament so it can hang from your tree.
#35. Adorable Popsicle Stick Snowman Family

This adorable snowman family hanging is a heartwarming way to celebrate winter and togetherness.
Materials Needed
- 5 popsicle sticks
- White acrylic paint
- Mini felt scraps
- Small buttons
- Black marker
- Yellow twine
- Hot glue gun
- Mini jingle bell (optional)
- Small star stickers
Step-by-step Guide
Step 1: Paint all popsicle sticks white and let them dry completely.
Step 2: Line up 4 vertical popsicle sticks as the bodies of the snowmen. Glue a horizontal stick along the bottom to anchor them together.
Step 3: Cut tiny hat shapes and scarves from felt. Glue them onto the top and around the “necks” of each snowman.
Step 4: Use orange felt triangles for noses and draw or glue on small beads for eyes.
Step 5: Add a button or two to each snowman’s belly to give them that snowman charm.
Step 6: Attach twine to the sides for hanging. Optionally, glue a small jingle bell to the top center.
Step 7: Add star embellishments across the base for an extra festive touch.
