If you’re looking to multiply your rose collection without spending a fortune or if you’re just enchanted by the idea of watching roots sprout before your eyes, propagating roses in water is your ticket to success.
In this simple yet captivating process, you’ll be taking cuttings from a healthy rose plant and coaxing them to grow roots in a water-filled glass. As they develop, these cuttings will transform into new rose bushes, ready to grace your garden with their beauty and fragrance.
Materials Needed
- Pruning Shears: A clean and sharp pair is your go-to tool for taking healthy cuttings.
- Healthy Rose Cuttings: Select cuttings that are 6-8 inches long, from the current season’s growth. They should have at least two leaves and a dormant bud at the base.
- A Glass or Jar: Choose a clear glass or jar that allows you to easily observe the root development. It should be tall enough to hold the cuttings without the leaves dipping into the water.
- Filtered Water: Use non-chlorinated, room-temperature water to fill your glass.
- A Warm, Sunny Spot: Find a location with bright, indirect sunlight to place your glass. A windowsill or covered patio works perfectly.
Propagating Roses In Water
1. Take Your Cuttings
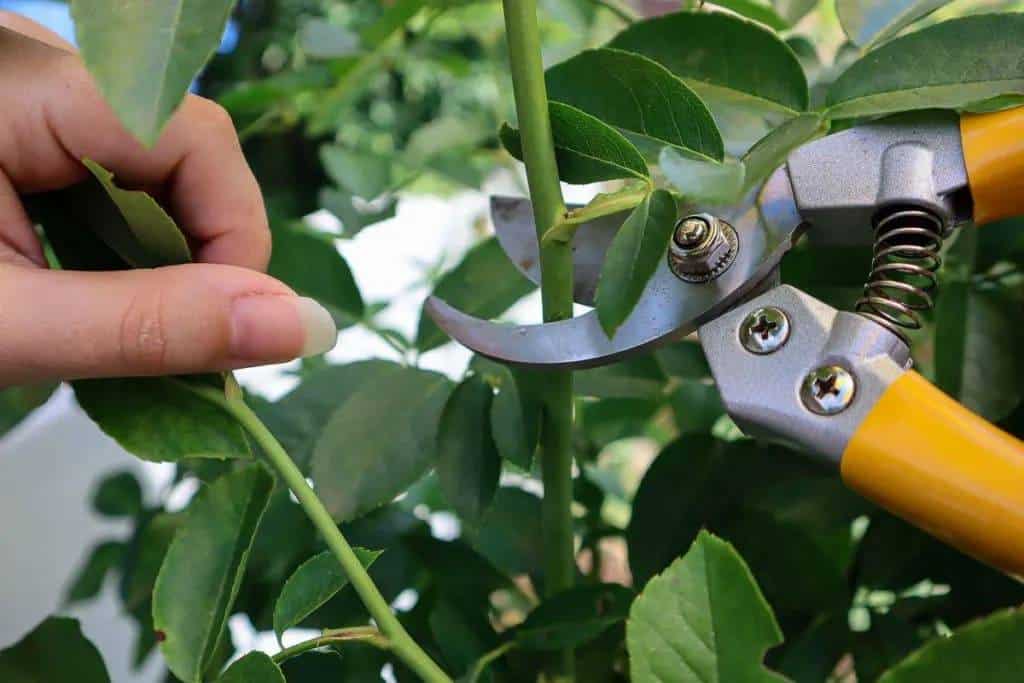
With your pruning shears, cut a healthy stem at a 45-degree angle, just below a leaf node. A leaf node is the small bump on the stem where leaves, buds, or branches sprout. Your cutting should have two leaves and a dormant bud at its base. Remove any flowers, thorns, or lower leaves, and make the cut just above a leaf node.
This clean cut ensures that the cutting has plenty of growth potential without unnecessary energy losses. Don’t let these cuttings sit out for too long; they should be placed in water as soon as possible to prevent wilting.
2. Propagate Roses In A Water Glass
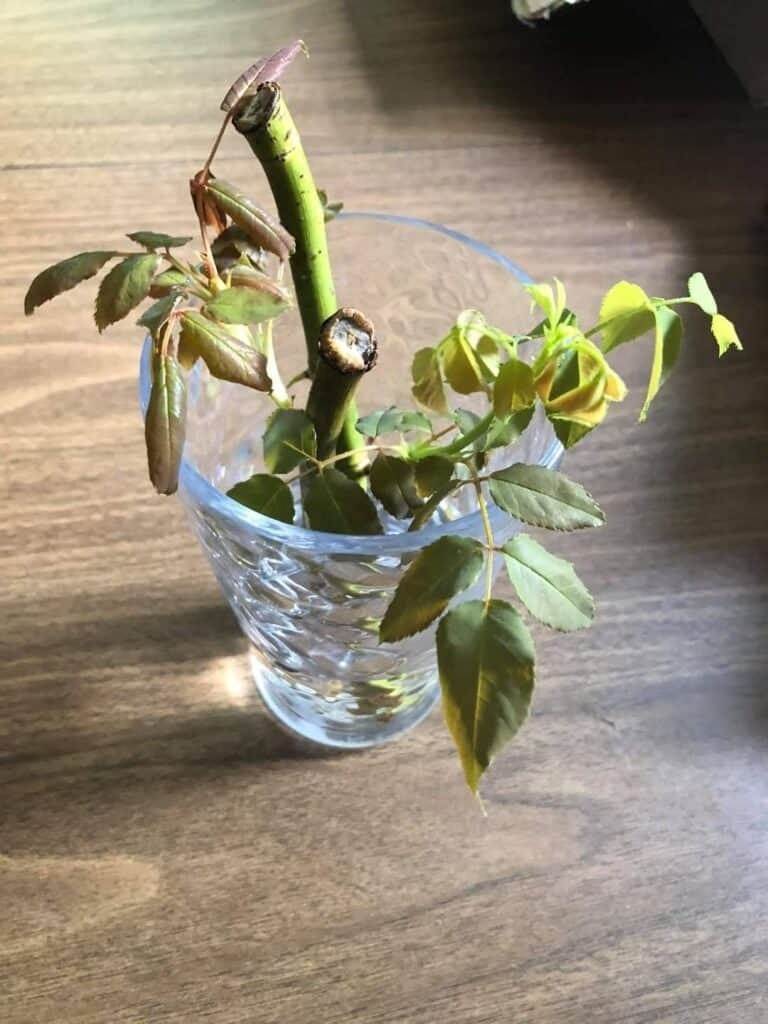
Place your cuttings in a glass or jar filled with non-chlorinated, room-temperature water. Submerge the nodes and the area where the leaves were removed. The lower portion should be underwater while the upper part with leaves remains dry. Position the glass in a warm spot with bright, indirect sunlight, allowing the magic to begin.

3. Take Care Of Cuttings
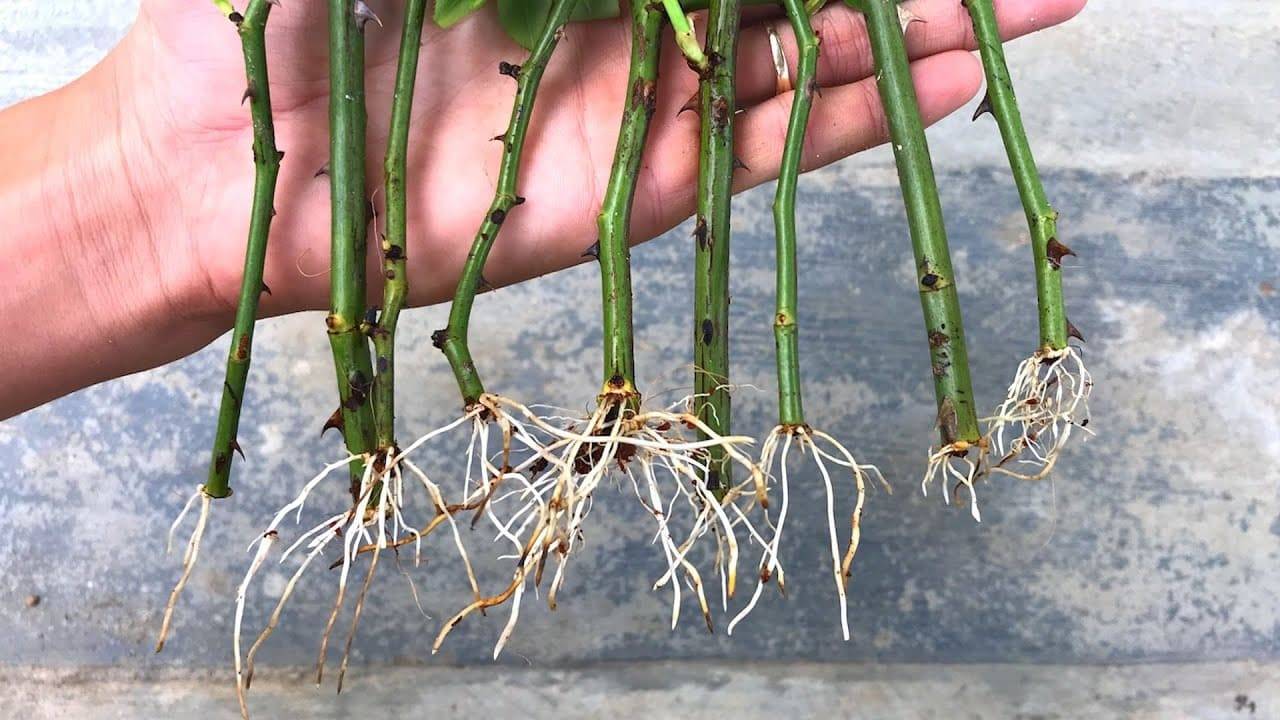
For the next few weeks, your cuttings will be growing roots. Keep an eye on the water level, making sure it stays consistent. The water should be changed every 3-5 days or whenever the water seems to be brackish to prevent bacterial growth. In about 4-6 weeks, you should see roots starting to form. They’ll be thin, delicate, and white. Once the roots are around 2-3 inches long, it’s time to transplant your new rose plants into the soil.

4. Transplant Cuttings In Soil
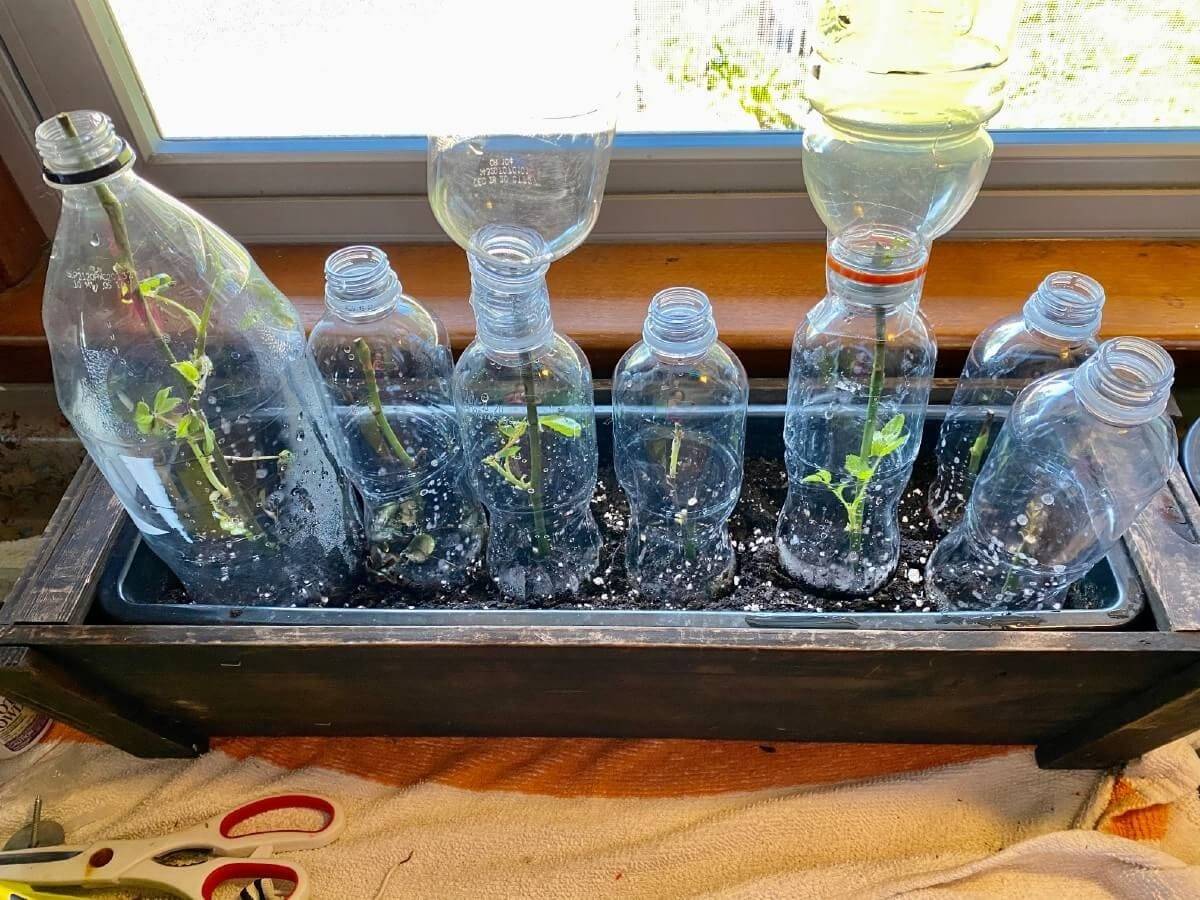
Before transplanting, prepare a spot in your garden with well-draining soil. Carefully remove the cuttings from the water glass, taking care not to damage the tender roots. Dig a small hole in your garden soil and gently place the cutting inside. Water it in, and provide some shade for the first few days to help it adjust to its new home. With some patience and care, these cuttings will soon develop into healthy, thriving rose bushes in your garden.

Other Tips For Success
1. Choosing Rose Varieties
You should choose a rose plant that’s healthy, disease-free, and has a strong fragrance to ensure the propagated plants inherit these characteristics.
2. Timing Matters
The best time to take cuttings is in late spring or early summer when the rose plant is actively growing. Rooting roses in water generally takes three or four weeks, but don’t give up if you don’t see roots that quickly.

3. Planting Roses In Pots
If growing roses in pots, you should water the new rose bush as needed to keep the potting soil moist, but never soggy. Empty the drainage saucer after a few minutes and never let the pot stand in water.
Propagating stem cuttings in water seems to be one of the simplest methods to have a rose garden blooming in the sunlight. If you happen to be trimming your shrubs in the morning, give it a shot by taking some cuttings, tossing some of them into a cup of water and ensuring the water remains fresh until roots begin to form.

