Tin cans are readily available in most households, making them a convenient and cost-effective material for creative upcycling. Therefore, next time, don’t let those empty tin cans go to waste!
By giving these cans a new lease on life, you not only reduce waste and contribute to environmental conservation but also indulge in a fulfilling and rewarding crafting experience.
Whether you’re decorating your home on a budget, seeking personalized gift ideas, or aiming to spruce up your garden with unique accents, let’s check out some fun and creative DIY tin can ideas to add a whimsical appeal to your home without spending a coin.
This article contains affiliate links. If you purchase through them, I may earn a small commission at no extra cost to you. Thank you for your support!
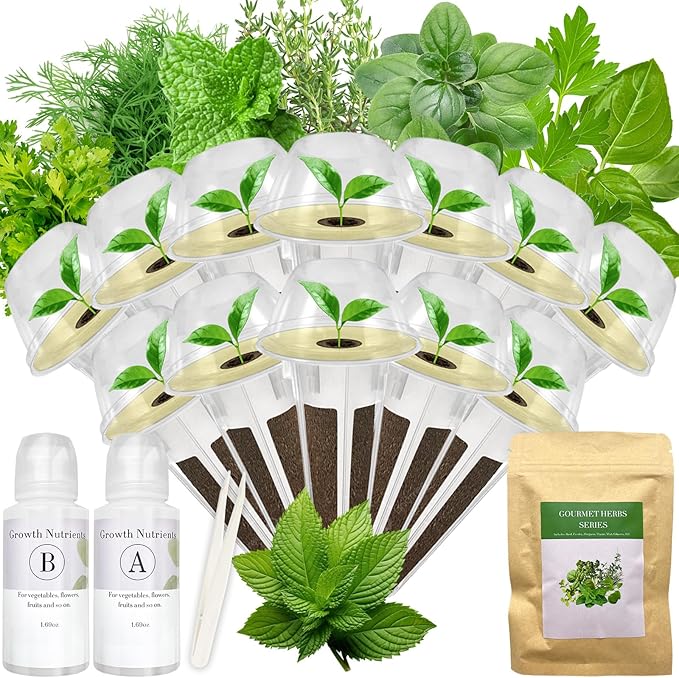
#1. Tin can herb garden
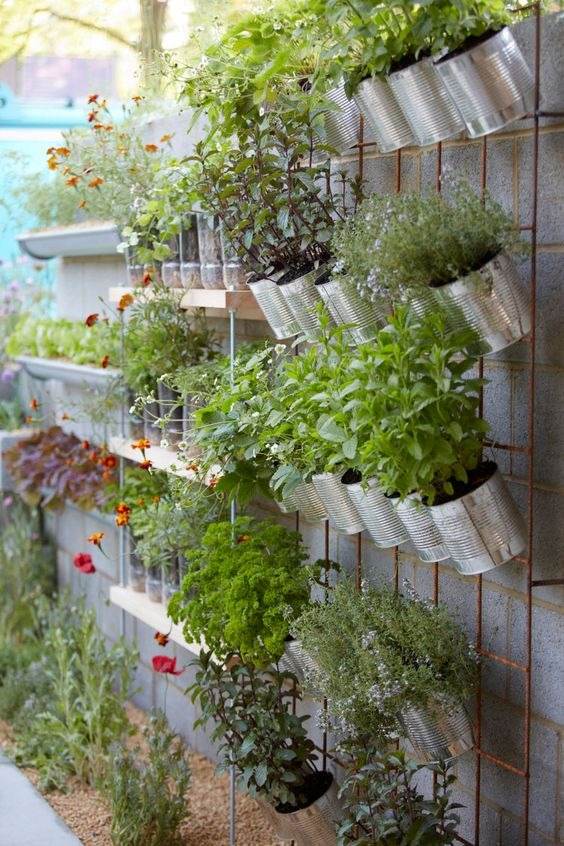
A tin can herb garden is a great way to reuse empty cans and grow fresh herbs in a small space. You can hang the cans on a fence, a wall, a ladder, or even on a windowsill, a shelf, or a table.
Materials Needed
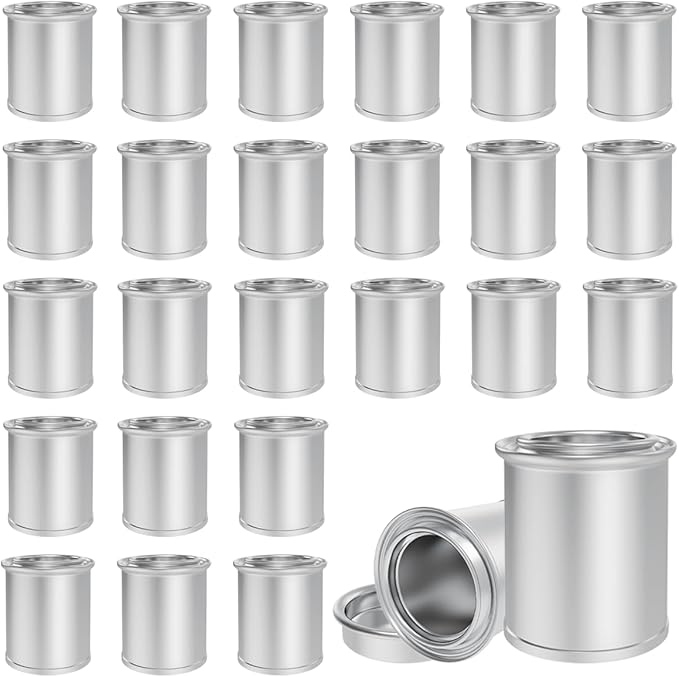
- 24 clean tin cans
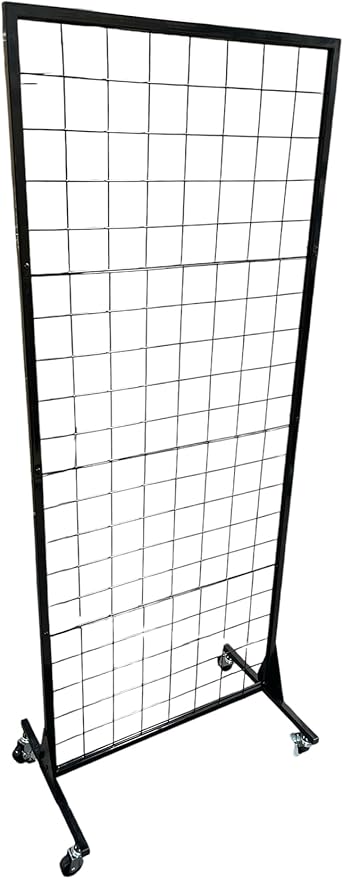
- 1 large wire grid panel
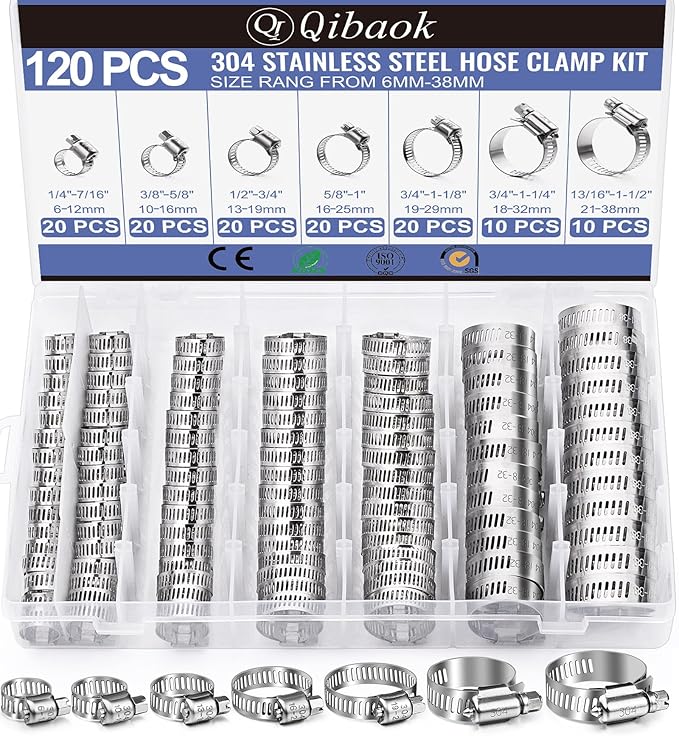
- 10–20 hose clamps
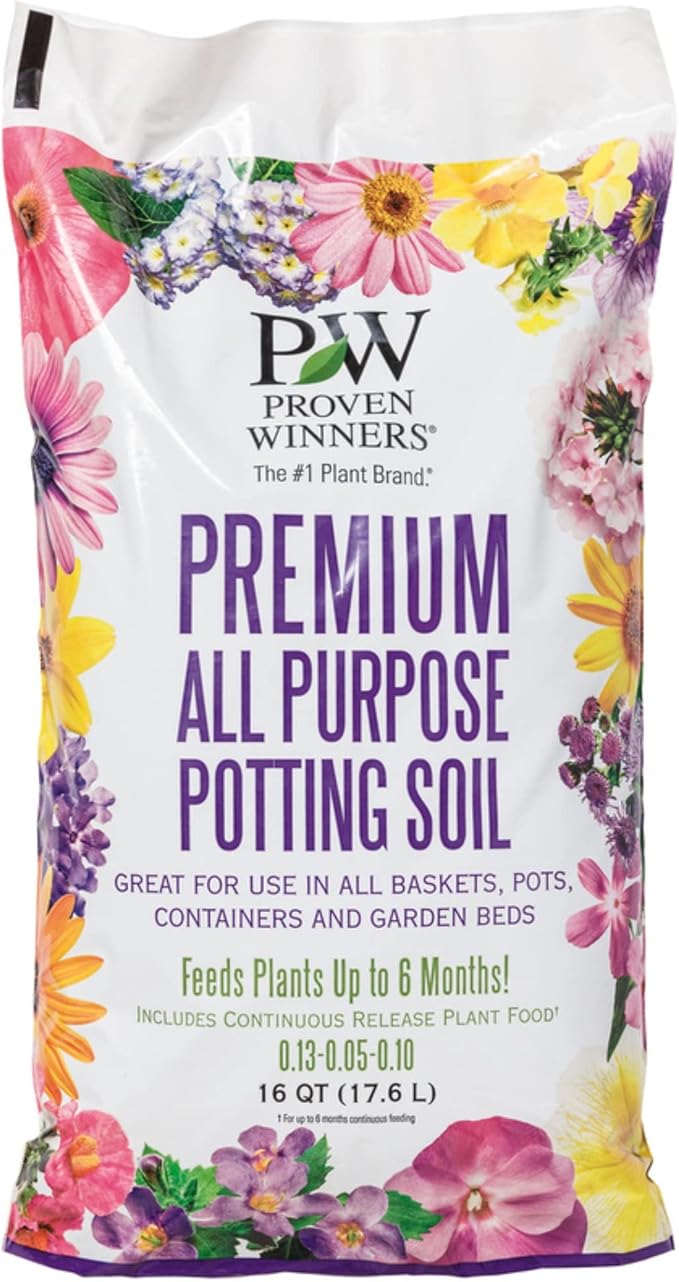
- Good-quality potting soil and assorted herb seedlings
- Optional: spray paint
- Drill
- Wall mounting kit (anchors + screws)
Step-by-Step Guide
Step 1: Clean the tin cans thoroughly, remove the labels, and let them dry. If you want to add color, now’s the time to paint and decorate.
Step 2: Drill 3-4 drainage holes at the bottom of each can, and two small holes near the top sides for mounting.
Step 3: Fill the cans with potting soil and your chosen herb plants. Pack gently, making sure the roots are secure but not overly tight.
Step 4: Use hose clamps to attach the cans horizontally to your wire grid. Once done, mount the grid securely to your wall using the wall kit.
#2. A tin can bee
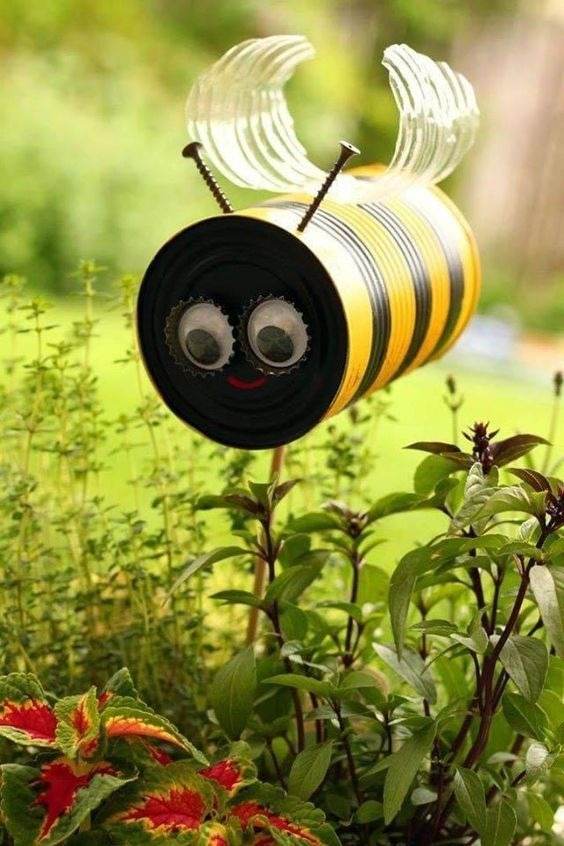
This cheerful bee craft made from a recycled tin can will instantly bring a buzz of personality to your garden.
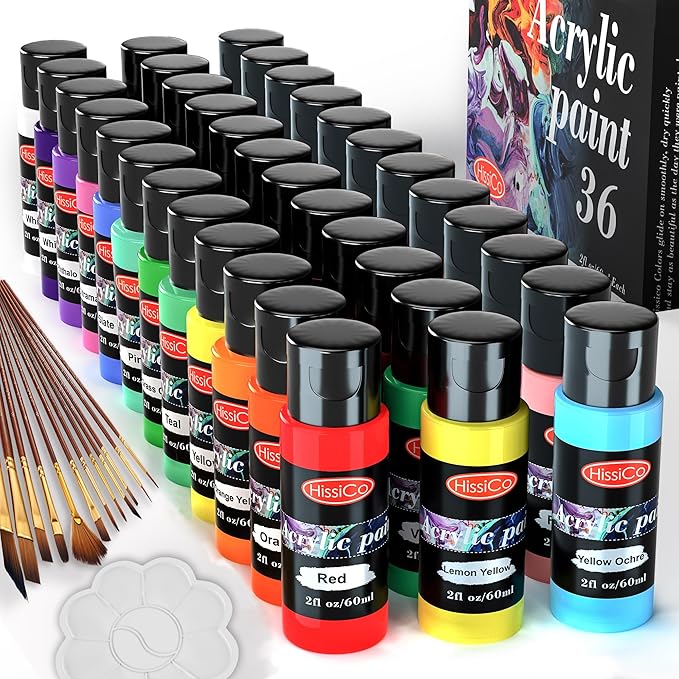 SHOP ACRYLIC PAINT SET
 SHOP BOTTLE CAPS
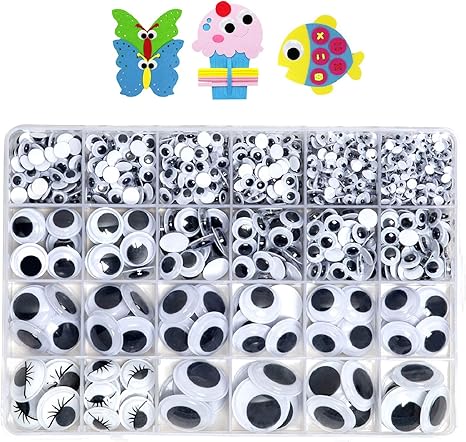 SHOP GOOGLY EYES
 SHOP CLEAR PLASTIC SPOONS
 SHOP SCREWS
 SHOP GARDEN STAKE
Materials Needed
- 1 tin can
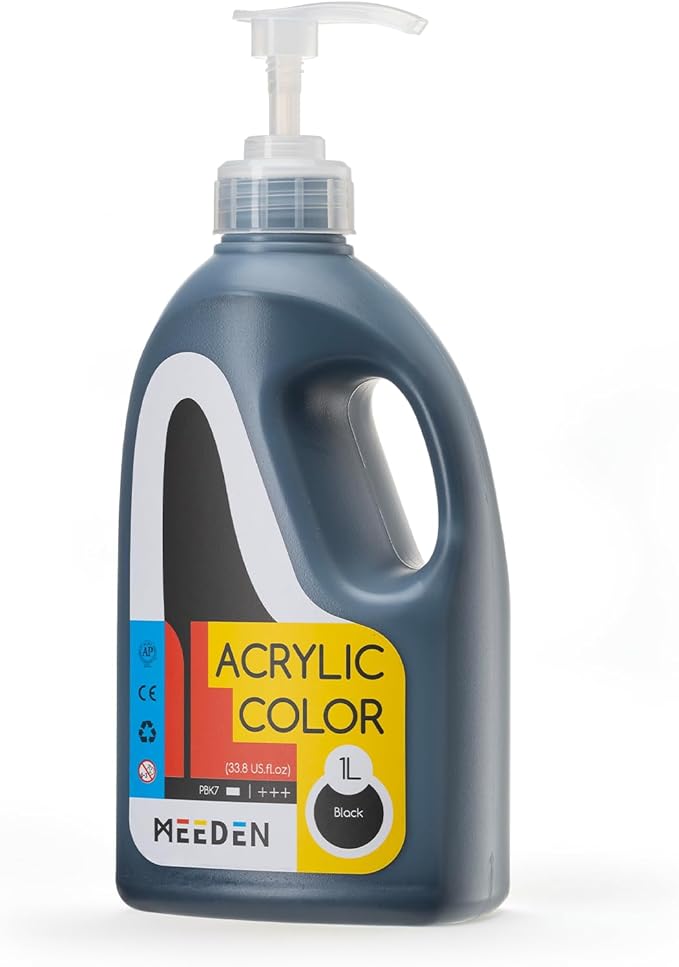
- Yellow and black acrylic paint
- 2 bottle caps + 2 googly eyes
- 1 pair of clear plastic spoons
- 2 screws
- Strong glue
- Optional: garden stake
Step-by-Step Guide
Step 1: Paint the entire can yellow. Once dry, add 3–4 black stripes around the body using tape to guide the lines if needed.
Step 2: Glue on the googly eyes over bottle caps for a cute 3D face. Draw a little red smile with permanent marker or paint.
Step 3: Attach the plastic spoon halves to the top back of the can to form wings. Secure them with glue.
Step 4: Screw in as antennae on top of the bee’s head. Lastly, attach the can to a garden stake and plant it in a flower bed or herb patch.
#3. A tin can man

This charming tin man, inspired by The Wizard of Oz, is built entirely from recycled tin cans and a plastic funnel. It’s not just a craft, it’s a statement piece.
 SHOP COFFEE CAN
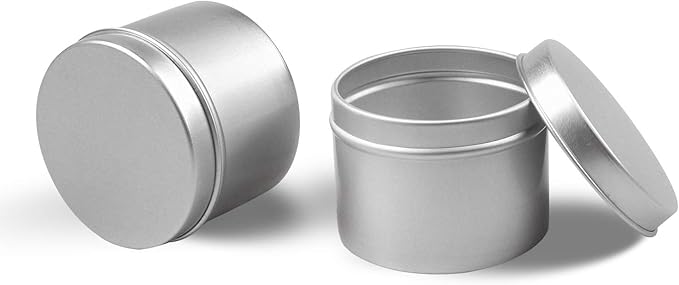 SHOP TUNA CANS
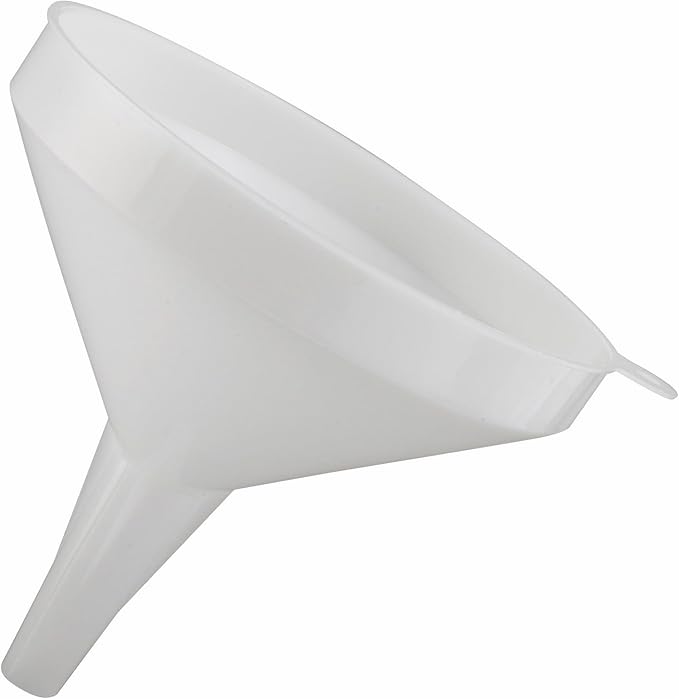 SHOP PLASTIC FUNNEL
 SHOP PINK PLASTIC HEART
 SHOP SILVER SPRAY PAINT
 SHOP CHAIN NECKLACE
Materials Needed
- 1 large coffee can; 1 medium tin can and 4 small vegetable cans
- 2 tuna cans
- 1 plastic funnel
- 1 pink plastic heart
- Silver spray paint
- Nuts, bolts, and wire or hot glue gun
- Black and pink paint markers
- Optional: chain necklace
Step-by-Step Guide
Step 1: Spray paint all your cans and funnel silver. Let them dry thoroughly, at least 2 hours.
Step 2: Attach the arms and legs to the main coffee can using strong glue or nuts and bolts. You can drill small holes to connect them with wire for more movement.
Step 3: Glue the tuna cans to the bottom of the legs as feet. Then attach the head can on top and place the funnel on it as a hat.
Step 4: Draw the face with markers, or paint a happy expression. Finish by adding the heart and optional chain for extra character.
#4. A moss tin can
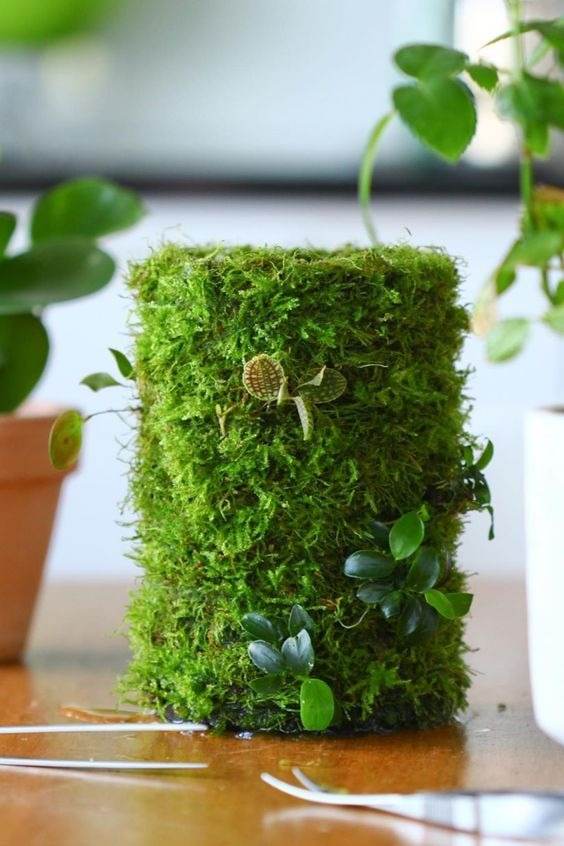
A moss tin can is a lovely vase and planter. To keep your moss alive and green, you need to mist it with water regularly and avoid direct sunlight.
Materials Needed
- 1 clean, empty tin can
- A sheet of fresh moss
- White craft glue
- Optional: spray adhesive
- Scissors
- Small plant
Step-by-step Guide
Step 1: Rinse and dry your tin can completely, then trim the moss sheet to match the can’s height. If using natural moss, break it into small patches.
Step 2: Apply glue across the outside of the can and gently press the moss into place. Work in sections if needed.
Step 3: Let the can dry fully. Insert soil and a small plant or succulent. Keep the moss slightly misted if using live moss.
#5. Outdoor lanterns
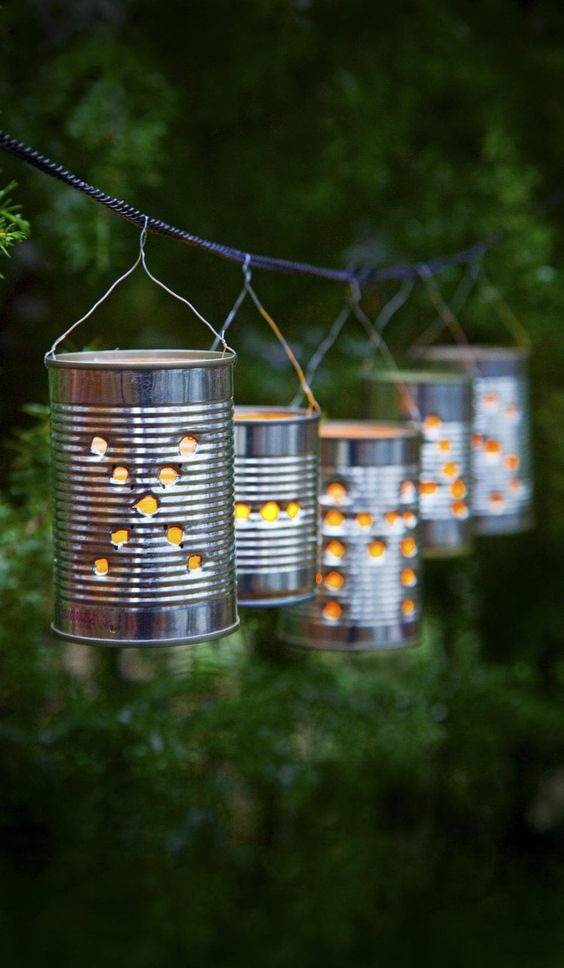
Making outdoor lanterns from tin cans is a creative and eco-friendly way to light up your garden, patio, or porch. You can paint the cans with your favorite colors using outdoor paint or leave them natural.
Materials Needed
- 5 empty and clean tin cans
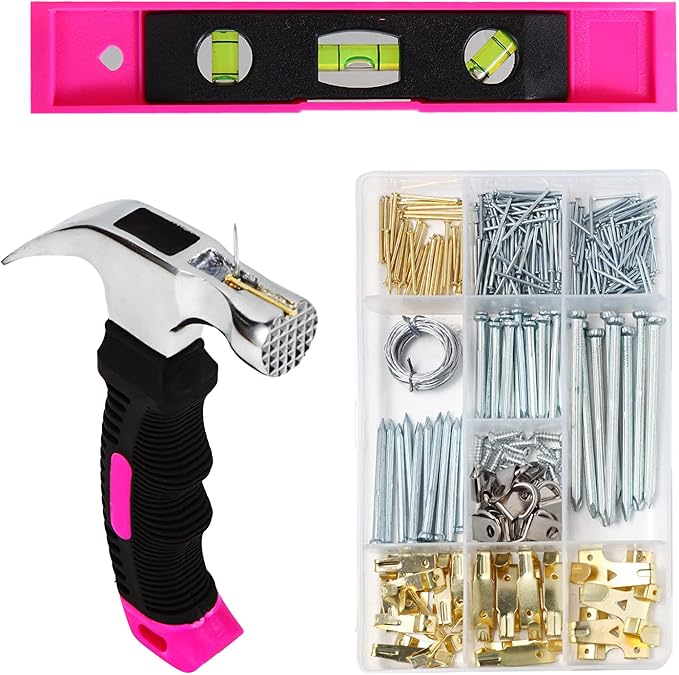
- Hammer and nail
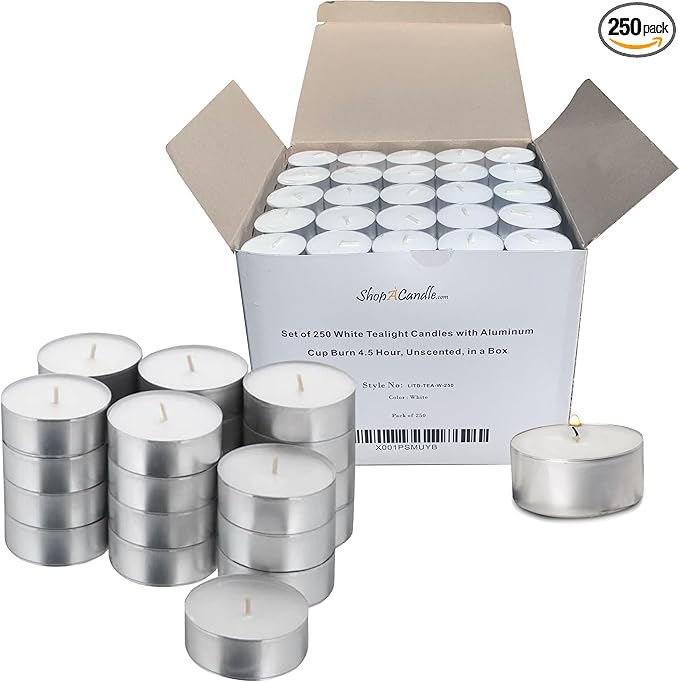
- Tea lights
- Wire
- Spray paint (optional)
- Freezer and water
Step-by-step Guide
Step 1: Fill your tin cans with water and freeze them overnight. This helps keep their shape while you’re punching holes.
Step 2: Use a nail to create dots in the sides of each can, then let the ice melt and dry the cans. If you want to paint them, do so now and let them fully dry.
Step 3: Attach wire around the top rim to make a hanging handle. Drop in a tea light, hang them up, and enjoy the soft evening glow.
#6. Copper tin can planters
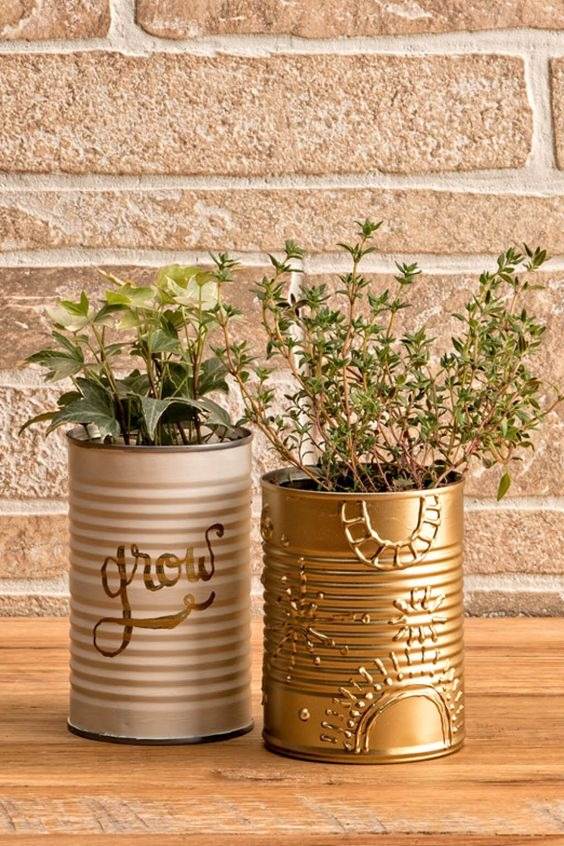
Empty cans can be cleaned and then reused to plant herbs or indoor plants. You can use soup cans, coffee cans, or any other metal cans that are clean and dry.
Materials Needed
- 2 tin cans
- Metal embossing tool
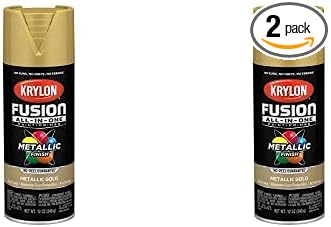
- Spray paint in gold
- Clear acrylic sealer (optional)
- Soil and plants
Step-by-step Guide
Step 1: Clean and dry the cans thoroughly, then use a metal embossing tool, gently press patterns, lines, or words like “grow” onto the sides of the can.
Step 2: Spray the cans evenly with your chosen paint and let them dry completely.
Step 3: If desired, seal with a clear coat to protect the finish, the add a layer of small pebbles at the bottom (for drainage), fill with soil, and tuck your plant in.
#7. Tin can birdfeeders
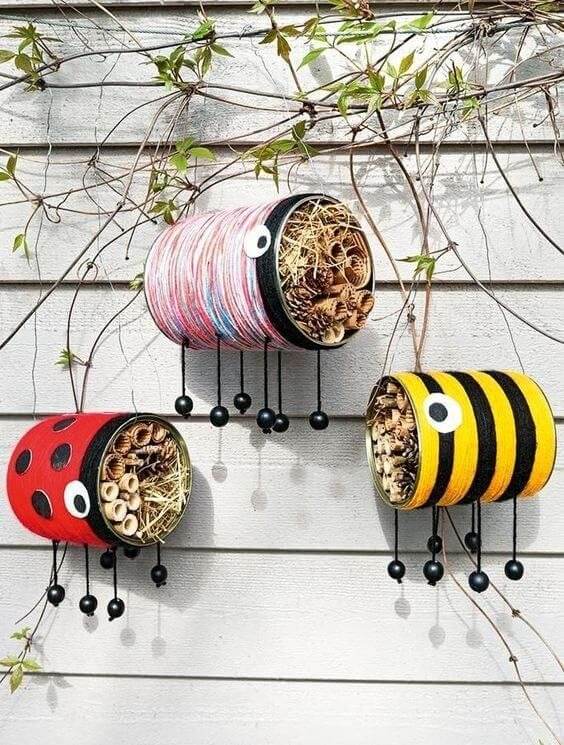
You can make some funny tin can birdfeeders and fill the cans with birdseed, nuts, dried fruits, or any other bird-friendly food. Then, enjoy watching the birds visiting your garden.
Materials Needed
- 3 tin cans
- Acrylic paint in red, yellow, black, and white
- Googly eyes
- Twine
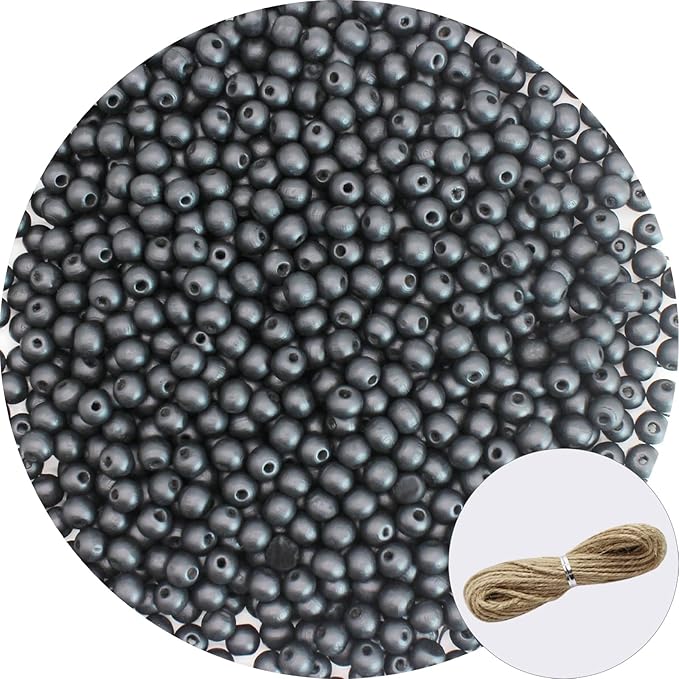
- 18 black wooden beads
- Hot glue gun
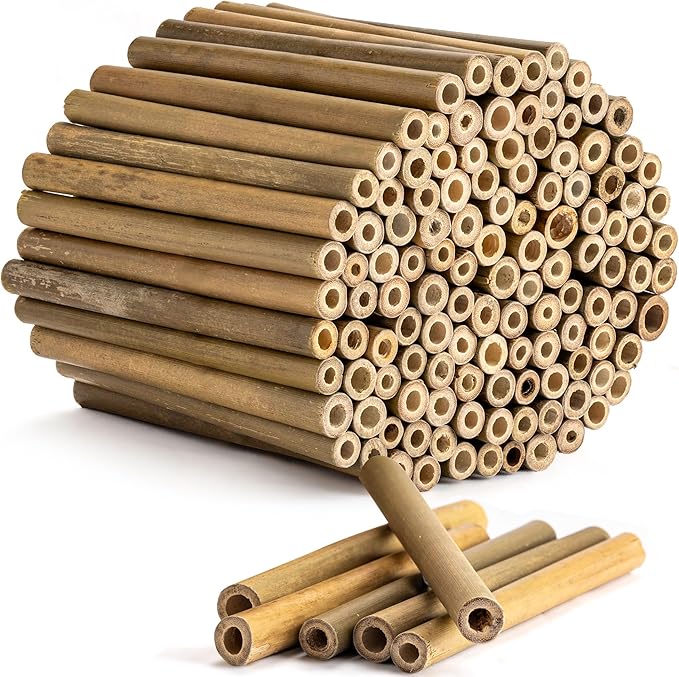
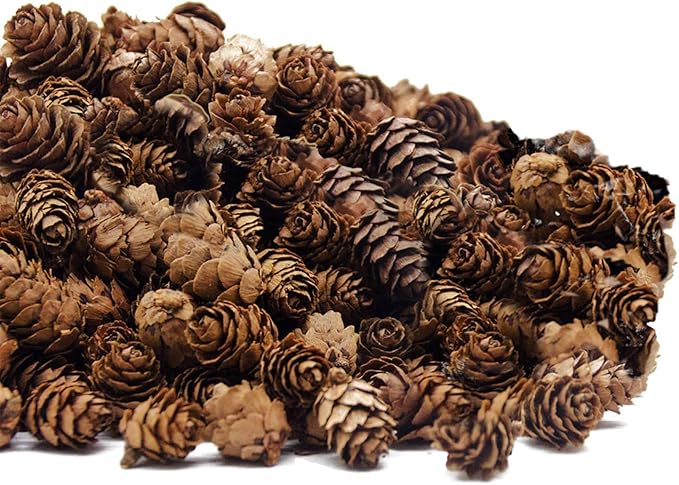
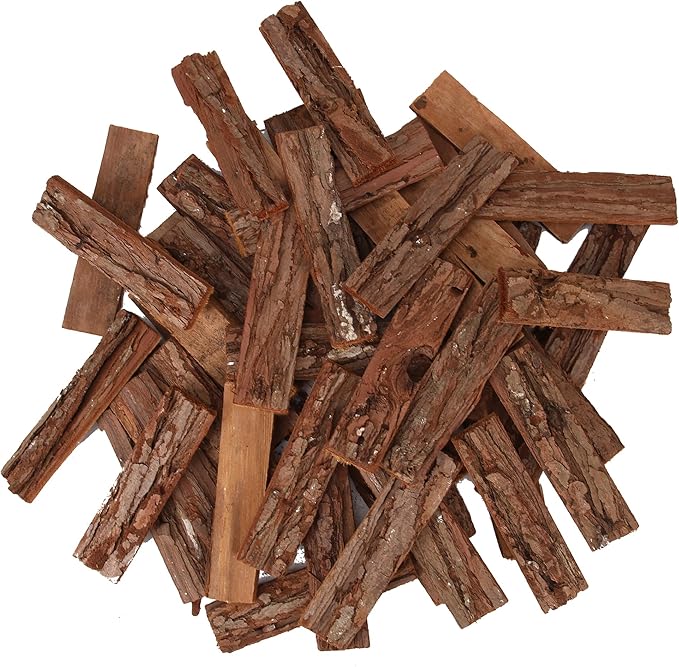
- Bug house filler (bamboo sticks, pinecones, straw, bark, etc.)
Step-by-step Guide
Step 1: Clean your cans, remove any sharp edges, and paint each can to resemble a bug (ladybug, bee, or caterpillar). Add stripes, dots, and googly eyes. Let dry.
Step 2: Wrap twine around the body for texture, then glue wooden beads or pom-poms as legs underneath.
Step 3: Fill the can with a mix of bamboo tubes, pinecones, straw, and other dry, hollow natural materials.
#8. Flower containers
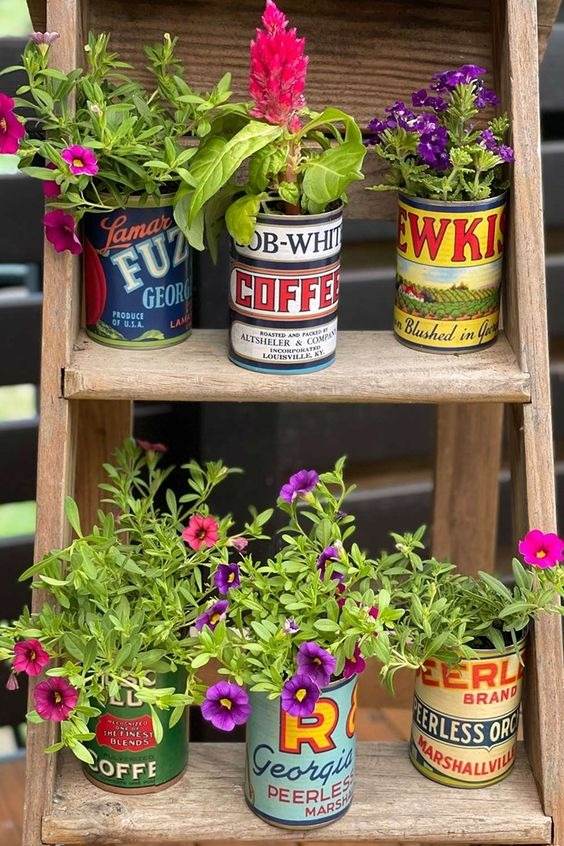
Paint your cans with your favorite colors using outdoor paint. You can also decorate them with stickers, ribbons, or other embellishments.
#9. Backyard tin can fence garden
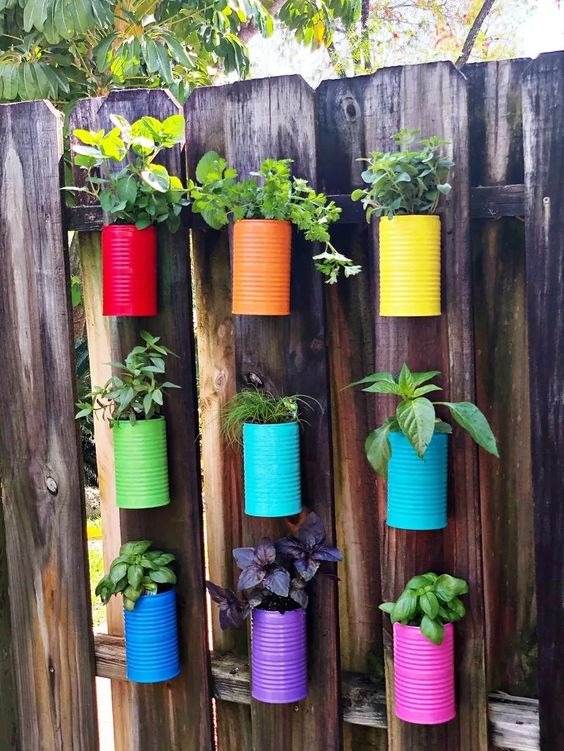
Hanging tin cans on wooden backyard fences can help you save floor space. After hanging, plant your favorite flowers, herbs, or succulents in the cans.
Materials Needed
- 9 empty tin cans
- Acrylic spray paint (multi-color set)
- Potting mix
- Small plants or seeds
- Screws
- Drills
Step-by-step Guide
Step 1: Clean your cans and drill 3–4 small holes at the bottom of each for drainage.
Step 2: Spray paint each can in a different bright color; let them dry fully.
Step 3: Fill the cans with potting mix and your chosen plants, then use screws to mount the cans onto a fence.
#10. Garden markers

Whether you’re labeling herbs or leaving a message for someone you love, this small detail adds warmth and personality to any flower pot.
Materials Needed
- Clean tin can lid (1 per tag)
- Metal stamping letter set
- Acrylic paint
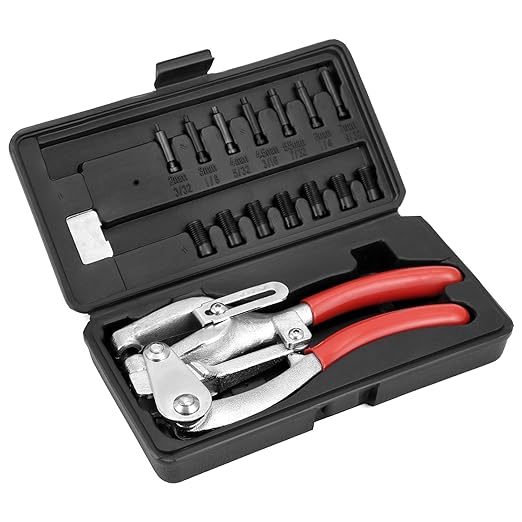
- Metal hole punch
- Metal wire
Step-by-step Guide
Step 1: Carefully clean and dry the lid. If needed, file down any sharp edges, then punch a hole near the top edge for hanging.
Step 2: Stamp your chosen phrase or word like “I love you” using a metal letter stamp set.
Step 3: Paint the lid in your preferred color, then wipe the paint off the stamped letters so they pop.
Step 4: Attach a loop of wire through the hole, then nestle it into your potted plant.
#11. Succulent planters
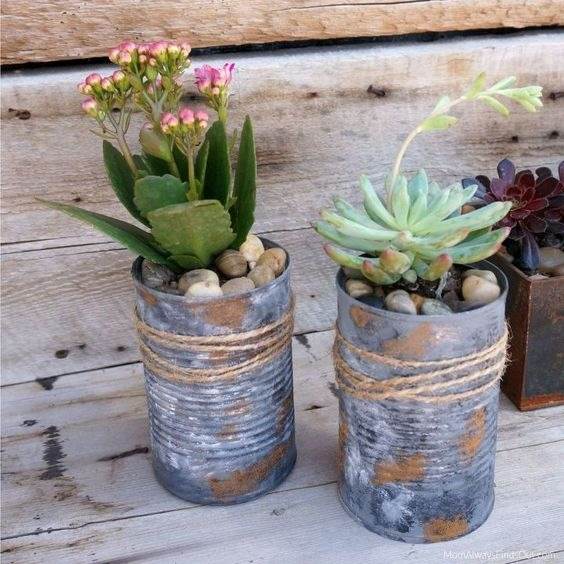
These rustic tin can planters, wrapped with twine and filled with succulents, add a grounded, earthy feel to any windowsill or garden shelf.
Materials Needed
- 2 empty tin cans
- Twine
- Matte black paint
- Sandpaper
- Small rocks
- Potting soil
- Succulent plants
Step-by-step Guide
Step 1: Lightly sand the outside of each can to create a distressed, rustic surface. Focus on edges and random spots for a weathered effect.
Step 2: Apply paint with a sponge or dry brush, then quickly dab off to give a worn-metal finish. Let dry.
Step 3: Wrap twine around the midsection of the can, tying securely in the back or front, depending on your desired look.
Step 4: Add a layer of pebbles at the bottom for drainage, then fill with potting soil and plant your succulents. Top with a few decorative stones.
#12. Tin Can Ghost Windsock
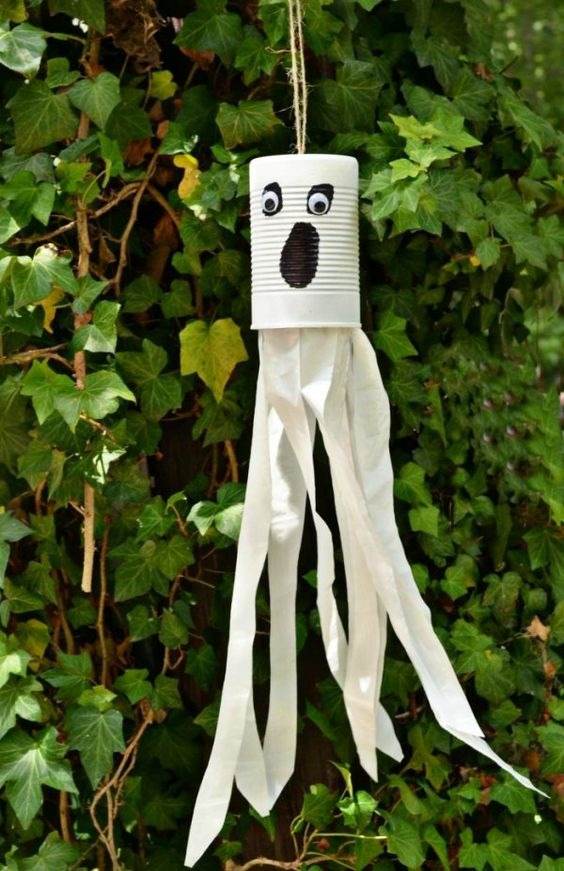
A spooky and fun Halloween craft that flutters in the wind like it’s on a haunting mission.
Materials Needed
- 1 empty tin can
- White spray paint
- Black marker
- White crepe paper streamers
- Craft glue
- Googly eyes
- Twine
- Hammer and nail
Step-by-step Guide
Step 1: Paint the tin can white and let it dry completely. Then draw a spooky face using black marker or paint. Glue on the googly eyes.
Step 2: Cut long strips of white crepe paper or toilet paper. Glue them to the bottom rim of the can.
Step 3: Use a nail to make two holes near the top of the can. Thread and knot twine through the holes to create a loop for hanging.
#13. Pen holders
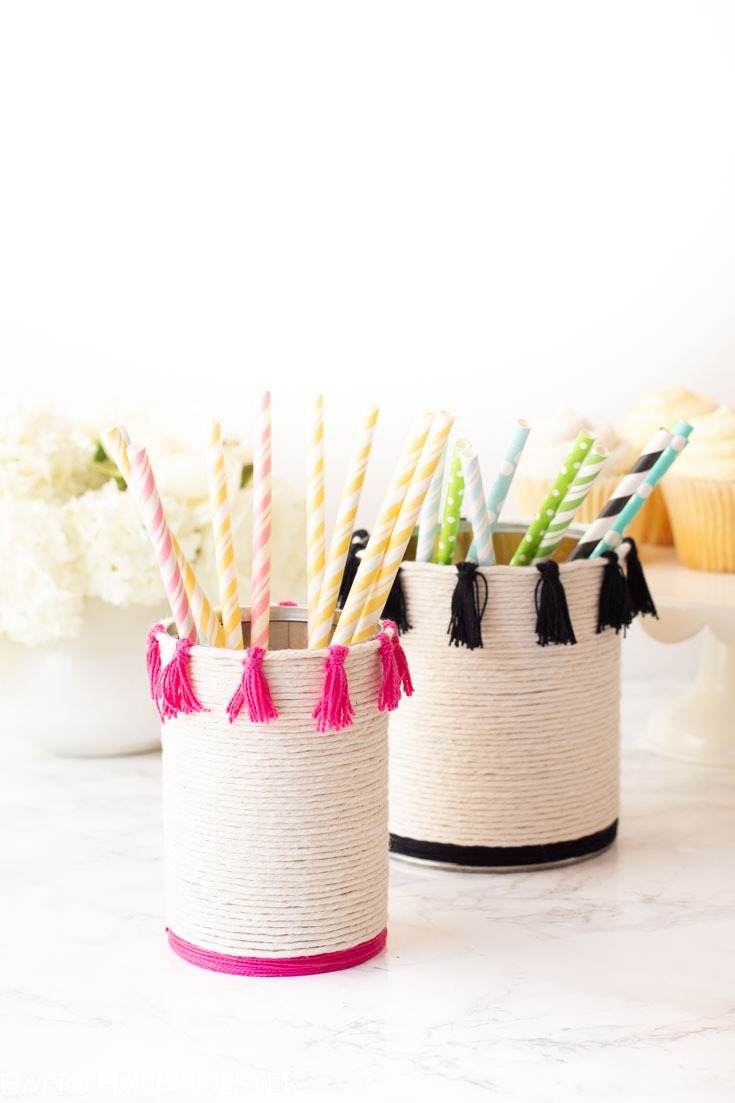
These twine-wrapped tin cans with playful tassels add a chic, rustic vibe to any party table or workspace. Stylish enough for straws and utensils, and simple enough to create in under 30 minutes.
Materials Needed
- Empty tin cans (standard size, cleaned and label-free)
- Cotton twine – approx. 3-5 yards per can
- Craft glue
- Colored embroidery thread (for tassels)
- Scissors
Step-by-step Guide
Step 1: Begin at the base of the can. Apply a strip of glue and start wrapping the twine tightly around the can, working your way up. Continue gluing and wrapping until the entire can is covered.
Step 2: Trim and secure the end of the twine with glue on the top rim. Let it set.
Step 3: Create mini tassels with embroidery thread (wrap thread around your fingers, tie one end, trim the loops, and glue them near the top edge).
Step 4 (Optional): Add a base wrap or decorative band at the bottom in a contrasting thread color for extra flair.
#14. Upcycled Tin Can Wind Chime
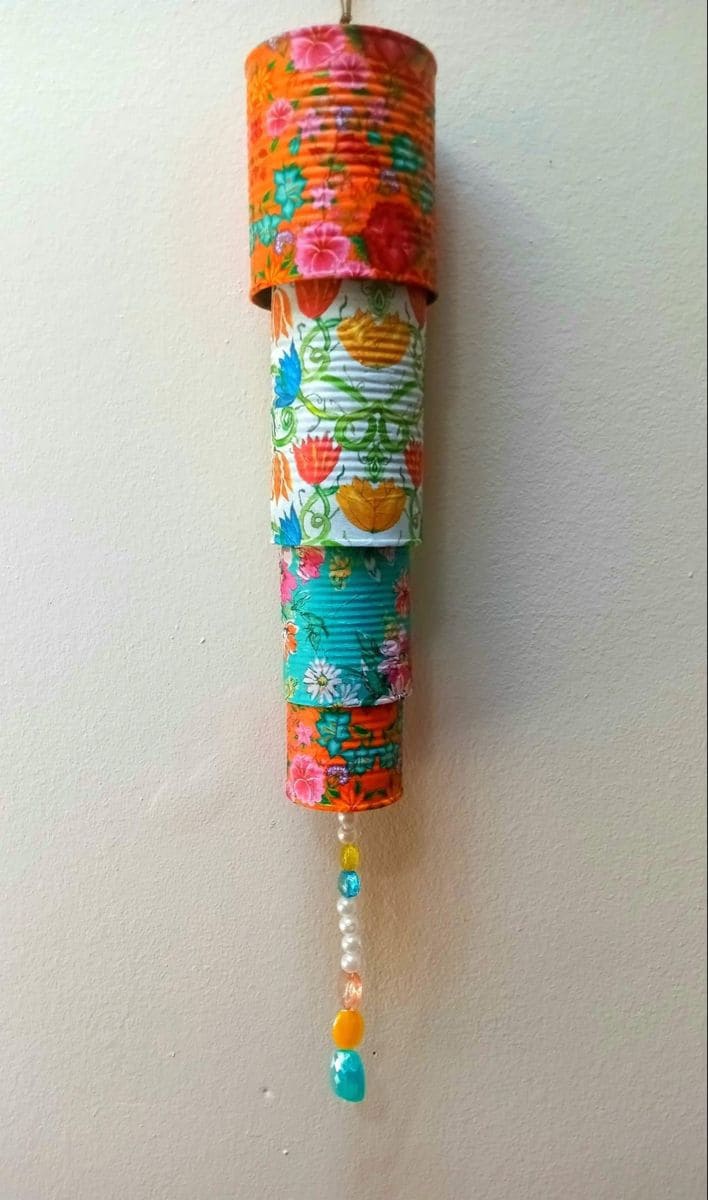
Who knew old cans could sing in the breeze? This cheerful tin can wind chime is a vibrant, low-cost way to bring sound and color to your garden or porch.
Materials Needed
- 4 empty tin cans (different sizes)
- Mod Podge
- Floral wrapping papers
- Scissors
- Paintbrush
- Twine
- 10 assorted beads
- Drill
Step-by-step Guide
Step 1: Drill a small hole in the center of the bottom of each can. If you’re stacking them, add side holes for hanging too.
Step 2: Cut pieces of floral wrapping paper to fit each can. Brush glue onto the can, apply the paper, and seal over it with another glue coat. Let dry fully.
Step 3: Thread twine through the holes, stacking the cans from largest on top to smallest below. Add decorative beads to the bottom of the twine for sound and flair.
Step 4: Tie off the top loop for hanging, and hang somewhere breezy where the colors and gentle chimes can shine.
#15. Wall-Mounted Tin Can Pocket Planters
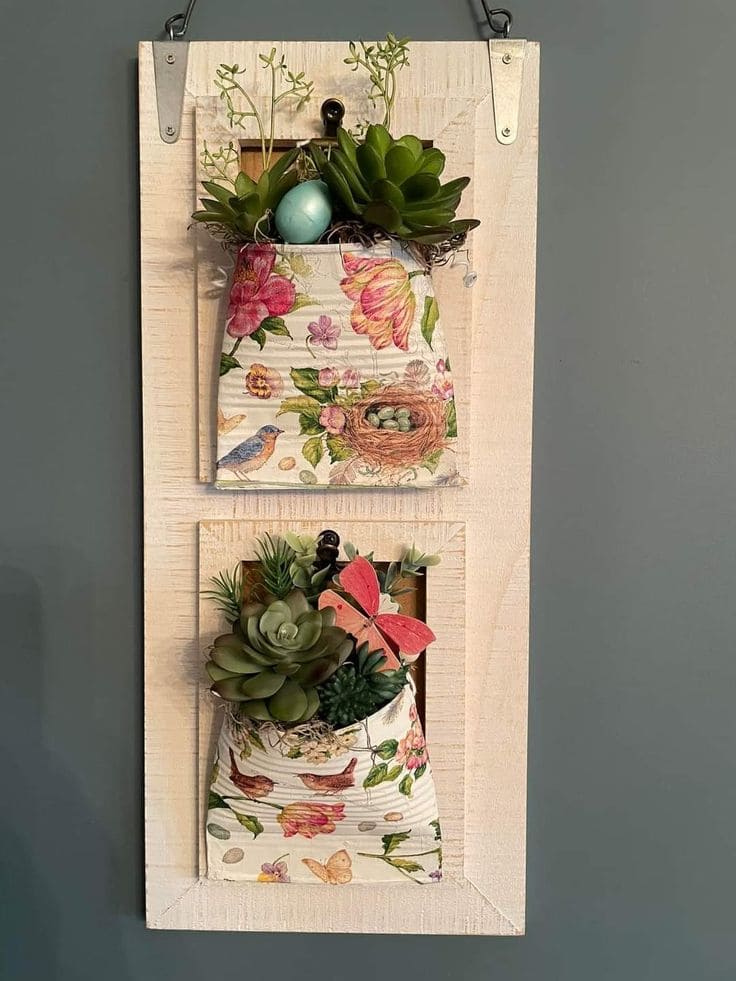
Whether you’re adding greenery to a narrow hallway or giving your entryway a fresh touch, this project delivers both function and charm.
Materials Needed
- 2 tin cans
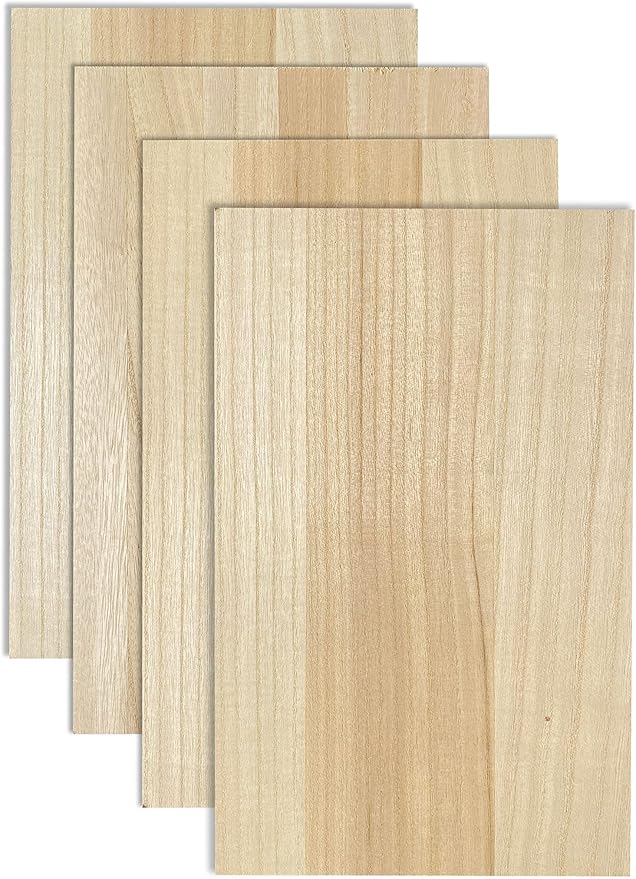
- Wooden board
- Mod Podge
- Decorative papers
- Paint (optional)
- Hooks
- Glue gun
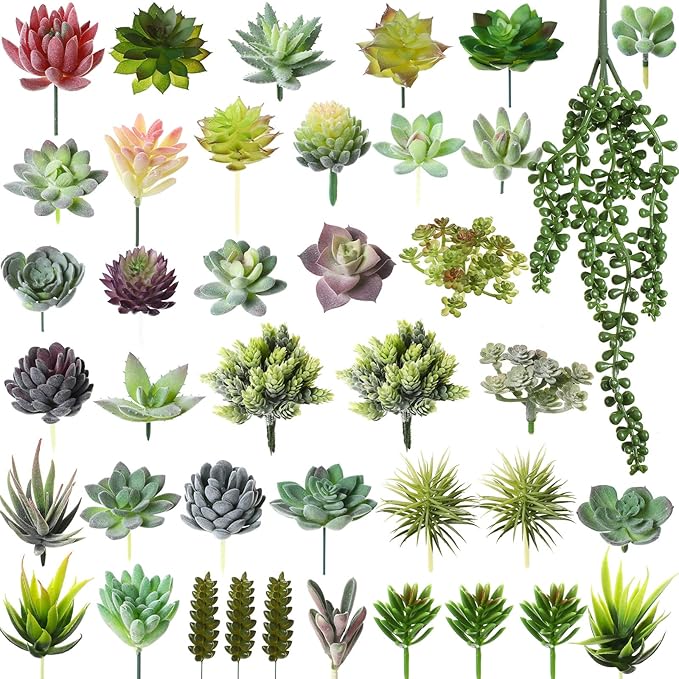
- Fake succulents and embellishments
Step-by-step Guide
Step 1: Flatten one side of each tin can using a rubber mallet, then coat the cans in glue and wrap with your floral paper. Smooth out creases and apply a top layer of Mod Podge. Let dry fully.
Step 2: Paint or stain your wooden board if desired, then screw in the hooks or adhesive-backed hangers where the cans will mount.
Step 3: Use hot glue to secure the cans onto the board. Fill with faux greenery, tiny eggs, or seasonal decorations.
#16. Owl Planters with Bead Legs
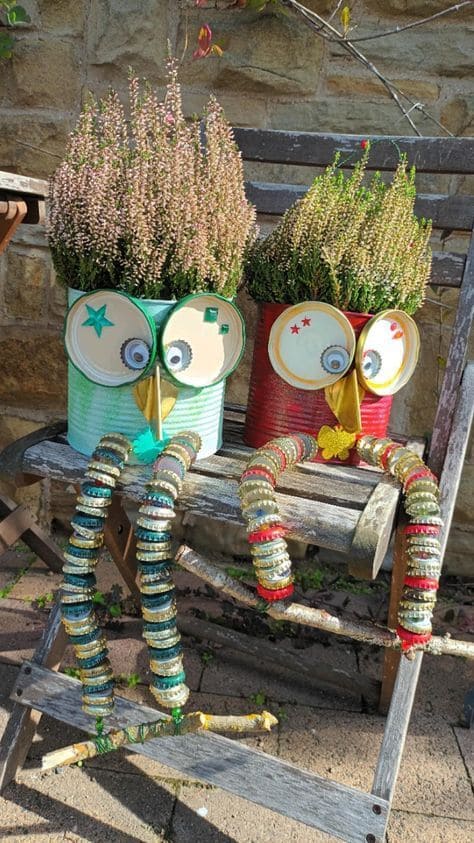
I created these as a quirky addition to a kid-friendly outdoor corner, and they’ve quickly become a favorite conversation piece.
Materials Needed
- 2 large tin cans
- Acrylic paints in fun colors
- 60 bottle caps
- Googly eyes
- 2 yellow foam sheets
- Beads and twine
- Hot glue gun
- Optional: Decorative stars
Step-by-step Guide
Step 1: Clean and dry the tin cans thoroughly, then paint them with bright base colors. Let dry.
Step 2: Glue two large bottle caps onto each can as the owl’s “eye sockets.” Stick googly eyes in the center.
Step 3: Cut beaks from yellow foam and glue just below the eyes. Add any decorative stickers around the eyes.
Step 4: String beads onto two equal lengths of twine to make the owl’s dangling legs. Tie them securely to a stick “foot” at the end.
Step 5: Glue the legs to the inside bottom of the can so they hang down. Finally, plant your choice of greenery or flowers for a feather-like top.
#17. Tin Can Coil Holders
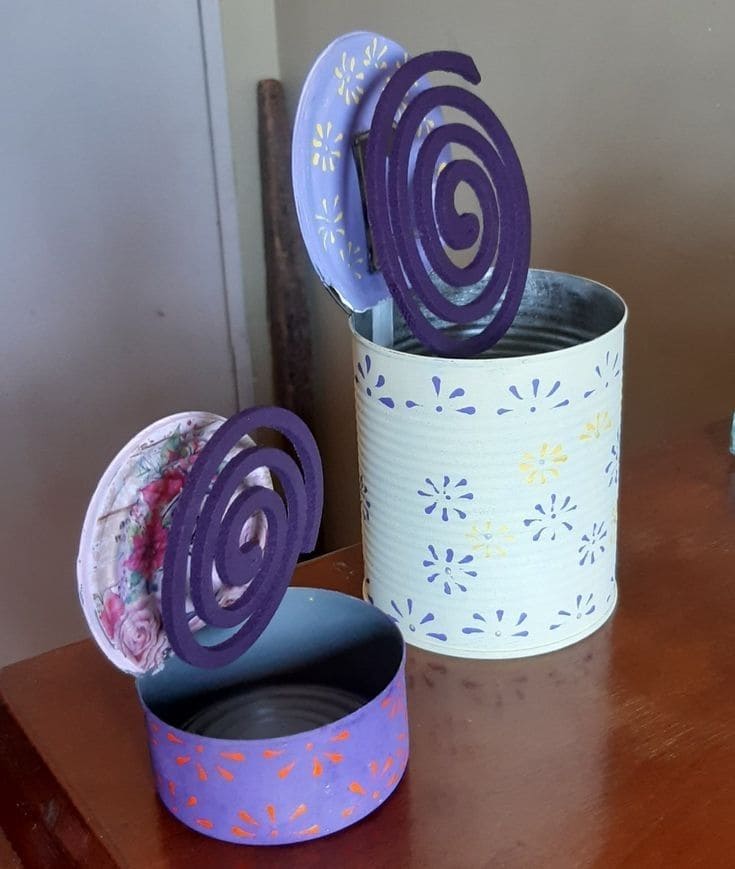
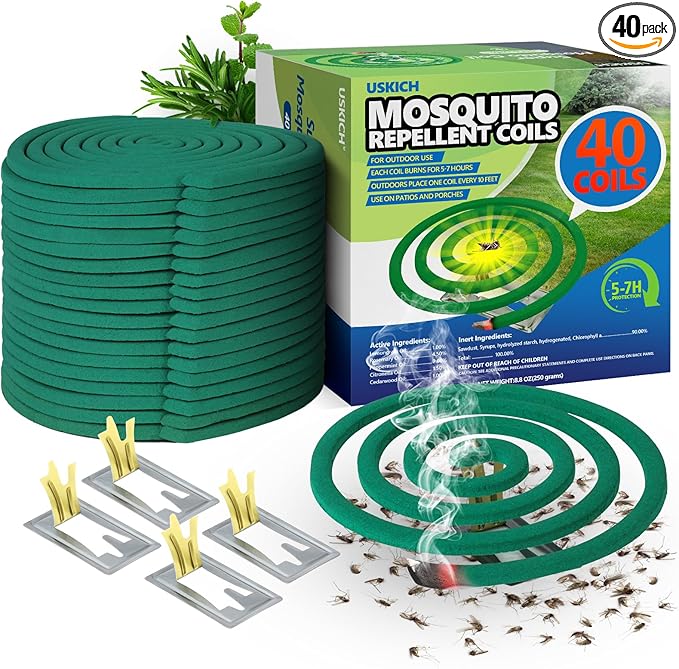
This creative and artistic upcycled tin can project uses painted cans to display spiral coils, like mosquito repellent coils or decorative swirls.
Materials Needed
- 2 recycled tin cans with lids
- Acrylic paints in pastel
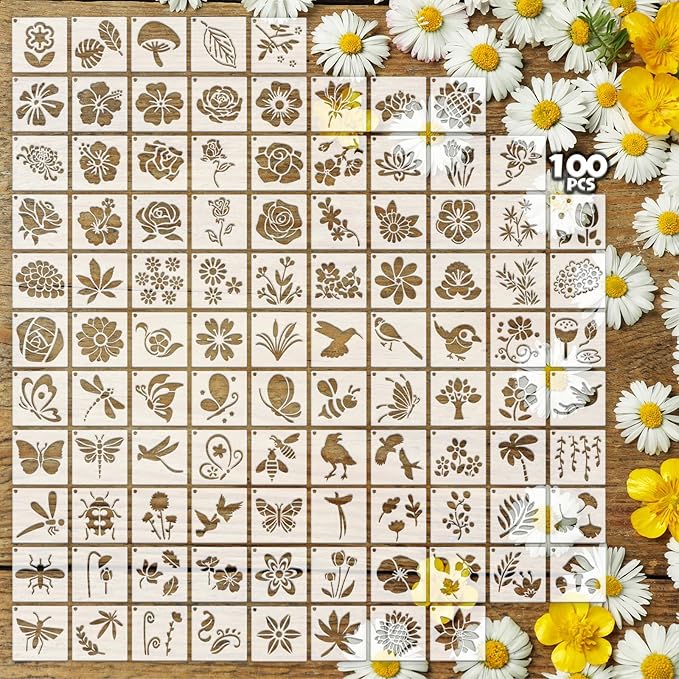
- Stencils
- Mosquito coils
- Hot glue gun
- Optional: Clear sealant spray
Step-by-step Guide
Step 1: Clean and dry the tin cans, then paint the cans in light, cheerful colors. Add stencil details or decoupage floral napkins on the lids for contrast. Let dry completely.
Step 2: Attach a coil to the inside of the lid using a glue gun so it stands upright when open.
Step 3: (Optional) Spray a layer of sealant if the piece will stay outdoors.
#18. Candle holders
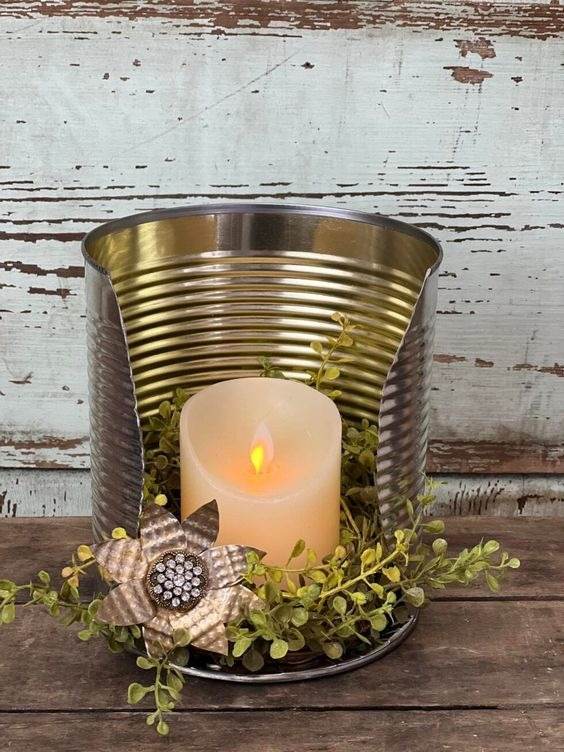
When I first made this, I didn’t expect it to turn into such a cozy favorite. This little upcycled tin can feels like it’s straight out of a cottagecore fairytale.
Materials Needed
- 1 large empty tin can (e.g. from peaches or soup)
- LED flameless candle
- Small bunch of faux greenery
- Metal snips
- Hot glue gun
- Decorative embellishment (metal flower, brooch)
Step-by-step Guide
Step 1: Use metal snips to carefully cut out a U-shaped front section of the can, leaving the back and sides intact. Smooth the edges with sandpaper or a metal file.
Step 2: Clean the can thoroughly and dry it, then arrange faux greenery inside the base of the can, and glue in place using a hot glue gun.
Step 3: Add the flameless candle in the center, nestled into the greens. Decorate the outer edge with a flower embellishment for personality.
#19. Stacked Tin Can Snowman Decor

These festive snowmen are made from upcycled tin cans and bring a heartwarming, homespun charm to your winter decorations.
Materials Needed
- 3 different sizes of recycled tin cans per snowman
- Spray paint in white, black, and brown
- Tart pans
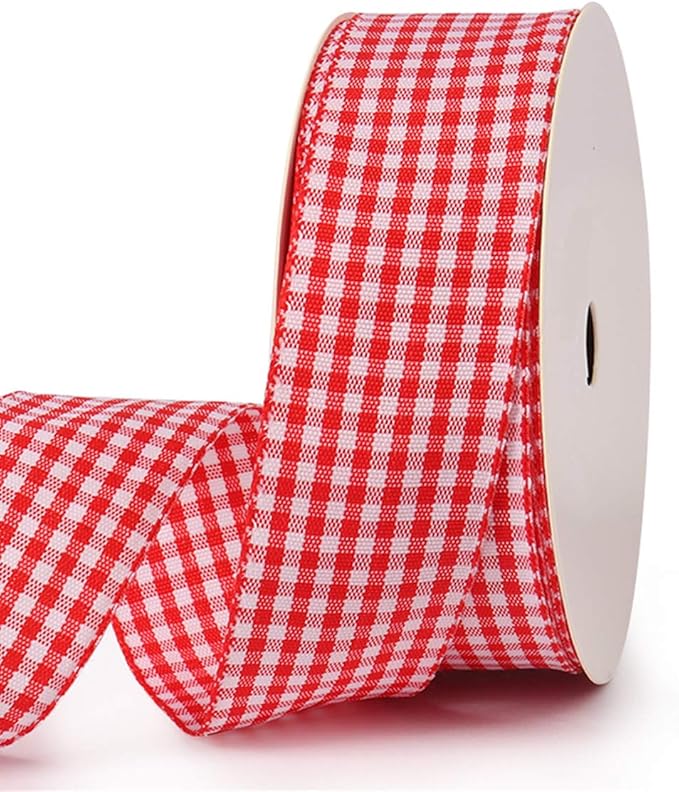
- Plaid ribbon
- Buttons and hot glue
- Pink chalk
- Twigs, faux greenery, pinecones, or berries
- Optional: Black paint marker
Step-by-step Guide
Step 1: Spray paint the cans white and let dry. Paint a smaller can black or brown for the hat top.
Step 2: Attach the cans together vertically using hot glue – smallest on top for the head, medium and large below.
Step 3: Add the tart pan as a brim between the snowman’s head and the hat. Decorate the hat with greenery and faux berries.
Step 4: Draw the eyes and smile. Use a button or small bead for the nose, and dab on pink cheeks.
Step 5: Tie a ribbon around the neck and glue buttons down the torso.
#20. Upcycled Tin Can Onion Bin
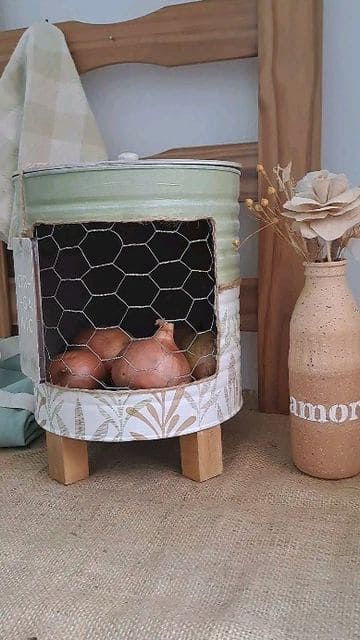
Who would’ve guessed an old paint can could become this charming little onion keeper? I put this together to solve my onions rolling everywhere problem.
Materials Needed
- 1 large tin can
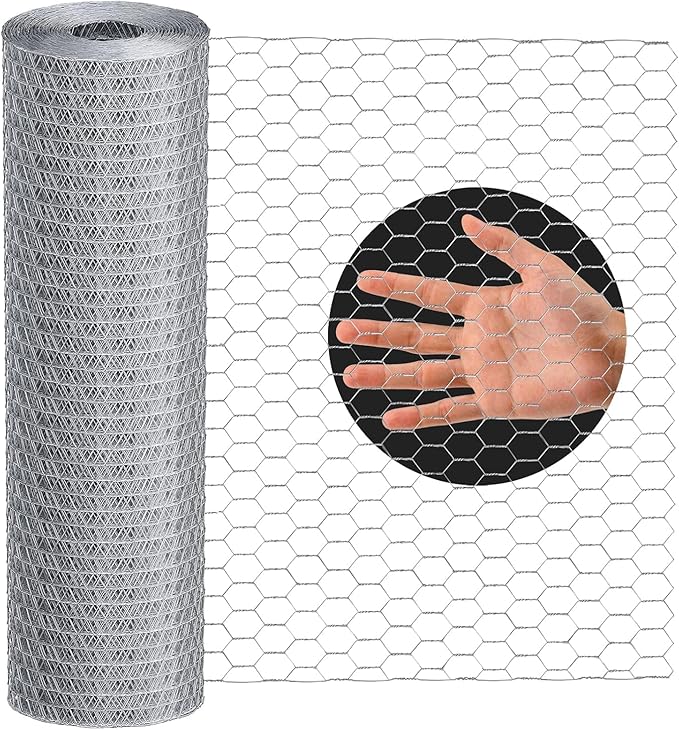
- 1 sheet of chicken wire mesh
- Strong tin snips
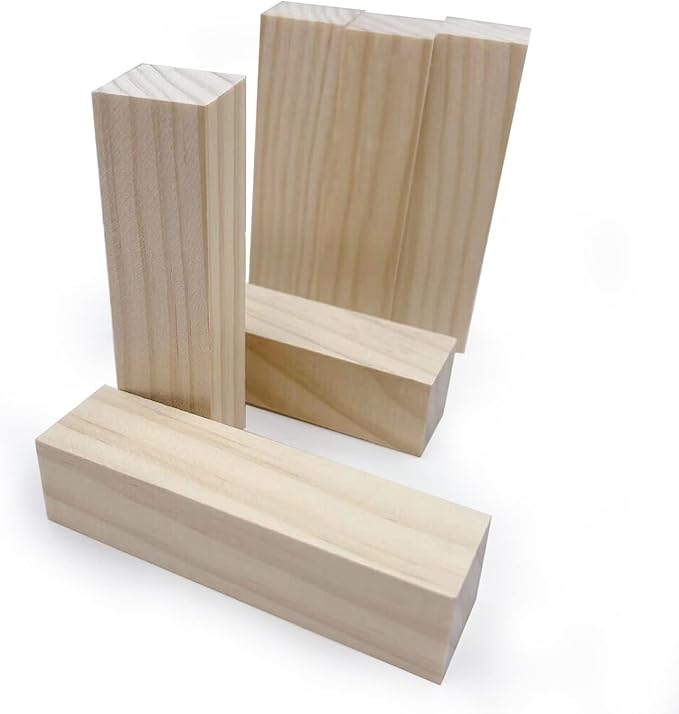
- 4 short wooden blocks
- Hot glue gun
- Optional: Paint and decorative paper
Step-by-step Guide
Step 1: Cut a large square window on the front side of the tin can using tin snips. Smooth any sharp edges with a metal file.
Step 2: Cut the chicken wire slightly larger than the opening and attach it to the inside with hot glue or metal adhesive.
Step 3: Paint or wrap the outside of the can in any farmhouse palette or decoupage style you like. Let dry.
Step 4: Glue four small wooden legs evenly spaced on the base to lift the bin off the counter.
Step 5: Let it dry completely, then fill it with onions and place it in a cool, dry spot.

