Mint, that aromatic herb known for its versatility in the culinary world and its refreshing scent, can be a delightful addition to your garden or windowsill. But what if you have limited space or just want a fun and quirky way to grow this herb? Enter the plastic cup method, a unique and resourceful approach to cultivating mint, ensuring your herbs receive sufficient nutrition.
In this guide, we’ll take you through the step-by-step process of growing mint with the plastic cup method to enjoy its vibrant flavor and fragrance in even the smallest of spaces.
Materials Needed
For this project, you’ll need a few simple materials:
- A plastic cup (the size of a regular disposable cup will do)
- A pot or container (with drainage holes)
- Quality potting soil
- Mint seedlings or mint cuttings
- Fertilizer (Crushed garlic and banana peels)
- Water
Grow Mint Smartly
1. Prepare The Pot And Plastic Cup
Select a pot or container with good drainage to ensure your mint doesn’t get waterlogged. Mint enjoys its personal space, so choose a pot that’s at least 12 inches deep and 12 inches in diameter. Fill your chosen pot with potting soil, leaving about an inch or two of space from the rim.
Take your plastic cup and punch some holes in the sides and bottom, which allow water and nutrients release slowly into the soil. This ensures that moisture and fertilizers are evenly distributed, which will contribute to optimal growth and nourishment for plants.
2. Settling The Cup
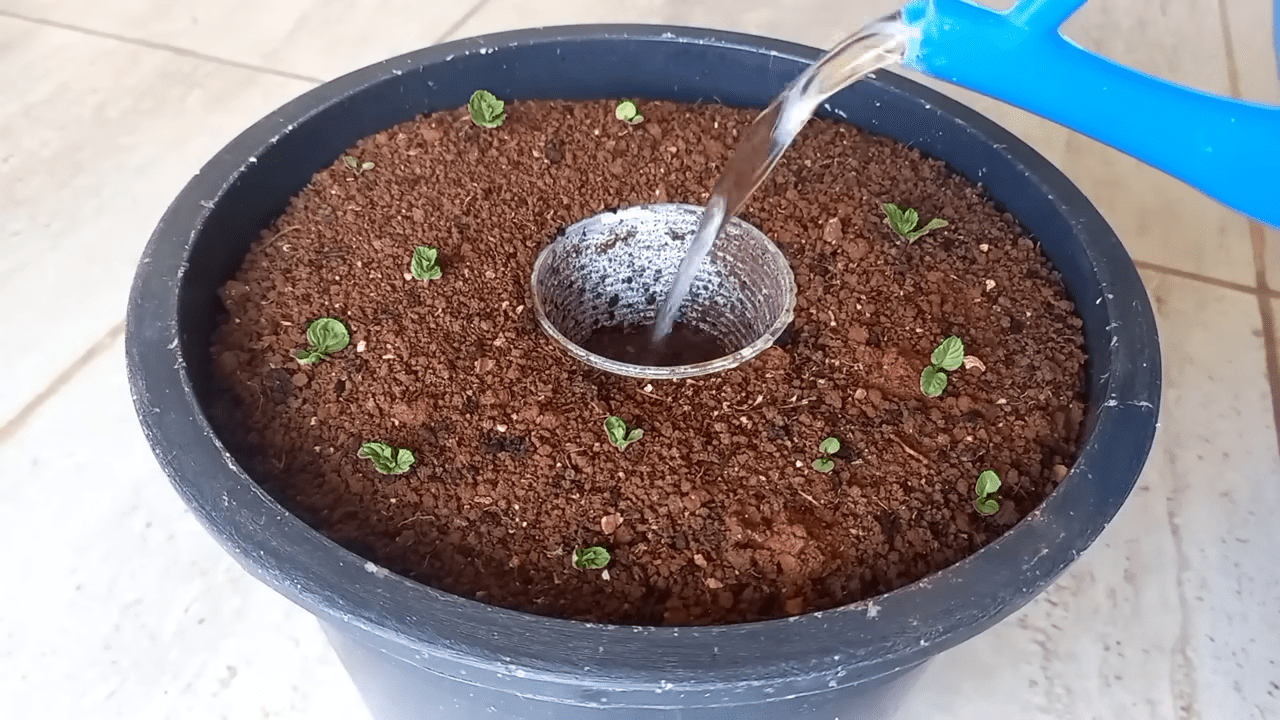
Your plastic cup should be buried in the center of the pot. Place the cup in such a way that the rim is at the same level as the soil surface, creating the shape of an ‘o’ within an ‘O’ when seen from above. This will enable you to easily add water and fertilizers.
3. Adding Fertilizer
Grab your crushed garlic and dried banana peels – these might seem like an odd pair, but they’re packed with essential nutrients. Mix them together and fill them into the cup. This rich fertilizer will feed your mint as it grows, ensuring it’s bursting with flavor.
4. Plant The Mint
Whether you have mint seedlings or cuttings, the process is similar. Make a small hole in the potting soil next to the plastic cup and place your mint. Pat the soil around it gently to hold it in place. Remember, mint loves company, so plant a few seedlings or cuttings in your pot, spacing them a few inches apart.
5. Take Care Of The Mint
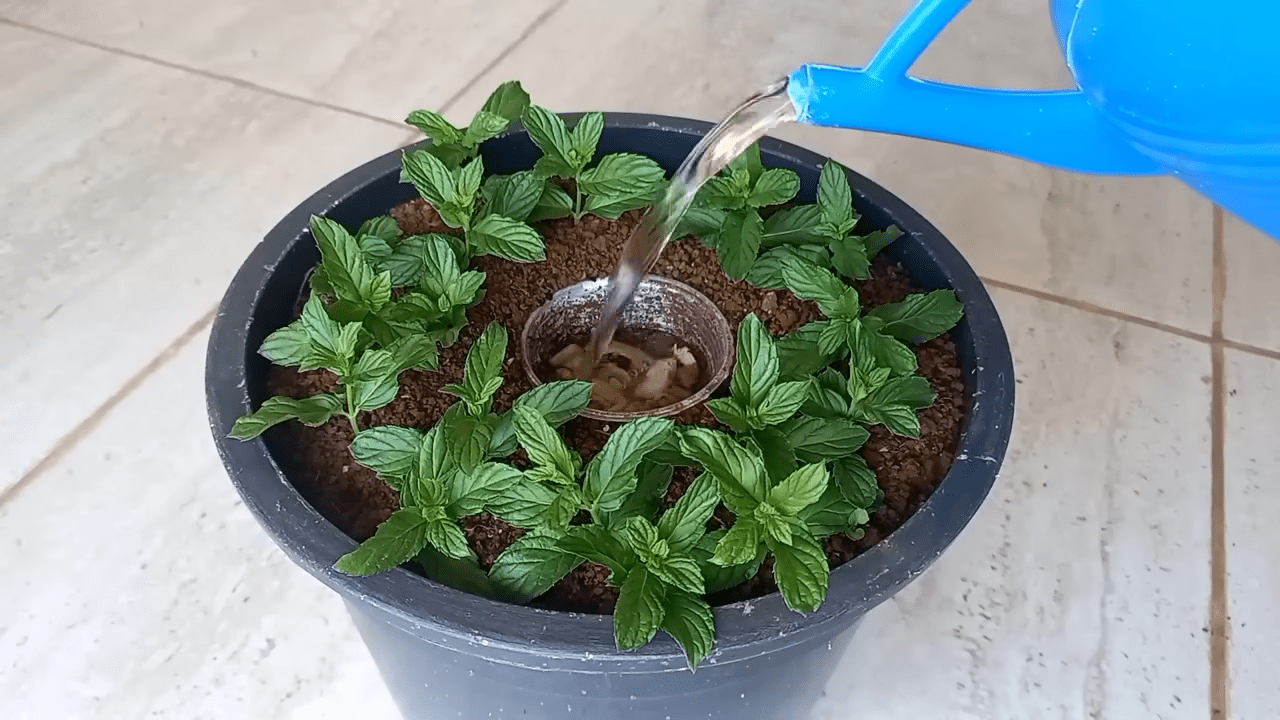
To give your mint a drink, simply pour water directly into the plastic cup. As the water seeps through the holes in the cup, it carries the nutrients from the garlic and banana peels, enriching the soil and providing nourishment to the roots of your mint plants.
6. Harvesting
Your mint should be ready for its first trim in about 8-10 weeks. To pick your mint, snip the leaves just above a set of healthy leaves, which encourages bushier growth.

FAQS
1. What Type Of Mint Is Best For This Method?
Spearmint and peppermint are popular choices. They’re hardy, aromatic, and great for culinary use. However, you can use this method for other mint varieties too.
2. Is There A Specific Time Of Year To Start Growing Mint With This Method?
You can start growing mint in this manner during the spring or early summer when the weather is warm. This gives your mint a head start for the growing season.
3. What Are Common Pests And Diseases That Affect Mint?
Mint is relatively hardy, but it can sometimes fall prey to aphids, spider mites, or rust. Regularly inspect your plants and take measures to control these issues if they arise.
4. How Do I Store Harvested Mint Leaves?
To store mint leaves, wash and dry them thoroughly, then place them in an airtight container or freezer bag. You can store them in the refrigerator or freeze them for longer preservation.
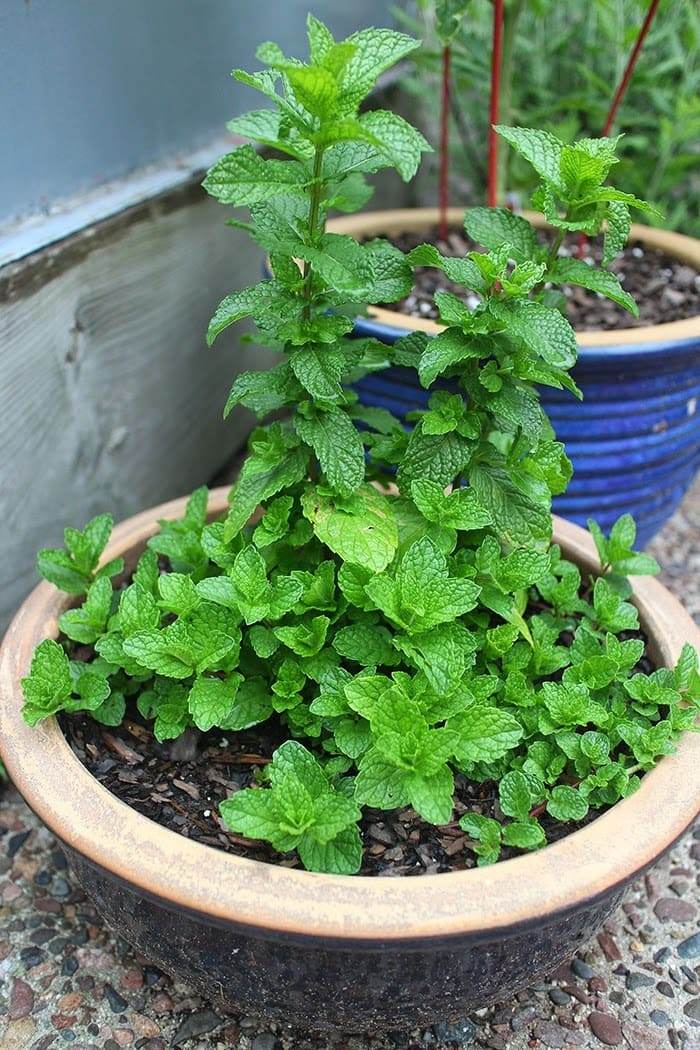
With this unique and effetive method, you’ll have a thriving, contained mint garden that’s both practical and quirky. Soon, you’ll be plucking fresh mint leaves for mojitos, teas, or garnishes right from your garden.