Do you know that clothespins aren’t only for hanging the laundry out to dry? You can use those little pins for some other purposes, and here we’ve listed 20 DIY Clothespin Craft Projects that will blow your mind.
If you’ve never used wooden clothespins for a craft or something other than their intended purpose, now would be a good time to try something new. Spend your time checking them out and get some inspiration.
Clothespins are a cheap and easy-to-find DIY supply and one of the most versatile craft supplies. It can be crafted into almost anything you want it to be, from clothespin wreaths and decor to homemade gifts.
There are some educational clothespin games for kids, and others are good for either children or adults. Plus, they are perfect for beginners too, so enjoy and have fun!
This article contains affiliate links. If you purchase through them, I may earn a small commission at no extra cost to you. Thank you for your support!
#1. DIY Clothespin Trivets
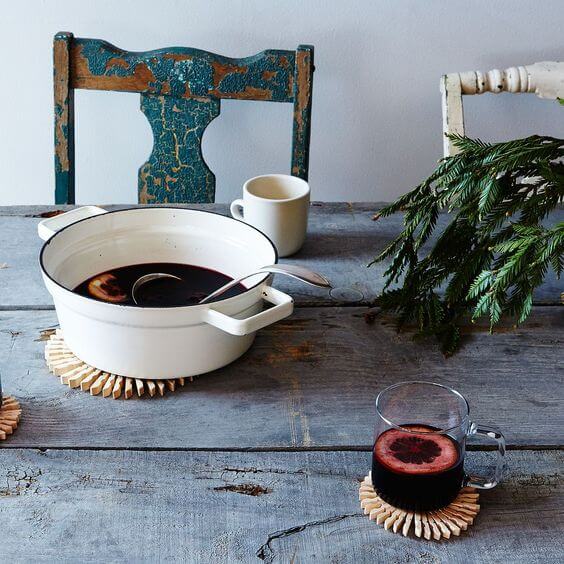
This rustic trivet made from simple wooden clothespins adds a handcrafted charm to your kitchen while protecting your table from heat.

Materials Needed
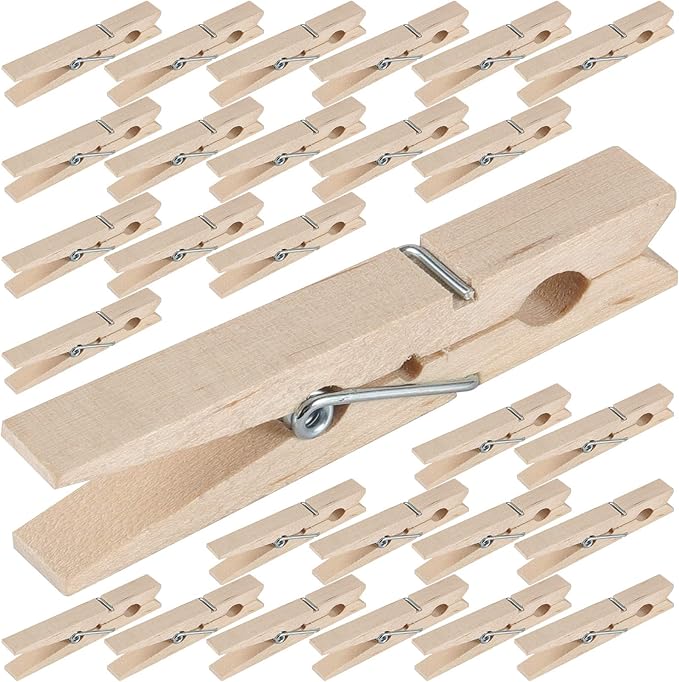
- 24–30 wooden clothespins
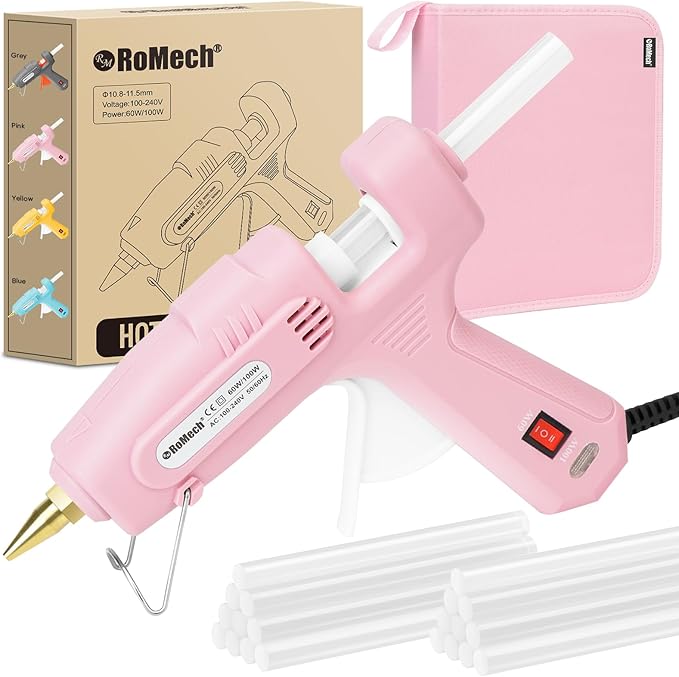
- Hot glue gun & glue sticks
- Sandpaper (optional)
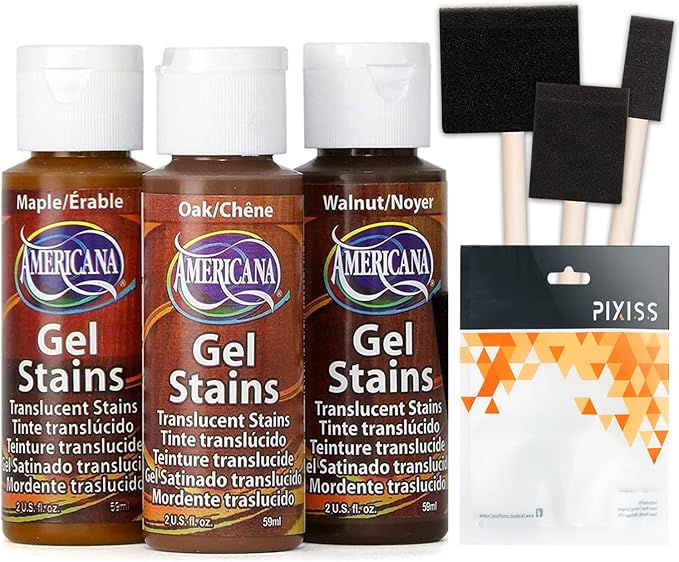
- Wood stain (optional)
Step-by-step Guide
Step 1: Take apart each clothespin, removing the metal springs. You’ll only use the flat wooden halves.
Step 2: Arrange the halves in a circular shape with flat sides facing in and the tapered ends pointing out.
Step 3: Use a hot glue gun to glue the tapered ends of the clothespins together, one by one, until the circle is complete.
Step 4 (Optional): Lightly smooth rough spots with sandpaper, and decorate with paint or stain to match your décor.
#2. Easy and Cheap DIY Garden Markers
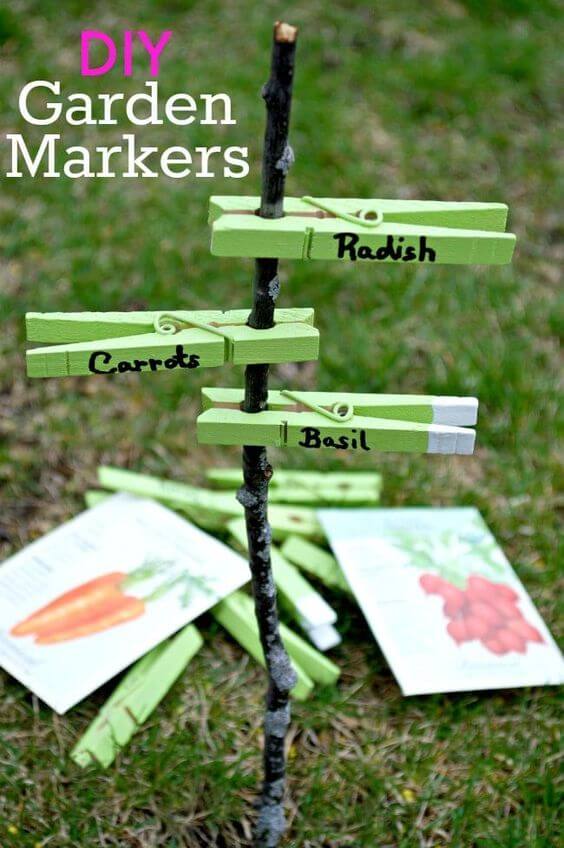
These clothespin garden markers are weather-friendly, super customizable, and take less than 30 minutes to make.
Materials Needed
- 7-10 wooden clothespins
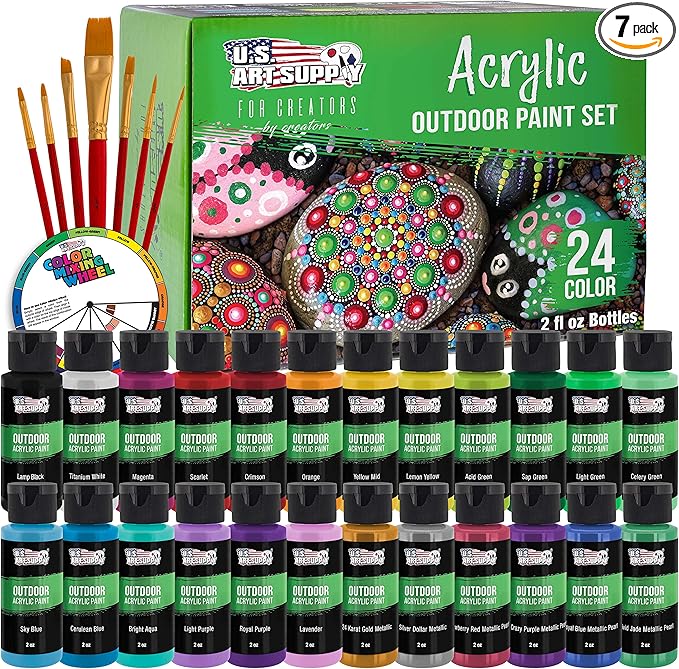
- Outdoor acrylic paint
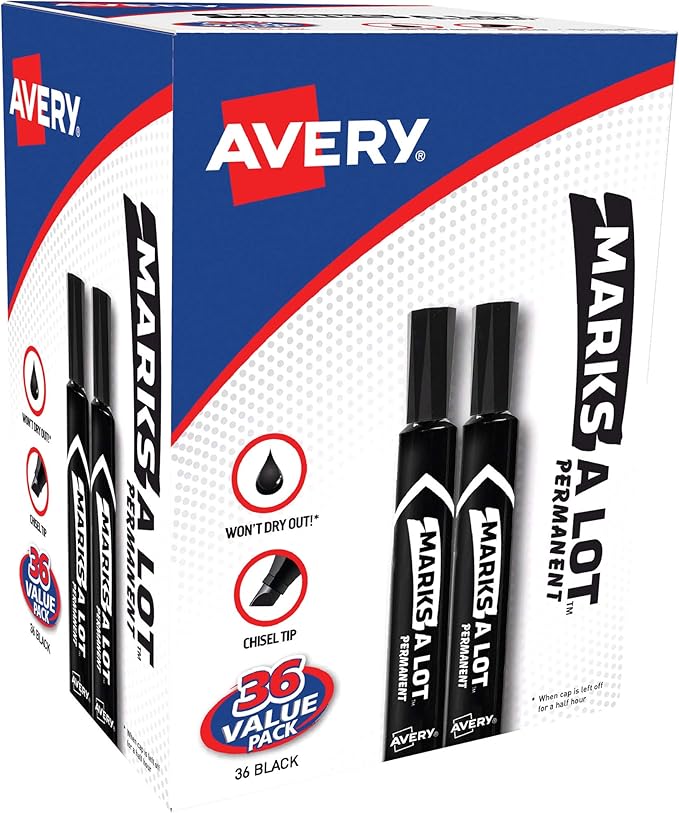
- Black permanent marker
- Small paintbrushes
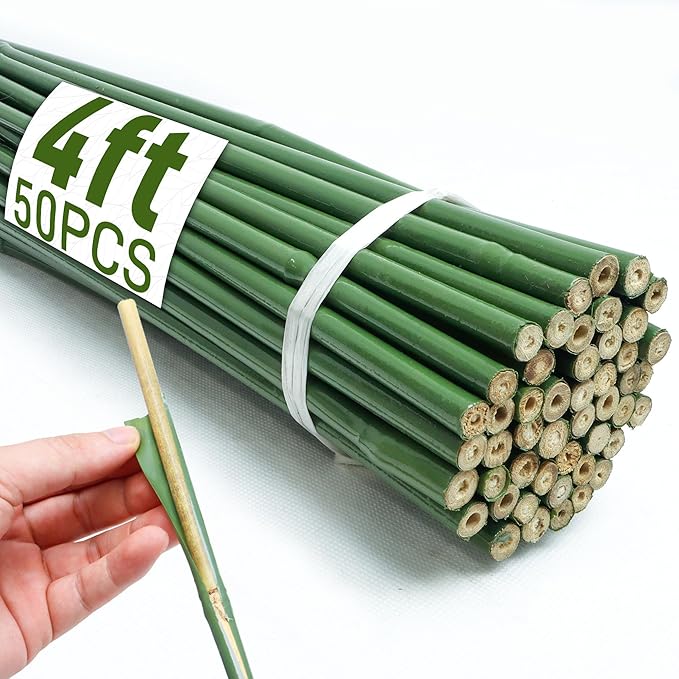
- Garden twigs or sticks
Step-by-step Guide
Step 1: Paint each clothespin in your chosen color. Let them dry completely.
Step 2: Use a permanent marker to label each pin with the name of your plant. You can even add doodles or seedling icons.
Step 3: Clip each pin to a stick or twig, then place them into the soil next to the respective plant rows.
#3. DIY Candle Holder
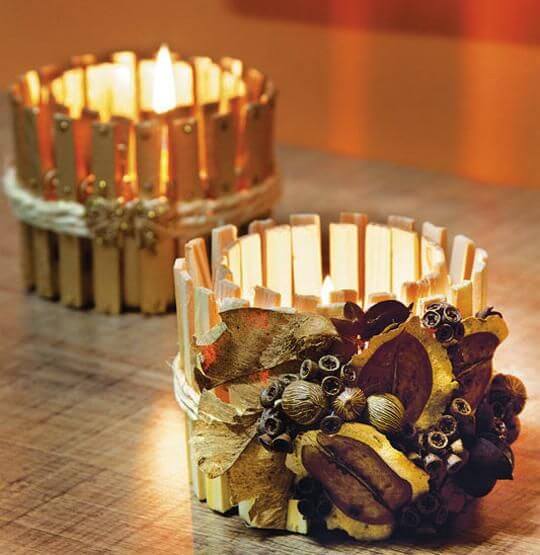
These glowing candle holders are pure magic! The warm wood tone of the clothespins combined with the flickering light brings instant coziness.
Materials Needed
- 20–30 wooden clothespins per holder
- 2 small metal cans
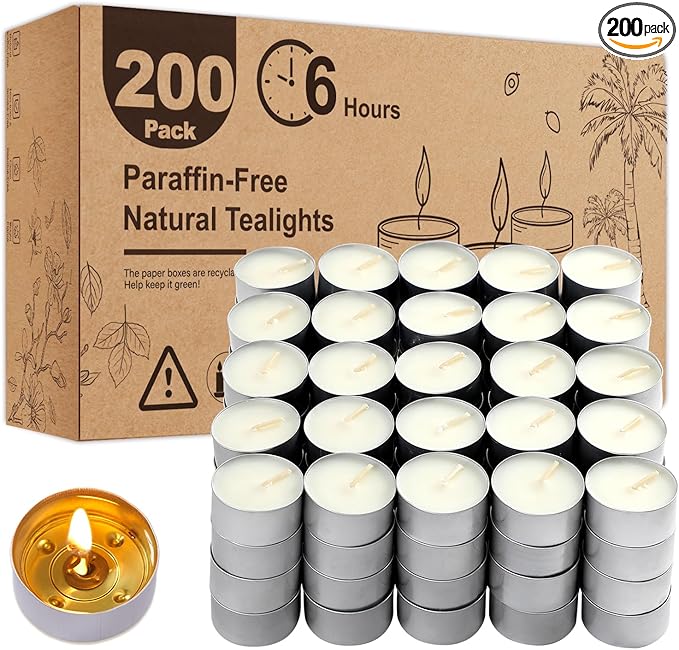
- Tea light candles
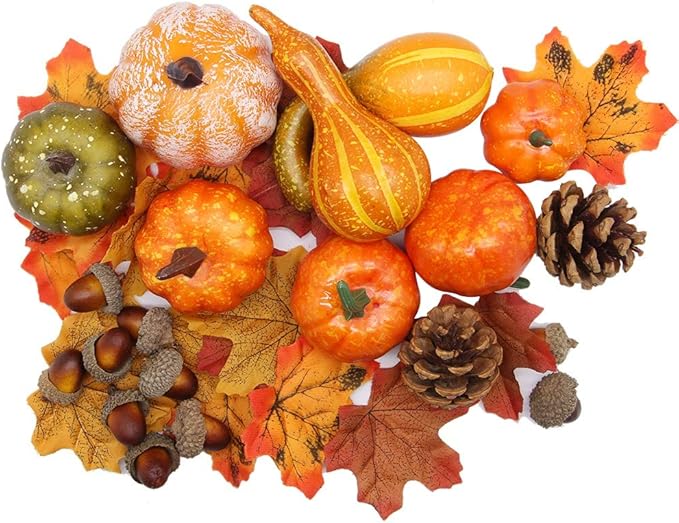
- Decorative accents (dried fruit, faux leaves, cinnamon sticks)
- Hot glue gun and glue sticks
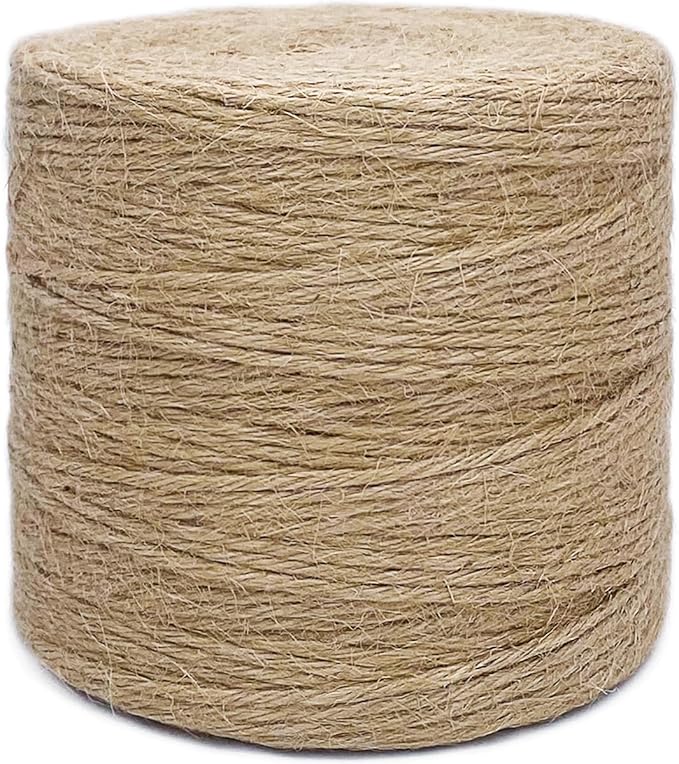
- Twine
Step-by-step Guide
Step 1: Clip clothespins all the way around the edge of the clean, dry can until fully covered.
Step 2: Use hot glue to attach decorative dried accents to the outside.
Step 3: Wrap with a piece of twine or ribbon and secure it with glue for a rustic touch, then drop a tea light inside and enjoy the soft, golden glow.
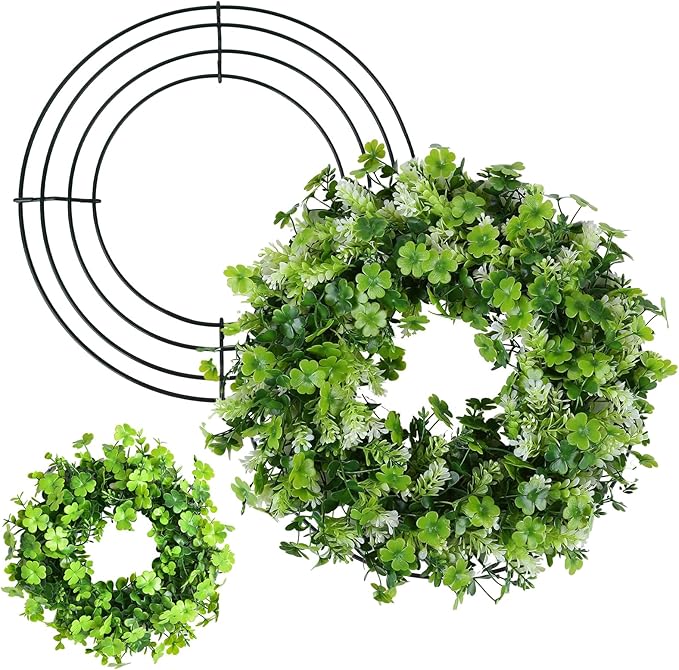
#4. DIY Christmas Clothespin Wreath
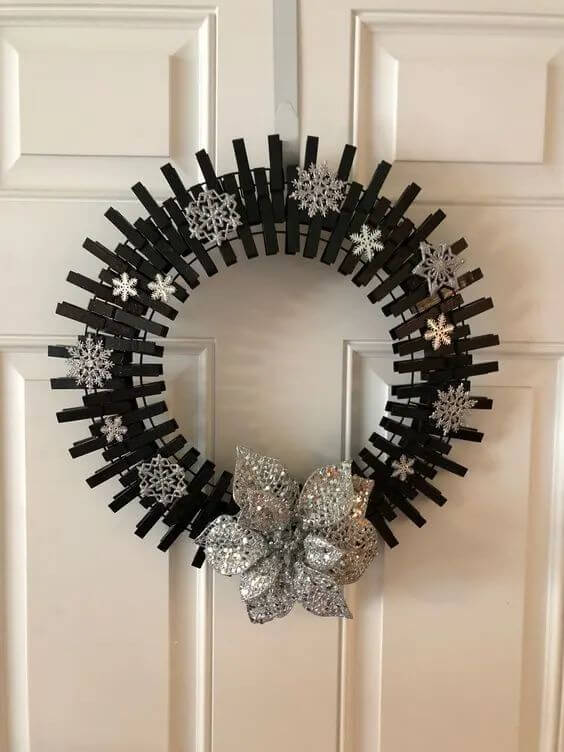
I made this as a last-minute winter door decoration, and now I get compliments on it every time someone visits.
 SHOP METAL WREATH RING
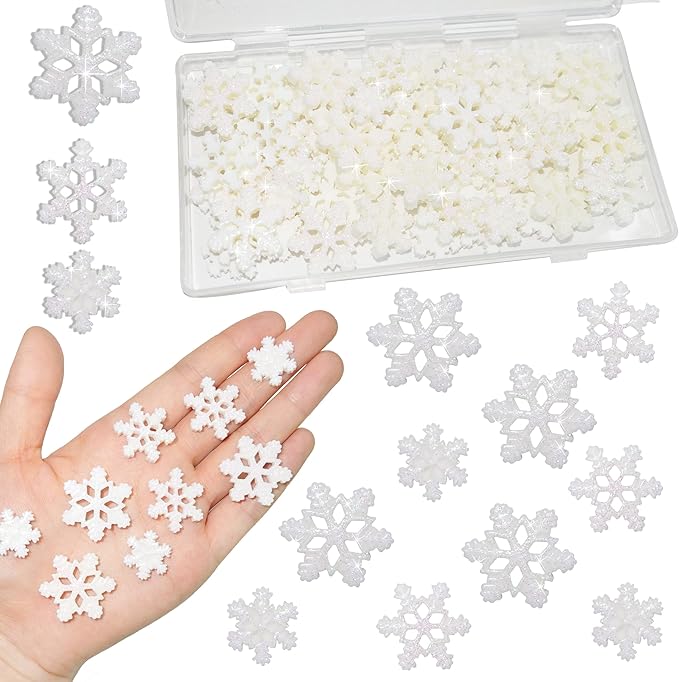 SHOP SILVER SNOWFLAKE EMBLISHMENTS
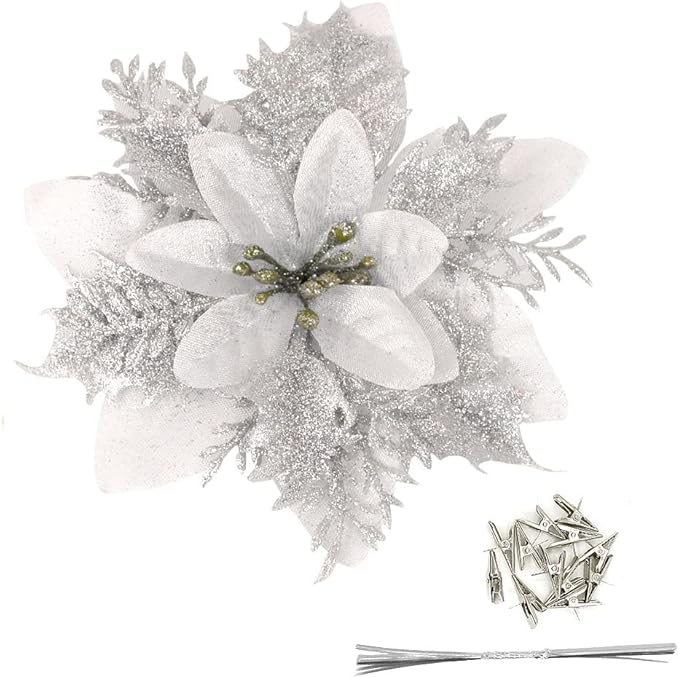 SHOP LARGE GLITTERY FLOWER
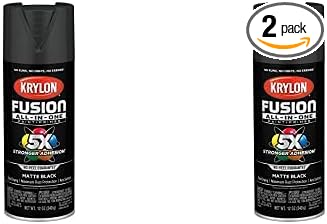 SHOP BLACK SPRAY PAINT
Materials Needed
- 60–70 wooden clothespins
- 12” metal wreath ring
- Silver snowflake embellishments
- Hot glue gun and glue sticks
- 1 large glittery flower
- Black spray paint (optional)
Step-by-step Guide
Step 1: Spray paint the clothespins black (if not pre-colored) and allow them to dry fully.
Step 2: Clip each clothespin around the wreath ring, evenly spaced, then attach snowflake embellishments with hot glue.
Step 3: Finish by gluing the silver bow to the bottom center. Hang proudly on your door!
#5. Another Clothespin Wreath
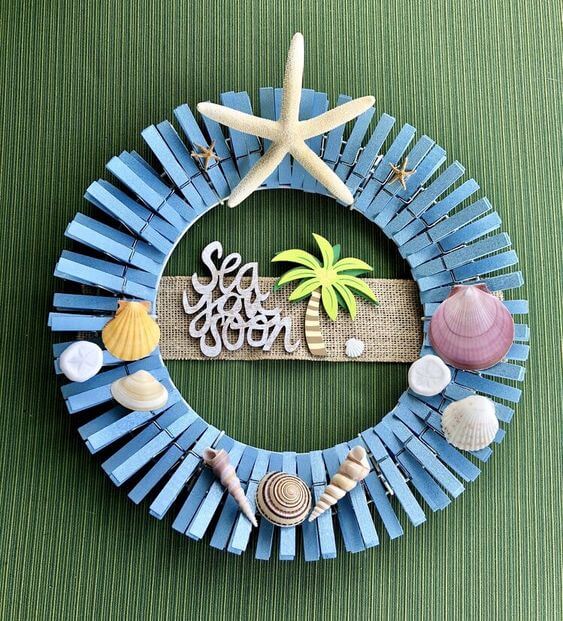
Nothing says “summer’s here” like a sunny, beachy wreath. This nautical wreath brings a splash of sea breeze to your front door with its calming blues and charming shell accents.

Materials Needed
- 60–70 wooden clothespins
- 12” metal wreath ring
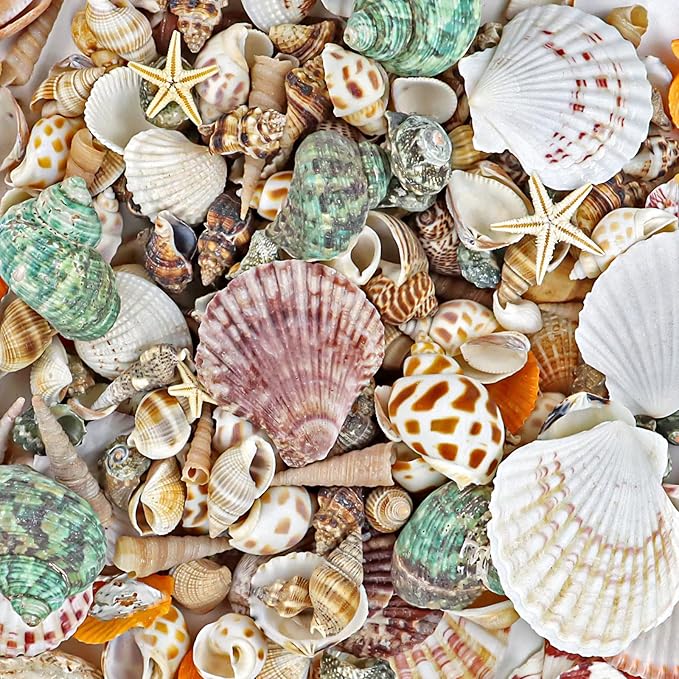
- Assorted seashells and starfish accents
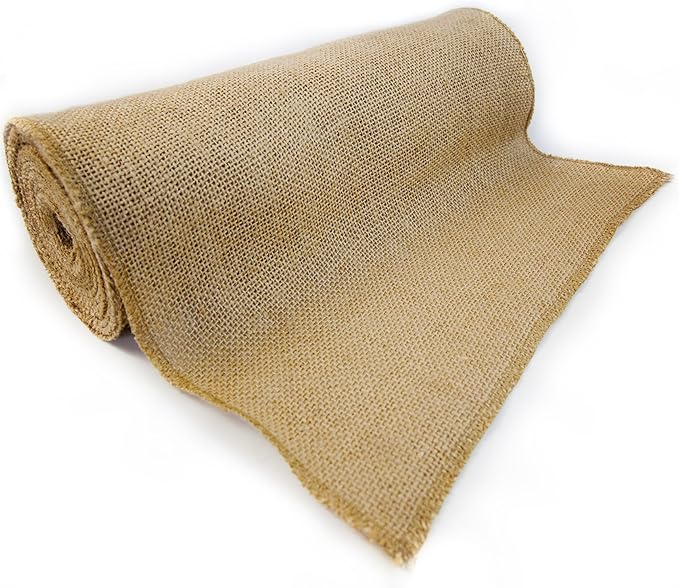
- Burlap
- Hot glue gun
- Lettering (optional: “Sea You Soon” wood cutout)
Step-by-step Guide
Step 1: Spray paint clothespins in your favorite beachy blue and let dry, then clip them evenly around the wreath ring to cover the entire circle.
Step 2: Hot glue a strip of burlap ribbon across the middle and attach your wording.
Step 3: Arrange and glue down seashells, starfish, and any small beach charms. Display proudly and enjoy the coastal charm it brings!
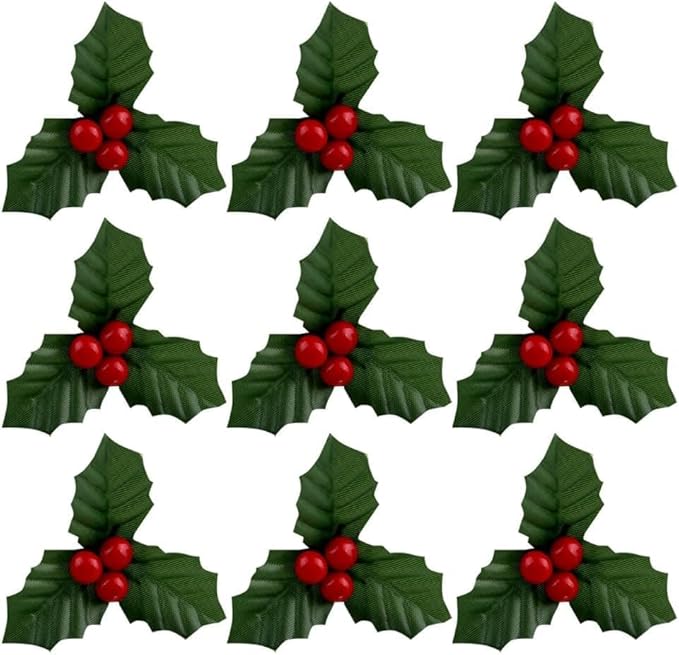
#6. Clothespin Snowflake Ornament
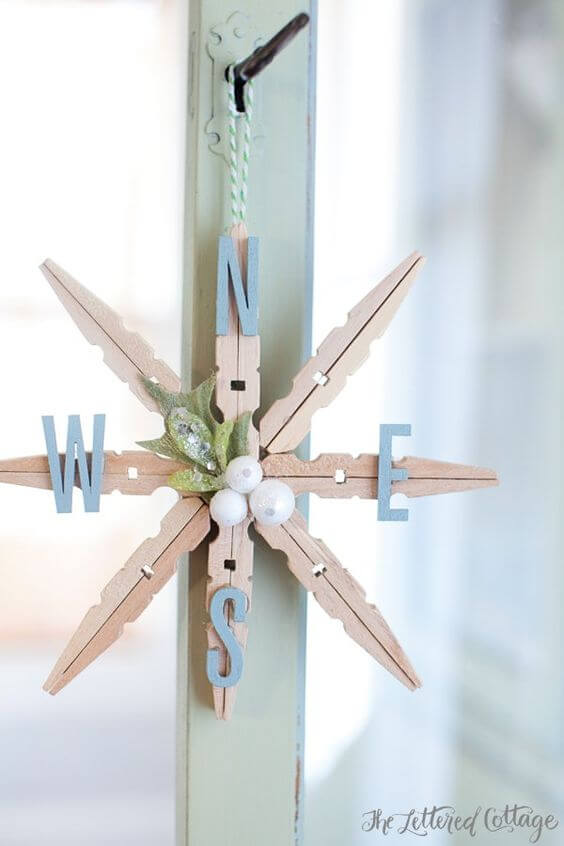
This charming compass star brings a cozy, rustic touch to any door, window, or wall hook. It’s a blend of wintery elegance and farmhouse simplicity, ideal for holiday décor or year-round vibes.
Materials Needed
- 8 wooden clothespins
- Hot glue gun
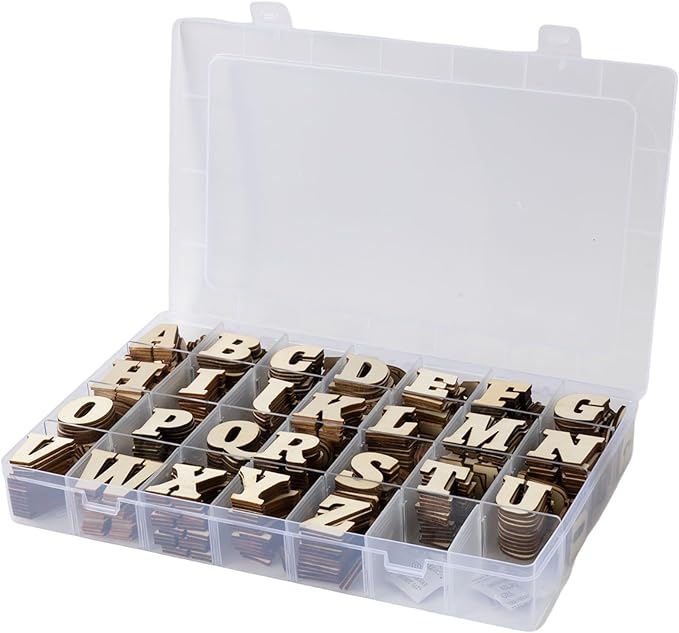
- Wooden letter cutouts – N, E, S, W
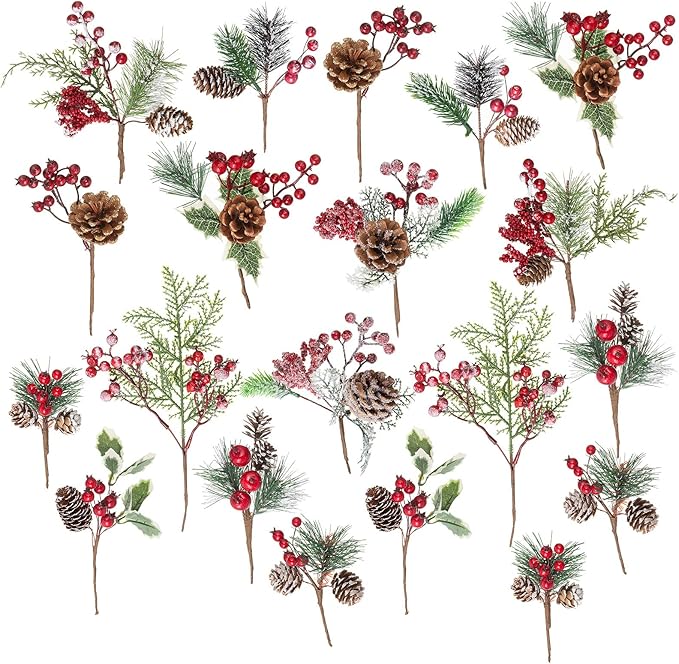
- Mini faux holly sprigs
- Twine
Step-by-step Guide
Step 1: Separate the clothespins and glue the flat backs together to create 8 “spikes.”
Step 2: Arrange the spikes like a star and hot glue them at the center where they meet.
Step 3: Paint and attach the directional letters (N, E, S, W) to the ends of four opposite points.
Step 4: Add decorative touches like holly leaves in the center, then attach twine to the top for hanging.
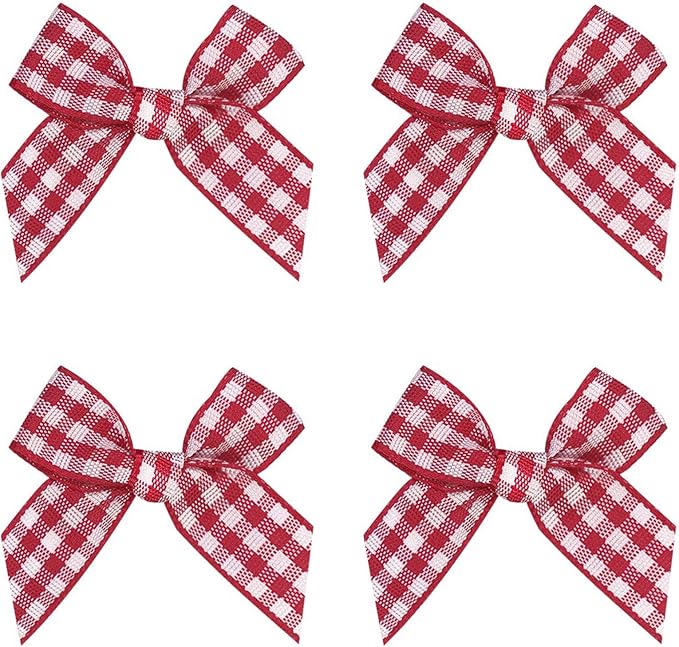
#7. Clothespin Reindeer Ornaments
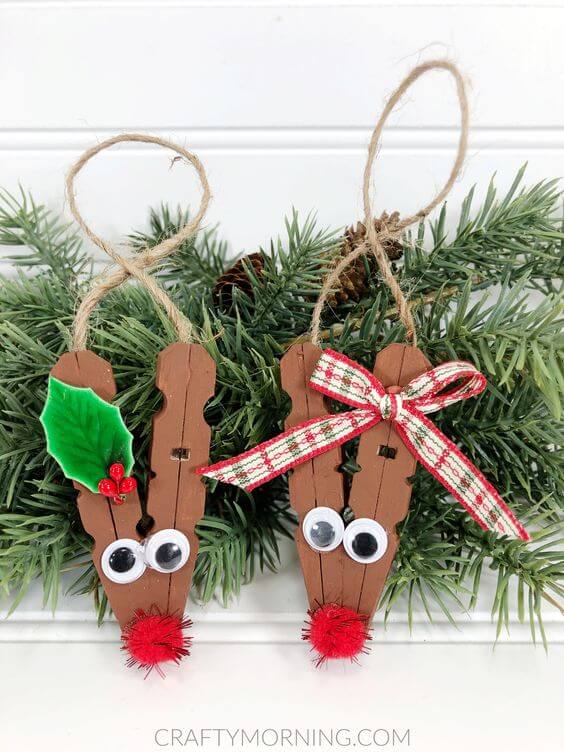
I love using them as name tag clips for Christmas presents, too as Rudolph’s red nose is just too cute to resist.

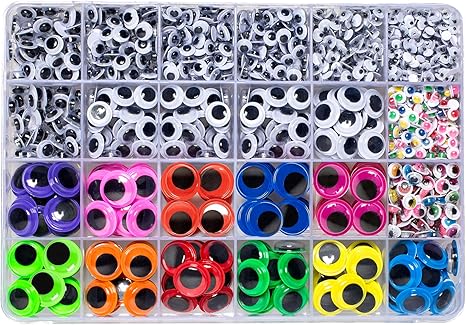
Materials Needed
- 2 wooden clothespins per reindeer
- Brown acrylic paint
- Red pom poms
- Googly eyes
- Twine
- Optional: Mini bows, holly leaves, hot glue gun
Step-by-step Guide
Step 1: Paint the clothespins brown and let dry completely, then glue the flat backs of the two clothespins together to form antlers.
Step 2: Attach googly eyes and a red pom pom to make the face.
Step 3: Add a mini bow, holly leaf, or any festive embellishments you like. Glue a loop of twine at the back for hanging.
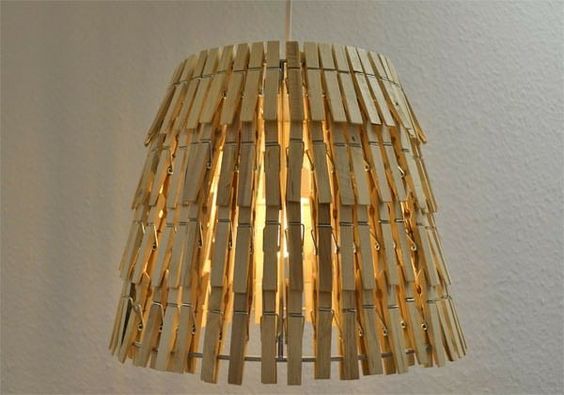
#8. A Decorative Lamp Made From Clothespins
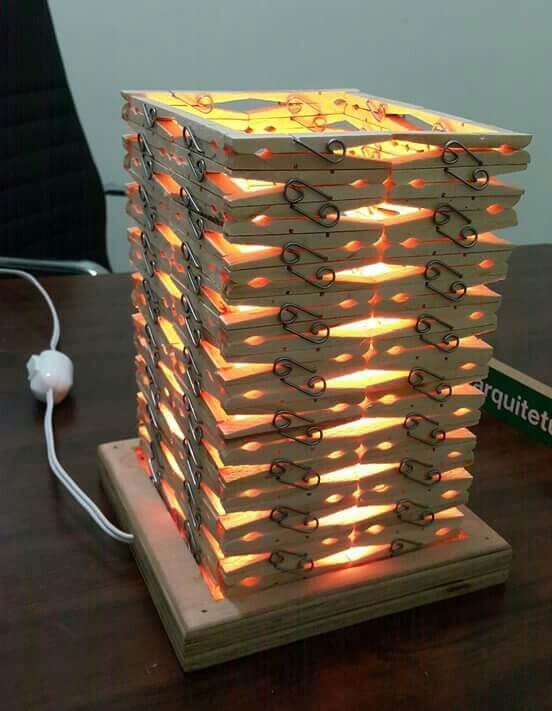
Who would’ve guessed that a pile of clothespins could turn into a stylish modern lamp? This eye-catching piece radiates cozy ambient light and adds a rustic yet industrial touch to any desk or nightstand.

Materials Needed
- Around 80 wooden clothespins
- 1 wooden base block (approx. 6″x6″)
- 1 LED bulb with socket cord set
- Hot glue gun
- Screwdriver
Step-by-step Guide
Step 1: Disassemble the clothespins, removing the metal springs, then glue pairs of halves back together flat-side to flat-side to form clean wooden slats.
Step 2: Create a square frame by gluing 4 slats in a square shape. Make 15–20 layers depending on desired height. Let dry.
Step 3: Stack and glue each frame on top of the other, alternating direction slightly to create a twisting, glowing effect.
Step 4: Mount the bulb socket onto the center of your wooden base and secure. Place the stacked structure over the bulb, and you’re done.
#9. Clothespin Christmas Tree
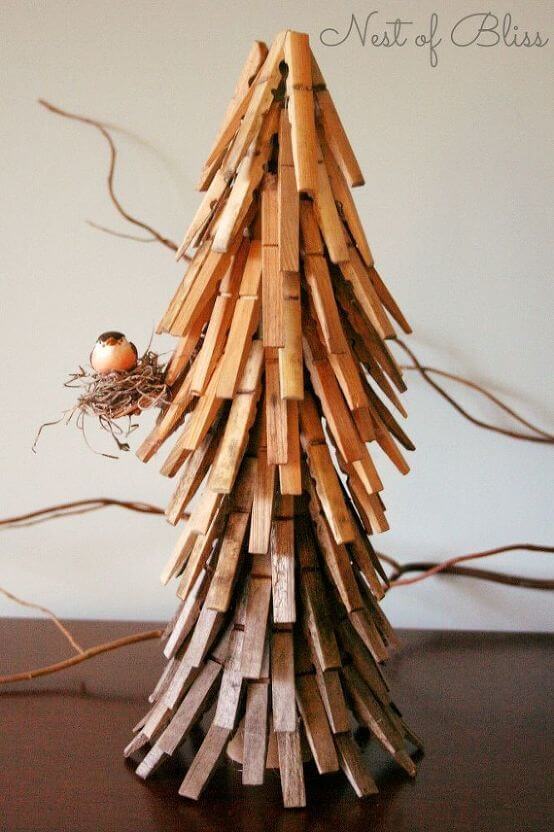
Whether you leave it natural or stain the pins for added contrast, this piece turns simplicity into something stunning.
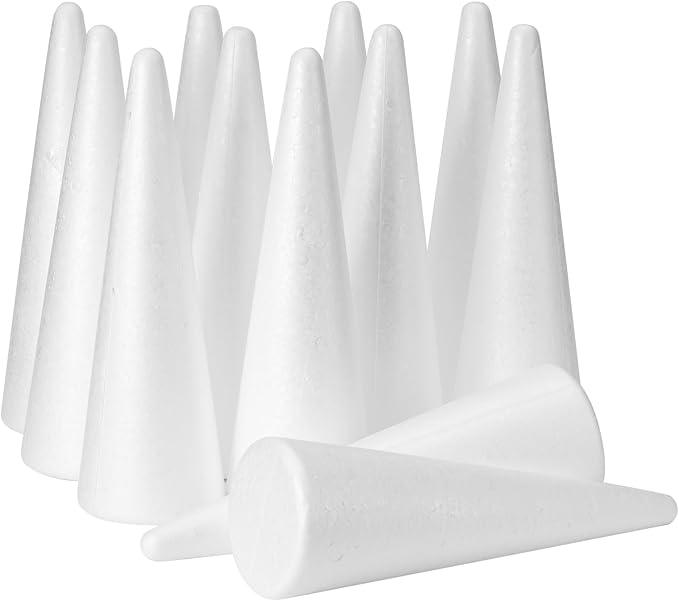

Materials Needed
- About 100 wooden clothespins
- 1 styrofoam cone base (approx. 12 inches tall)
- Hot glue gun
- Wood stain (optional)
- Mini decorative bird nest
Step-by-step Guide
Step 1: Disassemble the clothespins, removing all the metal springs. If desired, stain the wooden halves in various tones and let dry completely.
Step 2: Starting from the base of the foam cone, begin gluing each half vertically with the pointed ends downward. Slightly overlap each layer for a full, cascading look.
Step 3: Work upward, continuing the same pattern in tiers until the entire cone is covered.
Step 4: Add a decorative accent like a small bird or pinecone near the top or side for extra charm.
#10. Clothespin Ceiling Lamp
Add a bold, rustic-industrial touch to your lighting with this clever clothespin pendant shade. It turns something as ordinary as wooden pegs into an eye-catching ceiling feature.
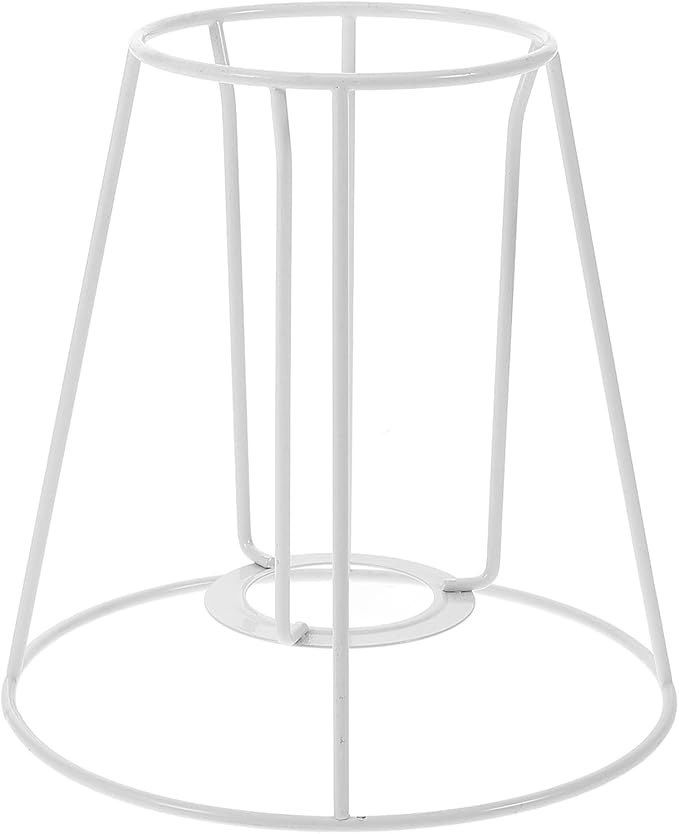
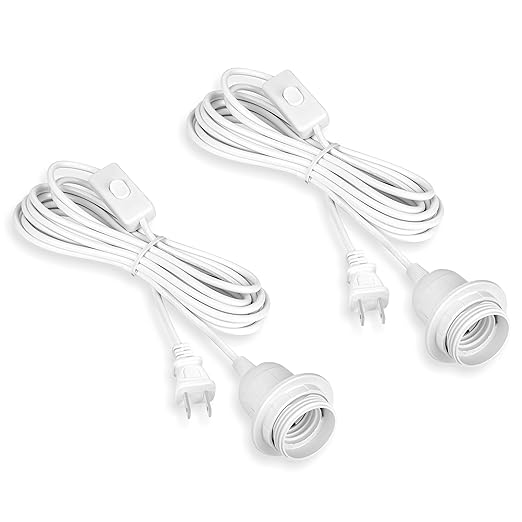
Materials Needed
- About 80–100 wooden clothespins
- 1 wire lampshade frame (pendant shape)
- Pendant light kit
- Optional: Clear spray sealant
Step-by-step Guide
Step 1: Select a lampshade frame that fits the size and shape you want for your pendant light.
Step 2: Clip clothespins all around the frame’s vertical wires. Space them evenly and make sure they sit tight and upright.
Step 3: Work row by row, overlapping the pins slightly or keeping a small gap between them based on your design preference.
Step 4: Once complete, attach the finished shade to a pendant light kit and install it as directed. Always use a low-heat bulb like LED for safety.
#11. Shanty Memo Frame with Clothespins
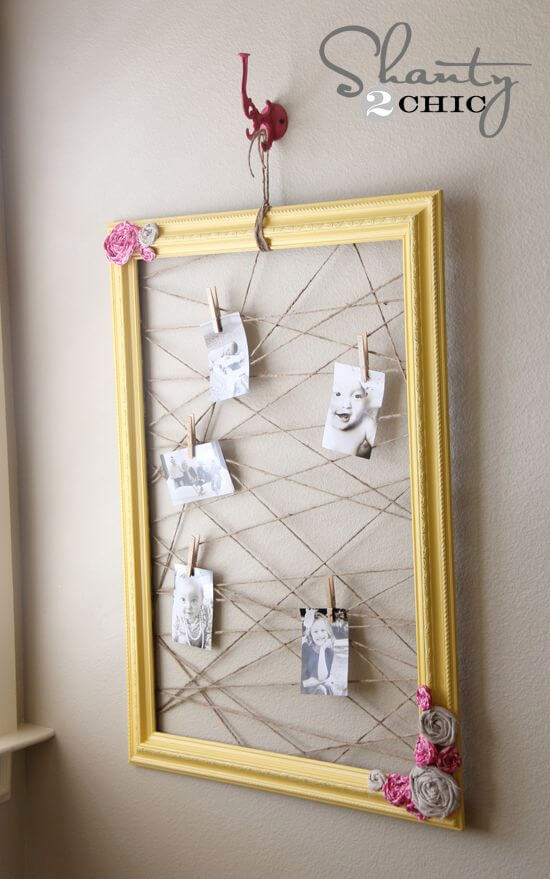
Whether it’s black-and-white snapshots, love notes, or dried flowers, this frame holds it all with quiet charm and a handmade soul.
Materials Needed
- 1 large empty picture frame
- Twine, about 5–10 yards
- Mini clothespins, at least 5 pieces
- Hot glue gun
- Optional: Faux flowers
Step-by-step Guide
Step 1: Remove the glass and backing from the frame if it has them. Paint the frame if desired and let dry.
Step 2: Wrap twine across the back in a crisscross pattern. Secure each end with hot glue or staples. Make it taut.
Step 3: Clip your favorite photos, quotes, or mementos onto the twine using mini clothespins.
Step 4: Add faux flowers or accents on the corners for a charming finish. Hang using a hook or wall nail.
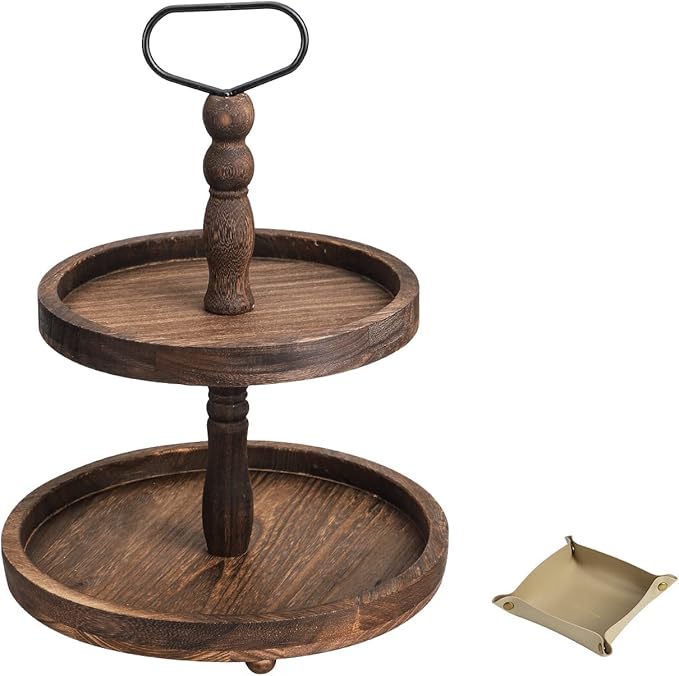
#12. A Tier Tray Stand
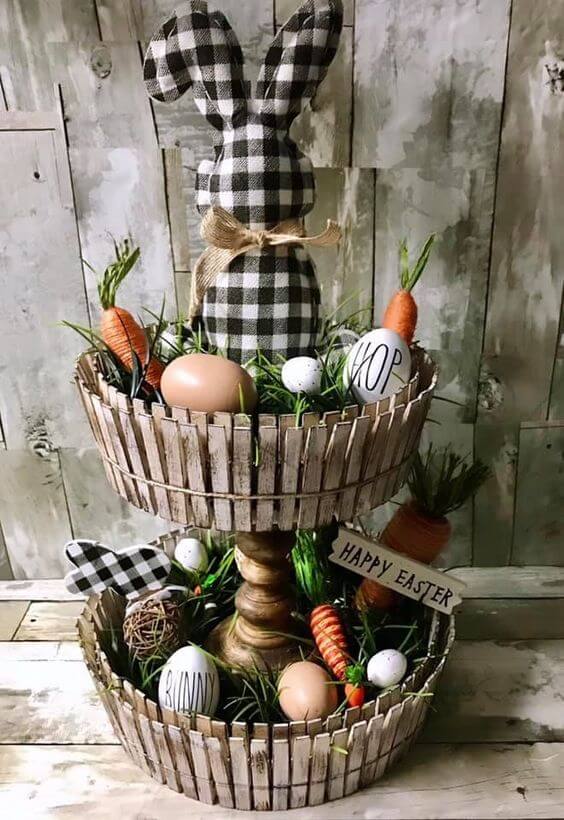
Covered in weathered clothespins, each tier bursts with playful Easter vibes from gingham bunnies to painted eggs and faux carrots.
 SHOP 2-TIER TRAY STAND
 SHOP GINGHAM STUFFED BUNNY
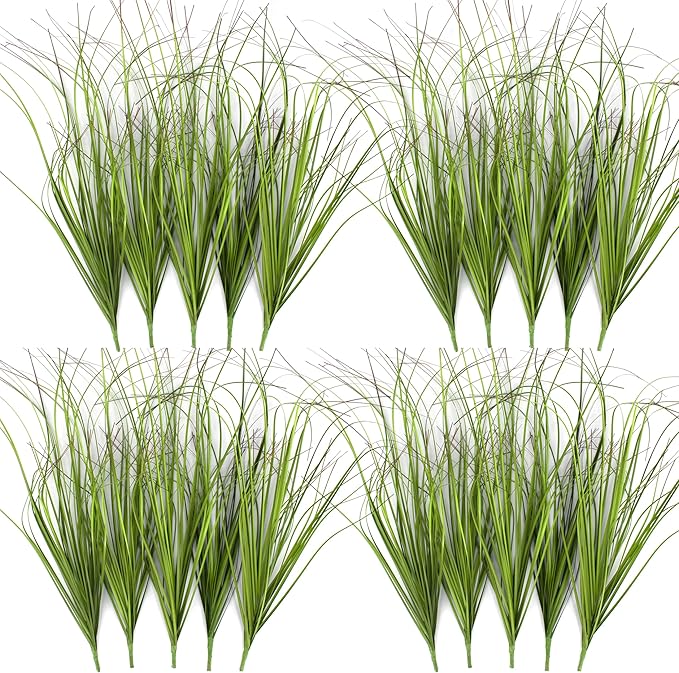 SHOP FAUX GRASS
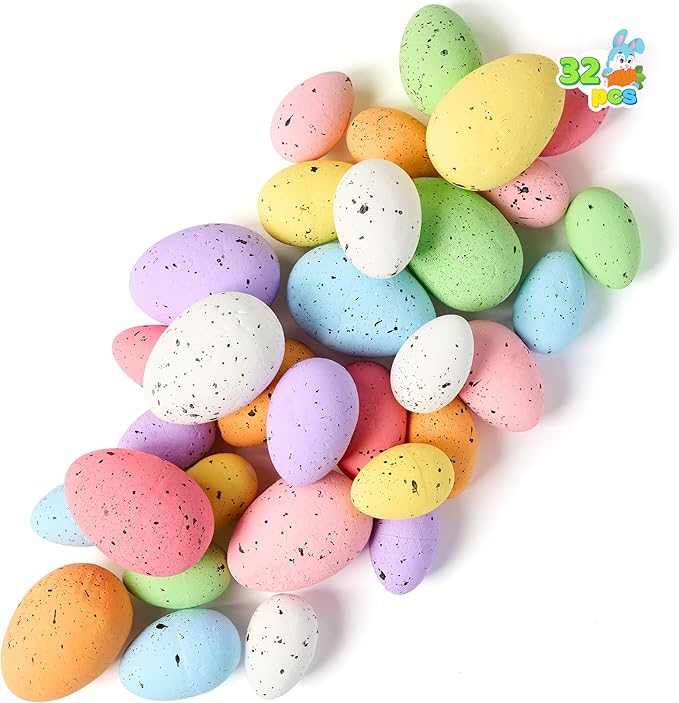 SHOP DECORATIVE EASTER EGGS
 SHOP MINI CARROTS
Materials Needed
- 2-tier tray stand
- 120 wooden clothespins
- Hot glue gun and sticks
- Gingham stuffed bunny
- Faux grass
- Decorative Easter eggs
- Mini carrots
- Optional signs
Step-by-step Guide
Step 1: Clip or glue clothespins around the edge of each tray to form a rustic picket-style wall.
Step 2: Fill each tier with a layer of faux grass as a natural filler.
Step 3: Nestle in your Easter accents like carrots, eggs, and the soft gingham bunny on the top tier., then add mini signs to personalize your message.
#13. Easy Clothespin Christmas Tree Craft
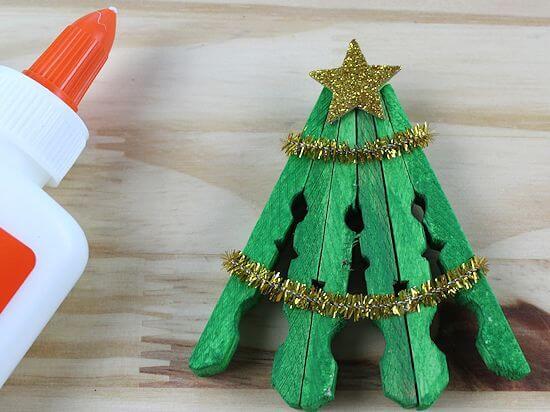
Simple, festive, and irresistibly cute, this tiny Christmas tree made from painted clothespins adds a handmade sparkle to your holiday decor.

Materials Needed
- 3 wooden clothespins
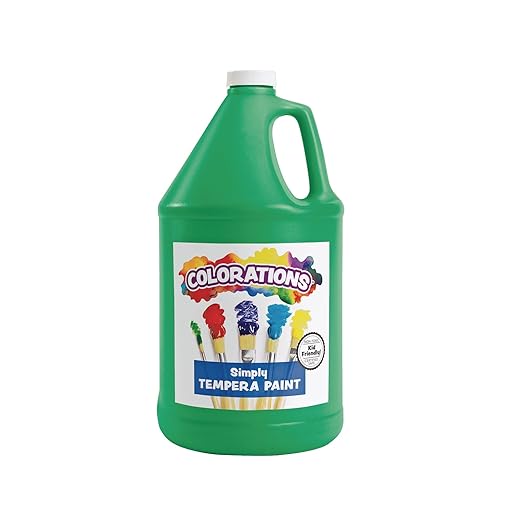
- Green acrylic paint
- Gold glitter star stickers
- Gold pipe cleaner
- White glue
- Paintbrush
- Scissors
Step-by-step Guide
Step 1: Separate each clothespin and glue the flat sides together to form six double pieces.
Step 2: Paint all glued pieces green and let them dry completely.
Step 3: Arrange the painted clothespins into a triangle shape and glue them together to form a tree.
Step 4: Glue a gold pipe cleaner around like garland and top it off with a glittery star.
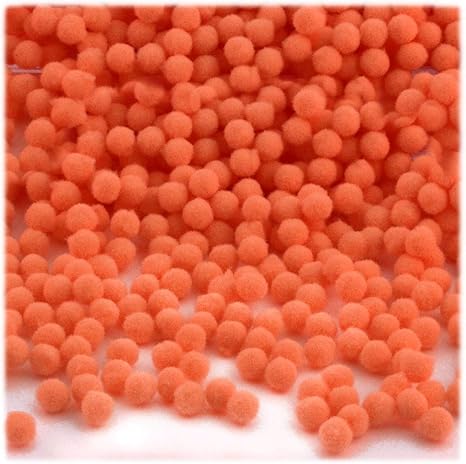
#14. Neon Picnic Tablecloth Weights
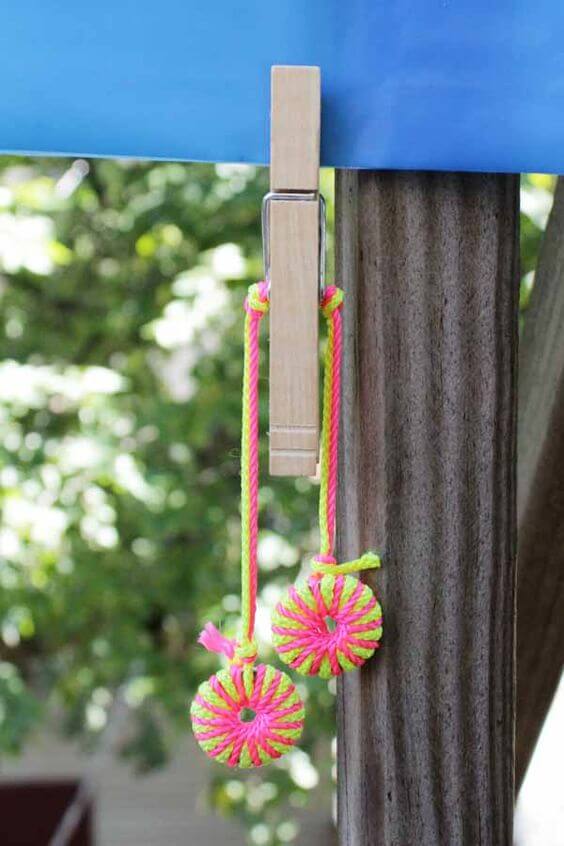
This clothespin pom-pom toss is a simple and fun outdoor game that kids and adults can’t resist. It’s a playful way to reuse leftover yarn and clothespins, especially during summer break.

Materials Needed
- 1 wooden clothespins
- Bright yarn – neon, cotton, or any color you like
- 2 cardboard circles per set
- Hot glue gun (optional)
- Scissors
Step-by-step Guide
Step 1: Cut two equal lengths of yarn (about 10 inches each), then wrap yarn around cardboard circles until thick, then tie off and slide off to create round yarn pom-poms.
Step 2: Clip the center of the yarn into the clothespin to hang or toss toward a target.
#15. Hanging Clothespin Earring Frames
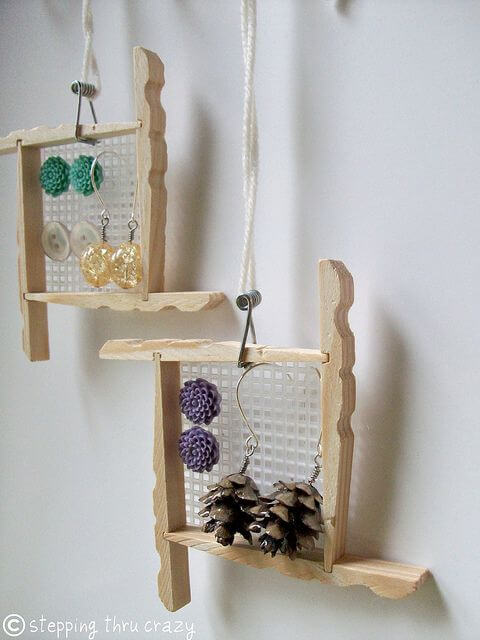
Every time I opened my jewelry box, I’d lose a pair of earrings to the black hole of mismatched sets. So I decided to turn some old clothespins and mesh into these chic little hanging frames.
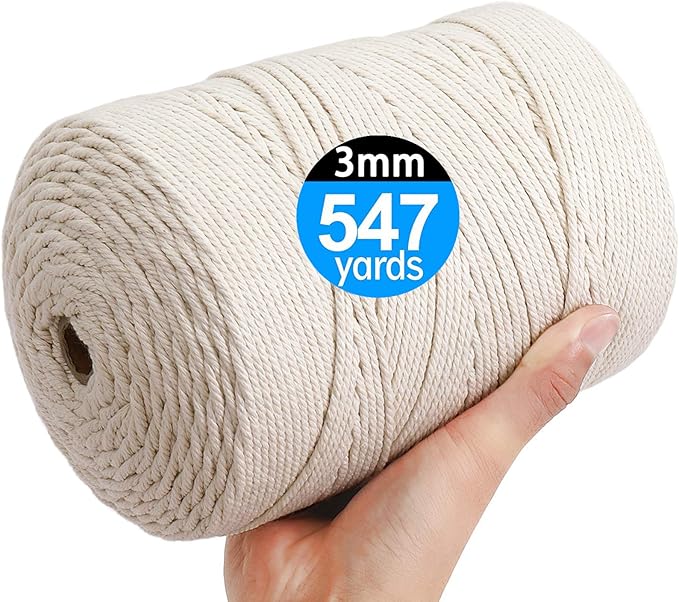
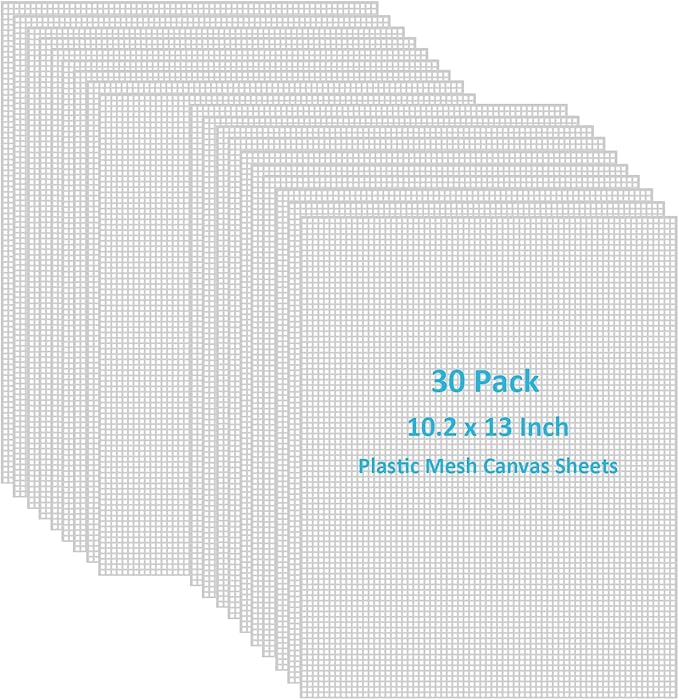
Materials Needed
- 2 wooden clothespins per frame
- Plastic canvas sheet
- Hot glue gun
- Cotton cord
- Scissors
Step-by-step Guide
Step 1: Disassemble your clothespins and glue them together side by side to form a rectangular frame.
Step 2: Cut a piece of plastic canvas slightly smaller than the frame opening, then glue the canvas to the back of the frame, pressing down until it’s fully secured.
Step 3: Add a loop of string at the top for hanging and let dry completely before using.
#16. Easy Snowman Craft
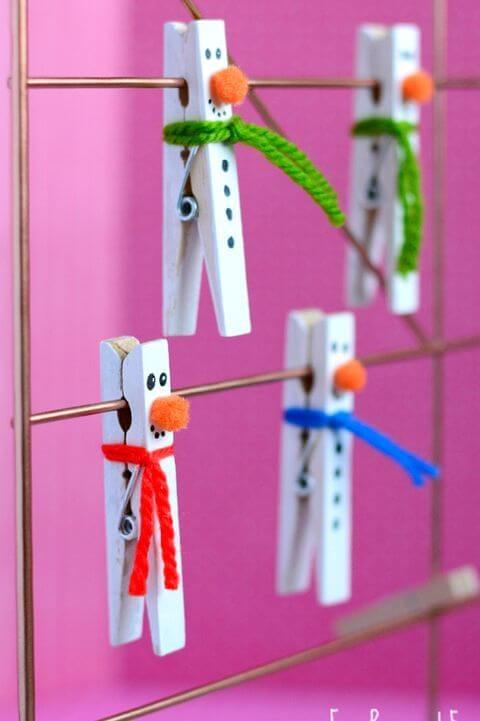
These clothespin snowmen are pure holiday charm. They’re ridiculously easy to make and perfect for gift tags, Christmas cards, or even stringing up on garland.
Materials Needed
- 4 wooden clothespins
- White acrylic paint
- Mini orange pom-poms
- Yarn – in red, blue, green, etc.
- Black marker
- Glue gun
Step-by-step Guide
Step 1: Paint the clothespins white and let them dry completely, then use a black marker to draw eyes and buttons on the front of each pin.
Step 2: Cut a short piece of yarn and tie it around the “neck” like a scarf and glue a mini pom-pom on as the nose.
#17. Clothespin Mirror
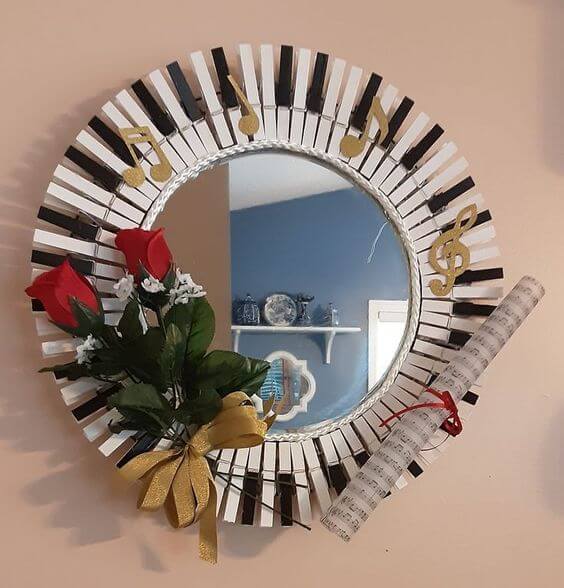
Transform a simple mirror into a show-stopping centerpiece with this piano-inspired clothespin wreath. With just black and white paint, clothespins become piano keys, circling your mirror like a symphony.
 SHOP ROUND MIRROR
 SHOP BLACK AND WHITE ACRYLIC PAINT
 SHOP ARTIFICIAL ROSES
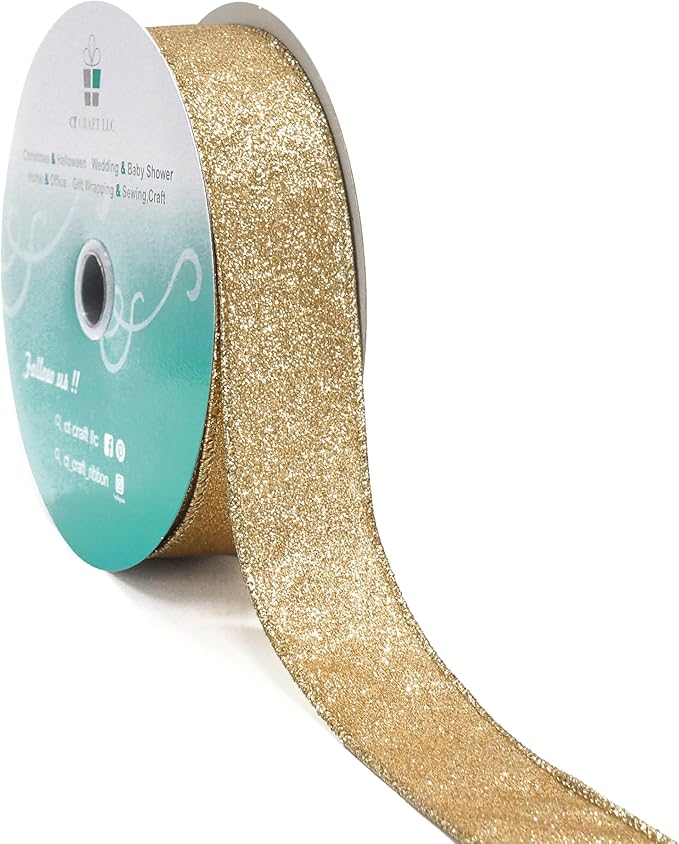 SHOP GOLD GLITTER RIBBON
 SHOP GOLD MUSIC NOTE STICKERS
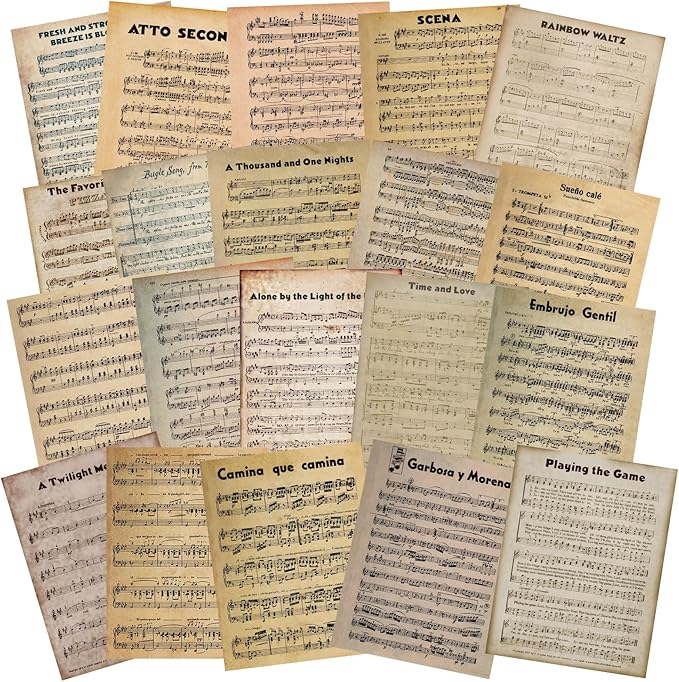 SHOP SHEET MUSIC PAPER
Materials Needed
- 100 wooden clothespins
- Round mirror (12–14 inches diameter)
- Black acrylic paint & white acrylic paint
- Hot glue gun
- Artificial roses and ribbon
- Gold music note stickers
- Sheet music paper (optional)
Step-by-step Guide
Step 1: Paint half the clothespins white and the rest black. Let them dry.
Step 2: Alternate black and white clothespins around the mirror’s edge, gluing each one securely.
Step 3: Decorate with faux flowers and a ribbon bow in the lower left section.
Step 4: Add musical note embellishments and roll a piece of printed sheet music to finish the theme.
#18. Clothespin Cross Wall Art

Perfect for gifting or honoring your own faith with a handmade touch, this craft is both calming and creative and surprisingly affordable to recreate.
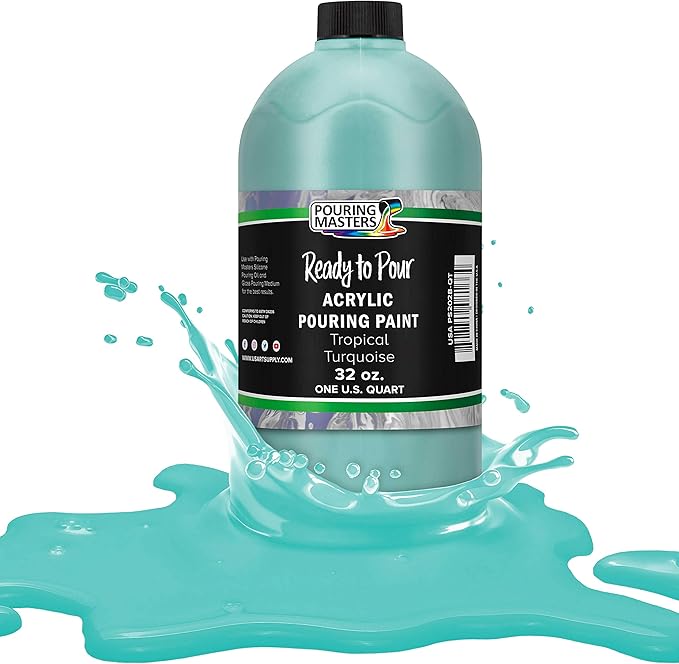
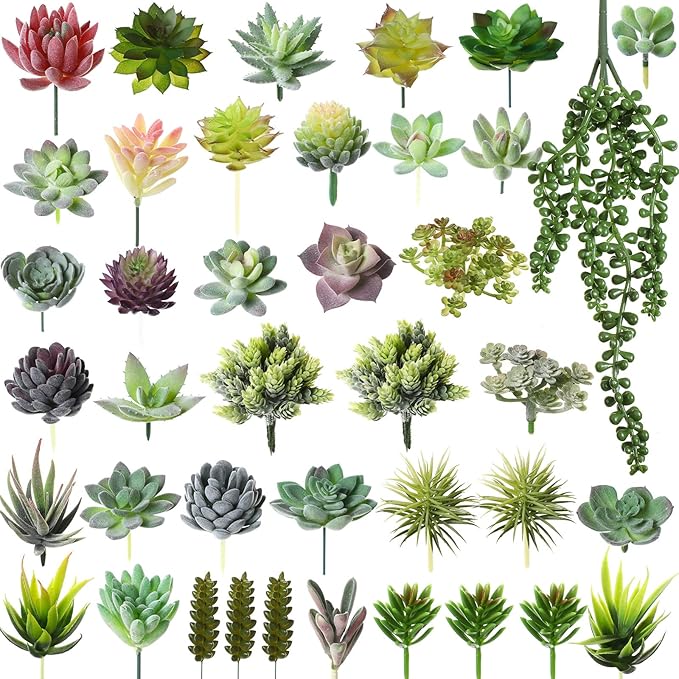

Materials Needed
- 32 wooden clothespins
- Turquoise acrylic paint
- Mini faux succulents
- Hot glue gun
- Sturdy photo frame
Step-by-step Guide
Step 1: Disassemble the clothespins and glue the flat sides together, then paint each pin turquoise and allow to dry completely.
Step 2: Arrange pins into a cross pattern on your chosen frame and glue in place.
Step 3: Attach faux succulents in the center for a dimensional, earthy look.
#19. Mini Clothespin Flower Pot
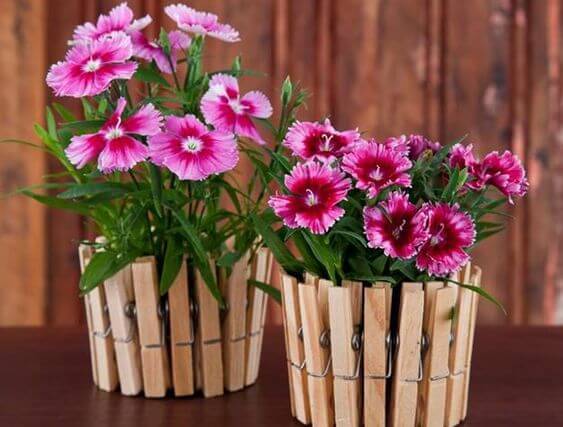
This project is great for using up old pins or upcycling tin cans. Pair them with your favorite seasonal blooms for instant charm!
Materials Needed
- 25 wooden clothespins per pot
- Empty tin can, standard 4″ size
- Optional: wood stain
Step-by-step Guide
Step 1: Clean and dry your tin can or container thoroughly, then clip clothespins all the way around the rim, lining them up tightly side-by-side.
Step 2: Optional, stain your clothespins before assembling if you want a custom tone.
Step 3: Add your plant pot or liner inside the can and enjoy your upgraded decor.
#20. DIY Clothespin Baskets
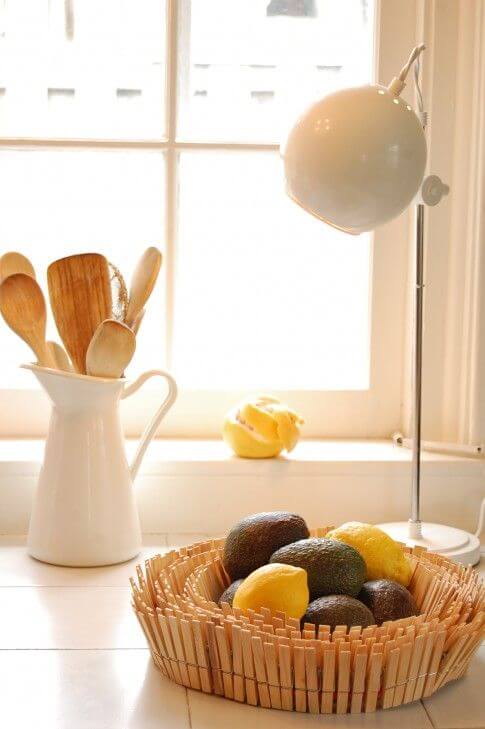
Simple, functional, and full of natural texture, this DIY clothespin fruit bowl is a charming centerpiece that’ll freshen up your kitchen counter.
Materials Needed
- 120 wooden clothespins
- Cardboard base (about 8–10 inches wide)
- Strong craft glue
- Optional: wood stain
Step-by-step Guide
Step 1: Remove the metal springs from the clothespins so you have two wooden halves per pin.
Step 2: Glue the flat backs of the halves side-by-side around the edge of your cardboard circle to form the first layer.
Step 3: Continue layering slightly inward to build height, overlapping for a spiral effect.
Step 4: Let dry completely before placing fruit inside. You can finish with stain or sealant if desired.
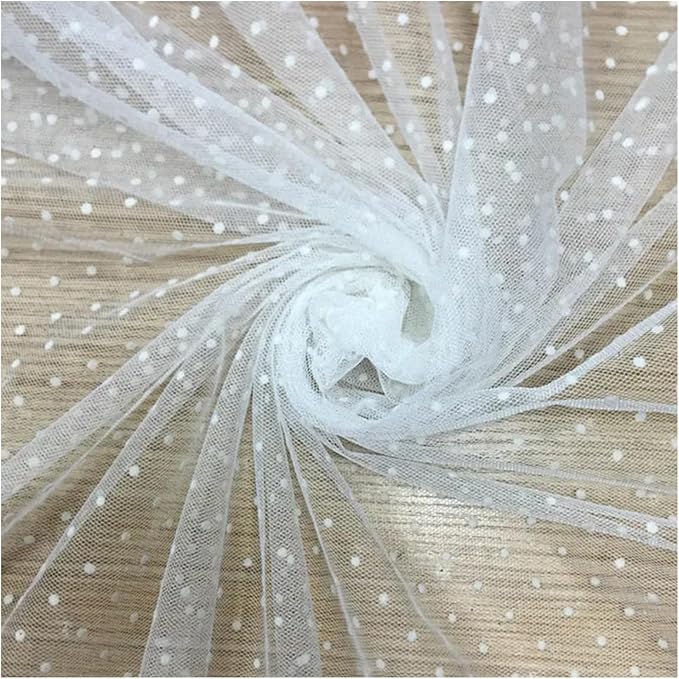
#21. Sparkly Clothespin Dragonfly Craft
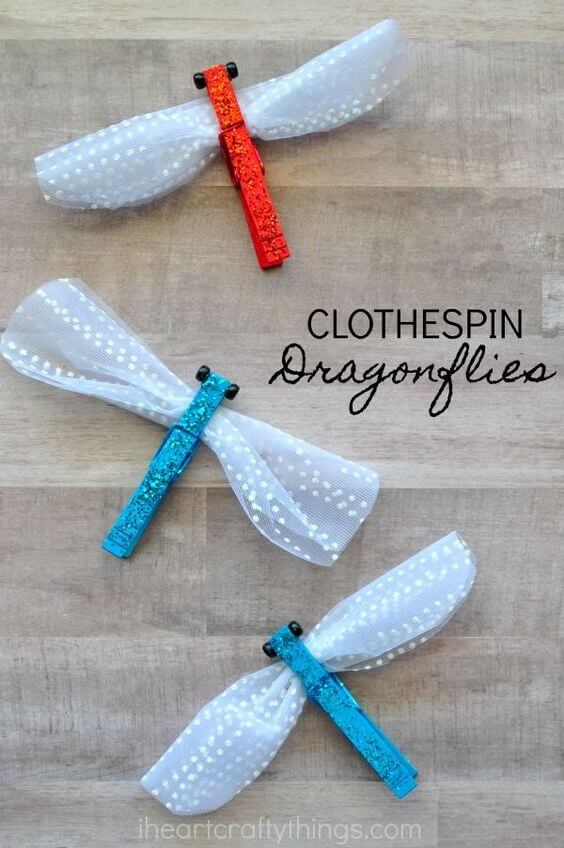
These sparkly little dragonflies bring instant joy! Perfect for decorating a kid’s room, attaching to gifts, or adding to a spring craft garland.
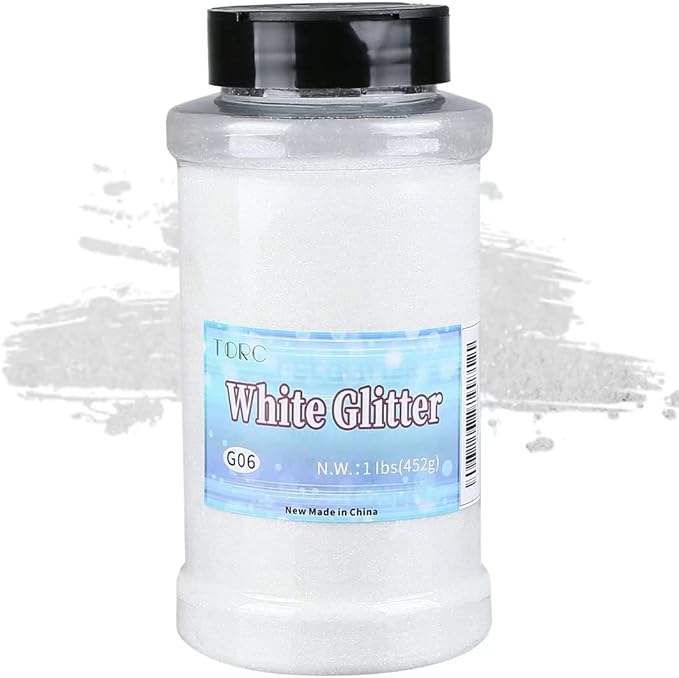

Materials Needed
- 1 wooden clothespins per dragonfly
- Fine glitter paint
- Polka-dot tulle ribbon (approx. 10–12 inches per dragonfly)
- Black beads
- Hot glue gun
Step-by-step Guide
Step 1: Paint the clothespins with glitter paint and let them dry completely.
Step 2: Fold the tulle ribbon in half, gather it at the center, and glue it into the opening of the clothespin to form wings.
Step 3: Add black beads to the top for eyes, then let everything set.