Building a shelter from scratch has always been on my mind, but I never quite knew how to tackle it without breaking the bank.
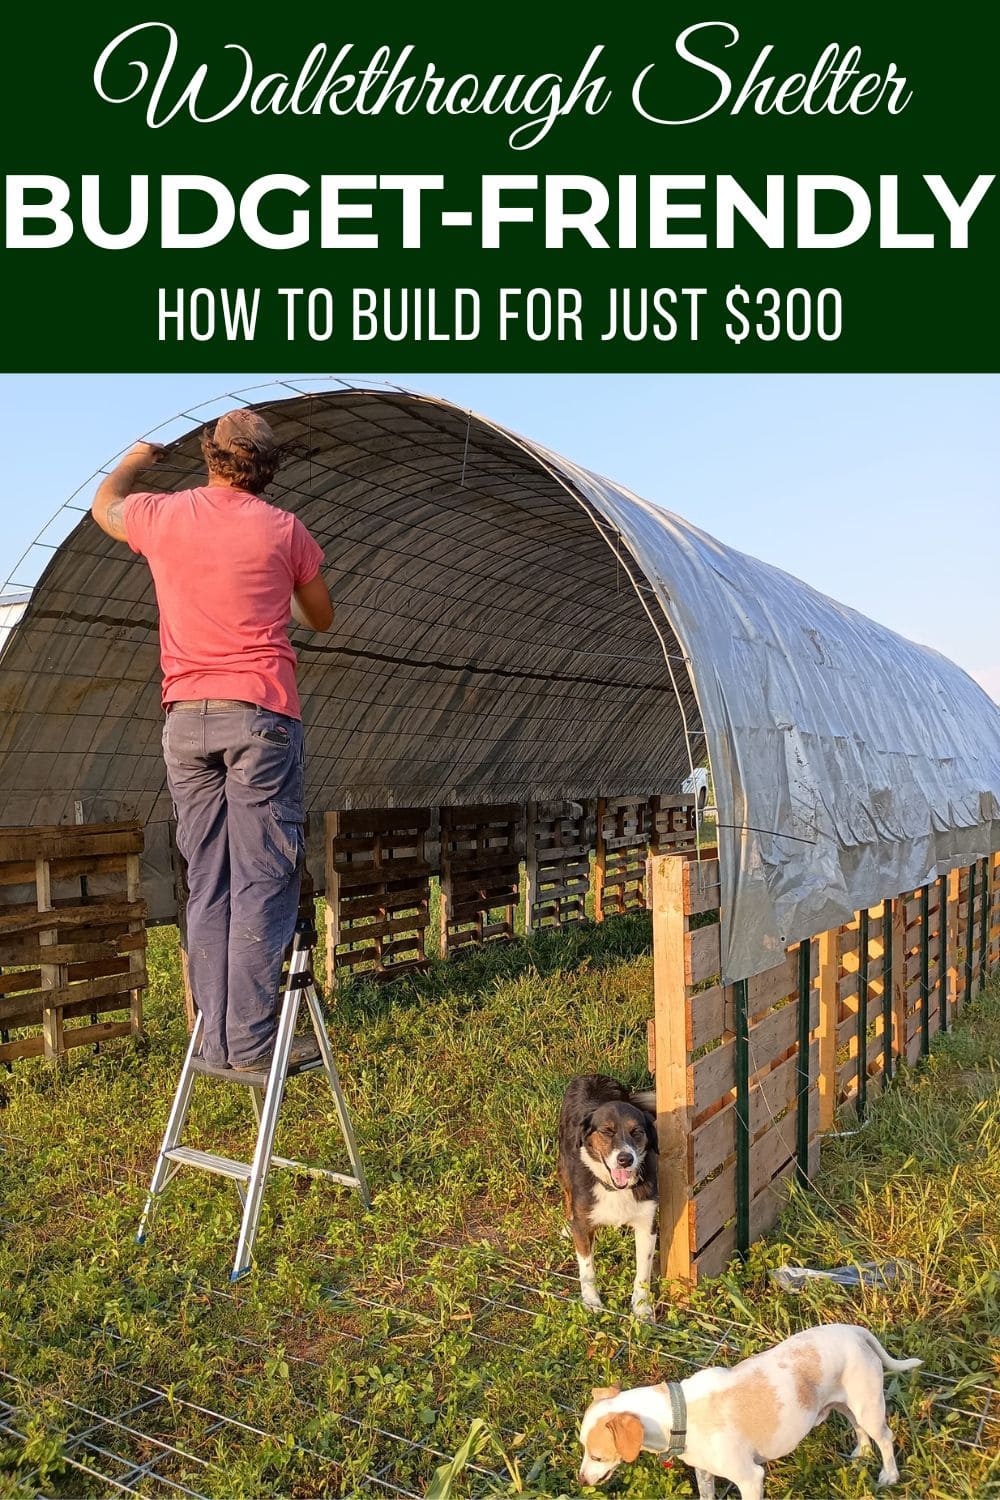
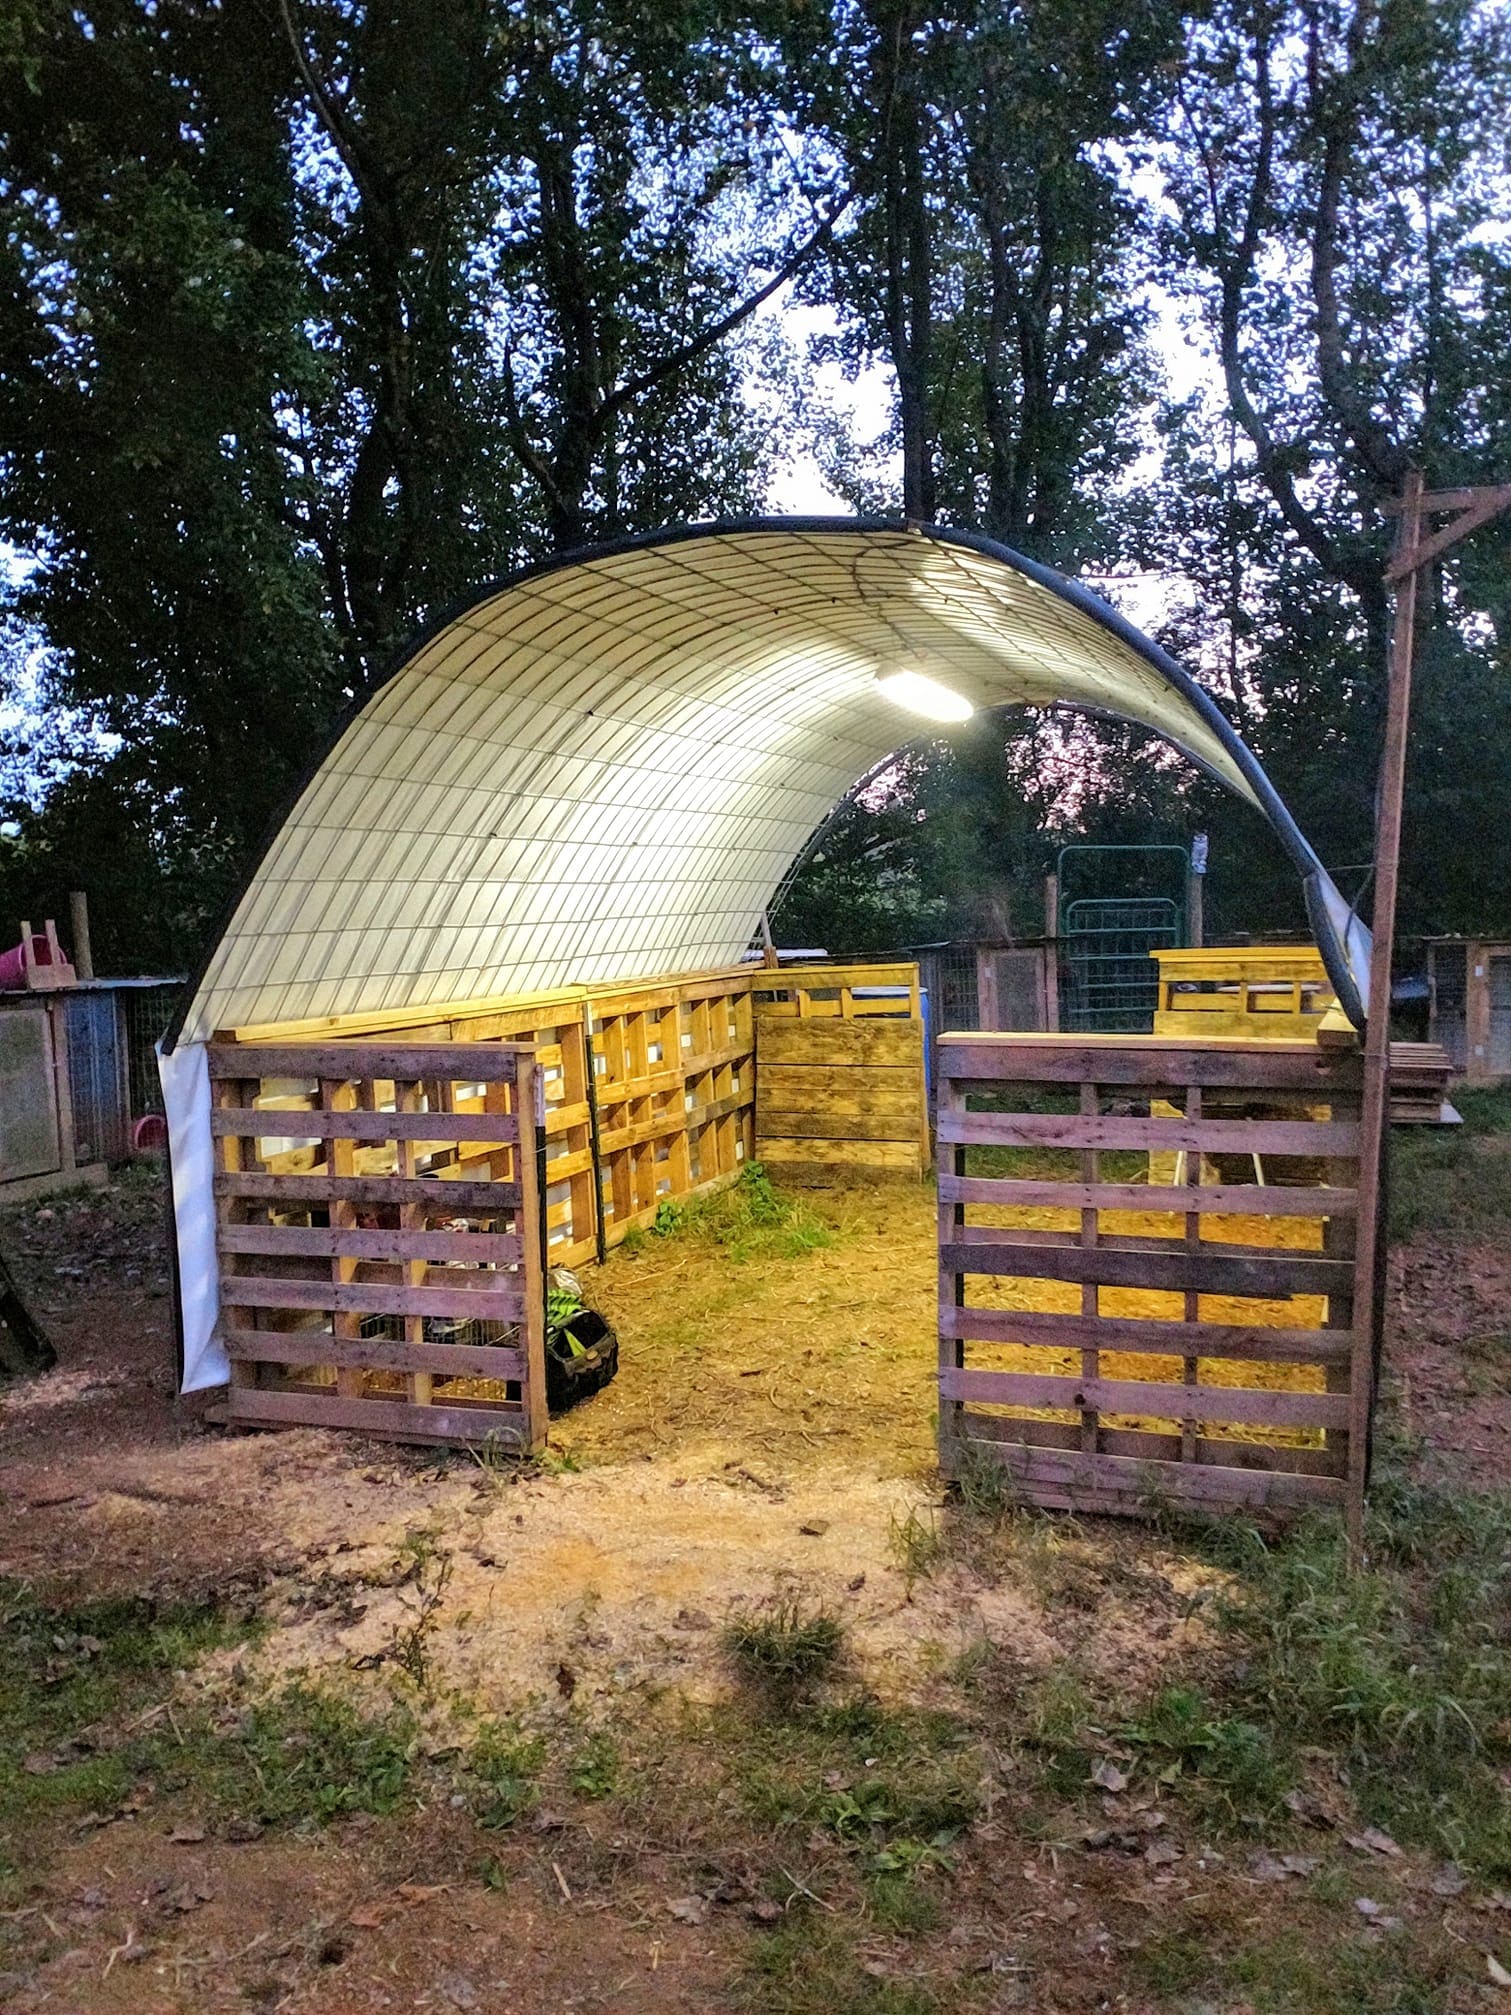
Well, after some planning and a little elbow grease, I’m proud to say I finished building my 16×20 walkthrough shelter, and it came out better than I imagined.
Specially, it cost me around $300, way cheaper than buying a pre-made shelter, and I couldn’t be more satisfied with how sturdy and functional it turned out.
Why Build a Walkthrough Shelter?
I’ve always needed a little extra space to store gardening tools, some outdoor furniture, and a place to work on small DIY projects without cluttering up the garage. That’s when the idea of a walkthrough shelter came to mind.
A simple, accessible structure that would give me enough room for all my essentials and allow me to move in and out easily.
Bonus, this shelter is versatile, not only for storage, but it could also double as a shaded area for some relaxation or even a spot to hang out with friends on a sunny day.
Building it myself was a no-brainer, mainly because I was able to customize it exactly how I wanted. Plus, I was determined to keep costs low, and let me tell you, doing it yourself was by far the most affordable option.
Materials You’ll Need
If there’s one thing I’ve learned from DIY projects, it’s that the key to saving money is sourcing the right materials. Here’s what I used:
1. Free Materials: Pallets (8)
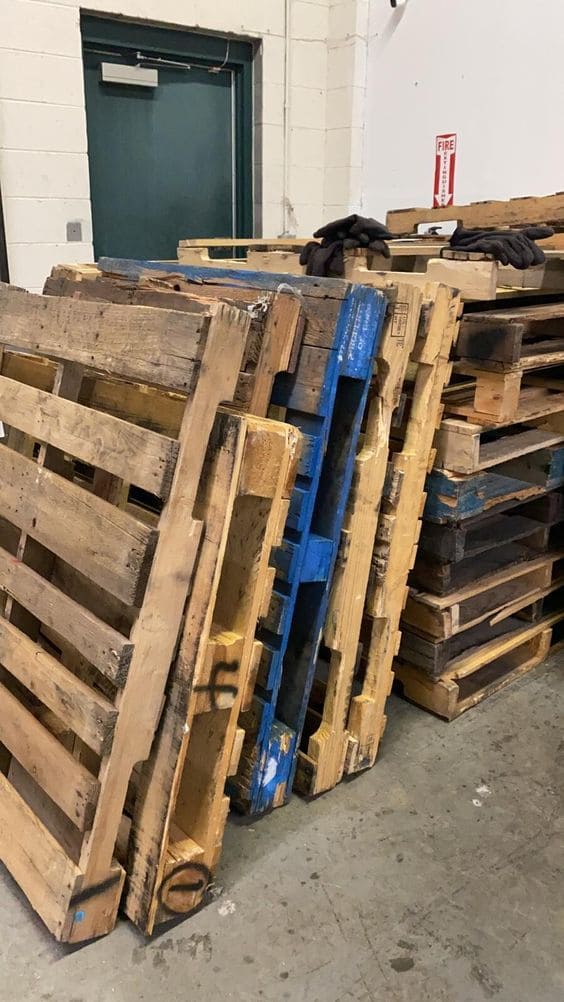
I got lucky with pallets, they were free! I found several used ones at a nearby warehouse that were just waiting to be repurposed.
Pallets are incredibly durable and offer a great way to create a solid base for the structure. Not to mention, they’re really easy to work with, and I was able to secure them quickly in place as part of the frame.
2. Affordable Purchases:
- T-posts (16) – $4.99 each
These T-posts were essential for creating the frame of the shelter. They’re sturdy, easy to pound into the ground, and provide a solid structure for securing the rest of the materials.
At $4.99 each, they were affordable and got the job done without breaking the bank.
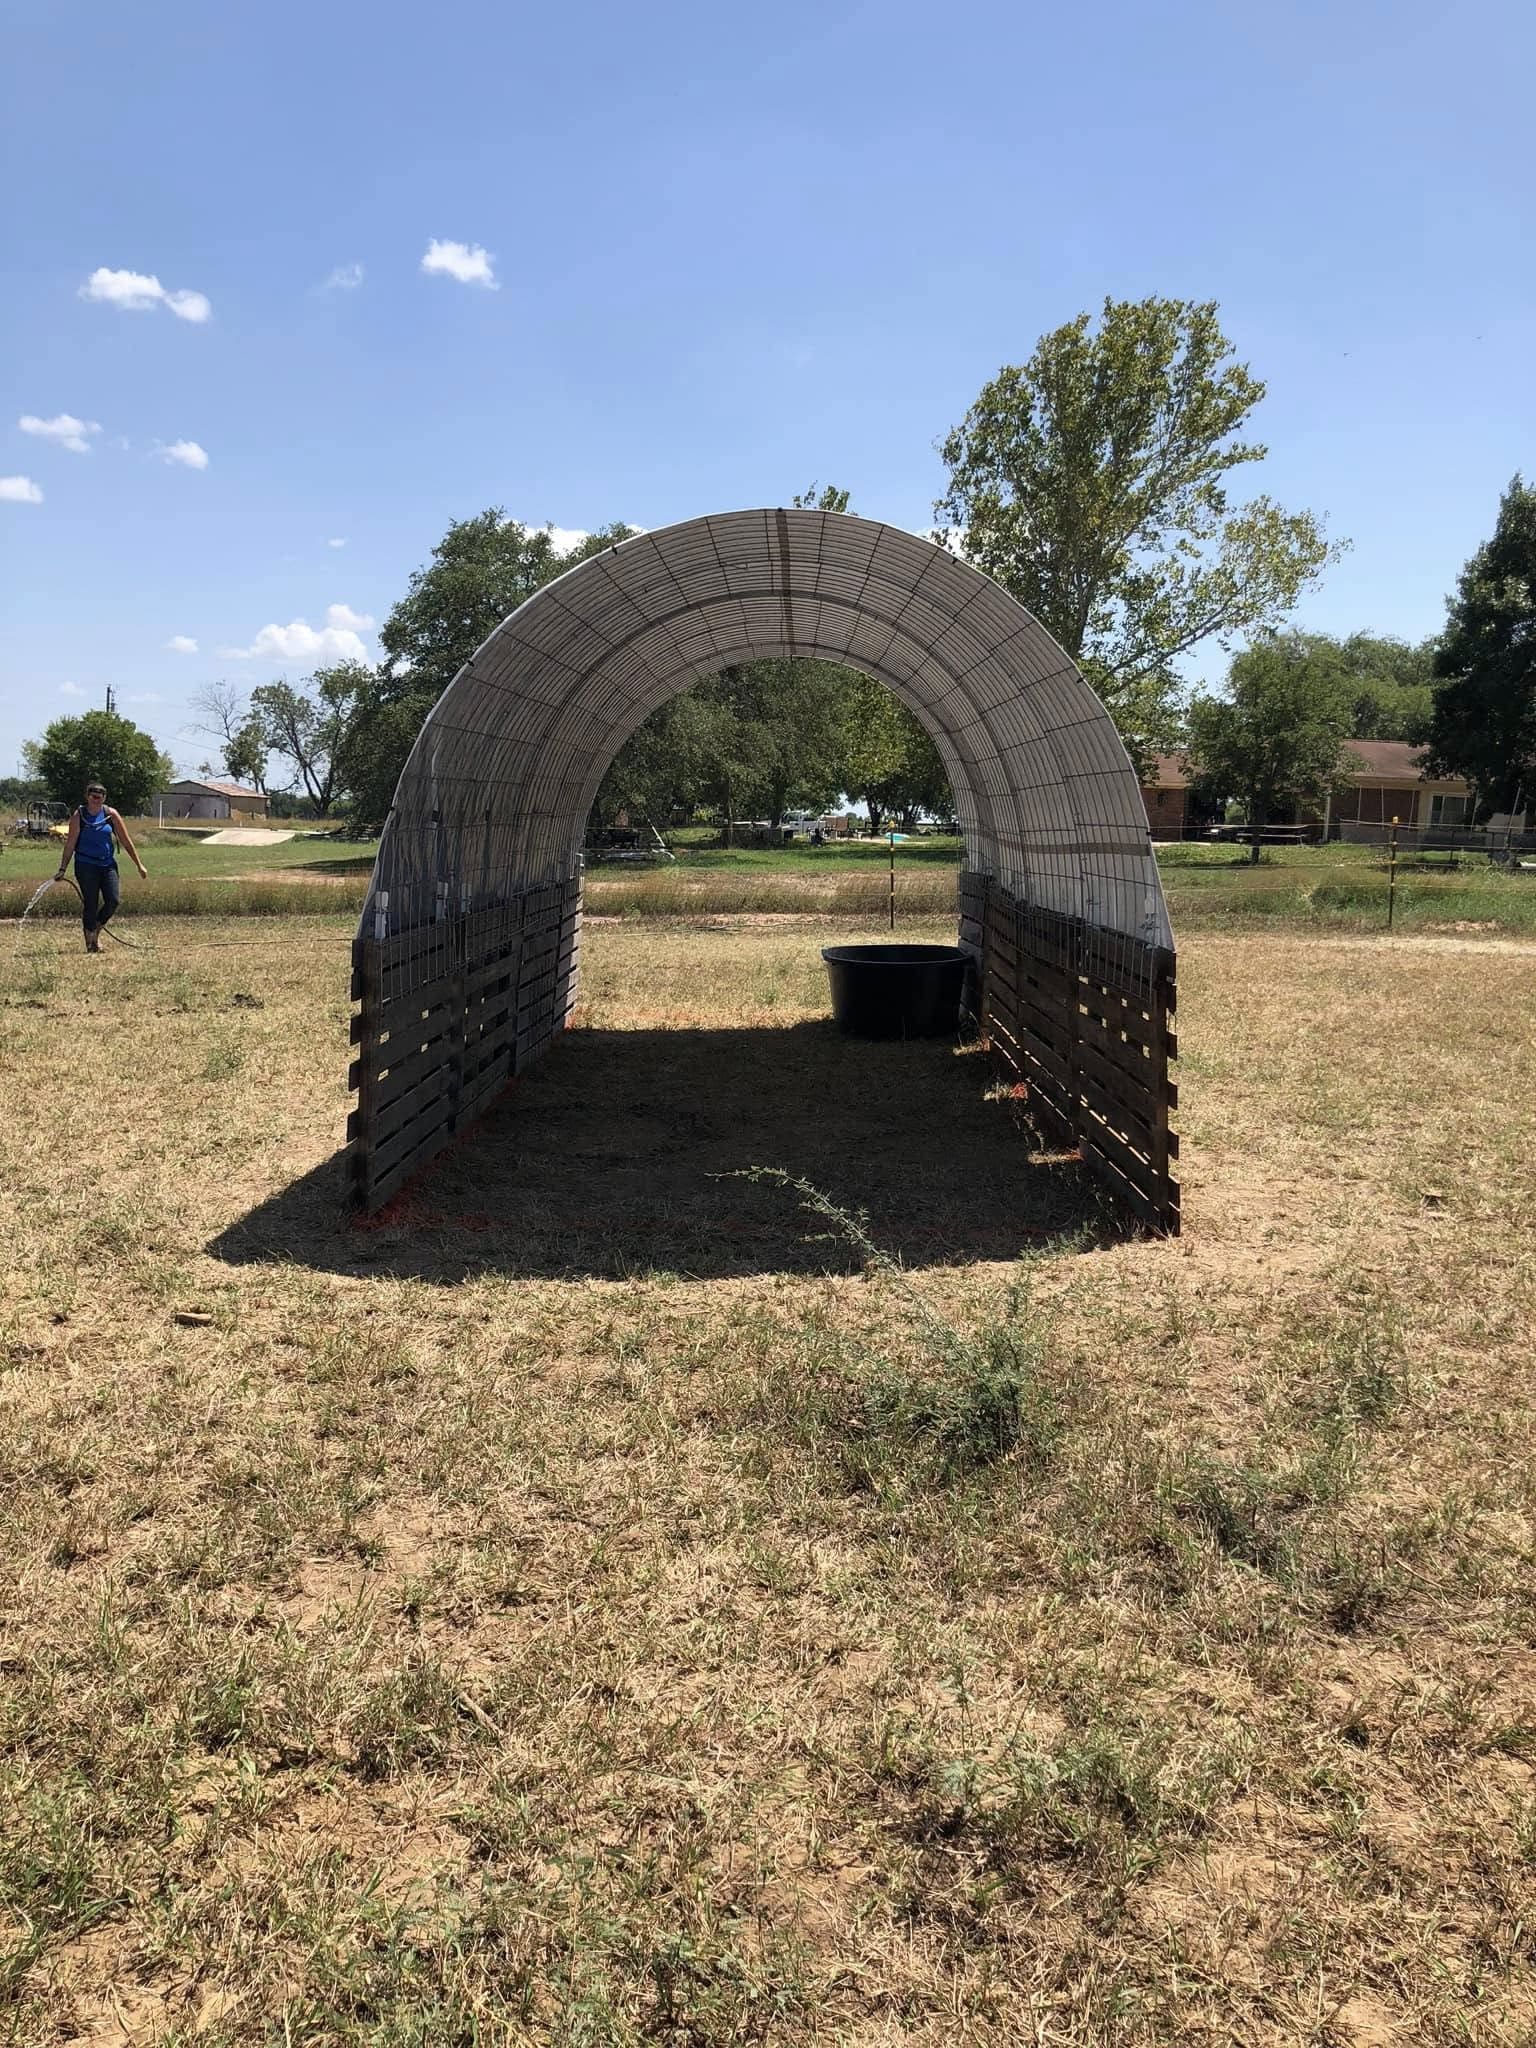
- Cattle Panels (5) – $26.99 each
The cattle panels were key for the walls of the shelter. They’re designed to withstand a lot of pressure, making them perfect for a shelter that needs to hold up to the weather.
I attached them to the T-posts using U-bolts, which I’ll talk about in just a second.
- Agricultural Tarp (16×20) – $64.99
For the roof, I used a heavy-duty agricultural tarp. This tarp is perfect because it’s weather-resistant and provides the shelter with much-needed protection from the elements, like rain or harsh sunlight.
At $64.99, it was a steal compared to buying a pre-made roofing system.
- U-bolts (16) – $1.29-$2.99 each
These U-bolts were used to attach the cattle panels to the T-posts.
I made sure to secure each panel tightly to ensure the shelter would hold up well in all kinds of weather. They’re small but vital, and they only cost a few bucks each.
Step-by-Step Guide to Building A Walkthrough Shelter
Step 1: Prepare the Site
The first thing I did was clear the area where I wanted the shelter.
I made sure the ground was level and free of debris. This step is key to making sure your shelter will sit properly and stay level throughout its life.
Step 2: Build the Frame
I started by placing the T-posts into the ground. I spaced them evenly to form the four corners and edges of the shelter.
Once the posts were secured in place, I attached the pallets to form the base and some of the initial structure.
The pallets added stability to the frame, and I was able to work with the pre-existing slats to build upward.
Step 3: Attach the Cattle Panels
With the base in place, I moved on to attaching the cattle panels to the T-posts. Using the U-bolts, I secured each panel tightly, ensuring that they were sturdy and wouldn’t shift over time.
This was the most time-consuming part, but it was definitely worth the effort. The panels provided the sides of the shelter, and their strength made the whole structure feel much more secure.
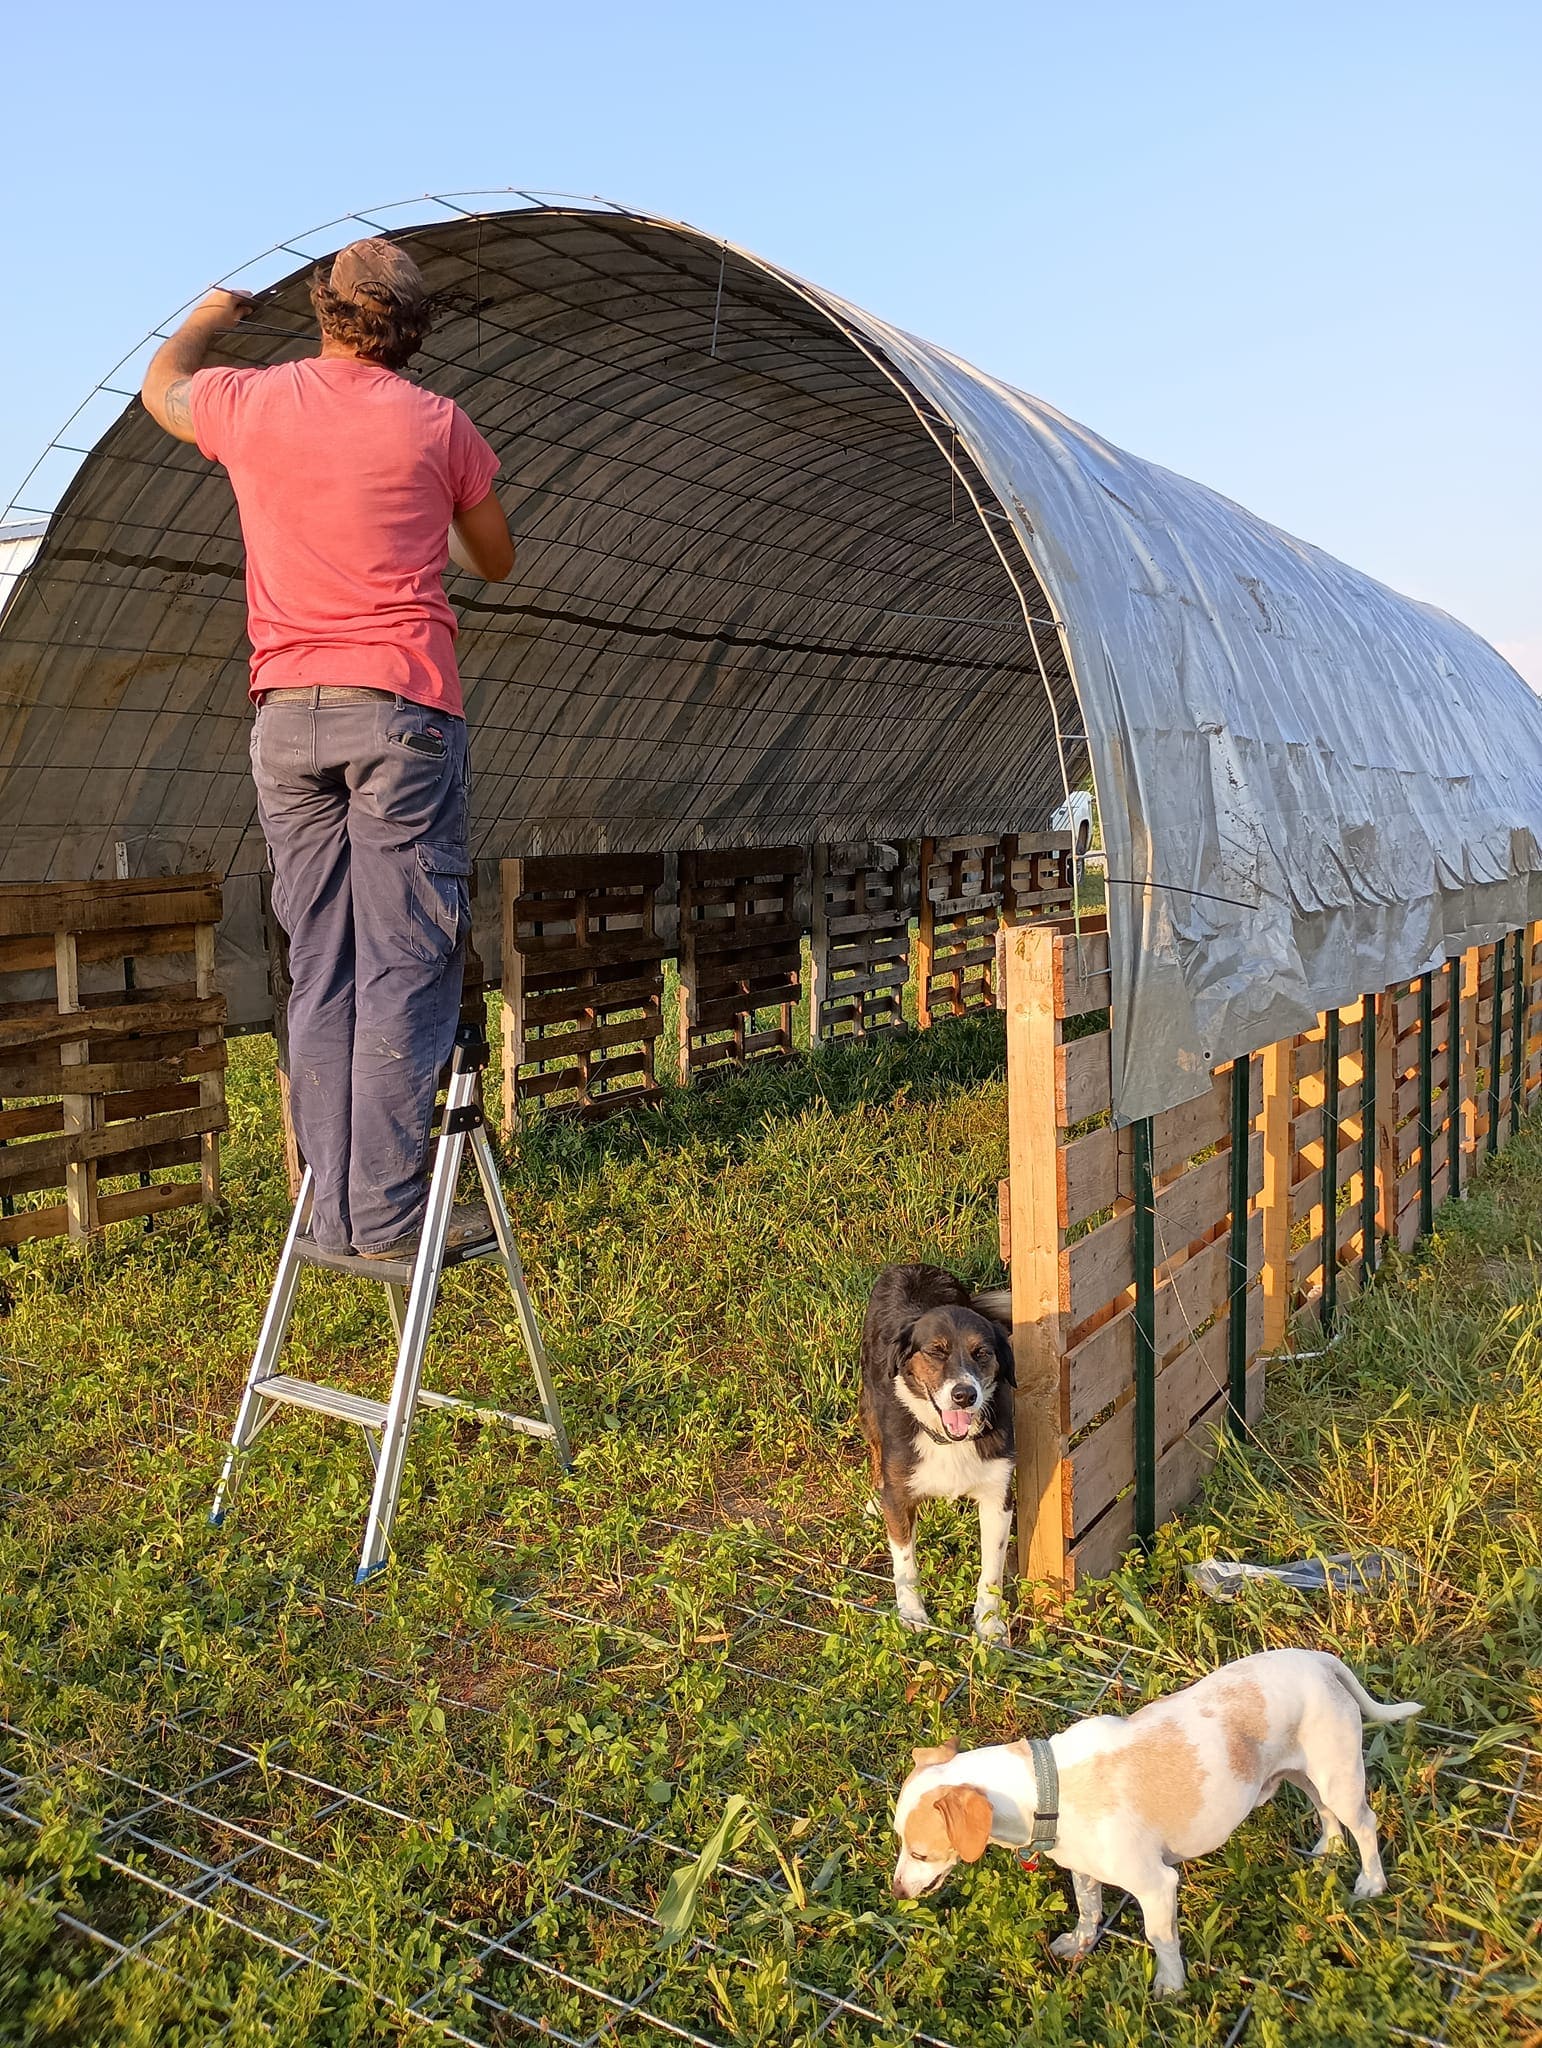
Step 4: Install the Agricultural Tarp
Finally, I stretched the agricultural tarp over the frame. I made sure to pull it tight to avoid sagging, especially in the middle where rain could gather.
Securing the tarp was simple, just a matter of pulling it over the structure and securing the edges.
This step was crucial for weather protection, and the tarp did an excellent job of keeping everything dry and sheltered.
Why This Walkthrough Shelter Works Perfectly
The shelter turned out to be just the size 16×20 feet gives me plenty of room for storage, a little workshop area, and even some extra space to hang out.
The walkthrough design means I don’t have to squeeze in or out, which is especially handy when I’m hauling things in and out. The cattle panels provide a great structure for walls, and the tarp roof keeps everything inside safe from the weather.
Even better, I was able to customize everything to fit my needs. Whether it’s storing gardening tools, a few bags of soil, or even a couple of outdoor chairs, there’s plenty of space for everything.
And because I built it myself, I’m proud to have created something functional and solid that will last for years to come.
Tips for Building Your Own Shelter on a Budget
If you’re thinking about building your own shelter, here are some tips to help you get started:
- Look for free materials: Pallets are everywhere, and they’re free! Check local warehouses, businesses, or even online marketplaces for free or cheap materials.
- Do the prep work: Ensure that your site is level before you start building. It’ll save you a lot of hassle later on.
- Secure your structure: Use sturdy materials like T-posts and cattle panels for the framework, and make sure everything is fastened securely.
- Shop smart: Take advantage of sales or bulk discounts for materials like U-bolts and tarp.