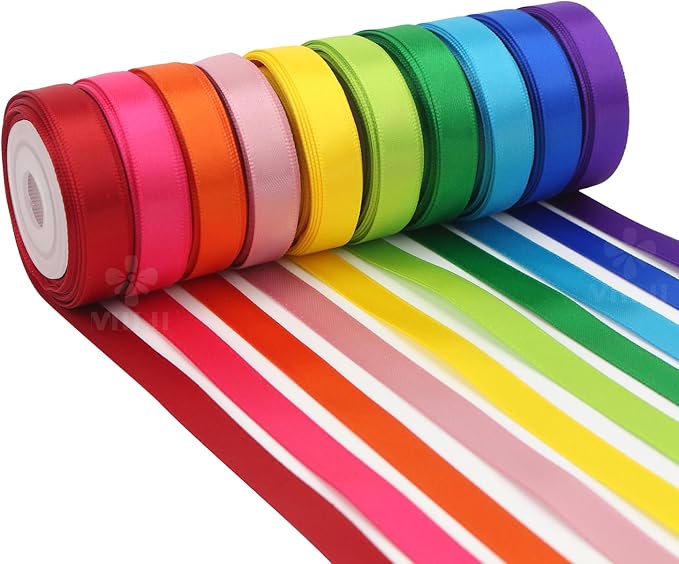
To create a colorful and unique garden quilt, consider upcycling old clothing! Instead of throwing away clothes that are no longer wearable, repurpose them into something new and useful for your outdoor space.
Cut old t-shirts, dresses, or other fabric into squares or rectangles and sew them together in a patchwork pattern. Here are 25 Upcycling Old Cloth Ideas for Your Next Garden Projects to help you get started!
This article contains affiliate links. If you purchase through them, I may earn a small commission at no extra cost to you. Thank you for your support!
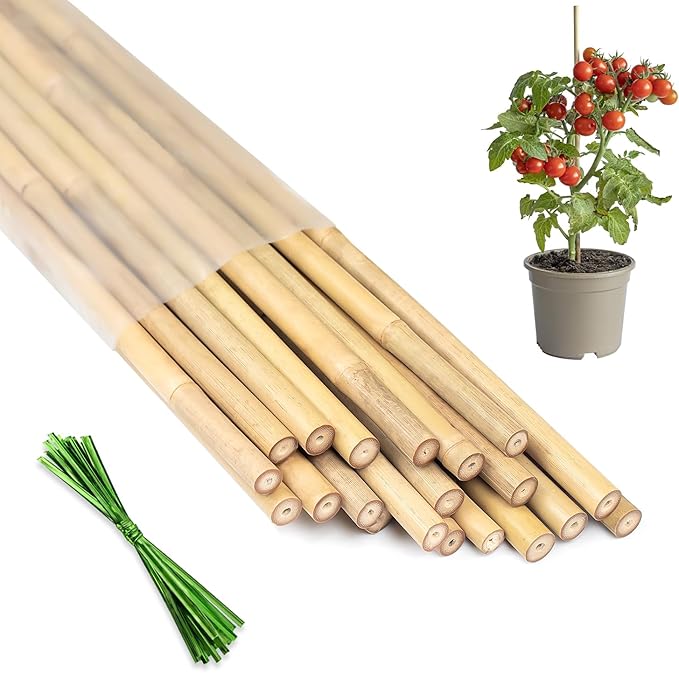
#1. Hanging Vertical Herb Garden
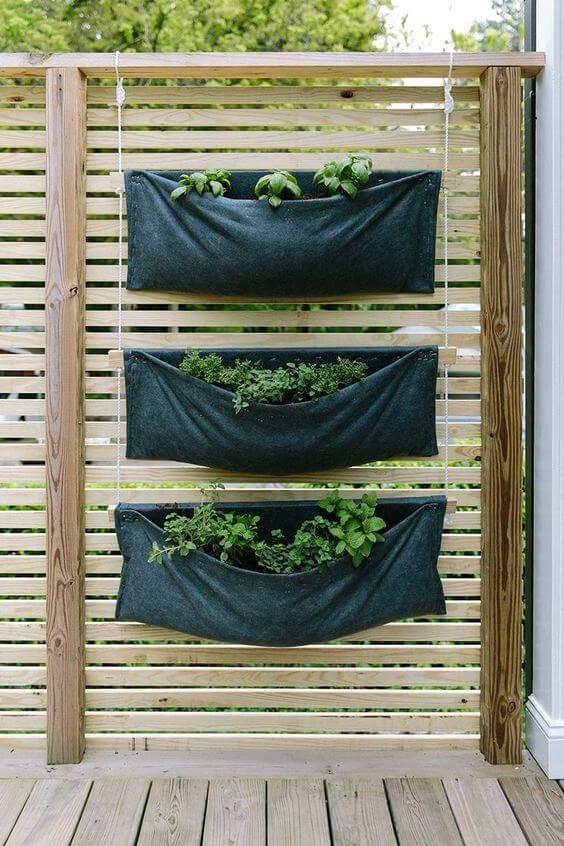
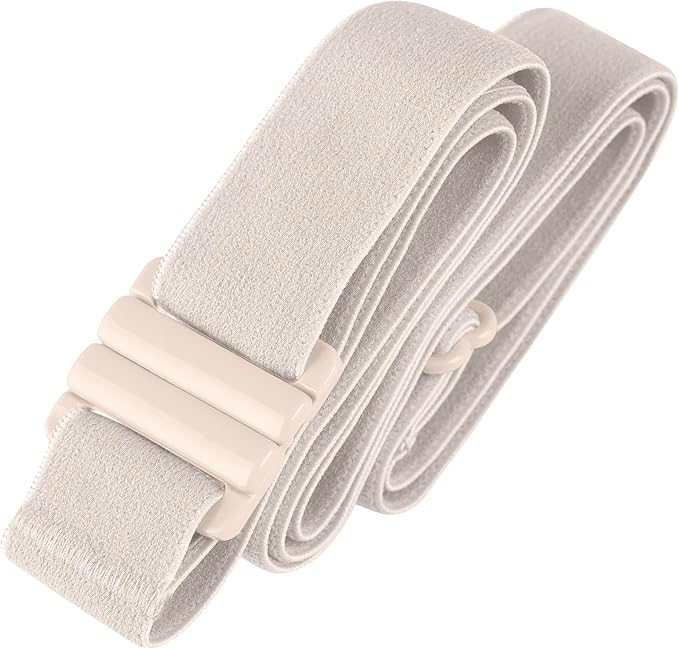
I couldn’t bear to toss my torn old jeans, so I stitched them into something surprisingly useful and beautiful.
Materials Needed
- 3 pieces of thick old fabric, approx. 24 x 12 inches each
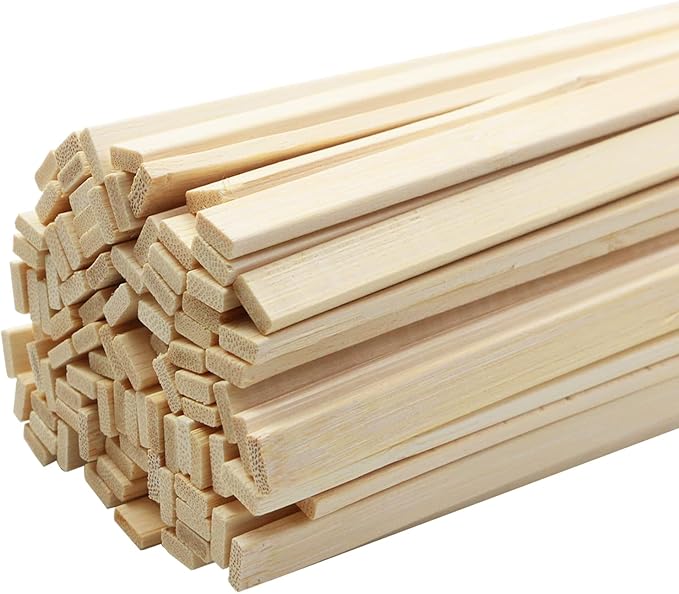
- 3 wooden dowels (24 inches long)
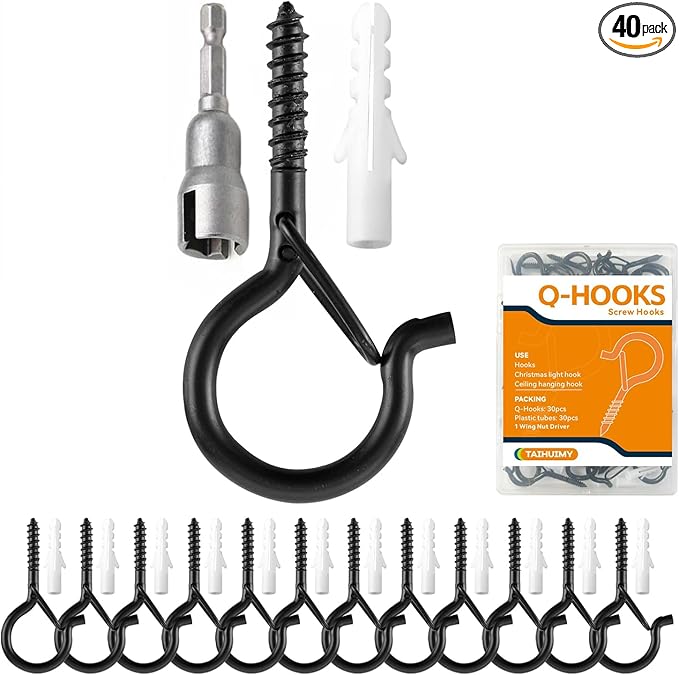
- 6 sturdy eye hooks
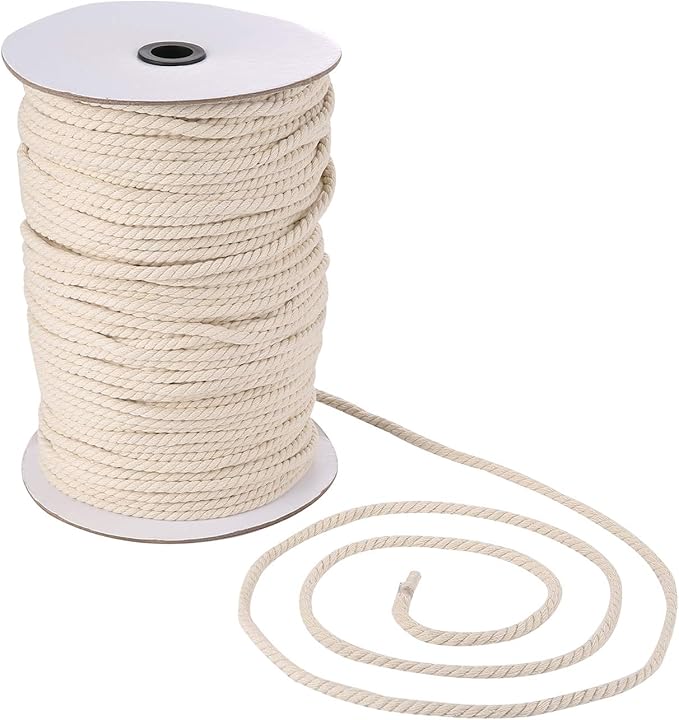
- 2 lengths of strong rope (around 6 feet each)
- Heavy-duty stapler
- Optional: Gardening liner fabric, wall hooks, and potting soil
Step-by-step Guide
Step 1: Cut the fabric into three equal rectangles. Fold each in half lengthwise and sew the sides, leaving the top open to form a pouch.
Step 2: Insert a wooden dowel through the top seam of each pouch to give structure. You can fold the top edge over and stitch it down, creating a rod pocket.
Step 3: Screw eye hooks into the top frame or wall where you want to hang your planter tiers. Tie one end of the rope to the bottom dowel, then run it through each dowel going up, knotting tightly at even intervals to hold each pouch.
Step 4: Line each pouch with breathable gardening liner and fill it halfway with potting soil, then add herbs, lettuce, or even flowers, then water lightly.
#2. DIY Fabric Vegetable Basket
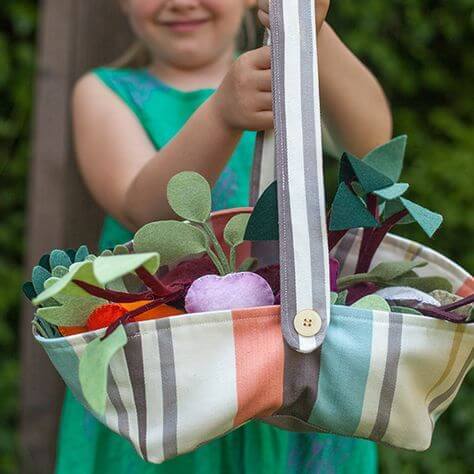
The basket is soft, safe, washable, and doubles as toy storage indoors. It’s a zero-waste project packed with joy and color.
Materials Needed
- Sturdy scrap fabric pieces (around 18″ x 24″ and 18″ x 2″)
- 1 large decorative button
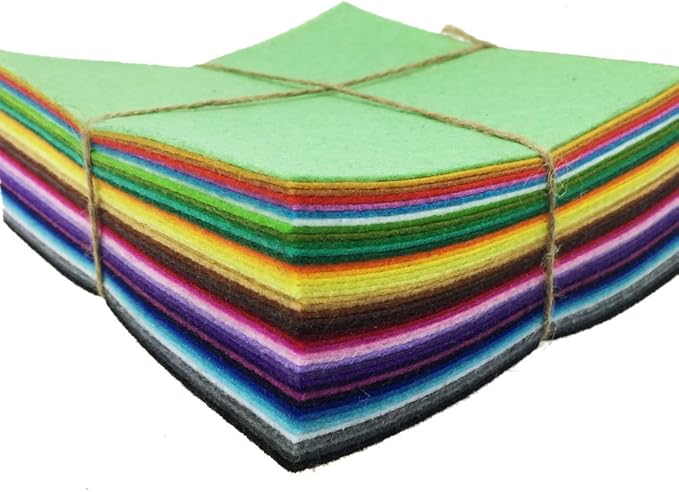
- Assorted felt sheets
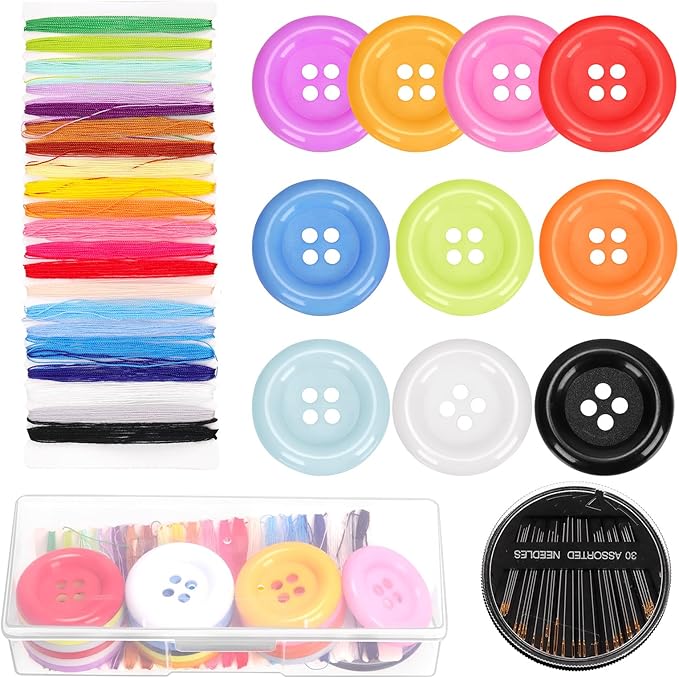
- Basic sewing kit
- Light interfacing (optional)
Step-by-step Guide
Step 1: Fold your main fabric in half with the right sides facing in. Stitch up both sides to create a pouch. Press the seams flat.
Step 2: Box the corners by folding the bottom corners into triangles and sewing straight across, about 2 inches in. This gives the basket its shape.
Step 3: Flip it right side out. Attach the fabric handle by sewing or hot gluing each end to opposite sides of the top edge. Add a decorative button where the handle crosses over for a cute finish.
Step 4: Use felt to cut out simple vegetable shapes like carrots, beets, and lettuce. Stitch or glue pieces together and stuff lightly for a plush look.
#3. DIY Garden Tool Bag
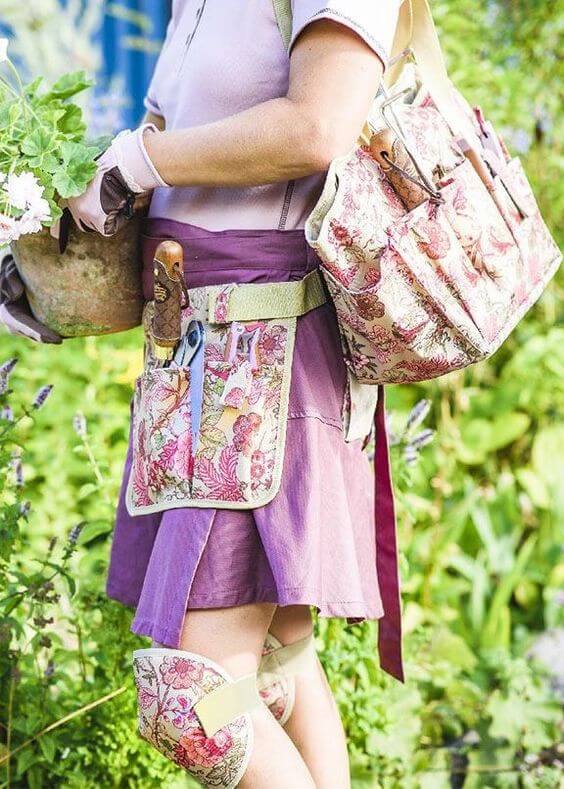
This handmade gardening set turned my old curtain and tote scraps into a dreamy matching apron, roomy tool bag, and comfy knee pads.
Materials Needed
- 1–2 yards of heavy-duty upcycled fabric
- 1 adjustable belt
- 1–2 pieces of sew-in foam
- Basic sewing kit
- Optional: Velcro, elastic, extra buttons, or twill tape
Step-by-step Guide
Step 1: Cut the apron panel to approximately 16″ x 20″ and shape the corners if desired. Add pockets using fabric scraps, then stitching them down in rows for tool slots.
Step 2: Attach the belt or ribbon to the top edge. Reinforce the tool pockets with vertical stitches and double seams where sharp tools might press.
Step 3: For the bag, sew two large rectangles into a tote with inner dividers and outer pockets. Use leftover waistband or thicker straps for handles.
Step 4: For knee pads, cut two curved rectangles, sew with foam in between, and add elastic straps with Velcro closures.
#4. Tie-Dyed T-Shirts Turned Easy DIY Boho Hanging Planter
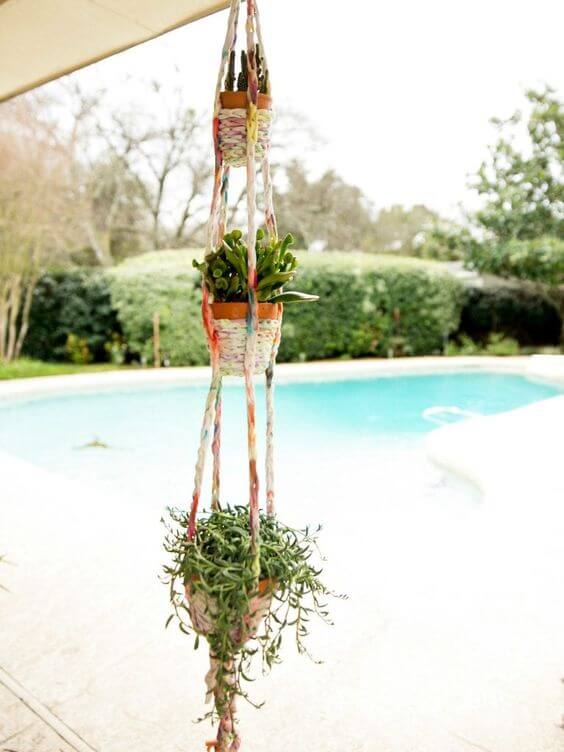
I wanted something playful and breezy to brighten up my patio and this worked beautifully.
Materials Needed
- 1–2 large old cotton T-shirts (cut into strips ~1.5″ wide and 40–50″ long)
- 3 small terracotta pots (3 inches)
- 1 metal ring
- Optional: needle & thread, scissors, fabric glue
Step-by-step Guide
Step 1: Cut your T-shirts into long strips and stretch them so they curl into cords. You’ll need at least 8 strips per planter level, so 24 strips total for a 3-tier.
Step 2: Thread all strips through the metal ring and divide them evenly into 3 sets. Braid each set for a few inches, then tie a knot to form the first planter cradle.
Step 3: Separate the cords and knot them together to form a pouch for each pot. Once the pot sits snugly, continue braiding and knotting downward until the next pot level.
Step 4: After the third pot section, gather the cords and knot them securely at the base. Trim excess or let the ends hang loose for a tassel look.
#5. Whimsical Container Garden
Each pair now holds flowers, grasses, or trailing vines, standing upright as if they’re mid-step through the flower bed.

Materials Needed
- 3 pairs of old jeans
- Potting soil (around 6–10 quarts each)
- Plastic bags
- Wooden stakes
- Your flowers
- Optional: suspenders
Step-by-step Guide
Step 1: Stuff the legs of each pair of jeans with soil-filled plastic bags, straw, or foam until they stand on their own or with support.
Step 2: Insert a grow bag or plastic liner inside the waist area and fill it with potting mix, leaving a few inches from the top.
Step 3: Add your plants like flowers, grass, or even herbs and press them gently into the soil.
Step 4: To keep the jeans upright, drive a wooden stake down through one leg and secure it to the fence or a post with zip ties or twine.
#6. Hanging Tie Planter
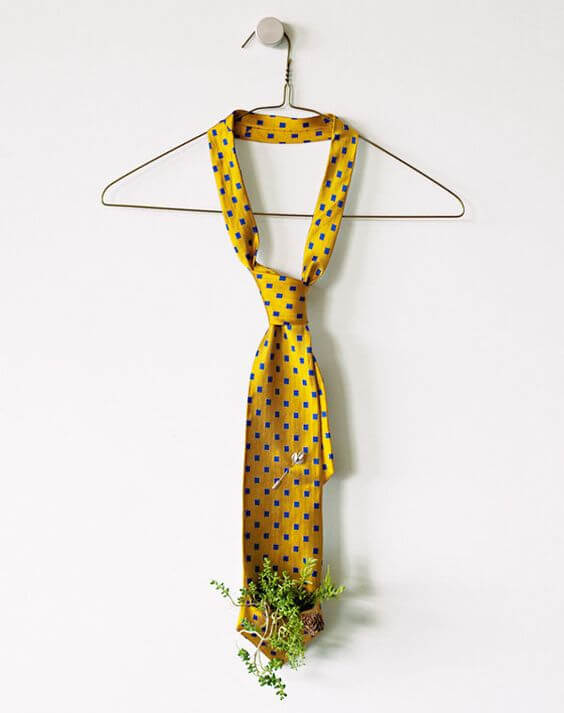
One lonely tie in the back of the closet, far too bold for any formal event—but just playful enough to hang on a wall and cradle a sprig of green.
Materials Needed
- 1 old necktie with structure
- Small air plant
- Hot glue gun and sticks
- Wire hanger
Step-by-step Guide
Step 1: Trim and sew or glue the bottom of the tie shut to create a pocket, leaving enough room to insert a plant.
Step 2: Place the air plant inside the pocket; secure it with a drop of glue if needed.
Step 3: Hang the tie on a wire hanger or decorative hook and adjust the knot to your liking.
#7. Denim Flower Vase

Wrapping an old canister or vase with a piece of denim transforms it into a rustic, farmhouse-inspired piece bursting with personality.
Materials Needed
- 1 old pair of jeans or denim shorts
- 1 cylindrical vase
- Hot glue gun
- Scissors
- Optional: ribbon, twine, or buttons
Step-by-step Guide
Step 1: Cut a leg section from the jeans long enough to wrap around your vase, leaving an inch of extra width and height.
Step 2: Slide the denim tube over the vase or jar, folding the excess inside at the top and bottom for a clean edge.
Step 3: Secure with hot glue, then position the pocket where you want it.
#8. Denim Tablecloth

This ruffled table skirt made from layered denim strips is a charming, rustic statement piece perfect for outdoor parties or country weddings.

Materials Needed
- 6–8 pairs of old jeans
- 1 large plain tablecloth
- Fabric scissors
- Sewing machine
- Measuring tape and pins or clips
Step-by-step Guide
Step 1: Cut your jeans into long horizontal strips (about 4–6 inches wide), salvaging the widest parts from the legs and hips.
Step 2: Hem the top edge of each strip or fold it over for sturdiness; leave the bottom raw for a rustic look.
Step 3: Starting at the bottom of the tablecloth base, sew the first row of denim around the skirt, then repeat upwards in rows, layering each strip over the previous one until you reach the tabletop edge.
#9. Denim Garland Fence Decor
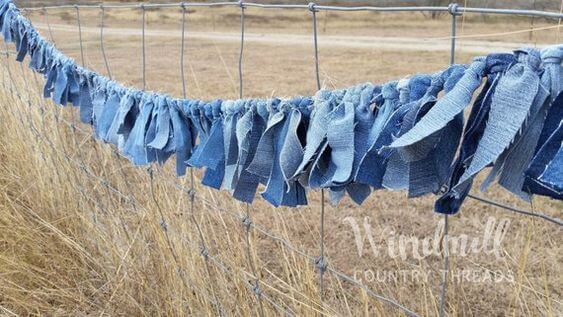
I made one for our fence during a fall gathering, and it added the perfect homespun charm.
Materials Needed
- 3-4 old denim jeans
- 1 long jute twine (6 to 10 ft)
- Fabric scissors
- Ruler
Step-by-step Guide
Step 1: Cut your jeans into strips about 1 inch wide and 8–10 inches long. Vary the shades and textures for interest.
Step 2: Lay your rope flat and start tying each strip onto it using a simple knot, pushing them tightly together.
Step 3: Continue tying until the rope is fully covered or reaches your desired fullness, then hang it on a fence.
#10. 4th of July Porch Decorating Idea
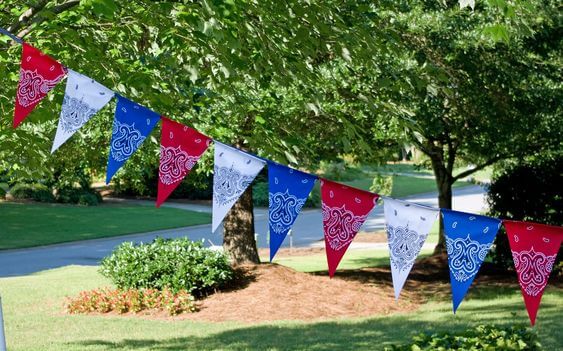
I stitched one for our Fourth of July cookout, and the way it fluttered in the breeze made the whole space feel festive and handmade.
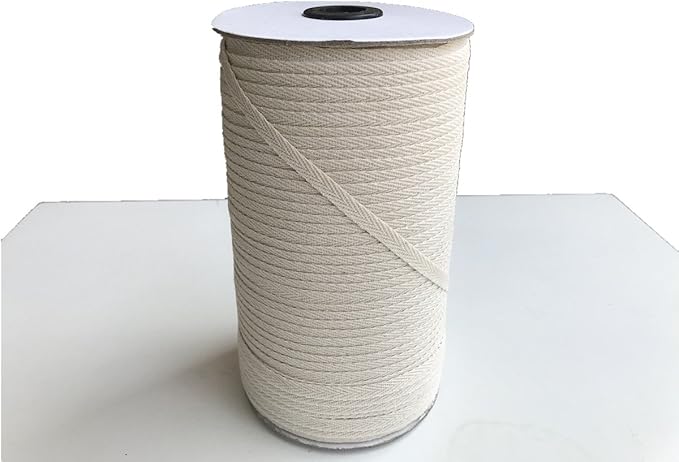
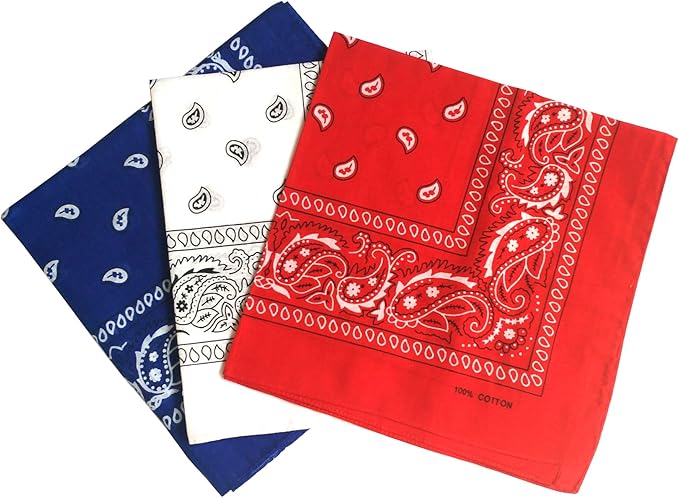
Materials Needed
- 6–9 cotton bandanas (assorted red, white, blue)
- 1 roll of cotton twill tape (8–12 feet)
- Fabric scissors
- Sewing machine
- Pins or clips
Step-by-step Guide
Step 1: Fold each bandana in half diagonally and cut along the fold to create two triangles per bandana.
Step 2: Lay out your string and space the triangles evenly along it, alternating colors.
Step 3: Fold the top edge of each triangle over the string by 1/2 inch and stitch (or glue) in place to secure.
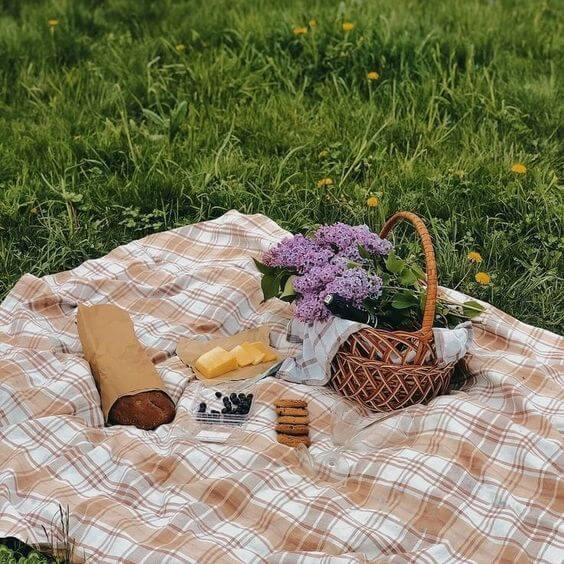
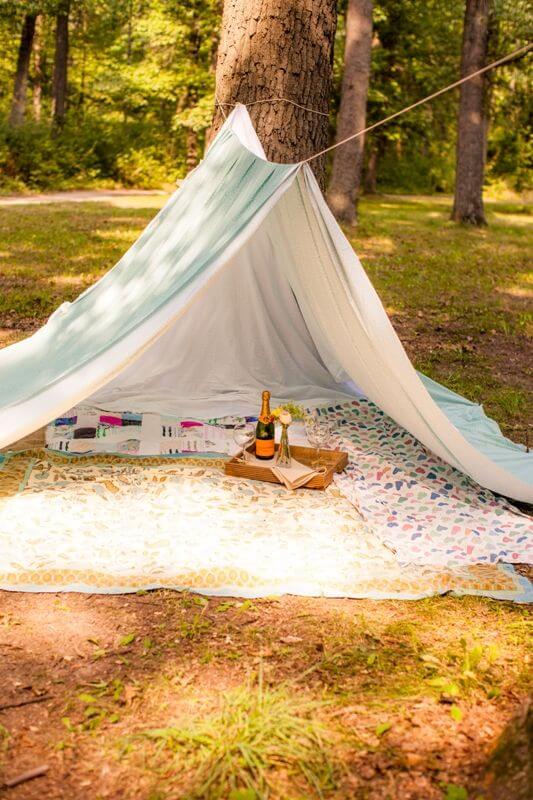
#11. Cheap Picnic Mat
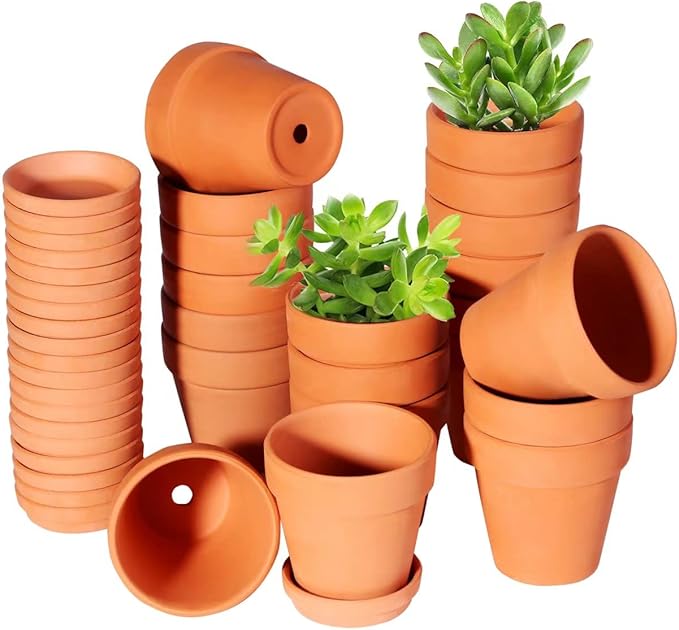
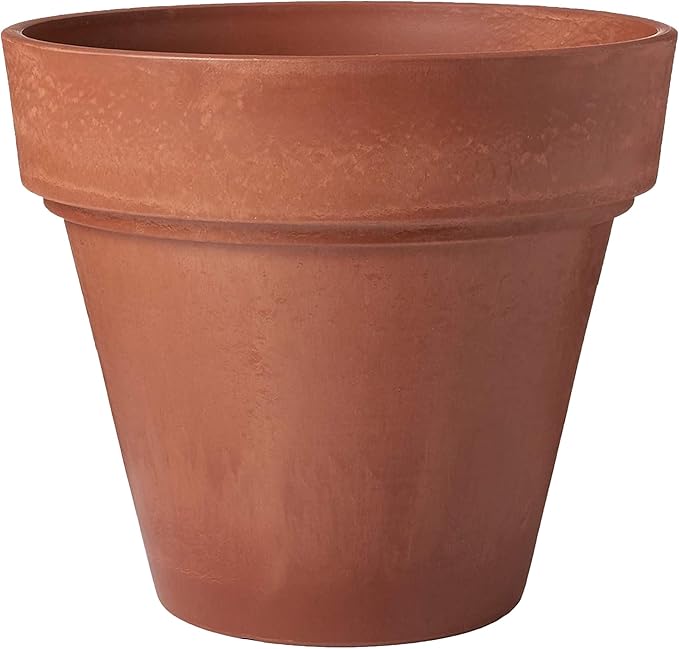
#12. Denim Scraps Flower Pot
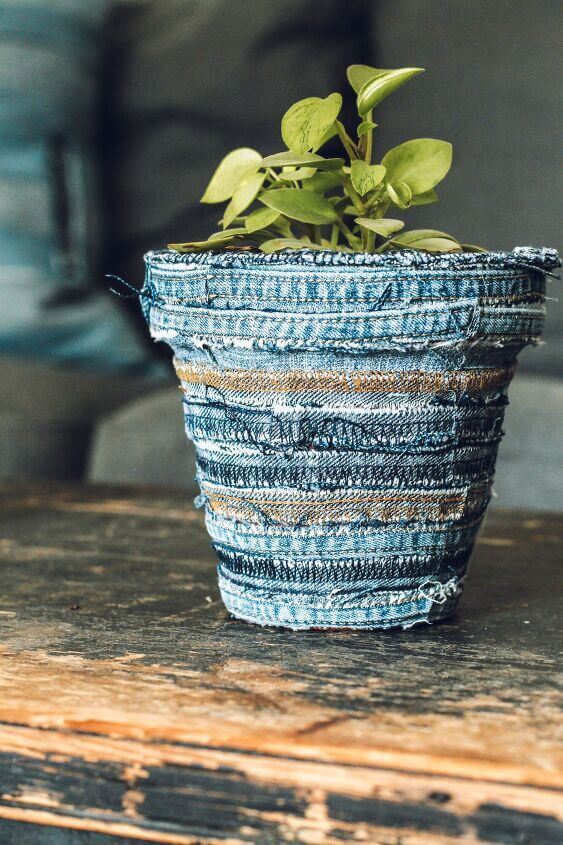
Using just old denim seams, I gave a plain terracotta planter a rugged, textural finish that adds charm to any shelf.
Materials Needed
- 1 terracotta planter (6 inches)
- 10–12 strips of denim seam edges, cut approx. 12″ long and 1/2″ wide
- Hot glue gun and sticks
- Fabric scissors
Step-by-step Guide
Step 1: Start by cleaning the planter’s surface to remove dust or soil. Make sure it’s completely dry.
Step 2: Take your first denim strip and glue the end to the bottom rim of the pot. Begin wrapping it around tightly, securing with hot glue every couple inches.
Step 3: Continue with new strips as needed, slightly overlapping the layers for a patchwork texture until you reach the top.
#13. DIY Vertical Herb Garden

The contrast between denim blue and vibrant green herbs makes it irresistibly charming, and perfect for a sunny kitchen corner or patio wall.
Materials Needed
- 1 pair of old jeans, cut into 3 back pocket sections
- 1 sturdy wood board, approx. 4 ft long
- Screws and screwdriver
- Herb plants or seeds
- Labels and fabric marker
Step-by-step Guide
Step 1: Cut two back pockets from a pair of old jeans, keeping about 2 inches of fabric around each for mounting.
Step 2: Secure each pocket onto the wooden board using screws at the upper corners. Add a drainage hole in the bottom if needed.
Step 3: Fill each pocket with a handful of soil, then plant your herbs. Also, add labels using fabric scraps and a marker.
#14. A Backyard Shady Spot
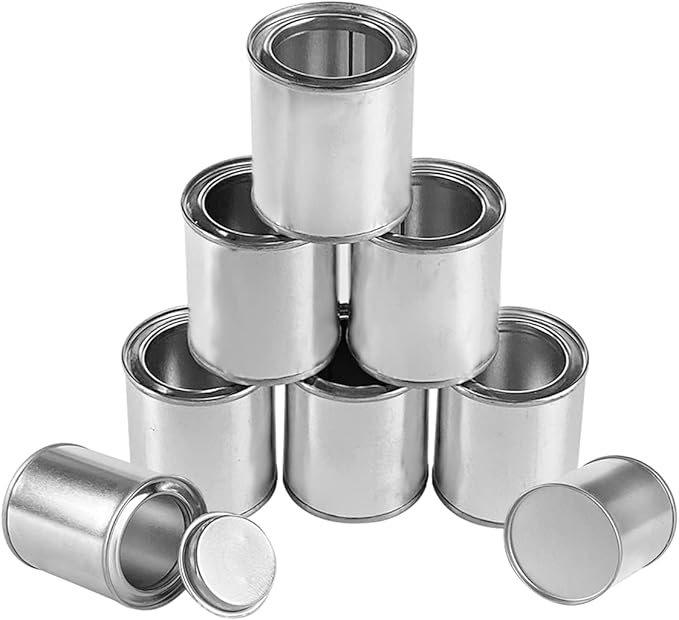
#15. Tin Can Windsock Made With Colorful Fabrics
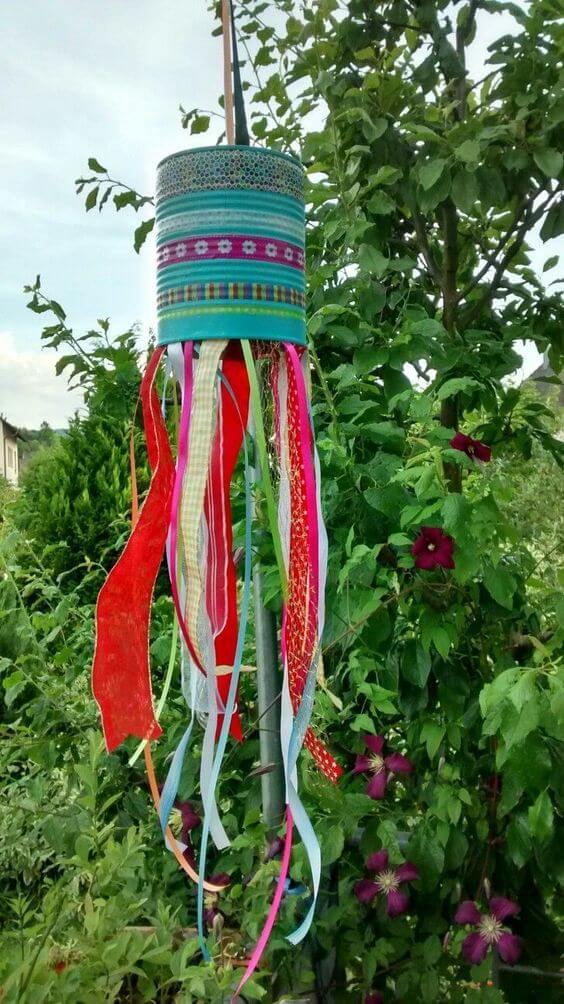
It cost almost nothing to make, but watching it flutter brings more happiness than I expected!

Materials Needed
- 1 clean tin can
- Washi tape in assorted colors
- 10 long fabric ribbons (around 18″ each)
- 6 long ribbons (24” each)
- Hot glue gun and glue sticks
- String or wire for hanging
Step-by-step Guide
Step 1: Cover the tin can with washi tape, then flip the can upside down and glue ribbon strips inside the open rim so they hang freely. Use a mix of textures and lengths for a fuller effect.
Step 2: Poke two holes in the base (now the top) of the can, thread in a piece of wire or string, and tie a knot to create a hanging loop.
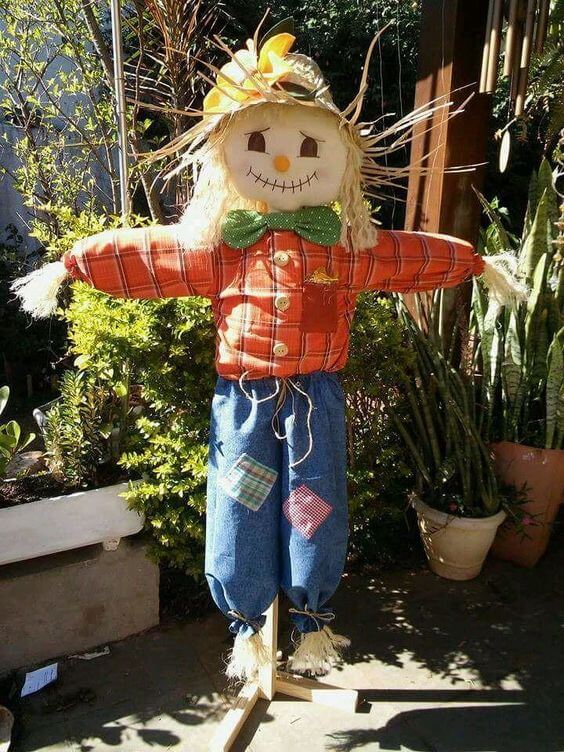
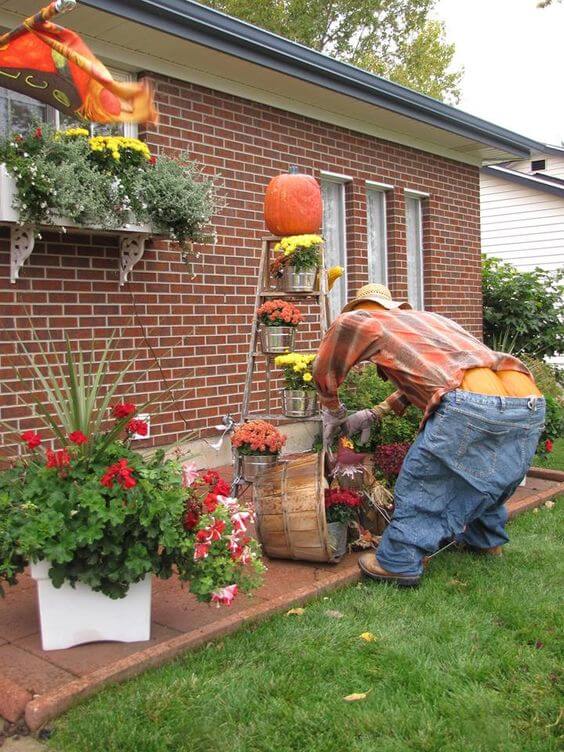
#16. Happy October Decoration
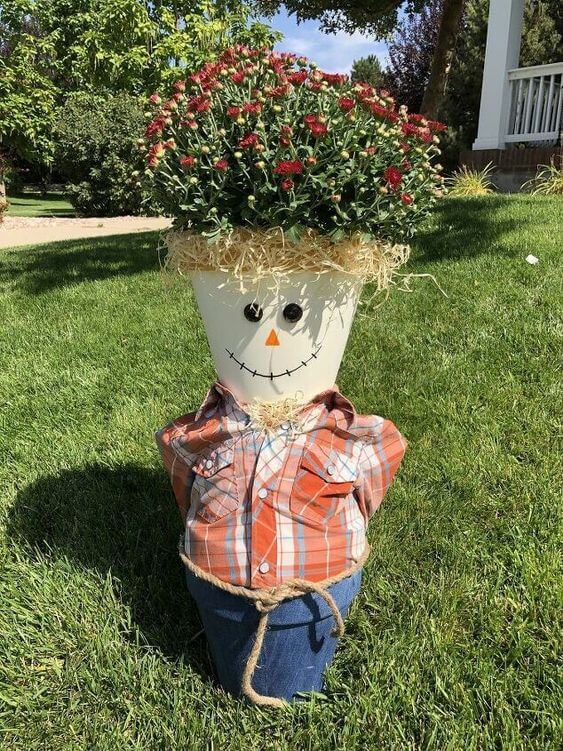
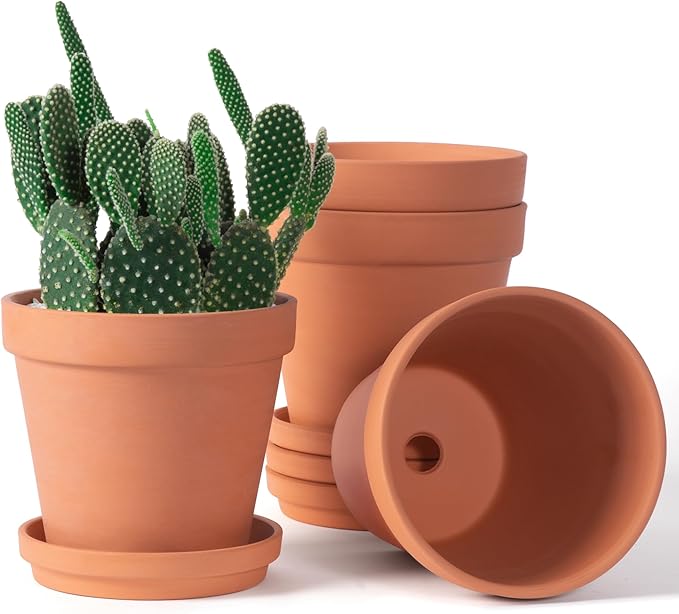
This charming scarecrow planter made from old clothes and a flower pot has become one of my favorite garden decorations.
Materials Needed
- 1 large terracotta flower pot (12 inches)
- 1 old plaid shirt
- Acrylic paint
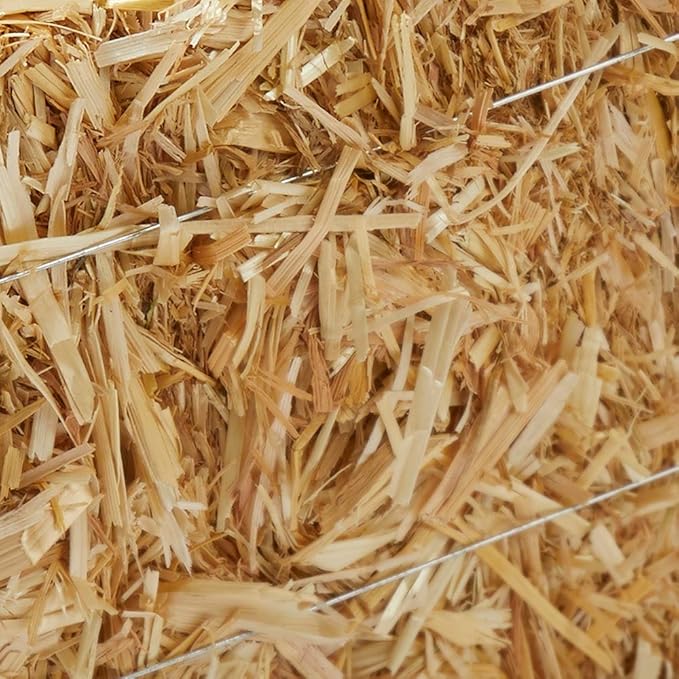
- Straw
- 2 black buttons
- Hot glue gun
- Rope
- Potted flowers (mums or asters)
Step-by-step Guide
Step 1: Dress the flower pot in the old shirt and paint the pot with denim color, stuffing the shirt slightly to give it a fuller shape. Tie the waist with rope to secure it in place.
Step 2: Flip the pot upside down so the base becomes the face. Glue on buttons for eyes, and paint a stitched smile and triangle nose. Let it dry fully.
Step 3: Add straw or raffia around the neckline of the shirt and the top rim of the pot to mimic hair. Use glue or tuck it into the fabric.
#17. Blue Jean Rug

If you enjoy weaving or need a meaningful gift, this one’s worth every stitch.
Materials Needed
- 6–10 pairs of old jeans, various shades
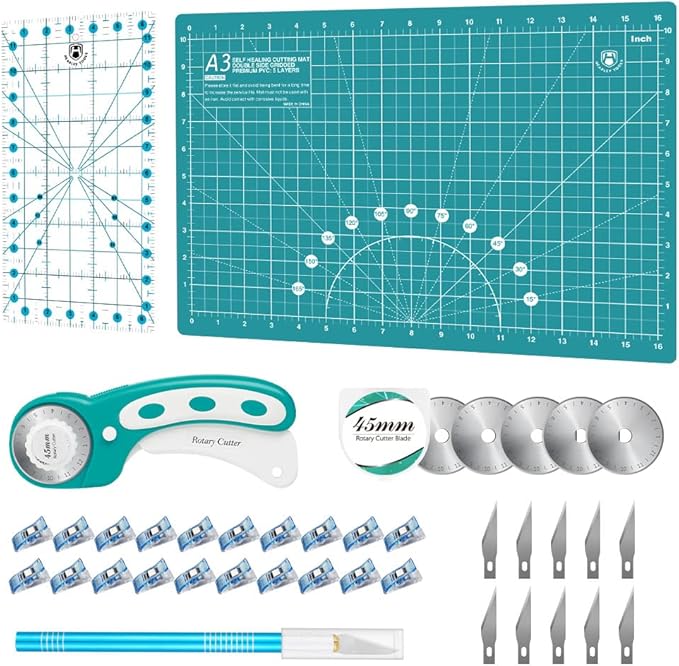
- Rotary cutter
- Cutting mat
- Large weaving loom
- Cotton yarn
- Needle
Step-by-step Guide
Step 1: Cut your old jeans into long, continuous strips, ideally 1 to 1.5 inches wide. Try mixing light and dark denim to create visual interest.
Step 2: Set up your loom with strong cotton warp threads spaced tightly. The length depends on how long you want your rug to be.
Step 3: Begin weaving the denim strips over and under the warp threads, alternating direction with each row. Pack the strips snugly using your shuttle or hands.
Step 4: Continue weaving until you reach the desired length. Knot the warp threads at the ends and trim excess.
#18. Make Outdoor Garden Privacy Screen
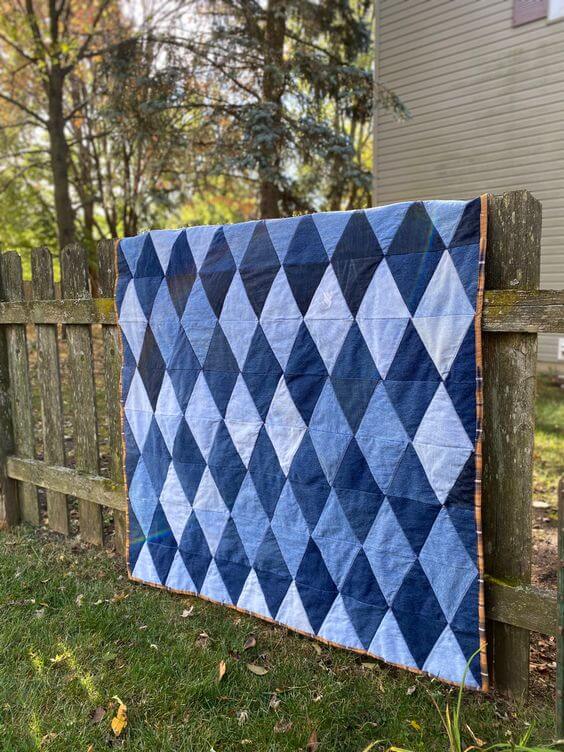
Perfect for cozy picnics or rustic bedroom decor, it’s a long but rewarding sewing journey for anyone who loves meaningful crafts.
Materials Needed
- 10 pairs of old denim jeans
- Rotary cutter
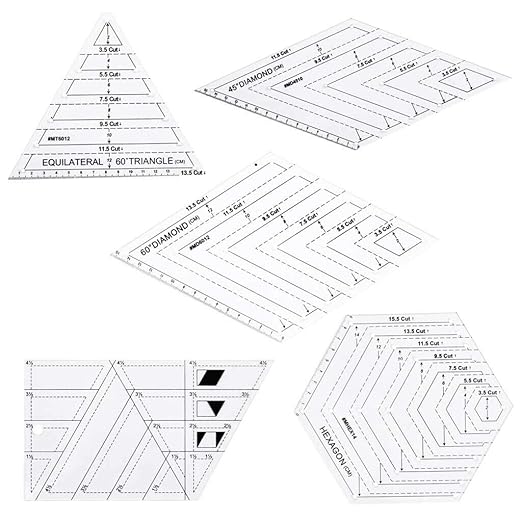
- Diamond quilt template (or make your own ~5″x8″)
- Quilting pins and sewing clips
- Heavy-duty thread
- Sewing machine
- Soft quilt backing fabric, 60″x60″
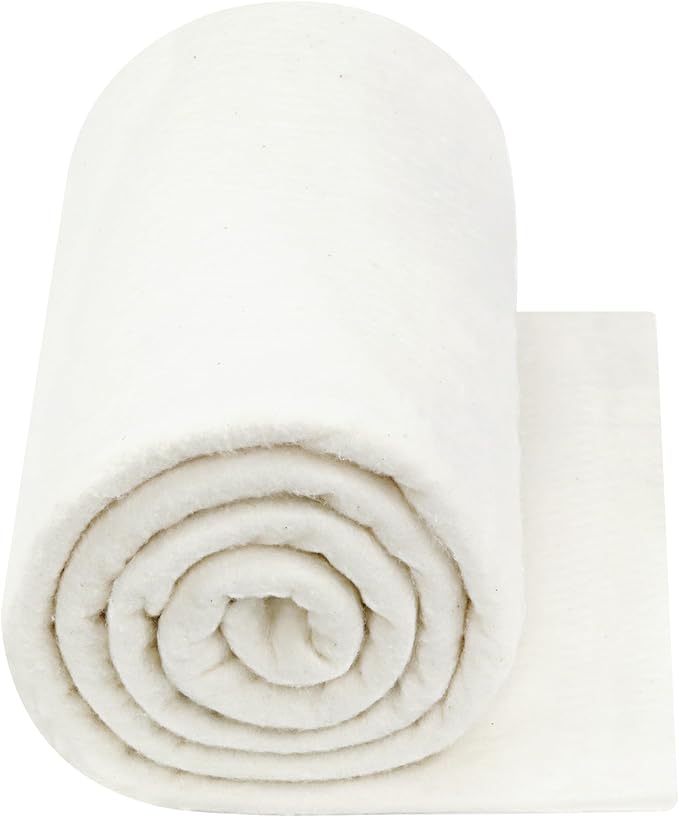
- Optional: thin cotton batting
Step-by-step Guide
Step 1: Use your diamond template to trace and cut uniform shapes from your jeans, avoiding thick seams. Aim for 80–100 pieces depending on quilt size.
Step 2: Arrange the diamonds in a gradient or checkered pattern before sewing. Play around with light and dark denim to create depth.
Step 3: Sew diamonds into rows, aligning points carefully. Press seams open, then join rows to complete the top layer.
Step 4: Layer your quilt top with optional batting and your chosen backing. Pin all layers, then stitch along diamond seams (or in-the-ditch style).
#19. DIY Denim Waistband Cushion
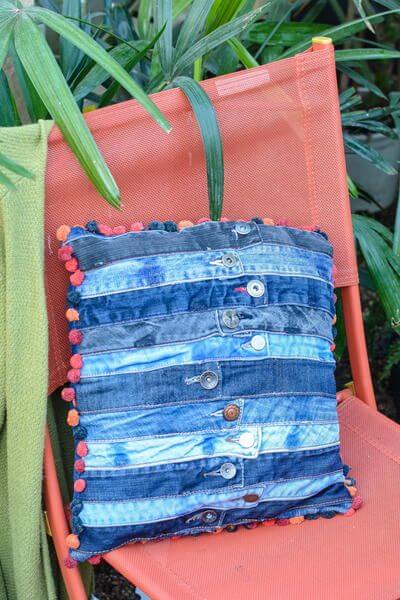
Each strip carries character – buttons, seams, and stitching from past pairs that now add charm to a cozy outdoor or indoor setting.
Materials Needed
- 5–7 old denim waistbands or strips, 16″ wide
- One 16″x16″ pillow insert
- Backing fabric, 16″x16″
- Sewing machine
- Heavy-duty thread
- Optional: pom-pom trim
- Pins and fabric scissors
Step-by-step Guide
Step 1: Cut out the waistband or button-fly sections from various jeans. Trim them to match the 16″ pillow width. Arrange them vertically or horizontally depending on your style.
Step 2: Pin each strip onto a 16″x16″ denim backing base. Overlap slightly and sew each in place using a straight stitch across both edges.
Step 3: Once the front is done, place it right sides together with your backing fabric. If adding pom-pom trim, sandwich it between the layers before sewing.
Step 4: Sew all four sides, leaving a 5″ opening. Turn the cover right-side out, insert the pillow, and hand-stitch the opening closed.
#20. Outdoor Chair
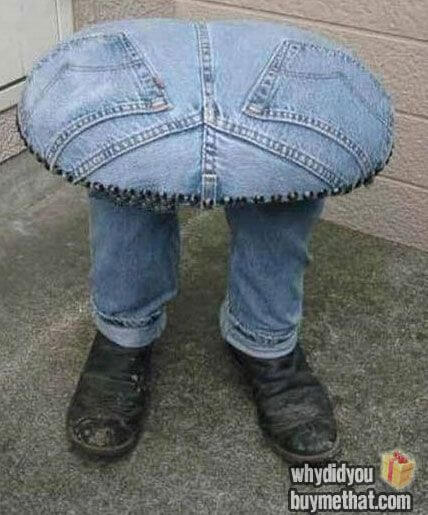
This unforgettable denim stool is a fusion of humor and handy reuse, especially fun for workshops, man caves, or porch seating.
Materials Needed
- 1 old pair of jeans
- 1 pair of worn-out shoes
- 1 round padded stool base, approx. 16″
- Staple gun and staples
- Hot glue gun
- Optional: pom-pom trim
- Scissors, needle, thread, and light stuffing
Step-by-step Guide
Step 1: Cut the jeans about 6 inches above the knees. Stuff the pant legs lightly to keep the legs upright and sew them closed at the top.
Step 2: Pull the top portion of the jeans over the round stool cushion snugly. Trim and staple the fabric under the seat. Make sure the back pockets face up.
Step 3: Attach the pant legs beneath the cushion so they hang down naturally. Hot glue the bottom of each leg into an old shoe to finish the “standing” illusion.
Step 4: Add pom-pom trim around the seat edge for flair (optional), and you’ve got yourself a funny, funky stool that no one will forget.
#21. A Lovely Scarecrow
Turning old clothes into a smiling scarecrow brings charm to your garden and joy to anyone passing by.
Materials Needed
- 1 old long-sleeved shirt
- 1 pair of jeans
- 1 pillowcase
- 1 large wooden stake
- Raffia
- Buttons, felt fabric, glue, needle & thread
- Twine or rope, old fabric scraps
Step-by-step Guide
Step 1: Stuff the pillowcase with straw or filling to create the head. Sew or glue on felt eyes, a triangle nose, and a stitched mouth for that classic scarecrow smile. Secure it to the top of the stake.
Step 2: Dress the scarecrow by sliding the shirt and jeans onto the stake. Stuff the sleeves and pants with raffia to plump them out and tie the ends with twine.
Step 3: Sew or glue colorful fabric patches onto the jeans. Add a bowtie or buttons for a fun, personal flair.
Step 4: Top it off with a straw hat or flowers for hair, and position your scarecrow proudly in the garden to keep pests away.
#22. An Outstanding Garden Decoration
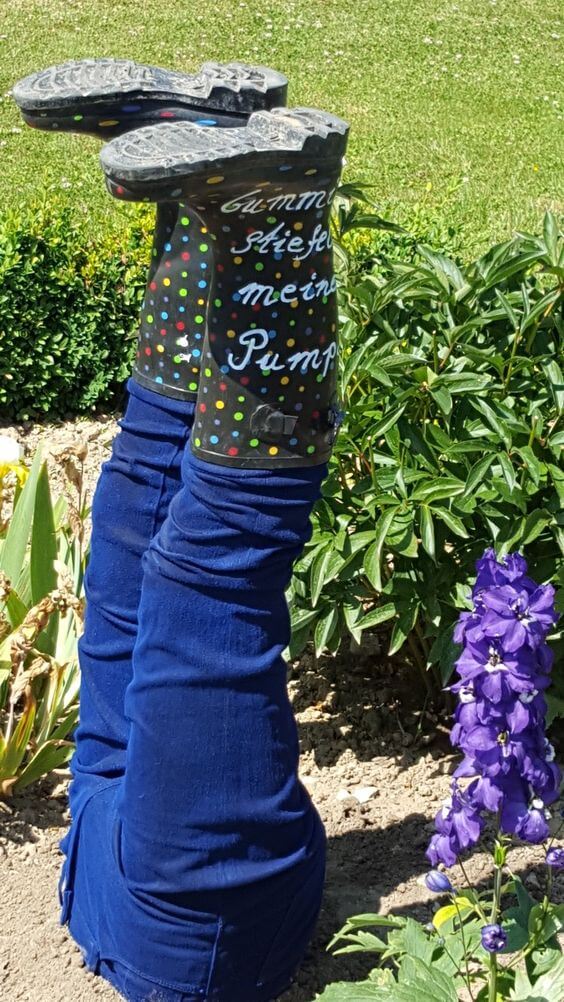
This project brings laughter and whimsy to my yard, and it’s a fantastic way to reuse old pants and rubber boots collecting dust in the closet.
Materials Needed
- 1 pair of old pants
- 1 pair of colorful rubber boots
- 2 PVC pipes (approx. 2–3 ft each)
- Straw
- Optional: Acrylic paint and paint pen
- Garden stake
Step-by-step Guide
Step 1: Insert one piece of PVC pipe into each pant leg for structure. Stuff the legs with straw around the rods to give them shape.
Step 2: Slide each leg into a boot. You can secure them with glue or stuff extra material into the boots for a snug fit.
Step 3: Insert the legs upside-down into your garden soil or flowerbed, pushing the rods into the ground for stability. Adjust the legs so they tilt slightly for a realistic falling effect.
#23. Halloween Decor
Using a flannel shirt and a tired pair of jeans, I created a life-sized gardener caught mid-task.
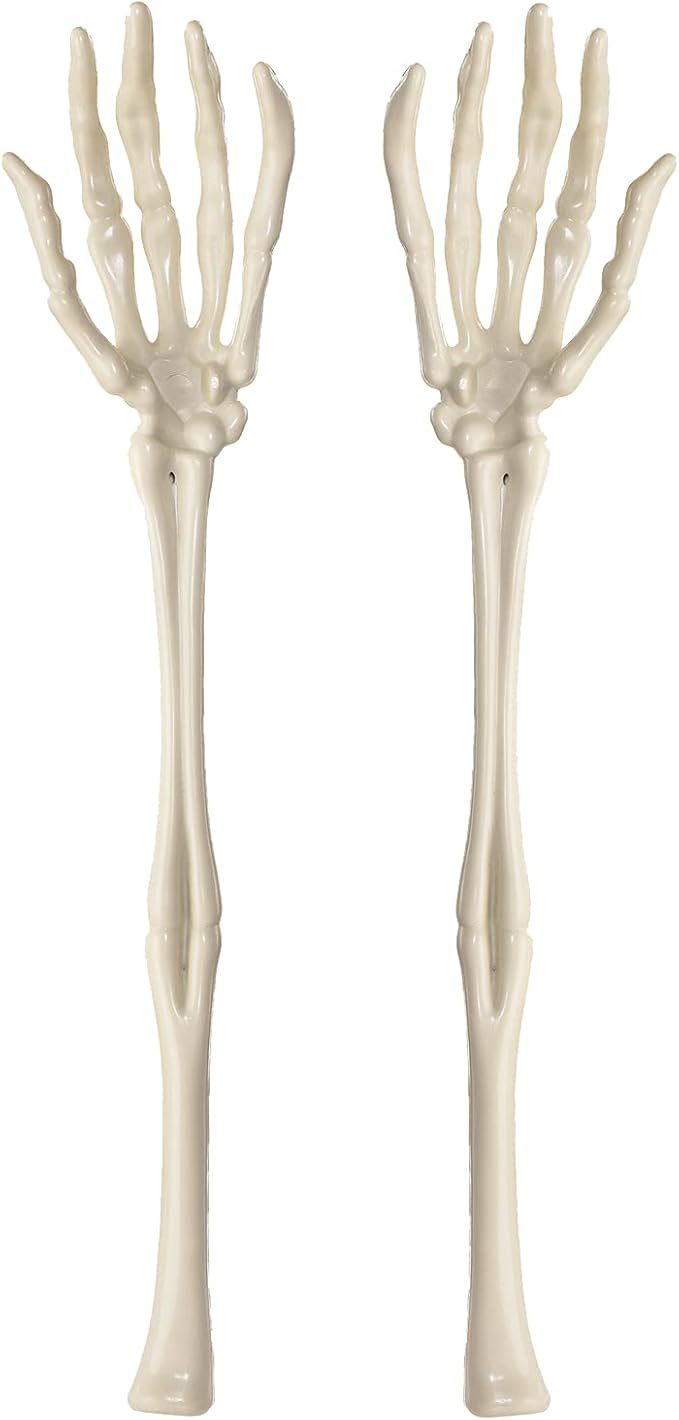
Materials Needed
- 1 old flannel shirt
- 1 pair of worn-out jeans
- Straw
- Plastic skeleton arms or gloves
- PVC pipe
- Hat, belt, and old boots
Step-by-step Guide
Step 1: Insert PVC pipe into each pant leg and stuff with straw or crumpled paper. Repeat with the shirt, attaching to the pants with hot glue or wire.
Step 2: Add old boots and gloves to complete the limbs. Stuff them too for a fuller look.
Step 3: Lean the entire figure forward against a garden bed or raised planter. Use stakes or hidden wires to hold it in place.
Step 4: Top it with a straw hat, add a plastic flower basket, and give him a trowel or tool in hand for that busy-gardener feel.
#24. DIY Outdoor Table
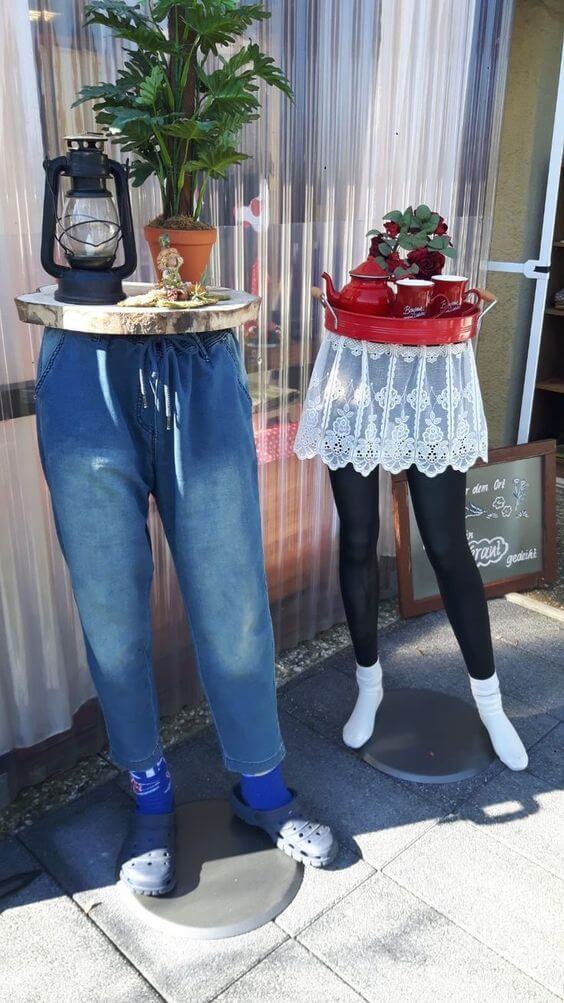
Turning old pants and leggings into eccentric side tables is one of those delightfully odd projects that brings out your inner artist.

Materials Needed
- 1 pair of old jeans
- 1 pair of leggings
- 2 round tabletops
- PVC pipe
- Expanding foam
- Hot glue gun and glue sticks
- Accessories like apron lace, Crocs, or socks
Step-by-step Guide
Step 1: Insert PVC pipe into the pant legs to serve as legs for the structure. Stuff them tightly with expanding foam or filling to ensure they stay upright.
Step 2: Secure the ends with shoes for added realism and stability. You can hot glue the shoes onto flat wood or metal bases.
Step 3: Hot glue or screw the wooden tabletop to the waistline of the pants and tights. Add accessories like a lace apron, tray, or even a potted plant on top.
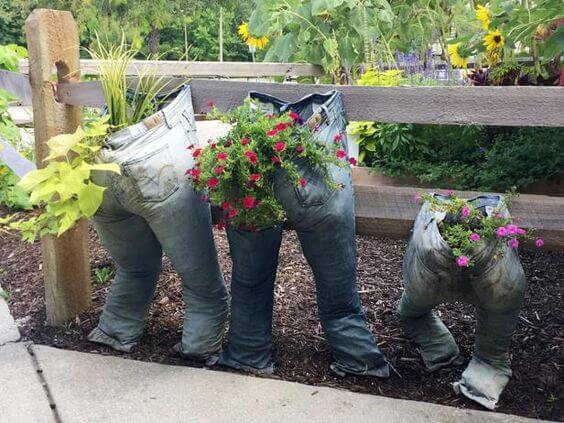
#25. A Unique Garden Fence
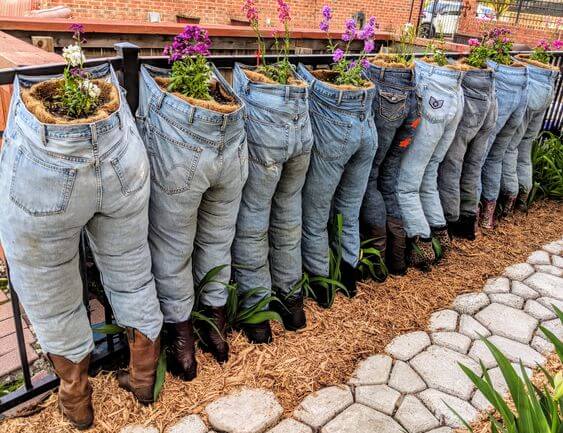
If you’re ready to stop traffic in your garden (or at least get your neighbors talking), this row of upcycled jeans-turned-planters is the way to do it.
Materials Needed
- 8–12 pairs of old jeans
- 8–12 pairs of old boots
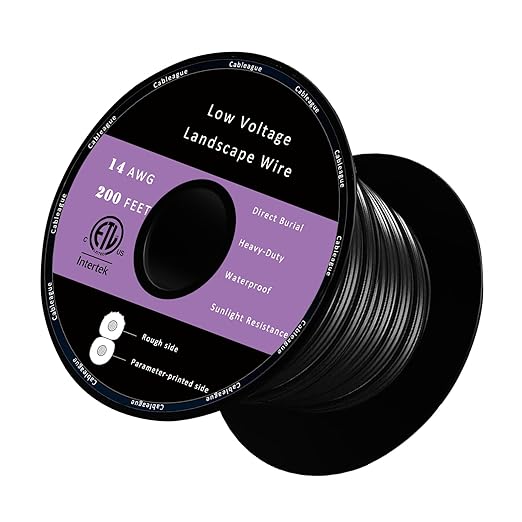
- 1 roll of landscape wire
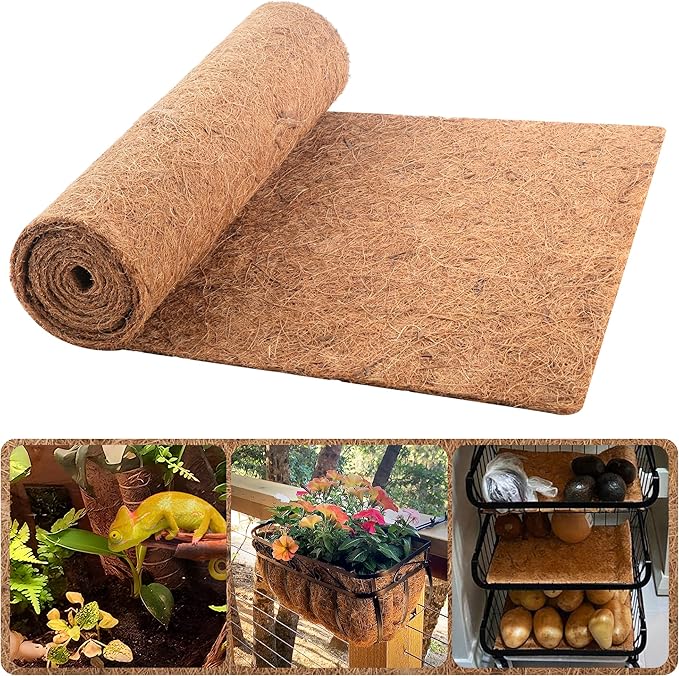
- Coco liner
- 1 large bag of potting mix
- Assorted trailing flowers
Step-by-step Guide
Step 1: Stuff the legs of each pair of jeans with newspaper, coco liner, or straw so they stay upright and hold their shape.
Step 2: Insert a coco liner into the top of each pair, fold over the waistband, and fill with potting soil. Make sure to poke drainage holes through the jeans’ bottom if they’re sealed.
Step 3: Plant your flowers directly into the soil-filled jeans, then line the jeans side by side along a fence or railing.