Almost every house has candles for both practical and decorative purposes, as the candle’s subtle flame always draws all eyes. Their enduring appeal makes them one of the great gifts for all occasions, from parties to holidays.
While candle options are plentiful, the candle holder is in contrast. You probably displayed the same matched candleholders at the center of your holiday spread for years. But there are other options!
And in the article today, we will share the best DIY candle holder ideas. With these ideas, you can find new ways to display candles with a few simple tools and a quick trip from the kitchen.
These DIY projects are both inexpensive and great for beginners to make their own decorations. There are options for every style and type of decor, so if you love these ideas, try some for your next special day.
This article contains affiliate links. If you purchase through them, I may earn a small commission at no extra cost to you. Thank you for your support!
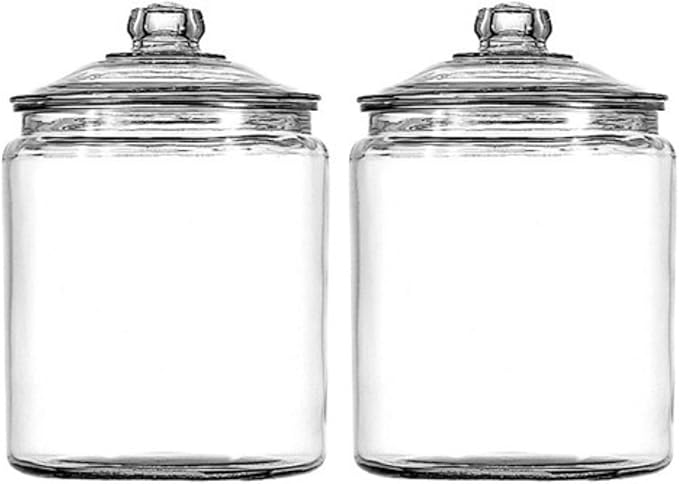
#1. Mason Jar Candle Holders
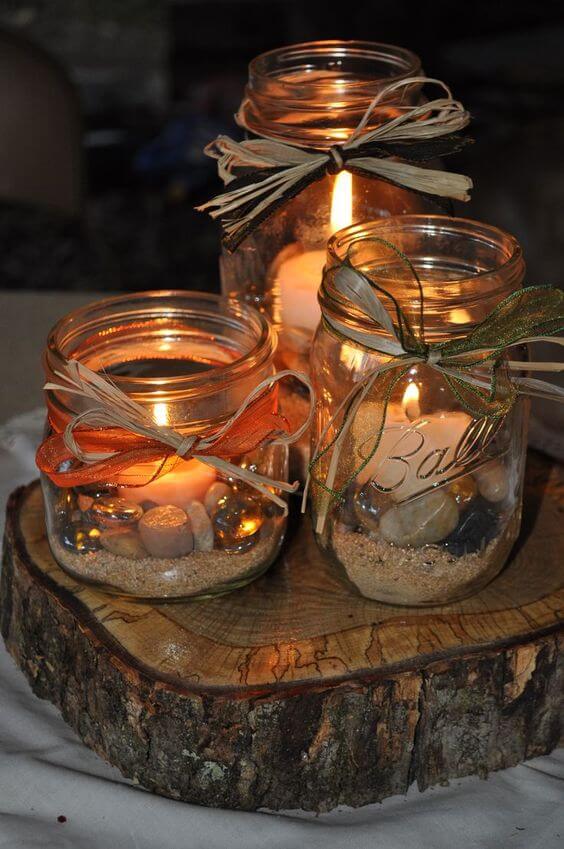
I made one of these for our backyard table, and I still light it up whenever guests come over.
 SHOP GLASS MASON JARS
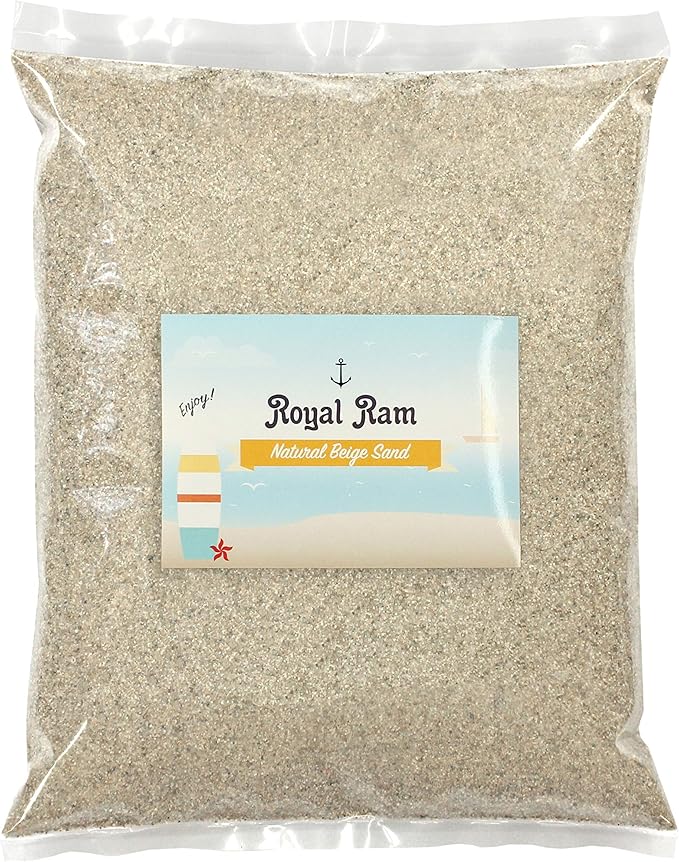 SHOP SAND
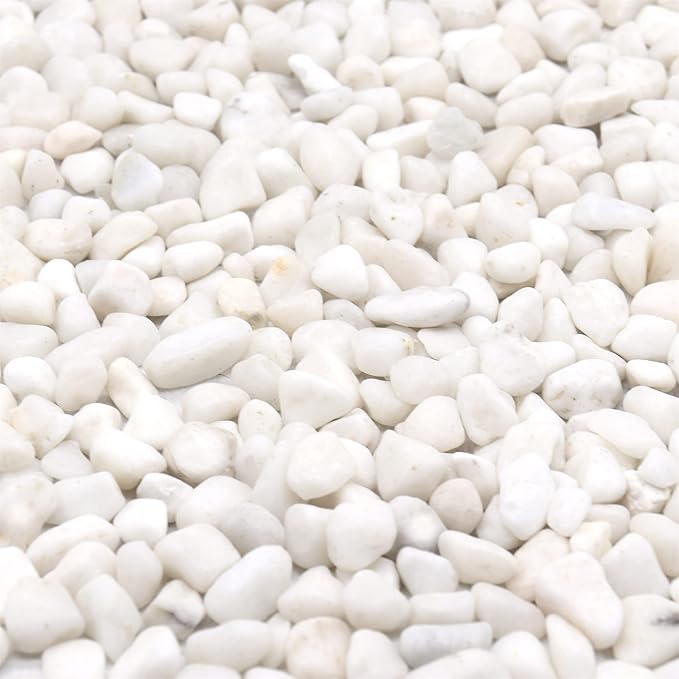
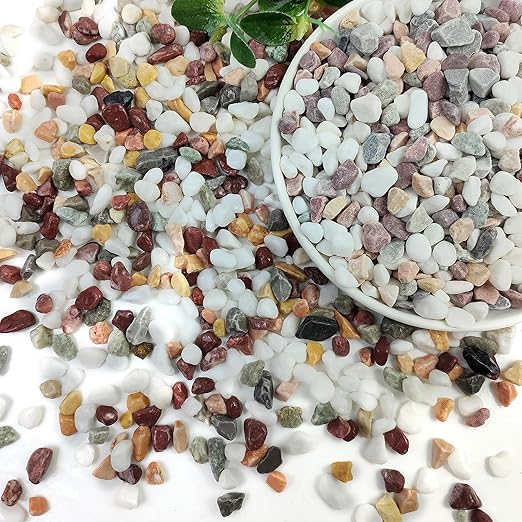 SHOP RIVER ROCKS
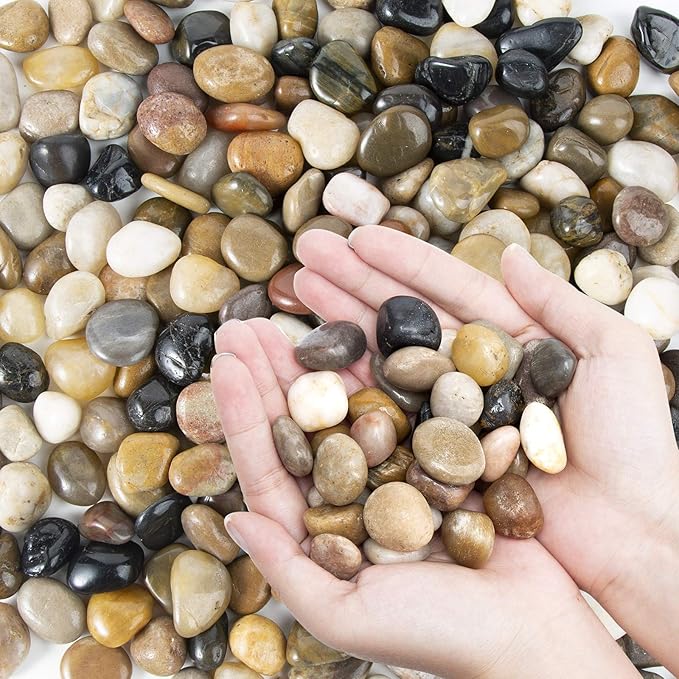 SHOP PEBBLES
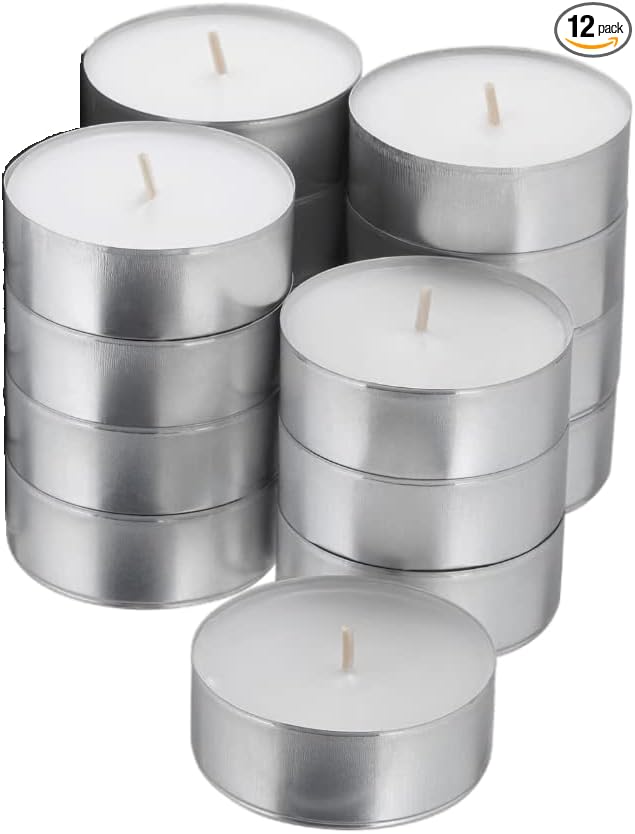 SHOP TEA LIGHT CANDLES
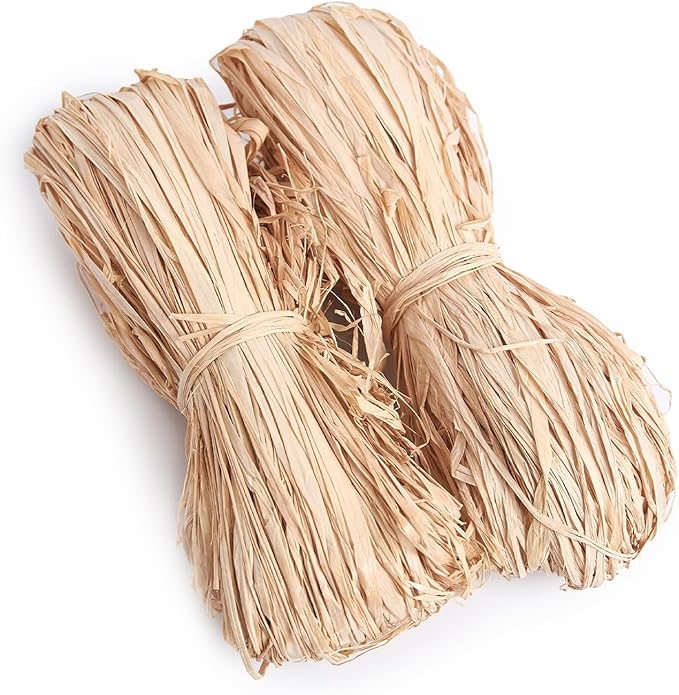 SHOP RAFFIA RIBBON
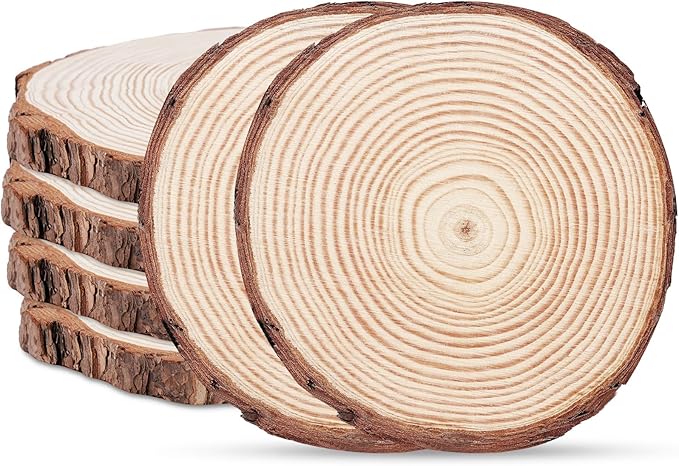 SHOP WOOD SLICE BASE
Materials Needed
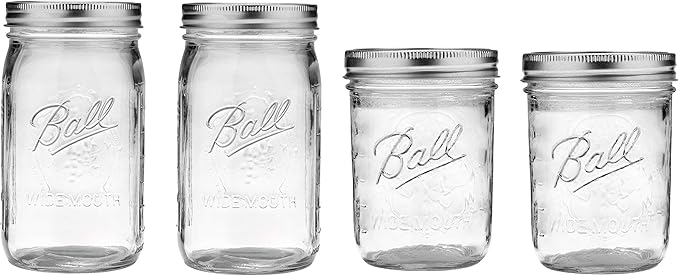
- Glass mason jars (any size, 3 recommended)
- Sand (about 1/4 cup per jar)
- River rocks or pebbles
- Tea light candles
- Raffia ribbon
- Optional: wood slice base
Step-by-step Guide
Step 1: Pour sand into the bottom of each jar, about an inch deep. Add a handful of small river rocks on top.
Step 2: Nestle a tea light candle in the center so it sits snugly within the filler.
Step 3: Wrap raffia or twine around the top rim of each jar and tie a decorative bow. You can mix ribbon textures for variety.
Step 4: Optional: Arrange the finished jars on a natural wood slice for an earthy, centerpiece-style display.
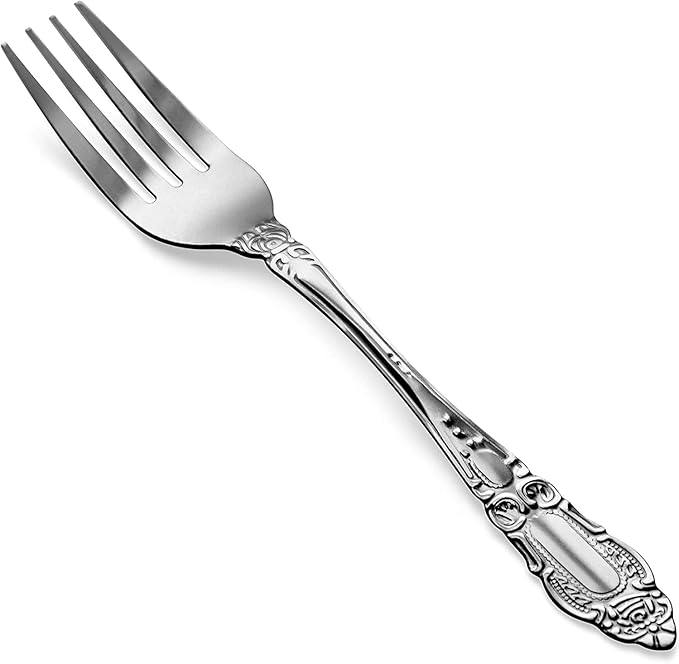
#2. Old Fork As Candle Holder
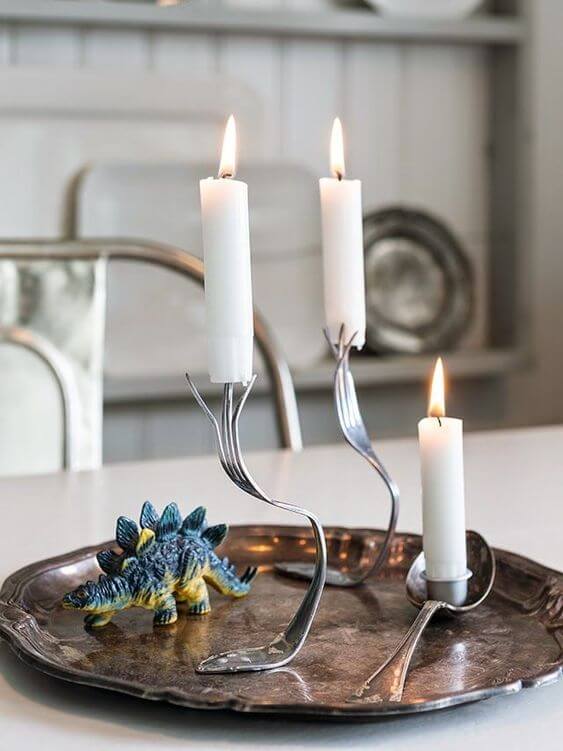
If you’re into quirky, bold, and slightly Mad Hatter–esque decor, this twisted silverware candle holder is pure joy. It’s sculptural, industrial, and totally unexpected.
 SHOP STAINLESS STEEL FORKS
 SHOP STAINLESS STEEL SPOON
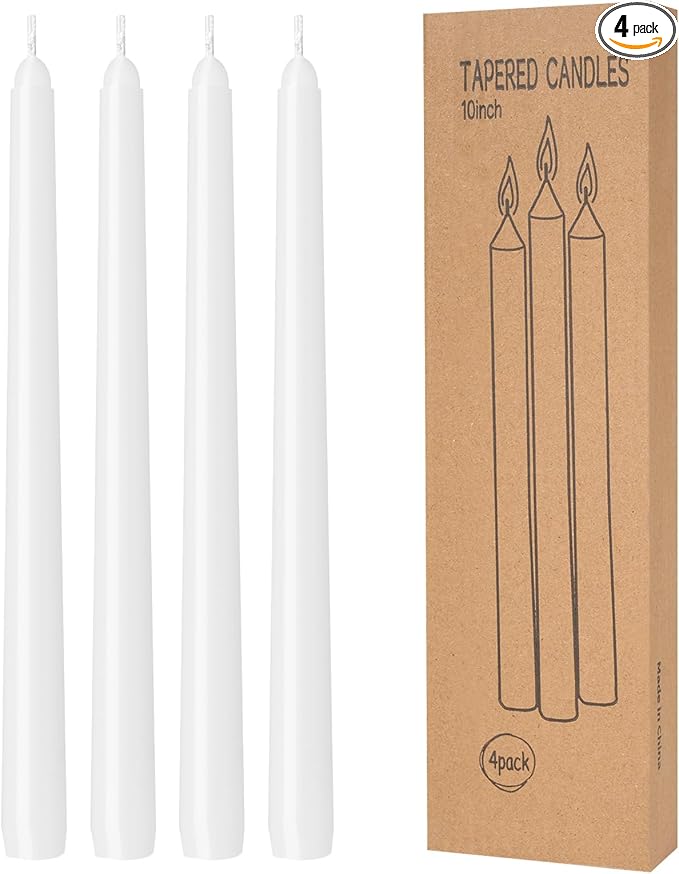 SHOP TAPER CANDLES
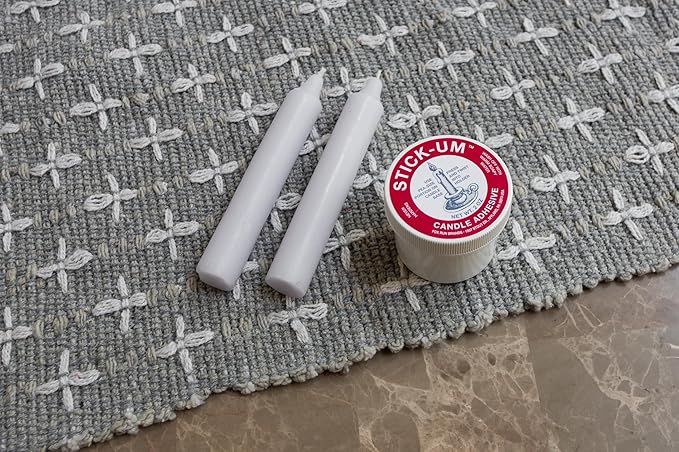 SHOP CANDLE ADHESIVE
 SHOP SILVER SERVING TRAY
Materials Needed
- 2 stainless steel forks (dinner size, 7.5 inches)
- 1 stainless steel spoon (7 inches)
- 3 taper candles (standard 3/4 inch base)
- Candle adhesive or wax dots
- Pliers or a bench vise
- Optional: Silver serving tray
- Optional: Protective gloves
Step-by-step Guide
Step 1: Firmly grip a fork with pliers and slowly bend the handle backward to create a U-shape for stability. Twist the tines upward to cradle the candle securely. Repeat for each fork and spoon.
Step 2: Press the bottom of each taper candle onto a small dab of candle adhesive, then position it into the prongs of each fork or the bowl of the spoon.
Step 3: Arrange the silverware candle holders on a metal tray for added stability and style.
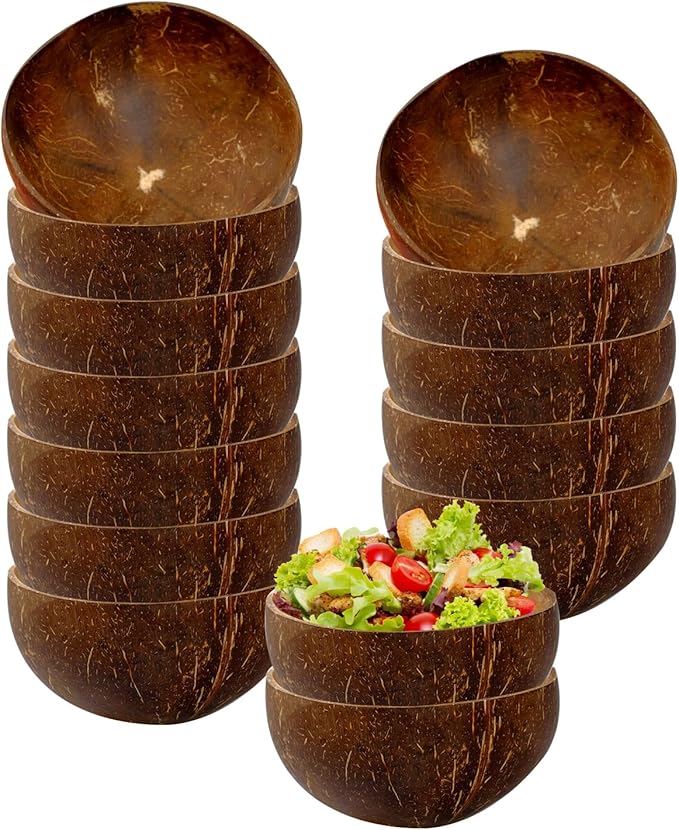
#3. Coconut Shell Candle Holders

The subtle grain of the coconut shell and clean white soy wax glow warmly, while the wooden wick adds a gentle crackle.
 SHOP COCONUT SHELLS
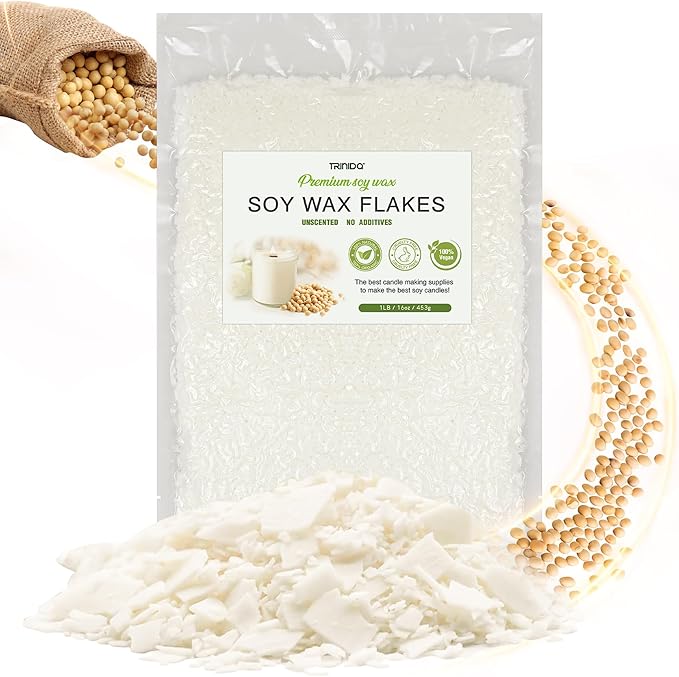 SHOP SOY WAX FLAKES
 SHOP WOODEN CANDLE WICKS
 SHOP ESSENTIAL OIL
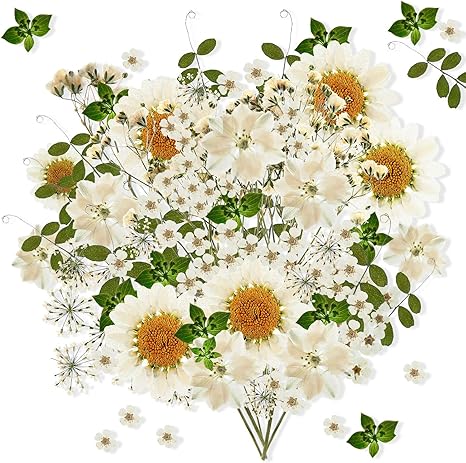 SHOP DRIED FLOWERS
 SHOP BLACK METAL CANDLE HOLDERS
 SHOP POURING PITCHER
Materials Needed
- 1–2 coconut shells (cut in half, cleaned, ~4.5–5” diameter)
- 1 lb soy wax flakes
- 2–3 wooden candle wicks with metal bases (3.5” tall)
- Essential oil of choice (e.g. lavender or coconut)
- Dried flowers
- Black metal candle holders (optional)
- Hot glue gun if needed
- Pouring pitcher
Step-by-step Guide
Step 1: Melt soy wax in a double boiler or microwave-safe pitcher until fully liquid. Add 15–20 drops of essential oil per 8 oz of wax.
Step 2: Hot glue the metal base of your wooden wick to the center of the coconut shell. Pour in the melted wax slowly, leaving a bit of space at the top.
Step 3: Let the wax set fully (at least 3 hours). Once hardened, gently press floral embellishments into the wax rim or glue them to the shell edge.
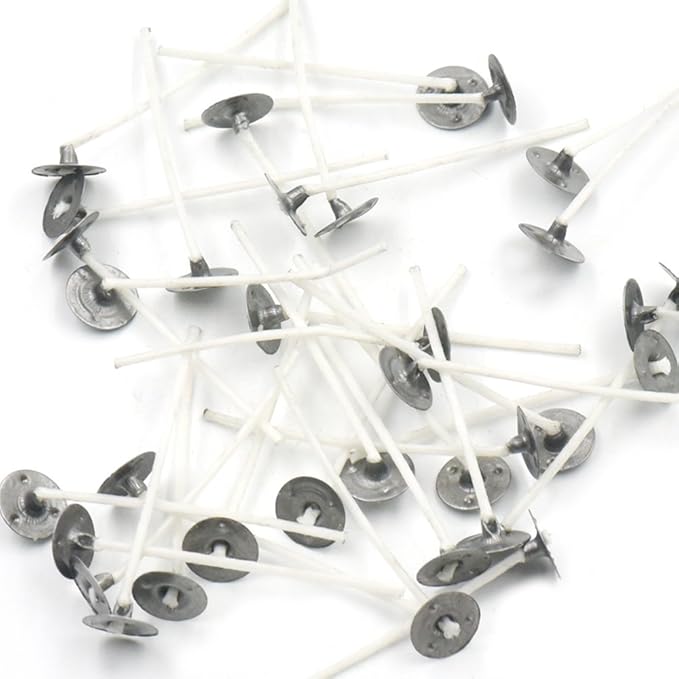
#4 Eggshell Candle Holders
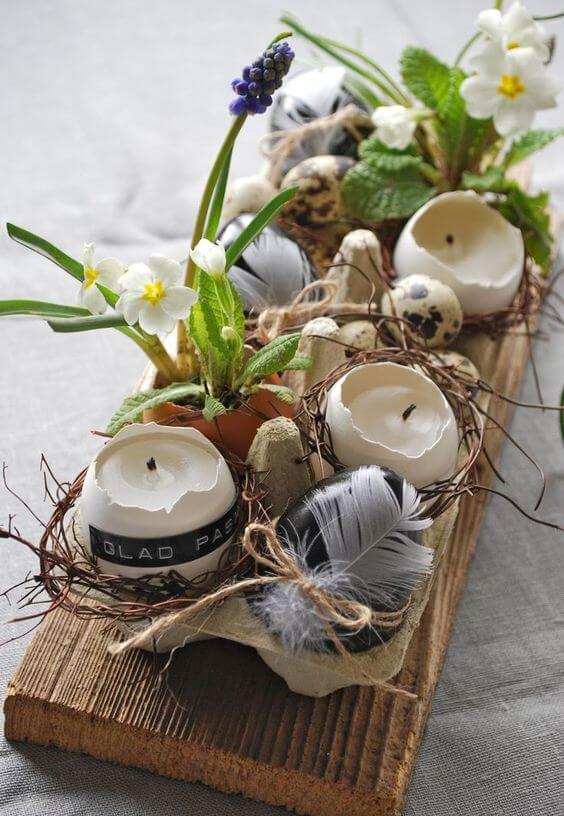
This whimsical egg candle holder idea brings springtime magic straight to your table. I made a similar setup last Easter, and it instantly became the conversation piece.
 SHOP CANDLE WICKS
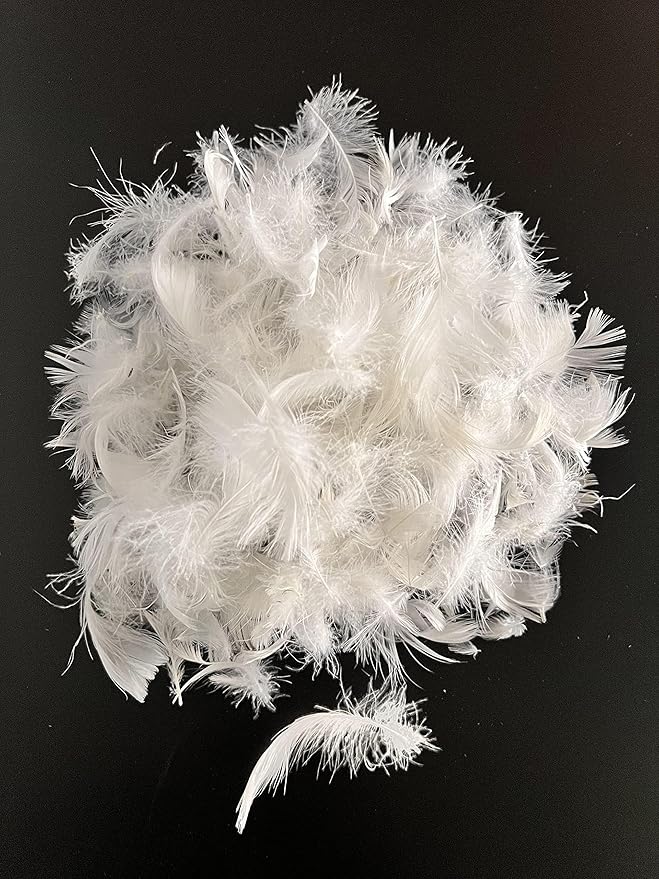 SHOP FEATHERS
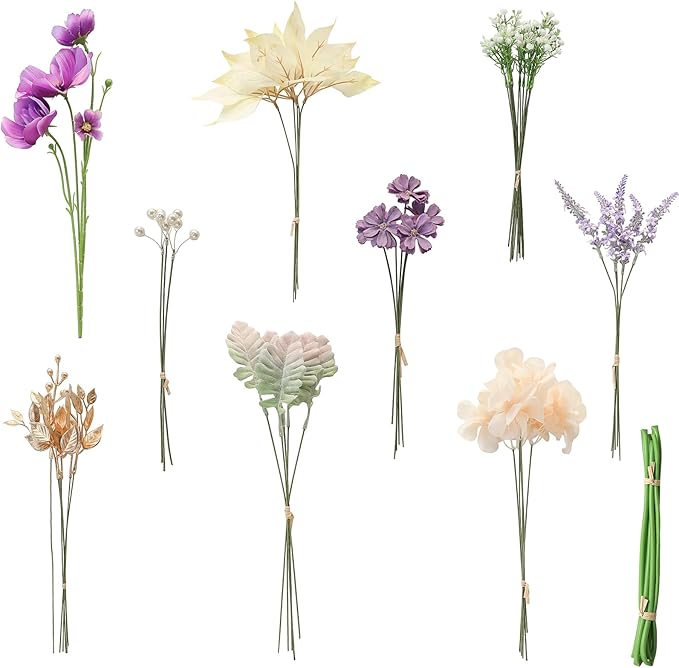 SHOP SMALL SPRING FLOWERS
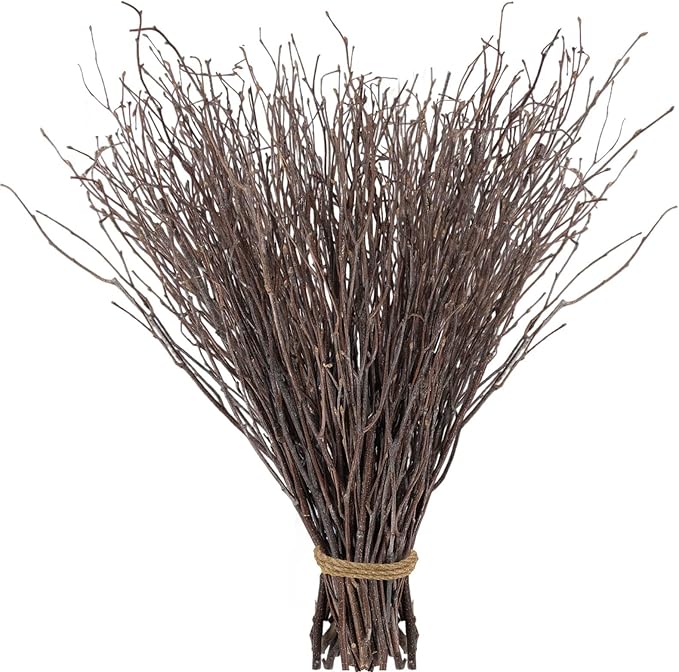 SHOP SMALL TWIGS
 SHOP WOODEN TRAY
Materials Needed
- 4–6 empty eggshell halves (cleaned and dried)
- 1 lb soy wax flakes
- Small candle wicks (1–1.5” cotton or wood)
- Empty egg carton (paper pulp)
- Feathers or faux quail feathers
- Small spring flowers (real or artificial)
- Natural raffia or small twigs
- Hot glue gun (optional)
- Wooden tray or plank base (~14” long)
Step-by-step Guide
Step 1: Carefully fill each cleaned eggshell with melted soy wax and center a small wick. Let the wax cool and harden completely.
Step 2: Arrange the eggshells back into the carton or secure them with glue for added stability. Nestle feathers and raffia around each one to mimic a cozy bird nest.
Step 3: Decorate the empty spaces with spring flowers, moss, or faux quail eggs. Set the entire carton on a wooden plank or tray for a natural, finished display.
#5. Citrus Candles
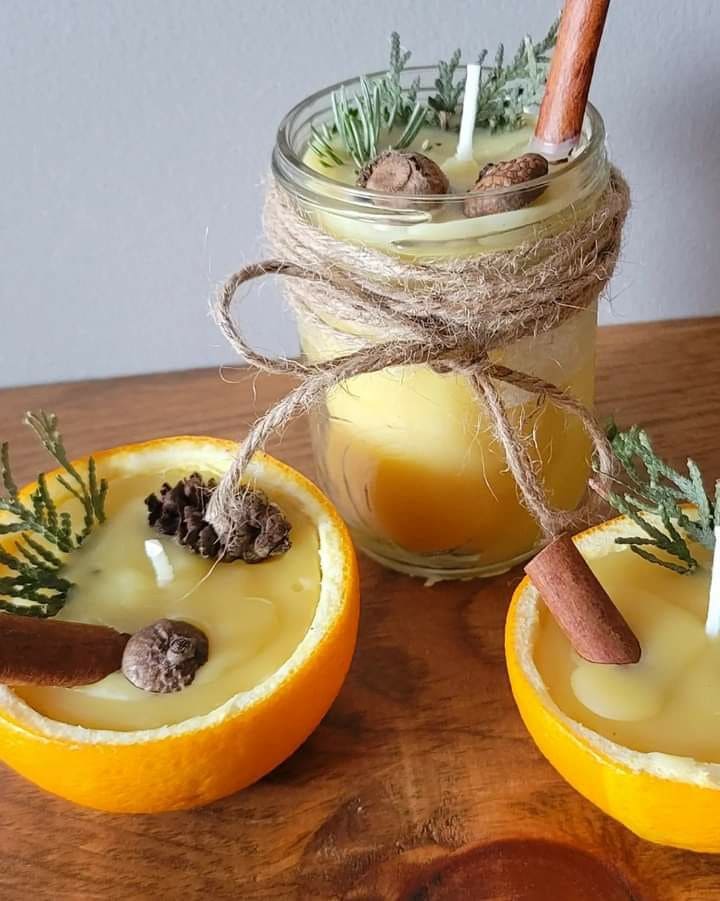
I made these once after a brunch party when we had leftover oranges, and the aroma while melting wax alone felt like a calming spa moment.
Materials Needed
- 2–3 fresh oranges (medium size)
- 1 cup soy wax flakes
- 2–3 small cotton candle wicks (1.5–2 inches)
- Essential oil (optional – orange, clove, or cinnamon)
- Cinnamon sticks, pinecones, or greenery
- Double boiler or microwave-safe pitcher
Step-by-step Guide
Step 1: Slice the oranges in half and gently scoop out the fruit. Pat the insides dry with a paper towel to prevent moisture issues.
Step 2: Melt the soy wax using a double boiler or microwave in short bursts. Add a few drops of essential oil for a natural fragrance boost.
Step 3: Place a wick in the center of each orange peel half, pour in the melted wax carefully, and gently press in any decorative add-ins. Let cool completely before lighting.
#6. Apple Candle Holders

Whether you’re hosting Thanksgiving dinner or just need a warm, rustic glow, these apple candle holders never disappoint.
Materials Needed
- 3 large red apples (firm, round ones like Gala or Honeycrisp)
- 3–5 tea light candles (1.5-inch diameter)
- 1 small paring knife or melon baller
- Lemon juice (optional)
- Decorative tray, greenery, or berries (optional)
Step-by-step Guide
Step 1: Slice a thin layer off the bottom of each apple so they sit flat without wobbling. Use a paring knife or melon baller to carve out a hole just wide and deep enough for the tea light.
Step 2: If you want to slow the browning process, dab the carved area with a bit of lemon juice.
Step 3: Place the tea lights inside the apples and arrange them on a tray. Tuck in a few sprigs of greenery, berries, or mini pinecones around the base for extra charm.
#7. Wall Ladle Candle Holders

There’s something raw and soulful about combining weathered wood and salvaged metal, this rustic wall candle holder captures it perfectly.

Materials Needed
- 2 reclaimed wood planks (approx. 5″ x 14″)
- 2 vintage metal ladles
- 2 metal hooks
- 2 tea light candles
- Screws
- Drill
Step-by-step Guide
Step 1: Clean and lightly sand the reclaimed wood if needed, keeping the rustic cracks and grooves for character. Mount a sturdy hook or nail near the top center of the board.
Step 2: Hang the ladle from the hook, ensuring it’s balanced and doesn’t tip forward. Adjust the angle or reinforce with wire if needed.
Step 3: Place a tea light in the ladle bowl.
#8. DIY Candle Holder From Alcohol Bottles

I first made these for a backyard dinner and couldn’t believe how magical the soft glow felt once dusk fell. The wax cascades naturally, giving each piece a unique, moody touch like something from an old French film.
Materials Needed
- 5-7 empty wine bottles (assorted colors/sizes)
- 5-7 taper candles (white or cream, 10″–12″)
- Lighter
- Sticky tack or candle adhesive (optional)
- Old cloth or paper
Step-by-step Guide
Step 1: Clean and dry each wine bottle thoroughly. Remove labels if you prefer a sleeker look, or keep them for a more vintage feel.
Step 2: Insert taper candles into the bottle necks. If the fit is loose, secure them with sticky tack to keep them upright and centered.
Step 3: Light each candle and allow the wax to melt and drip naturally down the sides. For a more dramatic look, tilt the candle slightly to control the wax flow before returning it to vertical.
#9. Whisk Candle Holder
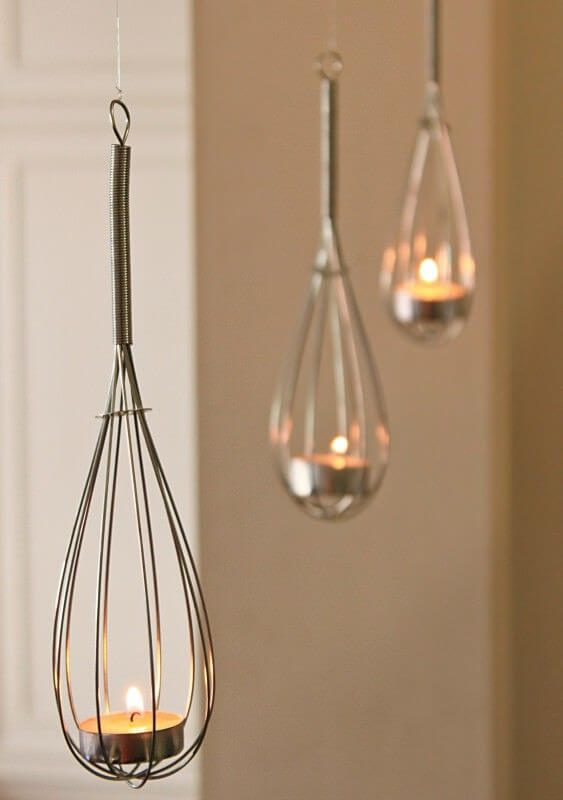
Turning kitchen whisks into elegant hanging candle holders might be one of the simplest yet most brilliant upcycles I’ve ever tried.
Materials Needed
- 3 large balloon whisks (10″–12″)
- 3 tealight candles (unscented or scented)
- Clear fishing line
- Needle-nose pliers (optional)
Step-by-step Guide
Step 1: Carefully spread the wires of the whisk open slightly so a tealight can be nestled securely inside. If needed, use pliers to bend the whisk just enough to form a stable cradle.
Step 2: Insert the tealight or glass holder into the base. Make sure it’s snug and centered so it doesn’t shift once hanging.
Step 3: Tie or loop the top handle with transparent thread or fishing line and hang at varying heights from the ceiling or a sturdy hook.
#10. Concrete Column Candle Holders
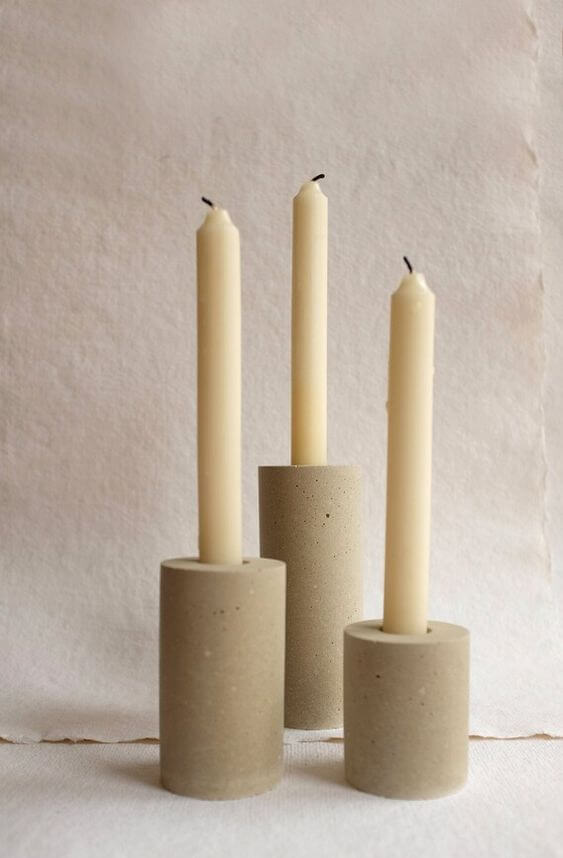
If you’re into clean lines and neutral tones, this project feels like a meditative blend of sculpture and simplicity.
Materials Needed
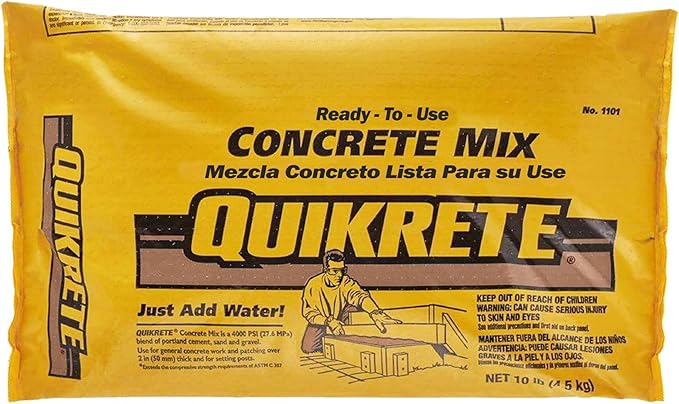
- Quick-set concrete (2 lbs)
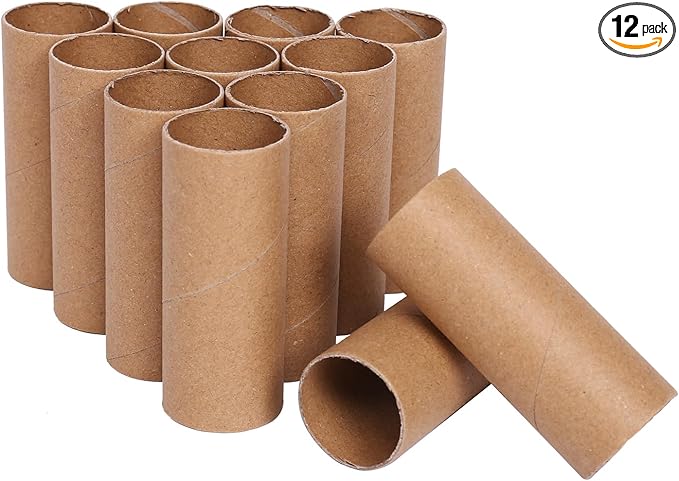
- Toilet paper rolls (cut to 3–4″ height)
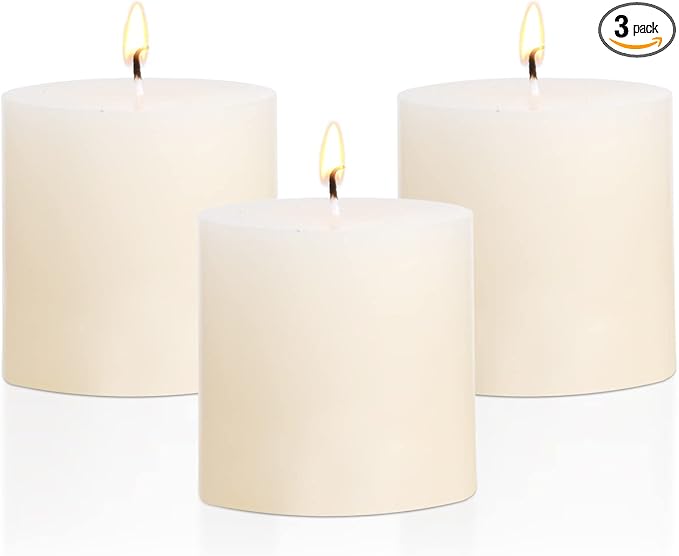
- Taper candles (standard 0.75″ diameter)
- Cooking spray
- Plastic cup or container
- Wooden stick
Step-by-step Guide
Step 1: Prepare your molds by spraying the inside of the cardboard tubes with cooking spray. Place them upright on a parchment-lined tray.
Step 2: Mix the concrete with water as per instructions. Pour into the molds, then insert a taper candle in the center of each – just deep enough to create the hole. Let it set.
Step 3: Once fully cured (usually within 1–2 hours with quick-set mix), remove the candle and peel away the mold. Sand the top edge lightly if needed for a smoother finish.
#11. Brick Candle Holders

I love how effortlessly bold and raw this DIY brick candle holder looks – like something you’d find at a hip garden café.
Materials Needed
- 2-3 standard red bricks with 3 holes (4x8x2.25″)
- Wax flakes (1 lb)
- Candle wicks with tabs (3-inch)
- Metal pouring pitcher
- Hot glue gun or wick stickers (optional)
Step-by-step Guide
Step 1: Clean your bricks and set them on a heat-resistant surface. If needed, secure wicks in each hole using a dab of hot glue or wick stickers.
Step 2: Melt wax flakes in a metal pitcher using a double boiler method. Once fully melted, pour the wax carefully into each hole, holding the wick upright.
Step 3: Let the wax cool and harden completely. Trim the wicks to 1/4 inch and light up your new brick luminaries for instant backyard charm.
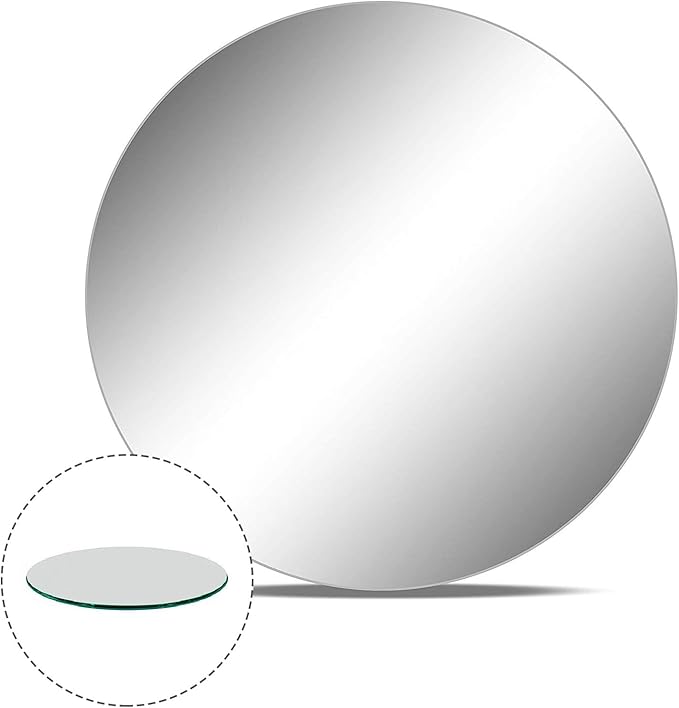
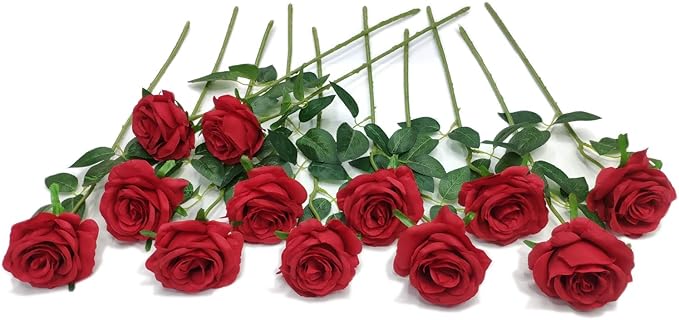
#12. Wine Cup Candle Holders

This upside-down wine glass candle holder is the easiest way to create instant romance – no tools, no fuss, just pure elegance.

Materials Needed
- 3 wine glasses in varying heights
- 3 pillar candles (2″–3″ diameter)
- Mirror (10–12″)
- Artificial roses
- Optional: clear adhesive dots
Step-by-step Guide
Step 1: Choose a clean flat surface and place your mirror base at the center of your table.
Step 2: Insert a decorative item (like a rose or pinecone) inside each wine glass, then carefully invert the glasses over the decorations.
Step 3: Place one pillar candle on top of each glass base. For extra security, use adhesive dots to keep them from sliding.
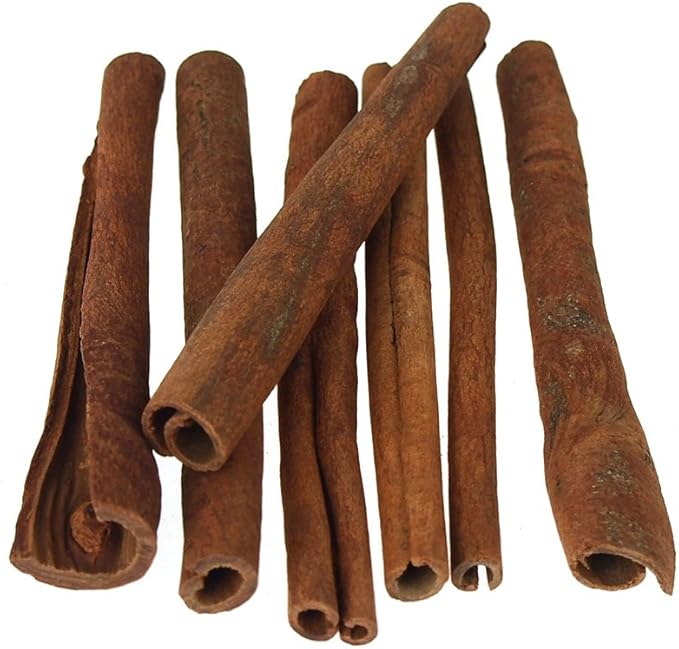
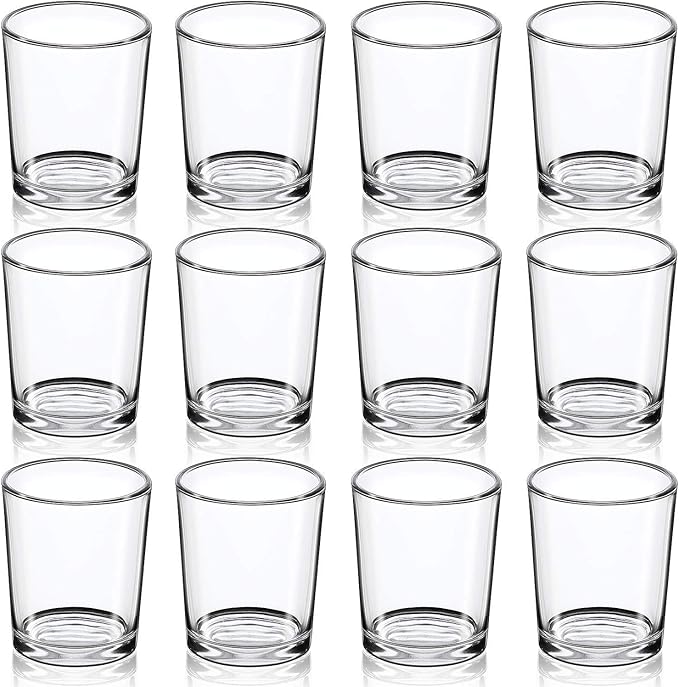
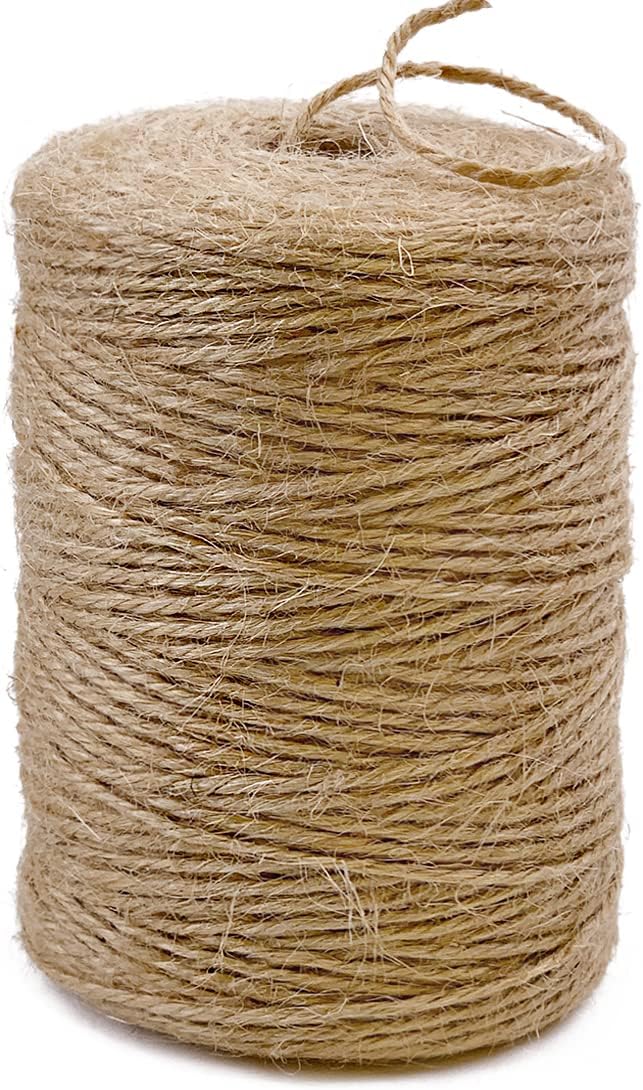
#13. Cinnamon Stick Candle Holders

I love using them during cozy dinners or winter evenings – the warm, spicy scent that releases as the candles burn is absolutely irresistible.
Materials Needed
- Glass votive candle holders – 2.5″ diameter
- Cinnamon sticks – approx. 3″ length, 20–30 sticks
- Hot glue gun + glue sticks
- Jute
- Tealight or votive candles
Step-by-step Guide
Step 1: Measure your cinnamon sticks to match the height of your glass holder. Trim if needed.
Step 2: Use a hot glue gun to attach each stick vertically around the glass, pressing gently until secure.
Step 3: Once fully covered, tie a piece of twine around the middle and knot it into a bow for a cozy, handmade finish.
#14. DIY Vintage Saucer Candle Holders
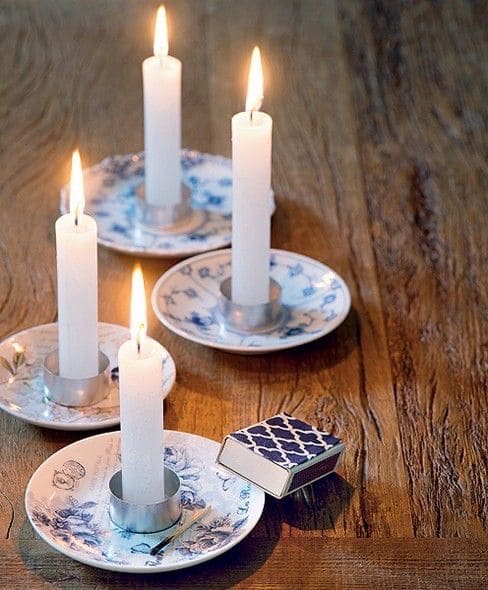
I created a set using mismatched thrift store plates, and they turned out to be my favorite table accents, whimsical yet cozy.
Materials Needed
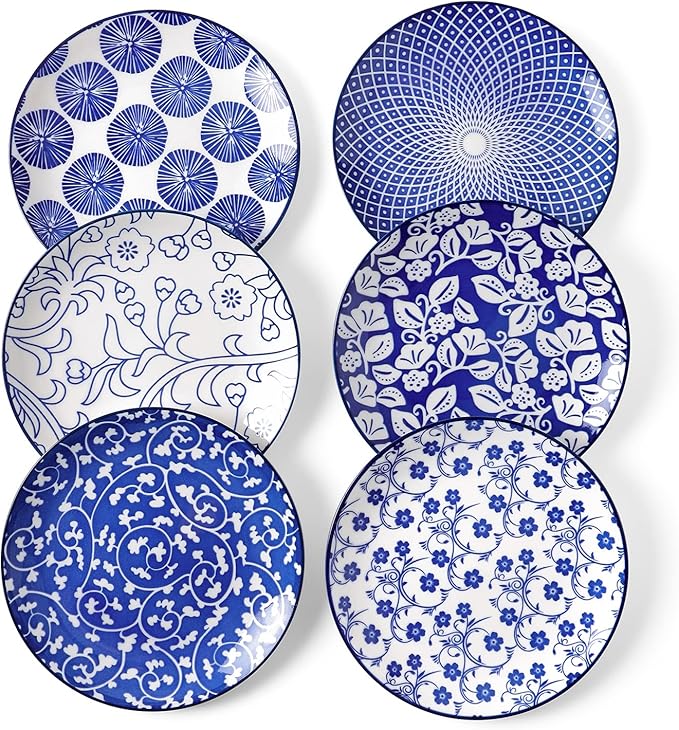
- Dessert plates (ideally 5–6 inches wide)
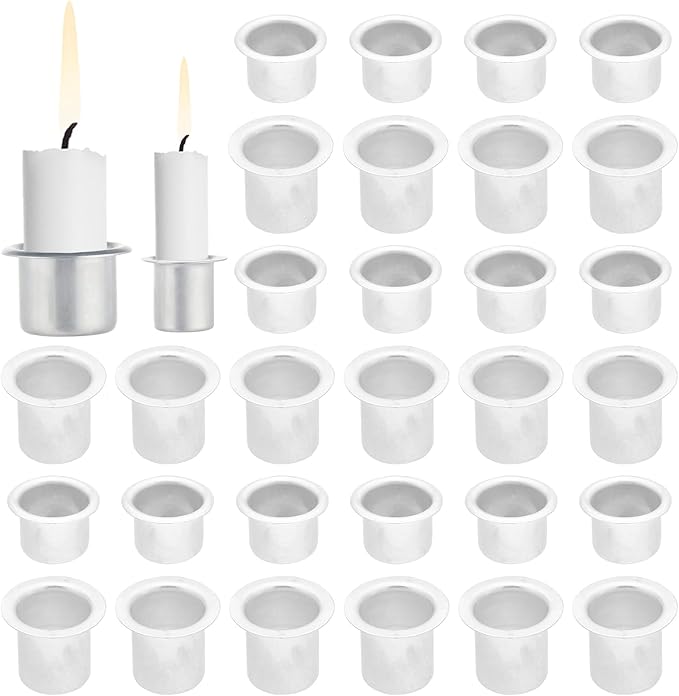
- Metal candle holder inserts
- Taper candles – 3/4″ diameter
- Strong adhesive or glue dots
Step-by-step Guide
Step 1: Clean and dry the saucers to remove any residue or dust.
Step 2: Apply strong adhesive to the bottom of the metal candle holder cup and place it at the center of the saucer. Press firmly and let it set.
Step 3: Insert your taper candle and light it for instant warmth and vintage flair.
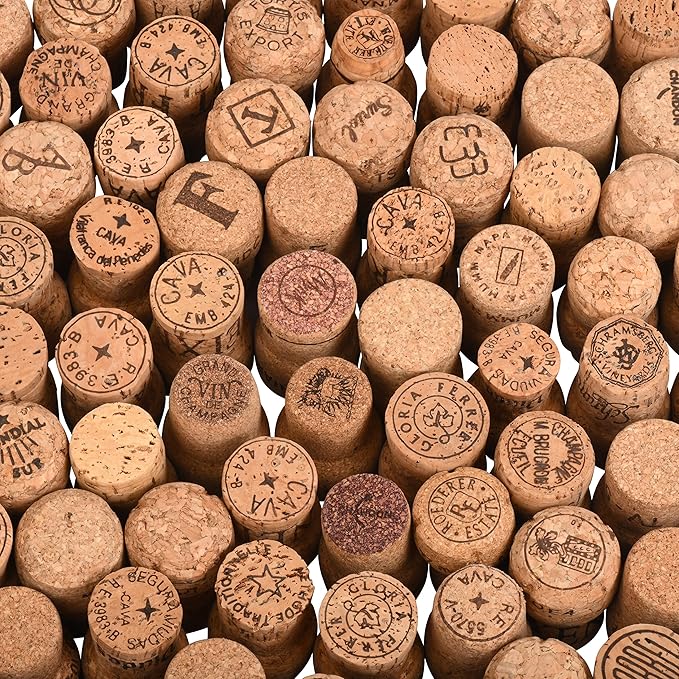
#15. Upcycled Wine Cork Candle Holder Wreath
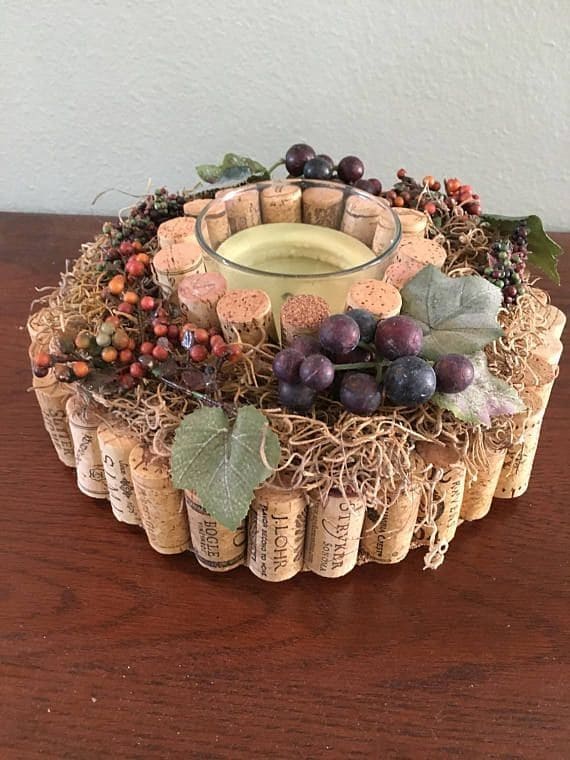
This upcycled wine cork candle holder wreath is perfect for wine lovers or cozy rustic decor fans.
 SHOP WINE CORKS
 SHOP ROUND CORK
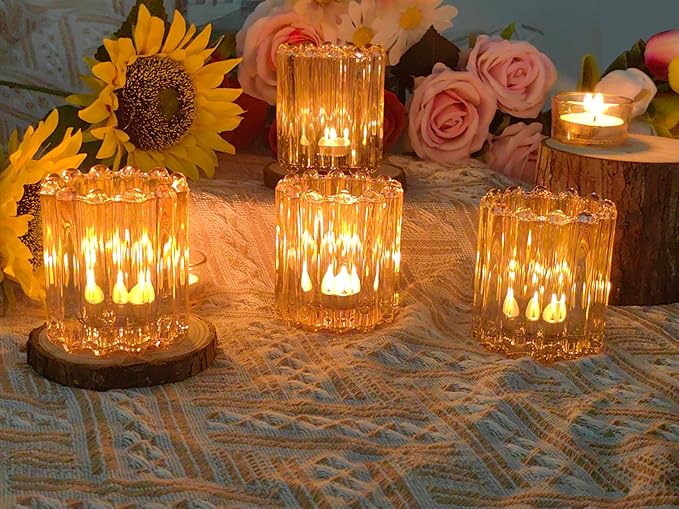 SHOP GLASS VOTIVE CANDLE HOLDER
 SHOP SPANISH MOSS
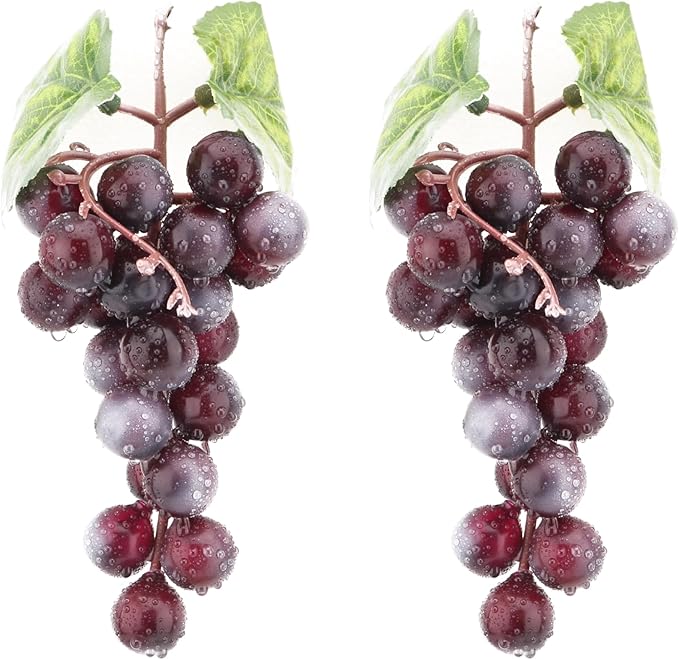 SHOP FAUX GRAPES
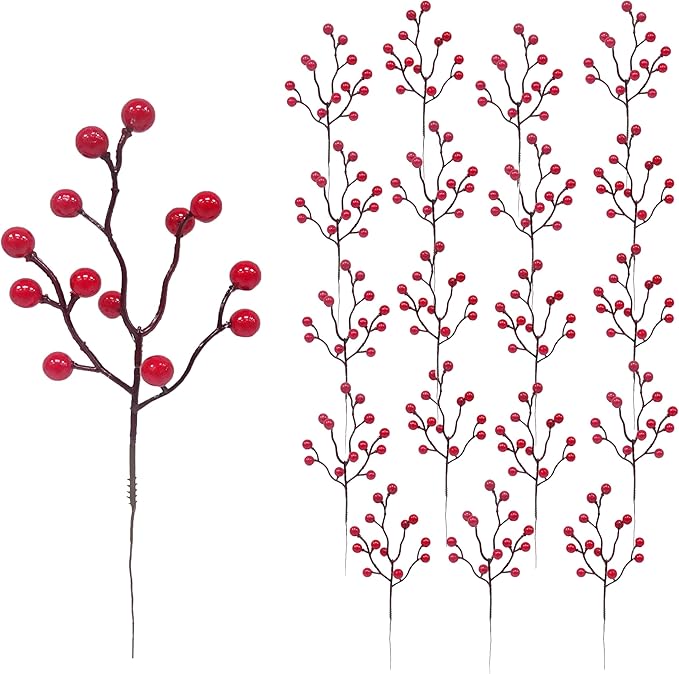 SHOP RED BERRIES
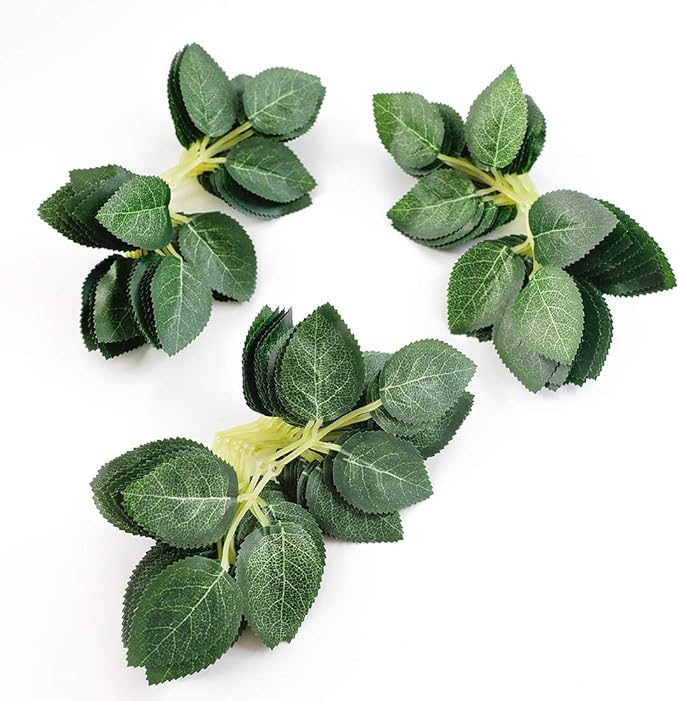 SHOP LEAVES
Materials Needed
- 60–80 used wine corks (natural, not plastic)
- Hot glue gun and glue sticks
- Round cork (6–8 inches)
- Glass votive candle holder (2–3 inches)
- Preserved Spanish moss
- Mini faux grapes, berries, or leaves
Step-by-step Guide
Step 1: Begin by hot-gluing corks vertically around the circular base to form the outer layer. Ensure they are tightly packed.
Step 2: Add a second inner ring of corks, creating a smaller circle where the votive holder can fit snugly in the center.
Step 3: Secure the votive holder in the middle with glue if needed. Then tuck moss into gaps and decorate with faux grapes and leaves for a vineyard-inspired finish.
#16. Hand-poured Botanical Candles
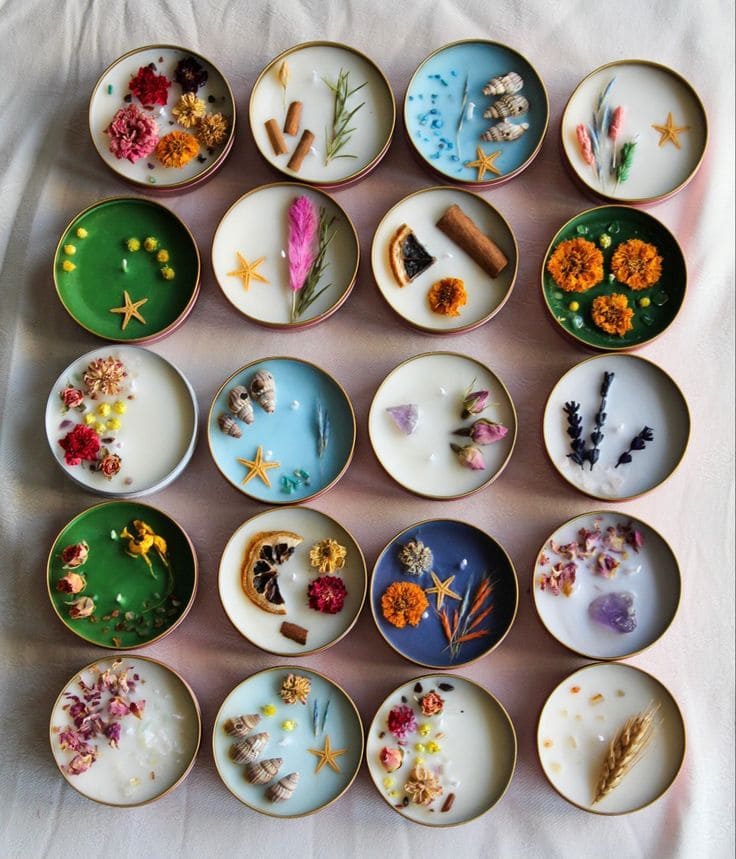
I love making these when I need a break from screens, each one becomes its own quiet world, filled with flowers, spices, shells, or crystals.


Materials Needed
- 3 oz. round candle tins with lids (set of 12)
- Soy wax flakes (2 lb bag)
- Pre-waxed candle wicks (3″ or 4″)
- Essential oils
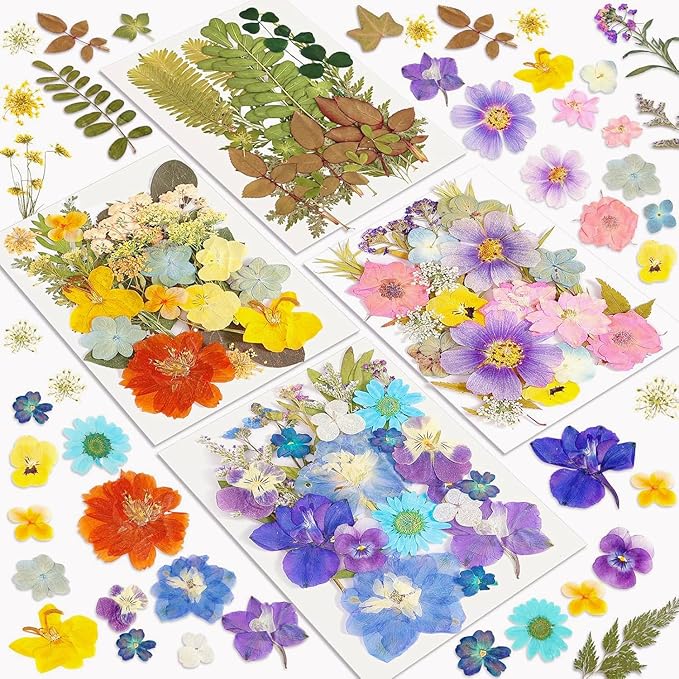
- Pressed dried flowers, herbs, spices, tiny seashells, or small crystals
- Candle dye (optional)
- Glue dots or wick stickers
- Pouring pitcher
Step-by-step Guide
Step 1: Attach the wicks to the bottom center of each tin using glue dots or stickers. Make sure they’re centered and standing upright.
Step 2: Melt the soy wax flakes in a double boiler or microwave-safe pitcher until fully liquid. Add fragrance and dye (if using), then stir thoroughly.
Step 3: Carefully pour the wax into each tin. Once it begins to set but is still soft, gently press your flowers, herbs, or decorative pieces onto the surface.
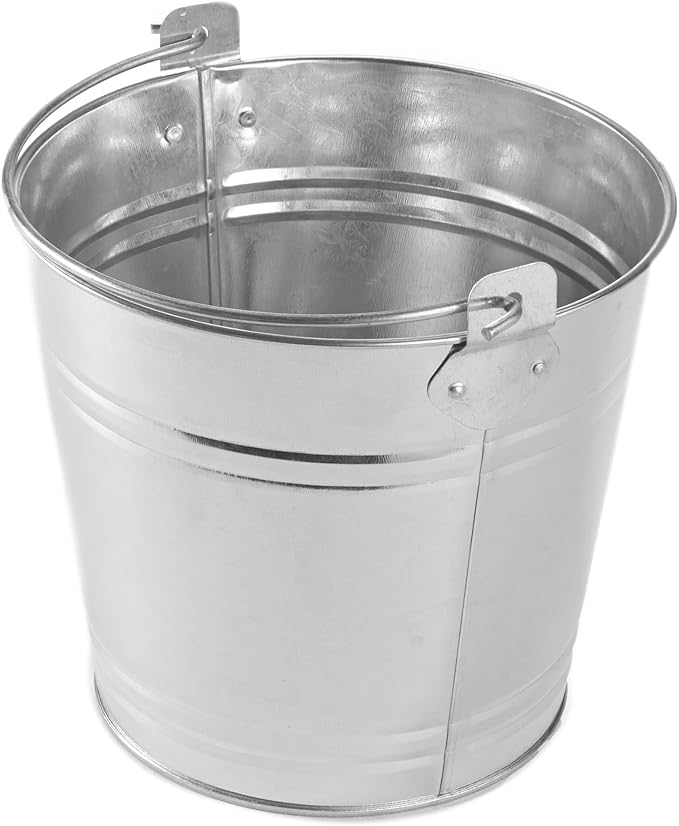
#17. A Bucket Filled With Sand To Hold Candles

All you need is a metal bucket, sand, and taper candles. I’ve made this for last-minute backyard dinners or rainy-day mood lighting, and it always impresses.
Materials Needed
- 1 medium galvanized metal bucket (6–8 inch diameter)
- Play sand (4–5 lbs)
- 6–8 white taper candles, 10–12 inches
- Ribbon (optional)
- Decorative tag (optional)
Step-by-step Guide
Step 1: Fill the metal bucket halfway with clean, dry sand enough to securely anchor the taper candles upright without wobbling.
Step 2: Arrange your taper candles evenly, pushing them gently into the sand. Adjust the spacing and angles to your liking.
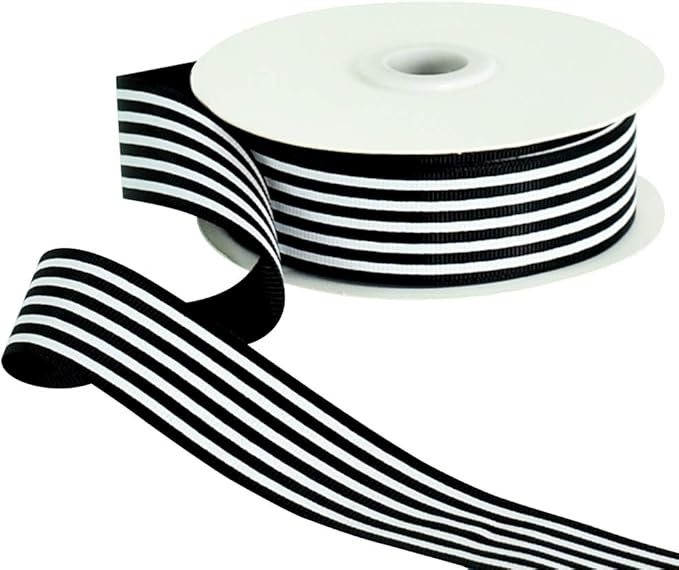
Step 3: Tie a ribbon or wrap twine around the bucket’s rim for an added decorative touch. Add a name tag, shell, or dried flower for a personalized element.
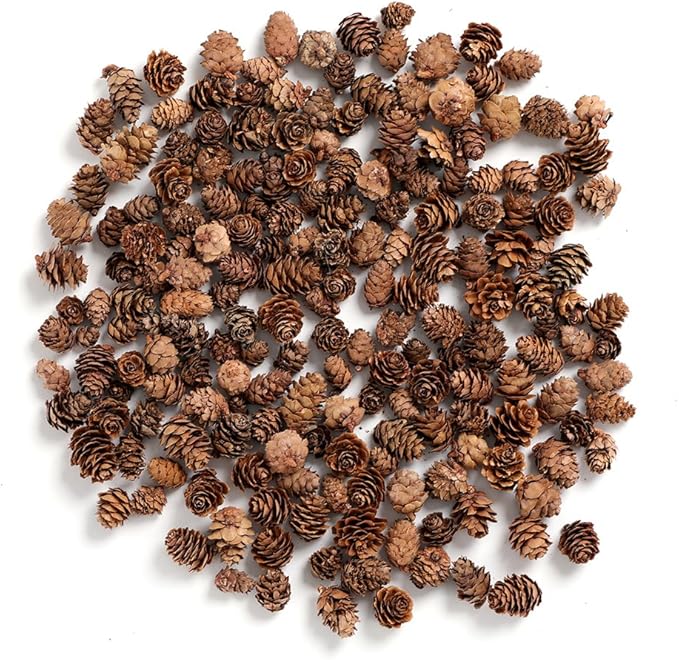
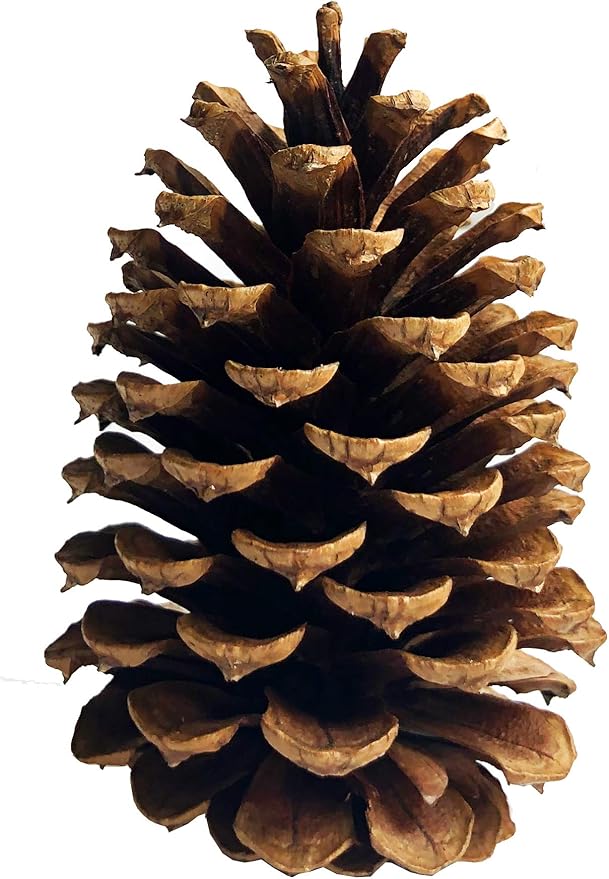
#18. Pinecone Candle Holder
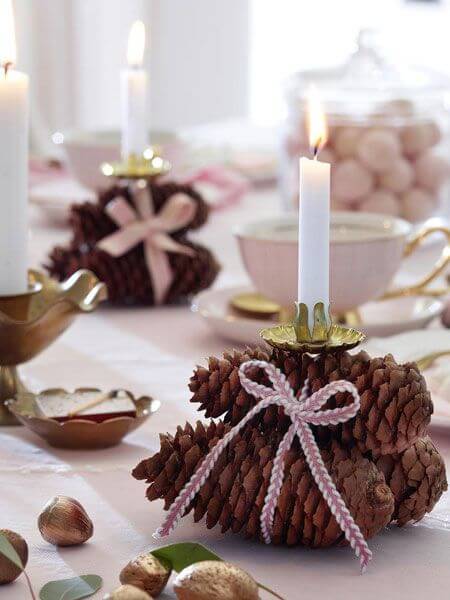
This pinecone candle holder is rustic, festive, and wonderfully easy to make, like something out of a cottage Christmas dream.
Materials Needed
- 3 large pinecones (similar size)
- 1 taper candle holder insert
- 1 white taper candle (6–8 inch)
- Hot glue gun + glue sticks
- Decorative ribbon
Step-by-step Guide
Step 1: Position three pinecones side-by-side in a triangle formation so they balance each other naturally, flat side down. Glue them together where they touch.
Step 2: Use hot glue to attach a metal candle holder insert (or an upside-down bottle cap) to the top center where the cones meet. Press firmly until secure.
Step 3: Insert your taper candle into the holder. Finish by tying a ribbon bow around the front for charm.
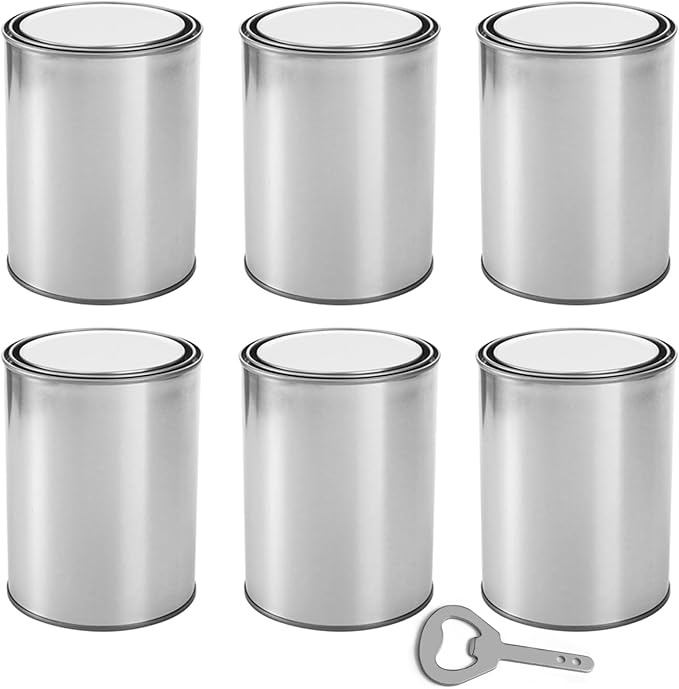
#19. Tin Can Candle Holders
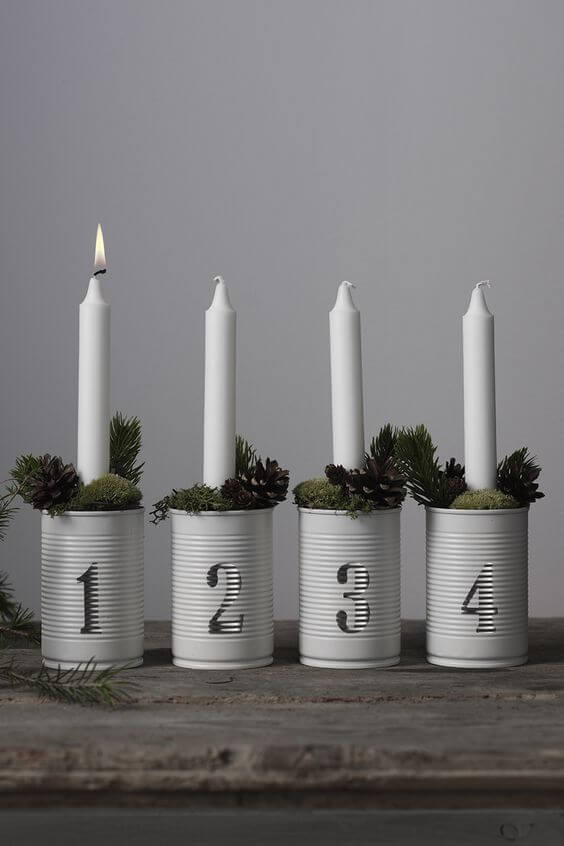
If you’re into eco-friendly decor or like to play with a Scandinavian vibe, this is one DIY project you’ll revisit every winter.
 SHOP TIN CANS
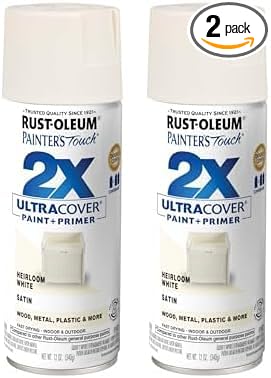 SHOP WHITE SPRAY PAINT
 SHOP ADHESIVE NUMBER STENCILS
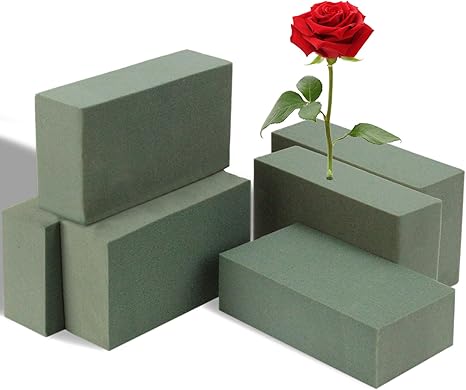 SHOP FLORAL FOAM
 SHOP DECORATIVE MOSS
 SHOP EVERGREEN SPRIGS
Materials Needed
- 4 empty tin cans (same size, clean and label-free)
- White spray paint, matte finish (1 can)
- Adhesive number stencils or vinyl numbers (1–4)
- 4 taper candles, 8–10 inches
- Floral foam or clay
- Decorative moss, pinecones, or evergreen sprigs
Step-by-step Guide
Step 1: Spray paint the tin cans in white and let them dry completely. It usually takes 2–3 coats for full coverage.
Step 2: Once dry, apply your number stencils or vinyl decals to each can—1 through 4.
Step 3: Fill each can with floral foam or moldable clay, press the taper candles in the center, and decorate around the base with moss and pine sprigs to hold everything in place.
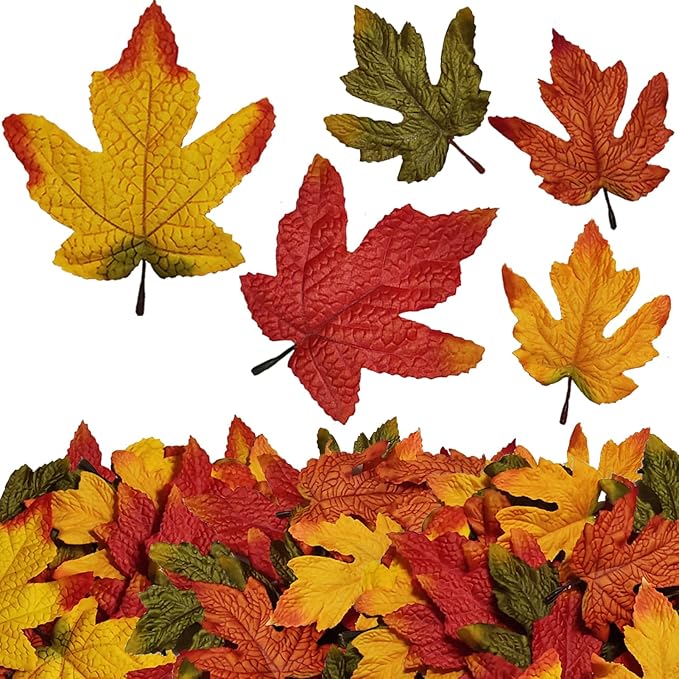
#20. Glass Cup With Fall Leaves Make A Stunning Candle Holder
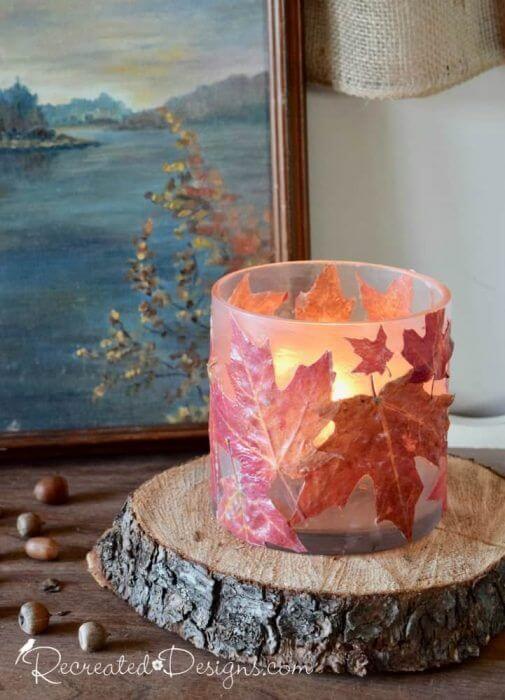
This autumn leaf candle holder brings such a warm, rustic charm, perfect for fall evenings or Thanksgiving decor.
Materials Needed
- 1 glass jar (straight sides work best)
- Pressed autumn leaves (real or faux, around 5–7)
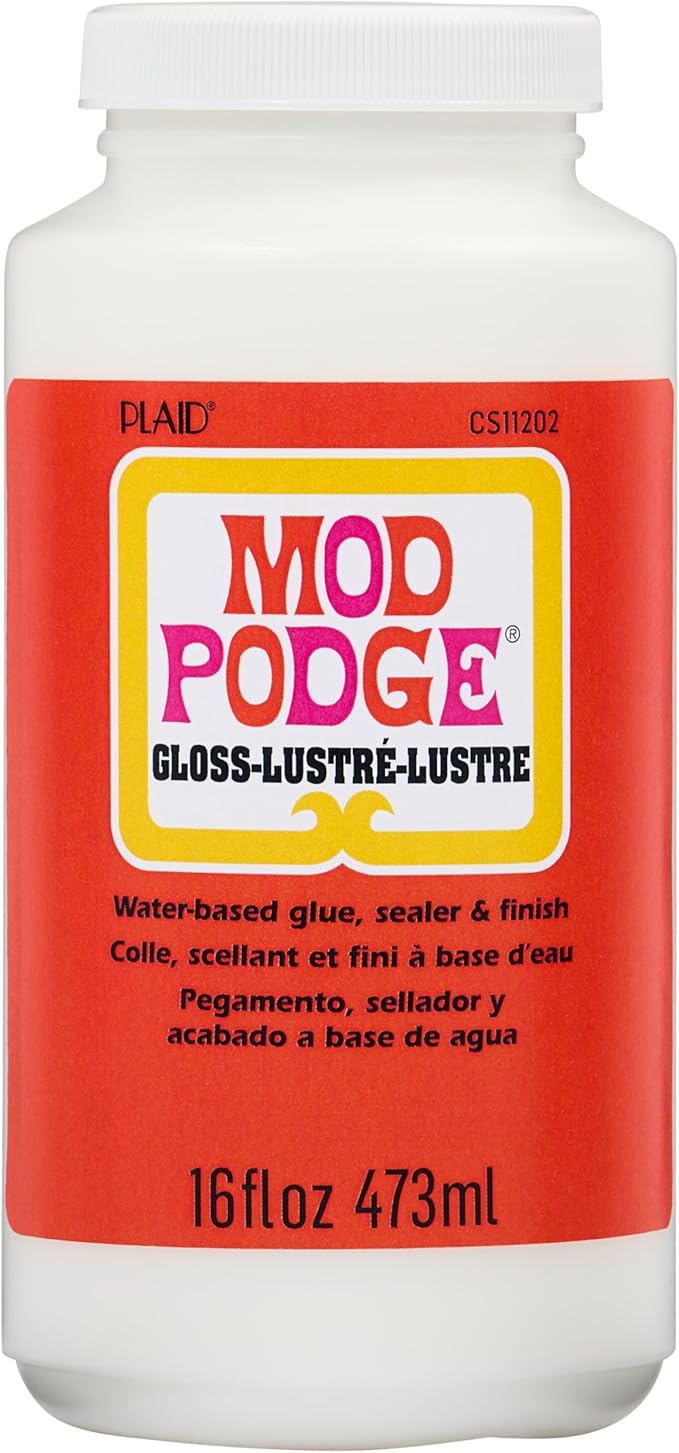
- Mod Podge
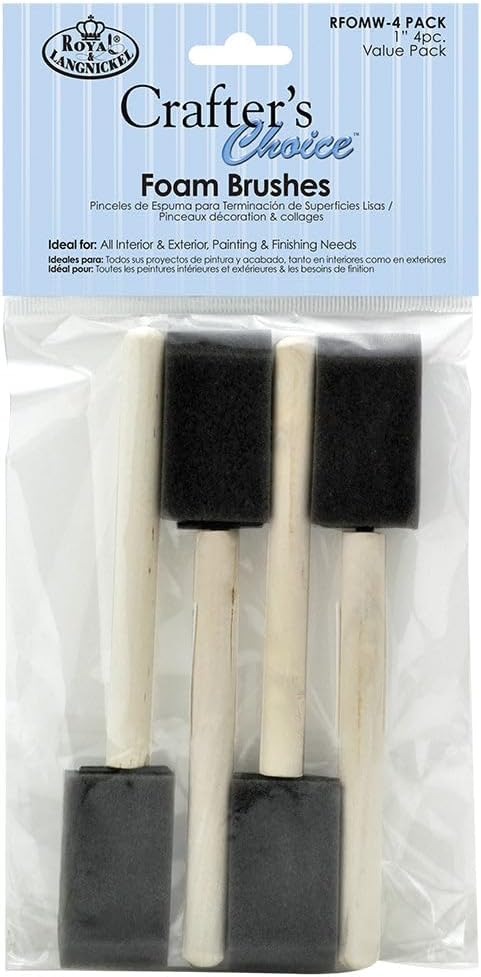
- Foam brush
- Votive candle
Step-by-step Guide
Step 1: Clean the jar thoroughly and dry it well. If using real leaves, make sure they are dry and pressed flat ahead of time.
Step 2: Brush a thin layer of Mod Podge on the jar’s outer surface, then gently press each leaf into place, smoothing it as you go.
Step 3: After placing all the leaves, brush another thin layer of Mod Podge over the entire jar to seal the design. Let it dry for several hours.
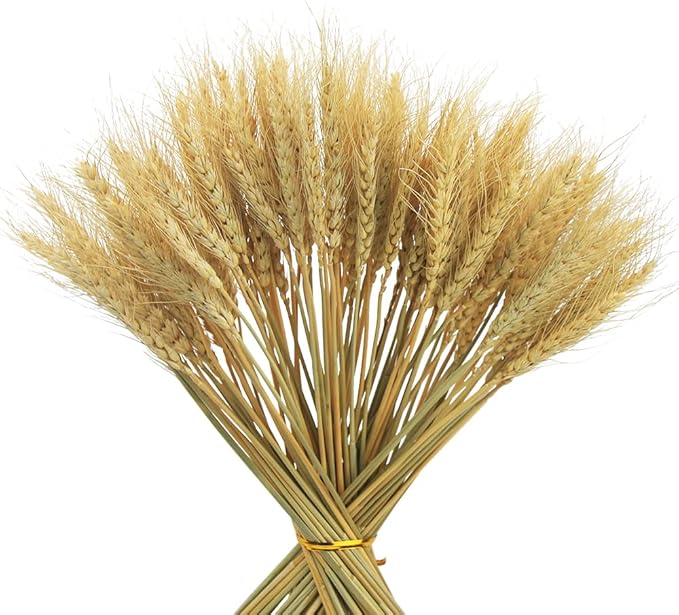
#21. A Candle Holder Is Inspired From Barley Cottons And Ropes
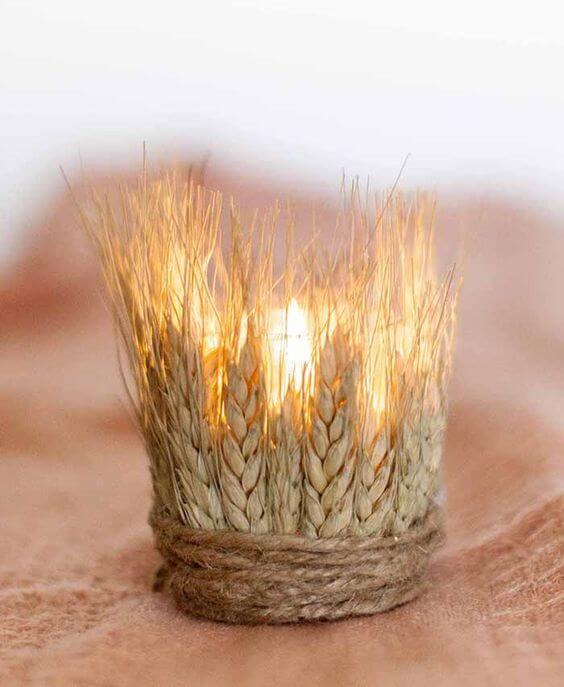
This rustic wheat candle holder has a natural farmhouse vibe that instantly warms up any room.
Materials Needed
- 1 small glass votive holder (2–3 inches tall)
- Dried wheat stalks (around 12–15 pieces)
- Jute rope (1–2 yards)
- Hot glue gun and glue sticks
- Tea light candle
Step-by-step Guide
Step 1: Trim your wheat stalks to match the height of your glass holder, leaving about 1/2 inch above the rim for a natural, wispy look.
Step 2: Use hot glue to attach the wheat stalks vertically around the glass, placing them tightly side-by-side for a full appearance.
Step 3: Wrap the base with jute rope to secure the stalks and hide glue spots, tying it in a knot or bow at the front. Let it dry completely before inserting a candle.
#22. Handmade Wooden Block Candle Holders
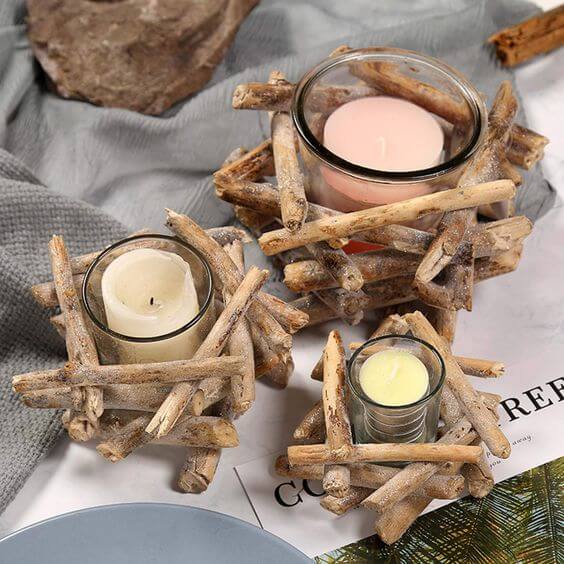
These rustic driftwood candle holders instantly take me back to lazy walks on the beach, where I used to collect sun-bleached sticks for fun.
Materials Needed
- Small glass votive holders (2–3 inches tall)
- Driftwood (cut into 4–5 inch lengths, around 20–25 pieces per holder)
- Hot glue gun and glue sticks
- Sandpaper (optional)
Step-by-step Guide
Step 1: Clean and dry your driftwood or twigs. Trim any uneven ends and lightly sand if needed to make stacking easier.
Step 2: Begin gluing the twigs in a criss-cross pattern around the glass votive, building upwards like a miniature log cabin. Use 3–4 layers depending on your design.
Step 3: Let each glued layer dry before adding the next, ensuring sturdiness. Once finished, place a votive candle inside and enjoy the natural glow.
#23. Twig Candle Holders With Pebbles Surrounding
This charming little scene brings nature indoors with just a sprinkle of imagination, perfect for a child’s room or a quiet reading corner.
Materials Needed
- 5–6 river rocks (2–3 inches tall)
- Flat stone base (about 8–10 inches wide)
- Acrylic paint (white and black)
- Small twigs (3–4 inches long)
- Hot glue gun
- Tealight candle
Step-by-step Guide
Step 1: Paint eyes on each stone using white paint for the base and black dots for pupils. Let dry completely.
Step 2: Hot glue each stone upright around the center of your flat base, leaving a space in the middle for the candle.
Step 3: Create a mini “twig nest” using hot glue to shape small sticks into a circular base, then glue that nest into the center.
Step 4: Place a tealight in the nest and light it up. Watch your pebble pals come to life around the fire.
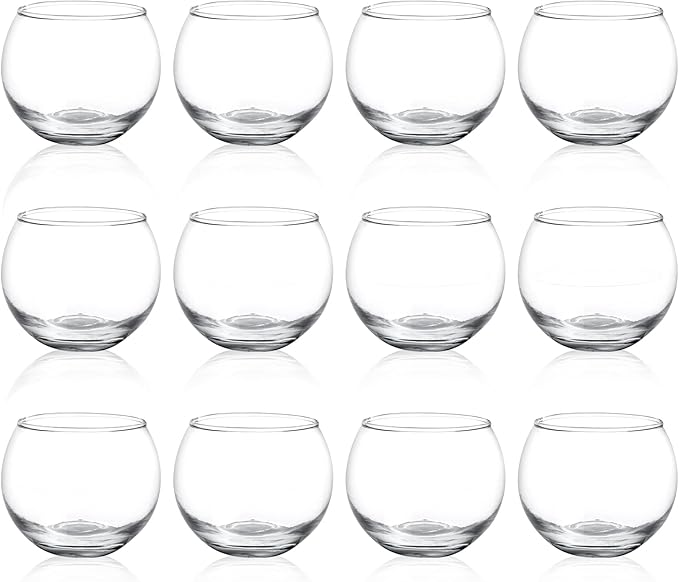
#24. Glass Wine With Herbs And Lemon Slice For Candle Holders
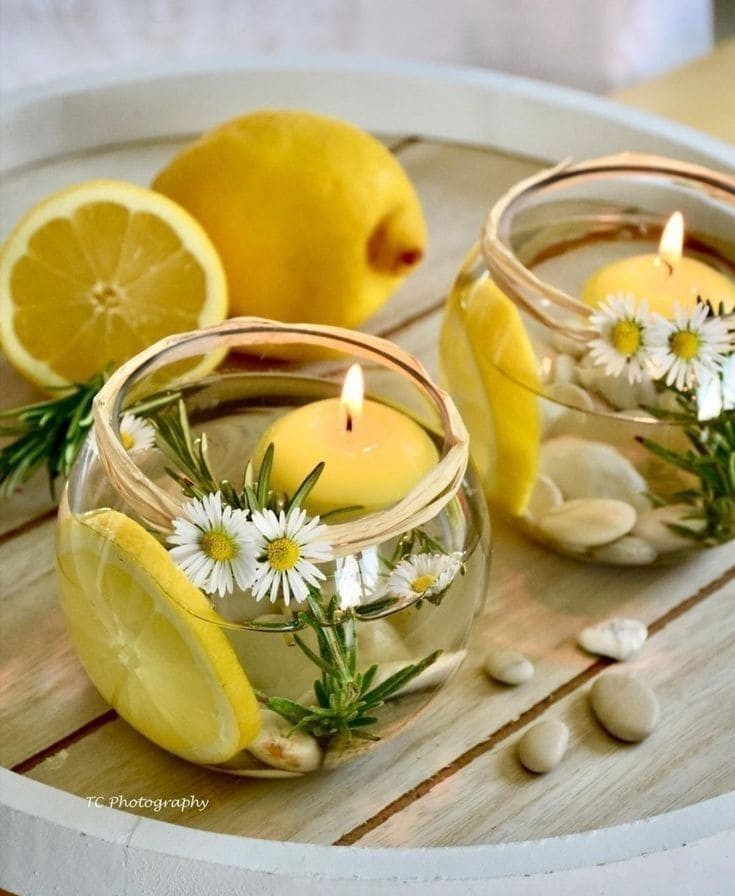
The bright citrus slices, floating daisies, and sprigs of rosemary create a fresh, aromatic atmosphere perfect for outdoor dinners or sunny brunches.
Materials Needed
- 2-3 small round glass bowls (4–5 inches wide)
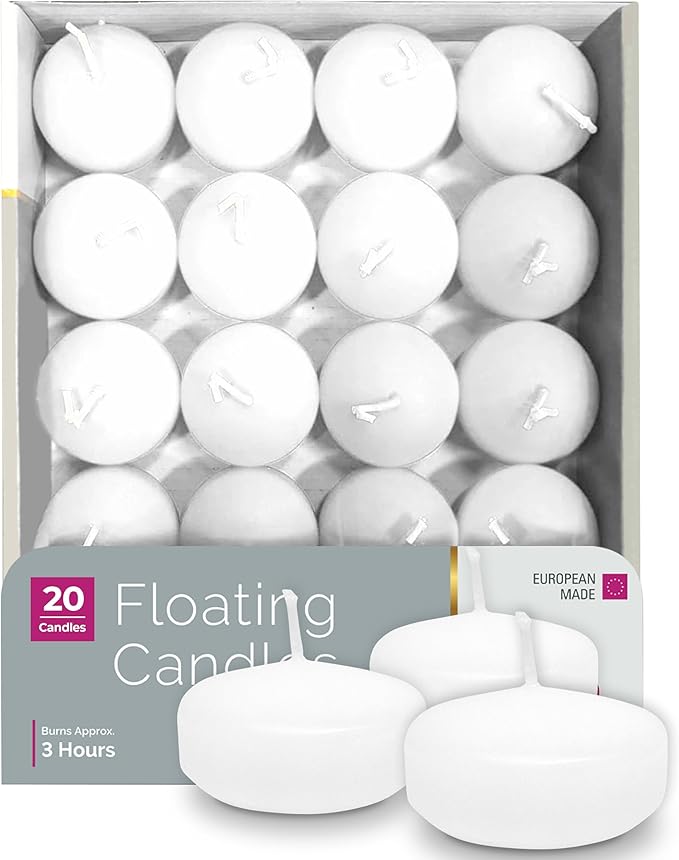
- 2-3 floating candles, lemon-colored or unscented
- 1 fresh lemon, thinly sliced
- Fresh rosemary sprigs (2–4 pieces)
- Small daisies or faux wildflowers
- Decorative river stones or white pebbles (optional)
- Filtered water
Step-by-step Guide
Step 1: Place a layer of smooth white pebbles at the bottom of each glass bowl to create a neutral base.
Step 2: Slide 2–3 lemon slices upright against the inner wall of the glass, pressing them gently so they stay in place.
Step 3: Tuck in a couple of rosemary sprigs and daisies around the lemon slices, letting them float or lean naturally.
Step 4: Fill each bowl halfway with filtered water, then gently place a floating candle in the center.
#25. Seashell Candle Holders
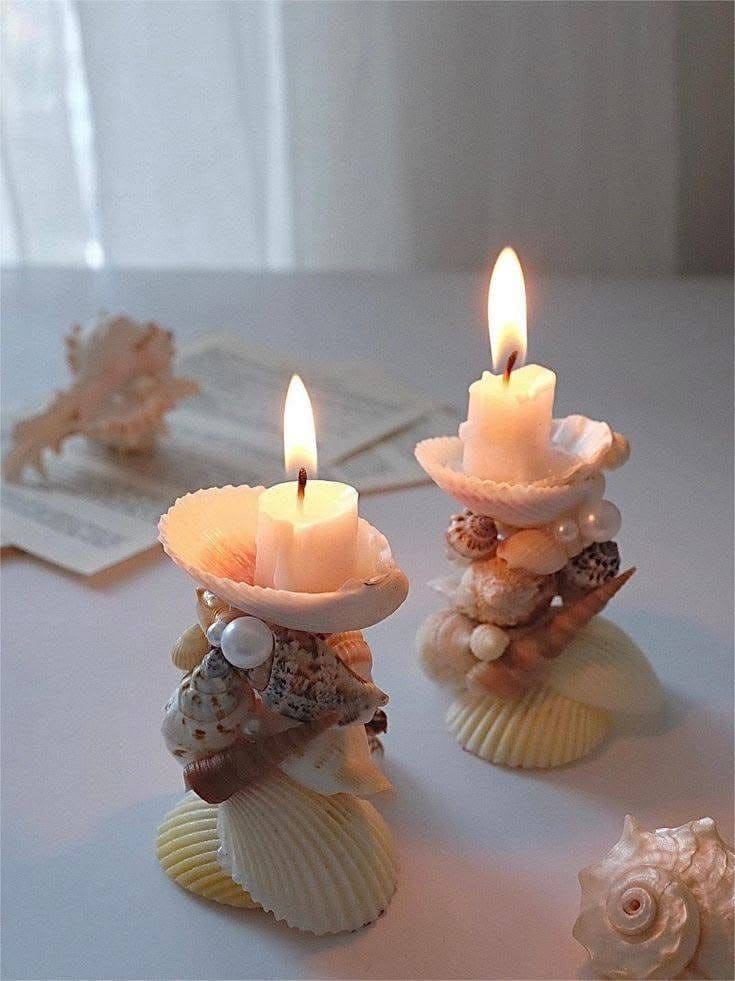
Stacked like mini totems, each one is a handmade tribute to seafoam memories, beachcombing adventures, and soft tides.
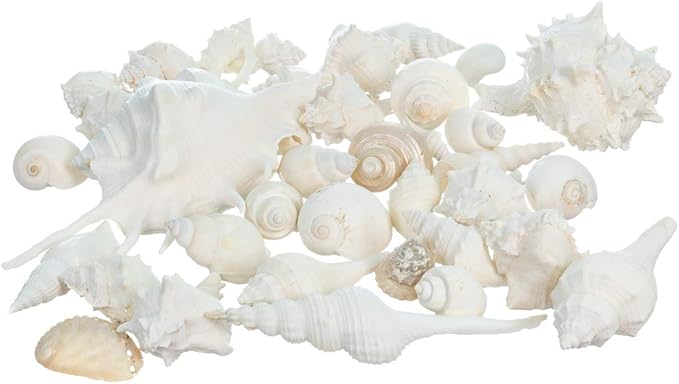
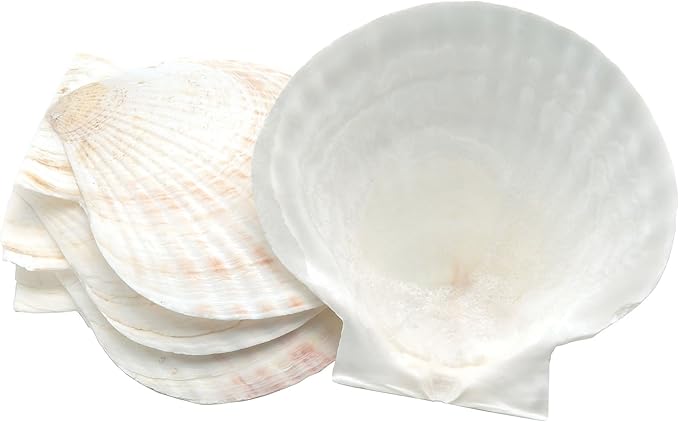
Materials Needed
- 20–30 assorted seashells in mixed sizes
- 2 white tea light or taper candles (short)
- Strong hot glue gun with clear glue sticks
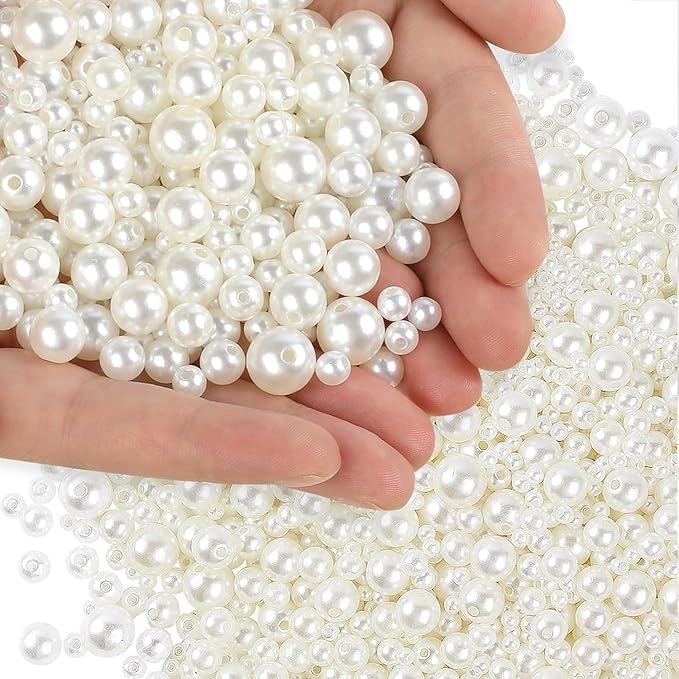
- 2 faux pearls
- 2 flat scallop shells
- Craft base or thick cardboard (optional)
Step-by-step Guide
Step 1: Begin by selecting a wide, flat shell or shell cluster for the base. Apply hot glue generously and let it dry fully to stabilize the bottom layer.
Step 2: Stack and glue smaller seashells vertically, creating a pillar-like effect. Vary shapes for a more organic, natural look. Add embellishments like faux pearls or coral accents along the sides.
Step 3: Finish by securely gluing a flat scallop shell at the top. Once dry, place a small candle in the center.
#26. Boho-inspired Floating Candle Holder
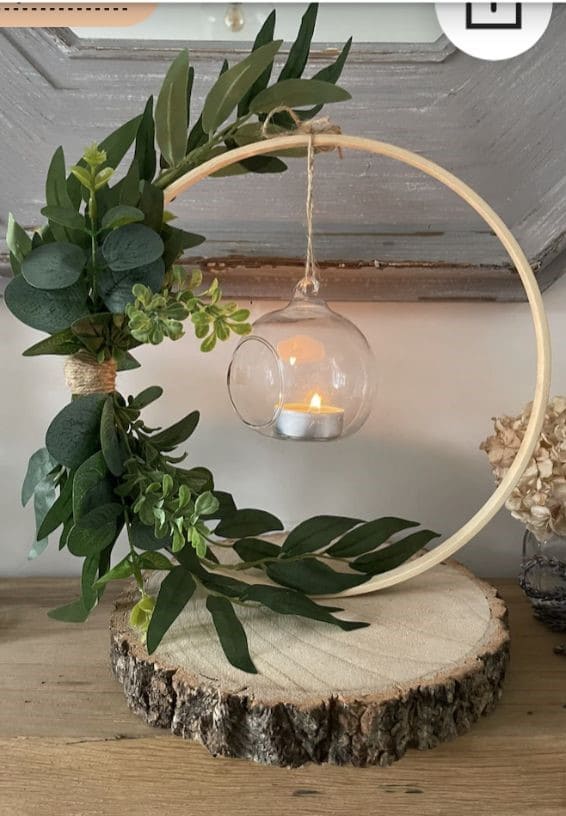
When I made one for my sister’s engagement dinner, it instantly became the centerpiece everyone talked about.
 SHOP WOOD EMBROIDERY HOOPSHOP WOOD SLICE BASE
 SHOP GLASS HANGING TEALIGHT HOLDER
 SHOP ARTIFICIAL GREENERY STEMS
Materials Needed
- 1 wood embroidery hoop, 10–12 inches
- 1 wood slice base, about 8–10 inches in diameter
- 1 glass hanging tealight holder with flat base
- Artificial greenery stems (eucalyptus, ferns, etc.)
- Jute twine
- Strong hot glue gun or wood glue
- 1 tealight candle
Step-by-step Guide
Step 1: Secure the embroidery hoop upright into the wood slice base using hot glue or wood adhesive. Hold firmly in place until the bond sets.
Step 2: Wrap and glue greenery around the left side of the hoop, layering different textures for fullness. Use twine or floral wire to tie pieces tightly to the hoop.
Step 3: Tie the jute string around the top of the hoop, then attach the glass candle holder so it hangs at the center. Insert a candle and enjoy the serene glow.
#27. Terracotta Candle Holders
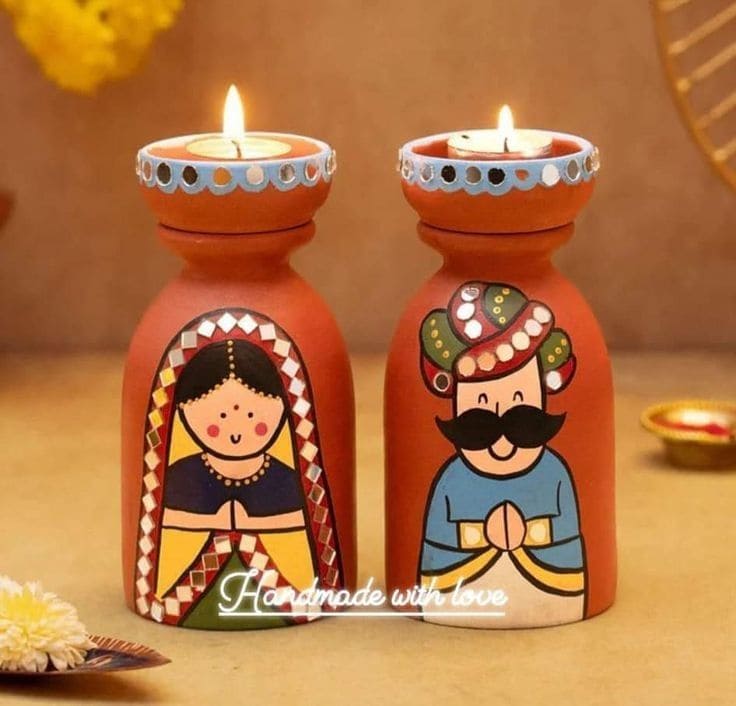
I made a similar pair last Diwali and everyone from neighbors to my grandma, couldn’t stop smiling at their adorable faces.
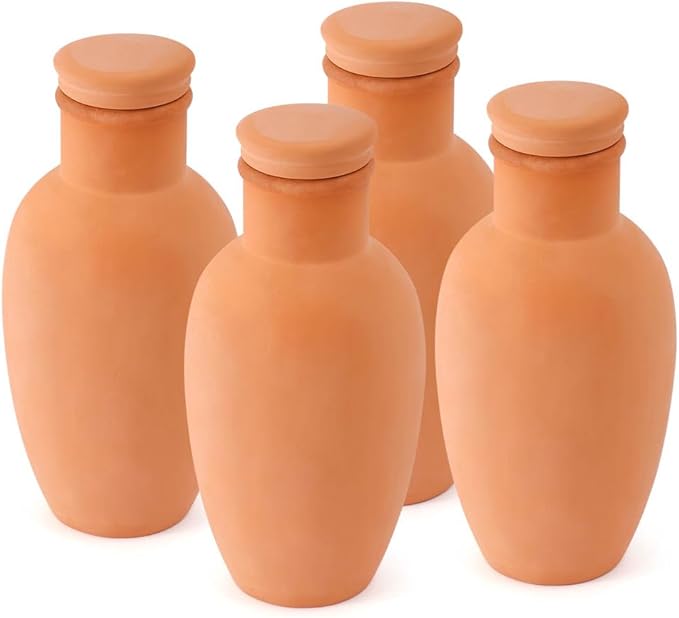
Materials Needed
- 2 small terracotta bottles, 5–6 inches tall
- Acrylic paint set (basic + skin tones)
- Fine-tip paintbrushes
- Fine detailing marker
- Clear matte sealer spray
- Tea light candles
Step-by-step Guide
Step 1: Clean the terracotta surface with a dry cloth. Sketch your folk couple design lightly with pencil to guide your paintwork.
Step 2: Paint the base coat and larger shapes first (e.g., the clothing, skin tones, turban), then work in layers to add details like jewelry, facial expressions, and borders.
Step 3: Once dry, outline features and apply a few dotted patterns for a traditional look. Spray with a clear matte sealant. Place a tea light on top and enjoy the ethnic glow.
#28. Air-dry Clay Candle Holders
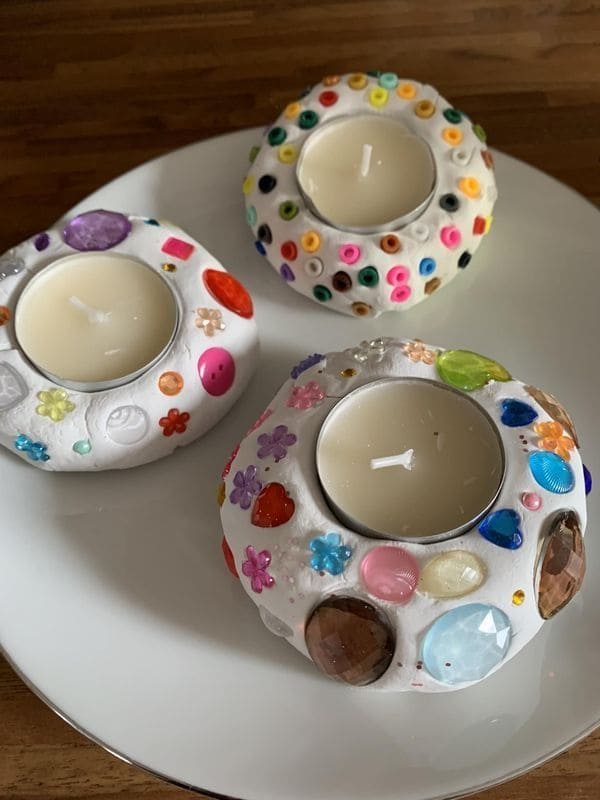
Materials Needed
- Air-dry clay (500g or more)
- Assorted acrylic gemstones or plastic buttons
- Tea light candles (standard size)
- Rolling pin
- Craft glue or tacky glue
- Optional: Acrylic paint and clear sealer
Step-by-step Guide
Step 1: Roll a ball of air-dry clay and flatten the bottom slightly. Press a tea light into the center to create a snug holder. Smooth the edges with your fingers.
Step 2: Let kids (or your inner child!) press beads, buttons, or gems into the clay while it’s still soft. For larger or heavier pieces, use craft glue once dry.
Step 3: Let the clay dry for 24–48 hours. Optionally, paint with white acrylic for a finished base and spray with a clear sealer to protect the look.
#29. Wooden Bead Candle Holders
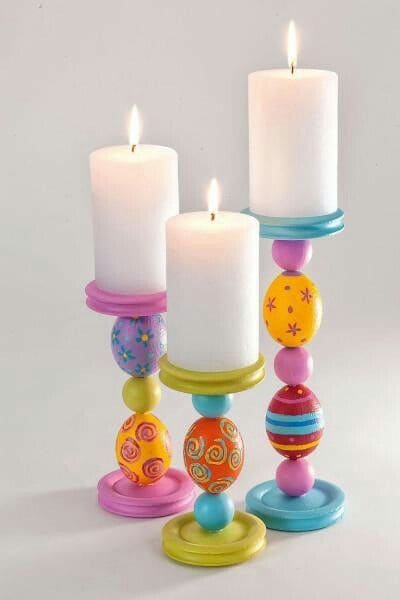
I love the way each piece stacks like a toy tower, this would be such a fun weekend painting project, especially for spring or Easter.
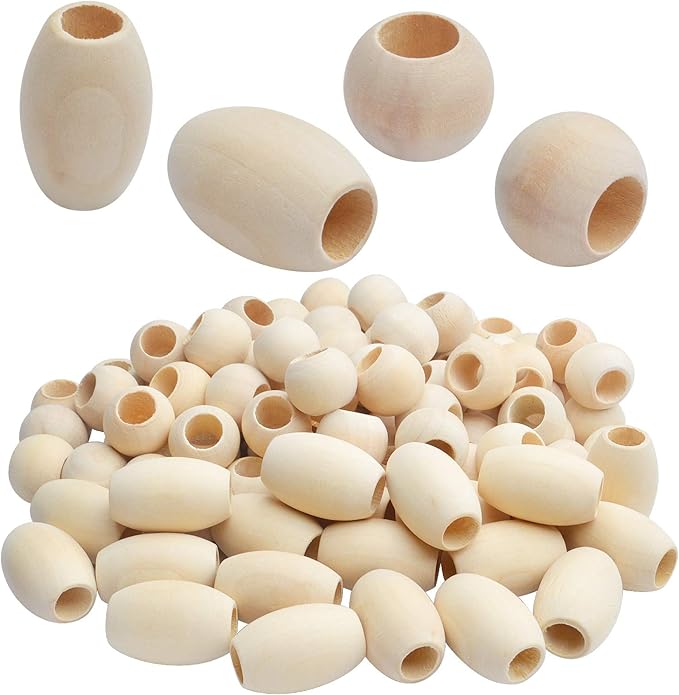
Materials Needed
- Unfinished wooden candle cup bases (3–4″ diameter)
- Large wooden beads (1–2″ round and oval mix)
- Acrylic paints in pastel or bright tones
- Paint brushes, fine-tip
- Strong craft glue or wood glue
- Matte sealer (optional)
- Short pillar candles (about 3–4” tall)
Step-by-step Guide
Step 1: Paint each wooden bead with colorful designs like dots, flowers, swirls, or stripes. Let each layer dry before adding another color. Seal if desired.
Step 2: Glue one base circle to a flat surface, then begin stacking beads with glue in between each. Make sure to keep it centered and stable.
Step 3: Top it off with a wooden disc or flat candle cup and secure your candle. Let the entire piece dry for at least 4–6 hours before use.
#30. Pillar Candle Holders
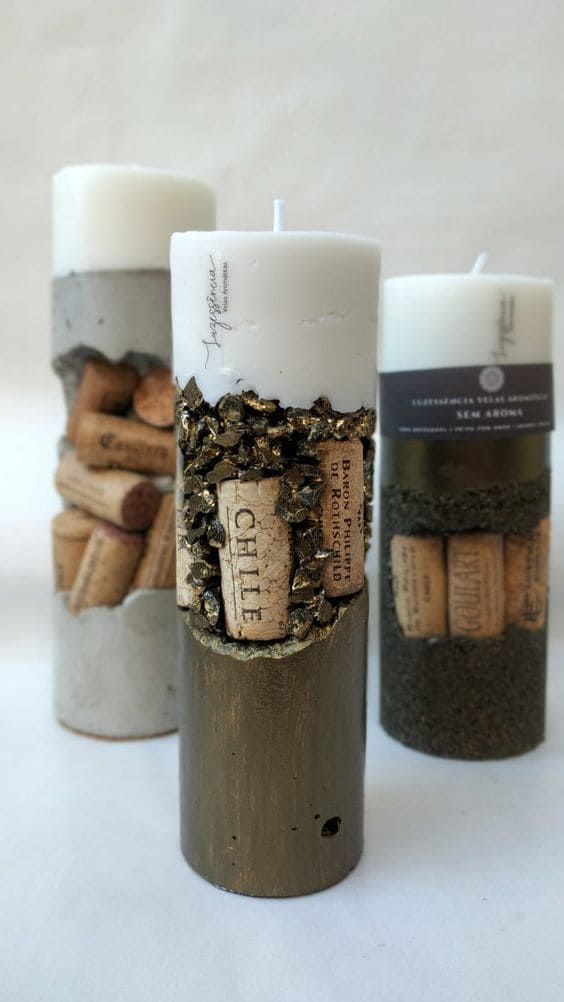
Whether you’re into industrial décor or a rustic wine-lover vibe, this project turns leftover corks and everyday fillers into modern statement pieces.
Materials Needed
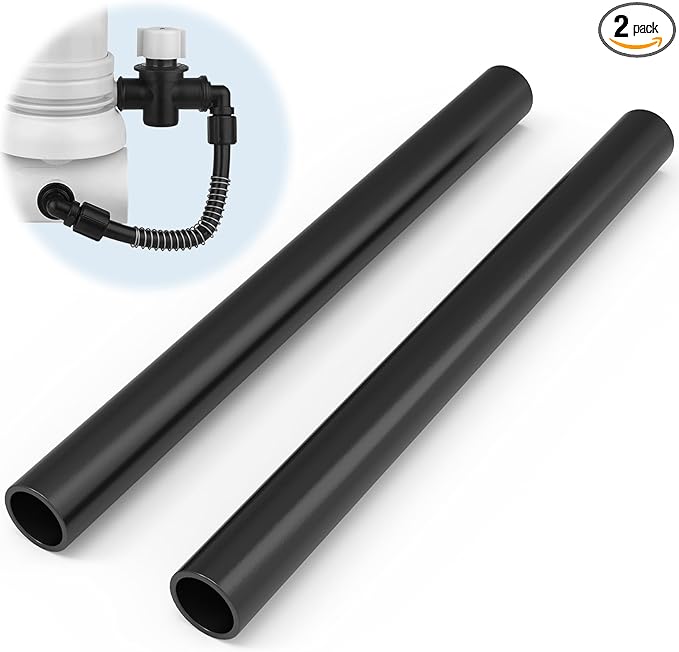
- 1-3 PVC tubes (4–6” tall)
- Quick-set cement
- Wine corks (12–15 per holder)
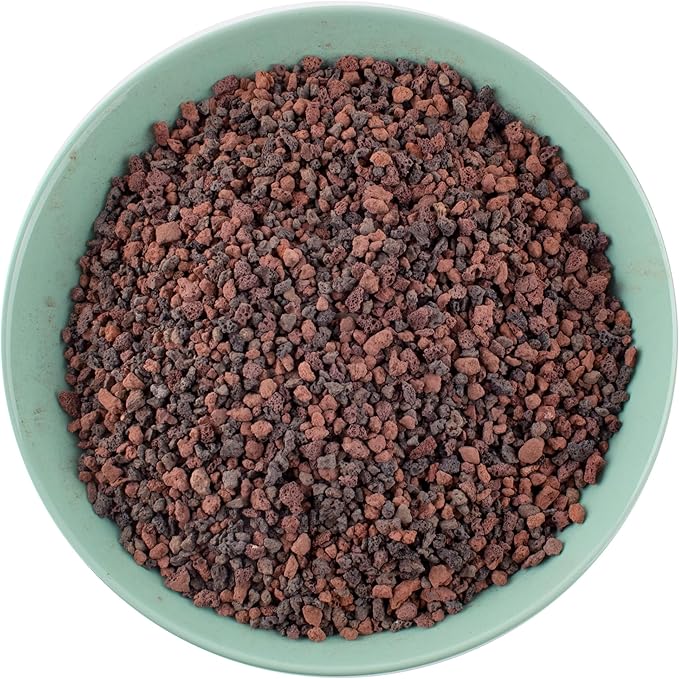
- Textured fillers like gravel, sand, or crushed glass
- Spray paint in gold, black, or concrete tone (optional)
- Glass candle cups or short pillar candles
- Plastic wrap, tape, and a mixing container
Step-by-step Guide
Step 1: Line the inside of the tube mold with plastic wrap. Mix your cement or plaster and pour it halfway into the tube.
Step 2: Quickly press corks, gravel, or sand into the mixture before it sets, arranging them creatively on one or multiple sides. Let it cure completely.
Step 3: Remove the mold and smooth rough edges. Spray-paint if desired, then place your candle or insert a glass holder on top.