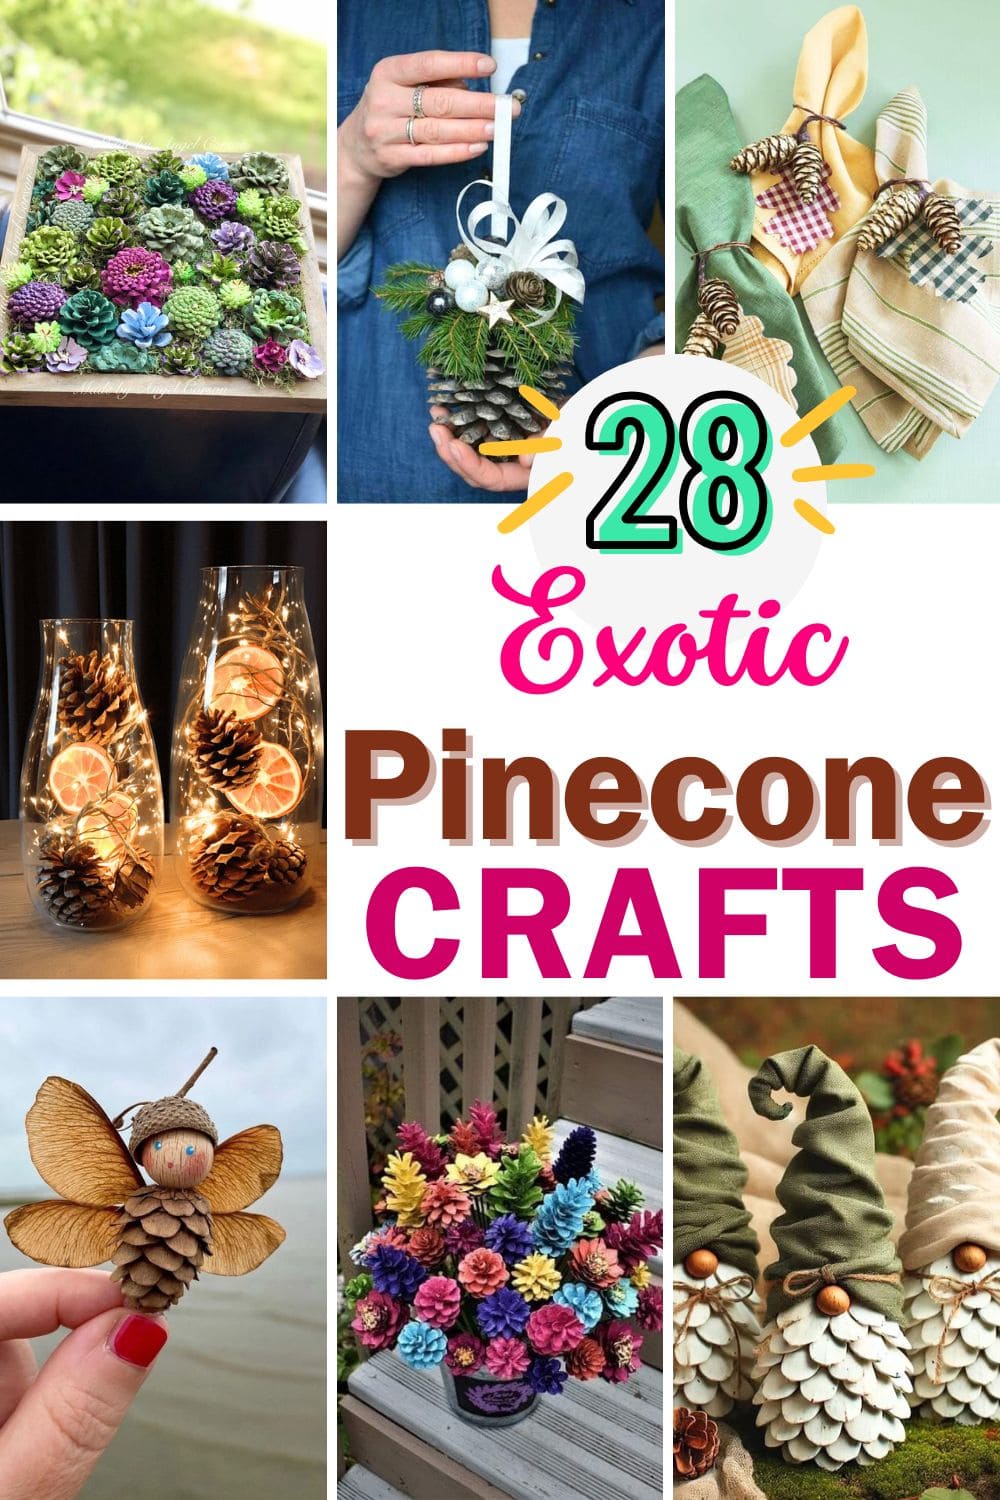
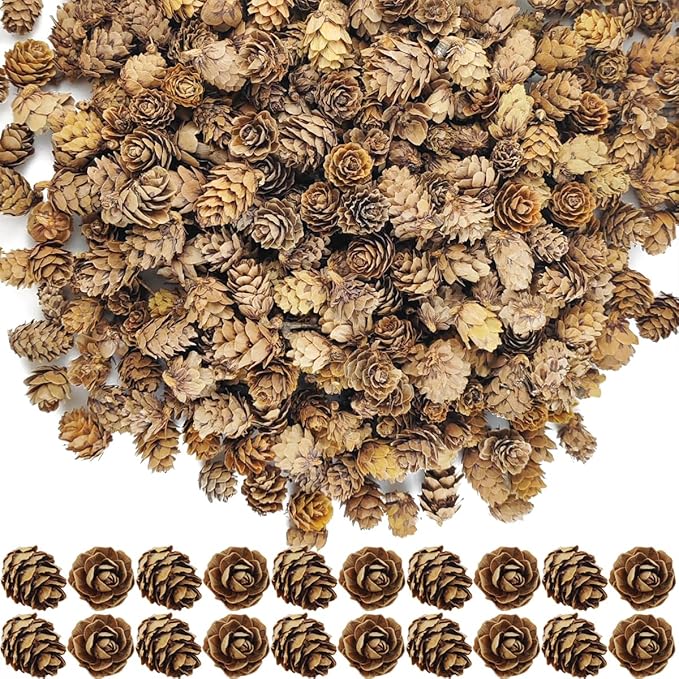
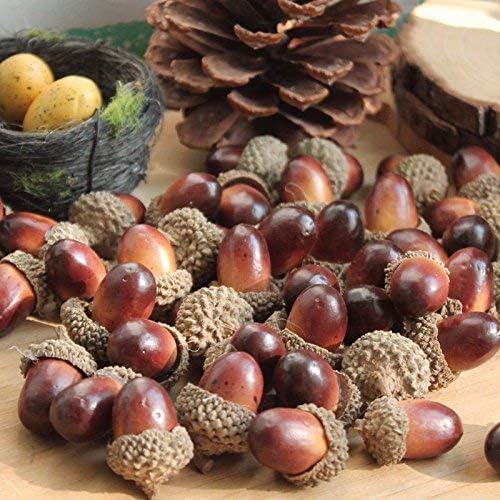
Are you a creative DIYer? The pine cone crafts below will get your heart aflutter! Here, we’ve listed 27 Lovely Pine Cones Crafts for Decorating Your Home. They are creative, beautiful, bizarre, and downright awesome. They are not only for cool crafts to decorate every day but also as meaningful gifts to give them on holidays.
All you need is a little color correction, and a few accessories, then you can turn organic materials into pretty and cute crafts. Are you ready to check them out with us?
These great ideas are easy to make, you and your kids can make them together. They will help your kids to spend their time making creative things, instead of just watching many on television.
It’s time to head to the backyard or your favorite park and gather, but not burn pine cones when you can recycle them into fun crafts. Turn your junk into the afternoon happy that your whole family will love it. Try now!
This article contains affiliate links. If you purchase through them, I may earn a small commission at no extra cost to you. Thank you for your support!
#1. DIY Painted Pinecone Flower Wreath
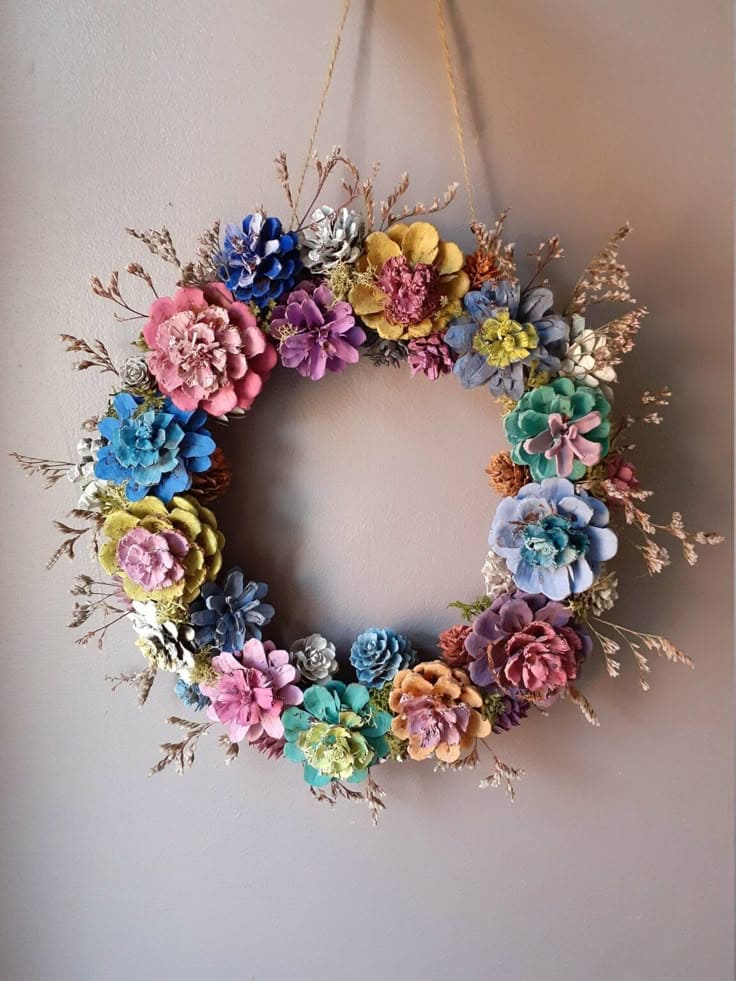
With a little color and imagination, these woodland scraps bloom into everlasting flowers, and this wreath is one of my favorite ways to show them off.
 SHOP GRAPEVINE WREATH BASE
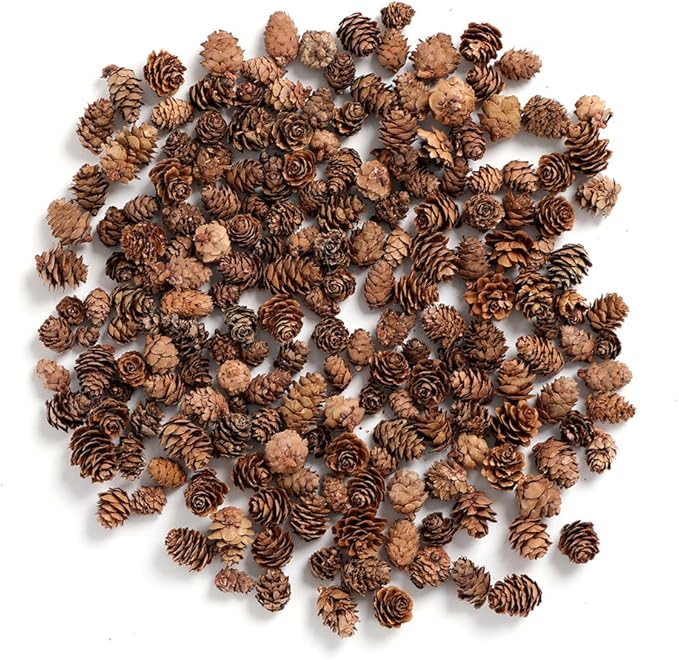 SHOP PINECONES
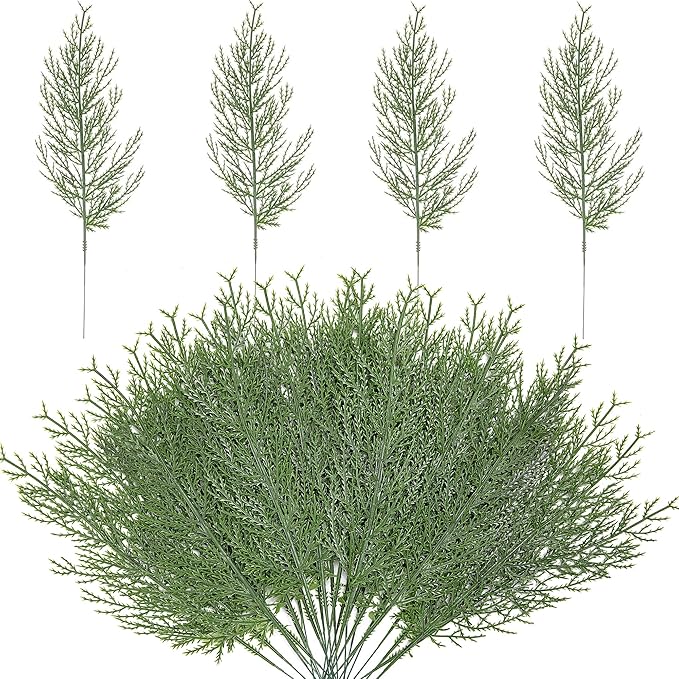 SHOP DRIED FILLER SPRIGS
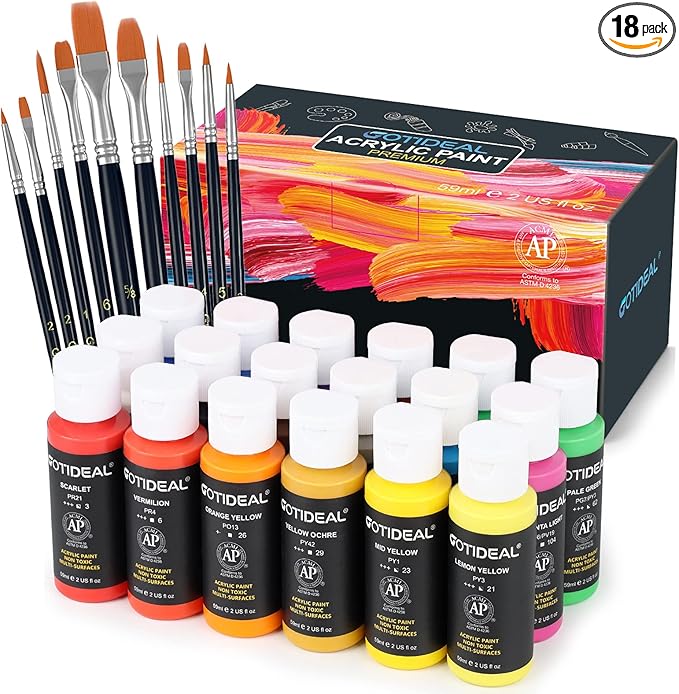 SHOP ACRYLIC PAINT SET
 SHOP PAINTBRUSHES
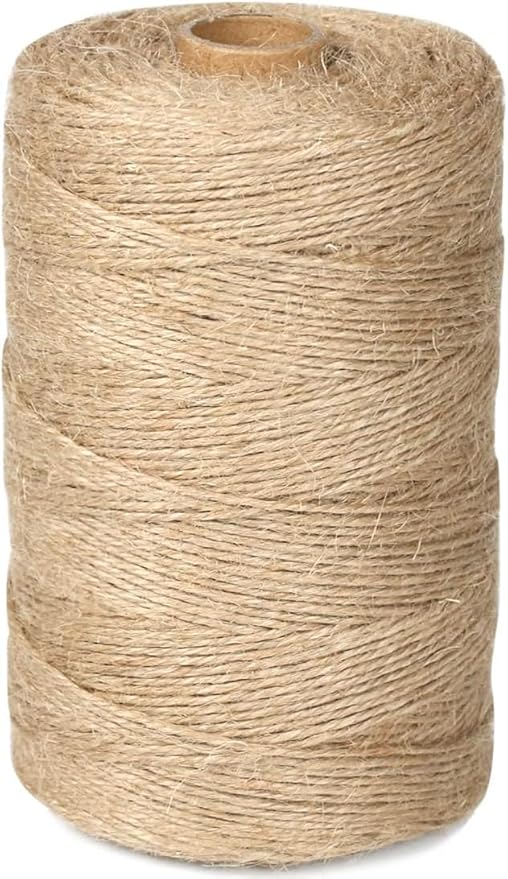 SHOP TWINE
Materials Needed
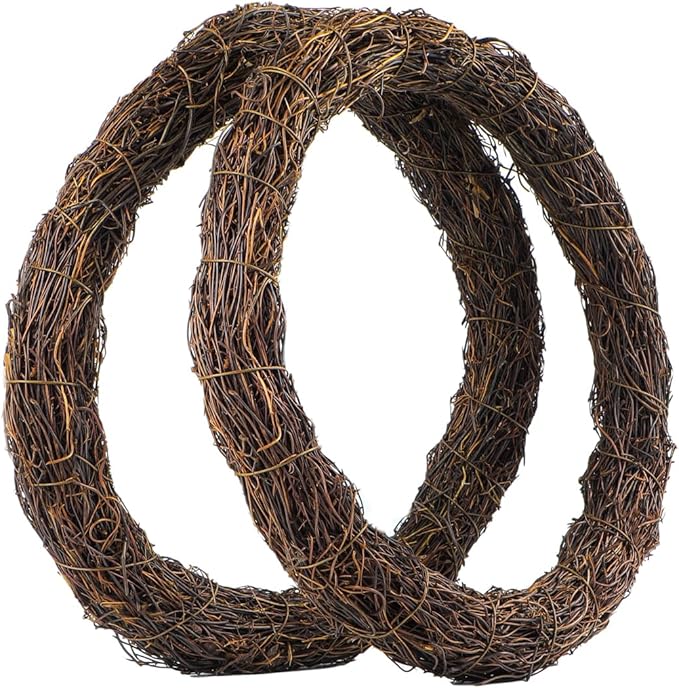
- A grapevine wreath base – 12 to 14 inches
- A bundle of pre-cleaned pinecones in various sizes and shapes
- Some dried filler sprigs
- Acrylic paint set
- A variety of paintbrushes
- Hot glue gun + glue sticks
- Strong scissors
- Twine
Step-by-Step Guide
Step 1: Choose ones that are open and petal-like. If they’re still tight, bake them at 200°F (93°C) for 30 minutes to open them up and remove sap or critters.
Step 2: Use sturdy scissors to slice off the base of each cone so they sit flat. You can cut a few in half vertically to create layered “petals.”
Step 3: Choose your palette and start painting, one solid base coat, then add lighter highlights on the edges for depth. Let them dry fully before moving on.
Step 4: Place the painted cones on the grapevine wreath without glue first. Mix colors and sizes until you like the flow. Leave space between them to add dried florals.
Step 5: Once you’re happy with the arrangement, glue each pinecone onto the wreath. Tuck in the dried sprigs or florals as fillers to soften the look and add elegance.
#2. Pine Cone Napkin Rings
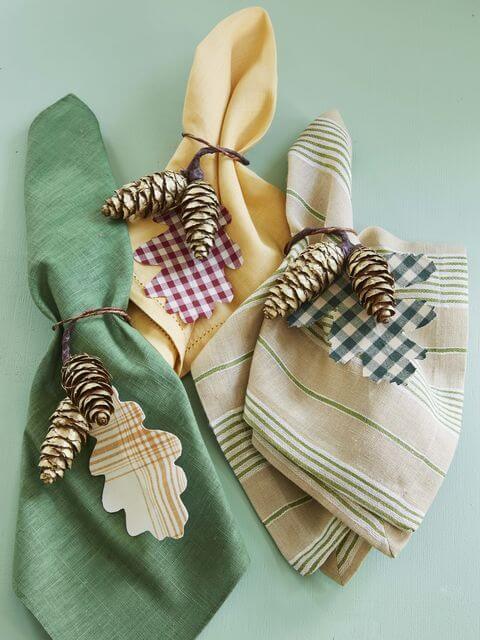
I made a set of twelve pinecone napkin ties for a fall dinner party, and they instantly pulled everything together, no need for fancy plates when the details feel this cozy.
Materials Needed
- Two mini pinecones (2–3 inches long)
- One piece of jute twine (16 inches)
- Kraft cardstock
- Gingham fabric scraps or paper in fall colors
- Craft glue stick
- Optional: hole punch
Step-by-Step Guide
Step 1: Cut a simple leaf or acorn shape from kraft cardstock and glue a square of gingham fabric or paper in the center for color.
Step 2: Fold your napkin into a loose roll or fan. Wrap the jute twine around once, cross it in the back, then pull both ends to the front again.
Step 3: Slide a mini pinecone onto each end of the twine (or just tie them on). Then add your tag by threading it through or tying it onto the knot. Trim twine if needed.
Step 4: Lay the napkin on the plate or tuck it beside your place setting. You can mix and match gingham colors, or keep them all the same for a cleaner look.
#3. Miniature Pine Cone Christmas Tree
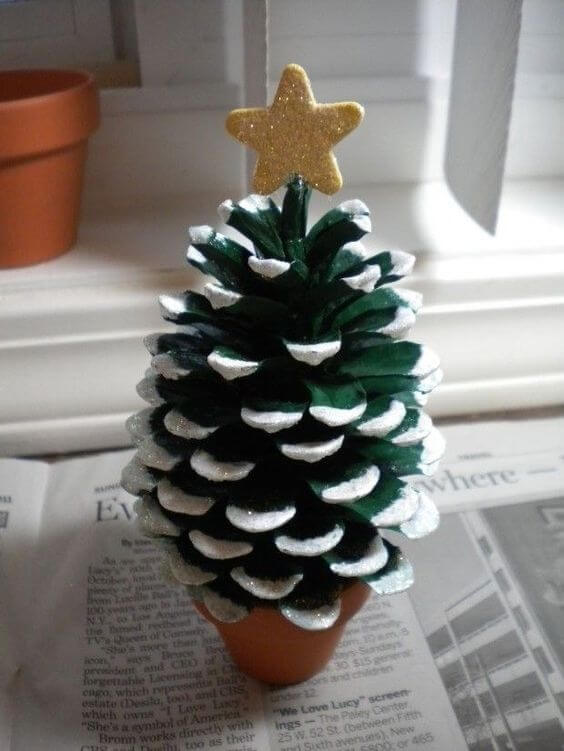
This little pinecone tree is one of my favorite winter crafts. I’ve made them with kids, gifted them to neighbors, and even lined them across my windowsill for a cheerful holiday touch.
 SHOP LARGE PINECONE
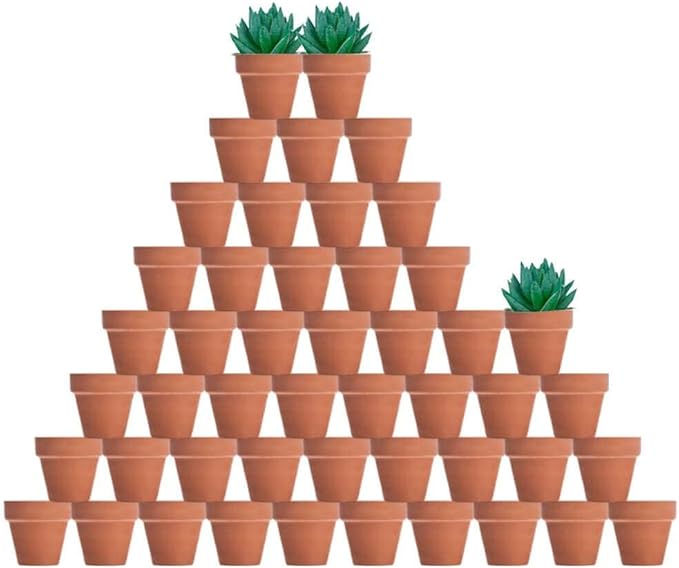 SHOP MINI TERRACOTTA POT
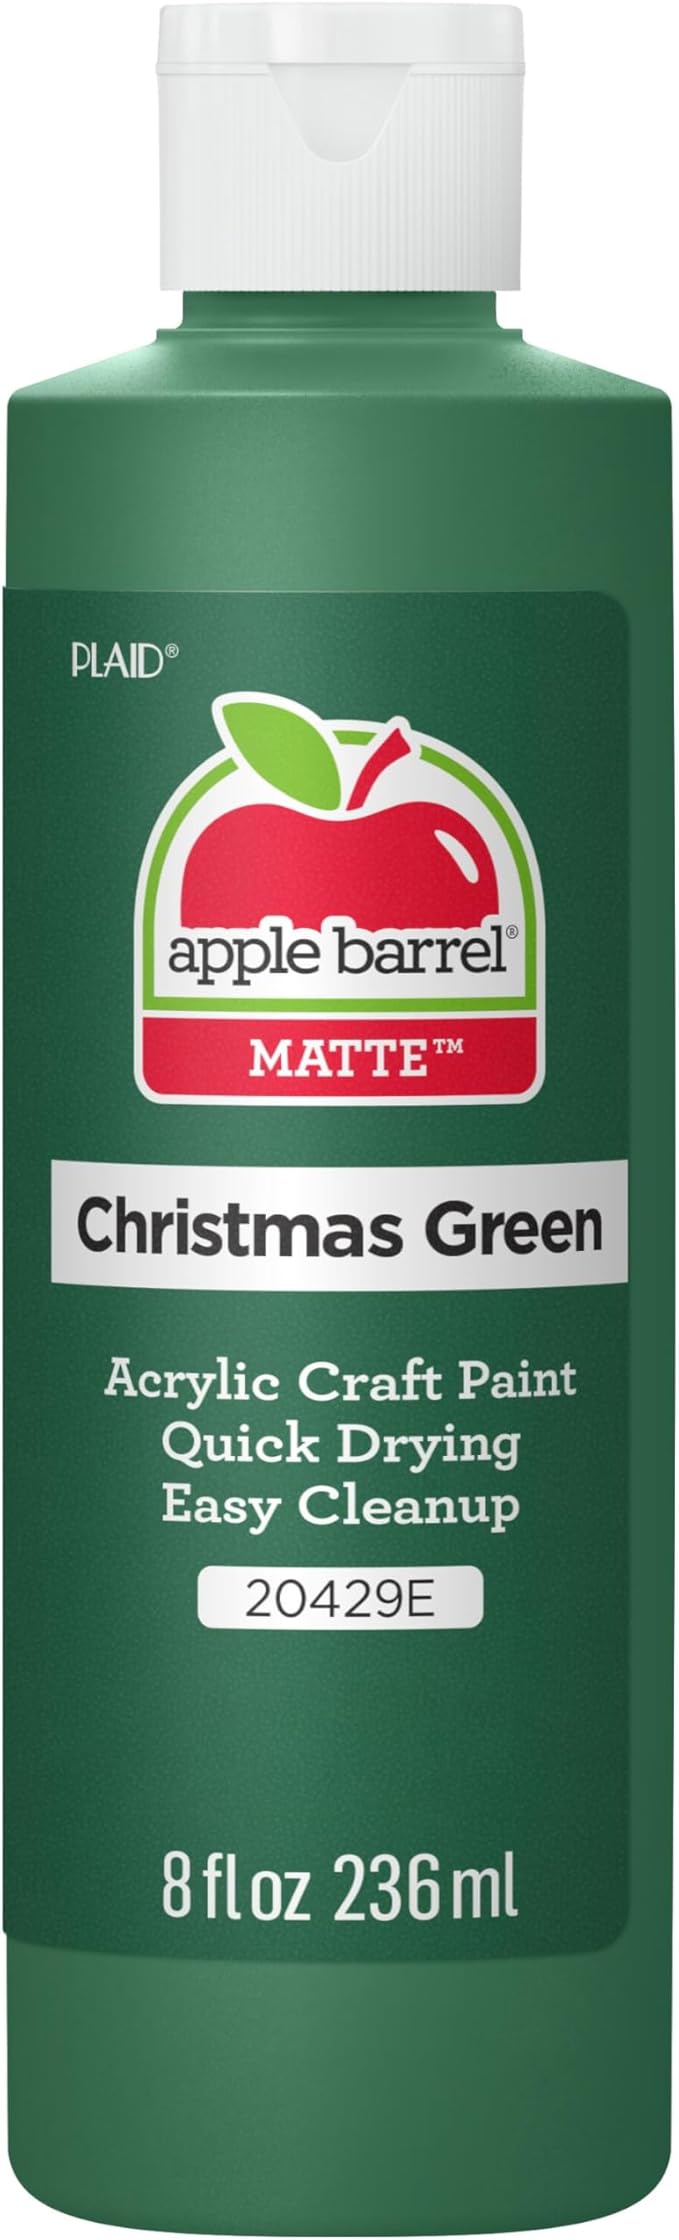 SHOP GREEN ACRYLIC PAINT
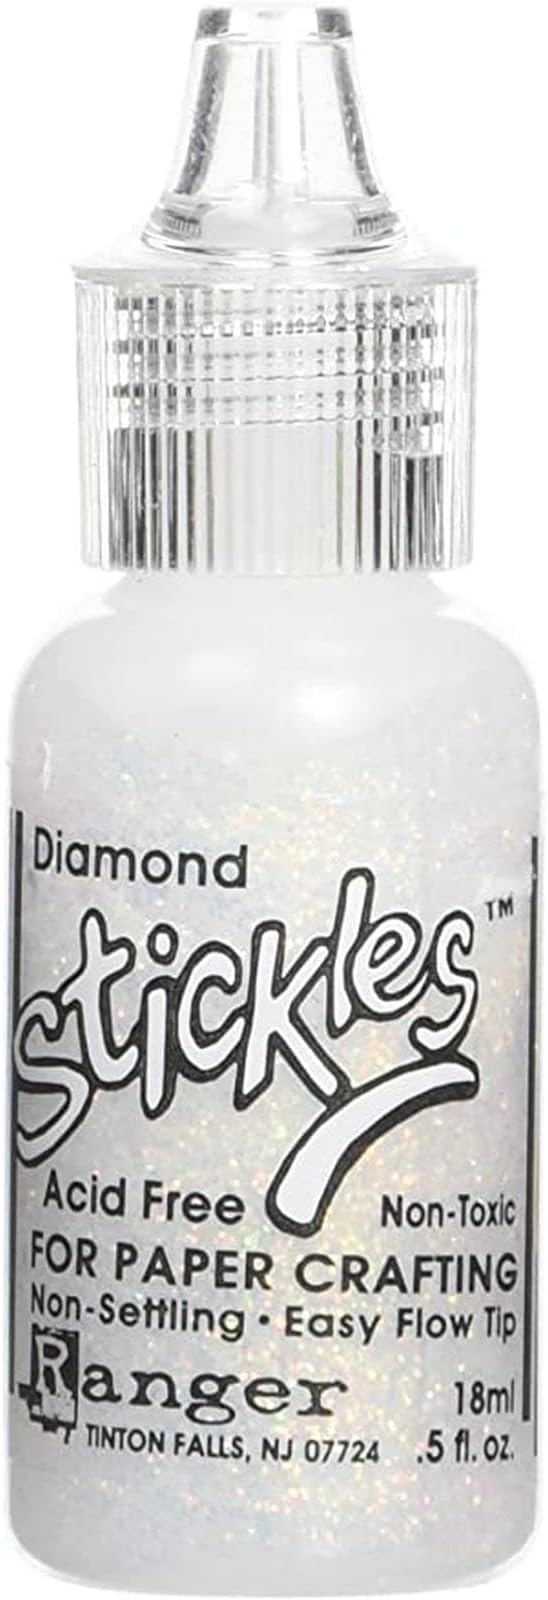 SHOP WHITE GLITTER GLUE
 SHOP FOAM GLITTER STAR STICKER SET
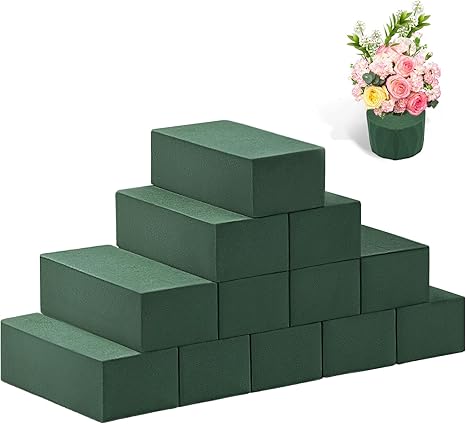 SHOP FLORAL FOAM
Materials Needed
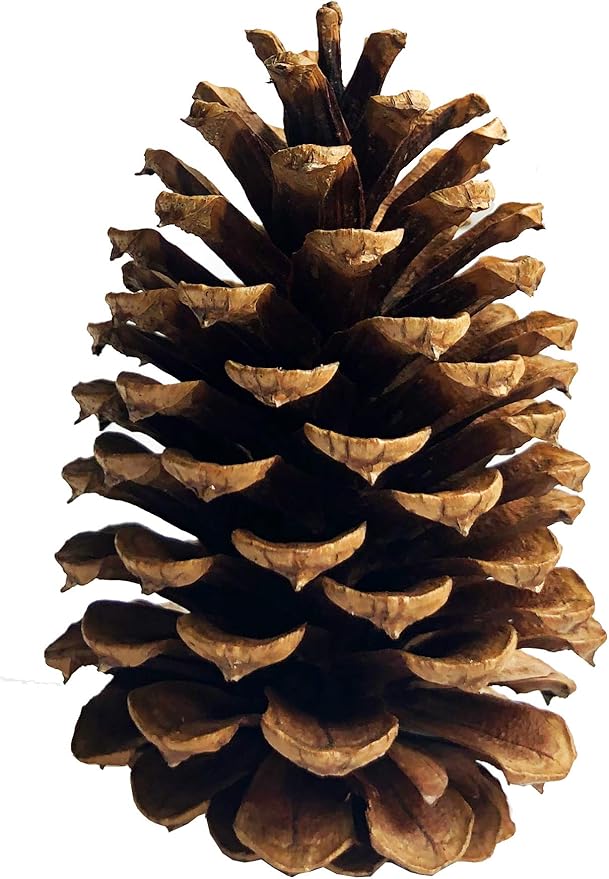
- One large pinecone (4–5 inches tall)
- One mini terracotta pot (2.5-inch)
- One green acrylic paint
- One white glitter glue
- One foam glitter star sticker set
- Mini hot glue gun + glue sticks
- Optional: Floral foam
Step-by-Step Guide
Step 1: Using green acrylic paint, cover the entire cone. I left some brown peeking through for texture. Let it dry completely (about 30–45 minutes).
Step 2: Dab white glitter glue or puffy paint just on the ends of each scale to create a snow-dusted look. Let it dry flat so the glue doesn’t drip.
Step 3.: You can glue the cone directly to the inside of the mini terracotta pot or nestle it in using floral foam or pebbles. I like to glue mine down for stability.
Step 4: Stick a foam glitter star to the top of the pinecone using hot glue. You can also use a small wooden star and paint it gold for a rustic twist.
#4. DIY Painted Pinecone Wind Chime
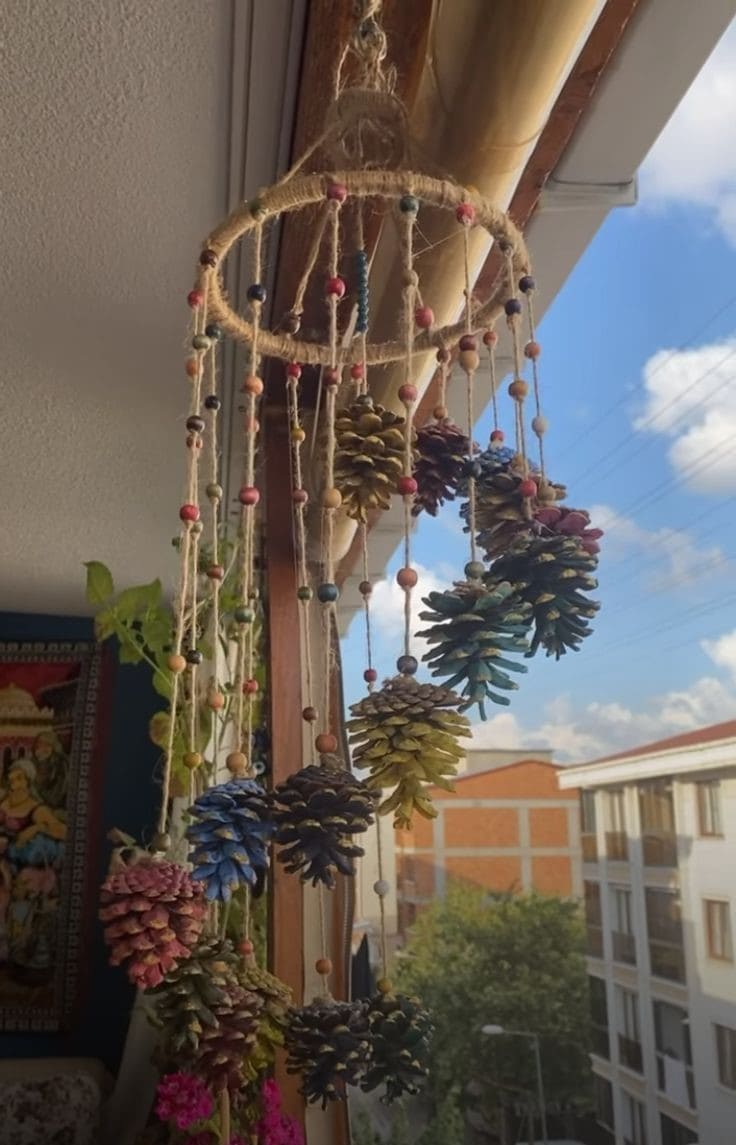
I wanted something handmade for my balcony, something light, colorful, and soothing to look at. That’s how this pinecone wind chime came to life.

Materials Needed
- 12 natural pinecones (3–4 inches)
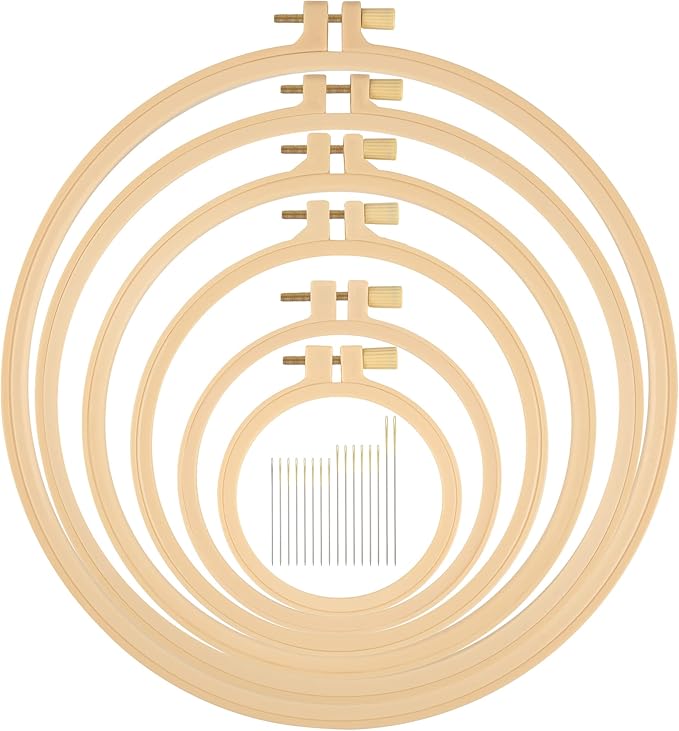
- One embroidery hoop (8–10 inch)
- Multi-color acrylic paint set
- Natural jute twine (2mm thick)
- Wooden beads in assorted colors/sizes
- Hot glue gun + glue sticks
- Optional: clear matte sealer if hanging outside
Step-by-Step Guide
Step 1: I painted 8 of the 12 cones and left 4 natural. Mix bright and muted tones, I used coral, sage green, navy, lavender, mustard, and turquoise. Let them dry fully (about 1 hour).
Step 2:Cut 12 pieces of jute twine at different lengths from 12″ to 24″. Thread 4–6 wooden beads onto each, tying small knots under each bead to keep them in place.
Step 3: Tie each strand securely around the top third of a pinecone. Add a dab of hot glue if needed. Let some cones hang lower for a cascading look.
Step 4: Use more twine to tightly wrap the embroidery hoop. This gives it a rustic texture and a better grip for tying strands.
Step 5: Evenly space each pinecone strand around the hoop. Tie them securely, and add a dot of glue to keep them from slipping.
#5. DIY Lighted Pine Cone Star

This glowing pinecone star feels festive and natural at the same time, like something you’d find in a woodland cabin strung up beside the fire.
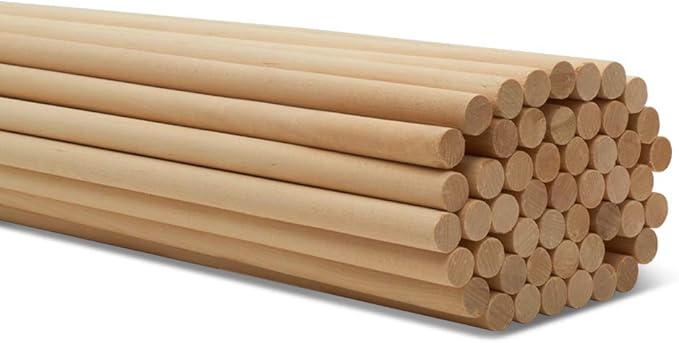 SHOP WOODEN DOWELS
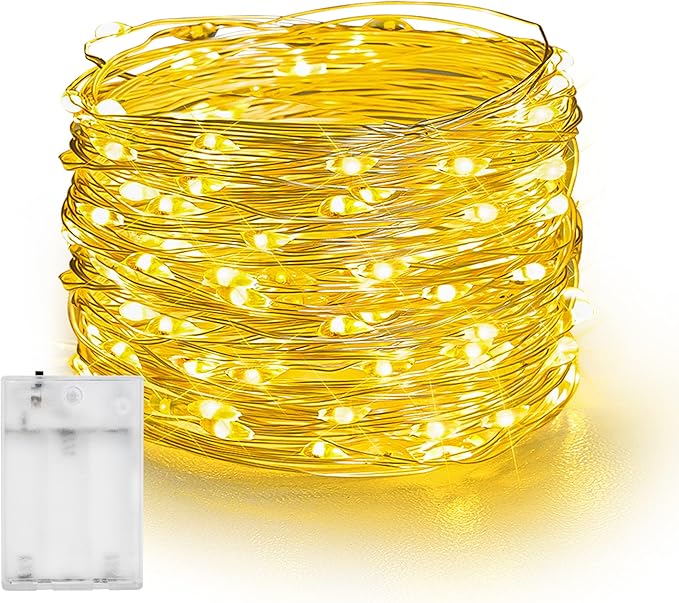 SHOP WARM WHITE FAIRY LIGHTS
 SHOP DARK BROWN WIRE
 SHOP WOOD STAIN
 SHOP COMMAND STRIPS
Materials Needed
- 30–40 medium pinecones (about 3–4 inches)
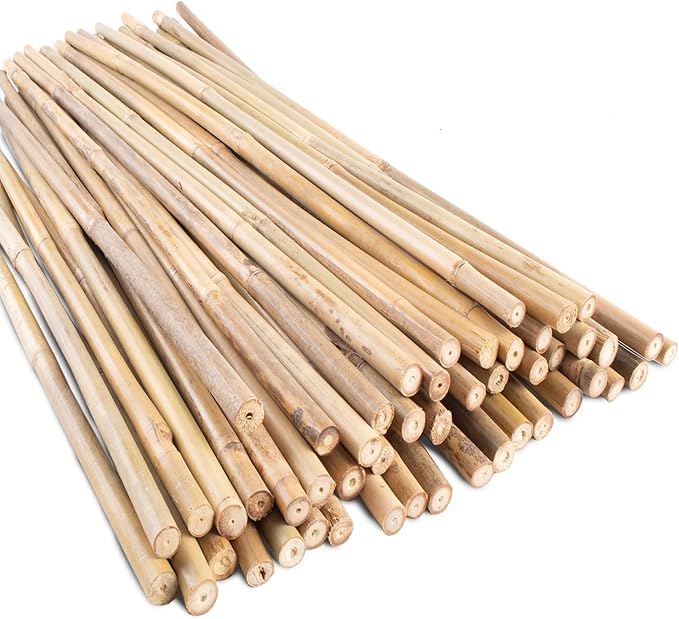
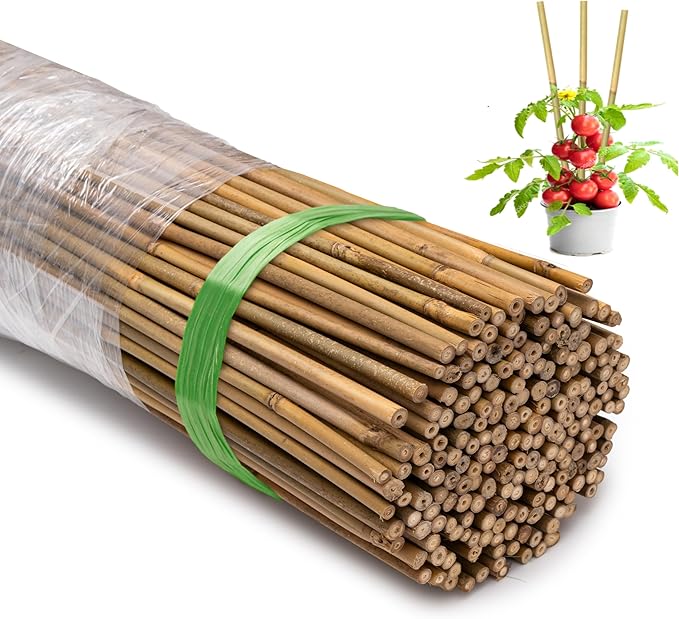
- Five 24-inch wooden dowels (½ inch thick)
- Two strands of warm white fairy lights (battery-powered, 20 ft)
- Dark brown wire
- Mini hot glue gun + glue sticks
- Wood stain (optional)
- Command strips
Step-by-Step Guide
Step 1: Arrange your five wooden dowels into a star shape, overlapping the ends. Use floral wire and hot glue to secure each joint. Let it dry fully before moving on.
Step 2: Starting at one point, glue each pinecone along the dowels, spacing them evenly. I placed about 6–8 cones on each side of the star. Reinforce with floral wire if you’re hanging it outdoors.
Step 3: Carefully wrap your fairy lights around the entire star, tucking the wires between cones to hide them. I used two full strands for a warm, even glow.
Step 4: Use command strips or a wall hook to hang your star where it can shine. It also looks amazing leaning against a mantle or in a window.
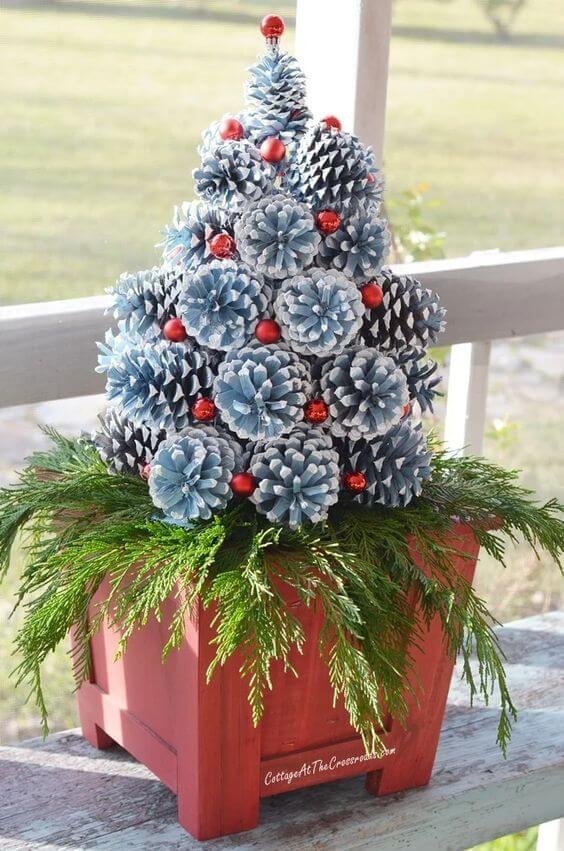
#6. Front Porch Pine Cone Christmas Decor
If you’re looking for a centerpiece that’s both rustic and grand, this pinecone tree hits the mark. I made mine to welcome guests at the front door.
Materials Needed
- 25–30 medium pinecones (3–4 inches wide)
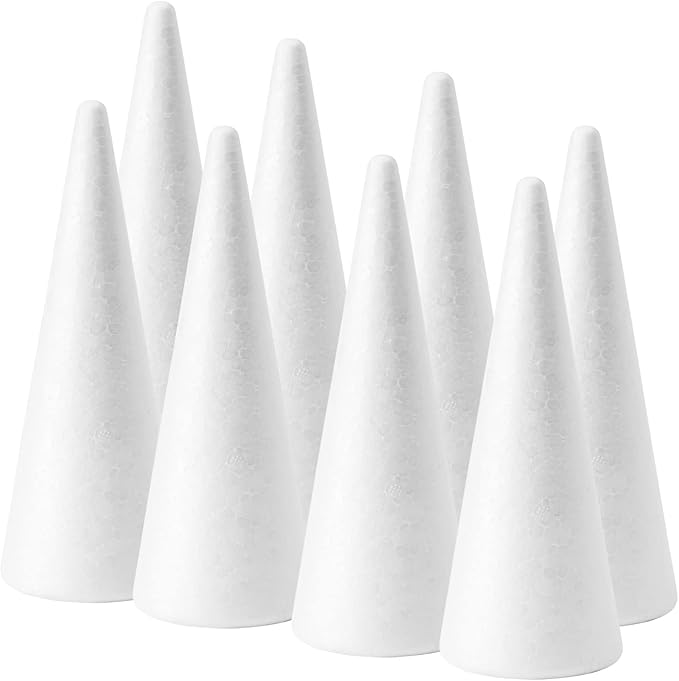
- One 12-inch foam cone base
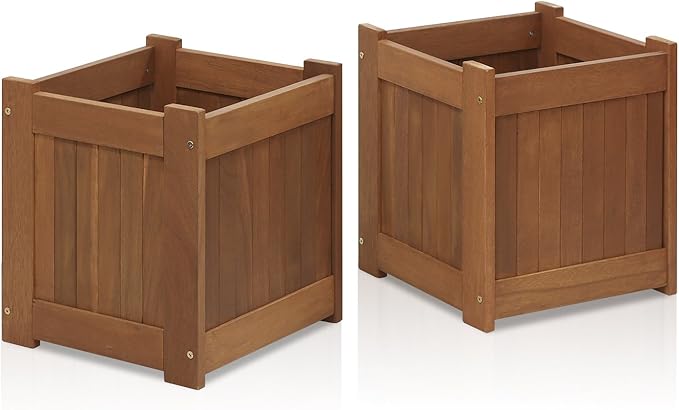
- One red wooden planter box (10–12 inch)
- Dusty blue and white acrylic paints
- One pack of mini red ornaments (0.5–1.2 inch)
- A bunch of real or faux evergreen picks
- Mini hot glue gun + glue sticks
- Optional: white glitter spray
Step-by-Step Guide
Step 1: Paint 25–30 pinecones blue using a flat brush, and once dry, lightly dry-brush the tips with white to give that snowy look. Let everything dry completely.
Step 2: Use a foam cone and begin gluing pinecones around the bottom in a circle, then continue layering upward. Alternate cone sizes to avoid big gaps.
Step 3: Tuck mini red balls between pinecones as you build. I used about 20 to get a good balance of sparkle and color.
Step 4: Hot glue the finished cone into the center of your wooden planter, or place a brick or foam block inside to keep it upright. Cover the base with evergreen sprigs to fill in the space and create a natural base.
Step 5: Add one last pinecone or red ball at the peak for a clean, simple topper. Optionally, mist with glitter spray for shimmer.
#7. DIY Rustic Pinecone Garland with Twine Bows
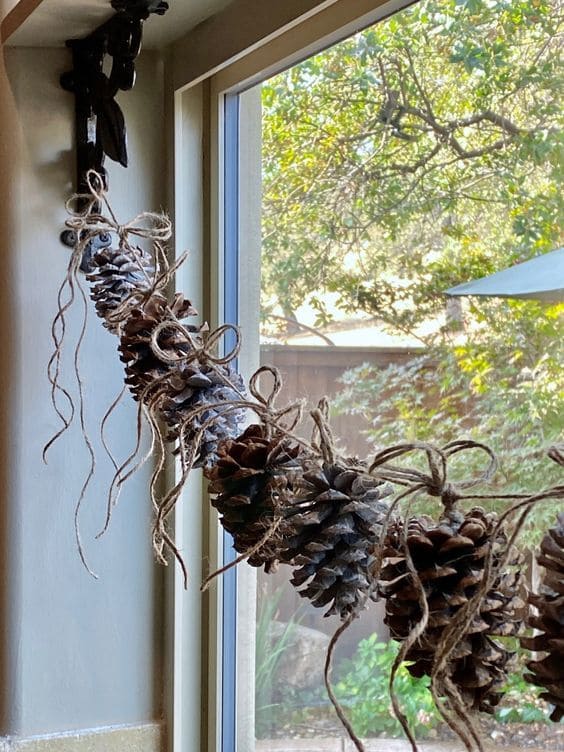
I’ve hung it in the window, along the mantel, and even outside on the porch. It adds a cozy, natural vibe and works just as well for fall as it does for winter.
Materials Needed
- 18–24 natural pinecones (3–4 inches)
- 10 feet of natural jute twine (2mm thick)
- White acrylic paint or chalk paint
- Mini hot glue gun + glue sticks
- Optional: clear sealant spray
Step-by-Step Guide
Step 1: Lightly dry brush white acrylic paint onto the edges of each pinecone to mimic frost. Let dry completely before handling.
Step 2: Measure out about 8 feet of jute twine, leaving a little extra on each end for tying or hanging. Cut additional short pieces for the bows, I used about 24″ each for loops and tails.
Step 3: Tie each pinecone directly onto the twine using a double knot. Space them about 4–5 inches apart. You can reinforce the knots with a dab of hot glue if any cones feel wobbly.
Step 4: Tie a rustic bow above each pinecone using your shorter twine pieces. Let the ends curl naturally or give them a gentle twist. I glued some of mine in place to keep the shape.
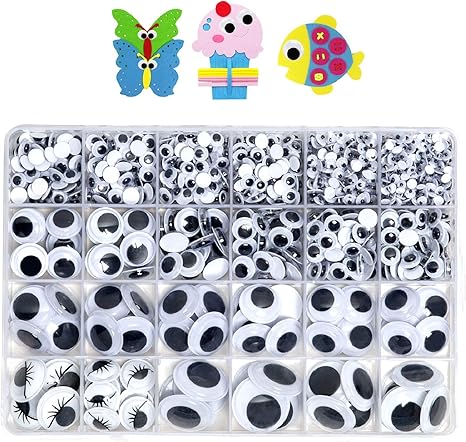
#8. DIY Pinecone Hedgehogs
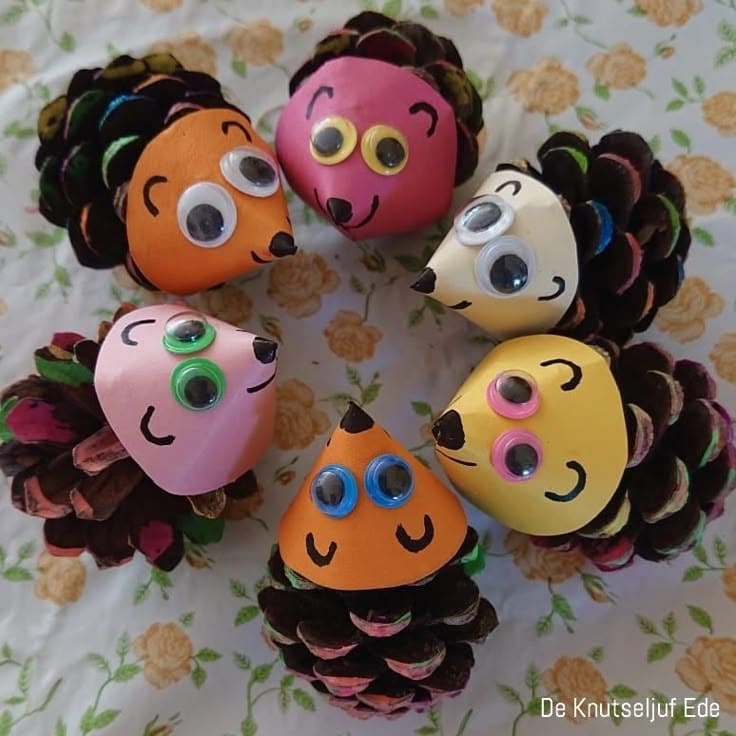
These pinecone hedgehogs are probably the happiest craft I’ve ever made. The bright faces, googly eyes, and painted “quills” give them so much character, it’s impossible to make just one.

Materials Needed
- Six small pinecones (2.5–3 inches)
- One pack of colored cardstock sheets
- One set of large googly eyes (self-adhesive) – 20mm
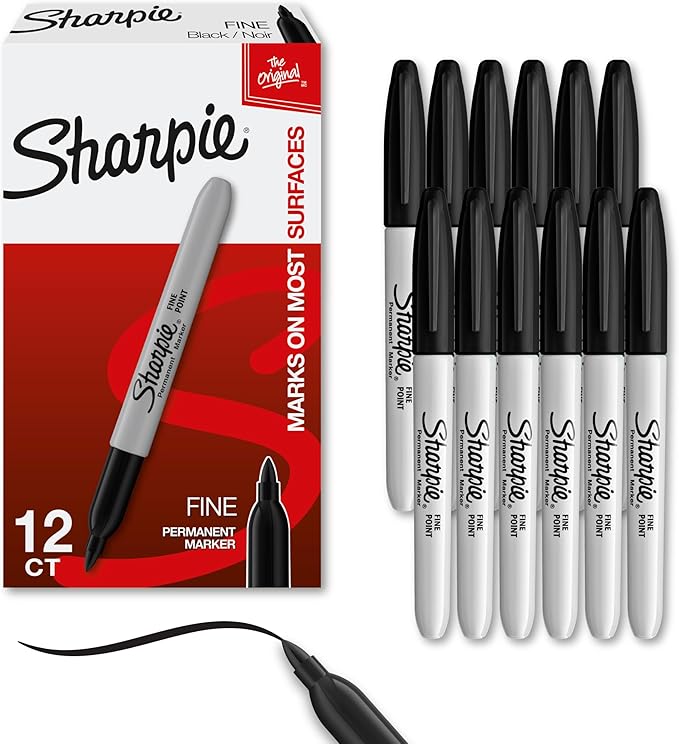
- One black permanent marker
- Washable acrylic paint set
- Craft glue or glue gun
- Scissors, pencil, paintbrushes
Step-by-Step Guide
Step 1: I dabbed a little acrylic paint on the tips of each pinecone to give the hedgehogs fun, colorful backs. Let them dry while you prep the faces.
Step 2: Use a pencil to sketch teardrop-shaped faces from colored cardstock. Each one should be about 2.5 inches tall and rounded at the bottom. Cut out one per hedgehog.
Step 3: Stick on two googly eyes, then use a black marker to draw on a nose and big smile. Add eyebrows or eyelashes for extra personality.
Step 4: Attach each paper face to the flat front of a painted pinecone using craft glue or hot glue if you need it to dry faster. Hold for 10–15 seconds to set.
Step 5: Line them up on a shelf, use them in a storytime basket, or add name tags to turn them into DIY place cards.
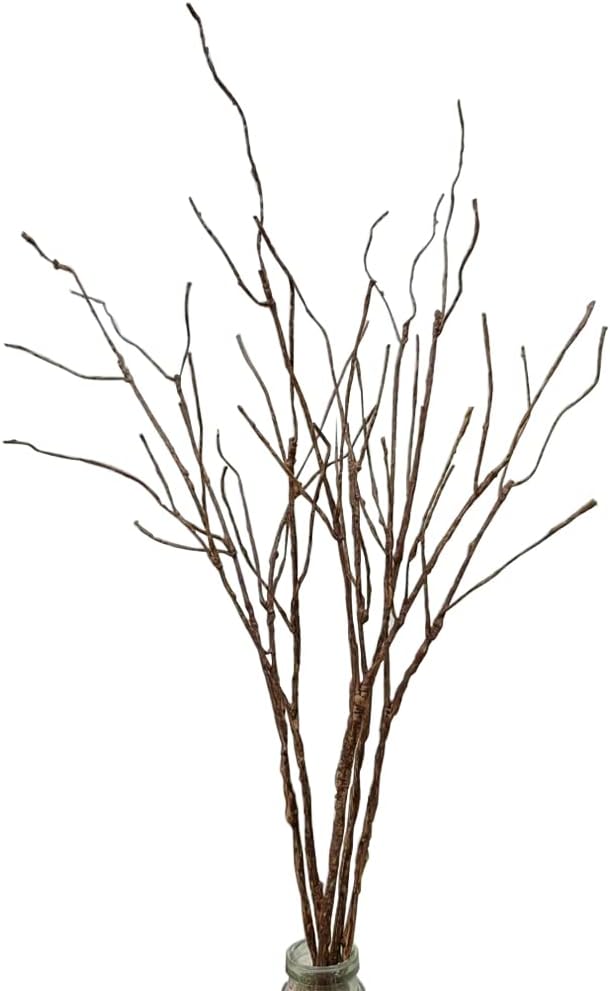
#9. Rustic Twig & Pinecone Star for Holiday Doors
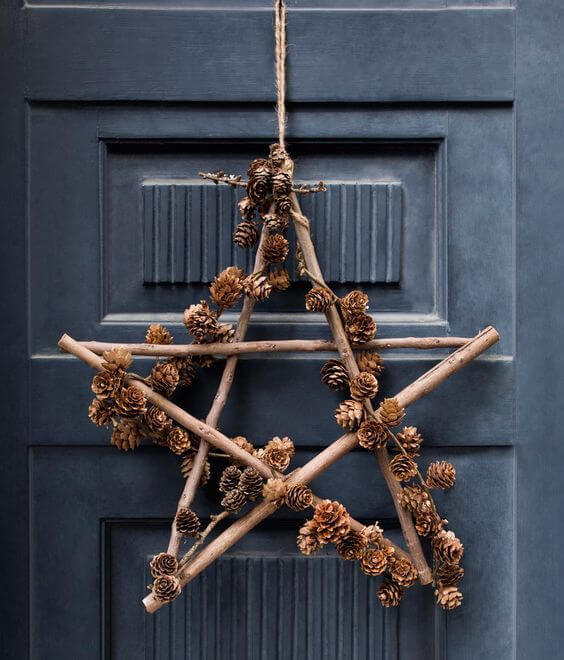
The mix of clean twig lines and rough-textured pinecones makes it feel woodsy, handmade, and timeless. I made one of these to hang on my front door, and it became the talk of the block.
Materials Needed
- 5 straight branches or craft sticks (18 inches)
- About 25–30 mini pinecones (1–1.5 inches)
- 8–10 ft of natural jute twine (2mm)
- Hot glue gun + glue sticks
- Optional: matte clear spray
Step-by-Step Guide
Step 1: Lay your five twigs into a five-pointed star shape. Don’t glue yet, just get the positioning right. Then, use pieces of jute twine to tie and knot where the branches cross.
Step 2: Once everything’s tied together and you’re happy with the shape, add a dot of hot glue at each intersection for extra strength.
Step 3: Hot glue mini pinecones along the twigs. You can do a few clusters or go all the way around like in the photo.
Step 4: Loop a piece of twine through the top and tie it securely for hanging.
Step 5: If you’ll be hanging your star outside, give it a light spray with clear sealant to protect against weather.
#10. DIY Pinecone Flower Art on Wooden Board
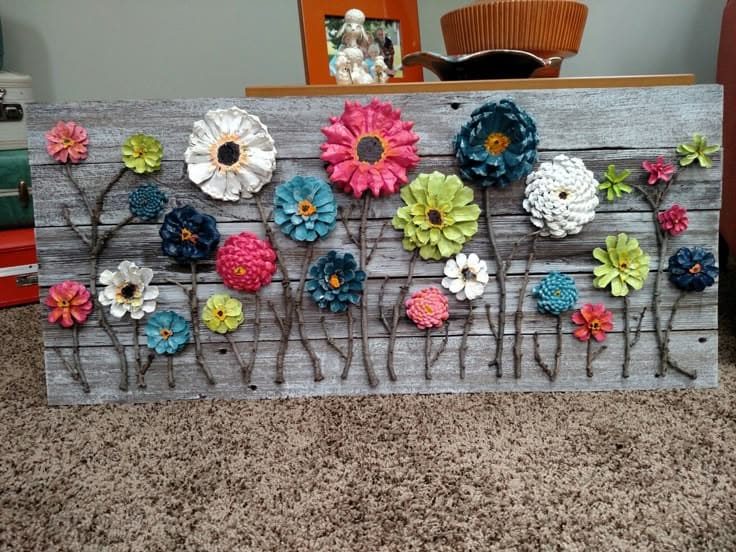
This wall art is hands-down one of the most rewarding pinecone projects I’ve done. The key is mixing colors, layering textures, and using real twigs for the flower stems.
Materials Needed
- 20–25 small pinecones (2–3 inches)
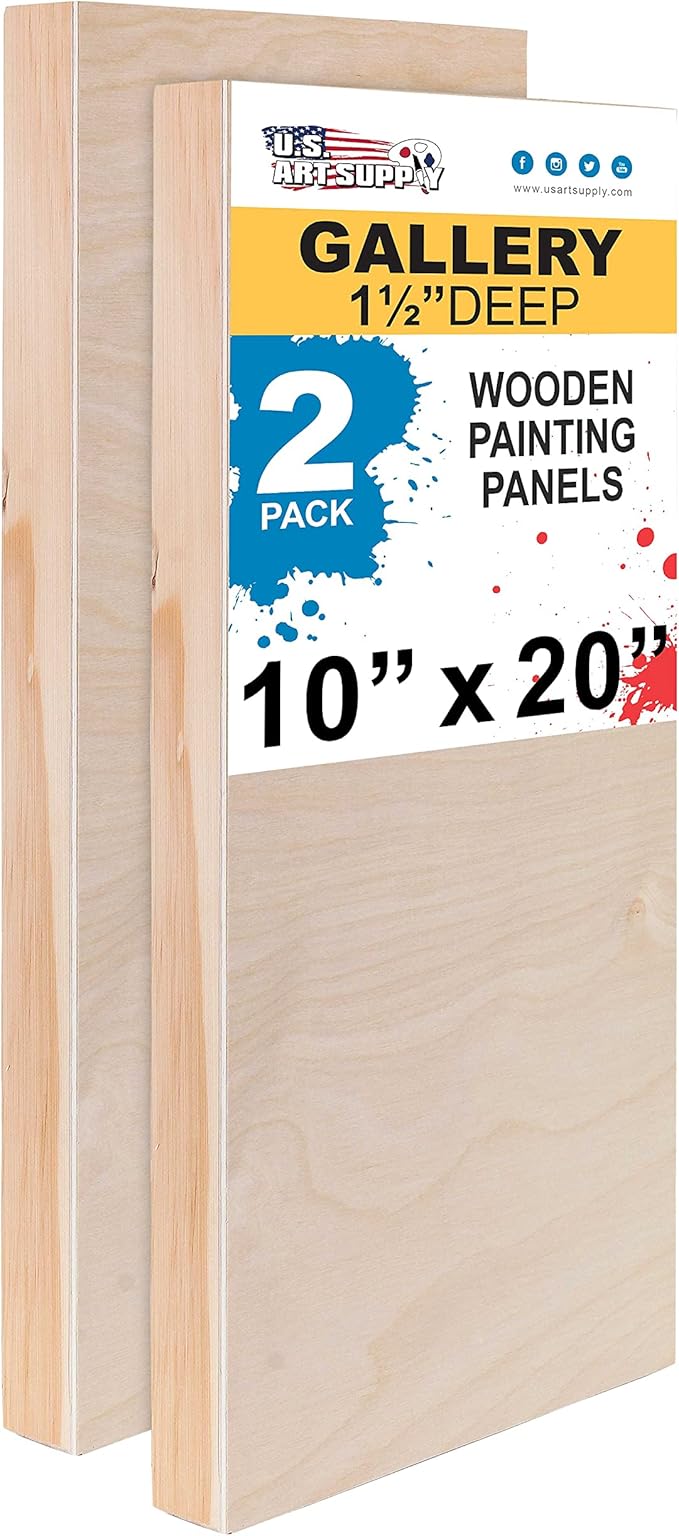
- One wooden craft board or pallet board (20×10 inch)
- Assorted acrylic paint set
- Mini paintbrushes
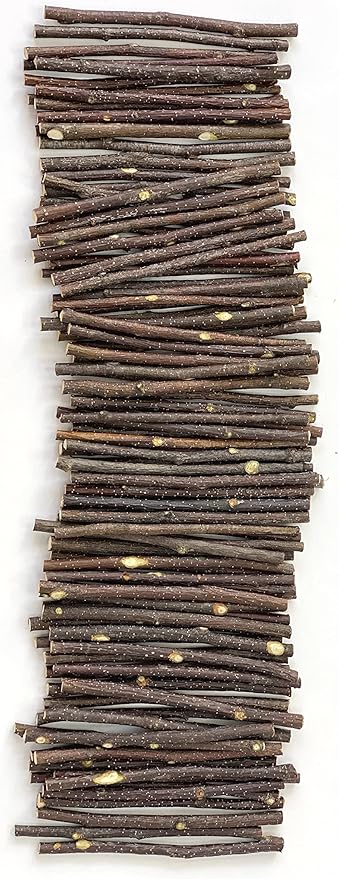
- A handful of dried craft twigs or floral branches
- Hot glue gun + glue sticks
- Optional: spray sealant
Step-by-Step Guide
Step 1: Cut each pinecone in half horizontally using strong garden shears or carefully pull apart the outer layers to get petal shapes.
Step 2: Use acrylic paints in vibrant, happy colors like pinks, blues, greens, yellows, and whites. I painted the tips in lighter shades for dimension, and dotted centers with orange or black for contrast.
Step 3: Arrange your painted cones on the wooden board first without gluing. Once you’re happy with the layout, glue each one in place with a hot glue gun.
Step 4: Break twigs into pieces to act as stems and glue them underneath each flower. Use smaller twig bits to create leaves or side branches.
Step 5: If you’re displaying it somewhere sunny or dusty, finish it with a light coat of matte sealant to protect the paint and glue.
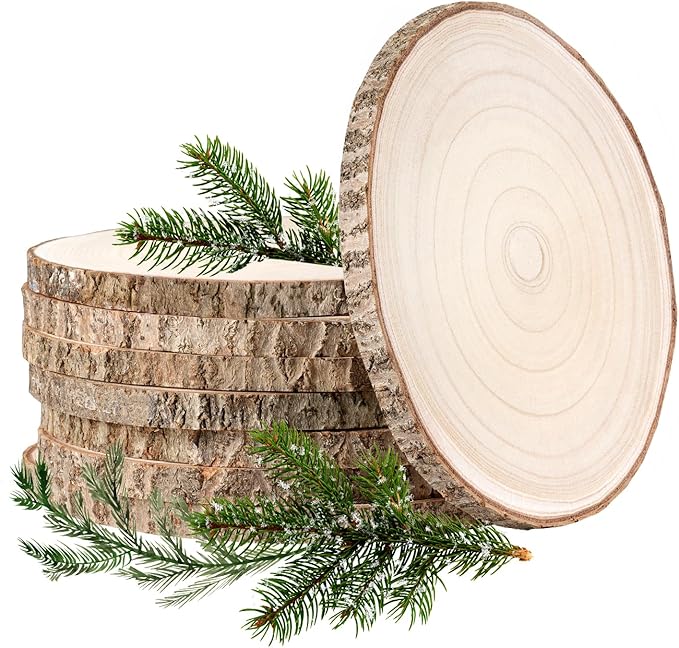
#11. DIY Pinecone Mini Tree Centerpieces
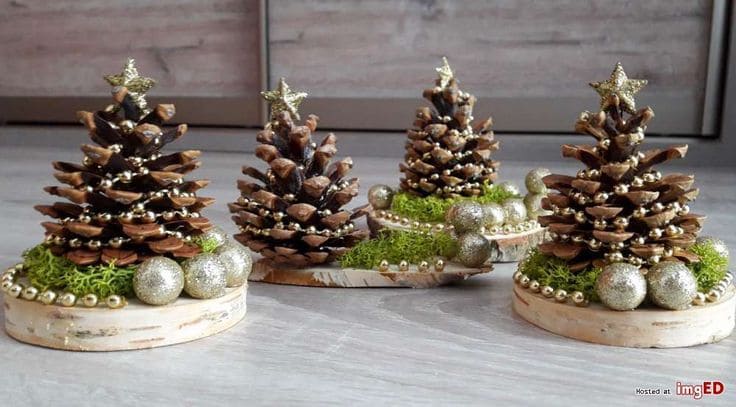
These sparkly little pinecone trees are one of my favorite crafts to prep in batches. They’re small, festive, and carry that handmade magic, just enough shimmer to catch the light.
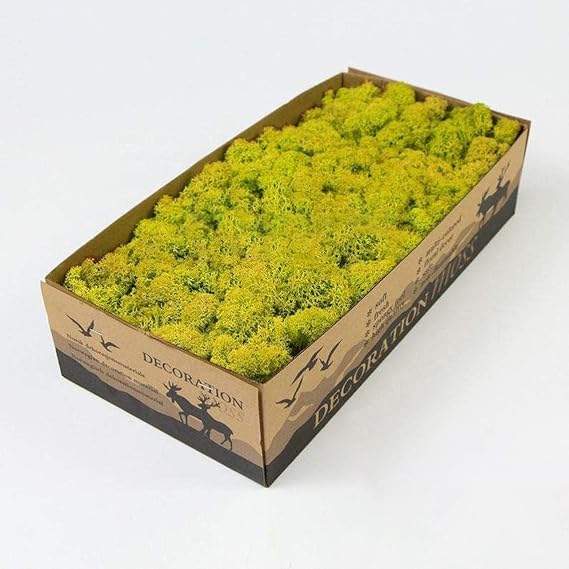
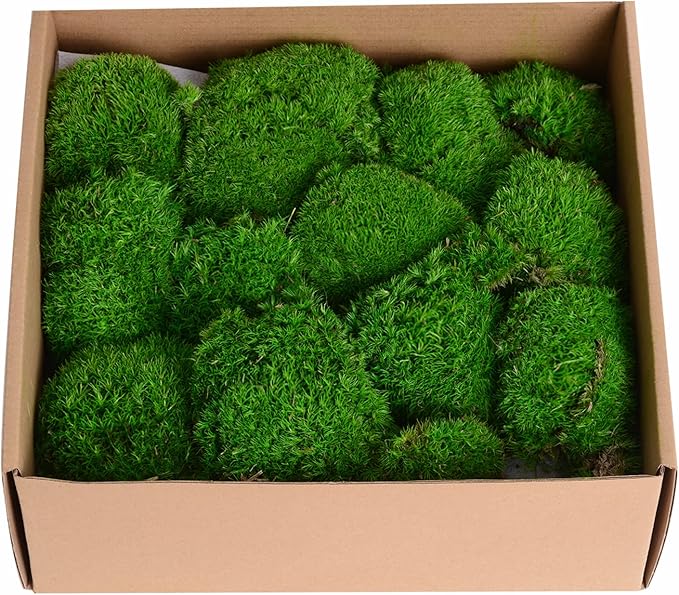
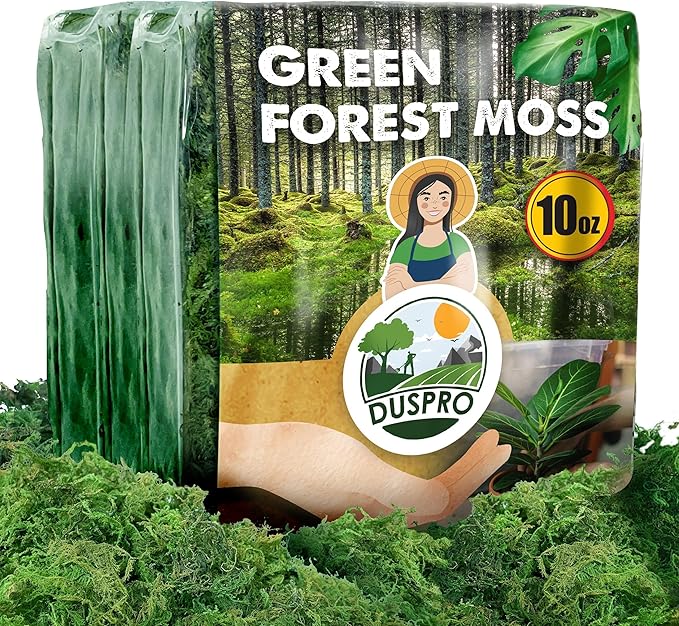 SHOP PRESERVED GREEN MOSS
 SHOP GOLD GLITTER ORNAMENTS
 SHOP GLITTERED MINI STAR STICKER
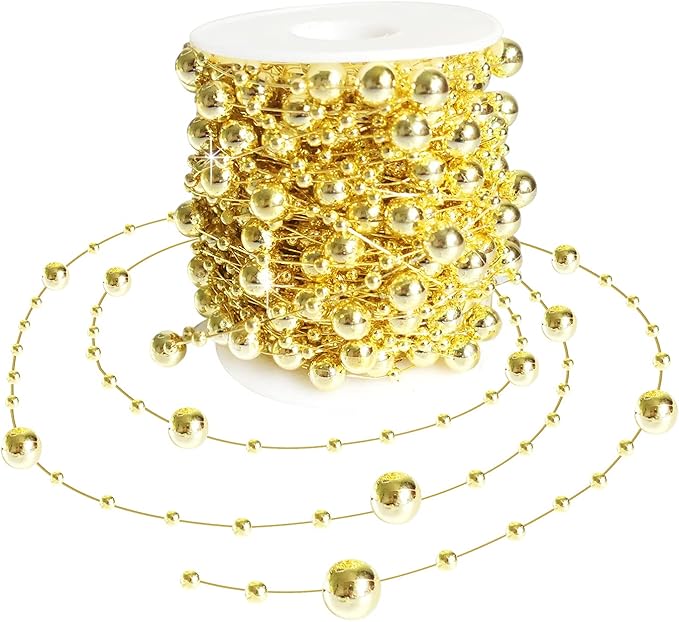 SHOP MINI GOLD BEAD GARLAND
Materials Needed
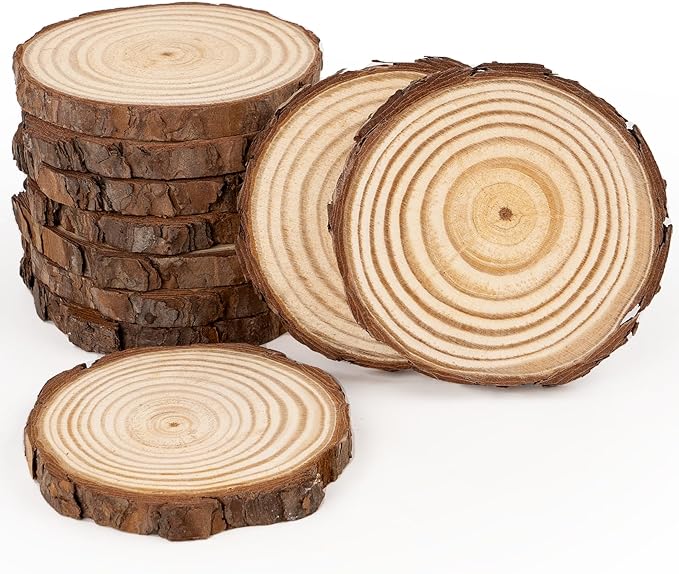
- One medium pinecone (about 3–4 inches tall)
- One birch wood slice (3–4 inches diameter)
- A pinch of preserved green moss
- 3–4 mini gold glitter ornaments (0.5–1 inch)
- One glittered mini star sticker
- One strand of mini gold bead garland
- Hot glue gun + glue sticks
Step-by-Step Guide
Step 1: Start with a birch wood slice. You can leave it as-is or brush the edge with a little gold paint for extra shine.
Step 2: Use hot glue to attach a small handful of preserved moss around the center of the wood slice.
Step 3: Glue your pinecone directly in the middle of the mossy base. Press firmly and hold for about 15 seconds to make sure it’s stable.
Step 4: Wrap a few loops of gold bead garland around the cone, tuck it gently between scales and spot-glue if needed. Add a mini glitter star to the very top.
Step 5: Glue 3–4 mini gold ornaments around the base. I clustered a couple on one side for balance, then added a solo one to the other side.
#12. Woodland Owl Family Wall Art
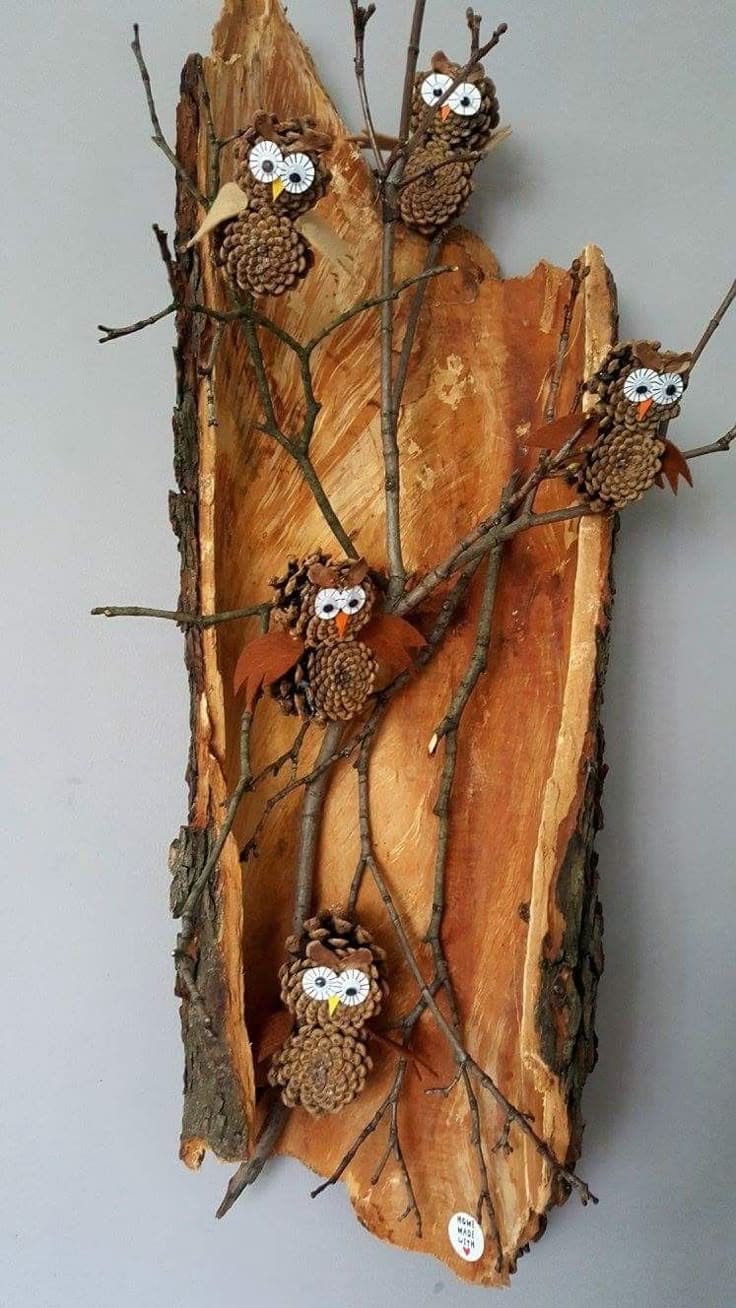
This owl family project was one of my most rewarding pieces, it feels alive with personality!
Materials Needed
- 5–6 medium pinecones (2–3 inches)
- One natural wood slab or bark base (approx. 12×24″)
- Several twigs
- Cardstock (brown, orange, yellow)
- Googly eyes
- Hot glue gun + glue sticks
- Scissors
- Optional: Small wooden sign
- Optional: Sawtooth hanger kit
Step-by-Step Guide
- Choose a vertical wood slab with texture and natural edges. Wipe off debris and let it fully dry before attaching anything.
- Lay out twigs across the slab to mimic tree branches. Let some cross over, some stay straight, and others go diagonal, then glue them down firmly.
- Use pinecones as the owl bodies. Add googly eyes, then cut tiny beaks from orange or yellow felt and glue in place. Wings can be rounded or leaf-shaped.
- Hot glue each owl onto a twig, letting them perch naturally. Angle some forward, some sideways.
- Glue on small embellishments like a wooden “handmade” tag, leaves, or even acorns. If you plan to hang it, add a sawtooth hook on the back.
#13. Pinecone Petal Poppy Field Craft
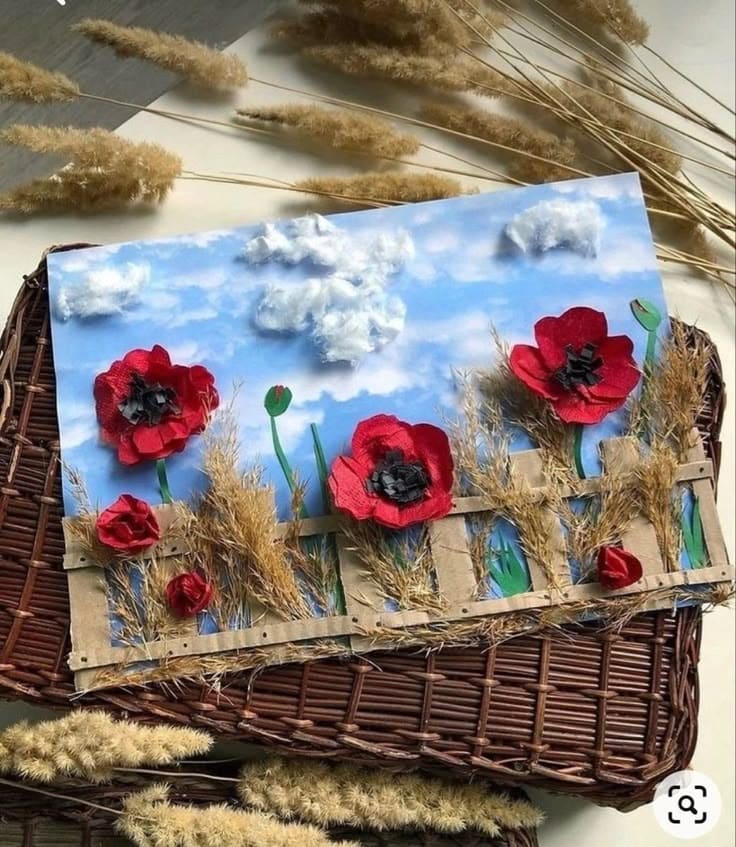
Instead of paper, the petals are made from pinecone scales, giving them a dimensional, earthy texture that looks stunning up close.
 SHOP WHITE CARDSTOCK SHEET
 SHOP BLUE WATERCOLOR
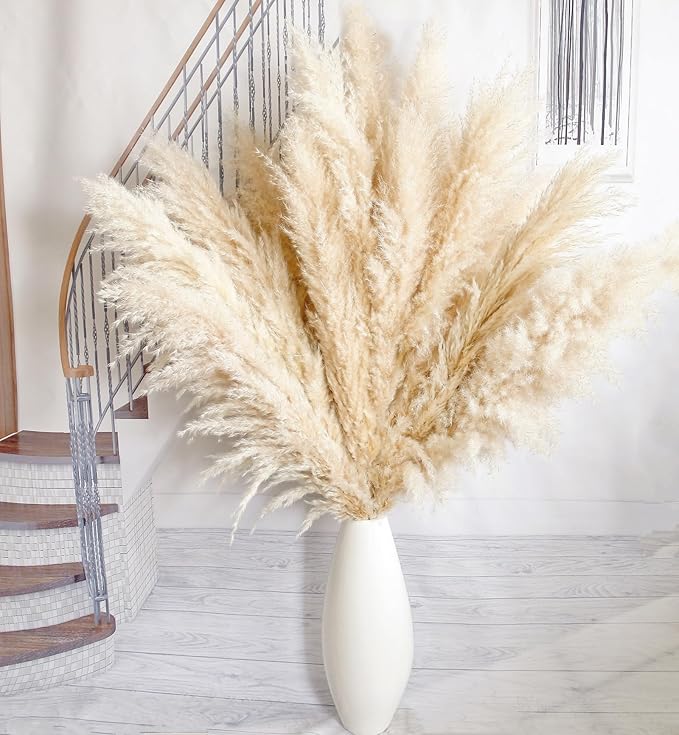 SHOP PAMPAS STEMS
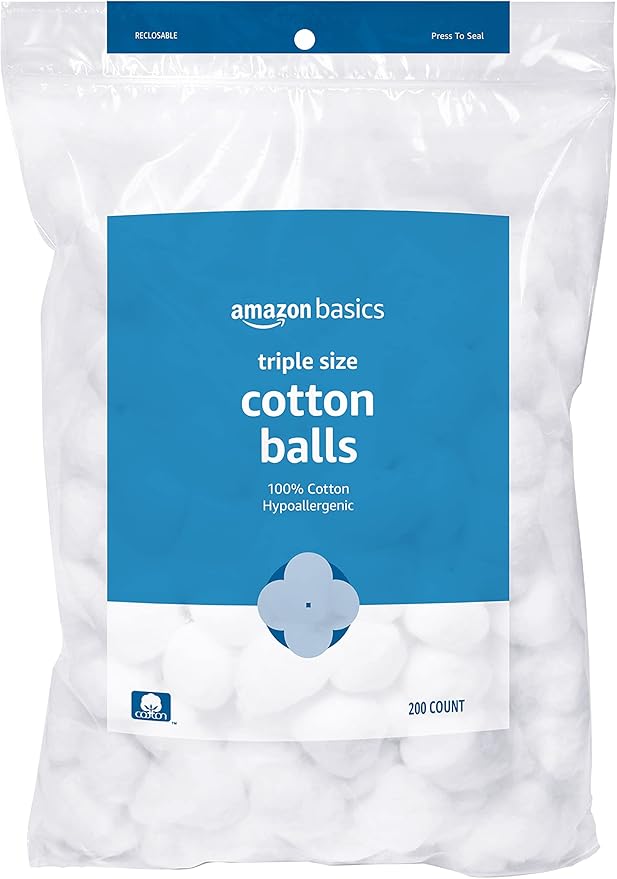 SHOP COTTON BALLS
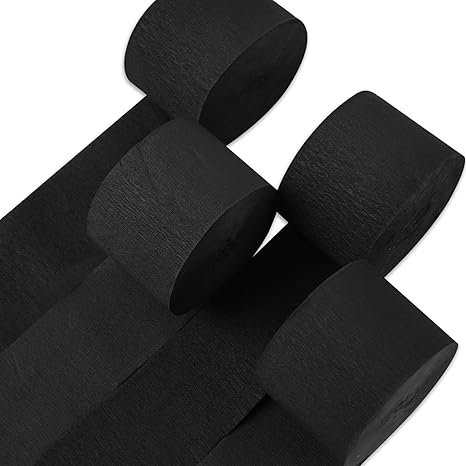 SHOP BLACK CREPE PAPER
Materials Needed
- One sturdy white cardstock sheet (8×10″)
- Blue watercolor
- Cotton balls
- 2–3 pinecones
- Small piece of black crepe paper
- Dried grass, wheat, or pampas stems
- Recycled cardboard
- Green acrylic paint or markers
- Hot glue gun + glue sticks
- Scissors
Step-by-Step Guide
Step 1: Use light blue watercolor or acrylic to create a sky wash across the top of your cardstock. Let it dry before adding other elements.
Step 2: Stretch and glue pieces of cotton balls onto the sky to form soft clouds with texture.
Step 3: Gently break apart your pinecones, removing the individual scales. These will become your poppy petals.
Step 4: Arrange 5–6 pinecone petals in a circle and glue them onto the background. Add a tiny scrunched ball of black crepe paper to the center of each flower.
Step 5: Use green paint or thin strips of green paper to add stems beneath each flower. You can even add a few unopened buds or leaves if you’d like.
Step 6: Cut cardboard into strips and glue together in a fence pattern near the bottom of your scene. Let it lean and overlap slightly with grass for a more organic feel.
Step 7: Glue tufts of dried wheat or pampas behind and in front of the fence, making it look like it’s growing wild in the wind.
#14. DIY Pinecone Woodland Fairy with Wings

I made her from natural materials. The face was hand-painted with a toothpick, and the result? Utterly charming.
Materials Needed
- One mini pinecone (2–3 inches)
- One wooden bead (¾ inch)
- One small acorn cap
- Two faux pressed wing shapes
- Acrylic paint set + fine brush or toothpick
- Hot glue gun + glue sticks
Step-by-Step Guide
Step 1: Choose a small pinecone that’s slightly rounded and evenly shaped. Shake off any debris and trim the bottom if needed to create a stable base.
Step 2: Use a wooden bead as the head. With a fine-tip brush or toothpick, paint two small blue eyes, tiny eyelashes, and a blushing smile. Let dry before attaching.
Step 3: Fit a small acorn cap over the bead and glue it in place. I used a dab of hot glue right around the inside edge of the cap for a strong hold.
Step 4: Arrange the maple seed wings in a butterfly shape and glue them to the back of the pinecone body, just beneath the bead.
Step 5: Finally, attach the bead to the top of the pinecone with a dot of hot glue.
#15. Rustic Log Christmas Tree Decorations
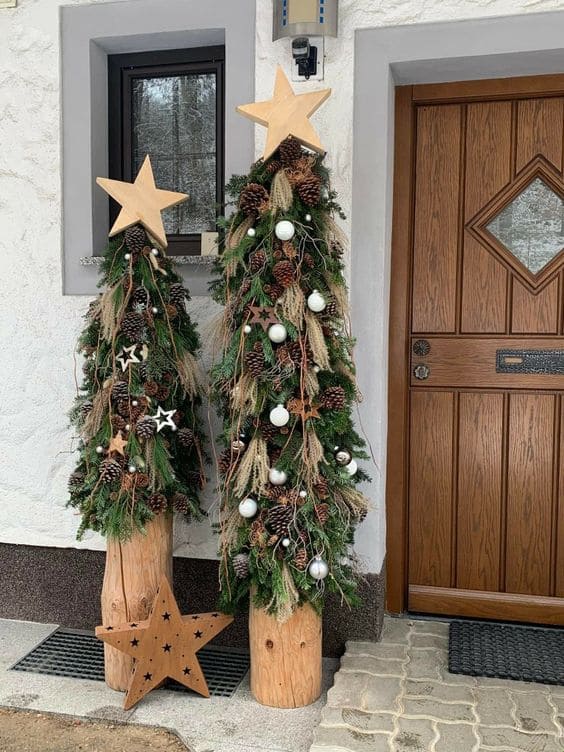
If you’re looking for an alternative to plastic porch decor, this tree is a dream. Made from fresh greenery, real pinecones, and simple wooden logs, it brings together everything that feels like a real winter forest.
 SHOP BAMBOO GARDEN STAKE
 SHOP FAUX EVERGREEN BRANCHES
 SHOP BALL ORNAMENTS
 SHOP STAR ORNAMENTS
 SHOP WHEAT STALKS
Materials Needed
- One sturdy wood log base (12–16 inches tall, flat top) or a large stump
- A bamboo garden stake (4–5 ft tall)
- A bundle of faux evergreen branches
- 20–30 pinecones (varied sizes)
- A roll of floral wire (green)
- 10–12 white or silver ball ornaments
- 5–6 wooden or rustic star ornaments
- 1 large wooden star topper
- Optional: wheat stalks
- Hot glue gun + glue sticks
Step-by-Step Guide
Step 1: Drill a centered hole in the top of your log base and insert a 4–5 ft wooden dowel or garden stake. Secure with hot glue if needed.
Step 2: Working from the bottom up, wrap evergreen branches around the pole and secure them with green floral wire. Keep layering to form a tree shape.
Step 3: Tuck in pinecones at different levels using glue or wire. Then, insert sprigs of dried grass or wheat to add contrast and softness.
Step 4: Evenly space white or silver baubles and rustic wooden stars. Keep the palette neutral for that modern woodland vibe.
Step 5: Attach a large wooden star to the very top, either wired onto the dowel or hot glued.
#16. Hanging Pinecone Succulent Planter

Made with natural pinecones and live succulents, it thrives with barely any maintenance and looks stunning year-round.
Materials Needed
- One large pinecone (4–6 inches, wide base)
- 5–7 mini live succulents or cuttings – like echeveria, hens & chicks, or string of pearls
- A handful of sphagnum moss
- Small piece of floral wire
- Hot glue gun
- Spray bottle (optional)
Step-by-Step Guide
Step 1: Twist a piece of floral wire or twine securely around the top scales of the pinecone, creating a loop for hanging.
Step 2: Soak a small handful of sphagnum moss in water, then gently squeeze it dry. Tuck and glue the moss into the top layers of the pinecone.
Step 3: Using the open spaces between scales, wedge your succulent cuttings into the moss base. Press them in gently but firmly so they stay put.
Step 4: Hang your finished planter in partial sun. Water once a week with a mist as succulents don’t need much.
#17. Elegant Hanging Pinecone Ornament
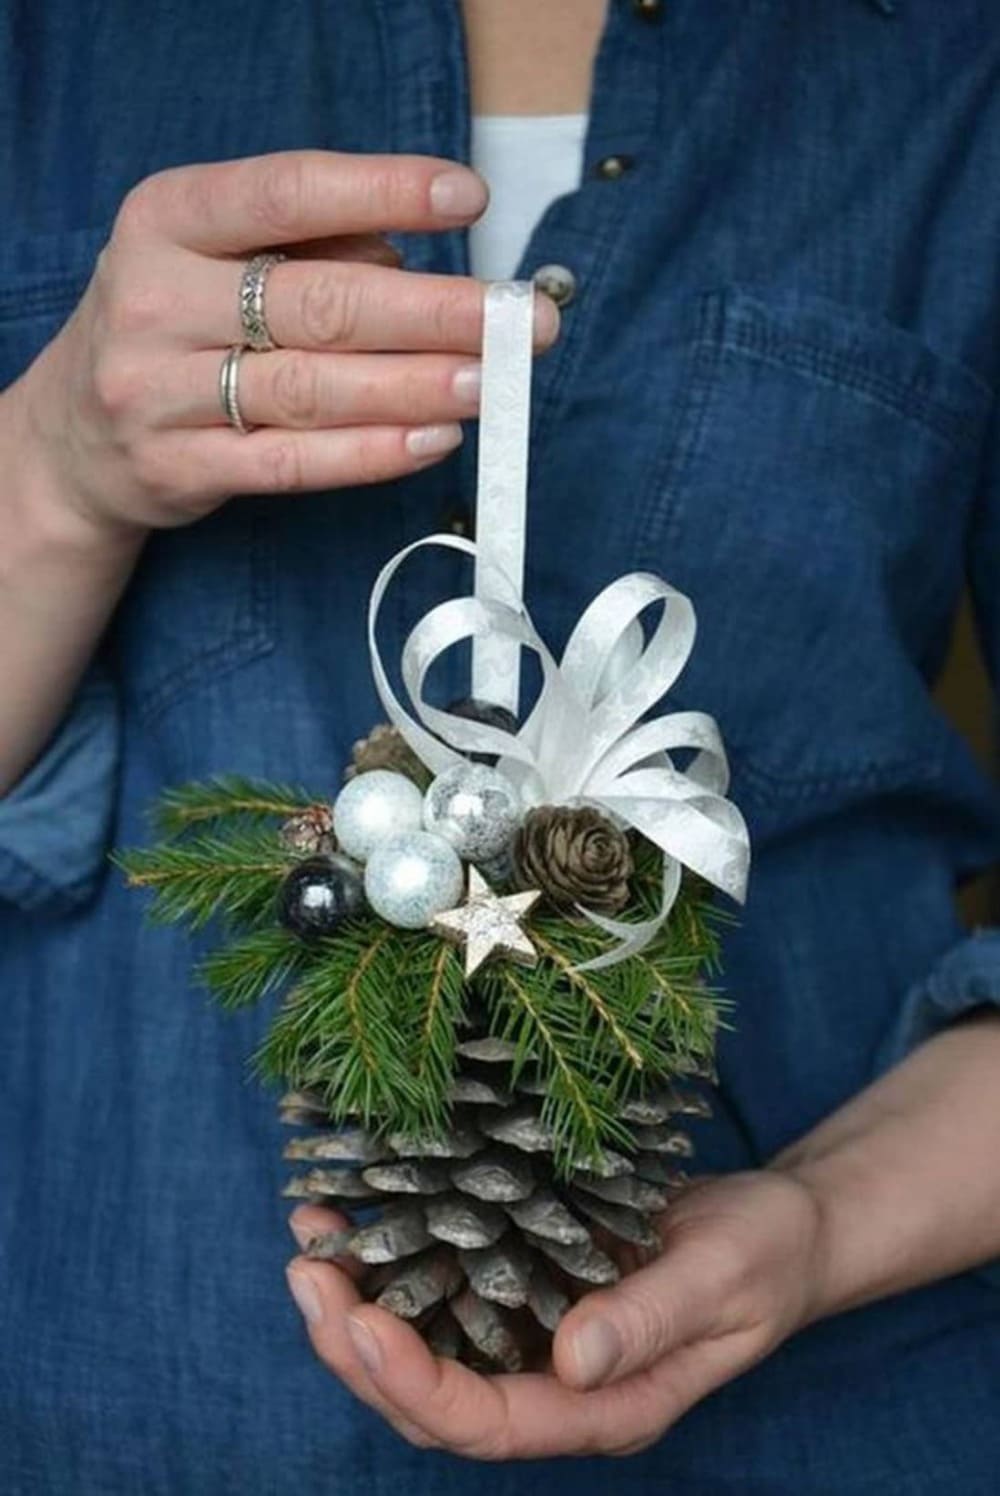
This ornament came together in under 15 minutes, and I still can’t believe how charming it looks.

Materials Needed
- One large pinecone (3.5–5 inches tall)
- A sprig of faux pine greenery
- 3–5 mini ornament balls (silver, black, or pearl)
- One small white ribbon (satin or wired, ½ inch wide)
- One tiny wooden star (optional)
- Hot glue gun + glue sticks
Step-by-Step Guide
Step 1: Cut a 6-inch piece of twine or narrow ribbon. Glue it securely to the top of the pinecone.
Step 2: Trim a small section of faux pine branch and glue it on top of the pinecone, just below the loop.
Step 3: Select a few mini ornaments in metallic tones — silver, pearl, or matte black works beautifully. Hot glue them into place around the greenery.
Step 4: Glue a small rosecone or dried seed pod in between the ornaments, and place a tiny star charm or button nearby for a delicate pop.
Step 5: Tie a simple bow with white wired ribbon, fluff the loops, and hot glue it right on top to cover your hanger base. If using satin ribbon, double-knot it and let the tails hang gently.
#18. DIY Pinecone Succulent Shadow Box
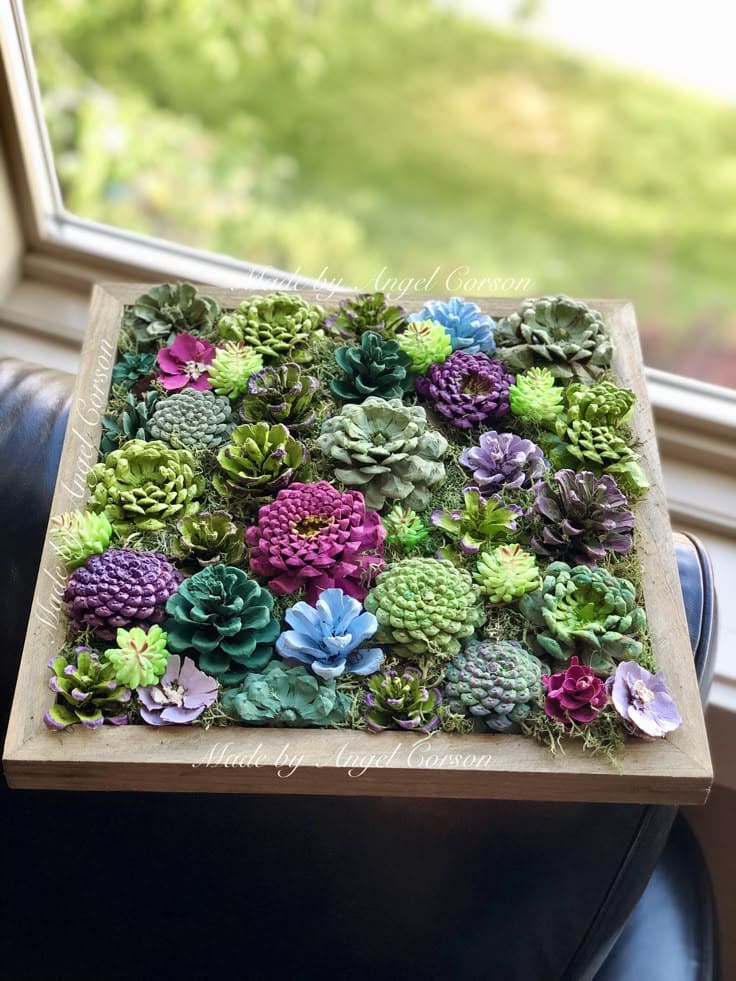
I’ve always loved the look of succulents, but keeping the real ones alive indoors is another story. That’s why this piece, built entirely from painted pinecones became one of my proudest DIYs.
Materials Needed
- About 30 small pinecones in mixed shapes
- One wooden shadow box frame (12×12 inch, 1.5″ deep)
- One acrylic paint set
- Reindeer moss
- Strong craft glue or hot glue gun
- Detail paintbrush set
- Optional: Clear acrylic sealer spray
Step-by-Step Guide
Step 1: I used 28 cones total, selecting ones that looked like succulents when turned upside-down or trimmed flat.
Step 2: I painted in tones of sage, jade, lavender, soft purple, mint, and dusty blue. Using lighter shades on the edges of the cones really brought them to life. I layered colors for depth, like mixing a pale green into the center and letting it fade out.
Step 3: I used a 12×12 wooden shadow box, which was deep enough to handle different cone sizes without anything sticking out.
Step 4: A thick layer of green reindeer moss gives the perfect natural background. I used hot glue to secure it across the board.
Step 5: Finally, arrange and glue the cones starting from the center and working outward. Then fill any remaining gaps with smaller pinecones or moss clumps.
#19 DIY Pine Cone Candleholder

I made this one as a centerpiece for our Christmas table, but honestly, it’s stayed out long after the holidays.
 SHOP GLASS CANDLE HOLDER
 SHOP CRAFT MIRROR BASE
 SHOP WHITE ACRYLIC PAINT
 SHOP BATTERY-OPERATED LED TEALIGHT CANDLE
Materials Needed
- 12 small pinecones (2.5–3 inches tall)
- One glass candle holder (3-inch diameter)
- One round craft mirror base (6-inch)
- A small jar of white acrylic paint
- A detail paintbrush
- Strong craft glue
- Optional: a battery-operated LED tealight candle
Step-by-Step Guide
Step 1: Use dry brushing to give them that “snow-kissed” effect. Lightly dip the brush in white paint, dab off excess, and gently swipe across the edges of the pinecone scales.
Step 2: Place your glass candle holder in the center of the mirror round and lightly trace a circle so you know where to glue the pinecones.
Step 3: One by one, glue each pinecone standing up around the circle.
Step 4: Drop in a real tealight or use a battery-operated flickering tealight for peace of mind.
#20. DIY Pinecone Angel Ornaments with Pressed Flower Wings

Each tiny angel is slightly different, from their skin tone and floral wings to the hand-drawn sleeping faces.

Materials Needed
- One small pinecone (2–3 inches long)
- One 1-inch wooden bead
- White acrylic paint
- Assorted skin-tone paint set
- Gold pipe cleaners
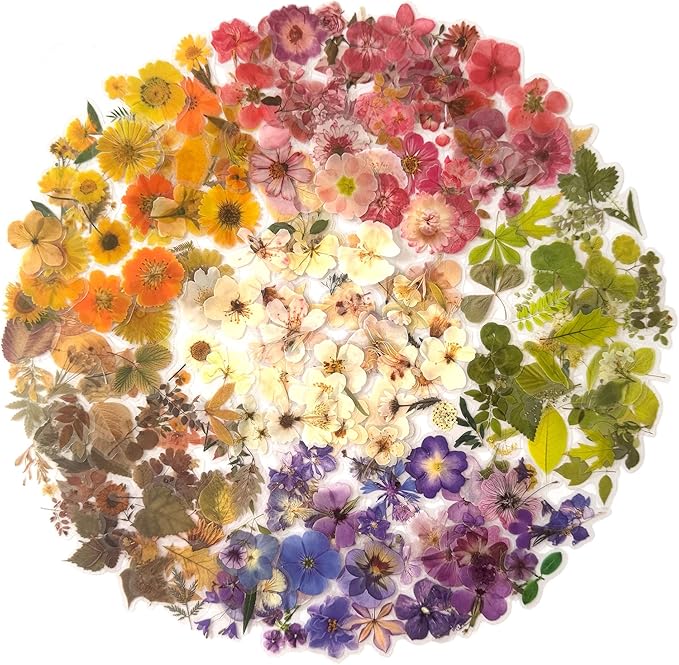
- One pressed flower sticker set
- Brown kraft cardstock
- One fine-tip black permanent pen
- Hot glue gun + glue sticks
- Twine
Step-by-Step Guide
Step 1: Use white acrylic paint to coat the entire pinecone. Let dry completely.
Step 2: Paint a wooden bead in your chosen skin tone. Once dry, draw a sweet sleeping face using a fine-tip marker.
Step 3: Twist a gold pipe cleaner into a small circle and glue it to the top of the bead.
Step 4: Cut wing shapes from kraft cardstock. Decorate them using pressed flower stickers or glue real dried flowers onto the paper for a nature-inspired look.
Step 5: Glue the head onto the top of the pinecone body. Then, glue the wings onto the back, making sure they’re symmetrical. You can finish by gluing a loop of twine on the back for hanging.
#21. DIY Painted Pinecone Flower Bouquet
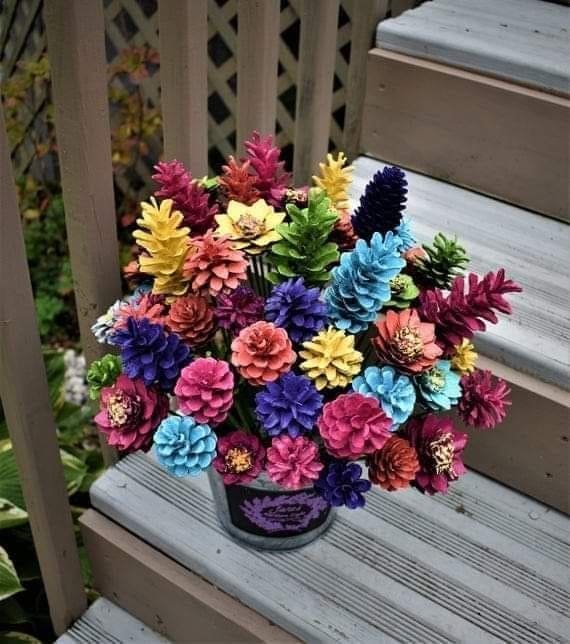
If I could bottle joy, it might look something like this. I made this bouquet on a rainy weekend when my garden was still bare.
Materials Needed
- A batch of natural pinecones (3–4 inches)
- One multi-color acrylic paint set
- A handful of wooden dowels (12-inch, 3/16” thick)
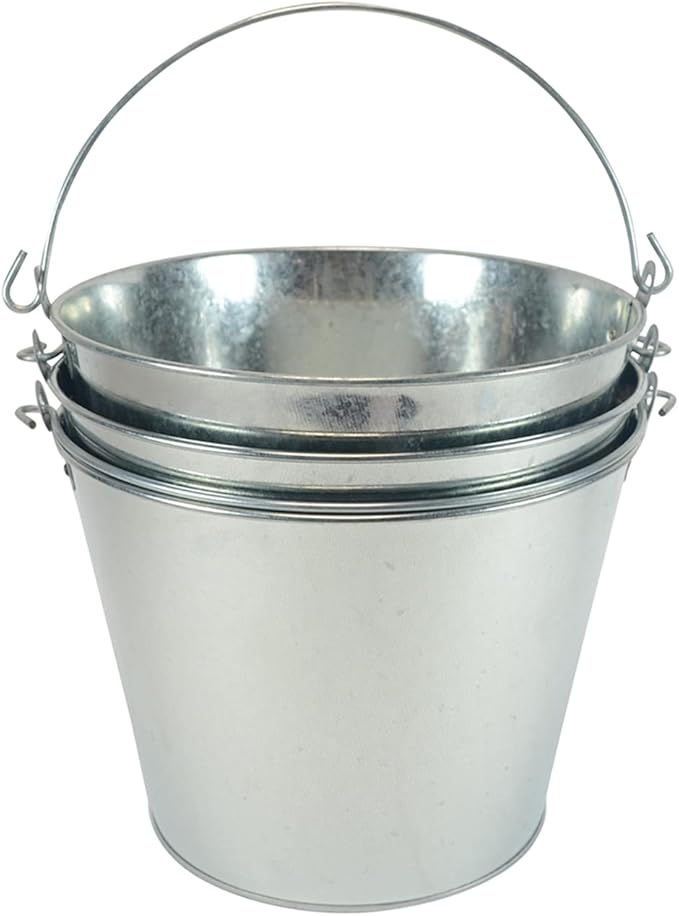
- One metal bucket planter (6–8 inch)
- A roll of floral tape
- Optional: Floral foam block
- Paintbrushes (detail + flat)
- Clear sealant spray (optional)
Step-by-Step Guide
Step 1: I painted 40 cones in total using 6 different colors. Use a flat brush for full coats and a small detail brush to add highlights or layer tones for extra depth.
Step 2: I used 12-inch wooden dowels and glued them inside the base of each pinecone.
Step 3: Drop in a block of floral foam if you want structure, or just fill the base with crumpled paper and cover the top with moss or shredded paper to keep the stems stable.
Step 4: Start with the tallest cones in the center and work your way outward.
Step 5: A quick coat of clear sealant spray helps protect your paint from fading in sunlight or damp air.
#22. DIY Pinecone & Orange Slice Light Jar
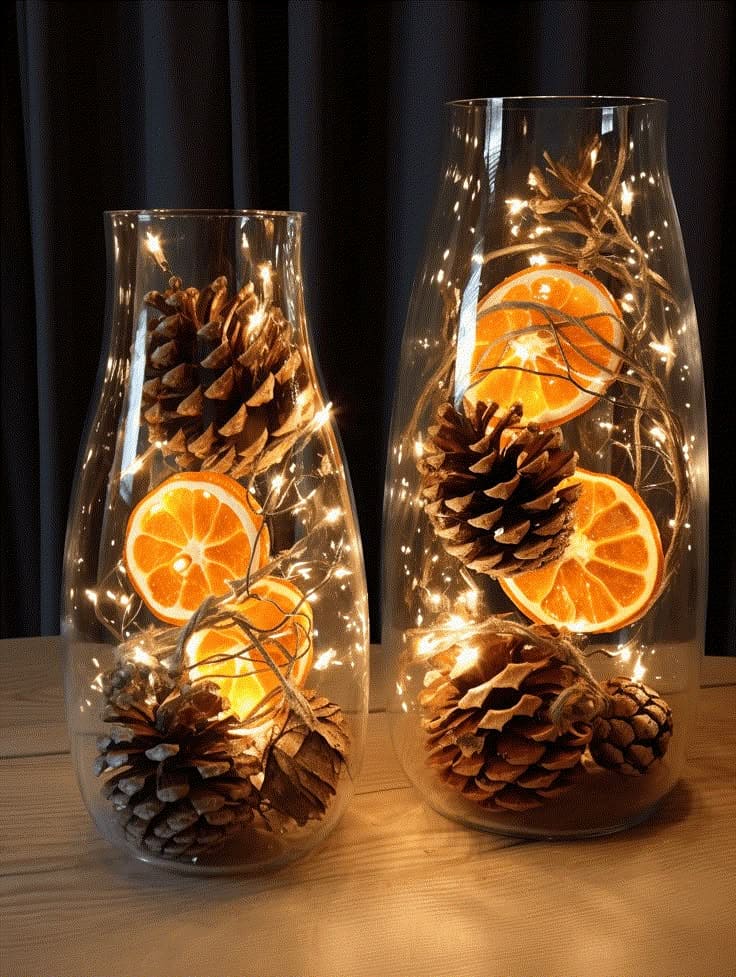
This craft is pure ambiance. With just a few natural elements and some twinkle lights, you can create a softly glowing centerpiece that feels like a hug in jar form.

Materials Needed
- 2 glass hurricane vases (10-inch)
- 6 natural pinecones (3 to 5 inches)
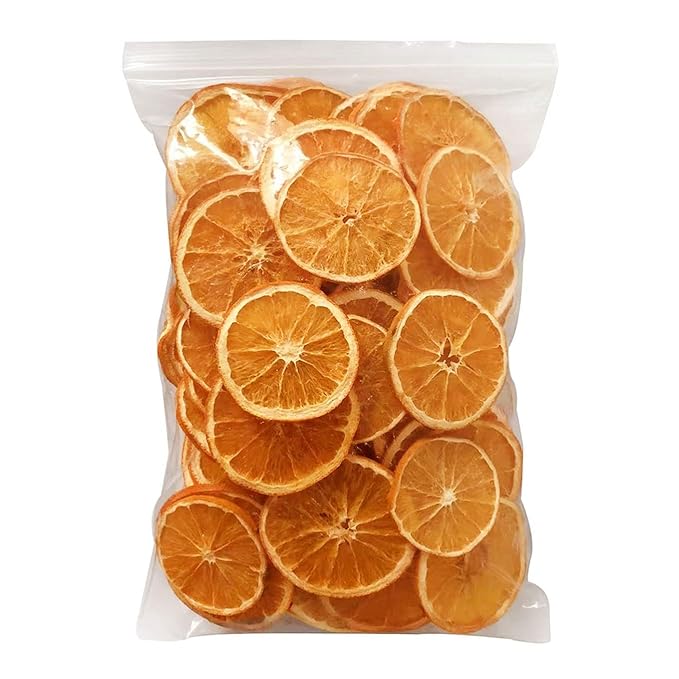
- 12 dried orange slices (2–2.5 inches)
- 3 strands of warm white LED fairy lights (20 ft, battery-operated)
- A handful of dried twigs or thin branches
- Natural jute twine
Step-by-Step Guide
Step 1: Start with one pinecone at the bottom of each jar. Add two orange slices leaning slightly forward. Then place a few small twigs behind for shape.
Step 2: Continue layering: one pinecone, two orange slices, more twigs. Each jar should hold 3 pinecones and 5–6 orange slices for a balanced look.
Step 3: Gently thread the LED fairy lights between the layers as you go. Let some lights rest inside pinecones, and tuck others behind the orange slices to create a beautiful backlit effect.
#23. DIY Pinecone Swans on a Miniature Pond
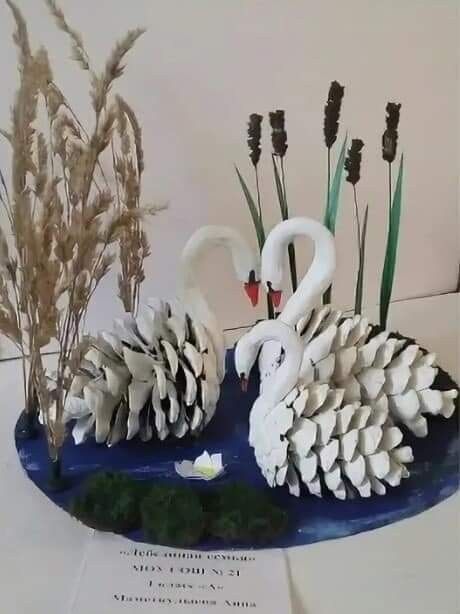
This swan scene is hands-down one of the most graceful pinecone projects I’ve seen. The shapes, the softness, the romantic pose, it’s pure poetry.
Materials Needed
- 3 large pinecones (about 4–5 inches, symmetrical)
- White acrylic paint
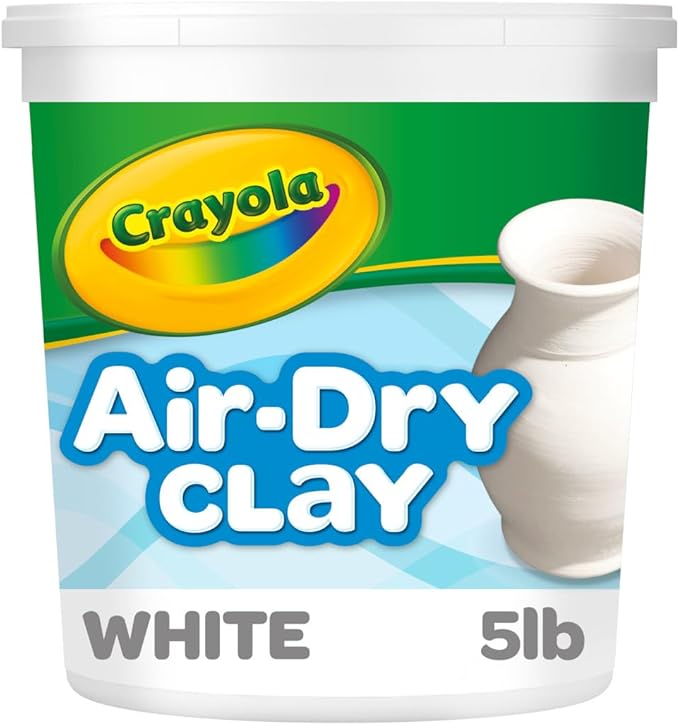
- Air-dry clay (white)
- Black and red acrylic paint
- One round wooden base (8–10 inch)
- Preserved moss
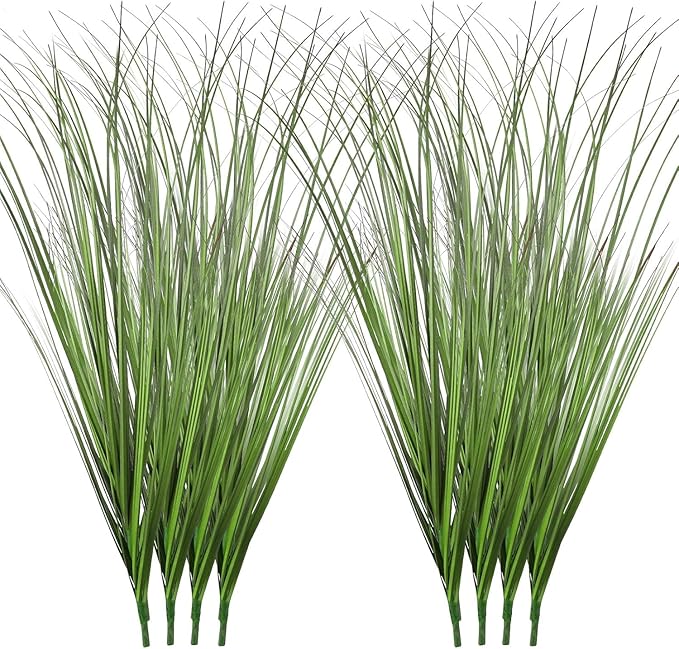
- Dried reeds, faux cattails, or grass stalks
- Hot glue gun + glue sticks
Step-by-Step Guide
Step 1: Start by painting both pinecones completely white. I used two coats of acrylic paint to get full coverage.
Step 2: Roll out two long “S” shapes from air-dry clay for the swan necks. Curve the ends into soft loops, they should mirror each other.
Step 3: Once dry, use black and red paint to carefully paint eyes and beaks on each swan neck. Let dry.
Step 4: Glue the dry clay necks to the tops of the pinecones. I used hot glue and held them in place for a minute while the bond set.
Step 5: Paint your wooden base or foam circle a deep blue and dab a little white along the edge for “ripples.”
Step 6: Attach the swans onto the base. Tuck moss along the front edge, and glue in reeds or cattails behind them for a natural look.
#24. DIY Pinecone Snail Craft
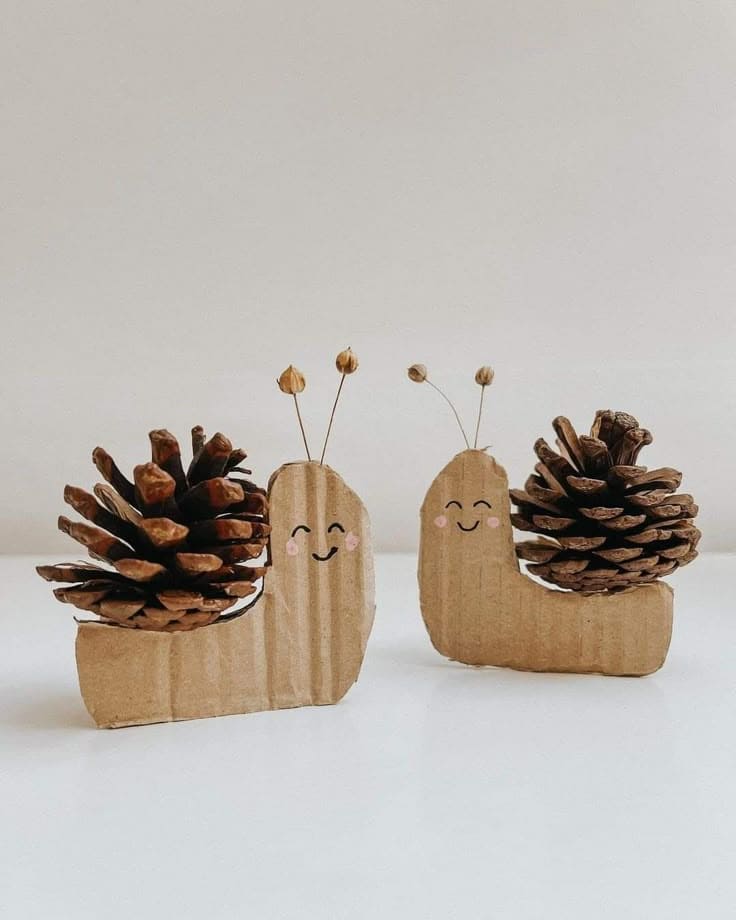
These happy little snails are a great reminder that cute doesn’t have to be complicated.
Materials Needed
- Two medium pinecones (2.5–3 inches)
- One piece of corrugated cardboard sheet
- Brown floral wire (22 gauge)
- Mini hot glue gun + glue sticks
- Black fine-tip marker
- Blush pink gel pen or pink crayon – optional
Step-by-Step Guide
Step 1: Sketch a soft snail shape onto cardboard about 4 inches wide and 3 inches tall. Cut it out using scissors or a craft knife.
Step 2: Choose a pinecone with a flat base and hot glue it securely to the middle of the cardboard body.
Step 3: Cut two 4″ pieces of floral wire, curve the tops, and glue them to the back of the snail’s “head.” Add a seed bead or mini acorn cap to the ends if you’d like.
Step 4: Use a black marker to make simple dot eyes and a curved smile. For cheeks, I added blush using a pink gel pen as it’s subtle but adorable.
#25. DIY Painted Pinecone Flowers
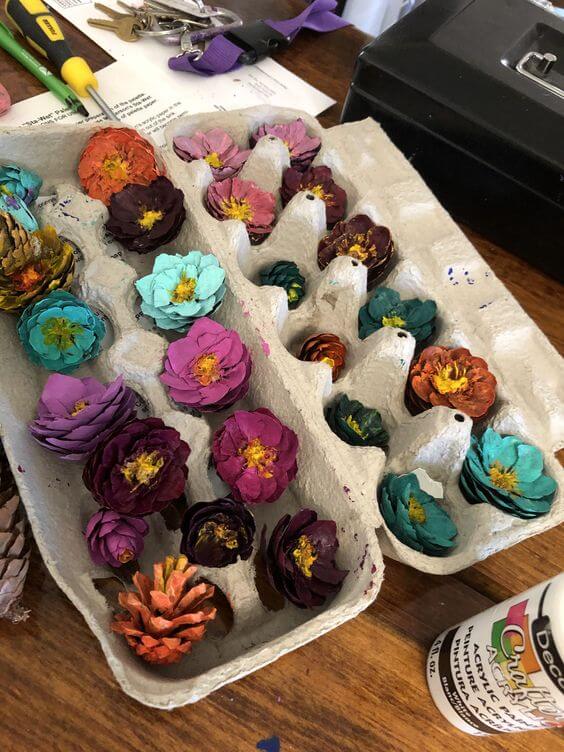
I prepped these for a wreath project but quickly realized they’re incredibly versatile and look like delicate zinnias or dahlias once painted.
Materials Needed
- 12 large pinecones
- Acrylic paint set with bold & pastel tones
- Detail paintbrushes
- Craft scissors
- Hot glue gun – optional
- Matte spray sealant
- Optional: gold or yellow glitter paint
Step-by-Step Guide
Step 1: Using garden snips or strong scissors, carefully cut each pinecone in half horizontally. You’ll end up with two “flower heads” per cone, one larger, one smaller.
Step 21: Paint each pinecone head with a solid color using your acrylic paint set.
Step 3: Once dry, use mustard yellow or gold glitter paint to paint the flower centers, just dab it deep into the middle.
Step 4: I highly recommend storing and drying the flowers in a clean egg carton, it keeps them upright and prevents smudges.
Step 5: If you’re making these in batches, spray lightly with a matte sealant for protection.
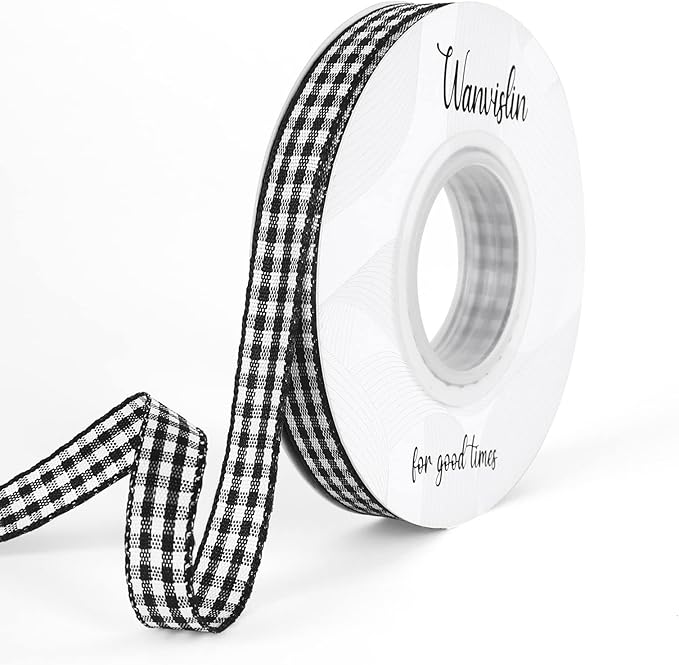
#26. DIY Pinecone Flower Wood Slice Ornament
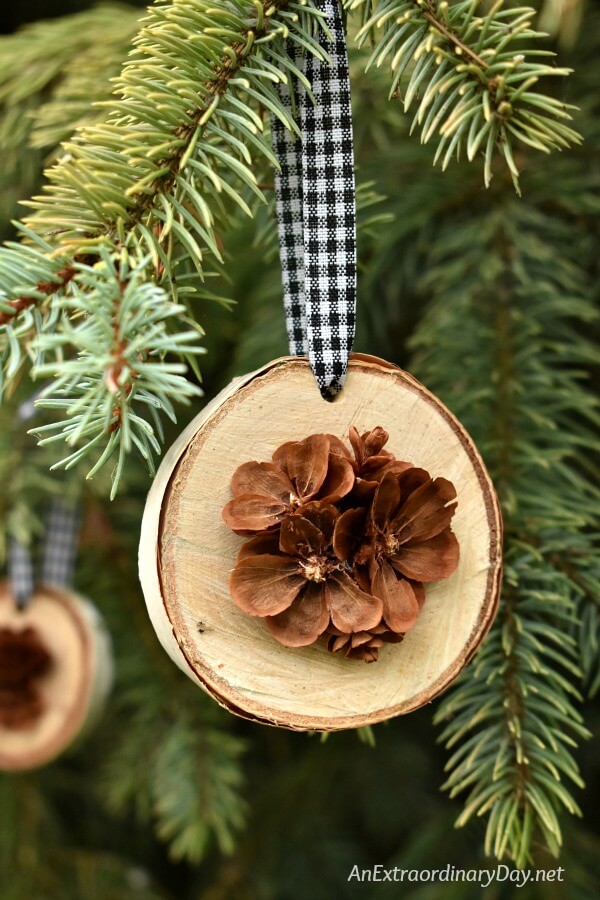
This ornament made from pinecone petals. I made a dozen of these last year for my tree, and they quickly became my favorite homemade decorations.
Materials Needed
- One wood slice disc (3–4 inches)
- Pinecone petals (from 1–2 medium)
- A small hot glue gun + glue sticks
- A strip of black-and-white gingham ribbon (⅜ inch)
- A hand drill or hole punch
- Optional: Clear sealant
Step-by-Step Guide
Step 1: Gently pull apart a pinecone to separate the individual “petals.” You’ll want about 6–8 petals for each flower shape. Trim the base of each petal flat so it sits flush.
Step 2: On the center of the wood slice, glue the petals in a circular pattern like you’re forming a blossom. Start with a base layer of 5–6 petals, then overlap 1–2 more in the center.
Step 3: Use a mini drill to make a hole at the top of the wood slice, about ½ inch from the edge.
Step 4: Thread a piece of gingham ribbon through the hole and tie it into a loop.
Step 5: You can lightly spray the whole piece with a clear matte sealer if you want to keep it looking fresh year after year.
#27. DIY Pinecone Woodland Animals
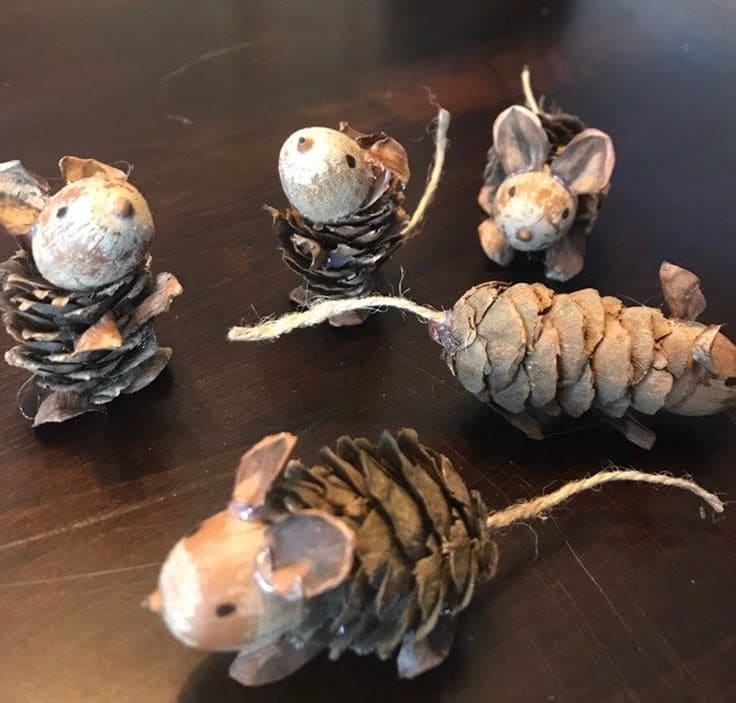
Whether you want to add a rustic woodland vibe to your shelf or create a nature-themed play set, this project is sweet, simple, and incredibly fun to make.
Materials Needed
- 5 small pinecones in various shapes
- 5 large acorns with caps removed
- Craft felt sheets in brown
- 1 spool of natural jute twine
- Mini hot glue gun + sticks
- Fine-tipped black paint pen
- Optional: matte sealer spray
Step-by-Step Guide
Step 1: I used wider, shorter cones for bunnies, and longer ones for the mice. Break off a few bottom scales if you want the “legs” to look tucked in.
Step 2: Remove the caps from each acorn and lightly sand the bottoms to make a flat surface. Glue the flat side to the top of each pinecone.
Step 3: Cut small ears from brown felt – round for mice, longer and upright for bunnies. Glue to the sides or top of the acorn heads. For tails, cut 3–4″ pieces of twine and glue to the back of each pinecone body.
Step 4: Use a fine-tip black paint pen to add two dots for eyes and one for the nose. You can also glue on tiny seed beads for 3D eyes if preferred.
Step 5: Lightly seal your little creatures with matte spray if you want to display them long-term or outside.
28. DIY Pinecone Gnomes with Fabric Hats
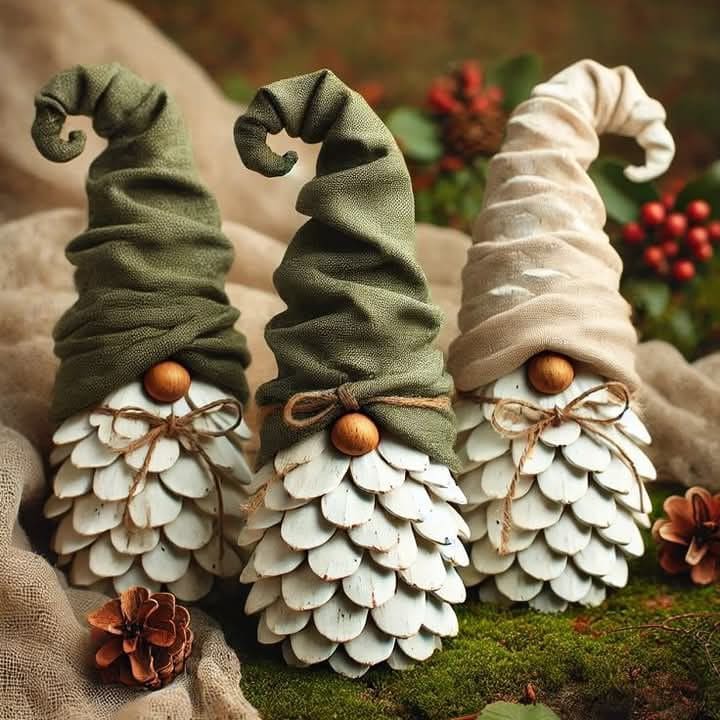
These little pinecone gnomes have become my absolute favorite winter project. I made a trio to sit on my windowsill, and they’ve quietly stolen the show from everything else.

Materials Needed
- Three large pinecones (about 4–5 inches)
- One jar of white chalk paint
- Three unfinished wooden beads (1 inch)
- One pack of burlap or linen fabric squares
- A spool of jute twine
- Hot glue gun + glue sticks
- Optional: polyfill stuffing
Step-by-Step Guide
Step 1: Using white chalk paint, I gave each cone a light coat, focusing mostly on the tips to keep the natural depth. Let them dry for 30–40 minutes.
Step 2: Cut your fabric squares into triangles (about 10″ tall). Fold them into a cone and secure the seam with hot glue. I stuffed mine lightly with polyfill.
Step 3: Glue a wooden bead just under the edge of the hat, centered on the pinecone front.
Step 4: Pull the hat down snug over the top of the pinecone and hot glue in place. Then tie a piece of jute twine around the base for a rustic finish.
Step 5: Eventually, add tiny bows or even a bell at the tip of the hat if you’re feeling festive.