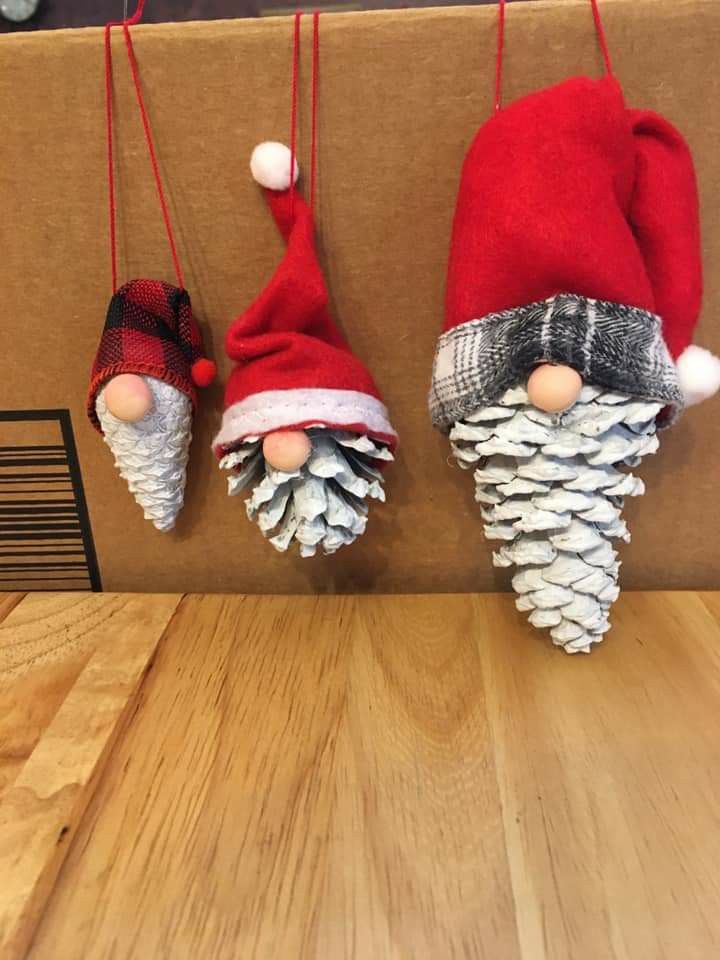
Christmas Pinecone Gnomes are a fun and easy craft that brings holiday cheer to your home. These little gnomes, made from pinecones and a few simple supplies, are perfect for decorating or giving as gifts.
In this article, we’ll guide you step by step to create your own charming gnome, even if you’re new to crafting. Let’s get started and add some handmade magic to your Christmas season!
What You Need:
- Pinecone
- Felt – Regular (Red Gnome) or Stiff (Green Gnome)
- Hot Glue
- White Acrylic Paint
- Wood Bead
- Paintbrush
- Colored Pencil
- Scissors
- Yarn
- Pom pom Maker
Instructions:
Step 1: Start with the pinecone pointing down, with the flat base facing up. Paint one side of the pinecone. If you need more room for the gnome’s nose, remove some of the small top scales.
Step 2: Dry brush the tops of the scales and fully paint the prickles. Let it dry, then paint the other side in the same way.
Step 3: While the paint dries, use a pink colored pencil to add blush to the wooden bead, which will be the gnome’s nose.
Step 4: Once the paint is dry, hot glue the nose onto the top of the pinecone, placing it near the edge on the front side.
Step 5: To make the felt hat, wrap the felt around the top of the pinecone to measure the bottom width and add a bit for the seam. Decide on the height, then cut a triangle shape, snipping off the tip.
Step 6: Put hot glue along one side of the felt triangle and press the other side onto it to form a cone hat. Trim any extra felt.
Step 7: Hot glue the hat onto the top of the gnome’s nose, covering the bead hole. Add more glue where you want the hat to sit on the pinecone.
Step 8: Once it hardens, pinch the hat to create a crumpled look, using glue to hold the folds. Finally, make a small pom-pom to attach to the tip of the hat for decoration.
Notes and Tips:
1. Choosing the Right Pinecone
Look for pinecones that are symmetrical and sturdy, as these will give your gnome a balanced look and strong base. Avoid pinecones that are too small or fragile, as they might break or be difficult to work with.
2. Preparing Your Workspace
Lay down newspaper or a drop cloth to protect your surface from paint and glue. Keep all your materials within reach to make the process smoother.
3. Personalizing Your Gnome
Get creative! Add tiny accessories like a small bell or jingle on the hat, or use different colors for the hat and body. You can even make a family of gnomes with different sizes and styles.
4. Handling Hot Glue
Be careful when using hot glue, as it can cause burns. If you’re crafting with kids, consider using a low-temperature glue gun or have an adult handle the glue.
5. Storing Your Gnome
Store your pinecone gnome in a cool, dry place to keep it in good condition for next Christmas. Wrapping it in tissue paper can help protect it from damage.