Many book paper crafts can be done with old book pages. The possibilities are nearly endless, from the paper flower, and chandeliers to towel papers. This bundle of ideas is perfect for all our book lovers out there.
It’s fascinating to us how the pages of a book can be utilized to produce so many different things. The ideas below will undoubtedly inspire you to make some creative patterns that may be used in various locations across your home.
You may use any book, to be honest. If you don’t already have any that you’re willing to give away, visit your neighborhood thrift shop and buy some to use. In order to create a stylish, neutral book stack to adorn my bookshelves, I actually wrapped dollar shop books in fabric.
This article contains affiliate links. If you purchase through them, I may earn a small commission at no extra cost to you. Thank you for your support!
#1. Cupcake
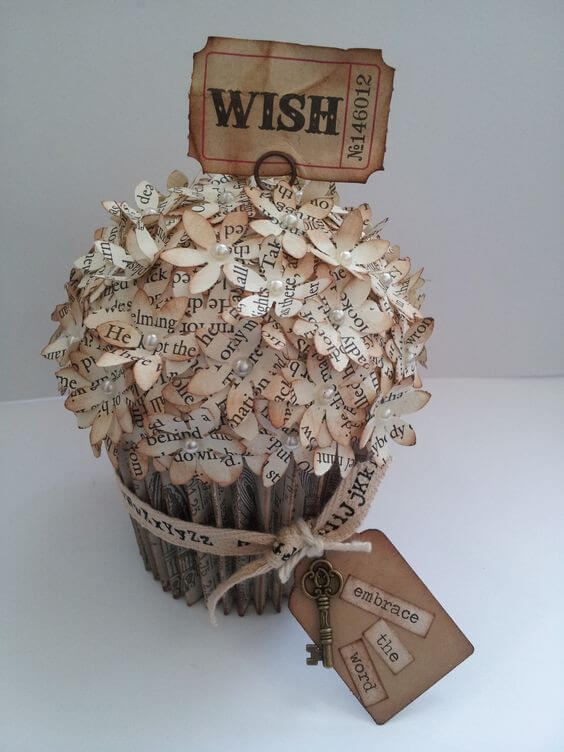
The aged paper petals give it an antique feel, while the soft floral dome invites anyone to pause and make a wish.
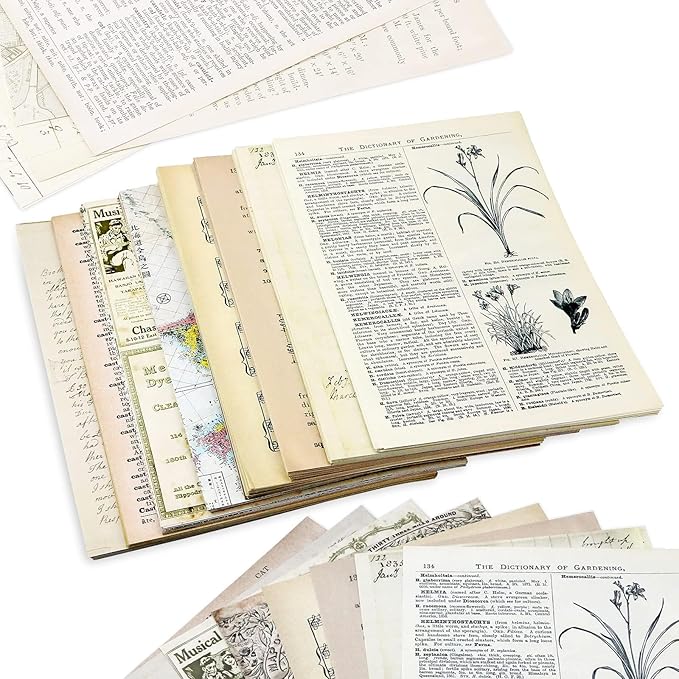 SHOP OLD PAGES
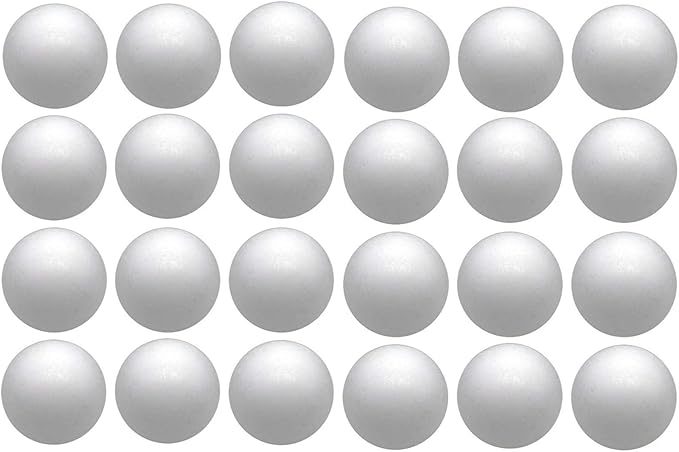 SHOP FOAM BALL
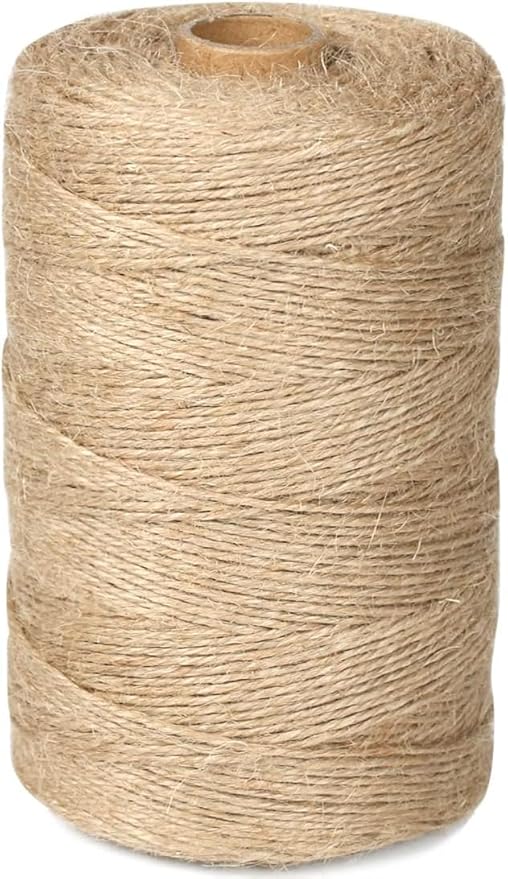 SHOP JUTE TWINE
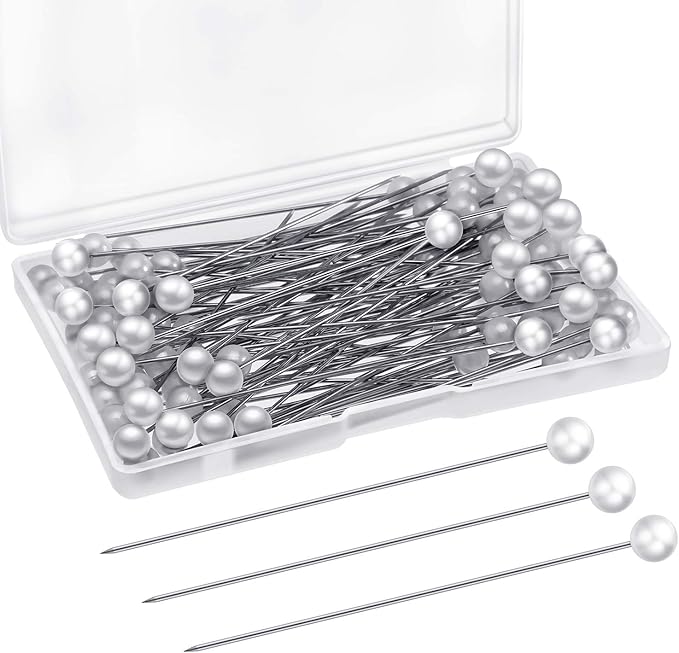 SHOP PEARL PINS
 SHOP METAL KEY CHARM
 SHOP FLOWER PAPER PUNCH
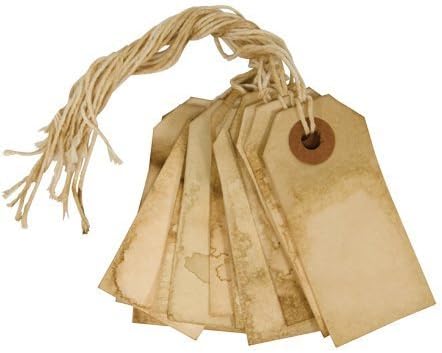 SHOP OLD TAGS
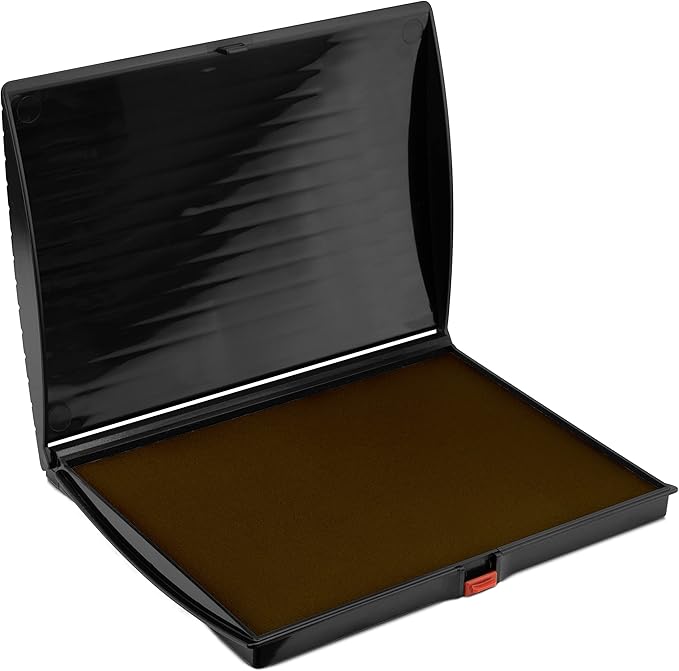 SHOP DISTRESS INK PAD
Materials Needed
- 1 old paperback book (200+ pages, standard 5” x 7”)
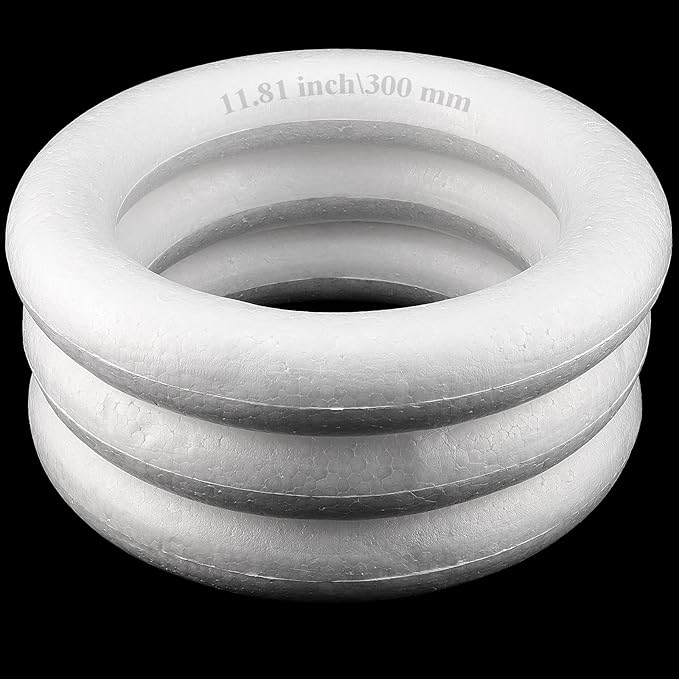
- 1 foam ball (3”–4” diameter)
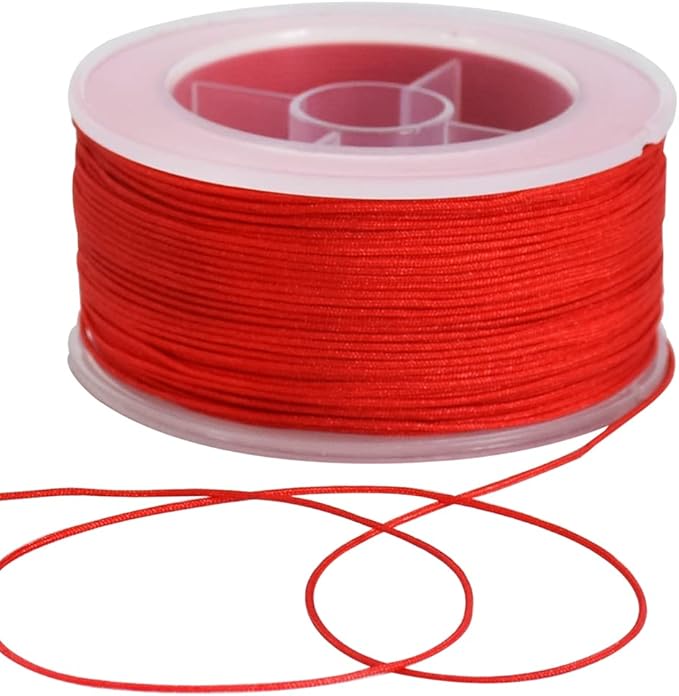
- 1 roll of jute twine
- 60+ pearl pins
- 1 mini metal key charm
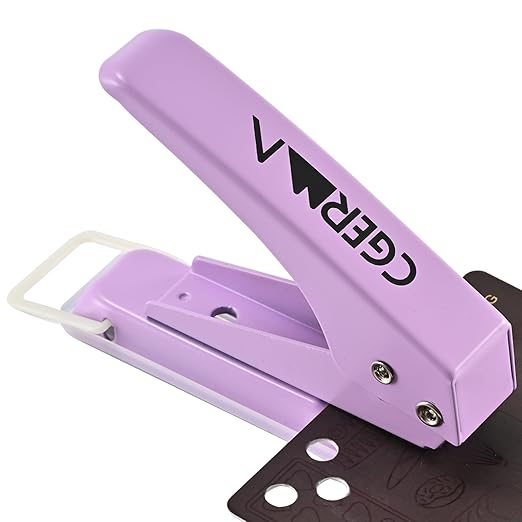
- Flower paper punch (1″ or similar)
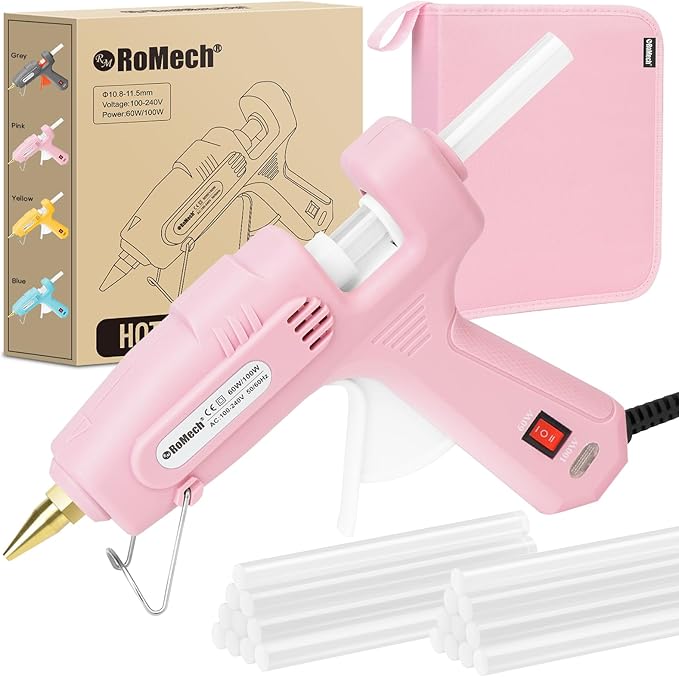
- Hot glue gun + glue sticks
- Distress ink pad (vintage brown)
- Old tags
- Scissors, pencil, and ribbon scrap
Step-by-step Guide
Step 1: Tear out 30–40 pages from your old book. Use the flower punch to cut out dozens of small blooms. Lightly brush or dab the edges of each petal with distress ink for that charming, aged effect.
Step 2: Insert a pearl pin through the center of each flower. Press them gently into the foam ball, layering closely to create a full, soft dome.
Step 3: Fold several book pages accordion-style to form a base. Wrap it around the foam ball’s bottom and secure with hot glue. This creates a “cupcake wrapper” look that anchors the bloom.
Step 4: Tie a piece of jute twine around the middle, adding your mini key charm. Cut a kraft label, ink the edges, and glue on your chosen word (“wish,” “hope,” etc.). Pin the tag and any decorative pieces like vintage tickets at the top for a final whimsical touch.
#2. Pretty Spiky Kraft
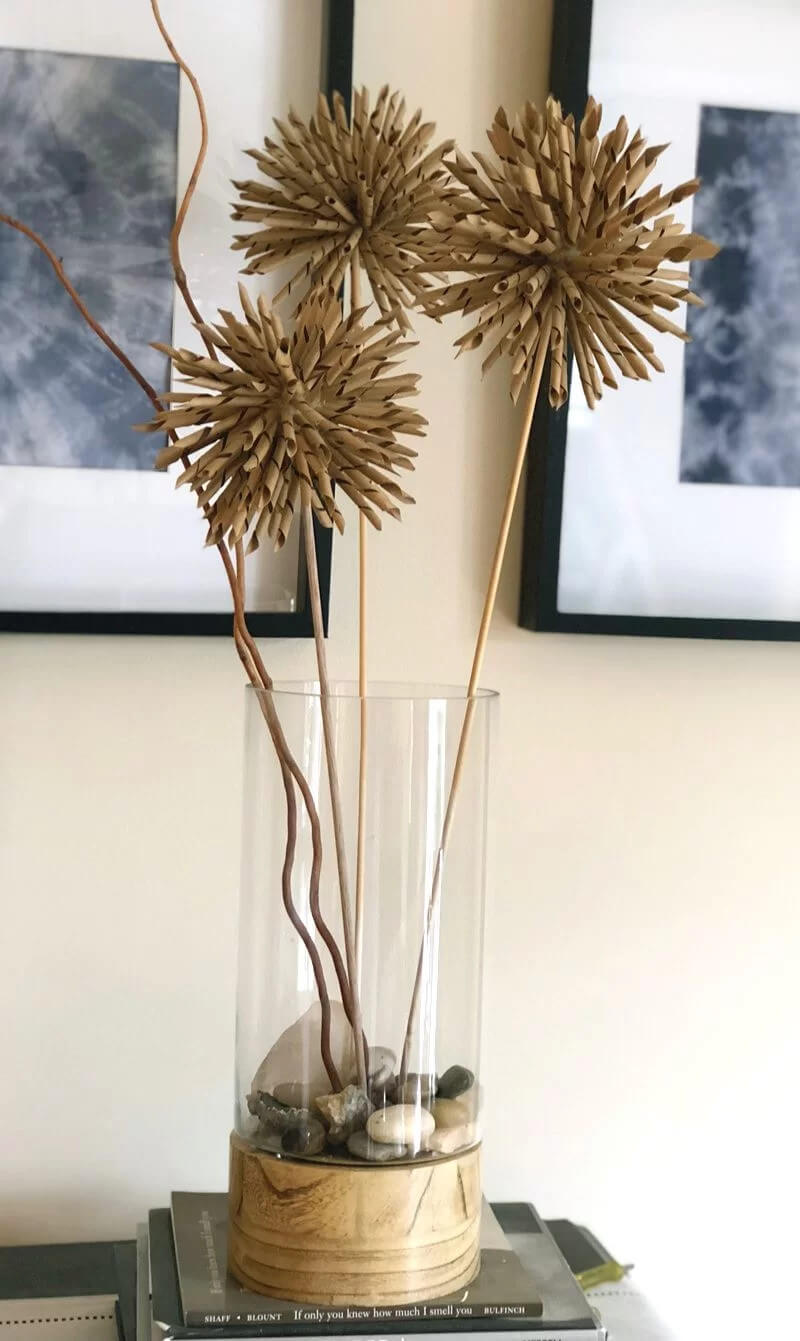
These bold, spiky blooms may look sculptural, but they’re crafted entirely from old book pages.


Materials Needed
- 30–40 pages from an old book (5″x7″ size)
- 3 round foam balls (2–3″ diameter)
- Wooden skewers (12″ long)
- Hot glue gun and sticks
- Floral wire
- Tall glass vase
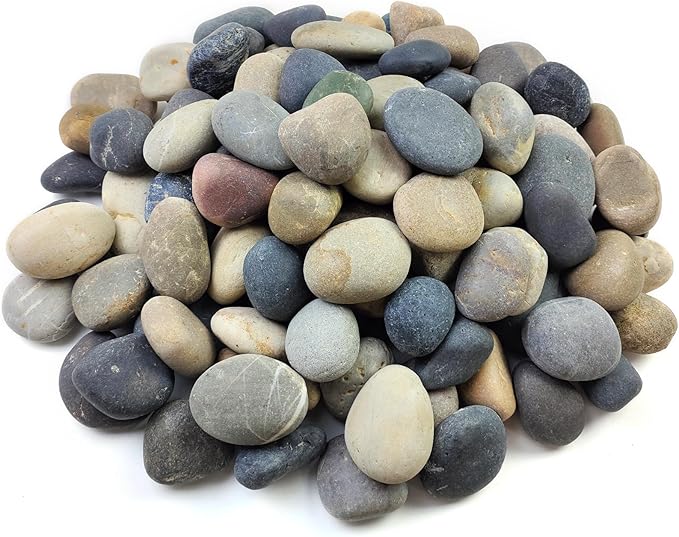
- Decorative stones
Step-by-step Guide
Step 1: Tear out the book pages and cut them into quarters (around 2.5″ x 4″). Roll each piece into a tight cone with a pointed end, sealing with a dot of glue. Repeat until you have at least 100–120 paper cones per flower.
Step 2: Begin attaching the cones around the foam ball using the hot glue gun. Start at the bottom and work in layers upward, placing each cone tightly beside the last to form a radial “burst” effect.
Step 3: Once fully covered, insert a wooden skewer into the foam ball’s base as the flower stem. Add a drop of glue inside the hole for better hold.
Step 4: Arrange 2–3 completed flowers inside your vase. Mix in curly willow branches or twigs for movement and anchor everything with decorative stones or pebbles.
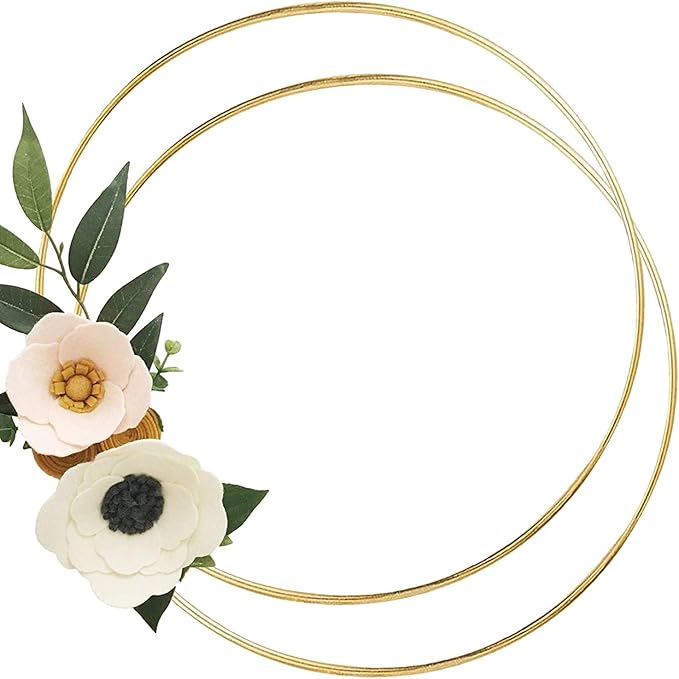
#3. Wreath
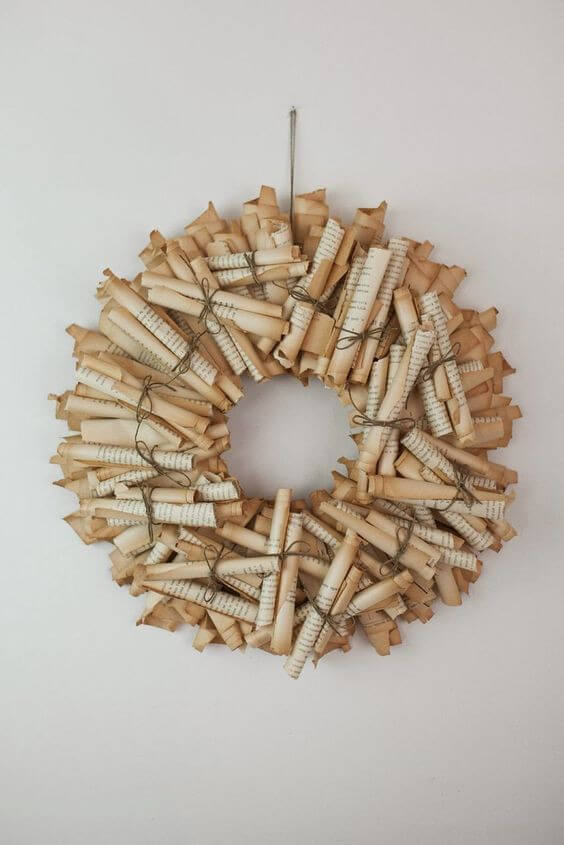
I created mine on a rainy Sunday, and every scroll I rolled felt like wrapping a bit of time into place.
Materials Needed
- 100 pages from an old book
- 12″ foam wreath base
- Hot glue gun and glue sticks
- Twine
Step-by-step Guide
Step 1: Tear out your book pages and roll each one into a small tube, about the size of your finger. Secure each roll with a dab of hot glue or tie with a piece of twine for extra charm.
Step 2: Once you’ve rolled enough pieces (at least 100), begin gluing them around the wreath base. Start at the outer edge and layer inward in small sections, alternating angles slightly to create fullness.
Step 3: Fill in any gaps by adding extra rolls in tighter spaces or layering some rolls with shorter lengths. Vary the depth for dimension.
Step 4: Attach a loop of twine to the back of your wreath for hanging.
#4. Your 3D Chandelier
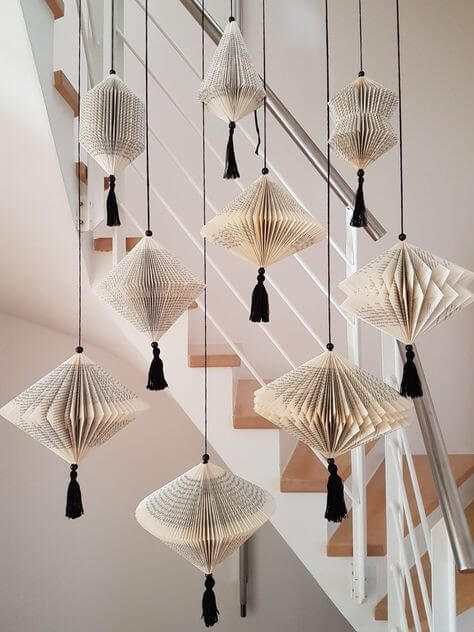
These folded lanterns bring such an elegant, airy charm to stairwells or reading corners.
Materials Needed
- 10 old paperback books (each 100–150 pages)
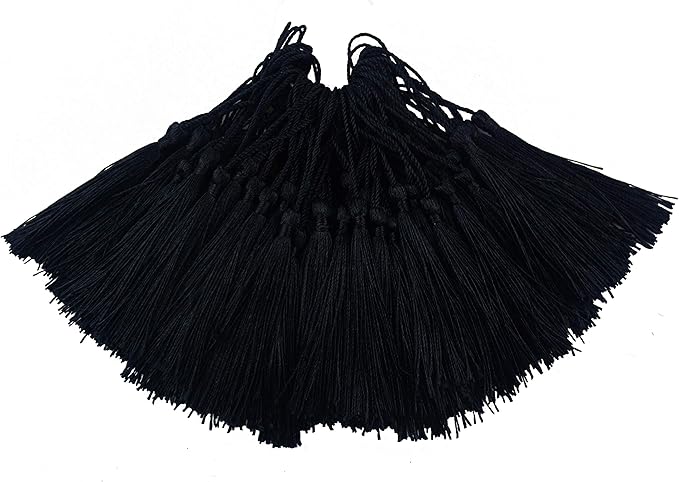
- Black tassels
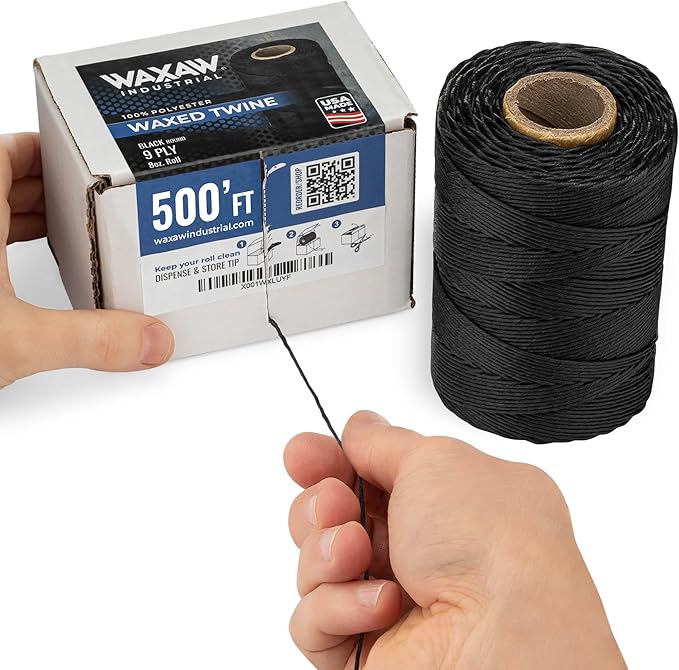
- Black twine (about 2–3 yards per lantern)
- Hot glue gun
- Scissors
Step-by-step Guide
Step 1: Select books of similar size and carefully remove their covers. Make sure the spine is intact. Fold each page in a repeated triangular pattern, start by folding the top right corner of the page toward the spine, then fold the outer edge inward again to form a clean triangle.
Step 2: Continue folding all pages in the same way. Once completed, the pages will naturally fan into a sculptural, geometric lantern shape.
Step 3: Use hot glue to attach a tassel at the bottom center of the spine. Then tie or glue a length of twine or cord to the top spine area for hanging.
Step 4: Repeat with different books, varying folding patterns slightly if you like (e.g., diamond or accordion styles), and hang them at different heights for a dramatic paper chandelier effect.
#5. Your Christmas Tree
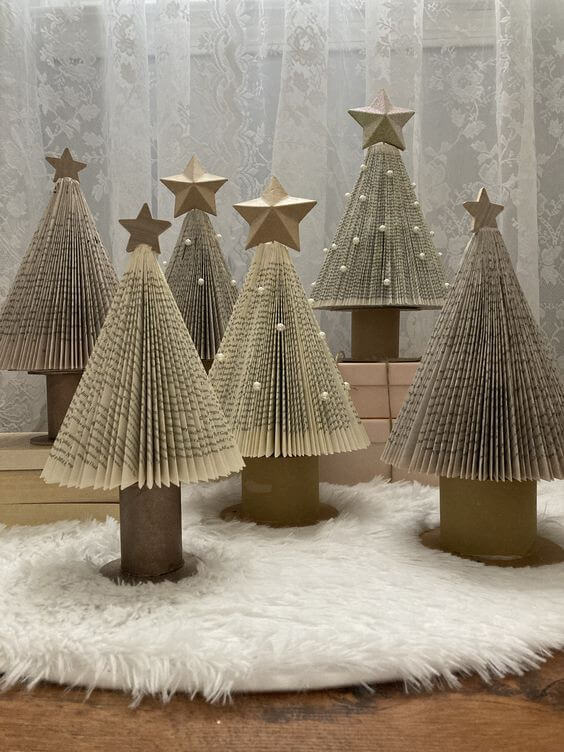
With star toppers and pearl beads, they’re festive without shouting, making them perfect for a cozy mantel or centerpiece.

Materials Needed
- 3–5 old paperback books (at least 100 pages each)
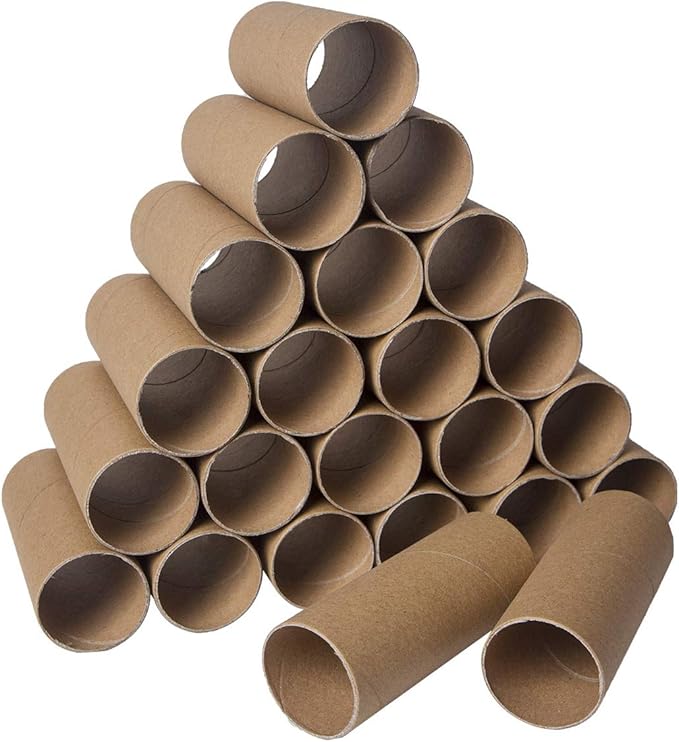
- Cardboard tubes
- Wooden star toppers
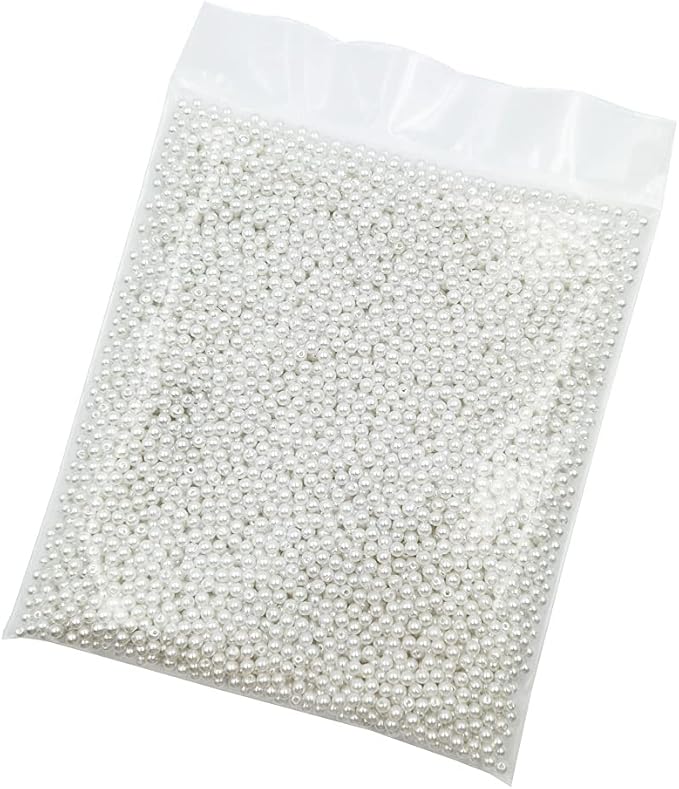
- Small pearl craft beads
- Hot glue gun
Step-by-step Guide
Step 1: Tear the cover off a paperback book and fold each page to form a triangle. Start by folding the top right corner into the spine, then fold the entire angled edge inward again to create a tree shape.
Step 2: Once all pages are folded, glue the outer pages together to close the form into a circular tree.
Step 3: Attach the book tree onto a cardboard tube using hot glue to create a stable trunk. You can cut the tube shorter for varied heights.
Step 4: Add a star to the top and dot the tree with pearl beads or mini ornaments for a magical, snowy look.
#6. Lovely Vases
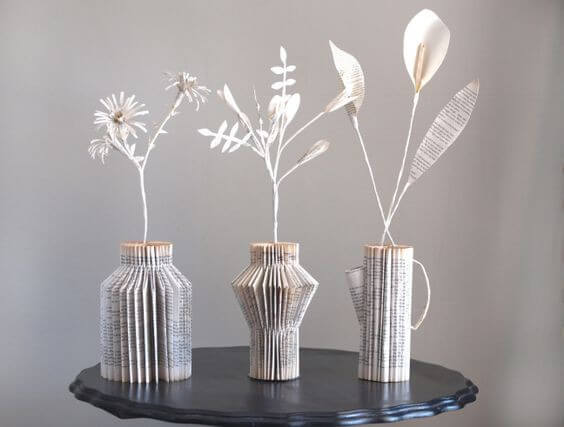
The contrast between the crisp folds and soft organic curves makes this piece quietly stunning on any side table or bookshelf.

Materials Needed
- 3 paperback books (at least 150 pages each)
- Floral wire (22–24 gauge)
- Music sheets
- Hot glue gun
- Scissors
Step-by-step Guide
Step 1: Fold the pages of each book to form a vase shape. For a rounded vase, fold the top corners down to the spine. For geometric shapes, alternate the folding pattern to achieve angular forms. Fan the pages and glue the ends together to close the shape.
Step 2: To make the flowers, cut petal and leaf shapes from old book pages. You can sketch them first or use templates.
Step 3: Wrap floral wire with strips of book page. Then glue petals and leaves onto the wire stem, layering them to form natural-looking blossoms.
Step 4: Insert each stem into the center of the book vase or glue it at the base.
#7. Your Flowers
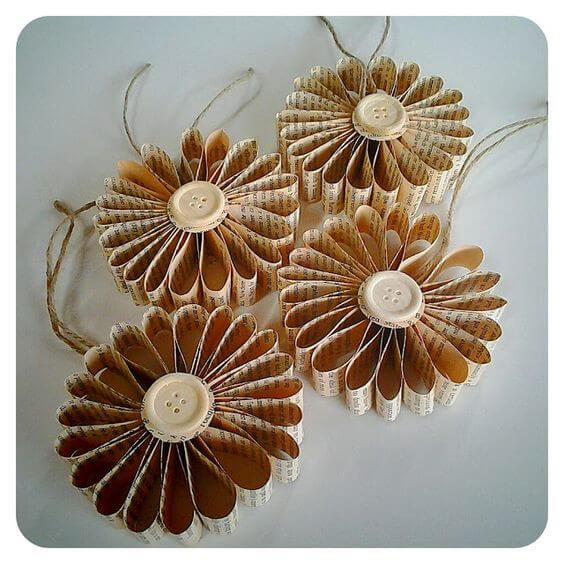
There’s something soothing about folding page after page and seeing it bloom into this cheerful form.
Materials Needed
- Old book pages (at least 10 pages per flower)
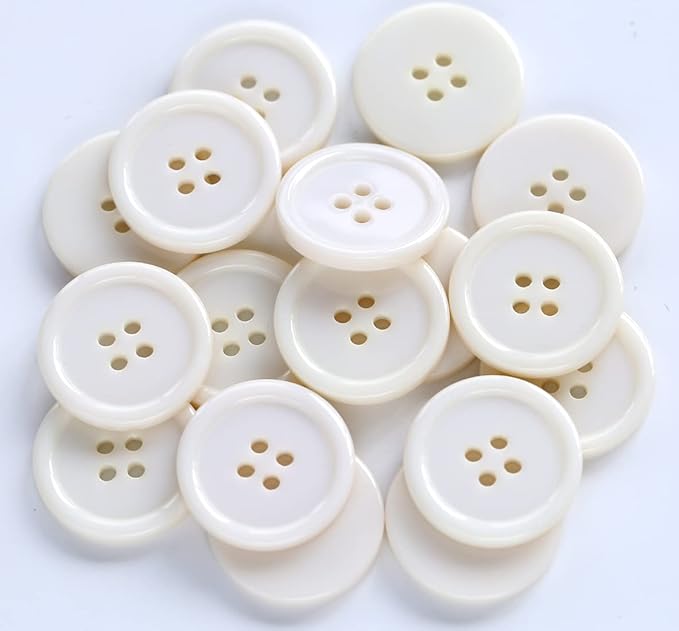
- Cream buttons (1 inch diameter)
- Twine
- Glue gun
- Scissors
Step-by-step Guide
Step 1: Cut several strips of book pages, each about 1.5″ x 6″. Fold each strip accordion-style, then fold the entire strip in half to form a petal loop. Glue the ends together so they stay in a semi-circle.
Step 2: Repeat this for 20 petals, depending on how full you want your rosette. Once all petals are ready, glue them side by side in a circular pattern on a small cardboard.
Step 3: Glue a button in the center to hide the joins and add a sweet finish. Then attach a loop of twine to the back for hanging.
#8. Flower Bouquet
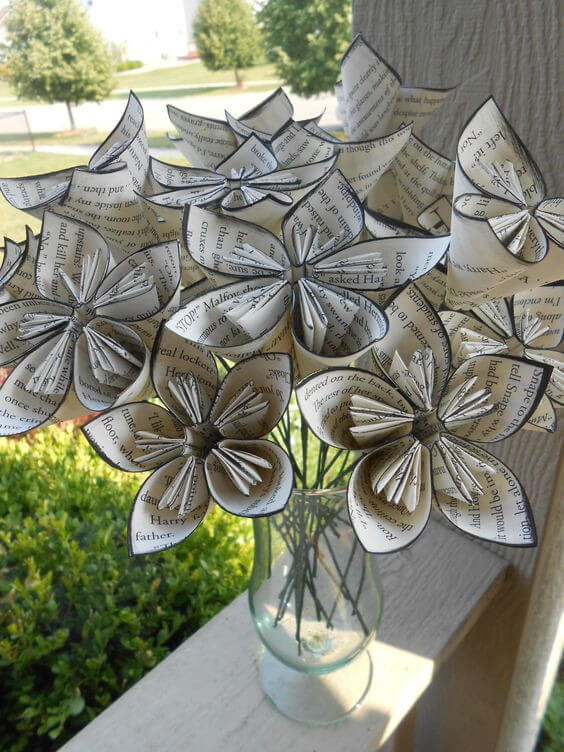
By the time the sun peeked through, a dozen book page flowers stood in your vase like they have always belonged.
Materials Needed
- Old book pages (5 pages per flower)
- Glue stick
- Thin floral wire (18–20 gauge)
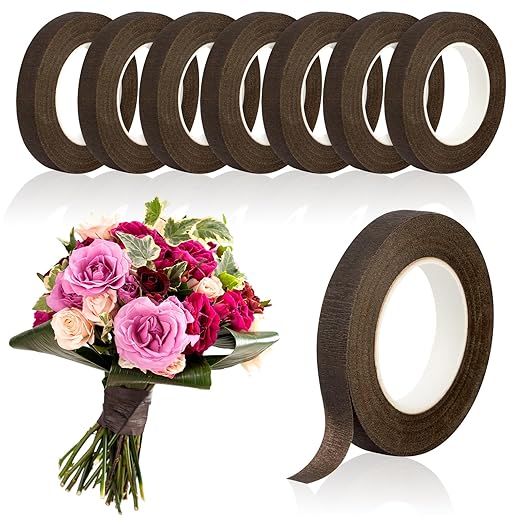
- Floral tape
- Glass vase
- Optional: Black marker
Step-by-step Guide
Step 1: Cut five square pieces from book pages (4×4 inches each). Fold each square diagonally into a triangle, then fold the corners upward to form a diamond. Fold the outer corners back on themselves, and tuck them inward to shape each petal.
Step 2: Glue the edges of each folded petal together to form a full flower. Hold each glued seam for a few seconds to ensure it sticks firmly.
Step 3: Insert a floral wire stem into the center of the flower, then wrap the base with floral tape to secure and give a finished look.
#9. Cover The Wall With A Great Decal
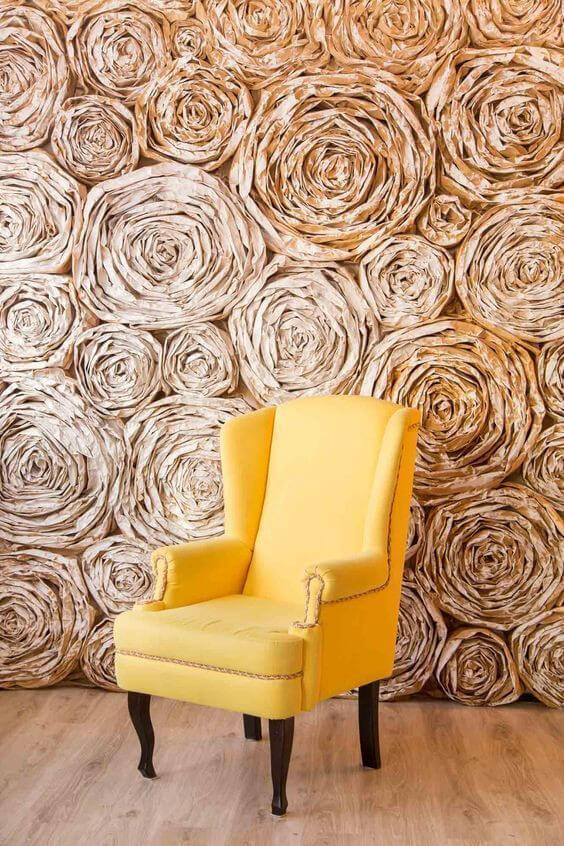
I spent a weekend crafting these oversized roses from weathered book pages, each roll, each swirl, felt like layering memory on memory.
Materials Needed
- Old book pages (approx. 200–300 pages per 10 roses)
- Hot glue gun + glue sticks
- Scissors
- Optional: Acrylic antiquing stain
Step-by-step Guide
Step 1: Tear or cut book pages into strips about 2″ wide. Use your hands to gently crumple each strip to add texture and make them easier to roll.
Step 2: Begin by rolling one strip tightly to form the rose center. Add additional strips by gluing and wrapping them around the core, slightly loosening as you build outward to shape a blooming rose.
Step 3: Continue layering until you form large, rounded roses roughly 8–12″ wide. Shape the outer edges by slightly curling the paper outward with your fingers.
Step 4: Glue each completed rose onto your foam board or directly to your wall using mounting strips.
#10. Your Flowers Stand Themselves
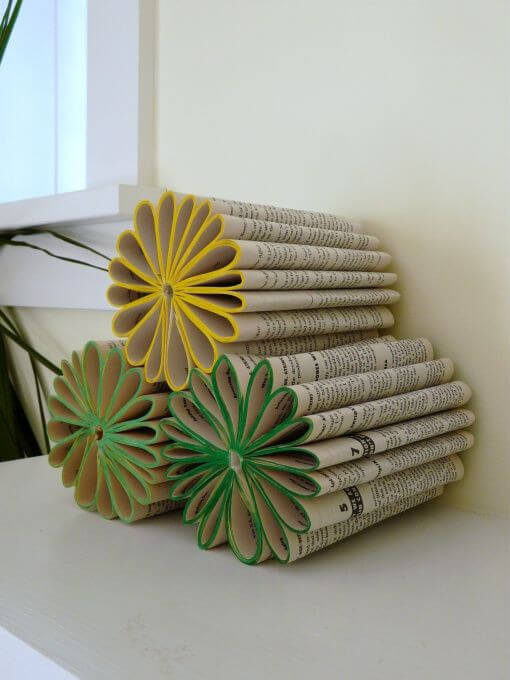
These flower-faced book blocks look like bundles of spring sunshine, perfect for brightening up a shelf or window ledge.
Materials Needed
- Old book pages (approx. 40 pages per block)
- Colored cardstock (cut into 1/2″ wide strips)
- Hot glue gun + glue sticks
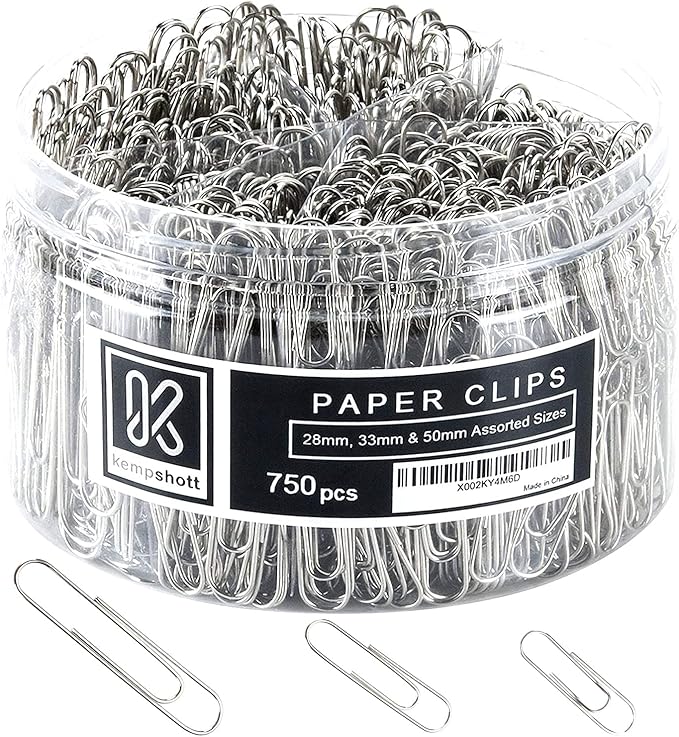
- Paper clips
Step-by-step Guide
Step 1: Roll each book page tightly lengthwise into a tube, securing the end with a dot of hot glue. Make around 18 tubes for each block.
Step 2: Arrange the tubes side-by-side into a rectangular shape. Glue them together, one by one, making sure they stay aligned as a solid block.
Step 3: Once dry, cut colorful paper strips and curl them into loops. Shape each loop into a petal and glue them onto one end of the block to form a flower.
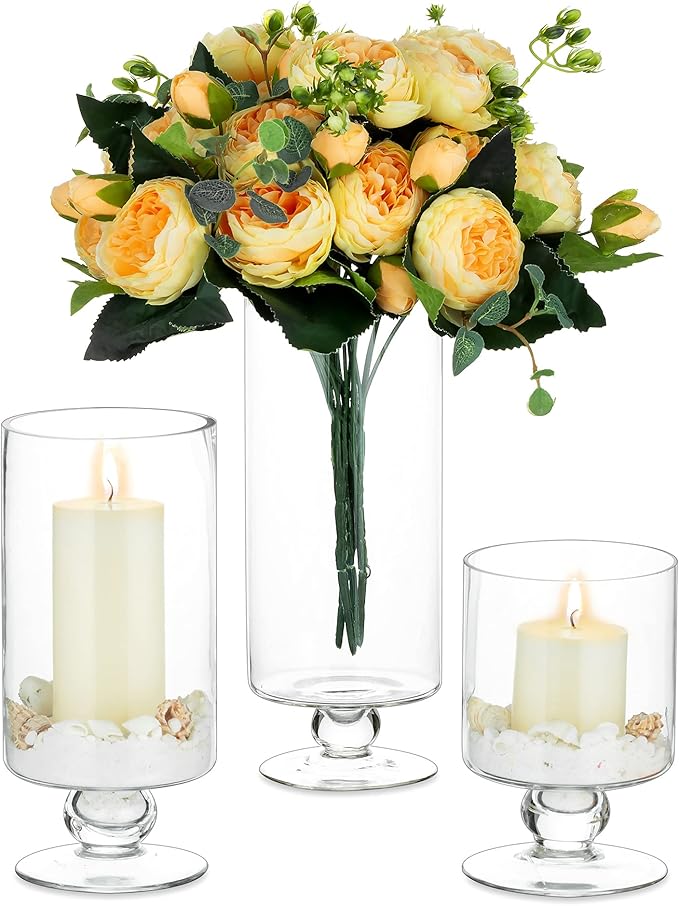
#11. Book Fold Candles
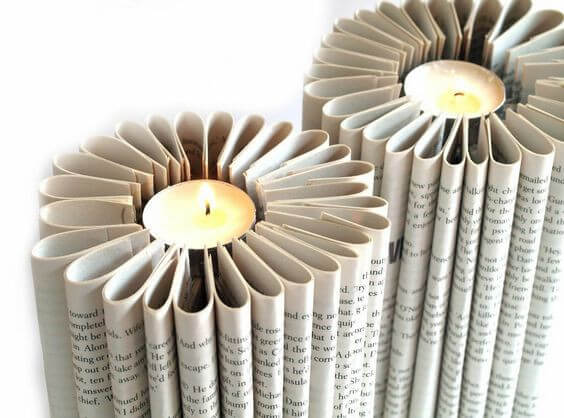
I loved watching the flickering candlelight reflect off the pages, creating an atmosphere that feels both literary and cozy.
Materials Needed
- Old book pages (approx. 25-30 pages per holder)
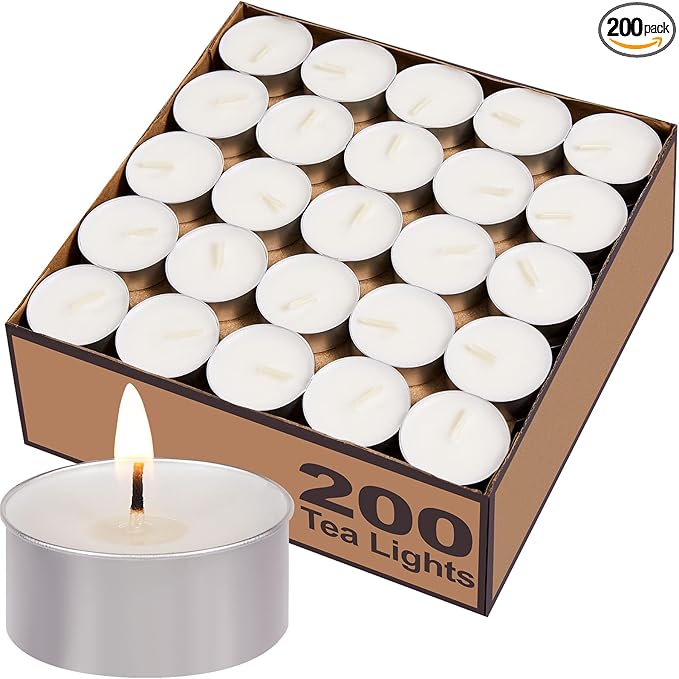
- Tealight candles
- Glue stick
- Paper clips (optional)
Step-by-step Guide
Step 1: Fold each book page accordion-style, about 1 inch wide, from top to bottom. Then fold the strip in half to create a loop.
Step 2: Glue the ends together to form individual loops. Repeat until you have enough to make a full circle.
Step 3: Arrange the loops in a tight ring and glue them side-by-side into a circular flower shape, leaving a hole in the center to fit your tealight.
Step 4: Place a tealight in the center. Use flameless candles for safety, or set a small glass holder inside if using real ones.
#12. Another Idea Of A Flower Bouquet
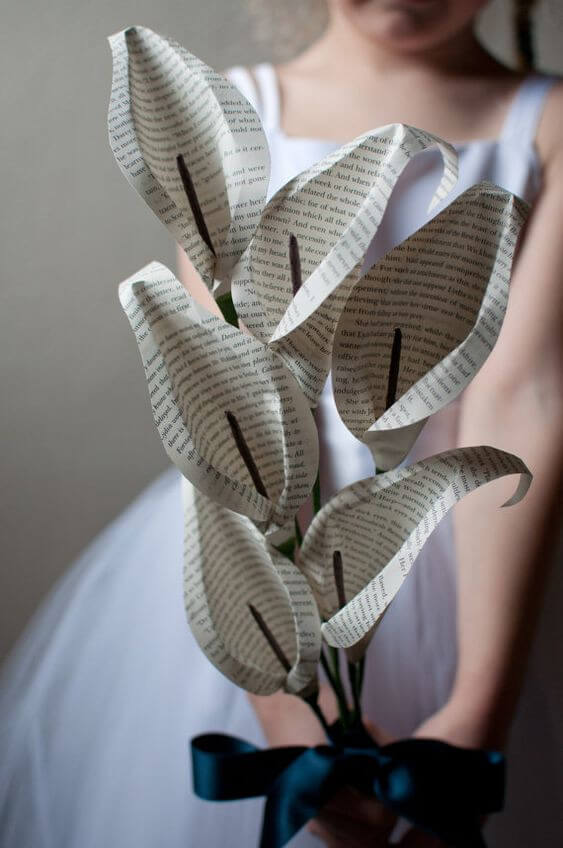
These delicate lilies have a graceful curve that feels romantic and poetic, perfect for weddings, gifts, or meaningful home decor.
Materials Needed
- Old book pages (1 page per flower, 5×7 inches)
- Floral wire (18–22 gauge)
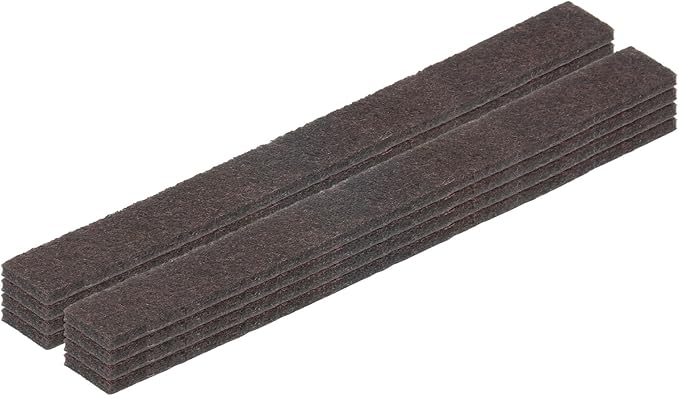
- Dark brown felt strips (¼ inch x 3 inches)
- Floral tape (green)
- Hot glue gun and glue sticks
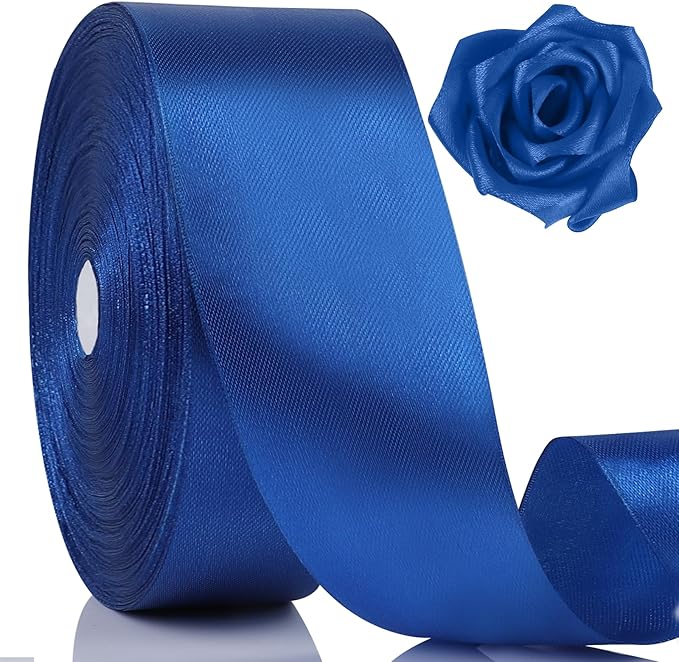
- Satin ribbon
Step-by-step Guide
Step 1: Cut a heart-like petal shape from each book page. Curl the top edges inward by rolling them around a pencil.
Step 2: Glue a thin felt strip to one end of your floral wire, then wrap the curled petal around the stamen, gluing the base of the page to the wire.
Step 3: Wrap floral tape around the base of the flower and continue down the wire to make a realistic stem.
#13. Your Unique Lantern Idea
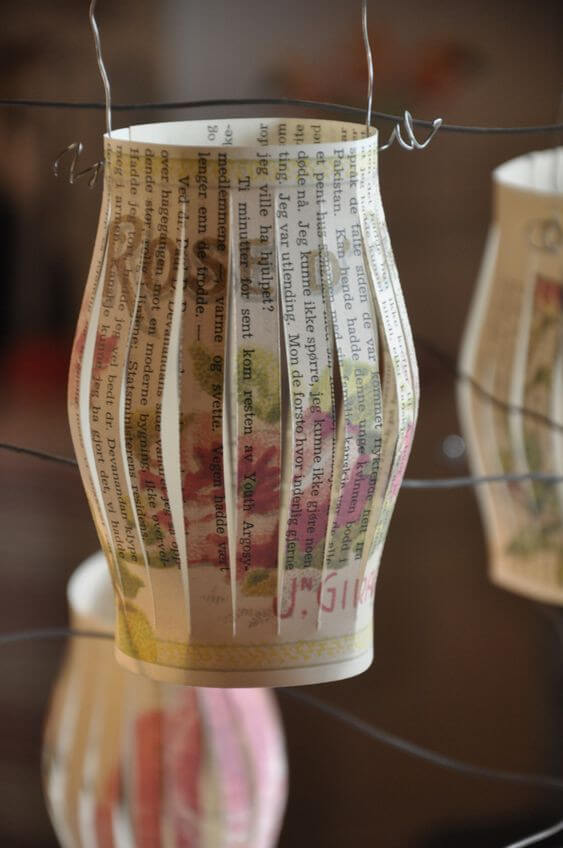
This paper lantern gives off a vintage, soft glow that feels like it belongs in an old storybook garden.
Materials Needed
- Old book pages (8.5″ x 11″)
- Printed tissue paper (optional)
- Glue stick
- Scissors
- Stapler
- Thin floral wire
Step-by-step Guide
Step 1: Fold a book page in half lengthwise. From the folded edge, cut evenly spaced slits, about ½ inch apart, leaving a 1-inch margin at the top and bottom.
Step 2: If you’d like a soft color effect, glue tissue paper behind the slits on the inside of the page and let it dry flat.
Step 3: Unfold the page and roll it into a cylinder with the slits running vertically. Staple or tape the top and bottom edges together.
Step 4: Punch small holes near the top rim on either side and thread a thin wire through to create a hanging handle.
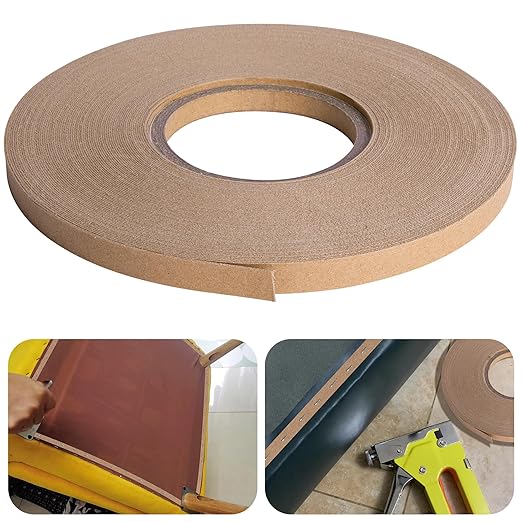
#14. Towel Table
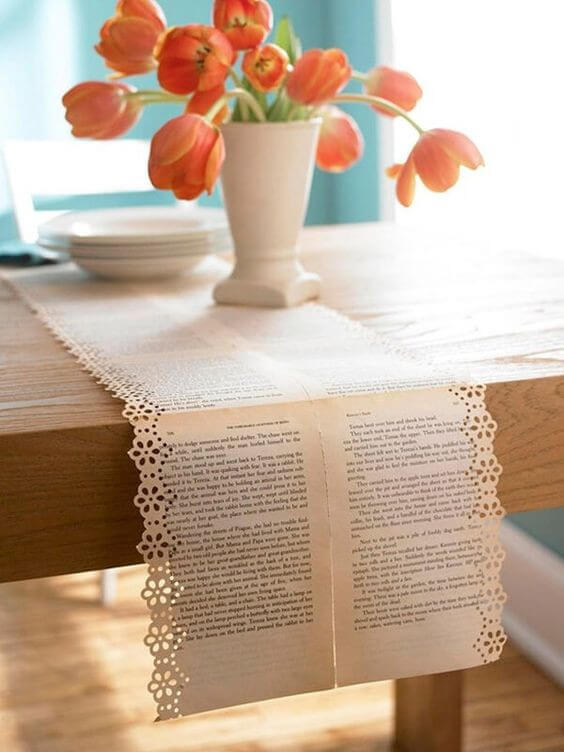
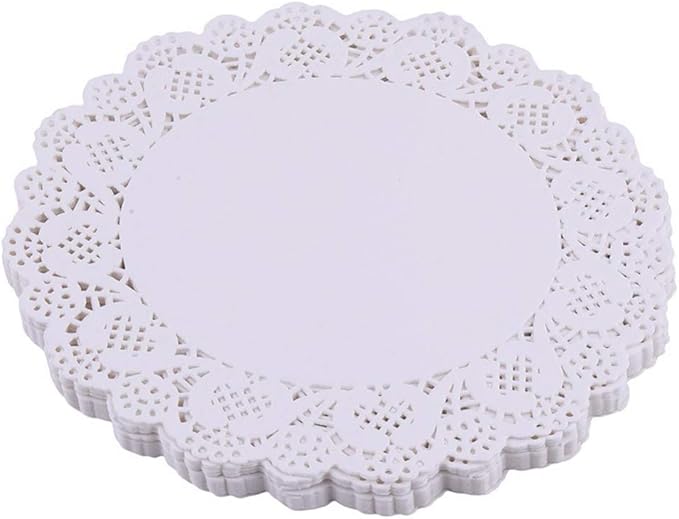
The delicate punched edges add elegance, while the yellowed paper evokes nostalgia, like sitting down to tea with stories woven into the linen.

Materials Needed
- Old book pages (12–20 pages)
- Paper doily punch
- Double-sided tape
- Clear packing tape (optional)
Step-by-step Guide
Step 1: Arrange the book pages side by side vertically, slightly overlapping the edges. Glue or tape them together along the seams.
Step 2: Use the edge punch or decorative scissors to cut along both long sides, creating a lacy border.
Step 3: If your pages are thin, reinforce the back with clear tape or attach them to a long strip of kraft paper to make the runner sturdier.
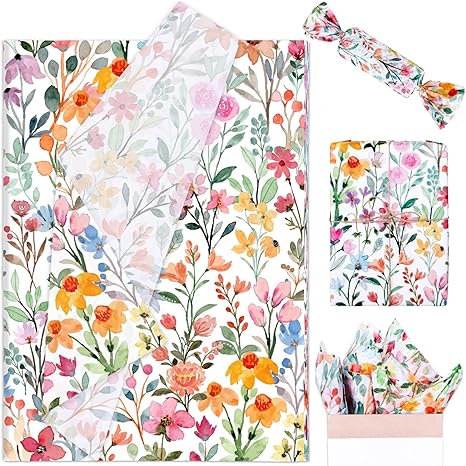
#15. Lovely Gift Bags
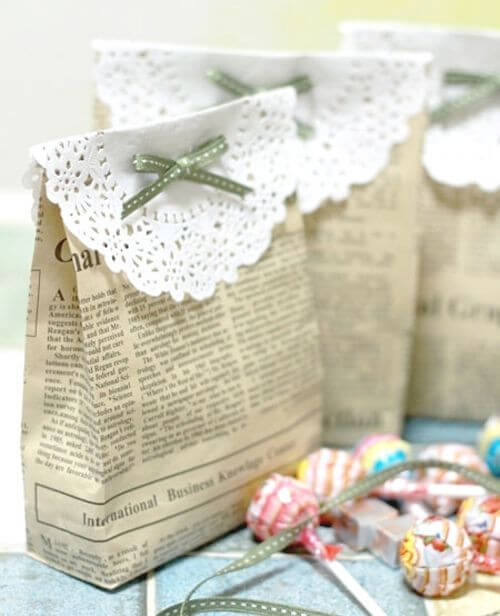
With the soft doily tops and tiny ribbon bows, they feel like something out of a vintage storybook tea party.
Materials Needed
- Old newspaper pages (1 per bag, approx. 10×14 inches)
- Paper doilies, approx. 4.5–6 inches round
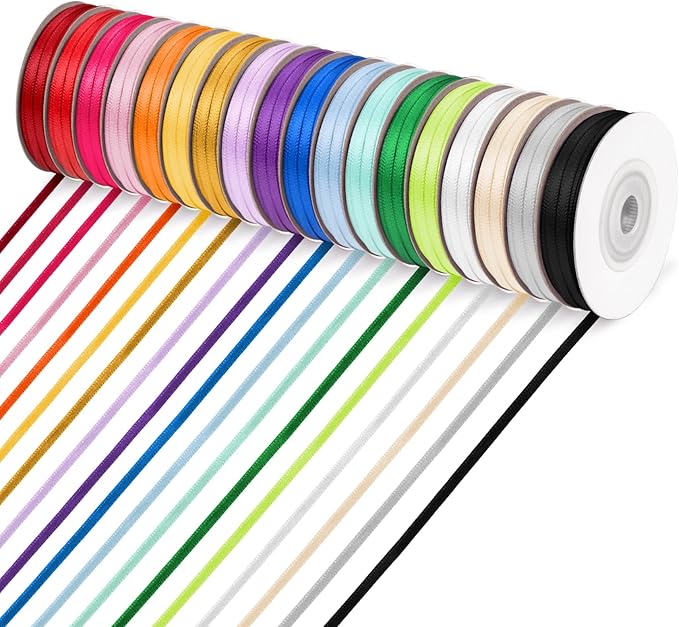
- Small ribbon, ⅛” width
- Glue stick
Step-by-step Guide
Step 1: Fold your book page into a simple paper bag: fold one long edge over the other and seal it with glue, then fold the bottom upward and glue shut.
Step 2: Once your bag is formed and filled with goodies, fold over the top to create a flap closure.
Step 3: Place a doily over the fold, securing it with glue or tape so it drapes like lace.
Step 4: Add a small bow made from thin ribbon to the center for a sweet, vintage finish.
#16. Hang Them On Your Party
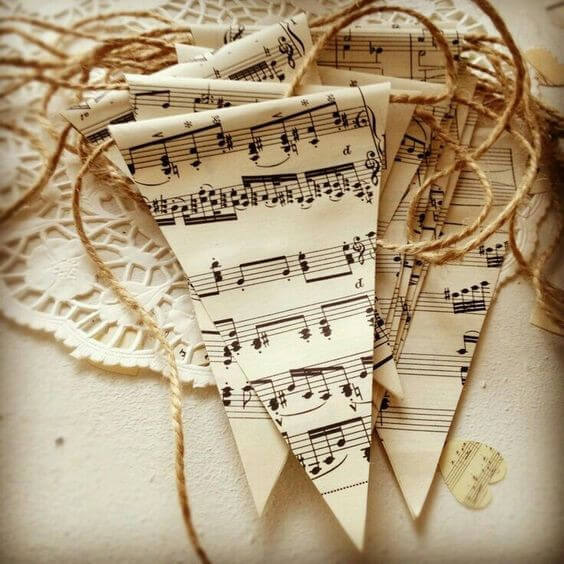
Crafted from aged sheet music and twine, it brings an old-world elegance to any celebration or cozy reading nook.
Materials Needed
- 10-12 old music sheets (8.5×11 inches)
- Jute twine
- Glue stick
- Hole punch
Step-by-step Guide
Step 1: Cut each music sheet into triangle shapes approximately 5 inches wide and 7 inches long. You can trace one as a template for consistency.
Step 2: Fold over the top edge of each triangle (about ½ inch) and glue or tape it down over the twine to form a hanging sleeve.
Step 3: Repeat with all the triangles, spacing them evenly across your string. You can punch holes instead and weave the twine through for a rustic look.
#17. Your Flowers Love It
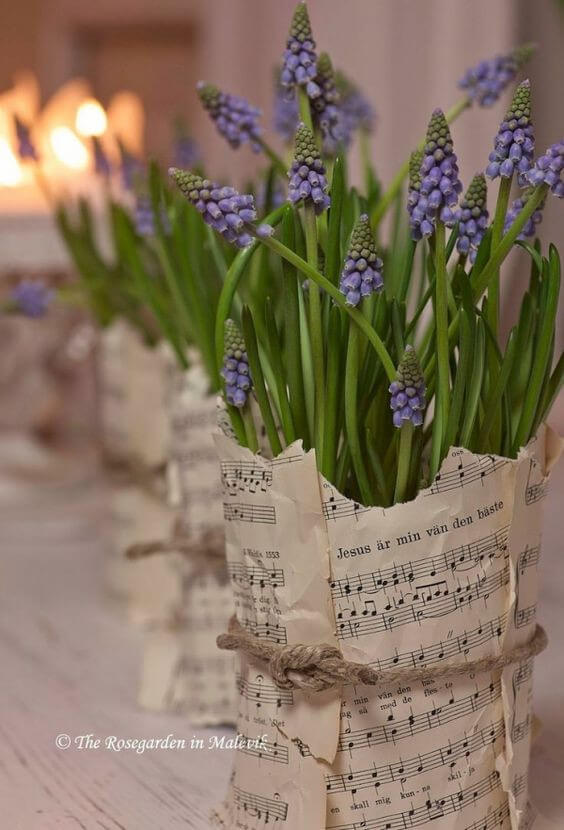
The crinkled music sheets, softened by candlelight or morning sun, give it a poetic, nostalgic charm.
Materials Needed
- Old sheet music pages (1–2 per vase)
- Clear glass jars (height 5–8 inches)
- Rustic twine
- Glue dots (optional)
Step-by-step Guide
Step 1: Lightly crumple your music sheet to add texture, then smooth it out gently for that aged look.
Step 2: Wrap the paper around the glass jar, overlapping the ends slightly. Secure it in place with tape or glue dots if needed.
Step 3: Tie a piece of twine around the middle, finishing with a rustic bow. Then add your favorite flowers and place the vase somewhere it’ll catch the light.
#18. Markbook
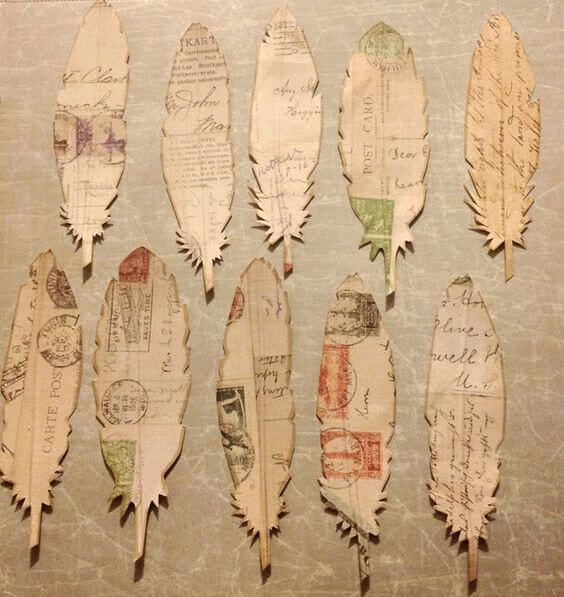
Each feather holds a whisper of history, and they’re so simple to make it feels like magic.

Materials Needed
- 10-15 old book pages, vintage letters, or postcard prints
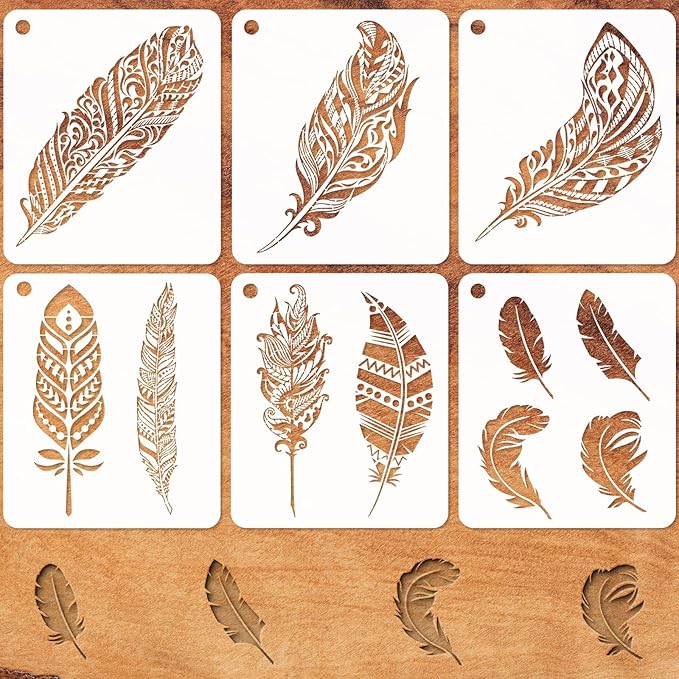
- Feather stencil (5–6 inches tall)
- Sharp scissors
- Pencil and cutting mat (optional)
Step-by-step Guide
Step 1: Trace or freehand-draw feather shapes on the back of your old book or letter pages. Vary the width slightly for a more natural look.
Step 2: Carefully cut out the feather shapes using scissors or a precision craft knife.
Step 3: Add detail by cutting small notches along the edges to mimic real feather barbs. You can even curl the tips slightly with a pencil.
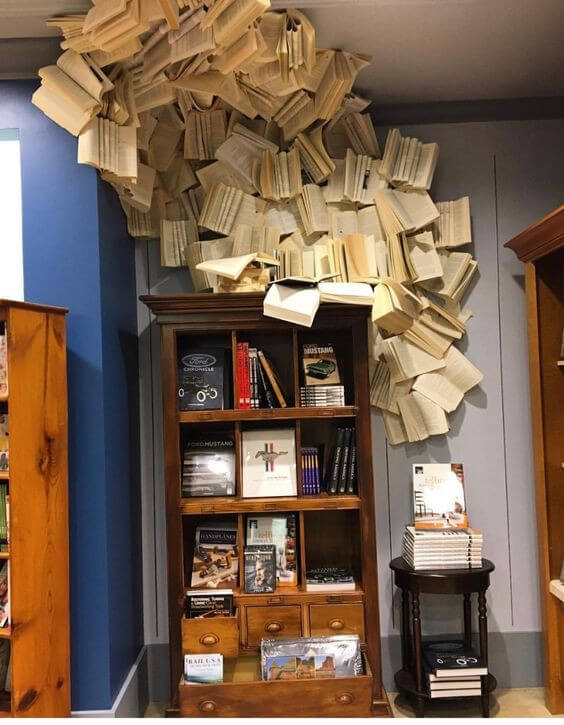
#19. Stand And Read Your Book
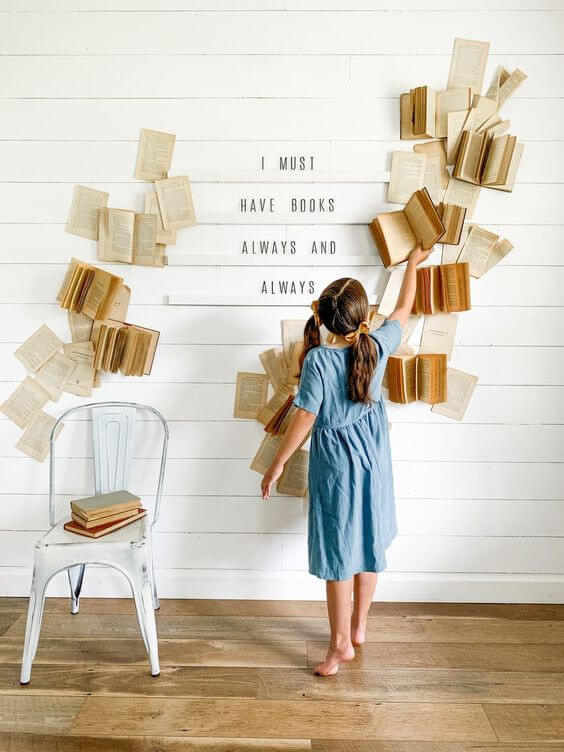
You can create one for your reading nook, and it immediately brings the space to life, like the books themselves were eager to speak.
Materials Needed
- 15–25 vintage books
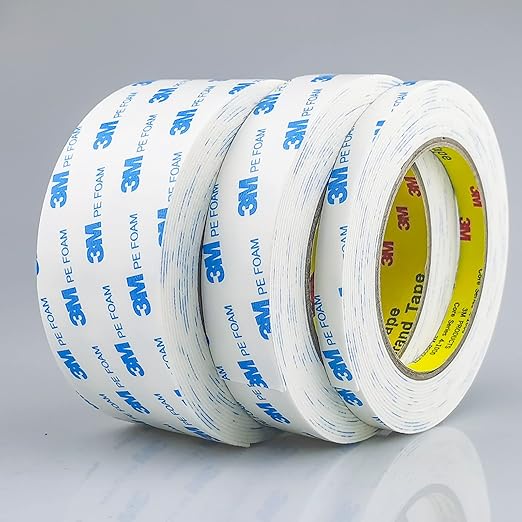
- Double-sided wall mounting tape
- Command hooks (optional)
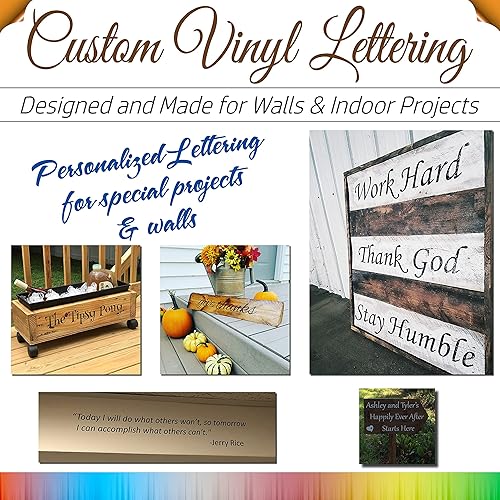
- Vinyl text strips
- Scissors and ruler
Step-by-step Guide
Step 1: Choose a large blank wall and lightly sketch your layout. Use a quote or phrase as a central anchor. Add books around it as if they’re swirling mid-air.
Step 2: Open each book in a fan-like or natural position and apply strips of double-sided tape to the back covers and edges.
Step 3: Layer some open pages or loose sheets around the books for movement. Crisscross a few for a more chaotic, whimsical look.
Step 4: Finish by adding the quote in the center using your chosen letterboard or decals.
#20. Ideal Book Gift Bag
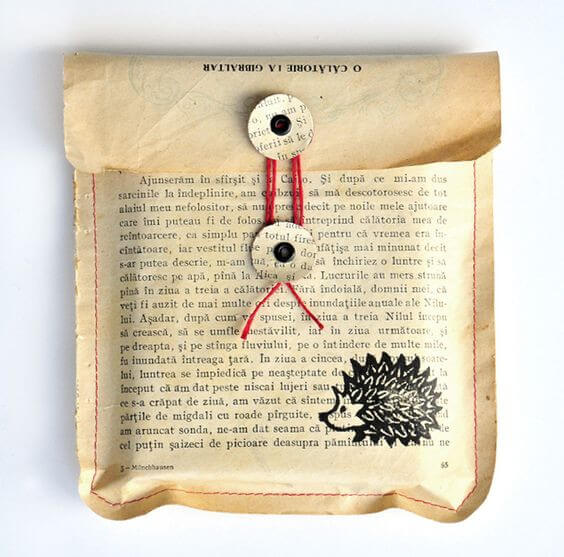
I love how the string-and-button closure adds a nostalgic charm.
Materials Needed
- Old book page (approx. 8 x 10 in)
- 2 small paper discs (1 inch in diameter)
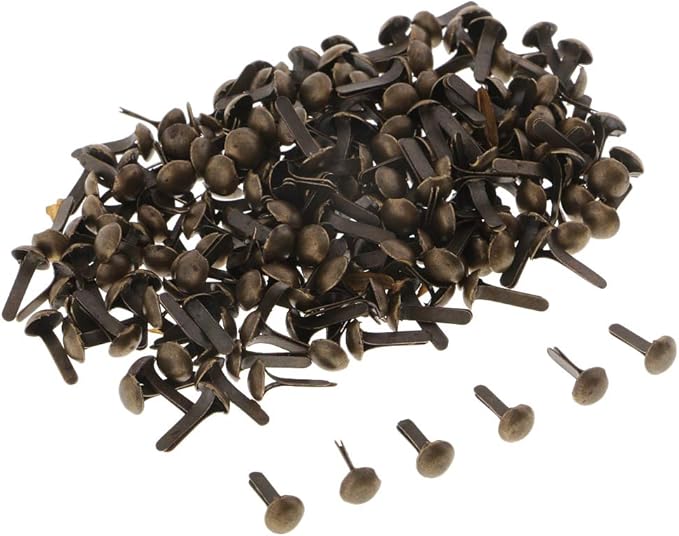
- Mini brads
- Red string
- Glue stick
- Scissors and hole punch
- Optional: Decorative stamp
Step-by-step Guide
Step 1: Fold your book page in half vertically to create a pocket shape. Leave about 1.5 inches at the top for the flap and crease well.
Step 2: Glue the left and right edges of the pocket to seal the envelope. Press until dry and firm.
Step 3: Punch a hole through each button disc and attach one to the envelope flap and the other to the body using brads.
Step 4: Tie your string to the bottom disc and wind it around both in a figure-eight to close.
#21. Creative Woman Bag
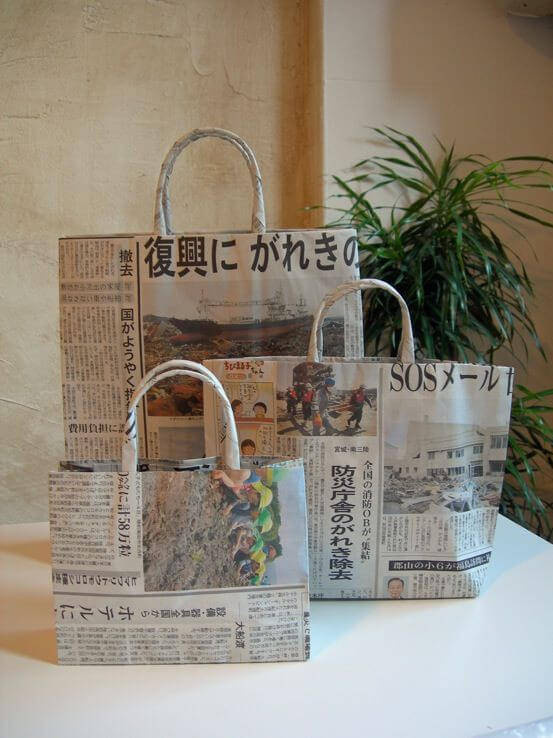
Turning yesterday’s news into today’s statement piece, these handmade newspaper bags are sturdy, sustainable, and surprisingly stylish.
Materials Needed
- Old newspaper sheets
- Cardboard strip – 1″ x 10″
- Glue stick
- Scissors
- Hole punch
- Twine
Step-by-step Guide
Step 1: Lay one full newspaper sheet flat. Fold the longer sides inward so they overlap by about an inch, creating a tall cylinder. Glue the overlap securely.
Step 2: Fold up 2–3 inches from the bottom to create the bag’s base. Open this folded section, flatten it into two triangles, and fold the top and bottom flaps inward to meet in the middle. Glue firmly.
Step 3: Open the top of the bag and press the side edges inward to create crisp folds.
Step 4: Glue a cardboard strip inside the top edge to reinforce it. Punch two holes on each side and tie in handles using sturdy twine or rope.
#22. Teacup Book Sculpture
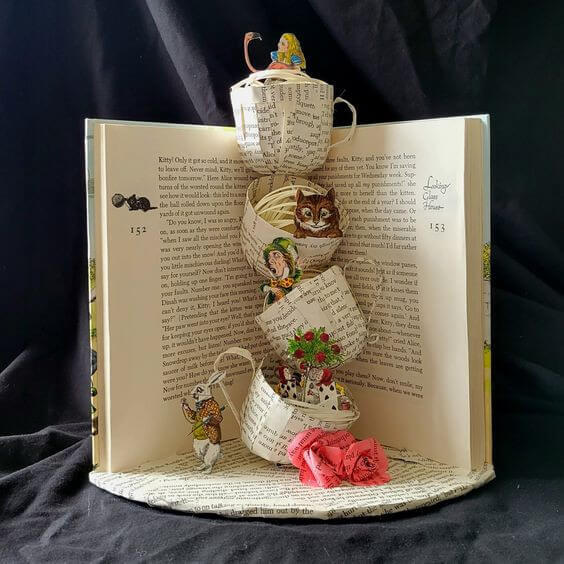
This enchanting Alice-in-Wonderland-inspired sculpture feels like it tumbled straight from the pages of a childhood dream.
Materials Needed
- Old hardcover book (at least 8” tall)
- 10–15 old book pages
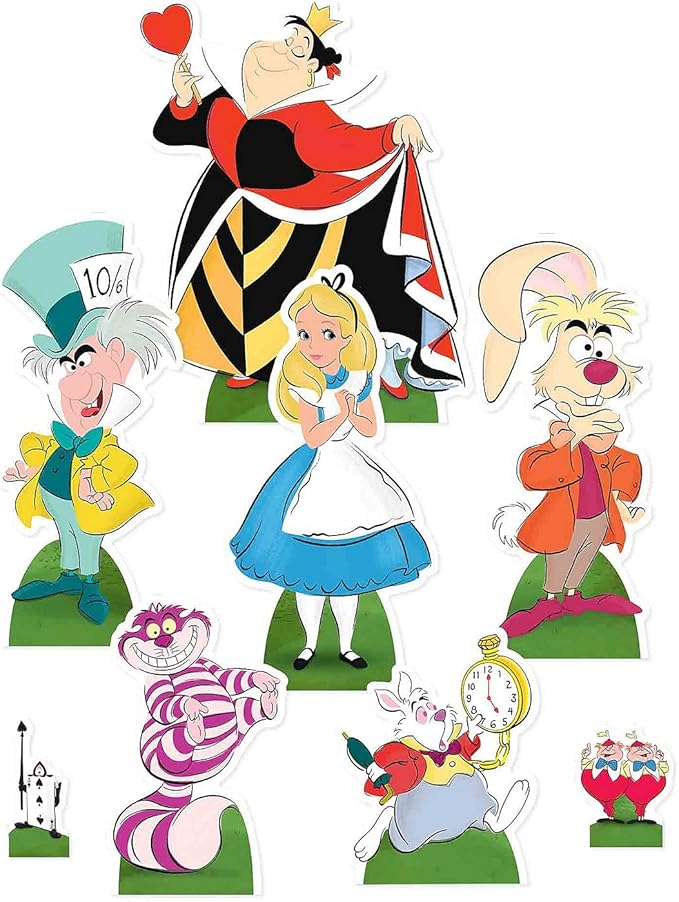
- Printable or cut-out Alice in Wonderland characters
- Floral wire
- Hot glue gun
- Craft scissors
- Mod Podge
- Optional: Mini paper roses
Step-by-step Guide
Step 1: Open your hardcover book and glue the last few pages together to form a sturdy backdrop. You can also glue the base to a circular board for more balance.
Step 2: Cut book pages into strips and roll them into cone shapes to create small teacups. Glue along the edges to secure, then trim the top to level.
Step 3: Attach each teacup to a length of floral wire. Bend the wire slightly to create a playful, cascading effect, and hot glue each wire into the book’s spine or base.
Step 4: Tuck your Wonderland characters into each cup. Secure with a dab of glue. Add embellishments like paper flowers to bring the magic alive.
#23. A Great Decor
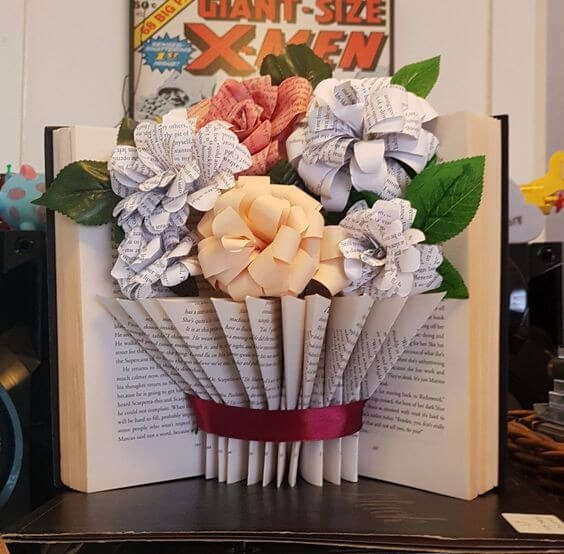
Tucked inside an open novel, each flower feels like a memory captured mid-bloom.
Materials Needed
- Old hardcover book
- 20 book pages
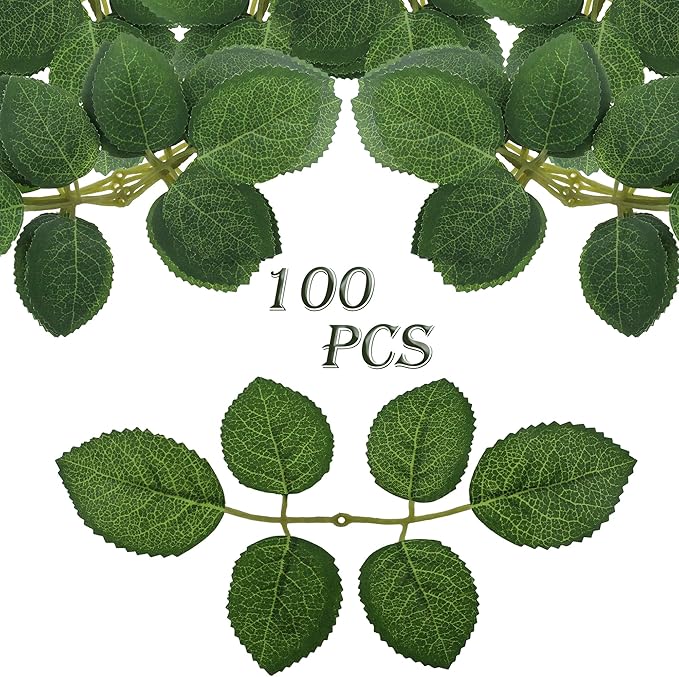
- Artificial flower leaves
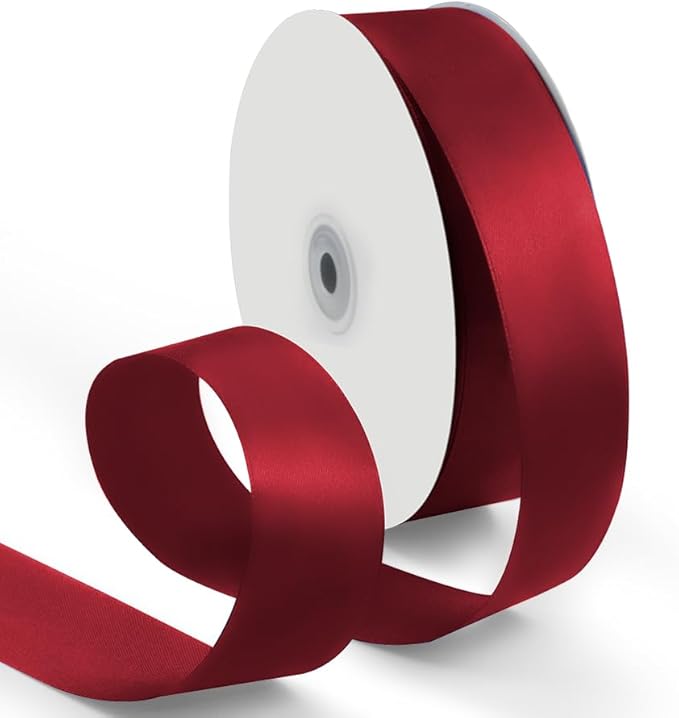
- Red satin ribbon
- Craft glue
- Scissors
- Optional: Floral stem wire
Step-by-step Guide
Step 1: Open your hardcover book to the center and glue the back cover to your display base (optional). Leave the pages loose so they fan naturally.
Step 2: Cut several book pages into long triangles and roll each into a cone. Glue the edge to hold shape. Arrange and glue these cones at the base of the open book to mimic a wrapped bouquet.
Step 3: To make the flowers, fold or curl book page strips into petals, layering them in a circular pattern. Glue in place, and attach each flower to a stem.
Step 4: Fill in with green leaves or faux foliage for contrast. Wrap the bottom of the bouquet with your ribbon, securing the edges in back with glue.
#24. A Pirate Ship
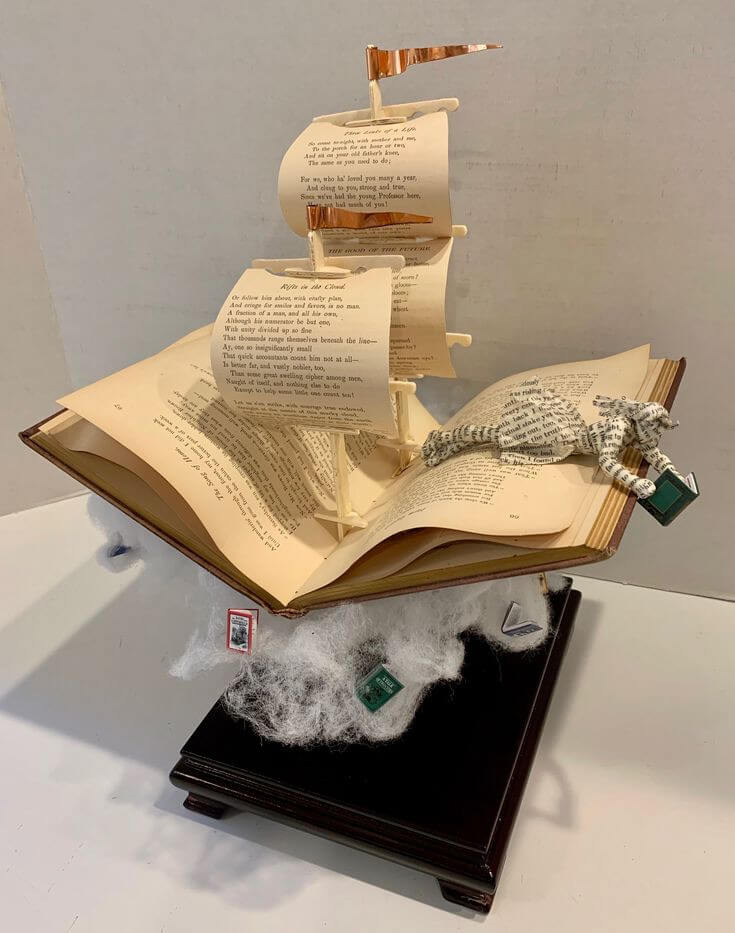
This paper ship rising from a vintage novel feels like imagination made visible, a tribute to every reader who’s ever been swept away by a good book.

Materials Needed
- Hardcover book
- Wooden skewers (6″ to 10″ long)
- 5–7 book pages
- Cotton fill
- Hot glue gun + glue sticks
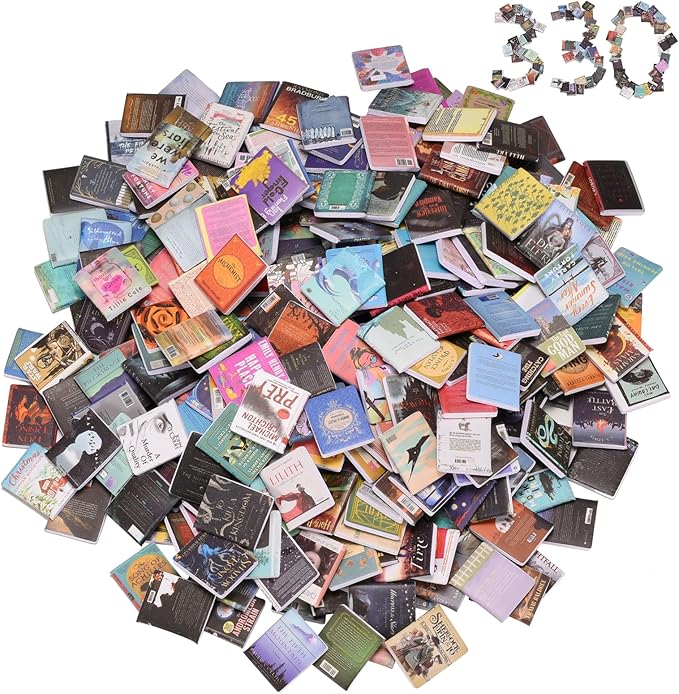
- Small figurines or mini books
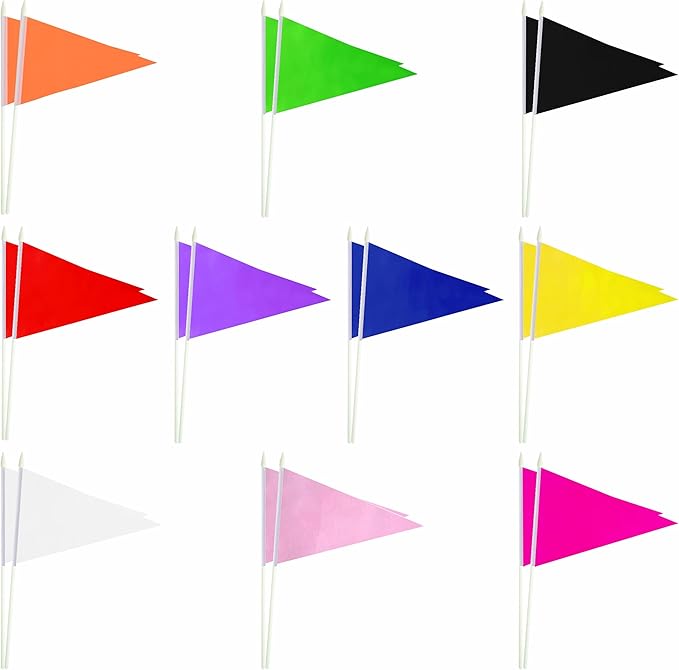
- Craft paper flags
- Wooden display base (optional)
Step-by-step Guide
Step 1: Open the hardcover book and gently curl some of the middle pages upward and outward to create a wave-like structure. Use glue to fix pages in place.
Step 2: Create the ship’s mast by gluing skewers upright into the book’s spine. Add crossbars and roll cut book pages around each as sails. Glue sails in place and top the mast with small flags.
Step 3: Form a puff of clouds or water by gluing cotton fill underneath the book’s base. Tuck in mini charms, tiny books, or even dangling cutouts to enhance the illusion.
Step 4: Add a paper figure to ride the story, like the small book-text cat seen in the image for a personal or whimsical touch.
#25. Fly From The Book Into The Air
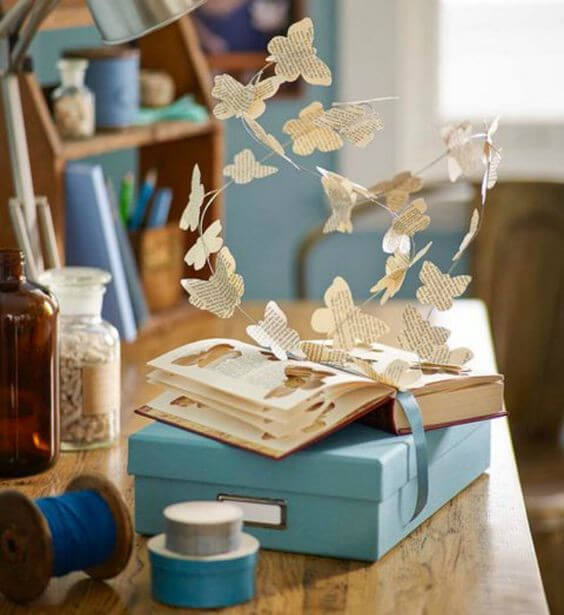
It’s like a quiet spell has been cast, the butterflies feel as if they’re mid-flight, gently escaping the worn spine of a well-loved story.

Materials Needed
- Hardcover book
- 3–5 old book pages
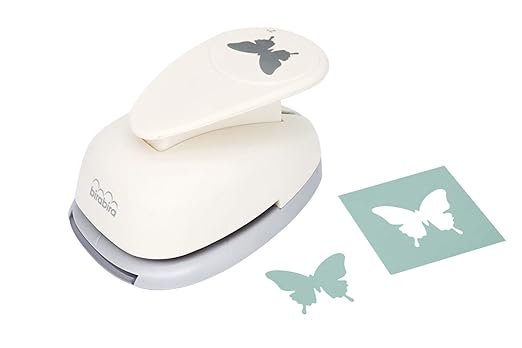
- Butterfly punch
- Clear craft wire
- Hot glue gun and glue sticks
- Double-sided tape
- Gift box
Step-by-step Guide
Step 1: Open the book halfway and gently press the spine so the book stays open. Use a butterfly-shaped punch to cut out several butterflies from old pages.
Step 2: Curl the edges of each butterfly wing slightly by wrapping around a pencil.
Step 3: Attach your butterflies to clear wire using a dab of hot glue. Start small near the book and work upward in a spiral or arch, bending the wire as you go.
Step 4: Insert the wire ends between the pages, using glue or tape to secure them.
#26. Write Your Quotes Here
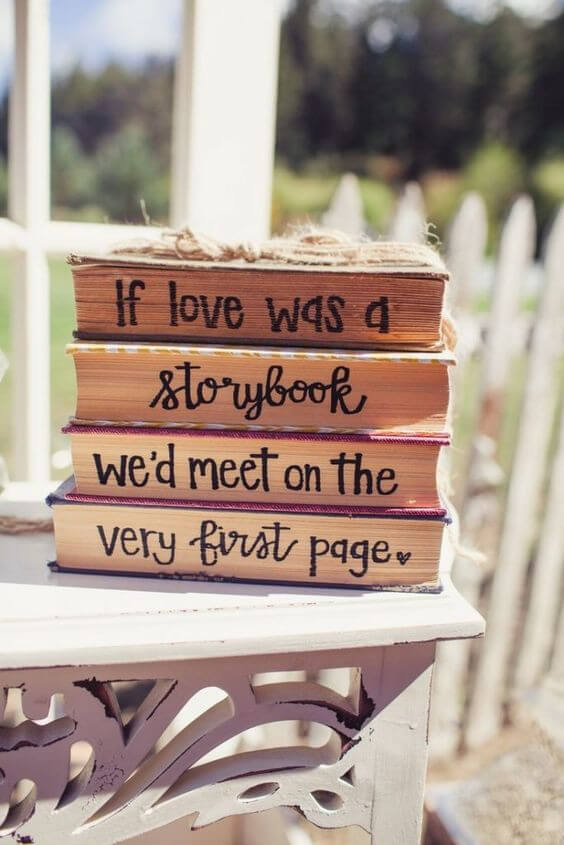
I created a similar one for my anniversary table, and the quote on the spines felt like a poem you could read just by walking past.
Materials Needed
- 4 hardcover books (approx. 7–9″ wide, stacked height 6–9″)
- Acrylic paint
- Paintbrush set
- Black permanent marker
- Twine
- Optional: Sandpaper block
Step-by-step Guide
Step 1: Paint the spines of each book using a dry brush technique to preserve texture. Let dry fully for 1–2 hours.
Step 2: Choose a quote, then write each phrase across the spines using a black paint pen. Use light pencil marks first if you’re unsure of spacing.
Step 3: Stack your books in order. Wrap the twine around the stack, tying a bow or knot on top for that rustic touch.
#27. Book Is A Century Tree
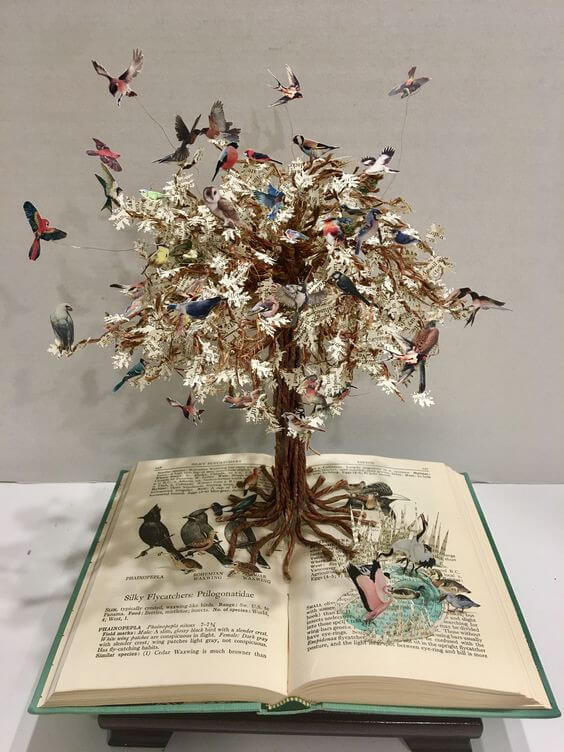
It’s intricate, delicate, and full of movement, a tribute to both nature and the written word.

Materials Needed
- 1 large hardcover bird book (approx. 9″x12″)
- Thin floral wire (22–26 gauge)
- 15 old book pages
- Miniature bird cutouts
- Hot glue gun & sticks
- Sharp scissors
- Brown floral tape
- Optional: Display base
Step-by-step Guide
Step 1: Twist floral wires into small branching shapes (3–5 inches long) for tree limbs. Create a thicker central trunk by twisting several wires together and wrapping in floral tape or brown yarn. Spread the base to resemble roots and glue securely to the open book’s center.
Step 2: Cut dozens of small leaves from book pages using detailed scissors or a leaf punch. Glue leaves onto wire branches, clustering more at the edges for fullness.
Step 3: Attach bird cutouts to the tips and sides of branches with hot glue. For extra motion, suspend a few with thin clear thread or more wire above the tree.
#28. Piece Of Art
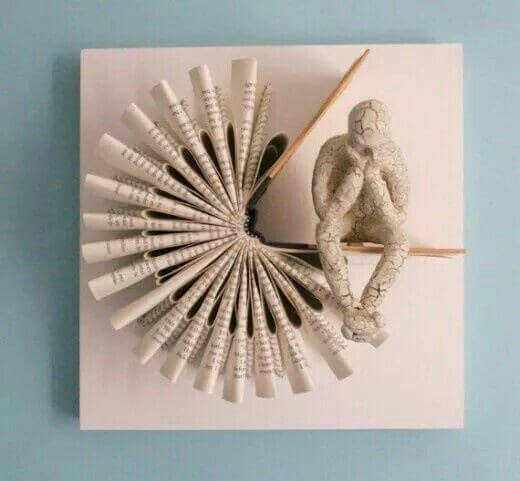
This sculptural design feels like a quiet tribute to contemplation.

Materials Needed
- 1 hardcover book (standard 9″x6″)
- 20 old book pages
- Mini thinker figurine (4–5 inches tall)
- Hot glue gun & sticks
- Double-sided tape
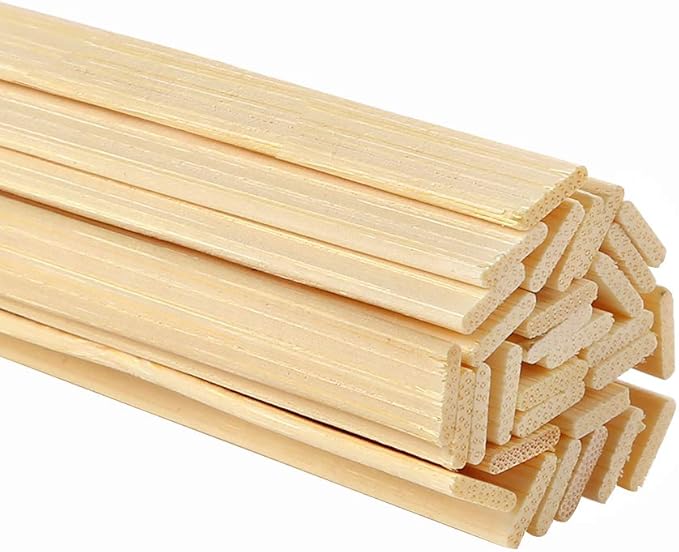
- Small bamboo skewer
Step-by-step Guide
Step 1: Roll each book page tightly into a cone shape and glue the edge to secure. Make about 25–30 cones. You can age the paper with a tea bath if you prefer a vintage tone.
Step 2: Glue the cones in a spiral radiating outward from the center of your canvas or hardcover book base, creating a pinwheel pattern. Start from the middle and work your way out with equal spacing.
Step 3: Secure the dowel horizontally across the spiral. Position and glue the figurine so it appears to be sitting at the edge of the spiral, lost in thought.
#29. Bookloads Above
I built mine above my writing nook, and now it feels like ideas are raining down from a paper sky every time I sit there.

Materials Needed
- 20–50 old hardcover books
- Foam insulation board (at least 3ft x 4ft)
- Hot glue gun + heavy-duty glue sticks
- Heavy-duty mounting tape
- Optional: Paper clips, fishing wire
- Utility knife and ruler
Step-by-step Guide
Step 1: Cut a large backing panel into a jagged or cloud-like shape
Step 2: Open your books to random or fanned pages and glue them securely to the backing. Start from the bottom and layer upward to create dimension and an explosion effect. Angle a few outward as if they’re mid-flight.
Step 3: For extra drama, use invisible thread or fishing wire to hang a few pages or book covers from the ceiling or shelf edges. Secure them with thumbtacks above the panel.
Step 4: Mount your entire piece to the ceiling or upper wall with command strips or double-sided heavy-duty tape, right above your bookcase.
#30. A New Chadelier Design
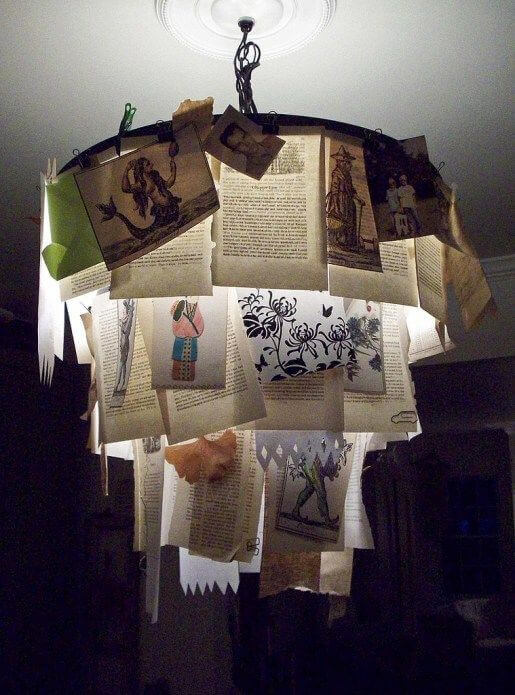
There’s something hauntingly beautiful about light filtering through paper that once carried someone’s imagination.
Materials Needed
- 40 aged book pages
- Metal hoop (12–16 inches in diameter)
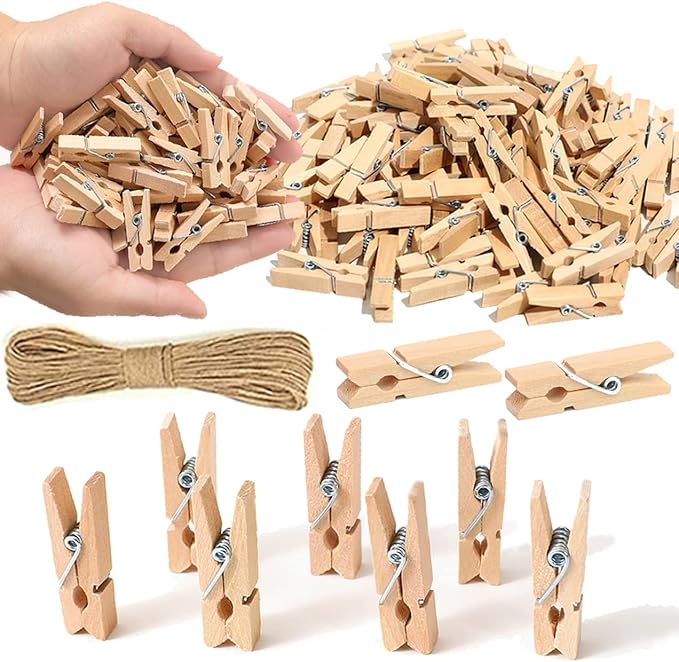
- Mini clothespins
- Low-heat LED bulb and pendant light fixture
- Twine
Step-by-step Guide
Step 1: Lay out your book pages and optional ephemera like vintage illustrations or sketches. Slightly curl or tear the edges for character if desired.
Step 2: Using clothespins or clips, begin attaching the pages around the outer rim of your hoop or wire frame. Let them hang at slightly different lengths to create texture and depth.
Step 3: Once the first layer is complete, add a second row to fill gaps and form a layered, cascading look. Alternate types of pages or add a few prints for intrigue.
Step 4: Hang the hoop around a safe low-heat LED pendant light fixture using craft wire or sturdy twine.
#31. Lamp’s Covering
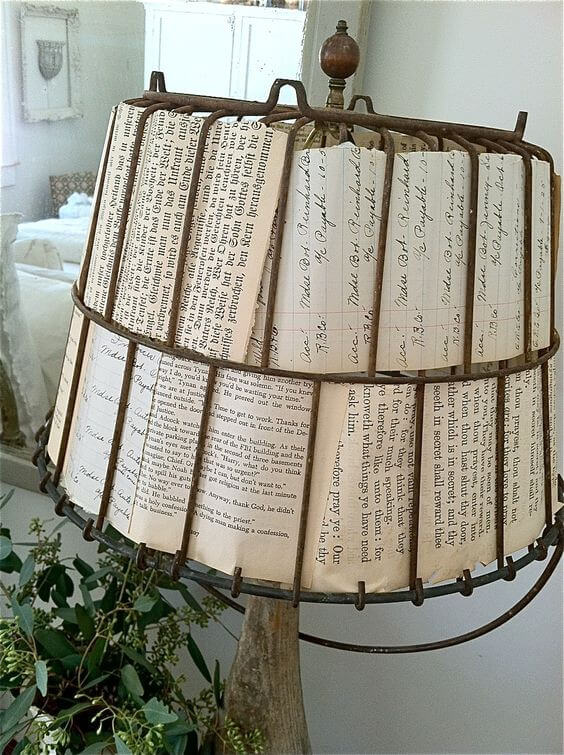
Each page tells a different tale, and together they create a warm, moody ambiance that makes the entire room feel like a vintage library corner.
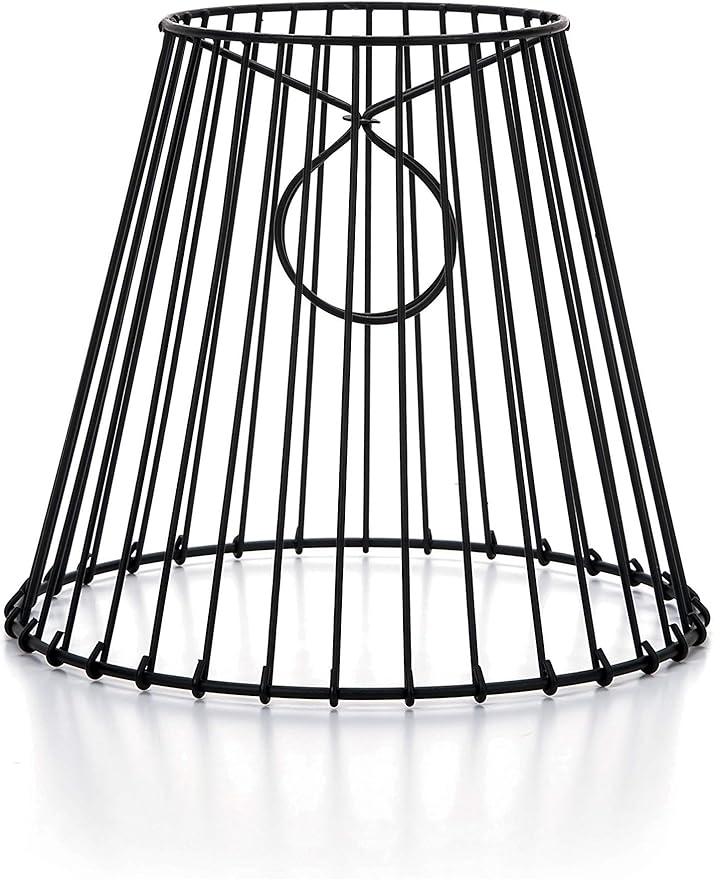
Materials Needed
- 1 wire lampshade frame
- 30 vintage book pages
- Glue dots
- Optional: Antique handwriting scans
- Scissors
- Low-watt LED bulb
Step-by-step Guide
Step 1: Cut your book pages to match the height of your lampshade frame sections. You can mix text pages with handwritten ones for contrast.
Step 2: Attach one page to each vertical wire rib using glue dots or tape. Leave a small curve so each piece slightly flares out.
Step 3: Continue around the shade, slightly overlapping pages for full coverage.
Step 4: Once all pages are secure, place the frame back onto your lamp base and screw in a low-watt LED bulb to prevent heat damage.