Old books, unused cable spools, even milk cans, seem to be mercilessly discarded objects, but in fact, you can fully take advantage of them to make your indoor and outdoor living space more fun and interesting. Instead of burning them or wasting them in the trash, you can totally transform them into usefulness.
So, in the article, we’ve rounded up the 17 Amazing Recycled Coffee Table Ideas that you can make easily at home to add uniqueness to the home and garden.
For those who love creativity, you may want to turn to these coffee tables. With just some vibrant colored paint, a few accessories, and a little creativity, you can turn them into unique tables with your style.
Each one is completely unique and can fit into practically any surrounding aesthetic. These ideas promise to give you inspiration and encouragement to give them a try!
This article contains affiliate links. If you purchase through them, I may earn a small commission at no extra cost to you. Thank you for your support!
#1. DIY Wood Slice Table
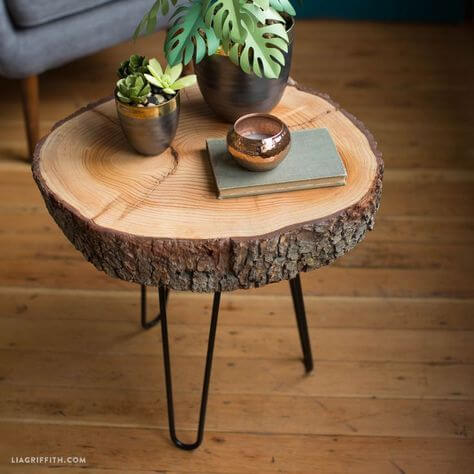
There’s something deeply grounding about bringing raw nature into your home and this DIY tree slice coffee table delivers just that.
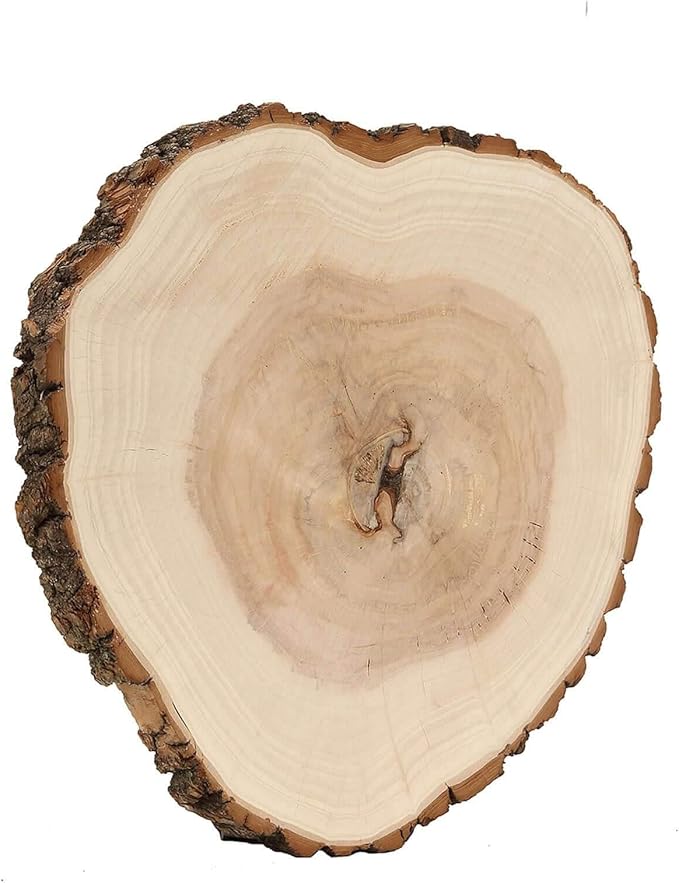 SHOP TREE SLAB
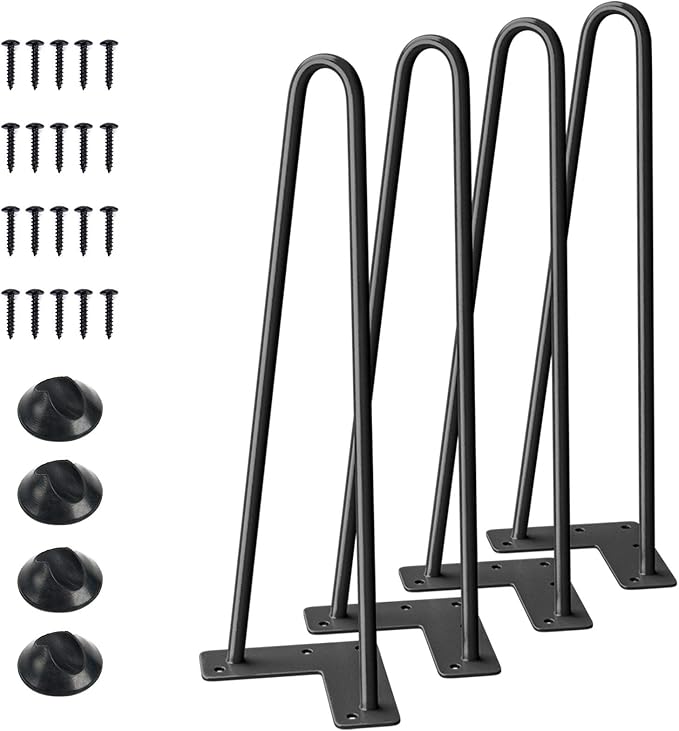 SHOP METAL HAIRPIN LEGS
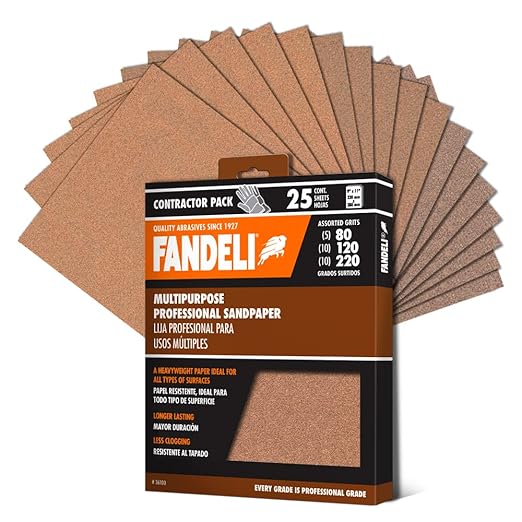 SHOP SANDPAPER
 SHOP DRILL WITH SCREWS
 SHOP WOOD FINISH
 SHOP WOOD FILLER
Materials Needed
- 1 large tree slab (diameter: 16″–20″, thickness: 2″–3″)
- Set of 3 metal hairpin legs (height: 16″)
- Sandpaper
- Wood finish
- Drill with screws
- Optional: wood filler
Step-by-Step Guide
Step 1: Sand the top and bottom of the tree slab using coarse grit first, then smooth it with finer grit for a polished surface.
Step 2: Wipe off dust, and if needed, apply wood filler to any large cracks. Let it dry and sand again.
Step 3: Coat the surface with wood oil or polyurethane. Apply two to three layers, allowing it to dry between coats.
Step 4: Flip the slab, measure leg placement evenly, and drill the metal hairpin legs into place. Flip it upright and it’s ready.
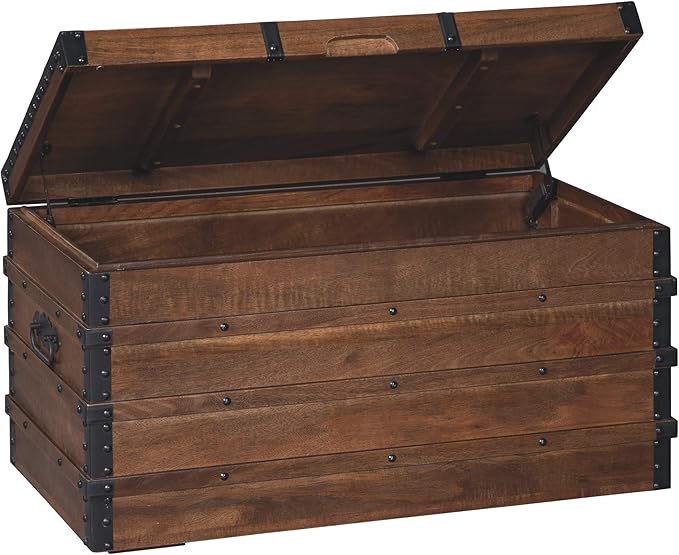
#2. Coffee Table Trunk
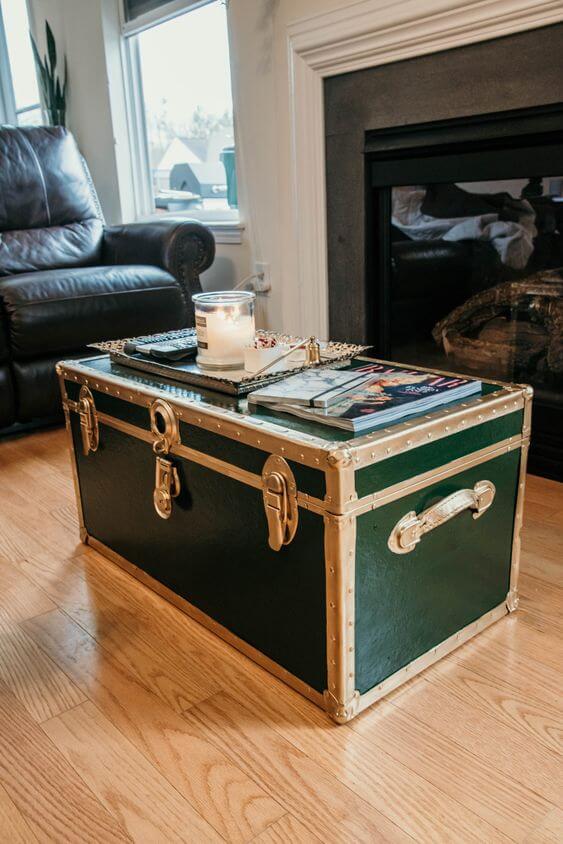
This vintage trunk turned coffee table isn’t just eye-catching, it’s full of charm, history, and hidden storage.
Materials Needed
- 1 sturdy vintage trunk (approx. 30″-36″ length)
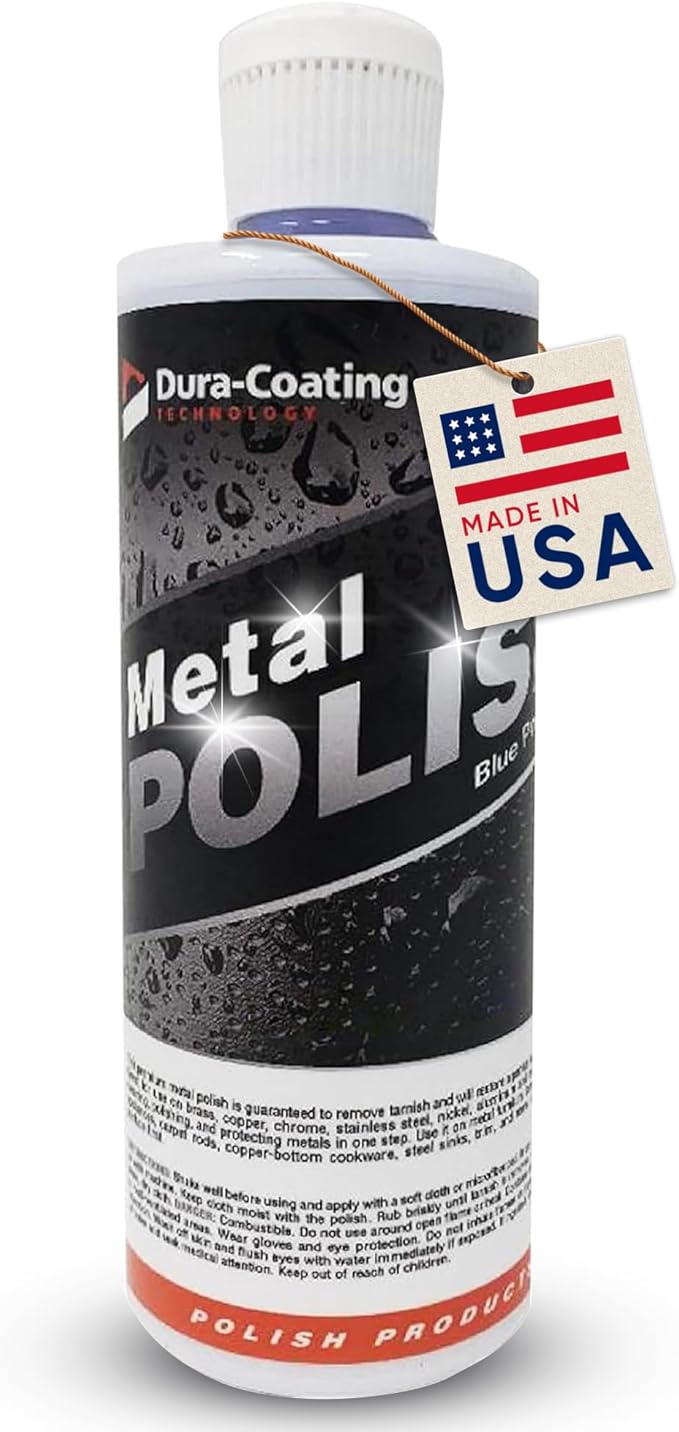
- 1 can of metal polish
- Optional: clear glass top
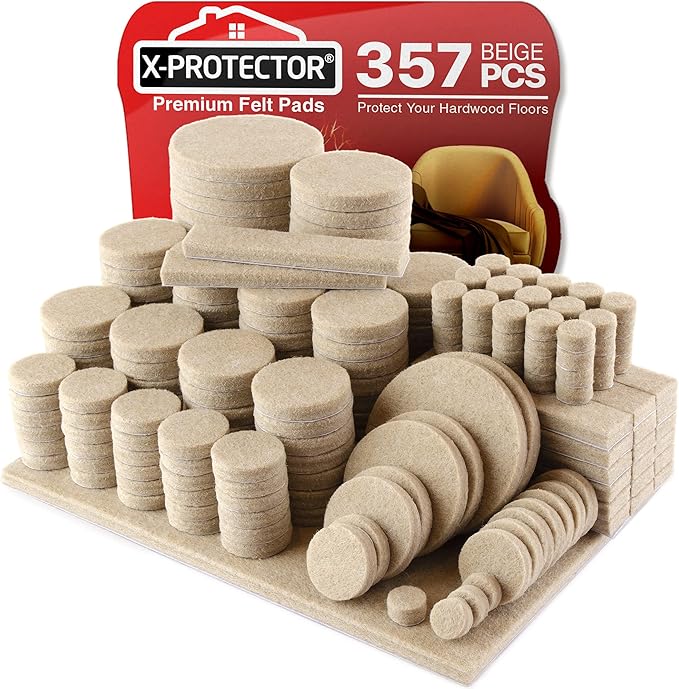
- Felt pads
- Optional: spray paint
Step-by-Step Guide
Step 1: Clean the trunk thoroughly using a damp cloth and let it dry. Polish the metal hardware and corners to restore shine and prevent rust.
Step 2: If desired, paint the trunk’s surface for a refreshed or custom look.
Step 3: Add a glass top if you want a flat surface for cups and décor. Attach felt pads underneath to avoid scratching floors.
#3. Old Book Coffee Table

This one is for the literary souls. It’s more than functional furniture; it’s a tribute to your passion. Made entirely from stacked old books, this design is whimsical, nostalgic, and a little rebellious.
Materials Needed
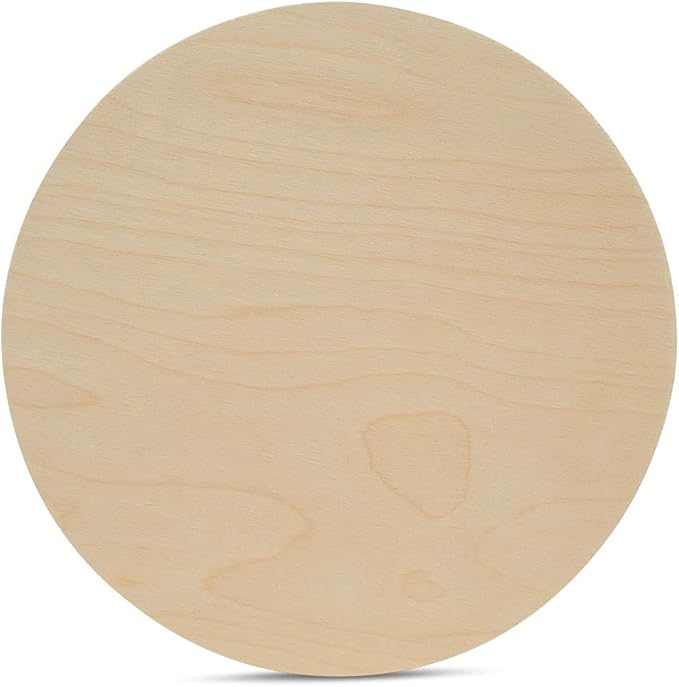
- 80 old hardcover books
- 1 round wood tabletop (24″-30″ diameter)
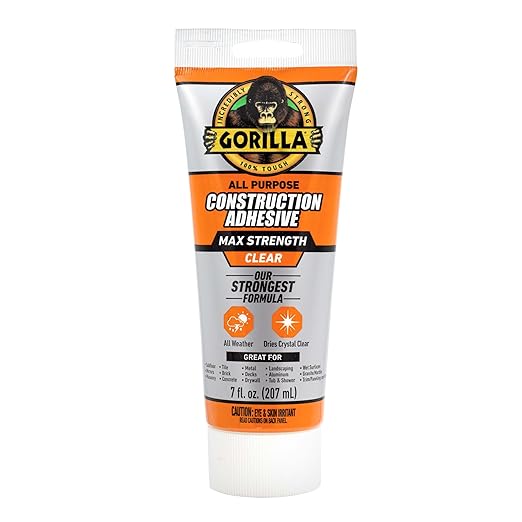
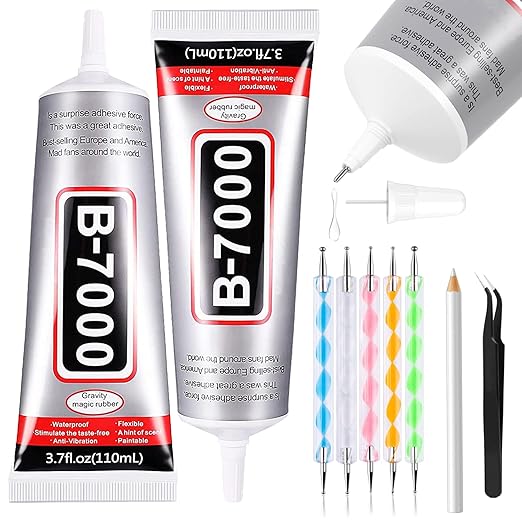
- Strong adhesive
Step-by-Step Guide
Step 1: Sort and clean your books. Choose similar-sized books for each layer to maintain balance.
Step 2: Begin stacking in a circle, gluing layers together as you go. Alternate directions for stability.
Step 3: Once at your desired height (usually 18″-20″), place the tabletop. Secure with glue or screws if needed.
#4. Cable Spool Table
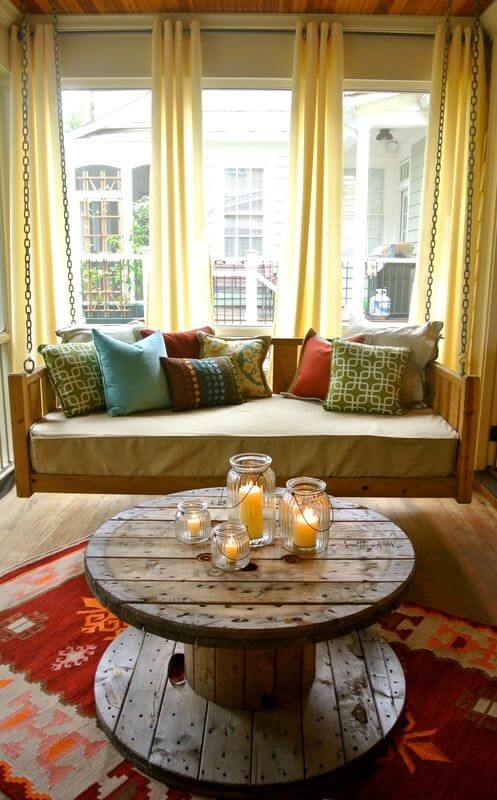
I love how the raw texture contrasts with soft candles and plush seating, it’s grounding, natural, and budget-friendly.
Materials Needed
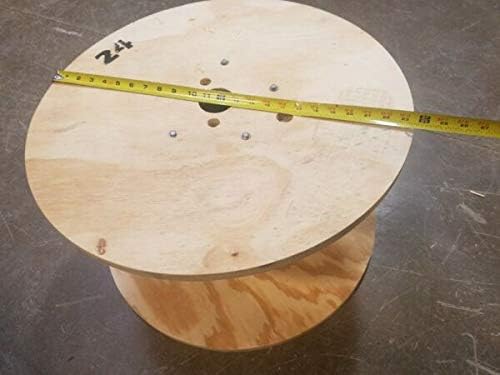
- 1 large wooden cable spool (approx. 24″–36″ diameter)
- Sandpaper
- Optional: wood stain
Step-by-Step Guide
Step 1: Clean the spool thoroughly. Remove nails or staples and wipe away debris.
Step 2: Sand down the entire surface, especially the top and edges, then apply wood stain or paint. Let dry according to instructions.
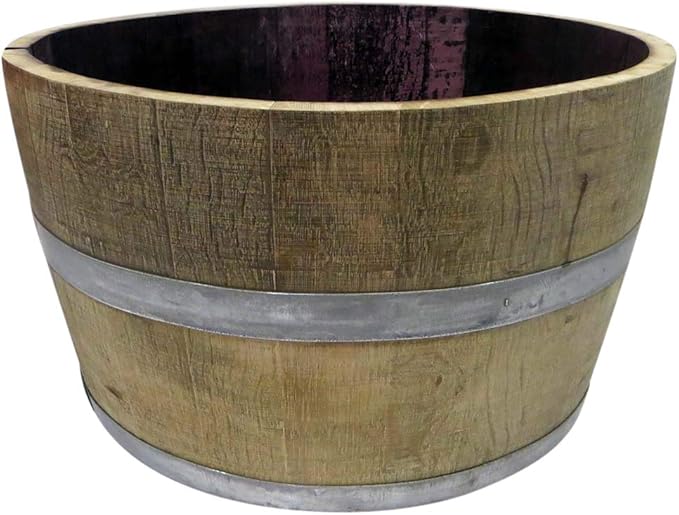
#5. Whiskey Barrel Oak Coffee Table

Turning a rustic whiskey barrel into a coffee table adds serious charm and a bit of story to any living space.
Materials Needed
- 1 wine barrel (approx. 26″ high)
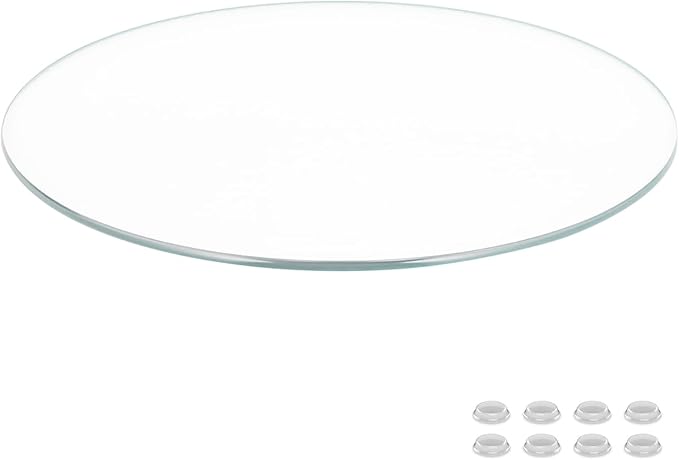
- Tempered round glass top (30–36″ diameter)
- Optional: wood stain
- Optional: clear bumpers
Step-by-Step Guide
Step 1: Clean the barrel thoroughly and sand lightly to smooth any rough edges, then apply wood stain to enhance and protect the grain, and let it dry.
Step 2: Position the tempered glass on top. Use clear bumpers for grip and stability.
#6. Bamboo Stick Bunching Table With Glass

This bamboo cube table brings the calm of nature into your living space. It feels like a piece of a tropical retreat, yet fits seamlessly into modern or boho interiors.
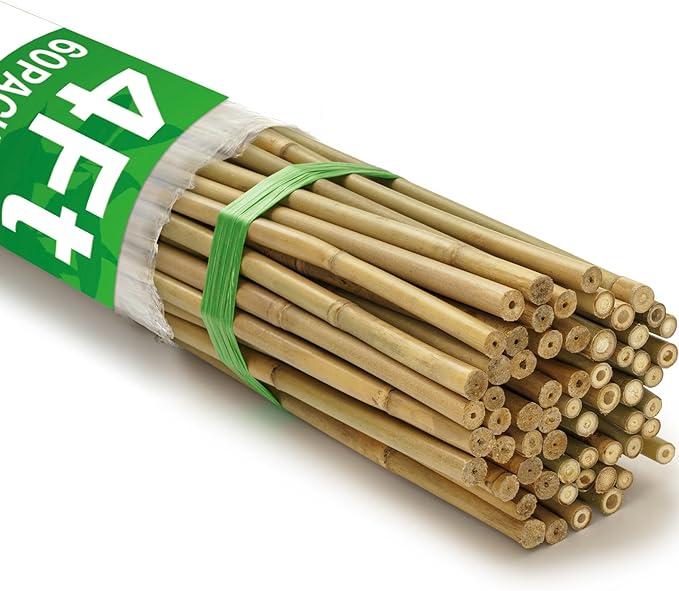
Materials Needed
- 400 dried bamboo sticks (1/2″ diameter, cut to table height)
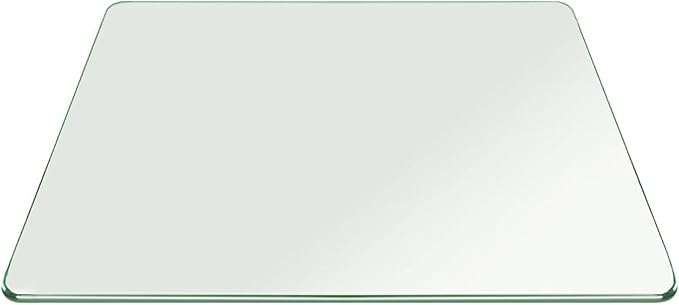
- Square tempered glass sheet (same dimensions as table top)
- Strong adhesive
- Optional: wood stain
Step-by-Step Guide
Step 1: Cut bamboo sticks to match the height of your plywood box, then sand the ends and optionally seal them to bring out the color and longevity.
Step 2: Attach the bamboo vertically using strong adhesive. Let dry fully, then place the glass sheet on top with rubber bumpers underneath.
#7. Tube Table made Form PVC Pipe
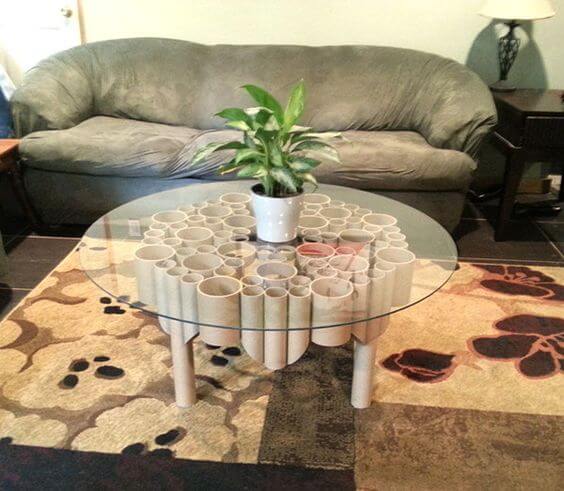
The variety of tube sizes adds texture and curiosity, while the glass top balances everything with elegance. Perfect for artists, DIY lovers, or anyone trying to reduce waste in style.
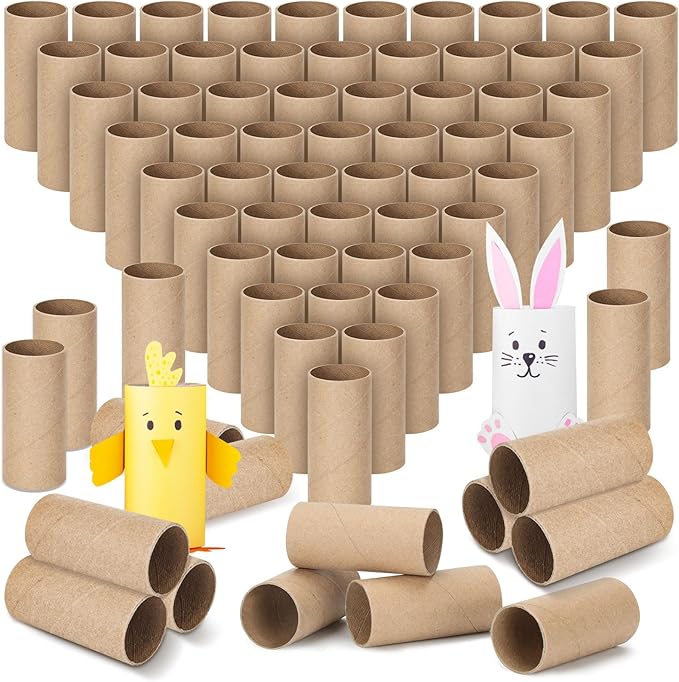
Materials Needed
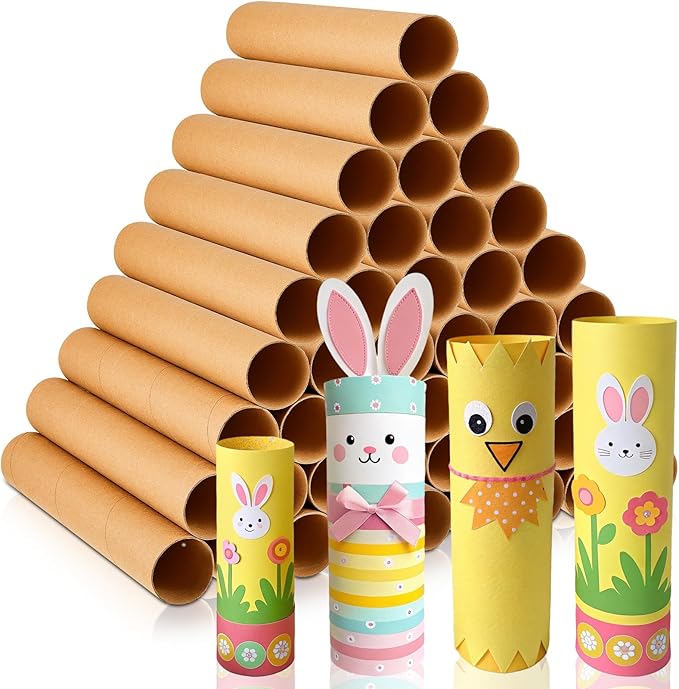
- 60 cardboard tubes (various diameters: 1″ to 4″, cut to same height)
- Round glass tabletop (approx. 30–36″ diameter)
- Strong craft glue
- 4 sturdy tubes
- Optional: clear sealant spray
Step-by-Step Guide
Step 1: Cut all cardboard tubes to uniform height (approx. 16″ for standard table height).
Step 2: Arrange the tubes tightly in a honeycomb layout and glue them together, then glue the leg tubes underneath and reinforce with a wooden plate if needed.
Step 3: Once everything dries completely, center the glass on top. You can use clear rubber pads to keep it from sliding.
#8. Pallet Coffee Table
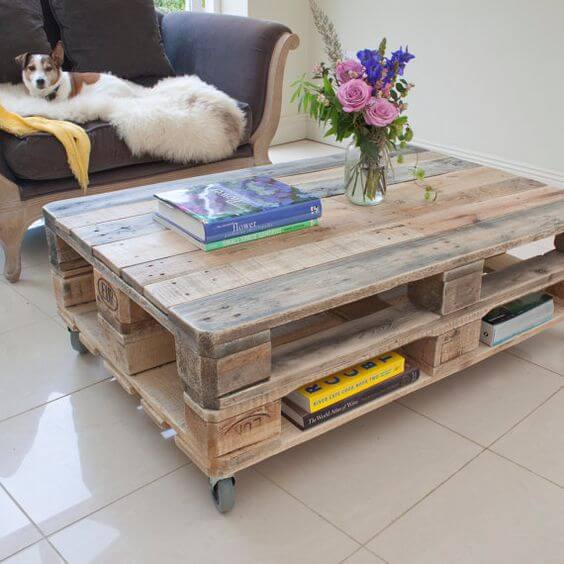
This rustic coffee table made from reclaimed pallets turns something industrial into a charming centerpiece. It adds raw warmth to any living space and makes practical use of old wood.
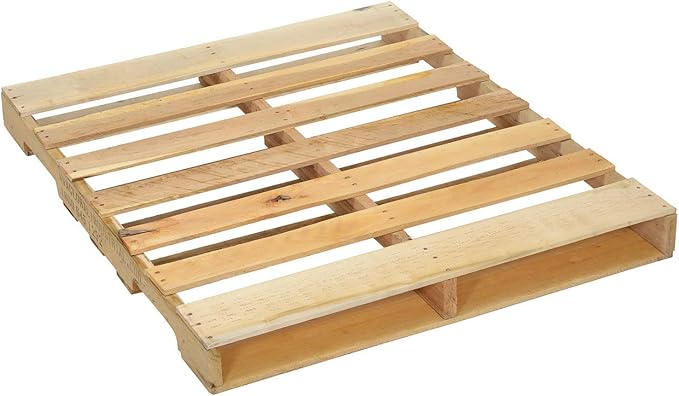
Materials Needed
- 2 wooden pallets (standard size 48″ x 40″)
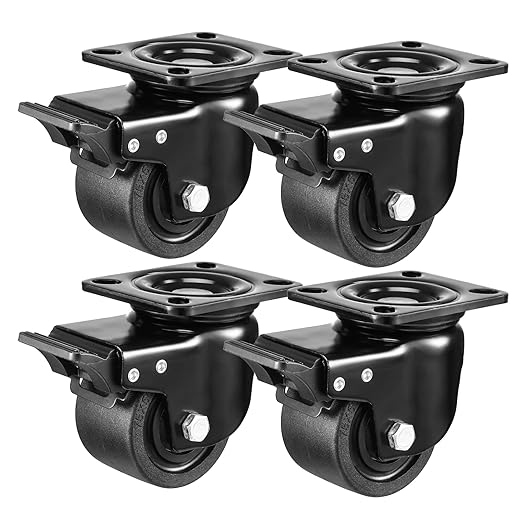
- 4 swivel caster wheels with locks (2–3” diameter)
- Screws and drill
- Optional: Sandpaper
- Optional: Wood stain
Step-by-Step Guide
Step 1: Lightly sand the surfaces of both pallets to smooth splinters and remove dirt.
Step 2: Stack the two pallets and screw them together through the corners and center blocks, then flip the table over and attach the caster wheels on all four corners.
Step 3: (Optional) Apply stain or sealant to protect the wood and enhance color.
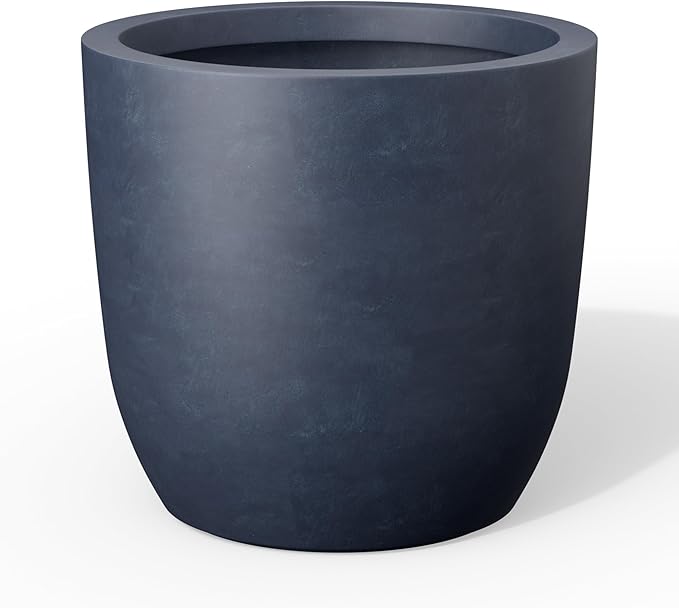
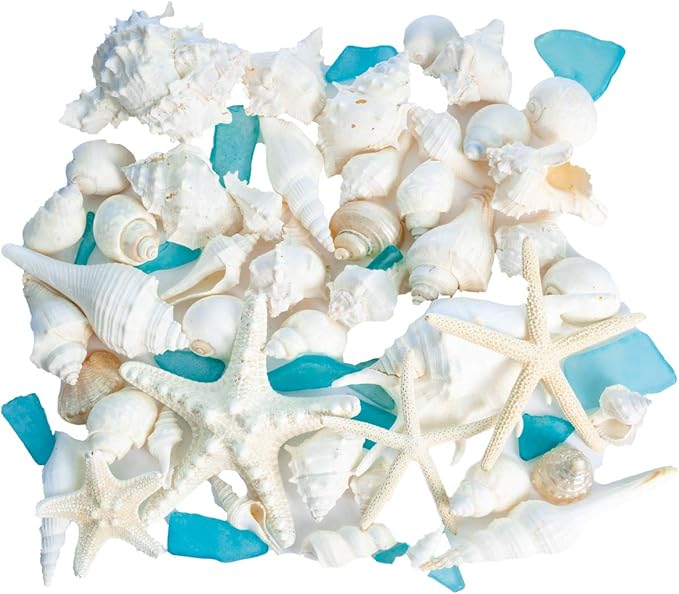
#9. Ceramic Planter Table
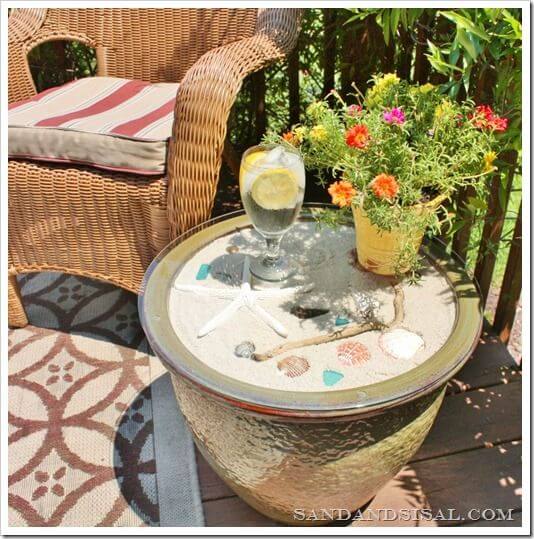
The glassy shimmer of the container paired with natural textures creates a peaceful, vacation-like mood even if you’re just sipping lemonade in the backyard.
Materials Needed
- Large ceramic planter pot (8″–22″ height)
- Round glass top (diameter matching planter opening)
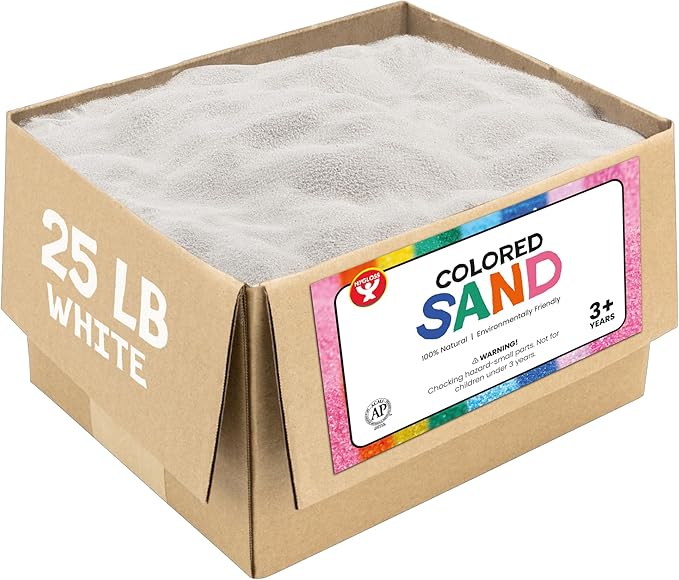
- Play sand (about 10 lbs)
- Decorative seashells, driftwood, and beach glass
- Optional: small potted plants
Step-by-Step Guide
Step 1: Fill the top of the planter with sand, leveling it out evenly. Arrange your shells, driftwood, and sea glass in patterns or clusters.
Step 2: Carefully place the glass top over the rim to seal the beach scene. Style with a drink, candle, or flowers to finish the look.
#10. Tree Stump Table

The contrast between natural wood and sleek glass feels warm, raw, yet incredibly refined. It’s a beautiful way to give a forgotten log new life, zero waste, full charm.
Materials Needed
- Tree stump (16″–18″ height, dried and de-barked)
- Round tempered glass top (24″–30″ diameter, 0.25″ thick)
- Sandpaper
- Wood sealer
- Optional: clear bumpers
Step-by-Step Guide
Step 1: Sand the stump to smooth any rough areas and level the top surface.
Step 2: Wipe down the stump, then apply a clear sealer to protect it and enhance its grain. Once dry, place adhesive bumpers on the top surface.
Step 3: Gently set the glass top in place, center it well and you’re done.
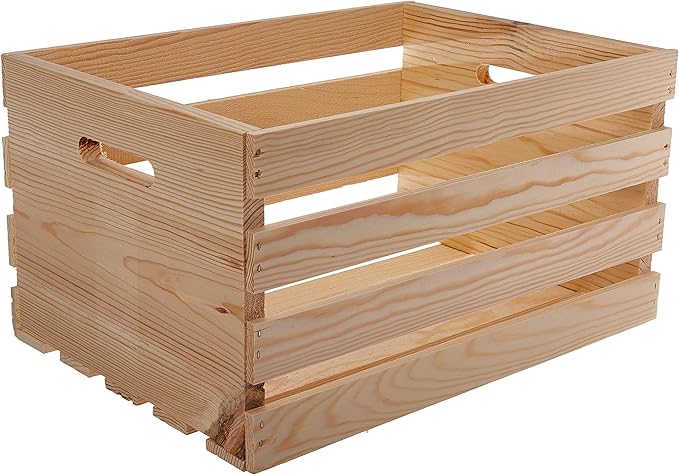
#11. Wooden Crate Table
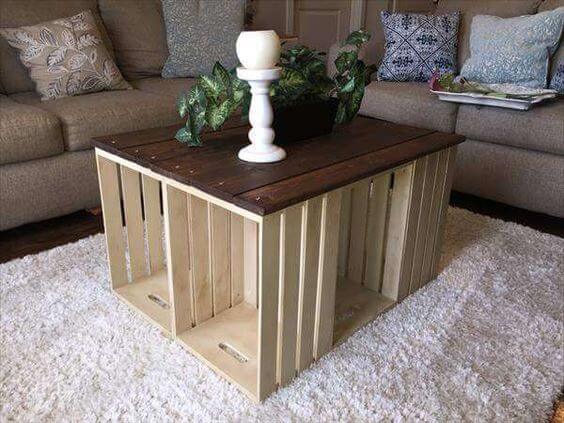
Built from simple wooden crates and topped with a stained wood slab, it’s a perfect marriage of rustic style and smart storage.

Materials Needed
- 4 wooden crates (18″ x 12.5″ x 9.5″)
- 1 wooden board (24″ x 36″)
- Wood stain
- Wood screws or nails
Step-by-Step Guide
Step 1: Arrange the four crates in a square with openings facing out, creating a hollow center.
Step 2: Attach crates together using wood screws or nails, reinforcing at the edges.
Step 3: Stain the wood top and let it dry fully. Secure the top to the crates using screws from inside the crate corners.
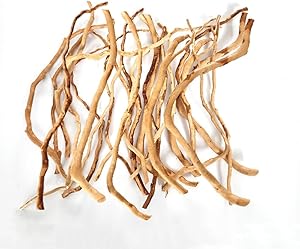
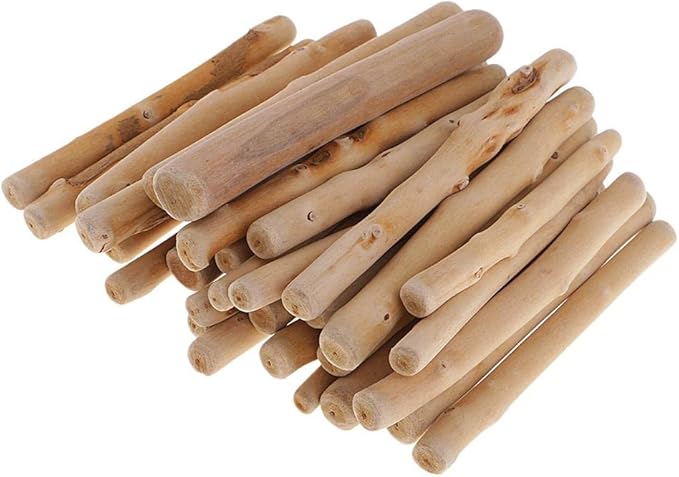
#12. Driftwood Table
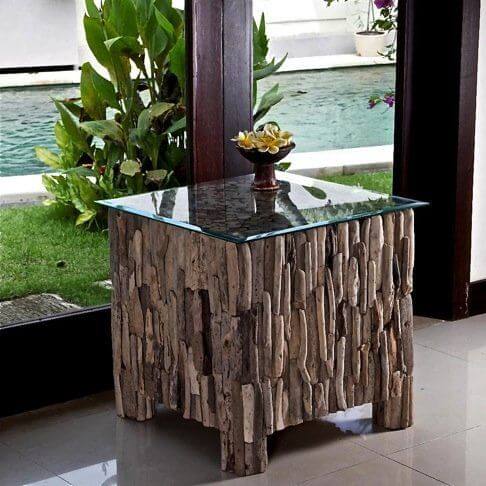
This piece radiates calm. With its textured driftwood sides and smooth glass top, it transforms salvaged wood into a coastal-inspired statement.

Materials Needed
- 70 assorted driftwood pieces (10–20″ long)
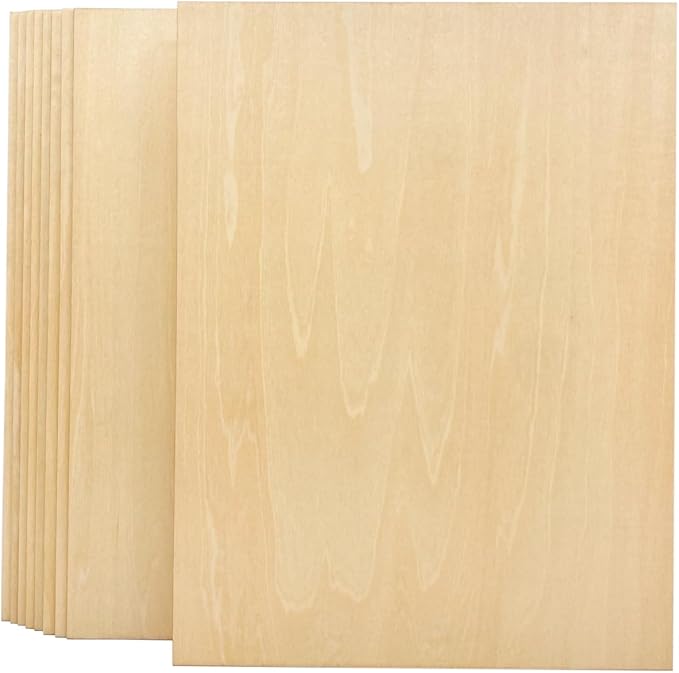
- Plywood base box (18″ x 18″ x 24″)
- Strong adhesive
- Square glass tabletop (20″ x 20″)
Step-by-Step Guide
Step 1: Cut plywood panels to size and assemble into a box frame using screws and wood glue.
Step 2: Sort and trim driftwood pieces to roughly match the table height. Sand the bottoms flat if needed.
Step 3: Glue each piece vertically onto the sides of the box, creating a tight and natural-looking pattern. Let dry thoroughly.
Step 4: Wipe down the surface and place the tempered glass top centered and flat. Use silicone bumpers underneath if needed for stability.
#13. Wine Bottle Table
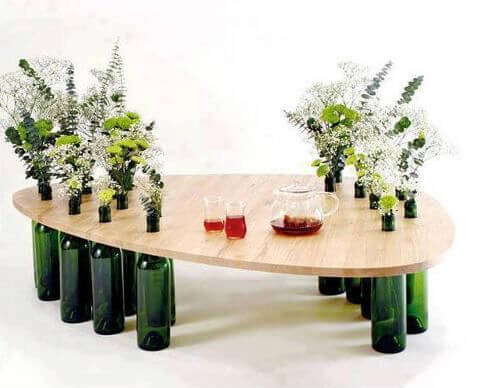
This DIY table is where modern meets quirky: a wooden top rests on dozens of sturdy wine bottles, some of which double as stunning bud vases.
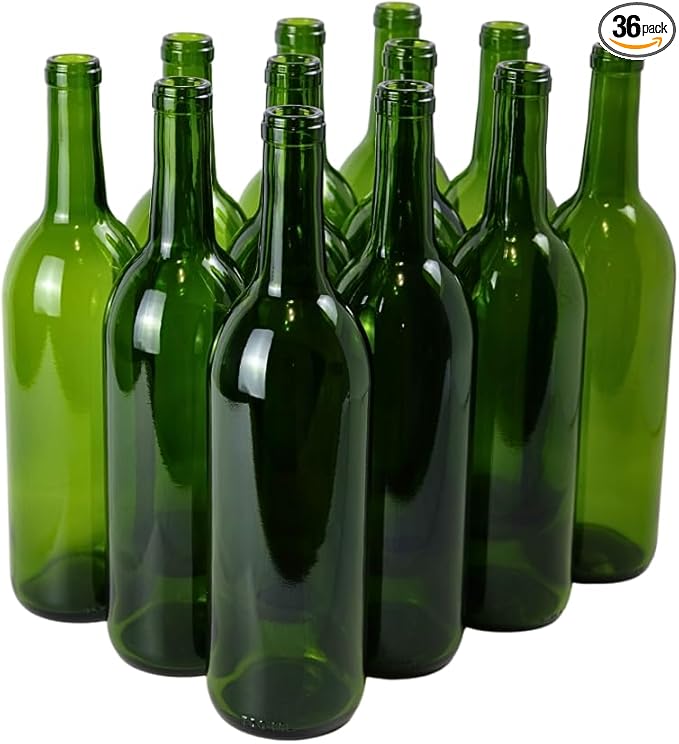

Materials Needed
- 25 recycled green wine bottles
- Organic/oval shape plywood tabletop (¾” thick, approx. 36″ x 30″, optional)
- Strong construction adhesive
- Optional: Fresh or faux greenery
Step-by-Step Guide
Step 1: Clean and remove labels from all bottles. Let dry completely inside and out.
Step 2: Lay bottles in your desired arrangement, outer edge in tighter formation, some spaced closer to center for support.
Step 3: Apply adhesive to the top rim of each bottle, then carefully place the tabletop over them, pressing down lightly for contact.
Step 4: Let cure for 24 hours. Once set, insert fresh-cut flowers or greenery into selected bottles that weren’t sealed for balance.
#14. Log Table
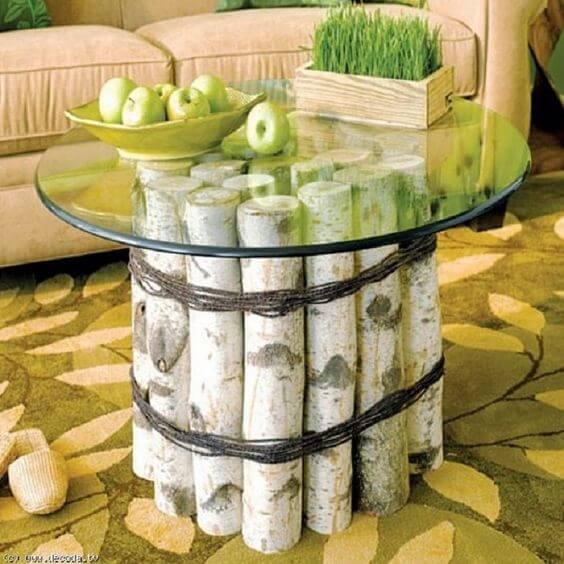
I imagine this being the heart of a cozy living room where you sip herbal tea, feet tucked under a knit throw. It’s as solid as it is serene and all made from discarded tree limbs.
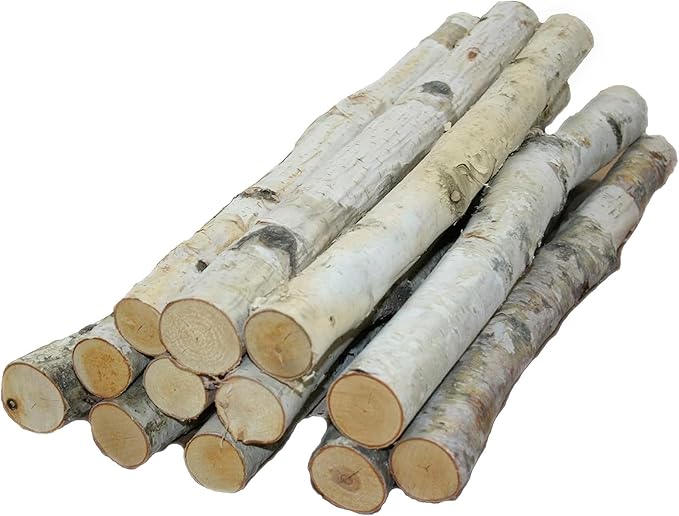
Materials Needed
- 20 birch logs (each ~18″ tall and 3–4″ diameter)
- Round glass tabletop (30–36″ diameter)
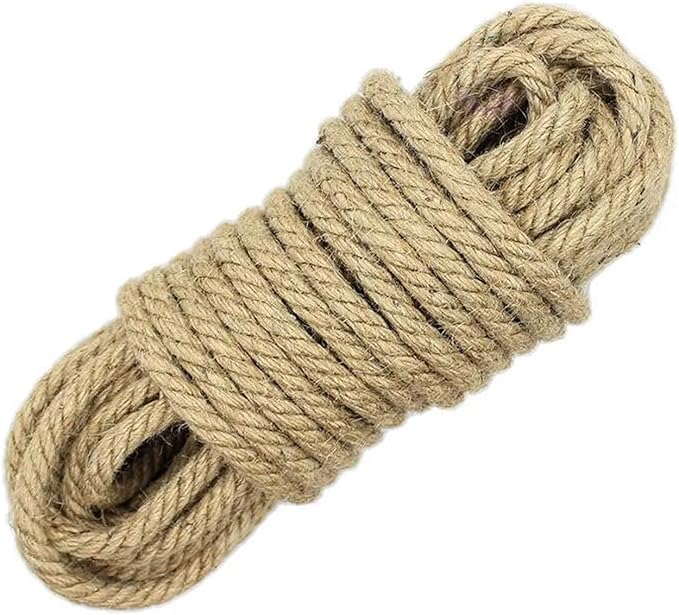
- Heavy-duty twine
- Wood glue (optional)
Step-by-Step Guide
Step 1: Cut birch logs to uniform height if needed. Sand ends smooth for safe placement of glass, then arrange logs in a tight circular formation on a flat surface.
Step 2: Tie twine snugly around the middle and top third of the formation. Knot firmly and tuck ends.
Step 3: Carefully place the glass tabletop on the logs, centering it for balance. Add non-slip pads if necessary.
#15. Wine Cork Table
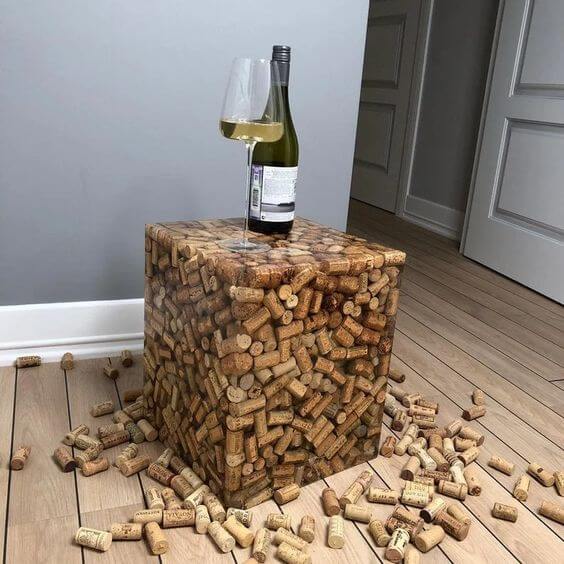
Made entirely of wine corks suspended in crystal-clear resin, it brings a rich, organic vibe into any space. Whether you’re a casual wine sipper or a full-blown enthusiast, this table is your corky little trophy.

Materials Needed
- 500 wine corks
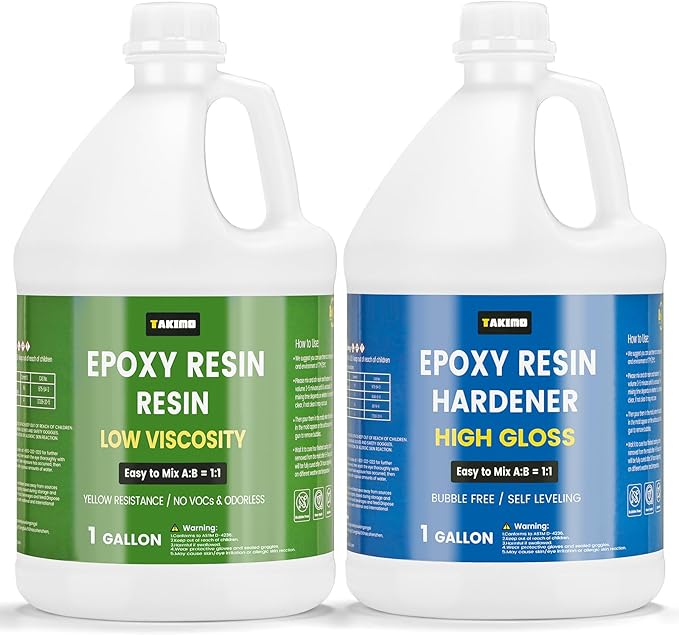
- Epoxy resin (1–2 gallons)
- Silicone mold
- Mixing tools and gloves
- Sander (optional)
Step-by-Step Guide
Step 1: Build or prep a cube mold with a secure base and leak-proof seams.
Step 2: Arrange corks inside the mold however you like, loosely tossed or tightly packed.
Step 3: Mix and pour resin in layers, letting each layer cure slightly to avoid floating corks. Continue until the cube is full.
Step 4: Once cured (usually 48–72 hours), demold and sand/polish the surface to remove imperfections.
#16. Tire Table
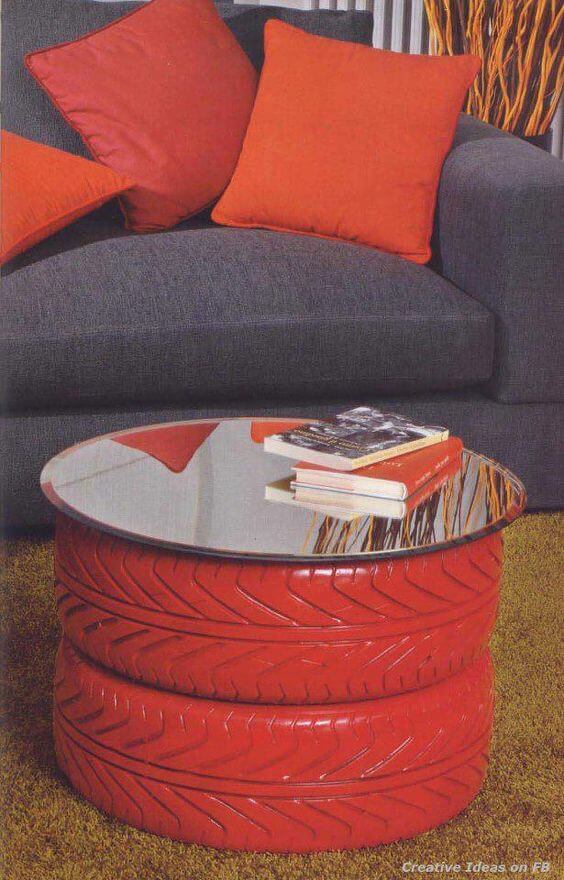
Who knew old tires could steal the spotlight? This striking table combines upcycling with a modern pop-art vibe.

Materials Needed
- 2 used car tires
- Red spray paint
- Round glass tabletop (18″–24″ diameter)
- MDF board
- Heavy-duty glue
Step-by-Step Guide
Step 1: Clean and dry both tires thoroughly. Remove any remaining grime with soap and a stiff brush.
Step 2: Spray-paint the tires evenly in your preferred color. Let each coat dry before adding the next.
Step 3: Stack the tires and secure them using glue or screws. Insert the MDF board between them if added height or stability is needed.
Step 4: Carefully place the glass tabletop on top. You can add non-slip pads or adhesive grips to hold it in place.
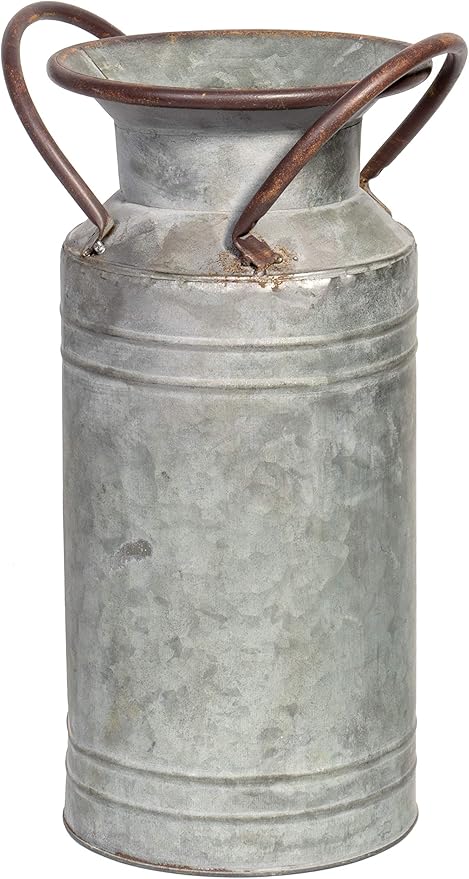
#17. Milk Can Table
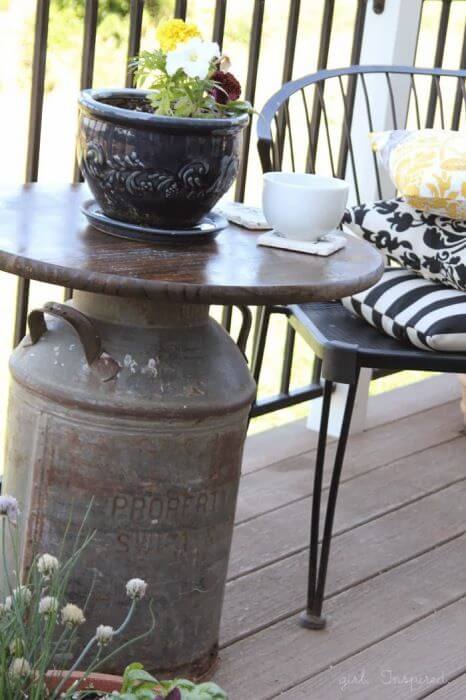
This milk can table isn’t just charming, it’s a nostalgic nod to farmhouse living, repurposed with class. Perfect for porches, patios, or a country-inspired corner inside your home.
Materials Needed
- 1 vintage milk can (12″–20″ tall)
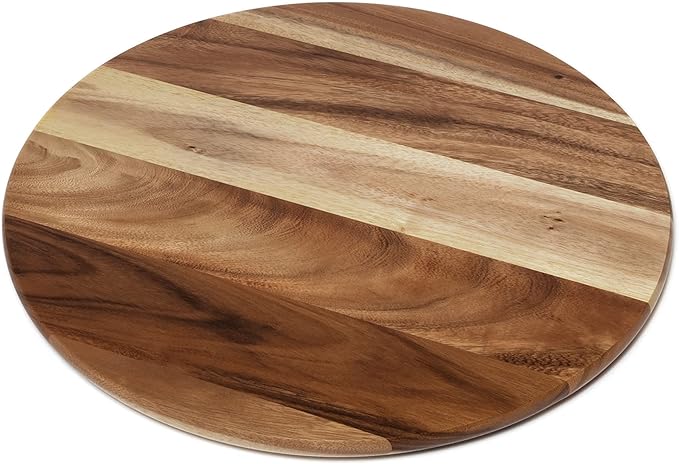
- 1 round wooden tabletop (20″–24″ diameter)
- Sandpaper and wood stain/paint (optional)
- Strong adhesive
Step-by-Step Guide
Step 1: Clean the milk can thoroughly using a metal cleaner or vinegar solution. Let it dry.
Step 2: Sand the wooden tabletop, then stain or paint if you prefer a finished look. Let it cure for at least 24 hours.
Step 3: Center the tabletop on the milk can and use adhesive or screws from underneath to secure it.
Step 4: Optionally, seal the wood with polyurethane for weather protection if placing outdoors.