It is not enough to polish one’s face or hands to be beautiful. It is also about sprucing up the toes with cute toenail designs.
We don’t neglect our dainty-looking, pretty feet under closed sandals, bellies, or boots just because we’re in the thick of winter. Regardless of the season, our toes should always be prepared to be exposed to attention at any time.
We are so preoccupied with fashion trends that we overlook one simple fact. Simple toenail designs that you can do yourself are the hottest trend right now, giving you a plethora of opportunities to express your creativity and imagination on your nails.
Between super cute and sassy options in toenail art designs that are hard to wish away and neglect, there are also a few tips on how to do a pedicure at home, ensuring that your toenails will be taken care of thoroughly.
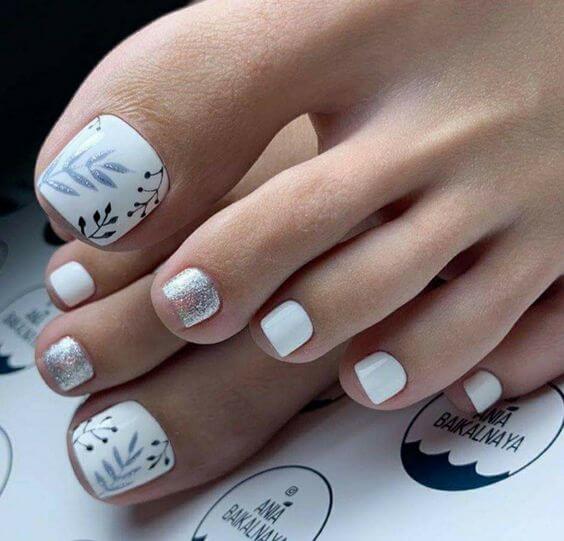
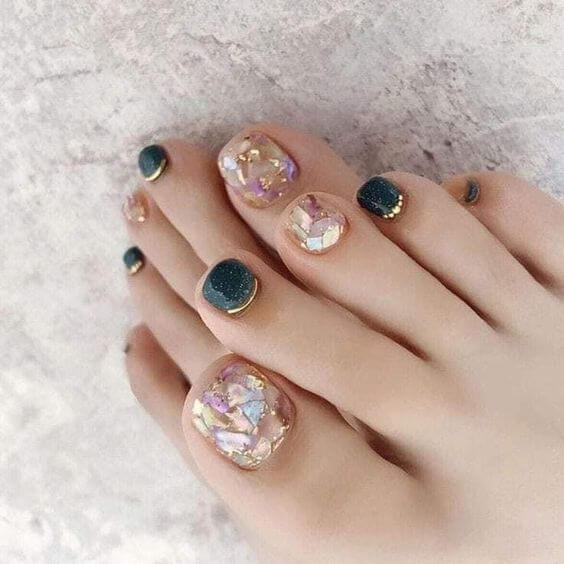
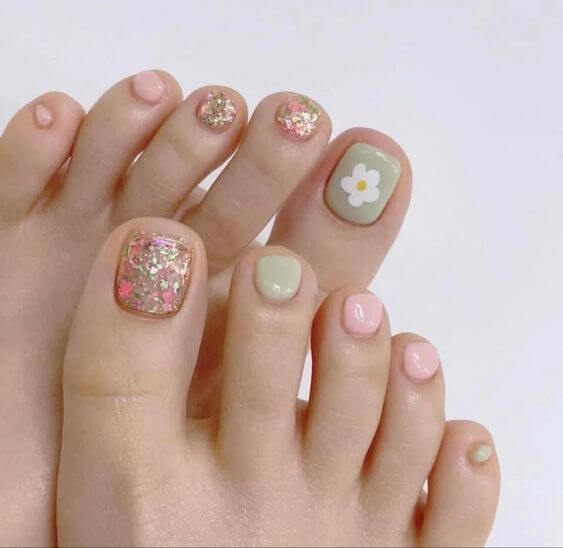
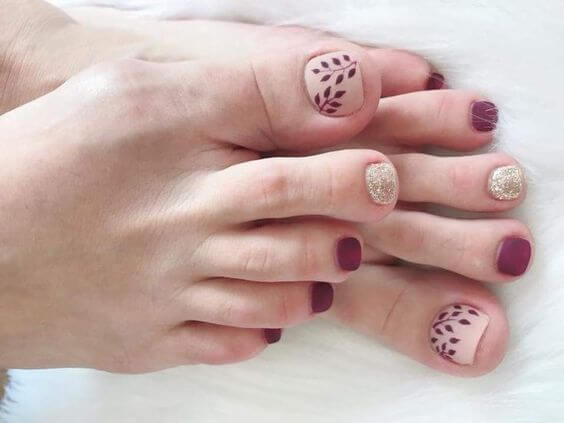
#1 Two-Tone Love Toenail Set
 Source: unknown
A 5-Step Guide To A Perfect Pedicure
Step 1: Clean your toes.
Before you dive into painting, it’s essential to start with clean, well-shaped nails.
As nail expert Morello-Zappacosta recommends, the first step is to gently remove any old polish from your toenails using a cotton pad and polish remover. This ensures you have a fresh, even surface to work with.
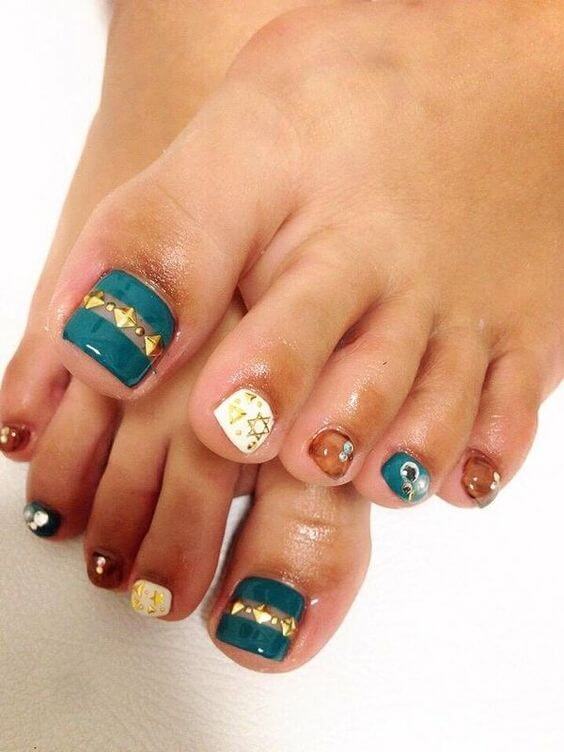
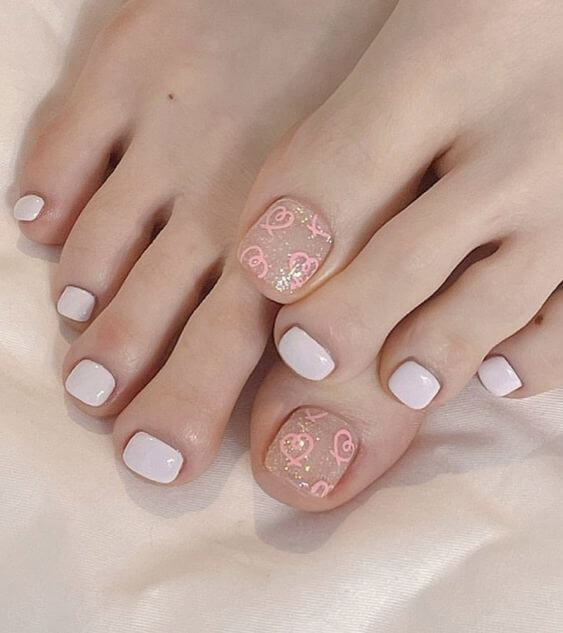
#2 Winter Scene
 Source: unknown
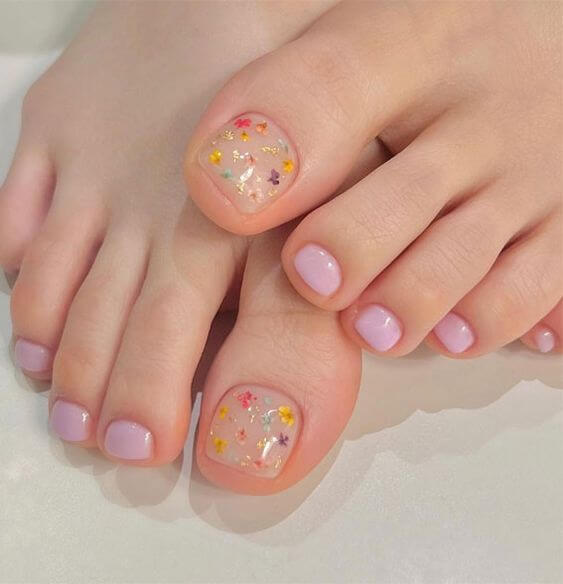
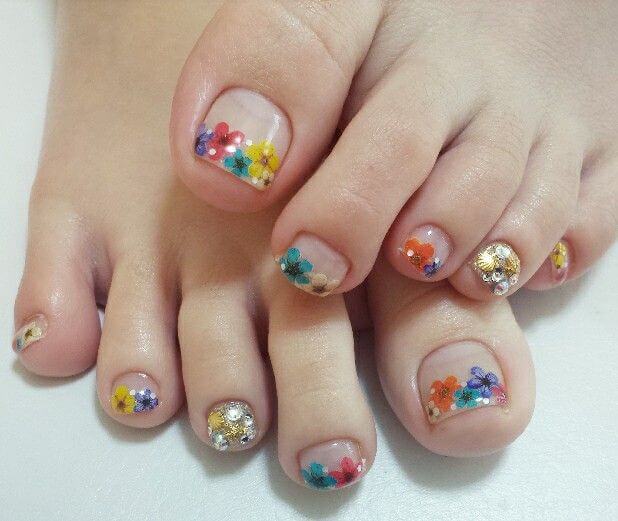
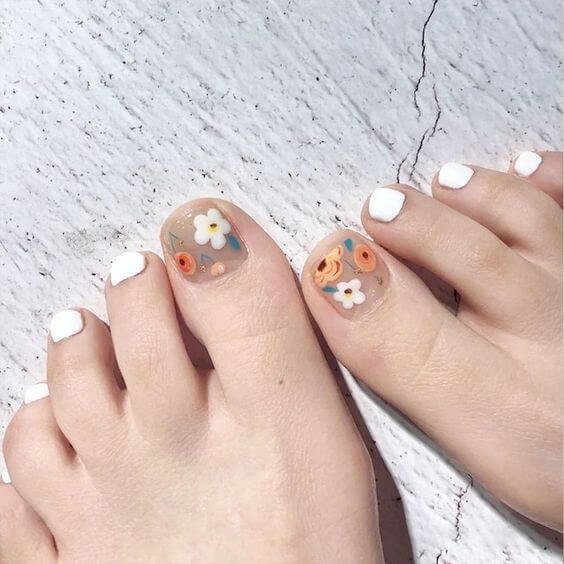
#3 Simple Spring Pedi
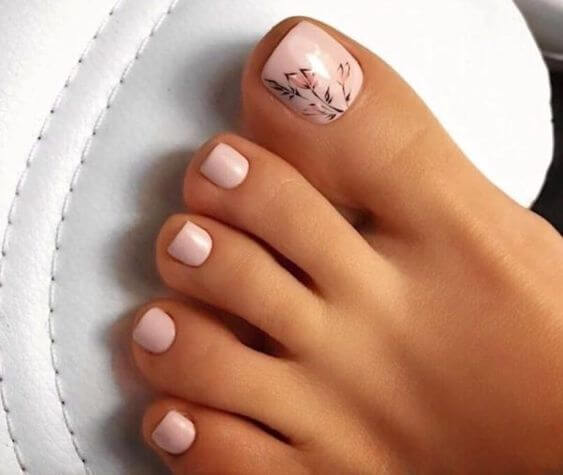 Source: unknown
Once your nails are bare, trim them to your desired length using a nail clipper. If your nails are on the longer side, clipping them first prevents unnecessary filing and helps you achieve a more precise shape.
After trimming, use a nail file to smooth and shape the edges into your preferred style.
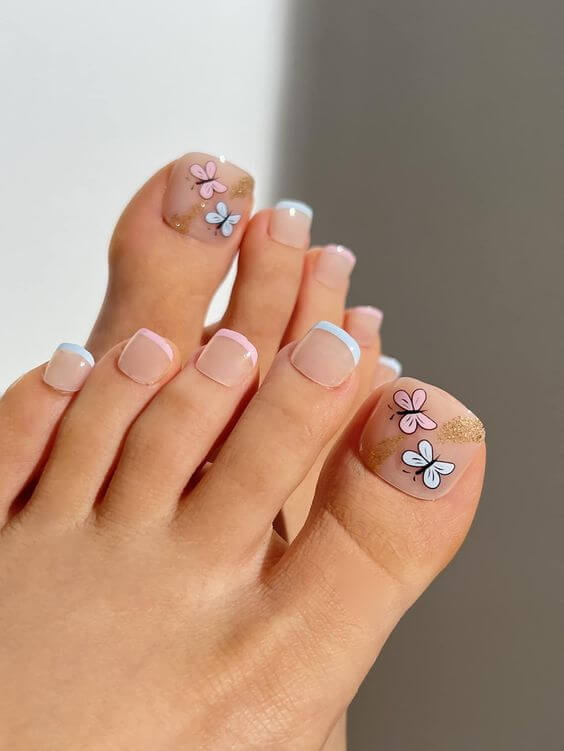
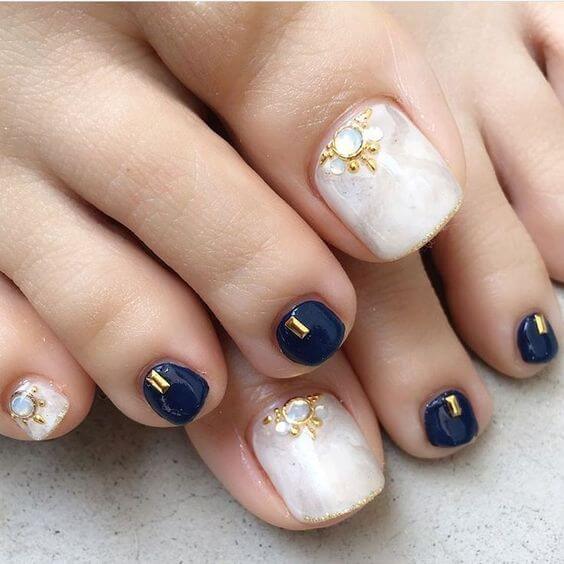
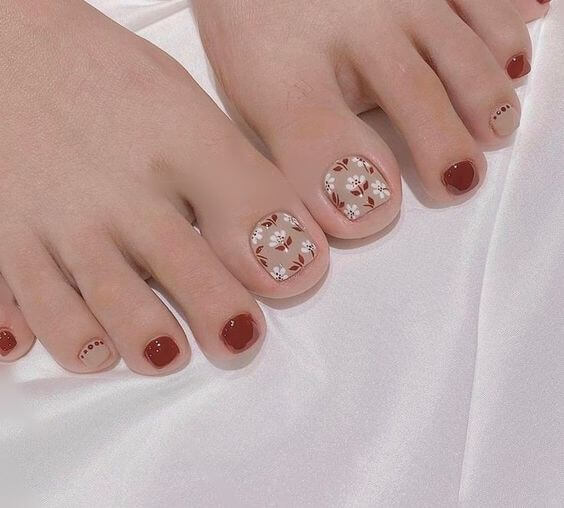
#4 French Monarch Mani
 Source: unknown
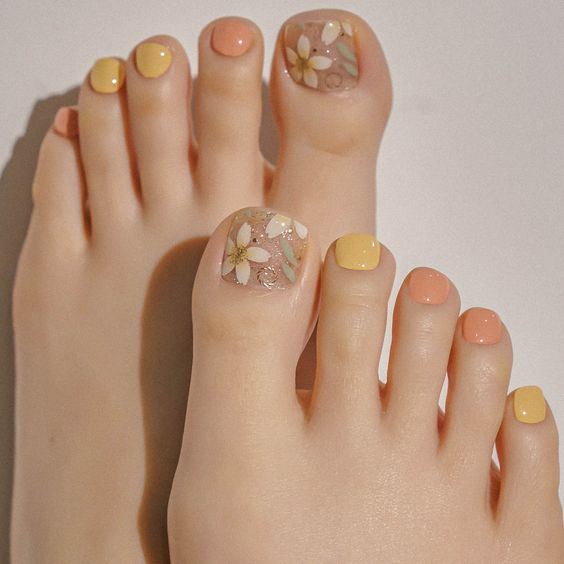
#5
 Source: unknown
Finally, brush away or rinse off any dust left from filing. A clean nail bed not only looks better but also helps polish adhere more smoothly, giving you a professional-looking finish.
Taking these extra moments to prep your toenails properly will make a noticeable difference in the final result of your pedicure.
#6 Spring Summer
 Source: unknown
Step 2: Soak your feet in warm water.
Once your nails are trimmed and shaped, it’s time to give your feet the spa treatment they deserve. As Morello-Zappacosta suggests, place a bath towel under your warm footbath to catch any splashes, then drop those tired feet in.
This is your moment to unwind, so make it special. Add a few drops of your favorite aromatherapy oil, a scoop of Epsom salts to ease soreness, or even a dash of tea tree oil for its natural cleansing properties.
The combination will not only soften your skin but also refresh and rejuvenate your feet.
#7 Lovely Springtime Toenail
 Source: unknown
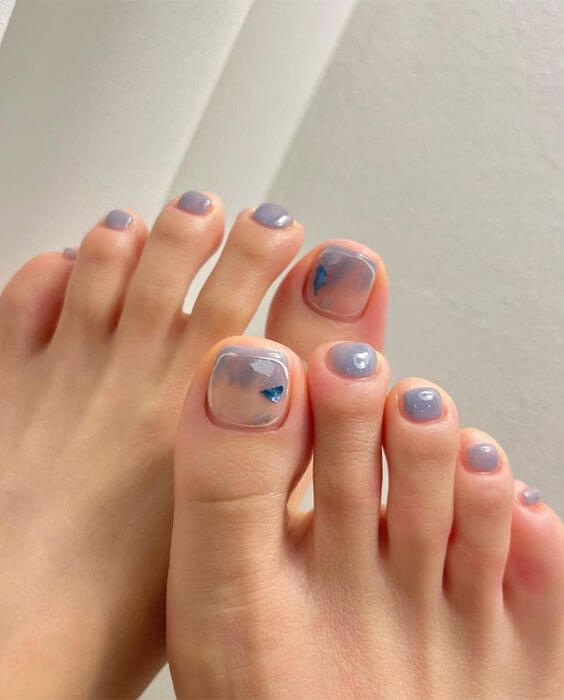
#8 Periwinkle
 Source: unknown
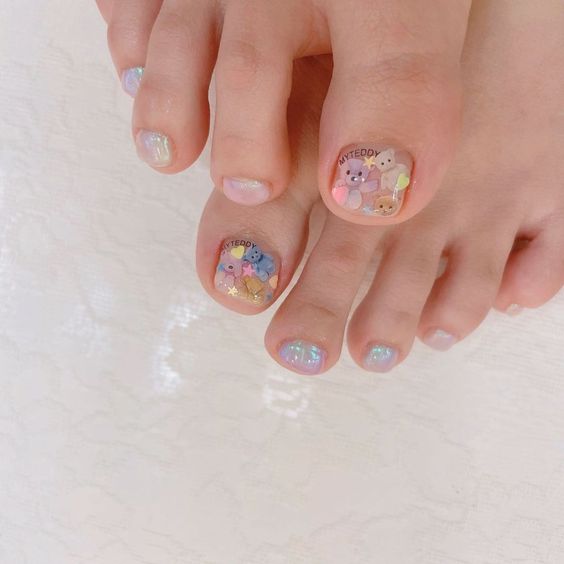
#9 Teddy Bear Love
 Source: unknown
Let your feet soak for five to ten minutes in either a simple dishpan or, if you’re feeling indulgent, an electric foot spa.
The warm water works wonders, loosening up tough skin in preparation for exfoliation while leaving you feeling instantly more relaxed.
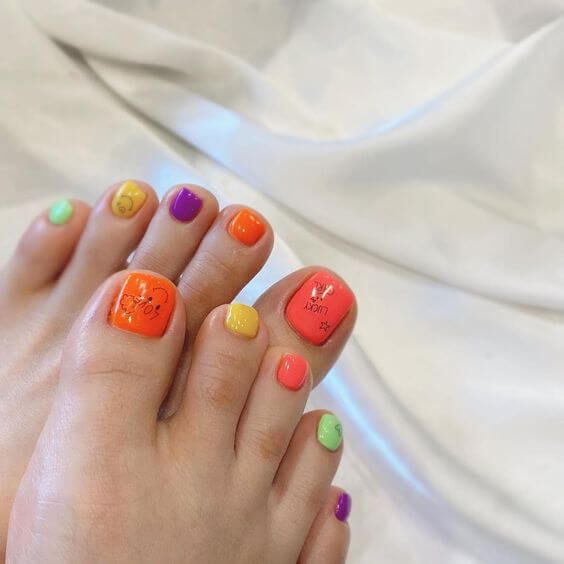
#10 Color Pop
 Source: unknown
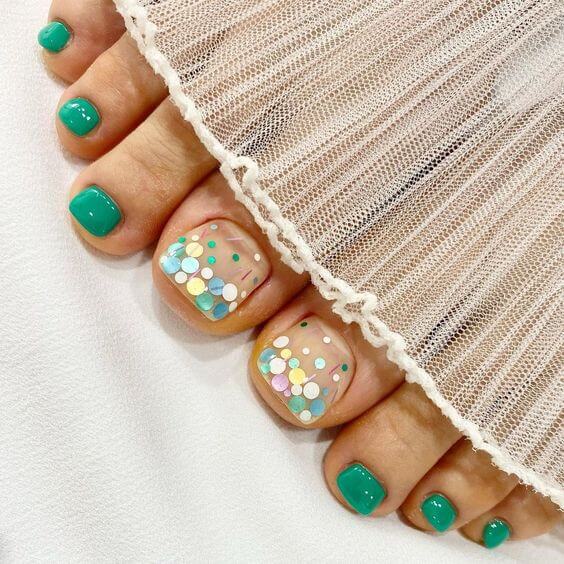
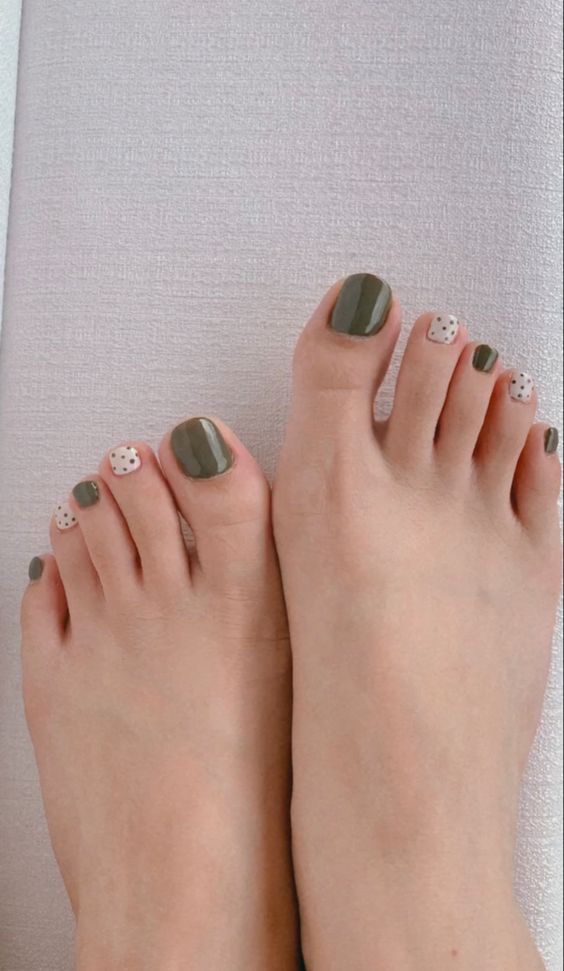
#11 Green Confetti
 Source: unknown
And don’t forget the finishing touch: create a cozy atmosphere. Put on your favorite playlist, light a candle, or simply sit back and breathe deeply.
This step is about giving yourself a mini escape from the day. By the time you finish soaking, your skin will be soft, your muscles relaxed, and you’ll be ready for the next step of your pedicure.
#12
 Source: unknown
Step 3: Get rid of any dead skin.
Now that your feet are softened from soaking, it’s time to tackle rough spots and calluses. As Morello-Zappacosta recommends, begin by applying a callus remover directly to the hardened areas of your feet.
Let it sit for a few minutes so it can break down the thick, dry skin and make the next step easier.
#13 Chic and Simple
 Source: unknown
#14 Cute Tulip
 Source: unknown
Once the product has had time to work, use a pumice stone or pumice bar to gently slough away the dead skin.
Move in circular motions, focusing on the heels, balls of the feet, and any other rough patches. With just a few minutes of effort, your feet will feel noticeably softer, smoother, and more refreshed.
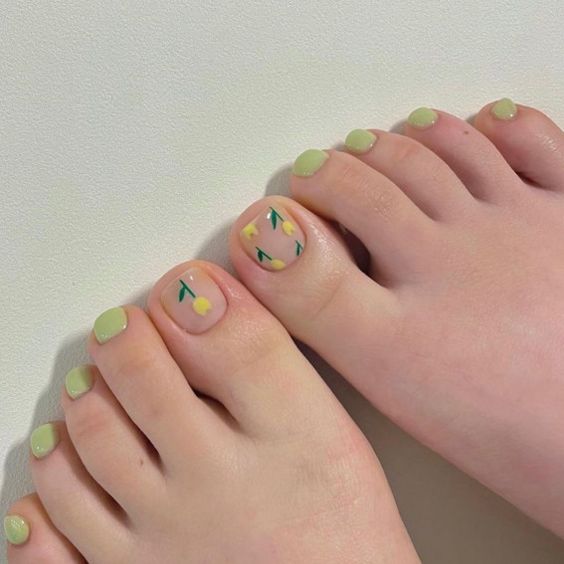
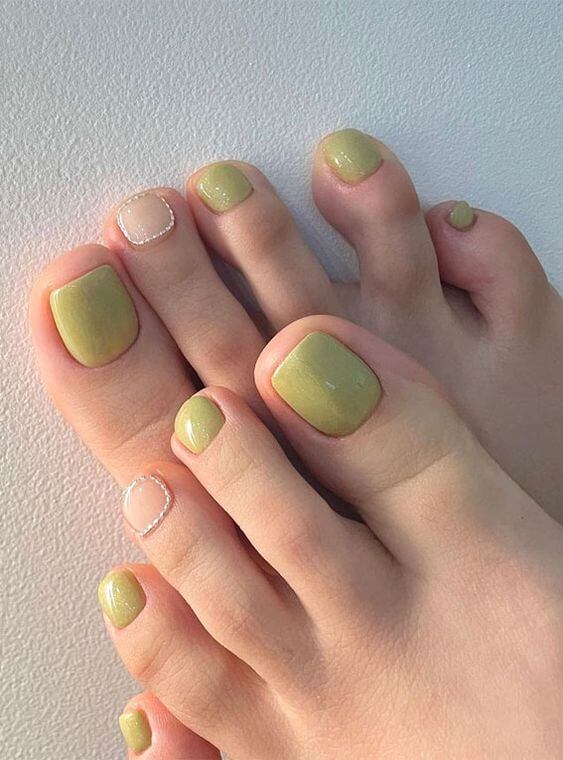
#15 Mild Lime Green
 Source: unknown
#16 Matching Set
 Source: unknown
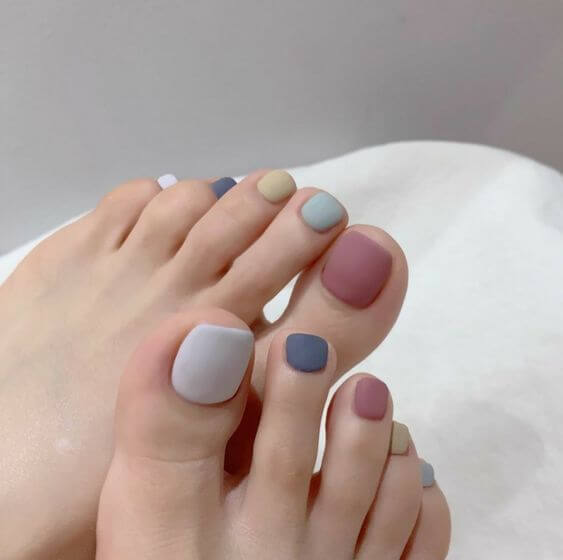
#17 Muted Palette
 Source: unknown
After exfoliating, it’s important to clean up properly. Carefully wipe your feet with a towel to remove any loosened skin and wash away all traces of the callus remover.
Give your feet a quick rinse in the pan of water, then dry them thoroughly with a clean towel.
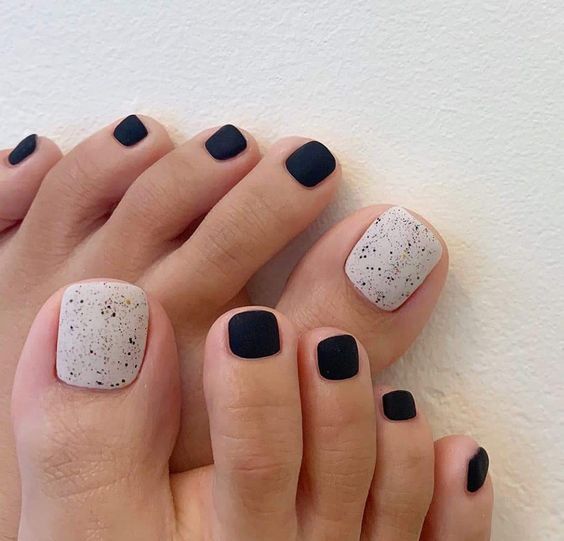
#18 Matte Surface
 Source: unknown
Step 4: Trim your cuticles.
Once your feet are exfoliated and smooth, it’s time to give attention to the small details that make a pedicure look polished and professional: your cuticles and nail surface.
Start by applying a few drops of cuticle oil directly to the cuticles of your toes. This softens and nourishes the delicate skin, making it easier to work with and helping to prevent painful hangnails later on.
Using a wooden cuticle stick, gently push the cuticles back. Take your time with this step — you don’t need to force them, just guide them to create a neat, clean nail bed.
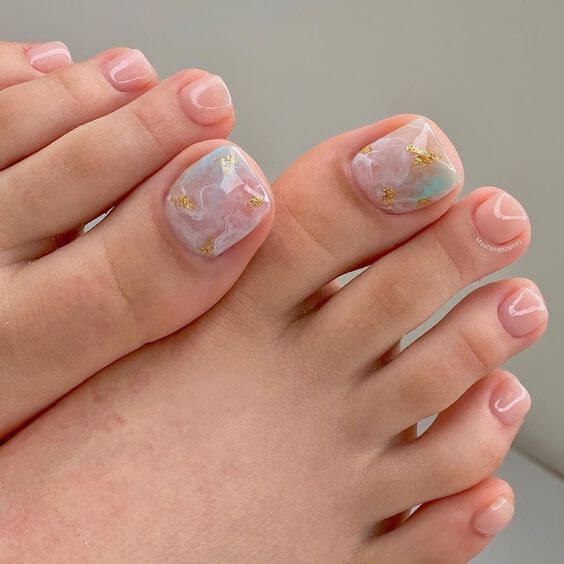
#19 Lovely Marble Set
 Source: unknown
#20
 Source: unknown
#21 Jewel Like
 Source: unknown
Next, reach for your buffer block. Use it to softly buff both the nail surface and edges. This removes any excess residue, smooths out ridges, and leaves the nail with a healthy, natural shine.
Light buffing also helps your polish adhere more evenly when you apply it later, ensuring your pedicure lasts longer.
#22 Rhinestone Cluster
 Source: unknown
#23
 Source: unknown
#24 Vacation Ready
 Source: unknown
#25 Pressed-On Set
 Source: unknown
Step 5: Apply polish to your toes.
Now comes the fun part, it’s finally time for the big show! With your nails prepped and your feet pampered, you’re ready to start adding color.
Before reaching for your polish, make sure to remove any trace of lotion or oil from your toenails. Even the smallest residue can interfere with polish adhesion and shorten the life of your pedicure.
#26 Cute Color Combo
 Source: unknown
#27
 Source: unknown
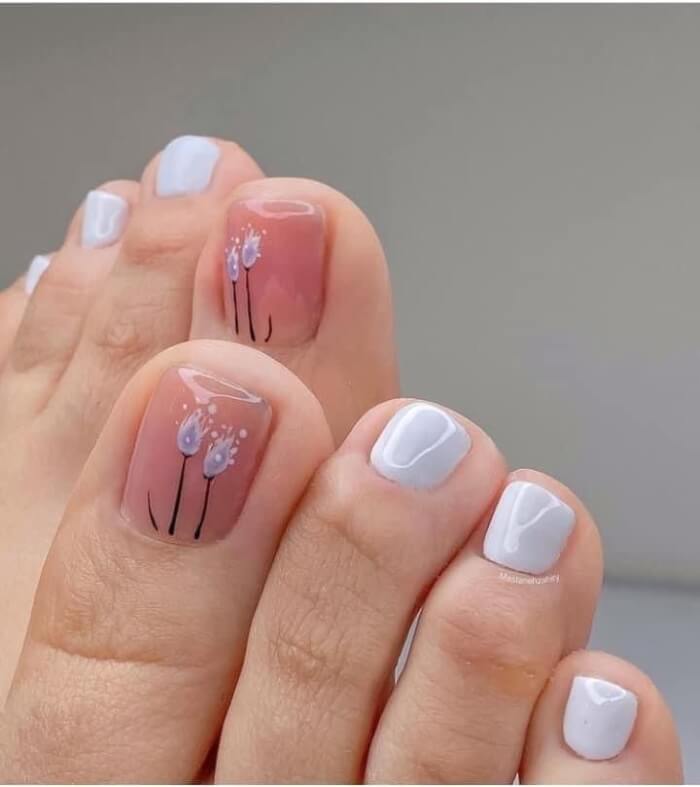
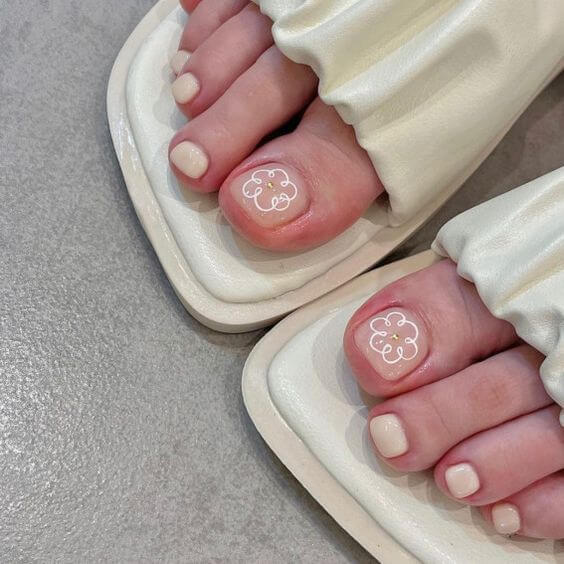
#28 Floral Set
 Source: unknown
Begin with a clear base coat. This crucial layer doesn’t just help your polish stick better; it also works to harden and protect the natural nail underneath. Give it a few seconds to set, then apply your favorite shade of nail polish.
Whether you prefer a classic red, a soft pastel, or a bold seasonal color, this step is where your personality shines through.
#29
 Source: unknown
#30
 Source: unknown
Once the first coat has dried, add a second for full coverage and vibrancy. After waiting a few minutes for your color to settle, finish with a top coat sealant.
This step locks everything in, prevents chipping, and gives your nails a glossy, professional-looking finish.
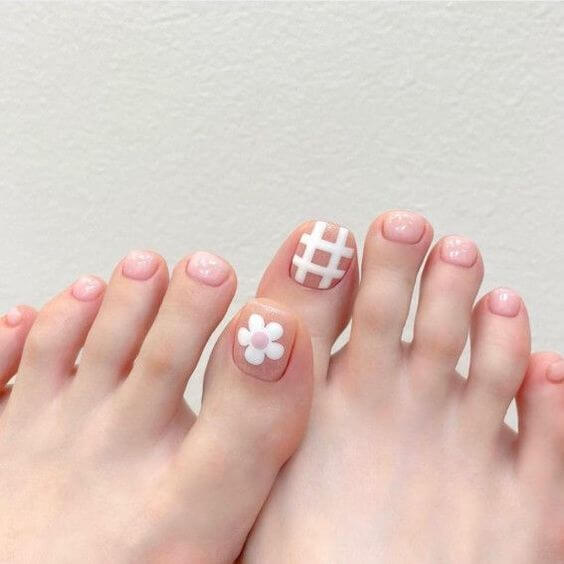
#31 Gingham and flower
 Source: unknown
#32
 Source: unknown
#33
 Source: unknown
Now all that’s left to do is relax and let your toes dry completely. Once they’re set, you can slip into sandals or go barefoot around the house, showing off the results of your hard work.
A fresh pedicure not only looks beautiful but also feels like an instant confidence boost. And if you’re curious? Your polish color may even say something about your personality.
#34 Polka dot Vibe
 Source: unknown