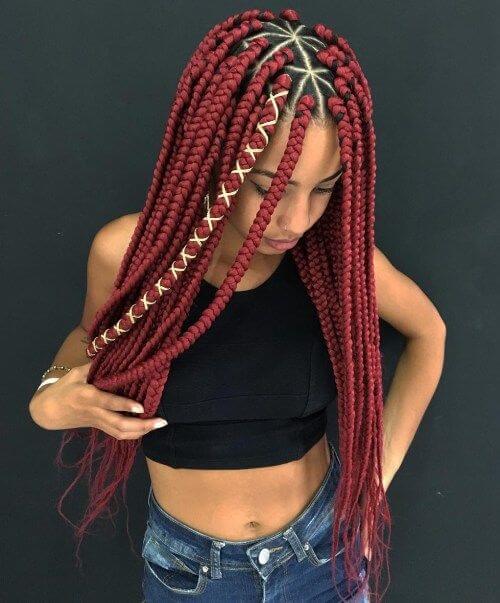
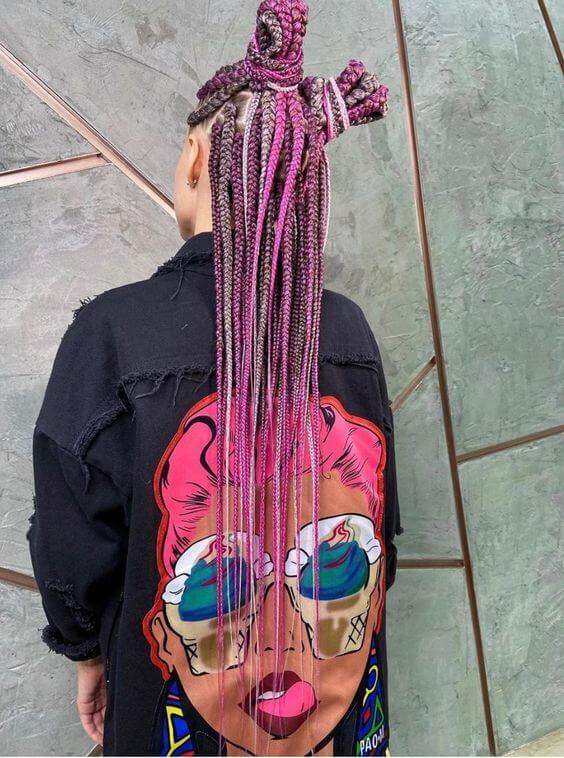
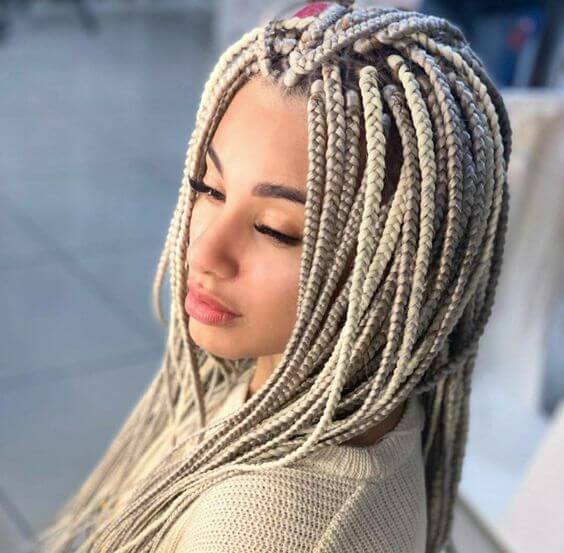
Jumbo box braids are one of the most popular types of protective braids among all the variations! These box braids stand out for their wide girth and improved splitting patterns. These lovely, thick braids are simple to make and ideal for hot summer days.
Jumbo box braids are an easy way to style your textured hair if you’re searching for a quick fix. To master these box braids, you will need some practice and imagination, though.
However, once you’ve mastered the technique for these braids, you can wear them anywhere! We have included a box braid tutorial below for your convenience. Up swipe.
 Source: unknown
Jumbo Box Braids: Detailed Tutorial
Things You Will Need To Prepare
- Wide-tooth comb: For detangling your hair and the extensions.
- Rat-tail comb: Essential for creating clean, precise parts.
- Sectioning clips: To keep your hair neatly divided and out of the way while you work.
 Source: unknown
 Source: unknown
 Source: unknown
- Edge wax or gel: To smooth down your edges and give your braids a clean, polished look.
- Hair elastics: To secure the sections of hair before you begin braiding.
- Hair extensions: The amount you’ll need depends on the desired length and fullness. Synthetic braiding hair is a popular choice for this style.
 Source: unknown
 Source: unknown
- Lighter: Used to seal the ends of the synthetic hair extensions to prevent unraveling.
- Boiling hot water: Also used to seal the ends of the braids, giving them a smooth, finished look.
 Source: unknown
 Source: unknown
 Source: unknown
Steps to Take
A day before you plan to do your jumbo box braids, it’s crucial to prepare your hair to ensure the process goes smoothly and the braids last longer.
Deep Condition and Cleanse: Start by giving your hair a hot oil treatment, followed by a thorough wash and conditioning. This will moisturize your hair and scalp, making it more pliable and easier to work with.
 Source: unknown
 Source: unknown
 Source: unknown
Detangle Thoroughly: After washing, use a wide-toothed comb to gently work through all of your hair. Make sure to remove every knot and tangle.
Starting with tangle-free hair is essential for creating clean, uniform braids and a pain-free braiding experience.
 Source: unknown
 Source: unknown
 Source: unknown
Section Your Hair: When you’re ready to begin, use your rat-tail comb and sectioning clips to divide your hair.
Gather all of the hair from the top of your head and clip it away, leaving a three-inch section of hair loose at the nape of your neck. This is where you will begin your braiding.
 Source: unknown
Once your hair is prepped, you can begin the braiding process.
- Create Your First Section: Using the tail end of your rat-tail comb, create a clean, square-shaped part that is roughly 3 inches by 3 inches. This will be the foundation for your first jumbo box braid.
- Secure and Smooth: Apply a small amount of edge wax to the edges of the parting. This will help to smooth down any flyaways and give your braids a crisp, neat look. Once the edges are smooth, firmly secure the hair in that section with a hair elastic.
 Source: unknown
 Source: unknown
- Repeat the Process: Continue to repeat steps 4 and 5, sectioning your entire head into a grid of 3″ x 3″ squares. This will create the clean foundation for all of your braids.
- Prepare the Hair Extensions: Take a thick weft of hair extensions. Fold it in half to create an upside-down “U” shape. This is a crucial step for the “knotless” method of braiding, as it helps to blend your natural hair with the extensions.
 Source: unknown
 Source: unknown
Place the Extensions: Now, take the section of your natural hair that you’ve secured with an elastic.
Place one part of your natural hair on either side of the “U” formed by the hair extensions. This creates a secure and natural-looking starting point for your braid.
 Source: unknown
 Source: unknown
After placing your hair in the “U” shape of the extensions, you’re ready to start braiding.
- Start Braiding: Divide the extensions and your natural hair into three new, equal portions. Blend your natural hair into one of these three parts. This ensures that your hair is completely hidden within the braid and prevents it from unraveling.
- Braid All the Way Down: Begin braiding these three pieces together, continuing until you reach the very end of the hair.
 Source: unknown
 Source: unknown
 Source: unknown
- Seal the Ends: To secure the braid and prevent it from coming undone, you’ll need to seal the ends. You can do this by using a lighter to gently melt the tip of the synthetic hair for three to five seconds. Alternatively, you can use the hot water method for a more uniform seal.
- Repeat: Continue to follow these steps for each section of your hair. Repeat the process of preparing the extensions, adding them to your hair, and braiding each section to create all of your jumbo box braids.
 Source: unknown
 Source: unknown
 Source: unknown
Once all of your braids are complete, it’s time for the final, crucial step to ensure they look polished and last a long time.
- Submerge in Hot Water: Carefully dip the ends of all your braids into a mug of boiling hot water. This process helps to properly seal and fuse the synthetic hair, giving your braids a neat, finished look and preventing them from unraveling.
 Source: unknown
 Source: unknown
 Source: unknown