Decorating a home can be a fun and rewarding activity that allows individuals to express their creativity and personal preferences. From selecting furniture and decor to choosing color schemes and accents, every aspect of home decoration can contribute to the overall aesthetic and ambiance of your living space.
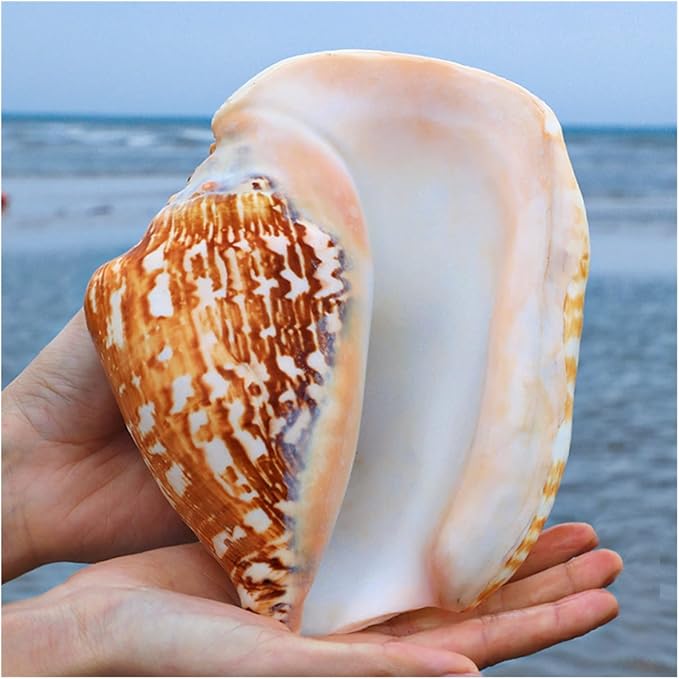
If you are a lover of the sea and want to imbue your home with a seaside atmosphere, decorating with seashells is a great choice for you.
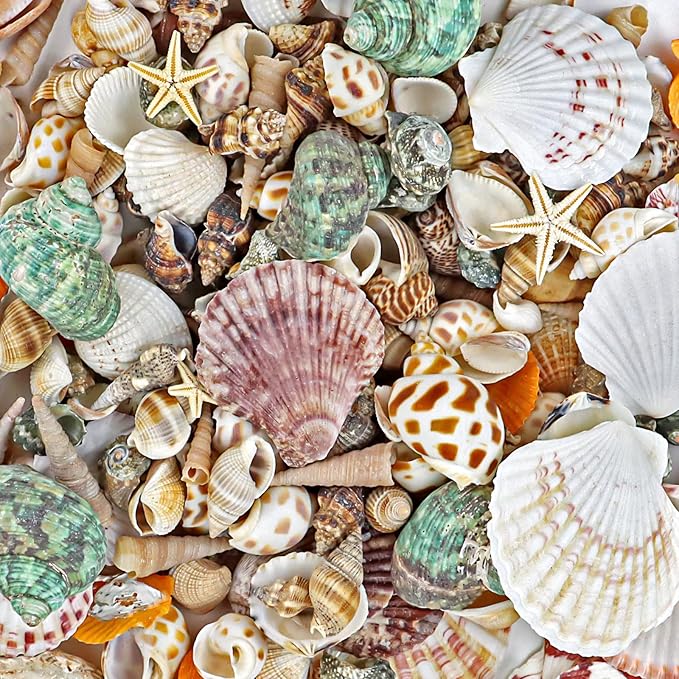
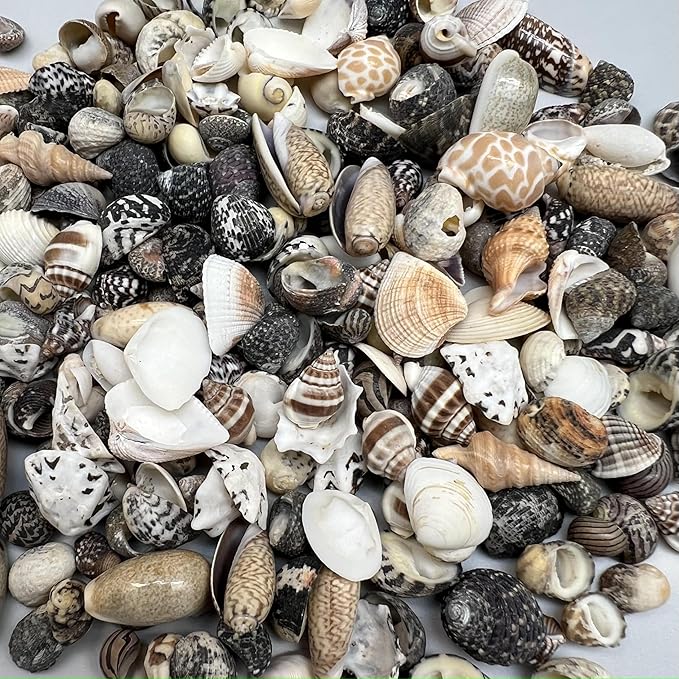
Home decoration with seashells can also be a creative way to add a touch of the beach to your home decor while also being a cost-effective option. Seashells come in a variety of sizes, shapes, and colors, making them versatile decorative items.
This article contains affiliate links. If you purchase through them, I may earn a small commission at no extra cost to you. Thank you for your support!
#1. Simple Seashell Picture
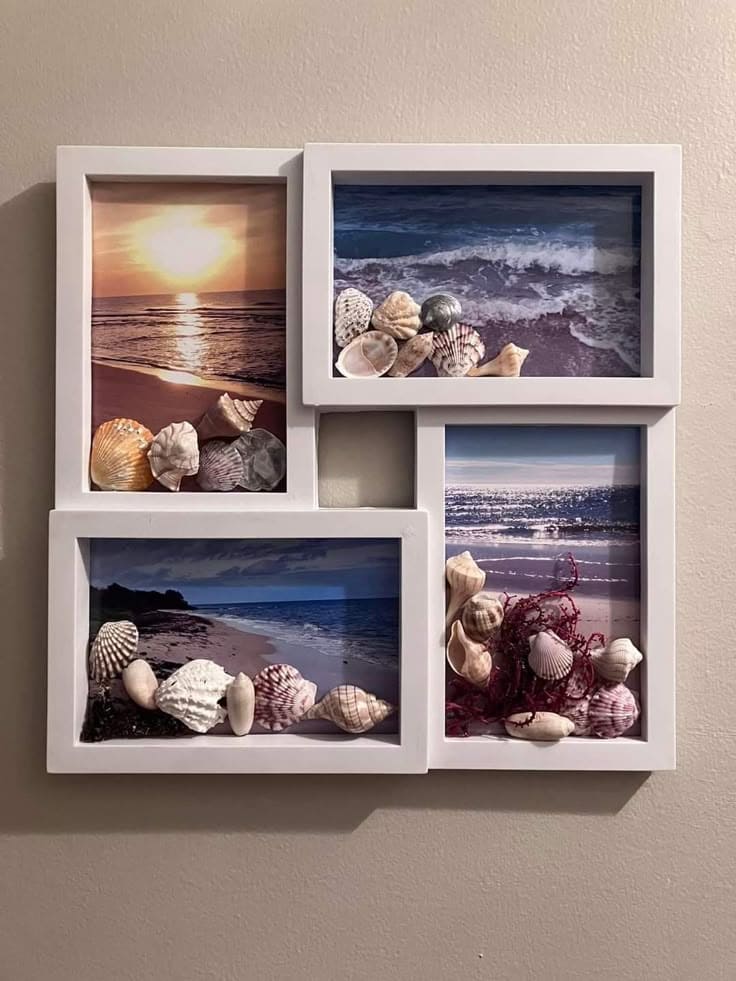
This is an easy project, but it holds years of soul.
Materials Needed
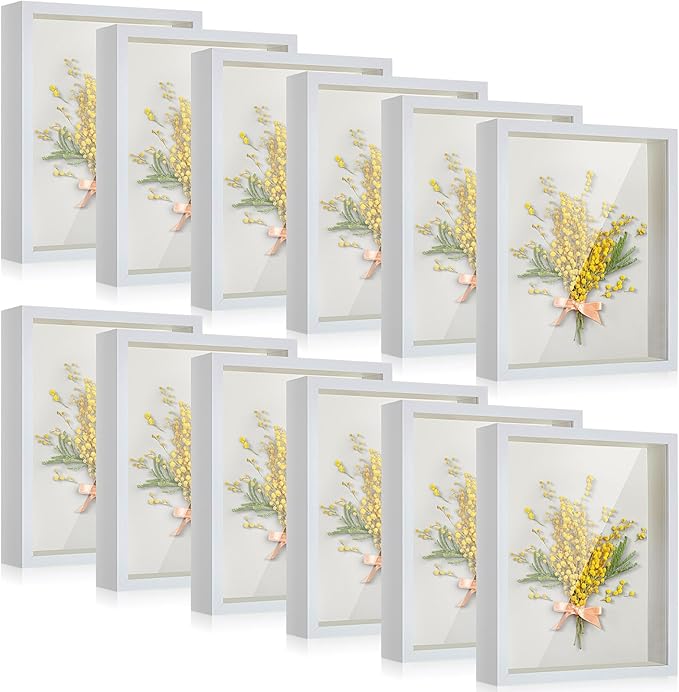
- 1 multi-opening photo shadow box frame (4-picture)
- 4 high-resolution beach photos (4×6 inches)
- 30 small seashells, bits of coral or dried seaweed
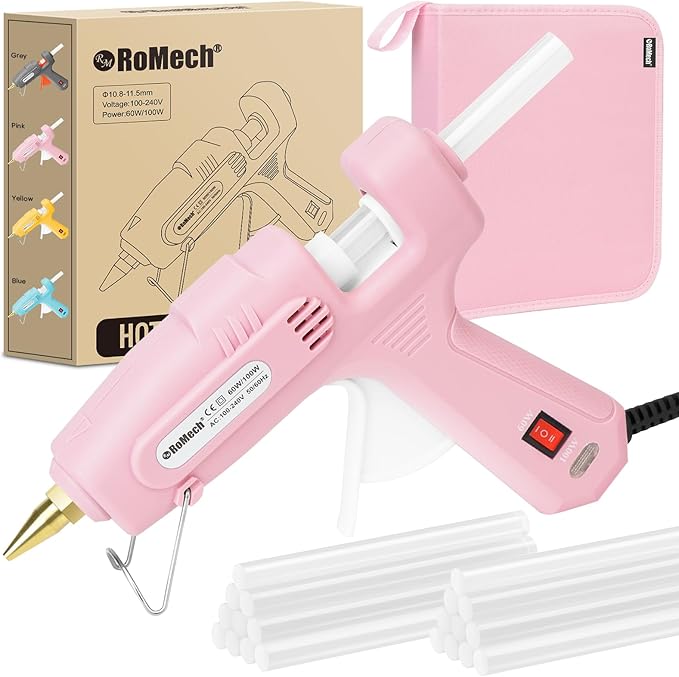
- Hot glue gun and glue sticks
- Optional: Clear epoxy resin
Step-by-step Guide
Step 1: Select and print your favorite beach images, ideally one for each frame section. Trim as needed to fit snugly.
Step 2: Gently hot glue shells or coral pieces inside each frame’s shadow box area, cluster toward the base for a natural washed up look.
Step 3: For extra flair, you can embed the shells in resin for a glossy sealed finish (let cure for 24 hours).
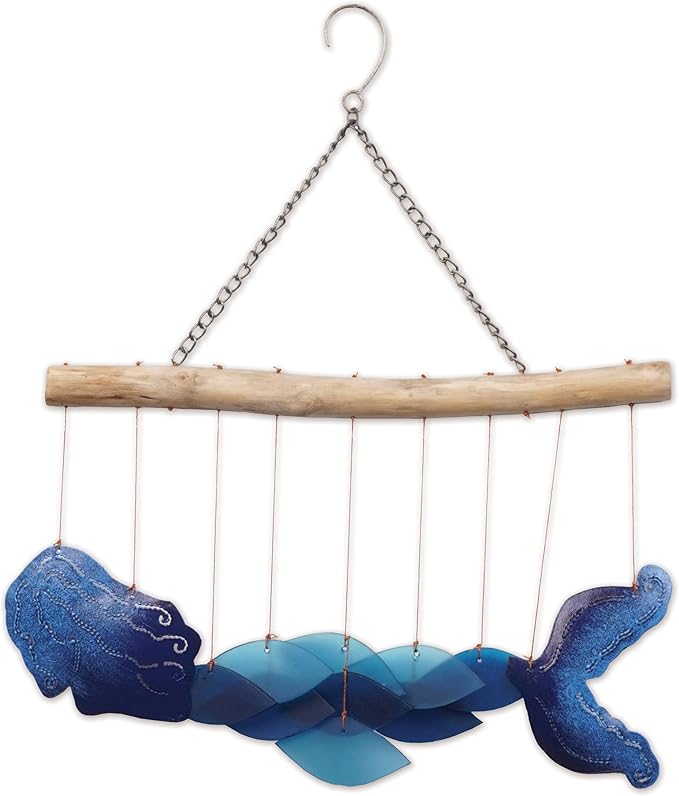
#2. Seashell Chain With Dried Branch

Each strand tells a memory, long walks, salty breezes, and summer sunsets.
Materials Needed
- 1 piece of driftwood (12–18 inches)
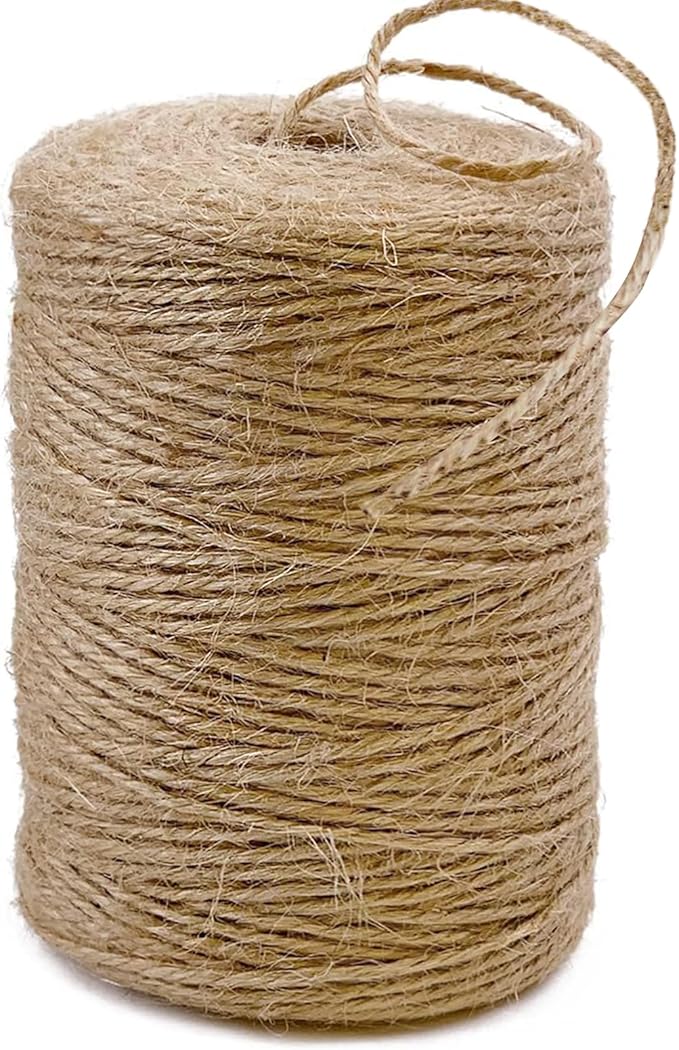
- 20 natural jute twine (20–30 inches each)
- 30 assorted seashells, starfish, small coral pieces
- 25 wooden beads
- Small drill
- Scissors
Step-by-step Guide
Step 1: Drill tiny holes into each shell, then cut cords in varying lengths. String shells and beads along the lower ends, knotting them in place.
Step 2: Tie each strand securely to the driftwood, spacing them evenly.
Step 3: Add a longer cord across the top for hanging and balance the layout. Hang it on a small hook or nail and enjoy its natural beauty.
#3. Beautiful Shell Wind Chime
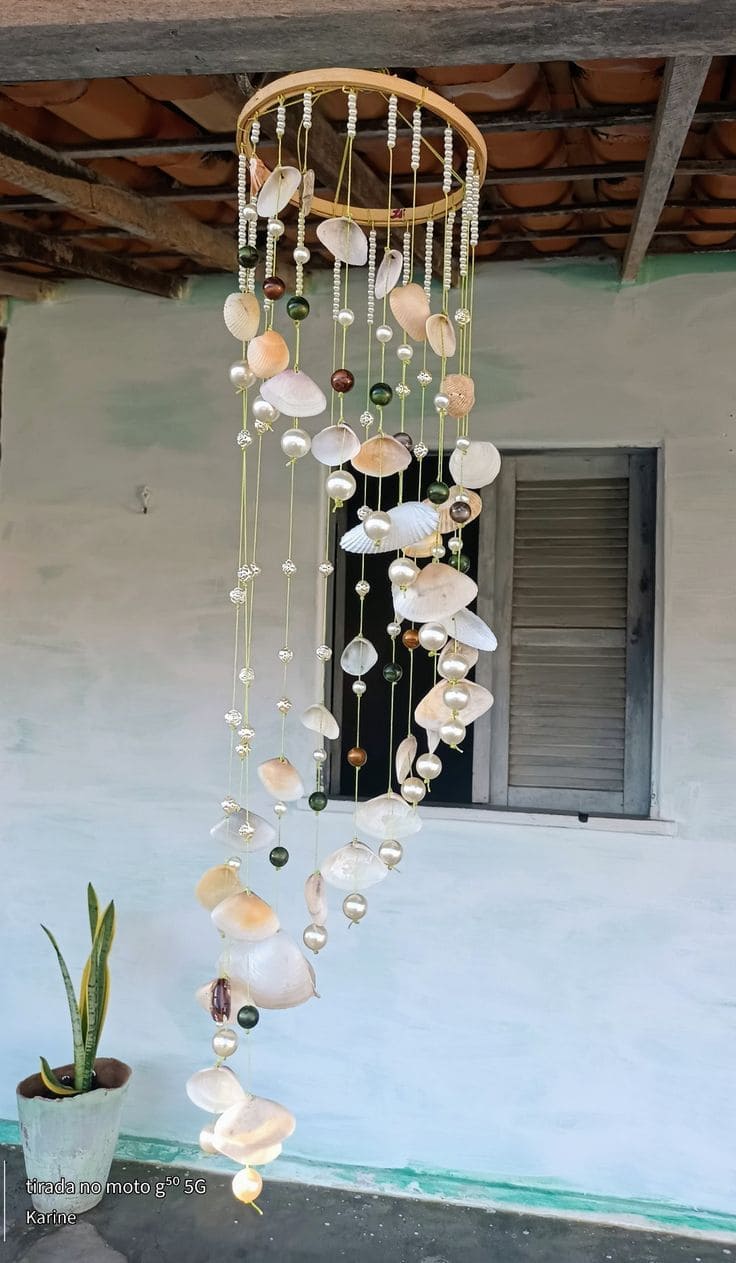
The spiral design adds a mesmerizing visual rhythm and turns even a quiet corner into a coastal escape.

Materials Needed
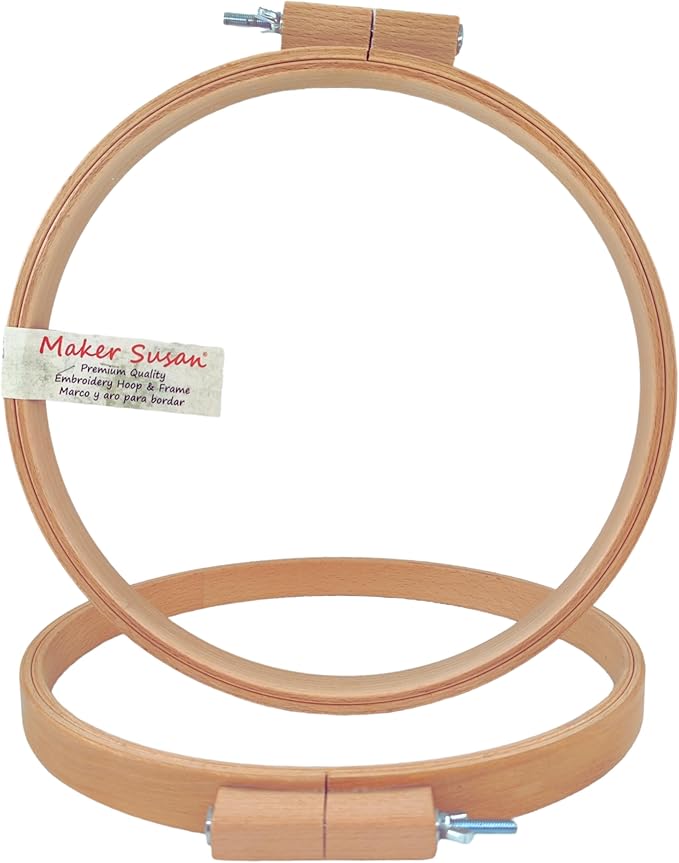
- Wooden hoop (10″–12″ diameter)
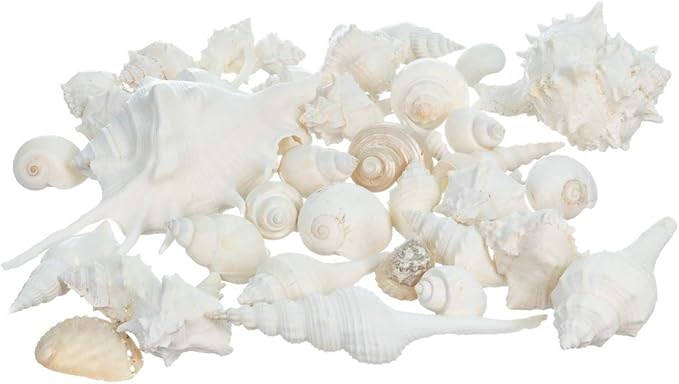
- 40 assorted size seashells
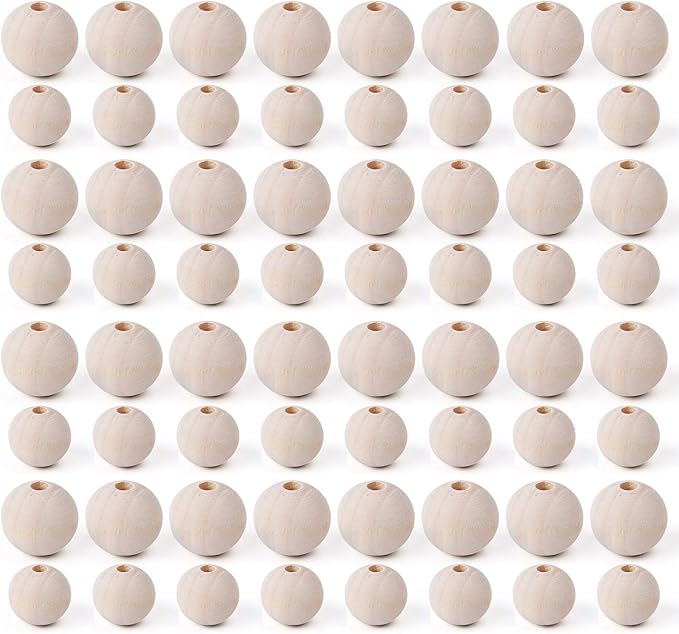
- Assorted beads (pearls, wood, metallics)
- Transparent fishing line
- Hand drill
- Hot glue gun (optional)
Step-by-step Guide
Step 1: Carefully drill small holes in the tops of each shell, then cut lengths of thread from 15″–30″, increasing in length to create the spiral effect.
Step 2: String beads and shells in a pattern, tying knots to hold them in place.
Step 3: Tie each strand around the hoop, arranging shorter strings on one side and longer ones spiraling around to the other side.
#4. Seashell Candle Holders
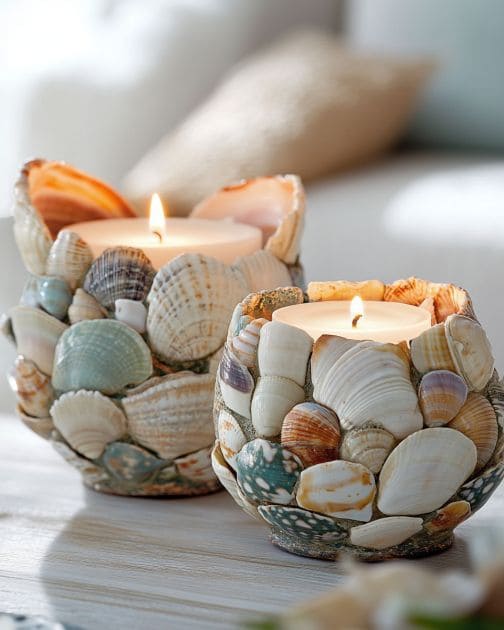
The moment the flame flickers against the polished shells, it casts soft, ocean-like shadows, evoking calm and warmth.
Materials Needed
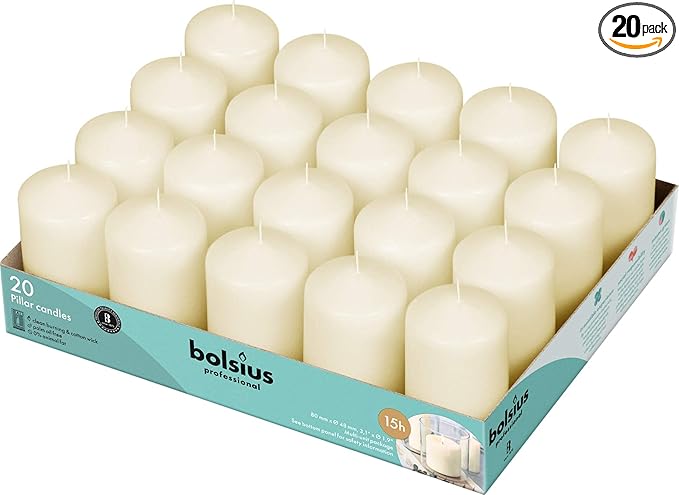
- Pillar candles (2″–4″ diameter)
- Small assorted seashells (approx. 1 lb or 60–100 shells)
- Hot glue gun + glue sticks
- Optional: Clear gloss sealant spray
Step-by-step Guide
Step 1: Arrange your seashells by size and color, then glue larger shells at the base and work your way up, overlapping slightly for a natural flow.
Step 2: Fill in gaps with smaller shells or broken pieces to create texture and fullness.
Step 3: Once fully covered, lightly spray with a gloss sealant for a polished finish. Let dry overnight before use.
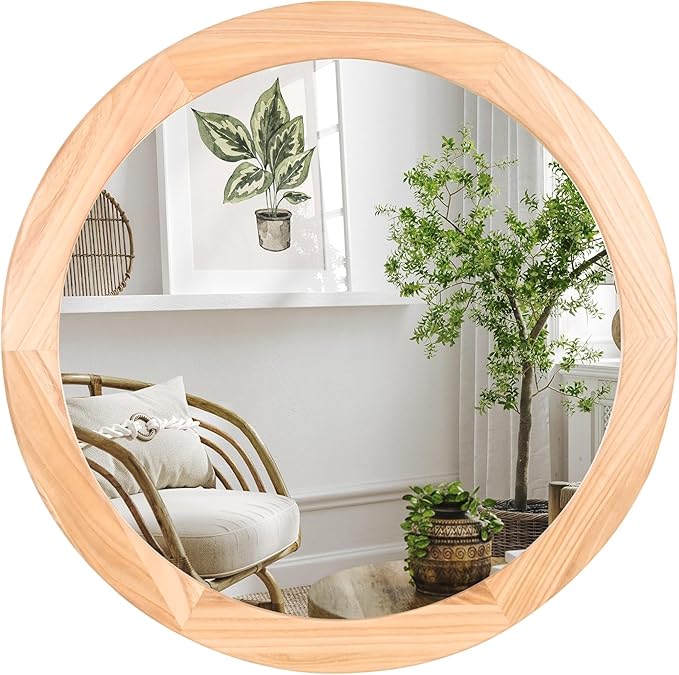
#5. Seashell Mirror
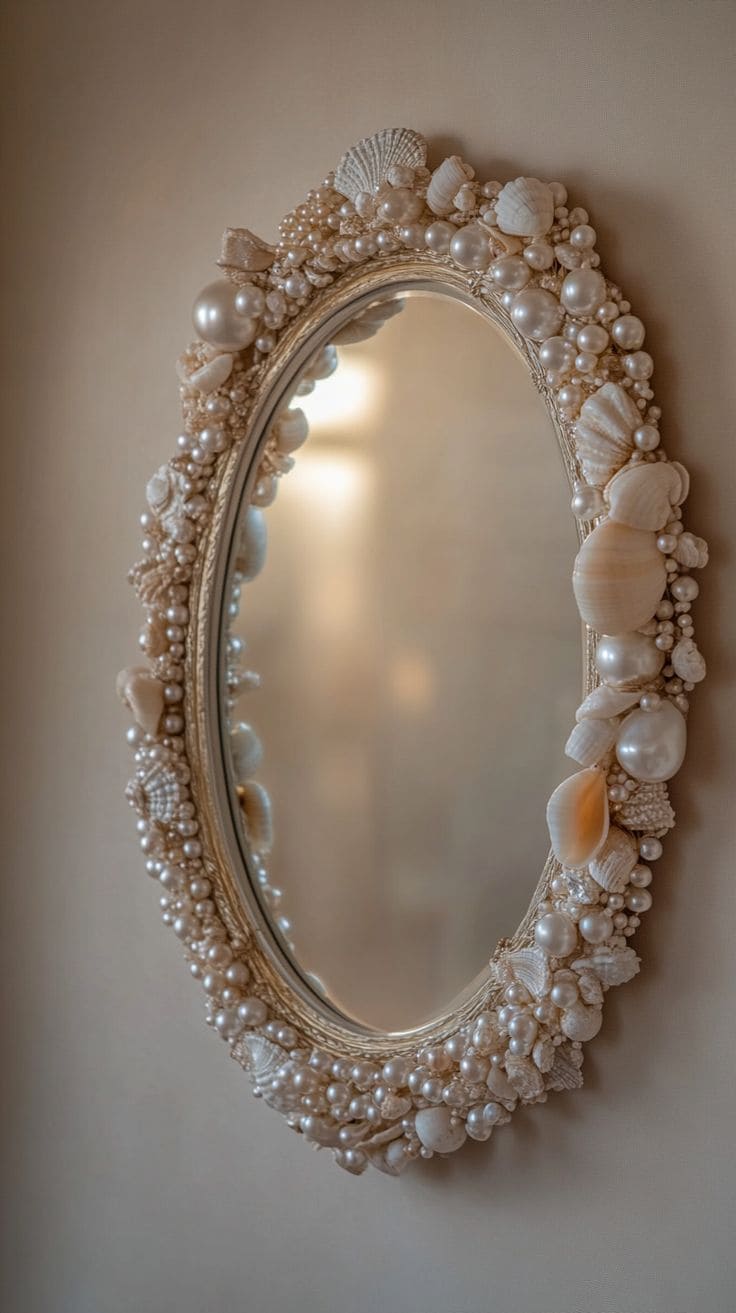
The creamy palette of delicate shells and pearls elevates the entire room, making the space feel dreamy, refined, and coastal all at once.
Materials Needed
- Round mirror (approx. 18–24 inches)
- 50 white and ivory seashell
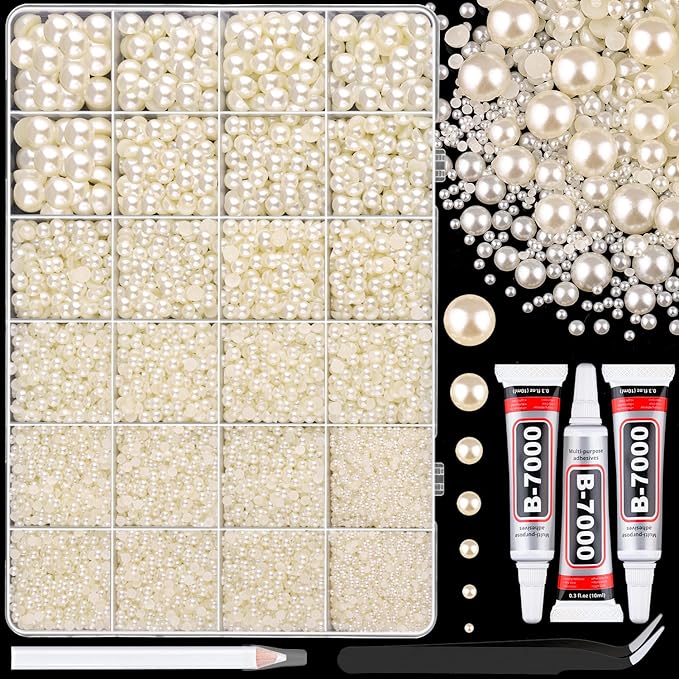
- 200 flat-back pearl beads (8mm–20mm)
- Hot glue gun + glue sticks
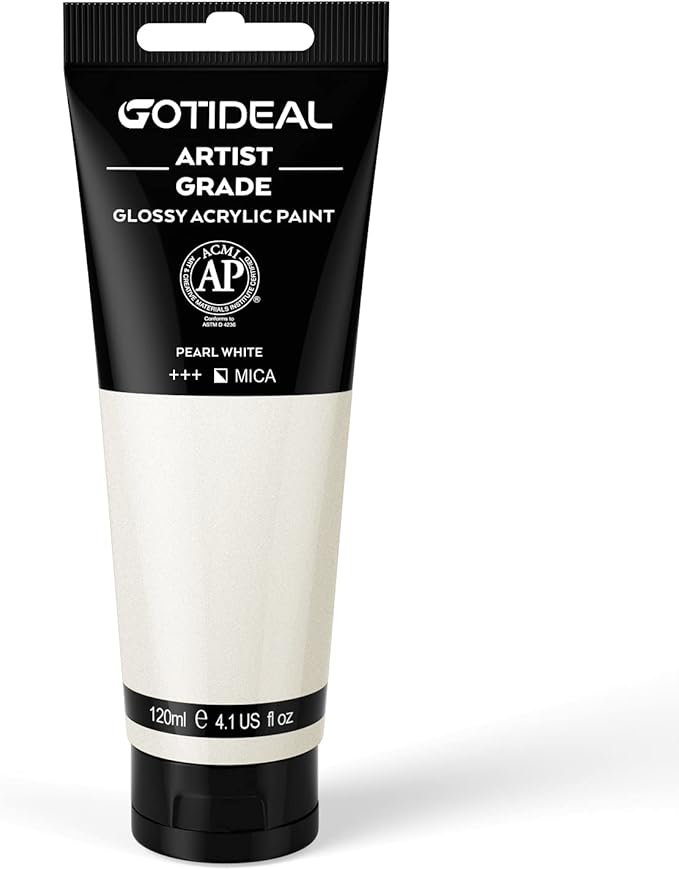
- Optional: Gold or pearl-accented paint
Step-by-step Guide
Step 1: Begin gluing the largest seashells evenly around the frame, spacing them as anchors.
Step 2: Fill in the gaps with medium-sized shells, pearl beads, and smaller shells. For depth, layer items slightly and vary the direction.
Step 3: Add a few pearls in clusters for a “dripping” luxury effect. Let dry fully, then touch up with a dab of shimmer paint if desired.
#6. Seashell Wall Hanging
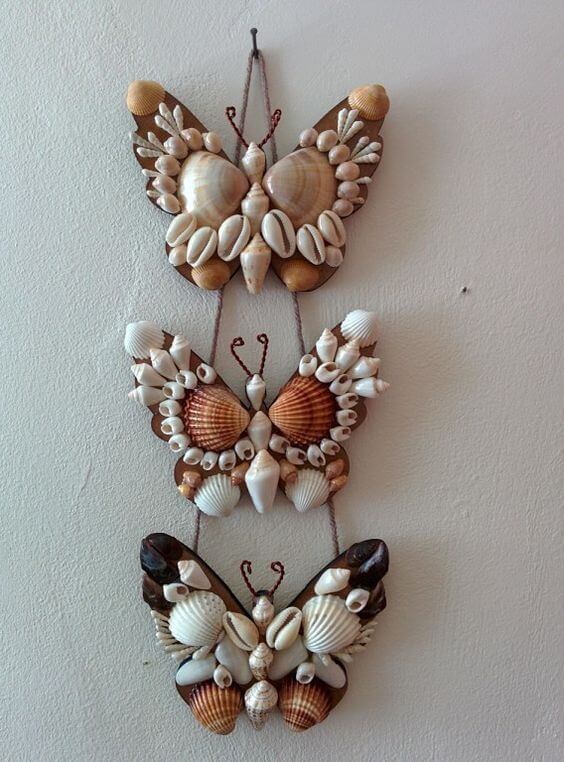
Each of these butterflies tells a coastal story, winged elegance built from beach treasures.
Materials Needed
- 80 assorted seashells
- Stiff cardboard (cut into butterfly shape)
- Hot glue gun + glue sticks
- Twine
- Optional: Acrylic sealer spray
Step-by-step Guide
Step 1: Sketch or trace a butterfly shape onto cardboard or thin wood. Cut out three identical pieces.
Step 2: Sort your shells by size and shape, larger ones for the wings, spiral or long ones for the body, and tiny ones for decorative details.
Step 3: Starting at the center, glue the body vertically. Then carefully build the wings outward in mirrored sections, using hot glue.
Step 4: Once dry, attach string to the back of each butterfly, spacing them evenly for vertical hanging. Add a loop on top for mounting. Optionally, spray with sealer for shine and durability.
#7. Seashell And Driftwood Wreath
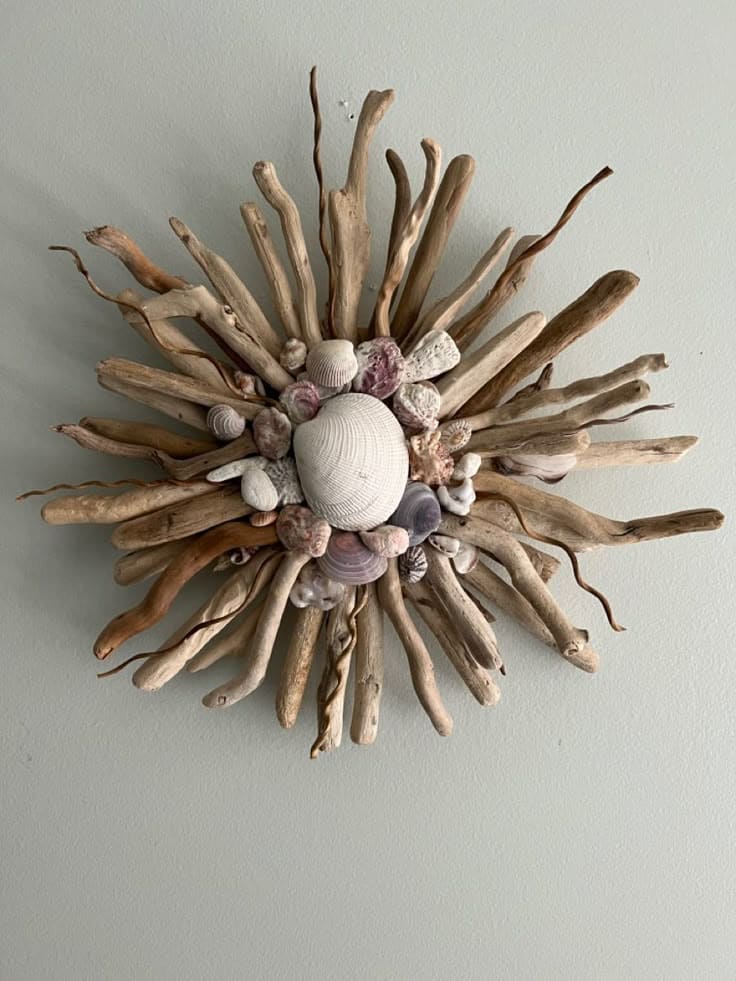
This radiant coastal sunburst is a bold statement piece, made with collected driftwood and beach shells that feel like summer frozen in time.
Materials Needed
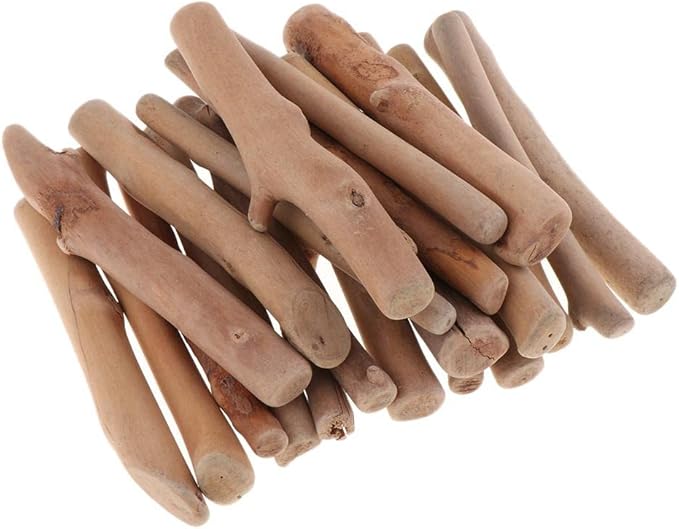
- 50 pieces of driftwood (8″–15″)
- 40 assorted seashells
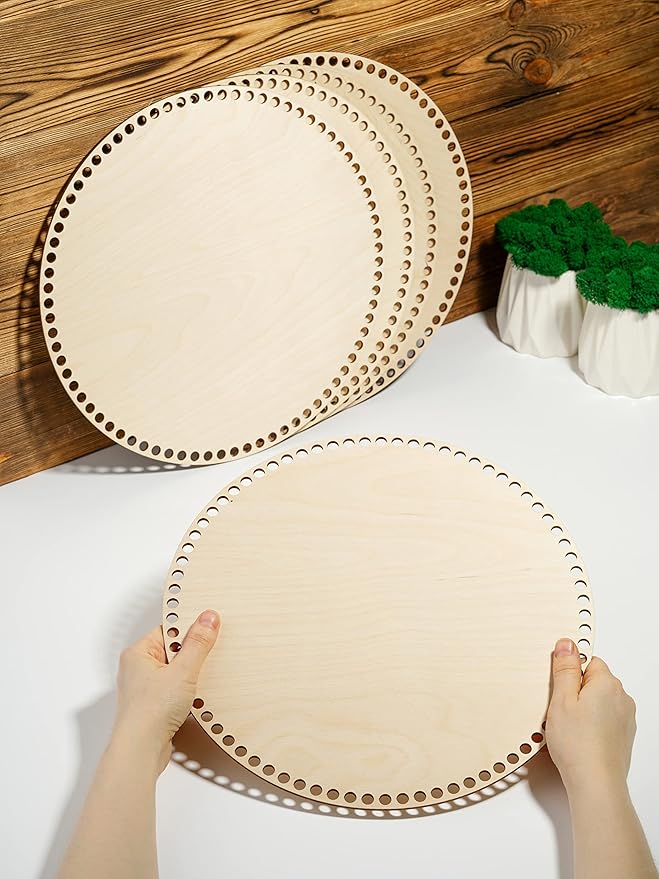
- 12″ plywood round base
- Hot glue gun + heavy-duty glue sticks
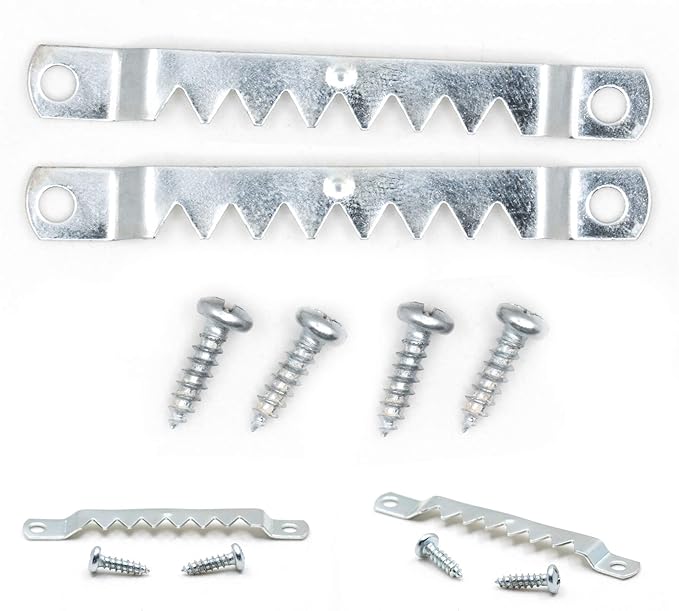
- Sawtooth hanger
Step-by-step Guide
Step 1: Arrange your driftwood radiating outward from the center of the round base like sun rays. Vary the size and direction slightly for a natural look, then glue each stick firmly in place.
Step 2: Layer a second, tighter circle of driftwood in between the first layer to add depth and texture.
Step 3: In the center, begin gluing your seashells, starting with the large focal shell, then surrounding it with smaller pieces until the core is full and balanced.
#8. Seashell Pine Tree
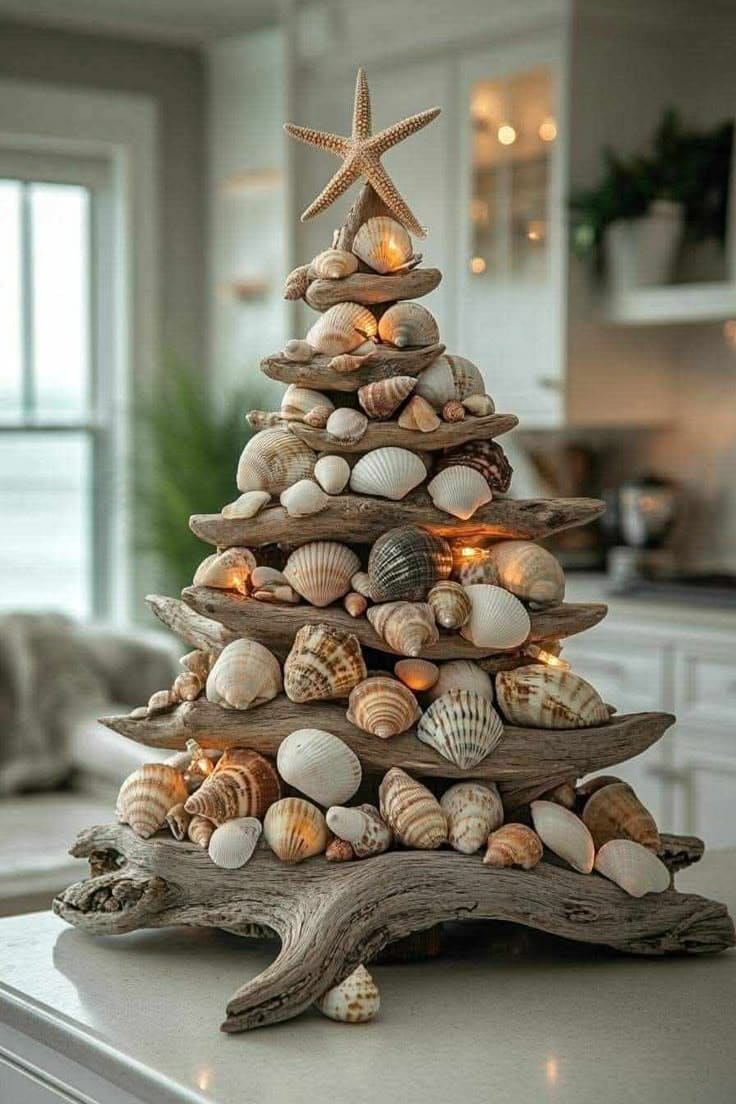
You can make a similar version for our coastal kitchen one December, and it became the conversation piece of the season.
Materials Needed
- 10 pieces of driftwood in various lengths (4″–14″)
- 100 assorted natural seashells
- 1 small starfish
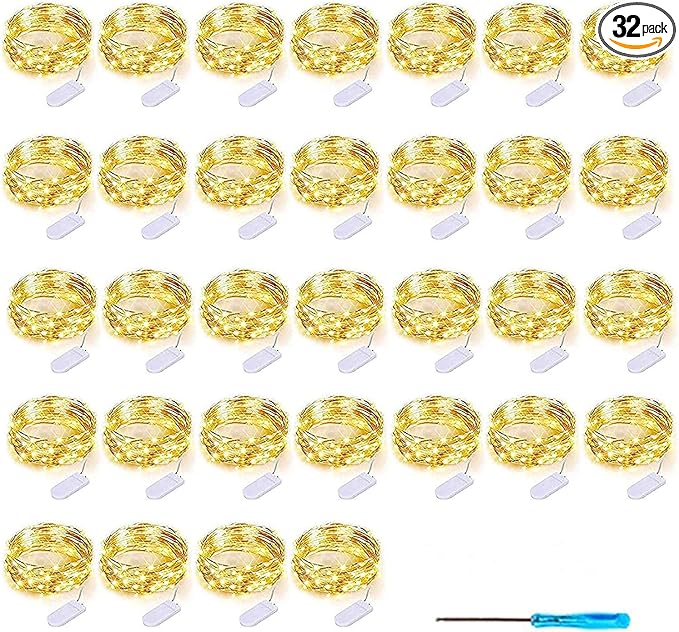
- Mini warm white LED fairy lights
- Hot glue gun + clear glue sticks
- Wooden base
Step-by-step Guide
Step 1: Stack your driftwood pieces from longest (bottom) to shortest (top), gluing each layer at an angle to create a tree shape. Leave gaps for shells and lighting.
Step 2: Start gluing seashells onto each layer, mixing sizes and shapes to give texture and balance. Work slowly and fill in small spaces with tiny shells.
Step 3: Weave the fairy lights between the shells, tucking the wire under and around the wood for a hidden glow.
Step 4: Finish by attaching the starfish topper and securing the base firmly.
#9. Seashell Chandelier
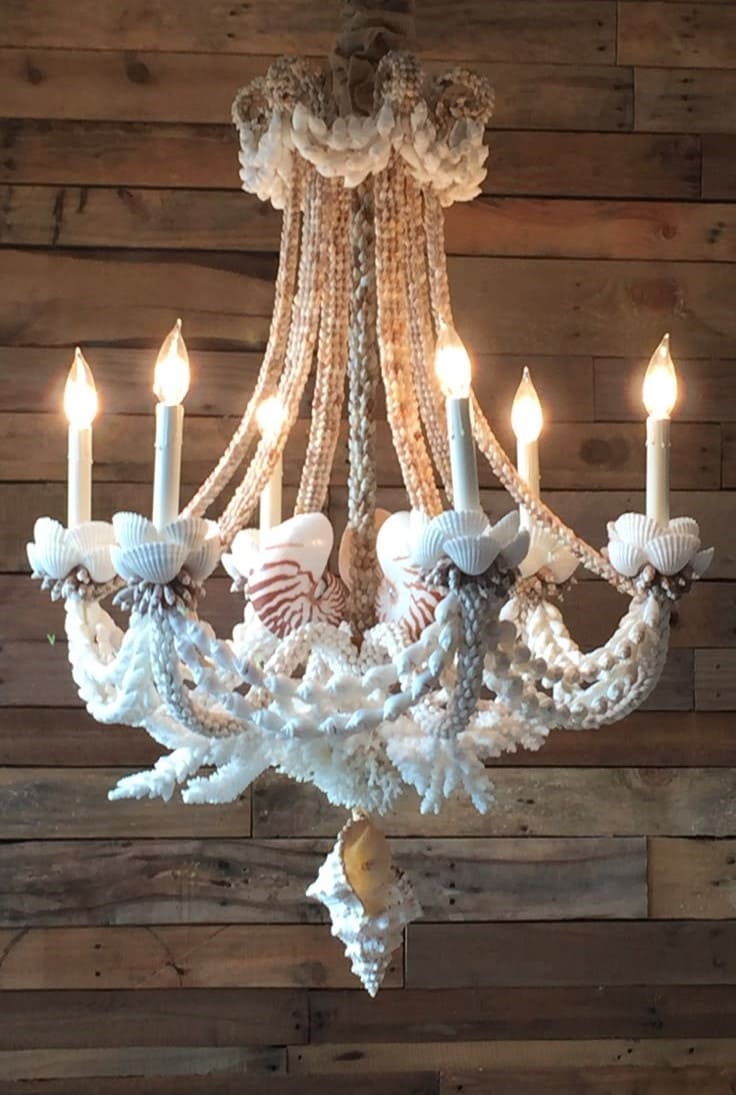
I once saw something similar in a coastal boutique hotel lobby, and it left me enchanted for days.

Materials Needed
- 1 basic chandelier frame (6–8 arms)
- 300 mini seashells (approx. 1–2″)
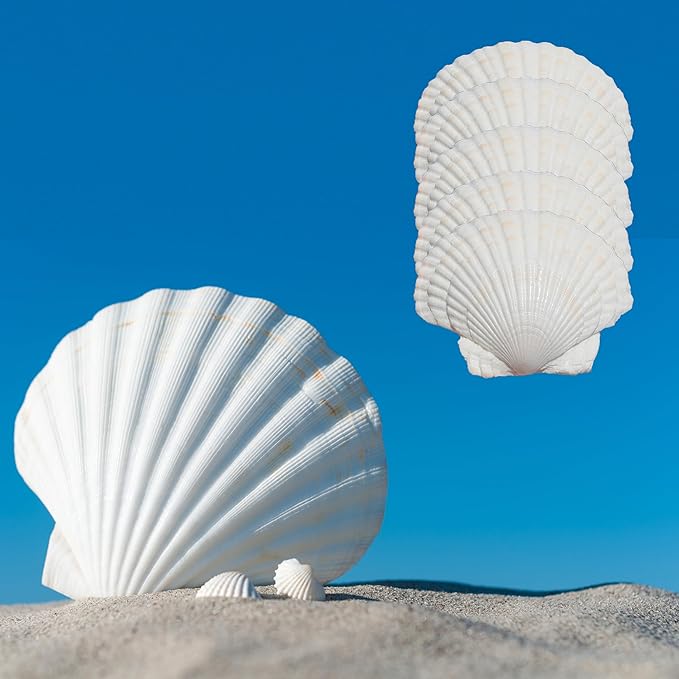
- 6–8 large scallop shells
- Hot glue gun + high-temp glue sticks
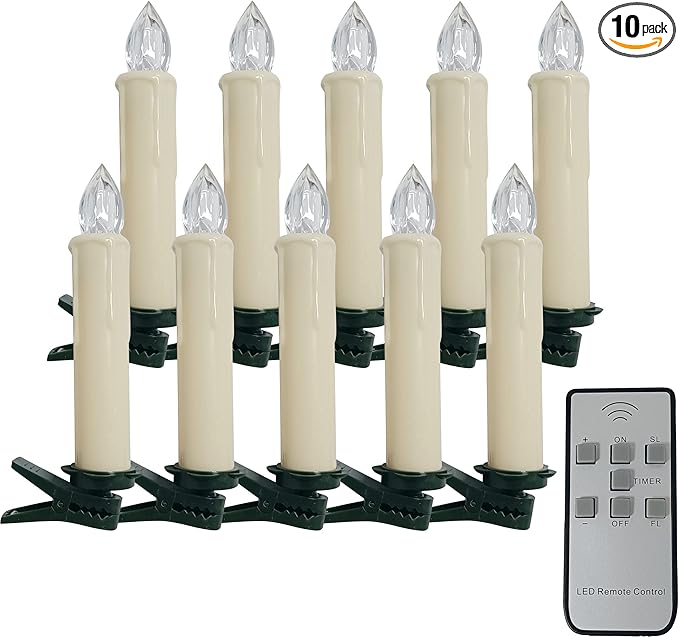
- Mini LED chandelier candles
Step-by-step Guide
Step 1: Glue scallop shells onto each light arm as candle holders. Center them carefully for balance.
Step 2: Wrap and drape beaded shell strands (or glued strands of small shells) from the arms to the top, like traditional chandelier crystals.
Step 3: Attach coral branches around the base and underarms for that natural cascading look. Finish by accenting gaps with smaller shells for extra texture.
#10. Seashell Wall Decor
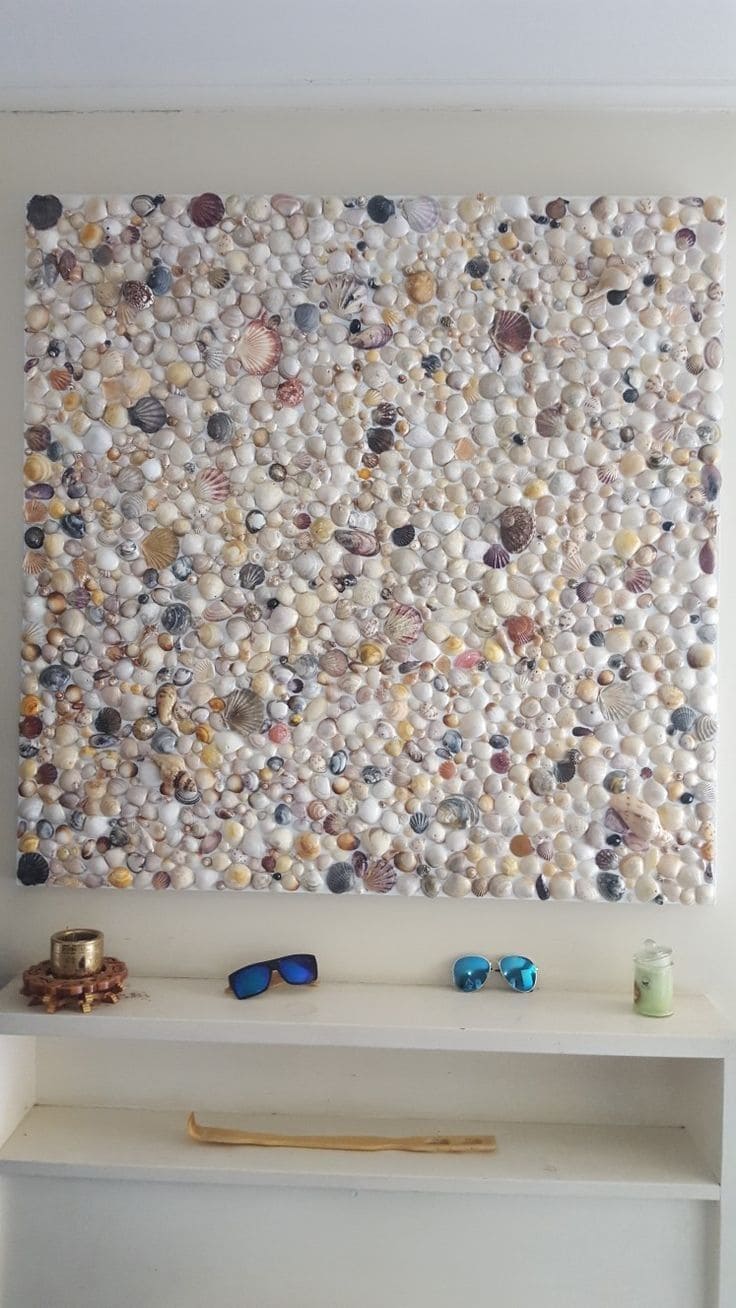
I made one like this after a shell-collecting trip with my family, and it now anchors our hallway with layered natural beauty and warmth.

Materials Needed
- 1 large canvas (36″x36″)
- 2–4 lbs of mixed craft seashells
- Strong adhesive glue like E6000
- Clear spray sealant
- Optional: Acrylic paint (neutral tones)
Step-by-step Guide
Step 1: Prime or paint your board in a background color. Soft beige or pale blue works beautifully behind shells. Let dry.
Step 2: Sort your shells by size and shape. Begin gluing the larger ones in scattered zones to anchor the layout.
Step 3: Fill in gaps with smaller shells, layering and overlapping to create natural flow. Once fully dry (24 hrs), spray with sealant to secure and protect the surface.
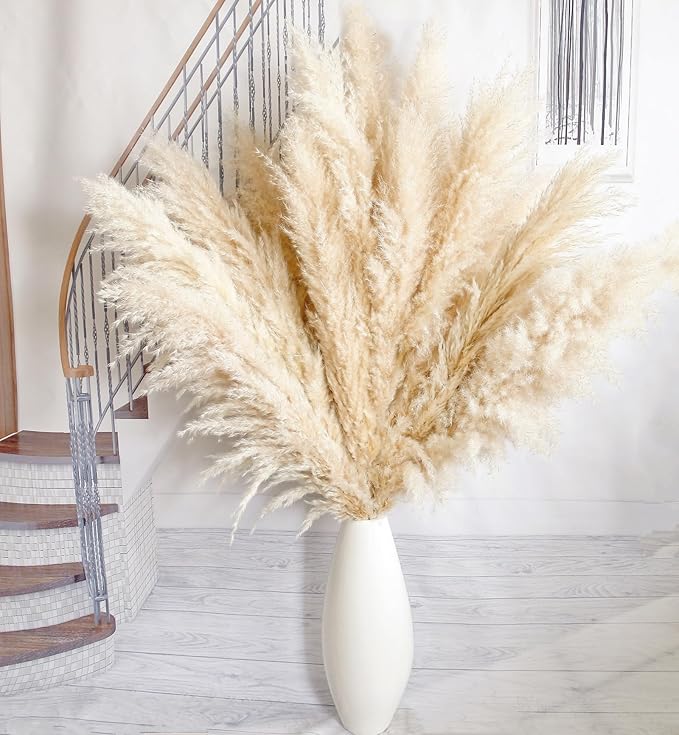
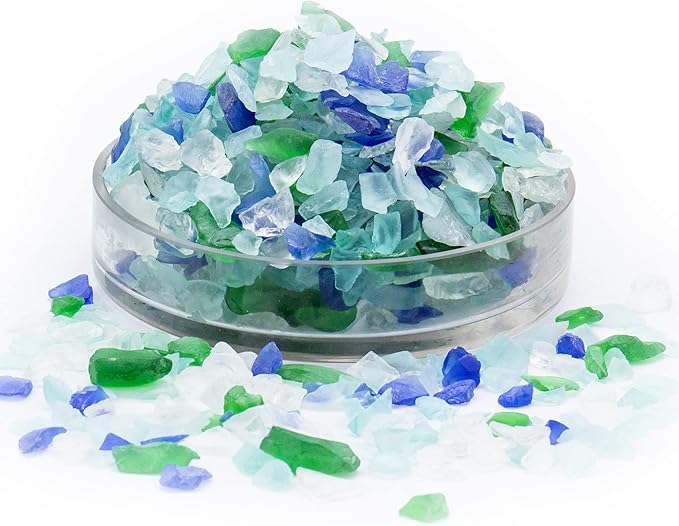
#11. Coastal Bottle Vases with Starfish Charm
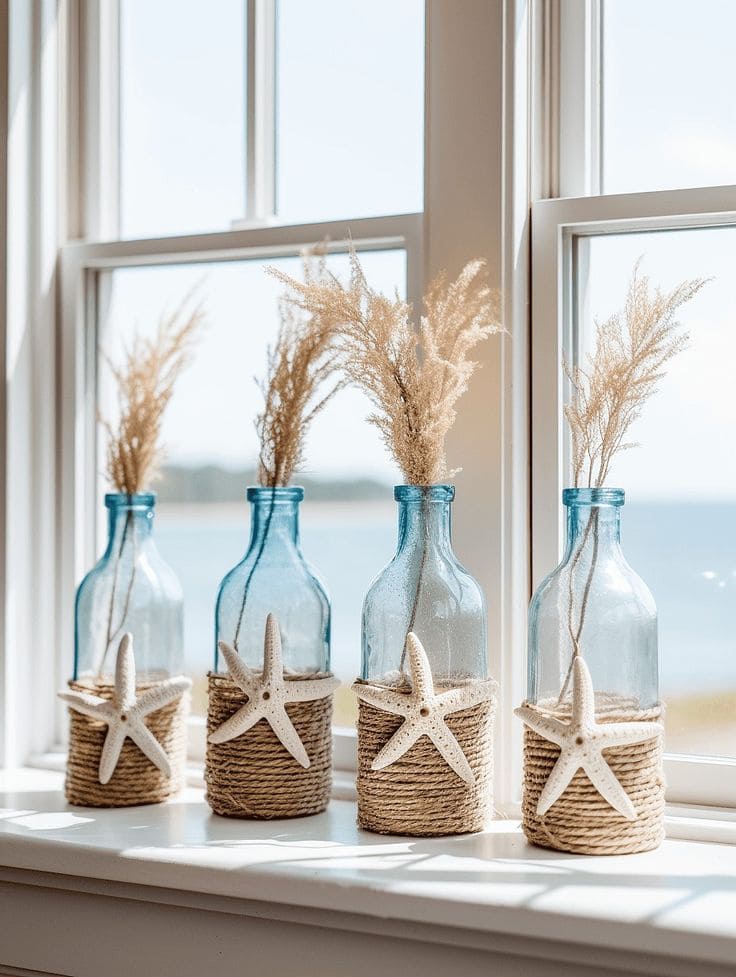
I made a set for my windowsill using some blue glass bottles I had leftover from a juice cleanse, wrapped them with natural rope, and added starfish from a vacation shell stash.
Materials Needed
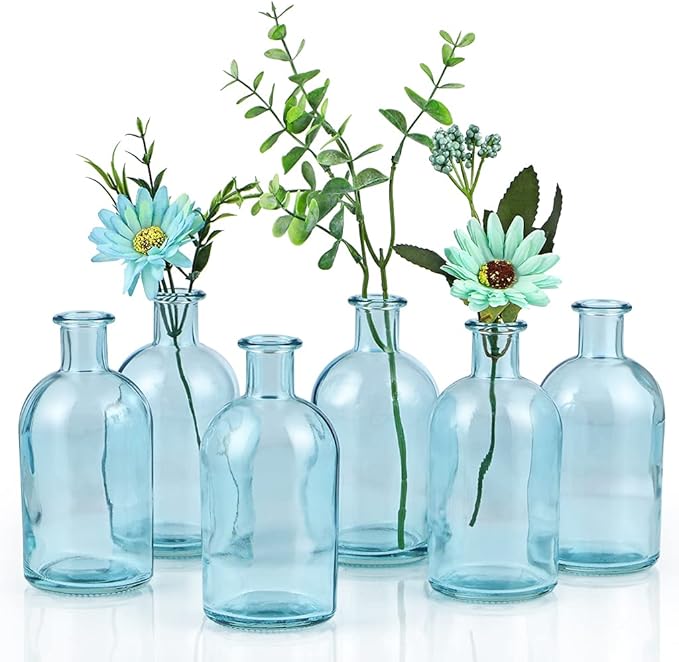
- 4 blue glass bottles (5–8 inches tall)
- 2 meters of natural jute rope (6mm)
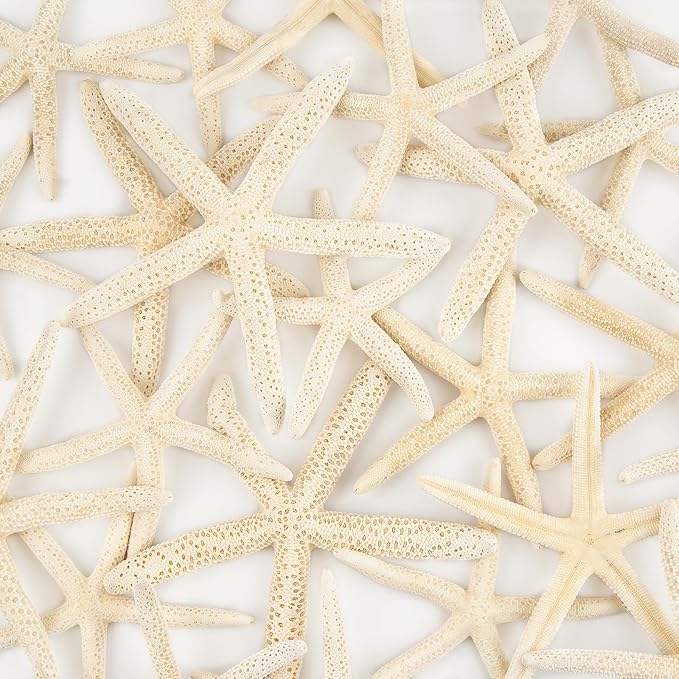
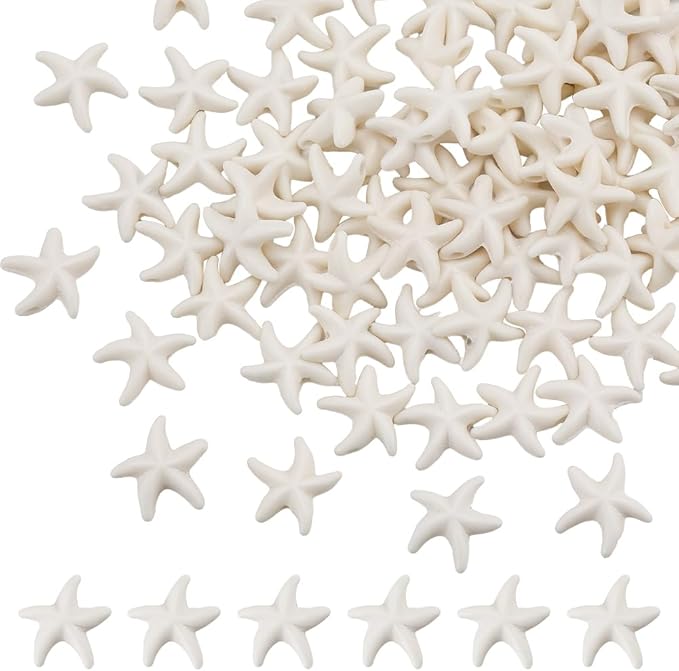
- 4 starfish ornaments, approx. 4-5 inches
- Hot glue gun and glue sticks
- Dried pampas
Step-by-step Guide
Step 1: Start at the base and glue one end of the jute rope, wrapping tightly around the bottle’s lower third. Secure every couple of inches with hot glue until you reach your desired height.
Step 2: Attach a starfish to the front center of each bottle, pressing it firmly into the rope with a generous dot of glue.
Step 3: Add a bunch of dried grass to each bottle. Fan it out slightly for a full, airy effect.
#12. Seashell-Covered Planter for Beachy Charm
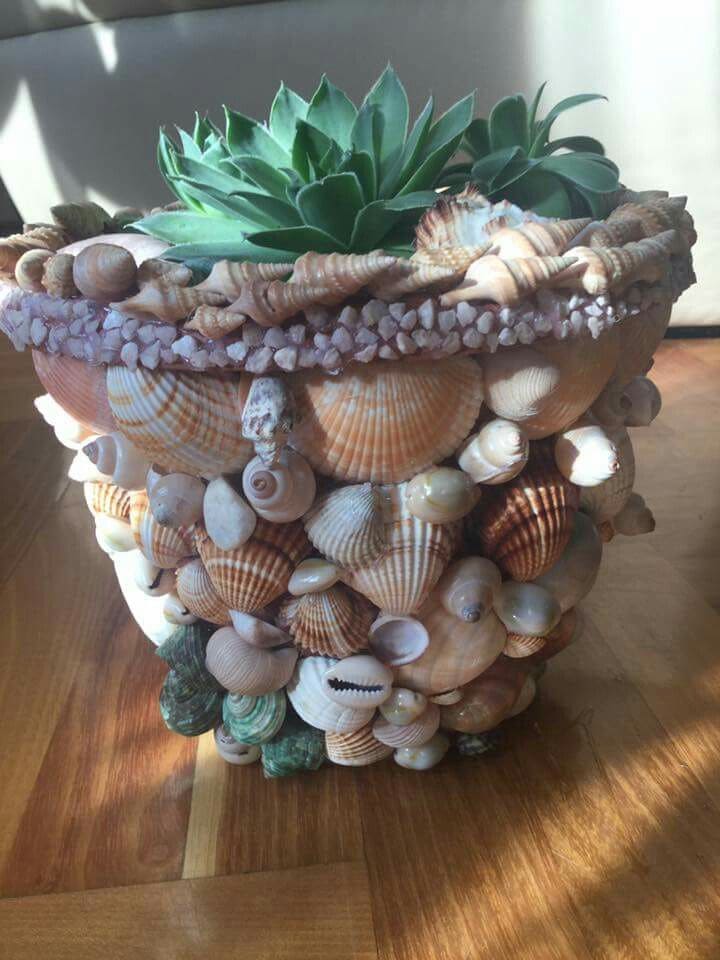
This was one of those heartfelt projects I started on a rainy afternoon, using seashells I’d collected from different coasts over the years.
Materials Needed
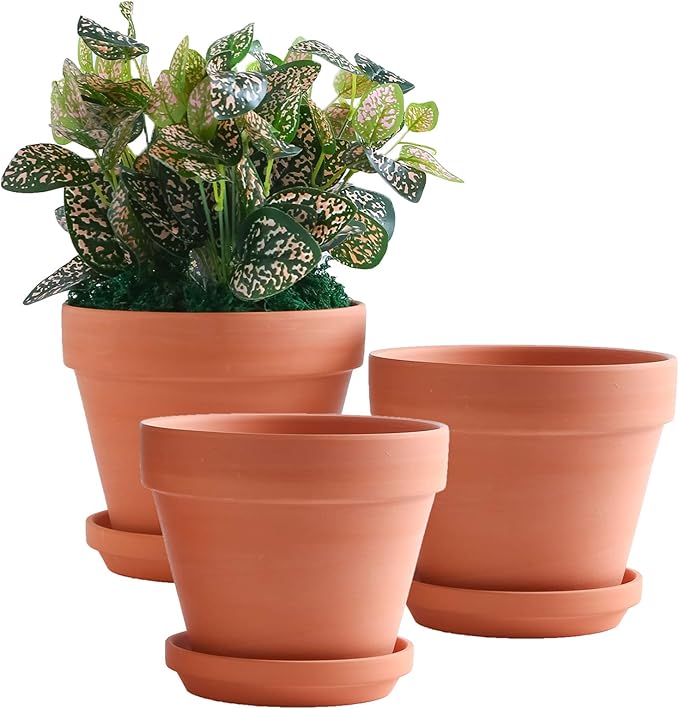
- 1 medium terracotta pot (6–8 inch diameter)
- 100 seashells of mixed shapes and sizes
- Strong craft adhesive
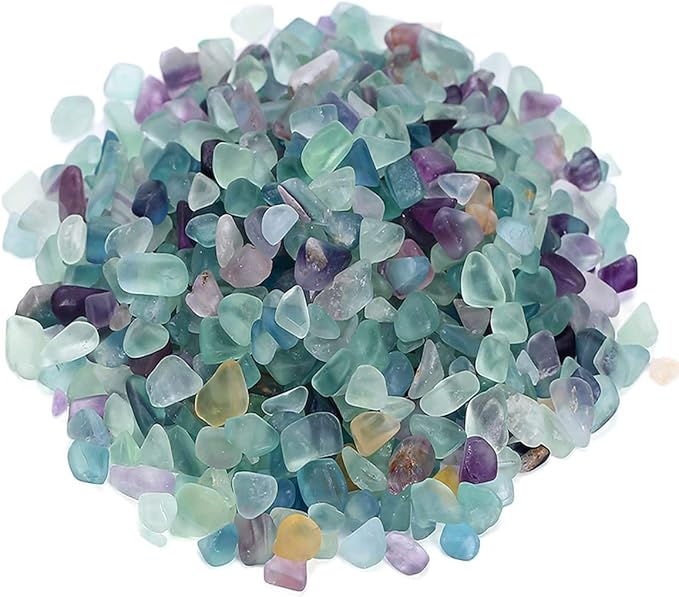
- Optional: Tiny gemstone gravel
- Damp cloth and rubbing alcohol
Step-by-step Guide
Step 1: Clean the pot with a damp cloth, then wipe with rubbing alcohol to ensure the glue adheres well.
Step 2: Starting from the bottom, apply glue to each shell and press it firmly against the pot. Hold for a few seconds before moving to the next. Mix shell shapes for texture and color.
Step 3: Once the surface is fully covered and dry, you can glue crushed shells or gemstone chips around the rim for added dimension.
#13. DIY Epoxy Seashell Tabletop
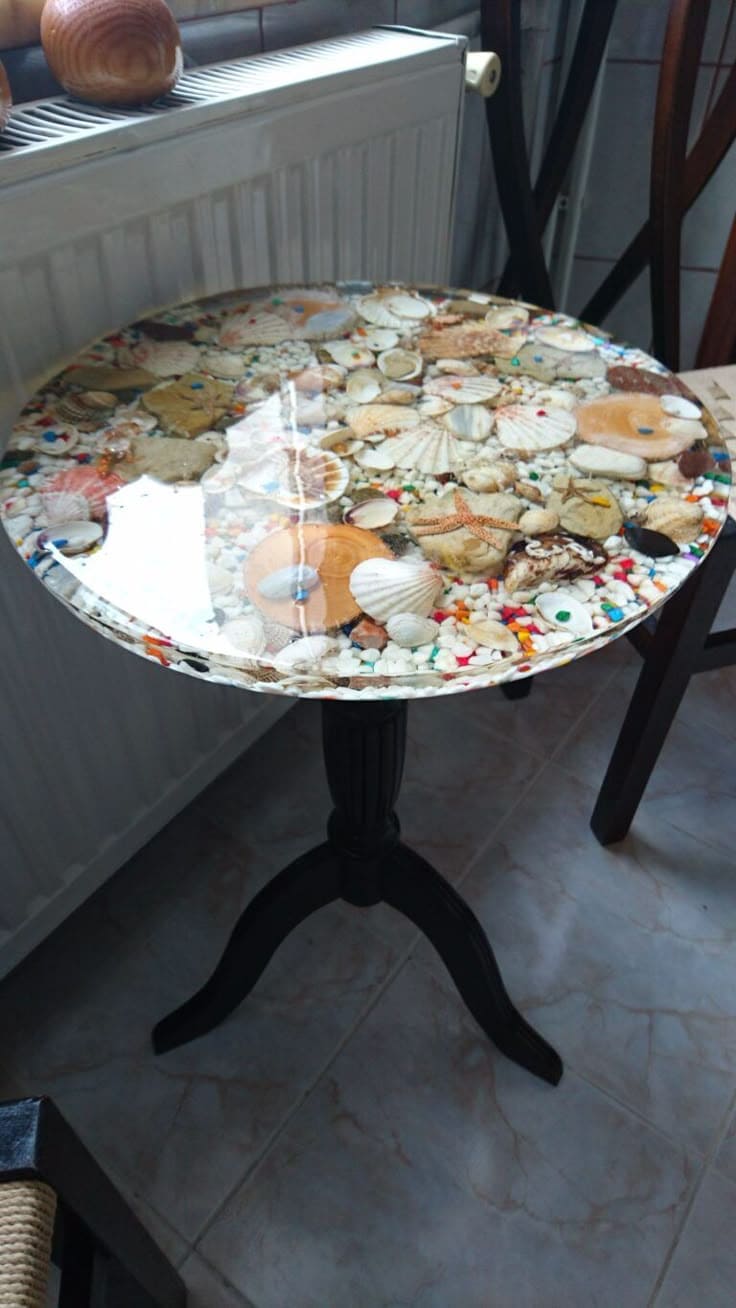
This seashell epoxy table captures that summer nostalgia—those perfect beach walks, the tiny treasures in your pockets.


Materials Needed
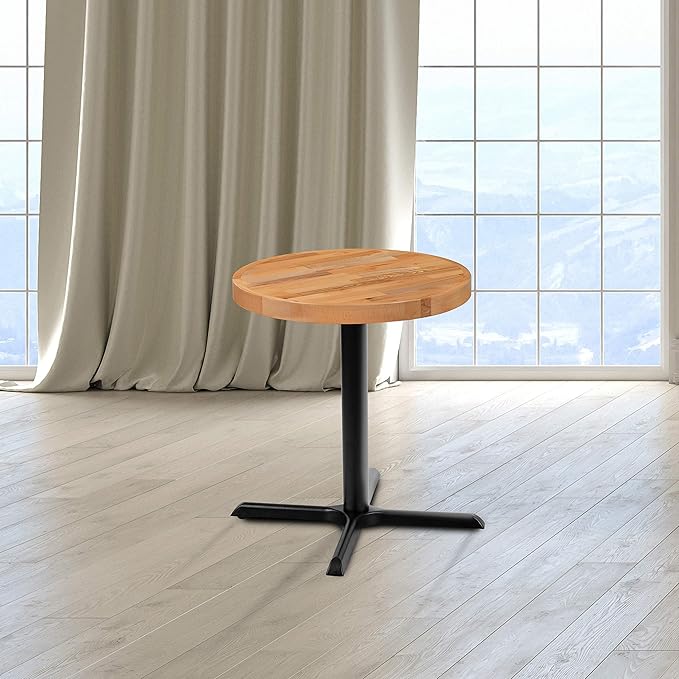
- 1 small round wood tabletop
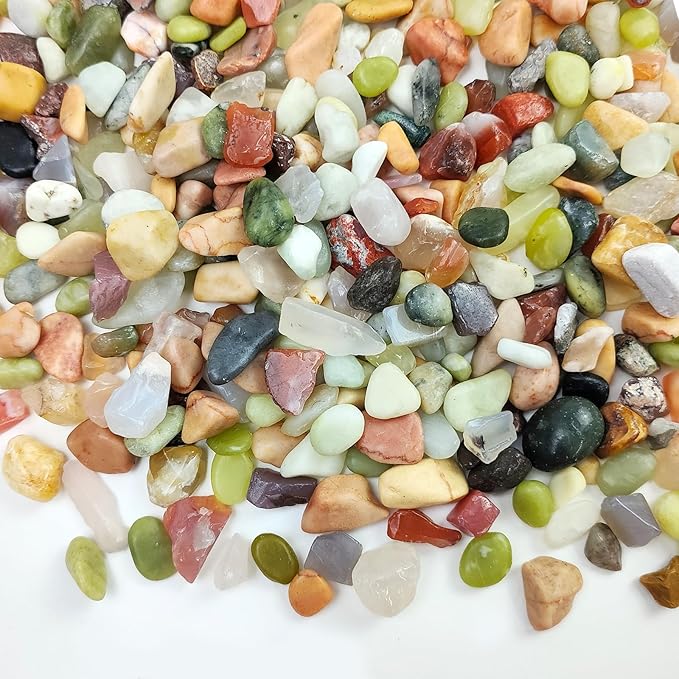
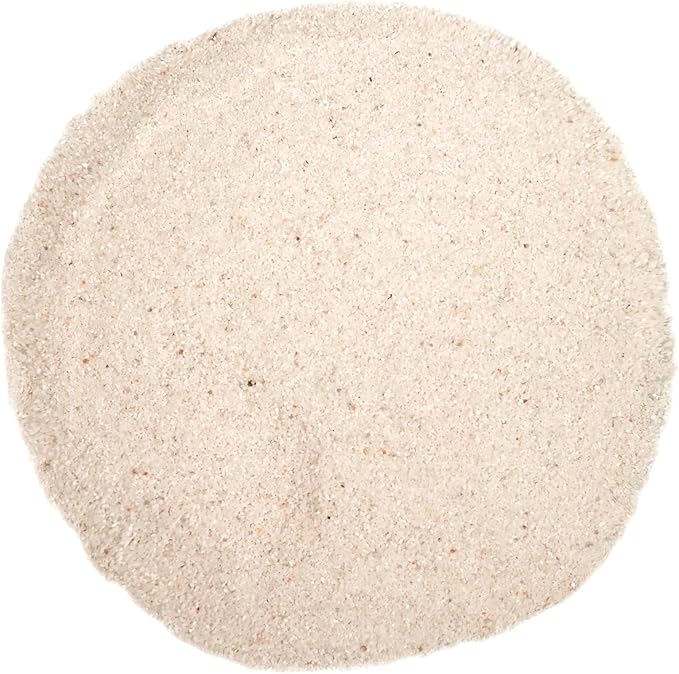
- Seashells, starfish, pebbles, and beach sand (about 2–3 cups total)
- 2-part epoxy resin (at least 32 oz)
- Mixing cups, stir sticks, and gloves
- Painter’s tape and a butane torch
- Optional: clear tabletop mold
Step-by-step Guide
Step 1: Clean your table surface thoroughly. If your table doesn’t have a rim, create a temporary border using painter’s tape or build a shallow frame to hold the resin.
Step 2: Arrange the shells and stones in your desired design. Secure them lightly with glue to prevent floating during the pour.
Step 3: Mix the epoxy resin following package instructions. Slowly pour it over the design, letting it fill gaps evenly. Use a toothpick to adjust any shifting pieces.
Step 4: Use a torch or heat gun to remove bubbles. Let it cure for at least 24–48 hours in a dust-free space.
#14. DIY Seashell Lamp
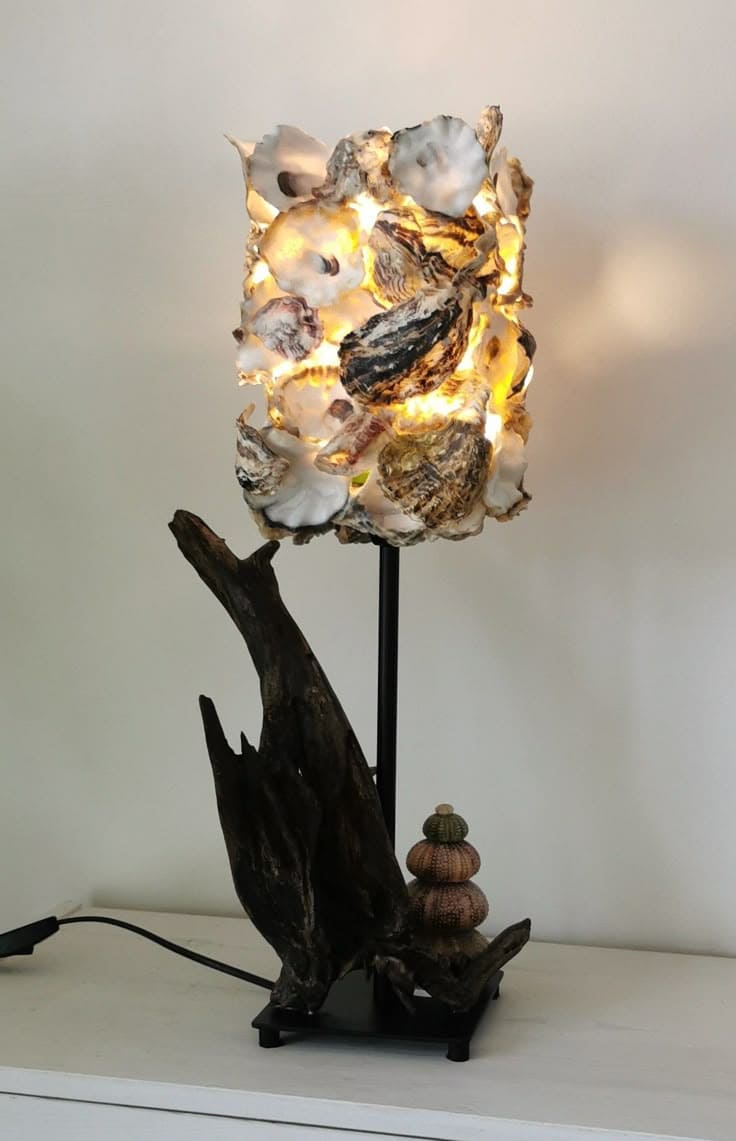
Combining the elegance of oyster shells with the untamed beauty of driftwood, it casts soft shadows that bring both coziness and ocean mystery into your home.
Materials Needed
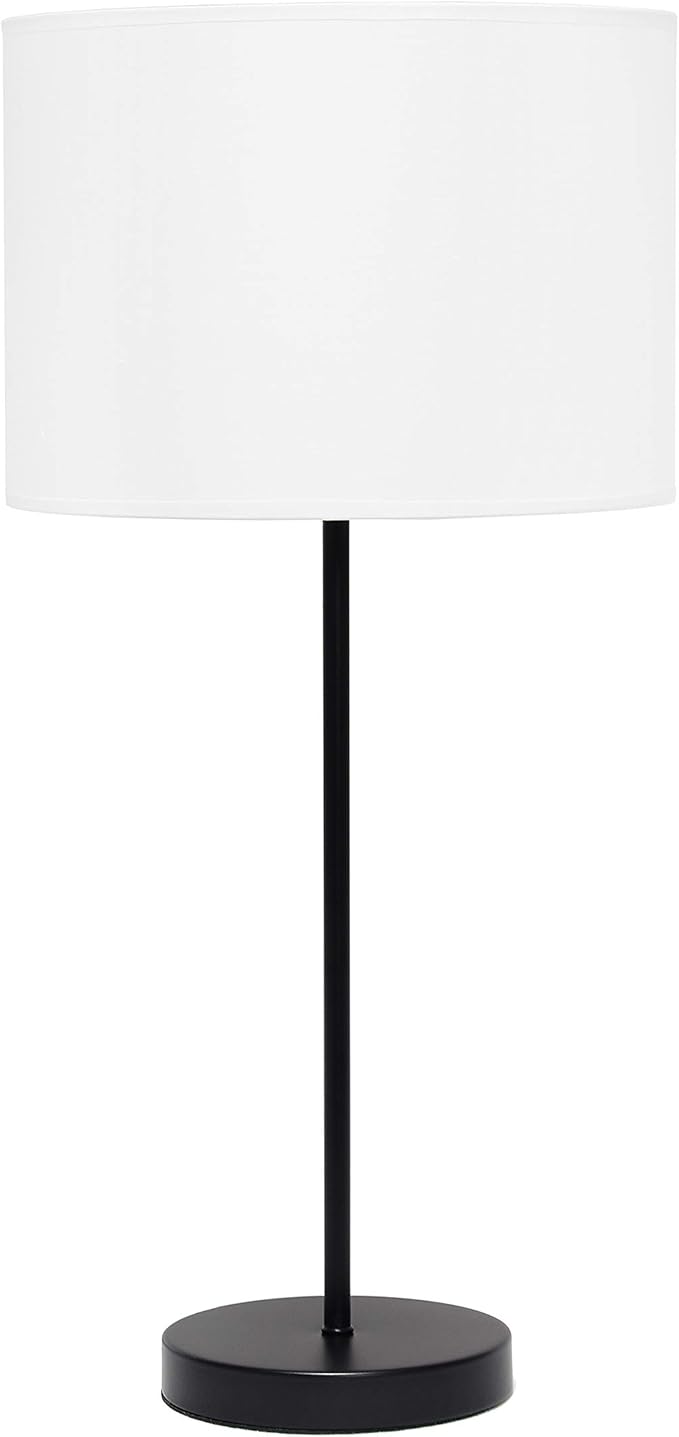
- 1 basic lamp base with rod stand
- 40 oyster shells
- Driftwood (12–18 inches tall)
- Strong epoxy glue
- LED fairy string lights + socket set
- Optional: metal mesh
Step-by-step Guide
Step 1: If using a ready-made lamp base, unscrew the top to build your custom shell shade. Wrap wire mesh or clear plastic into a cylinder and secure it around the bulb area.
Step 2: Begin gluing shells around the cylinder. Overlap slightly and vary orientation for a natural look. Leave small gaps so light glows through.
Step 3: Once dried, gently wrap fairy lights inside the shell shade or insert a warm-toned bulb.
Step 4: Mount the driftwood to the base using epoxy or secure brackets, ensuring it’s balanced. Add urchin shells or coral for embellishment if desired.
#15. DIY Light-Up Beach-in-a-Tin Diorama
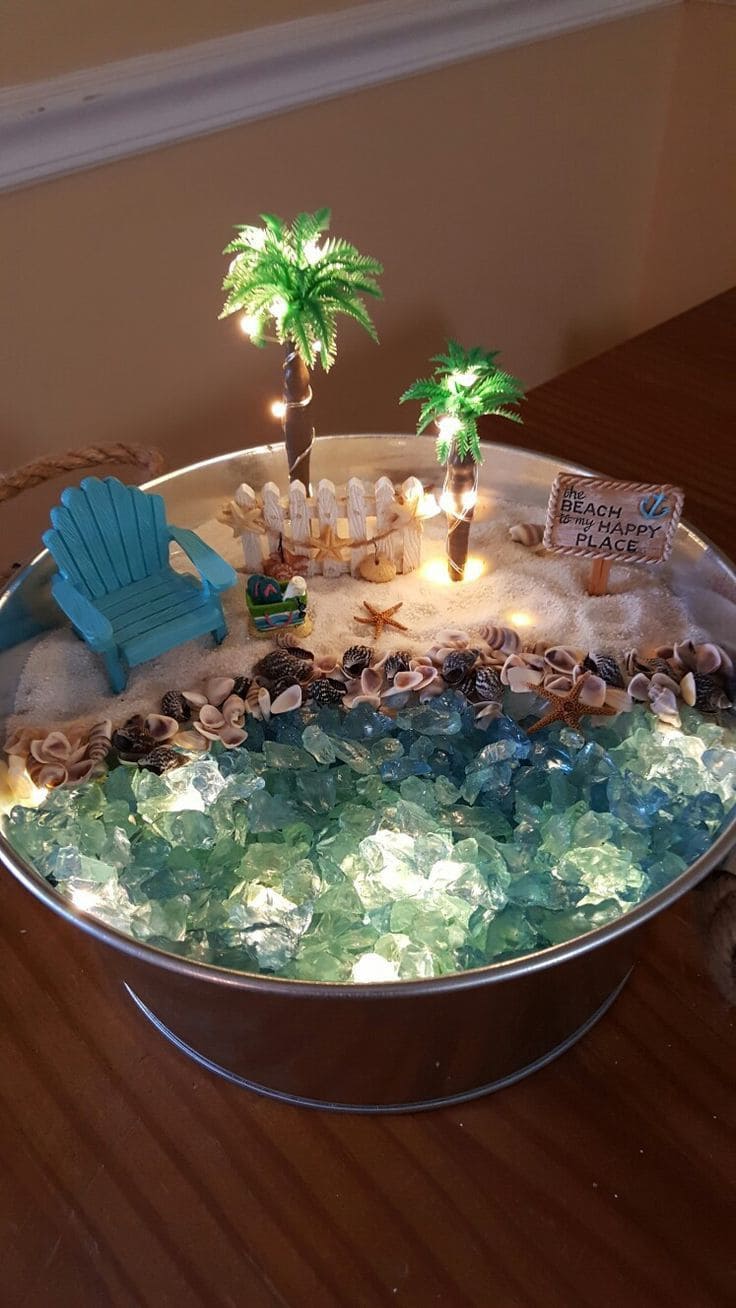
This glowing coastal mini-scene blends warm memories, playful imagination, and calming vibes in a single tin.
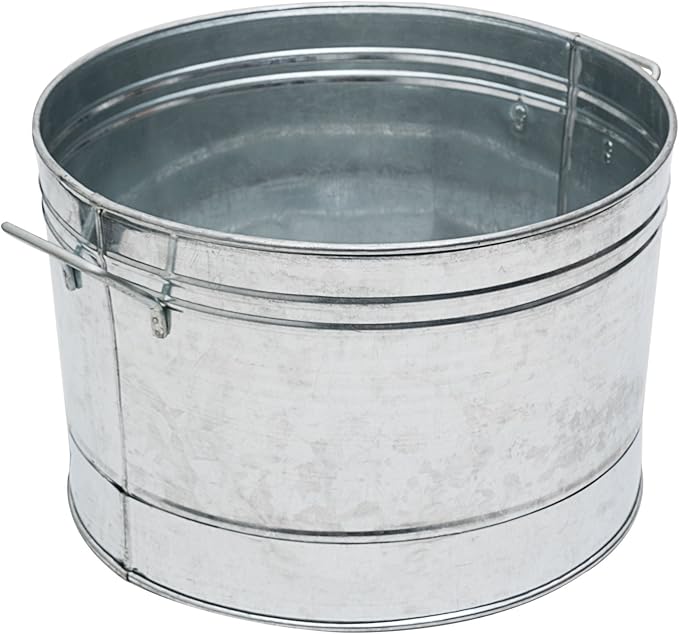 SHOP ROUND METAL TIN CONTAINER
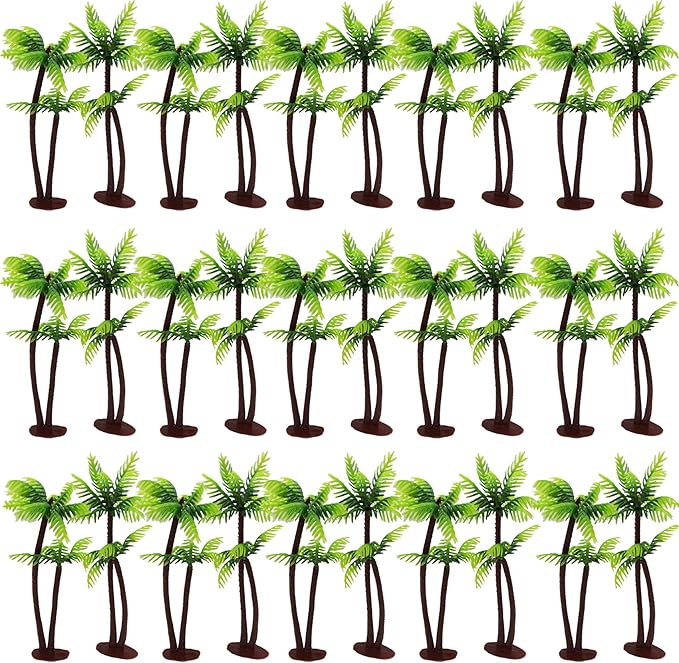 SHOP ARTIFICIAL PALM TREES
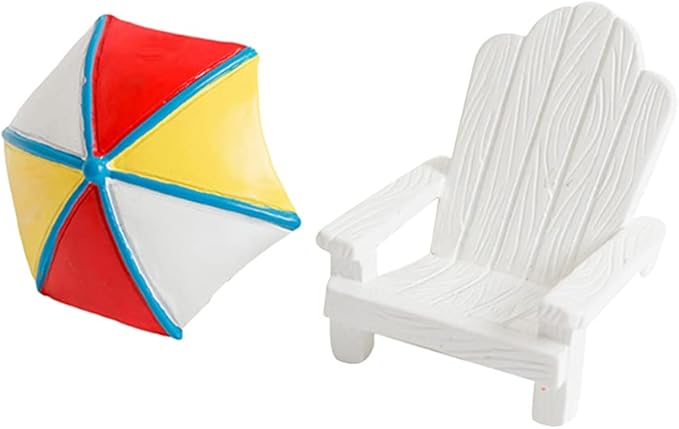 SHOP MINI BEACH CHAIR
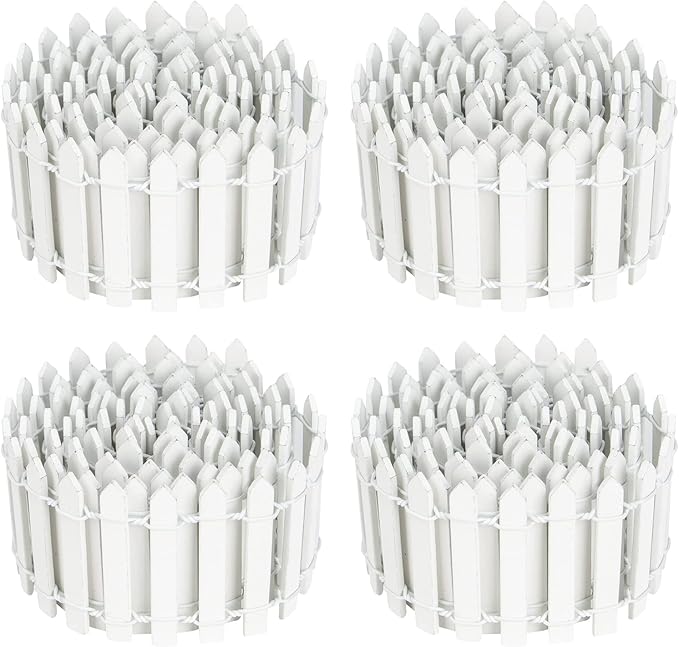 SHOP MINI FENCE
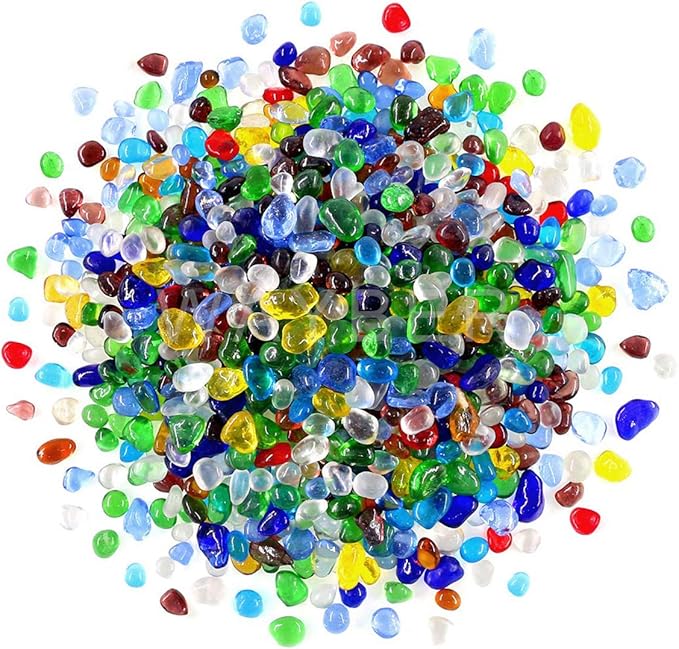
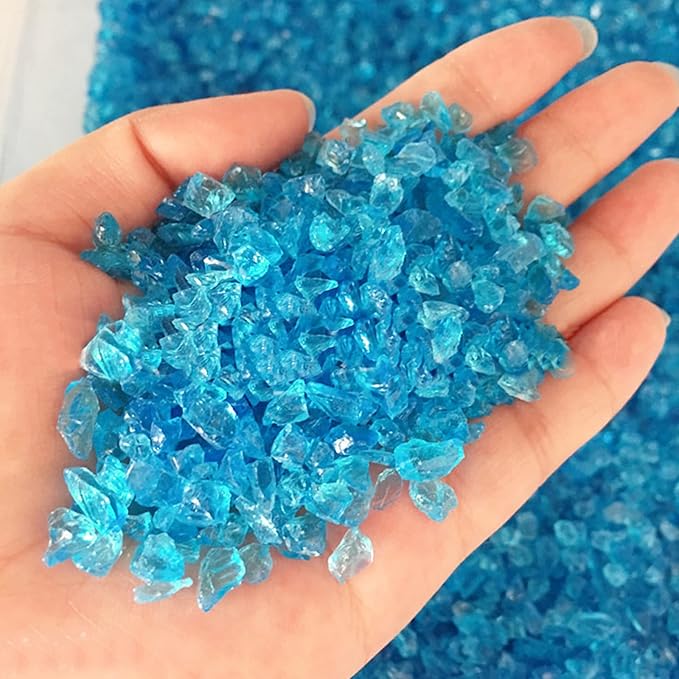 SHOP BLUE GLASS SEA CHIPS
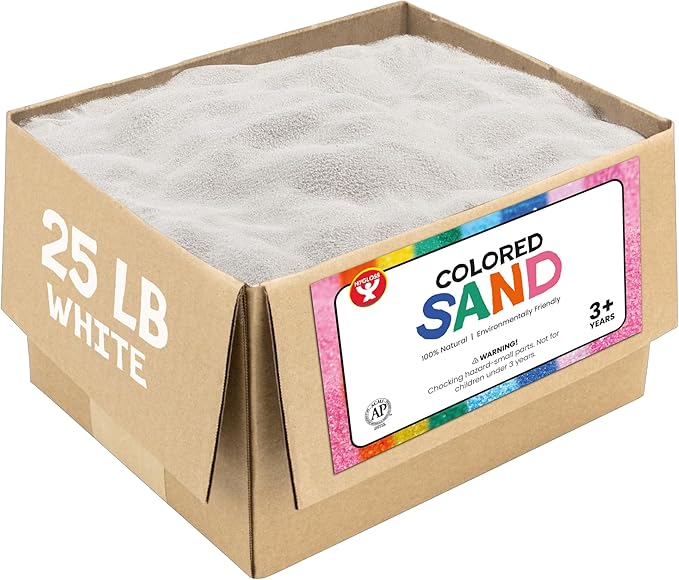 SHOP WHITE CRAFT SAND
Materials Needed
- 1 round metal tin container (about 8–10″ diameter, 3–4″ tall)
- Mini LED string lights
- 2 artificial palm trees
- Mini beach chair & fence set
- Mixed seashells & mini starfish
- Frosted blue sea glass chips
- White craft sand
- Mini sign decoration
- Hot glue gun & glue sticks
Step-by-step Guide
Step 1: Pour a layer of craft sand on one half of the tin to form your beach, then place your LED lights at the bottom of the “ocean” half. Cover with frosted sea glass until the lights are hidden but still glow through.
Step 2: Hot glue the palm trees, beach chair, and mini fence into the sand section. Wrap light strands around tree trunks for a whimsical touch.
Step 3: Decorate the shore with assorted shells and mini starfish. Add the beach sign and other tiny accessories to personalize the scene.
#16. Coastal Glow Cylinder Lanterns
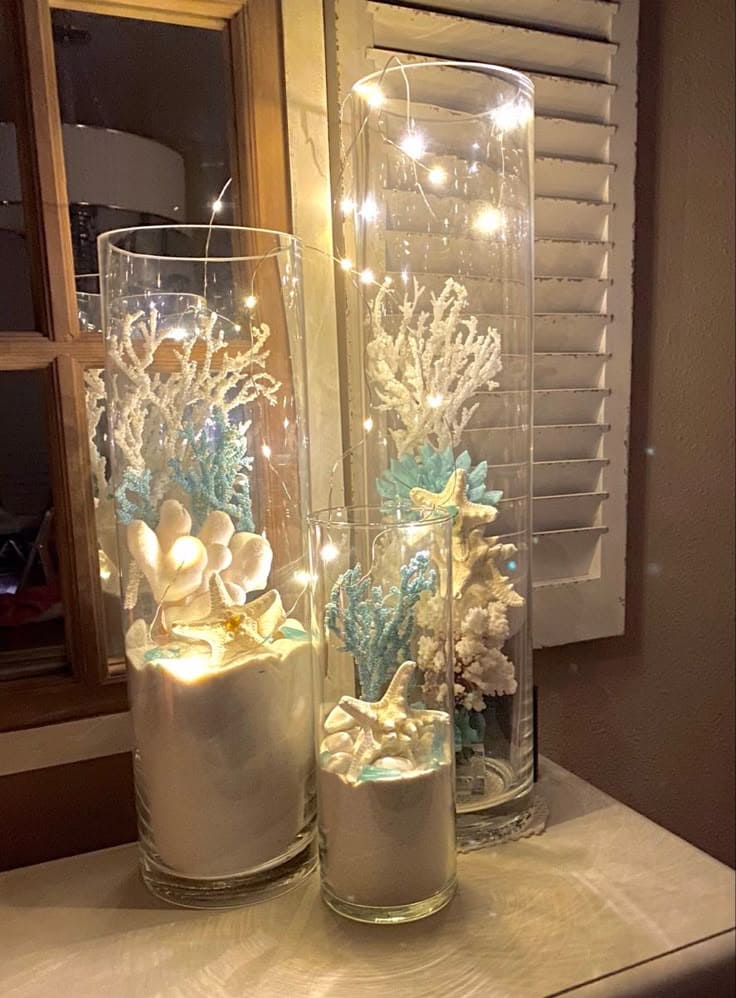
If I could bottle the calm of the beach at sunset, this is how it would look.
Materials Needed
- 3 clear glass cylinder vases (varied heights: 10″, 14″, and 18″)
- Fine white craft sand (2 lbs per vase)
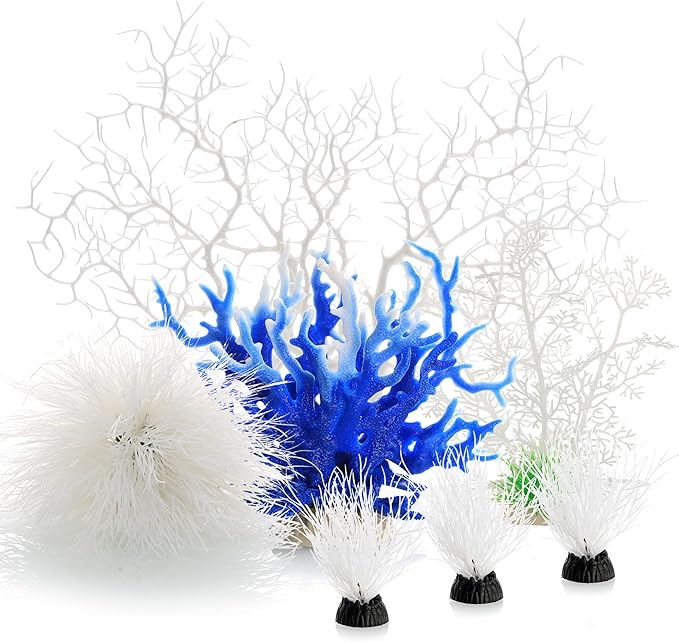
- Assorted faux corals in white and aqua tones
- 10-15 decorative seashells & starfish
- Micro LED string lights
- Optional: tiny blue glass accents
Step-by-step Guide
Step 1: Fill each vase one-third to halfway with white sand, then arrange faux coral pieces toward the back inside each vase, pressing slightly into the sand to hold.
Step 2: Layer shells and starfish at the front, mixing heights and angles for a natural, beachy feel.
Step 3: Carefully wind and tuck LED string lights inside and around the coral and shells. Add blue glass pieces for a touch of ocean shimmer.
#17. Seashell Paradise Shower Wall
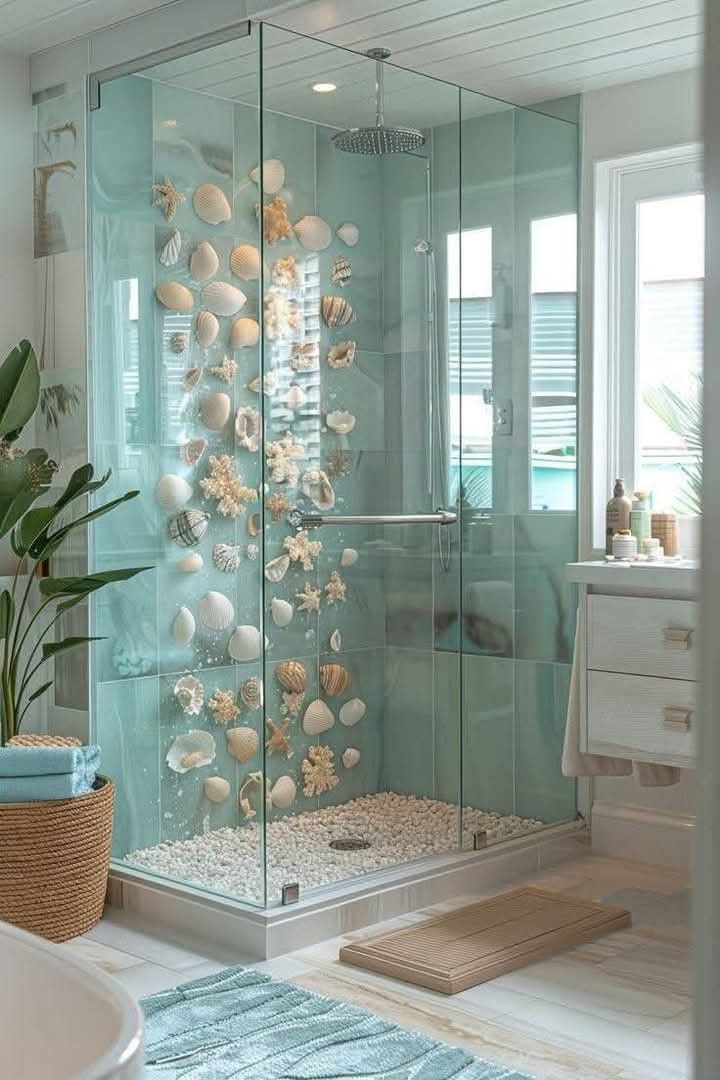
Every time I step into a shower like this, it feels like I’m entering a tide pool on a calm beach morning.
Materials Needed
- 50 large seashells
- Clear waterproof epoxy glue
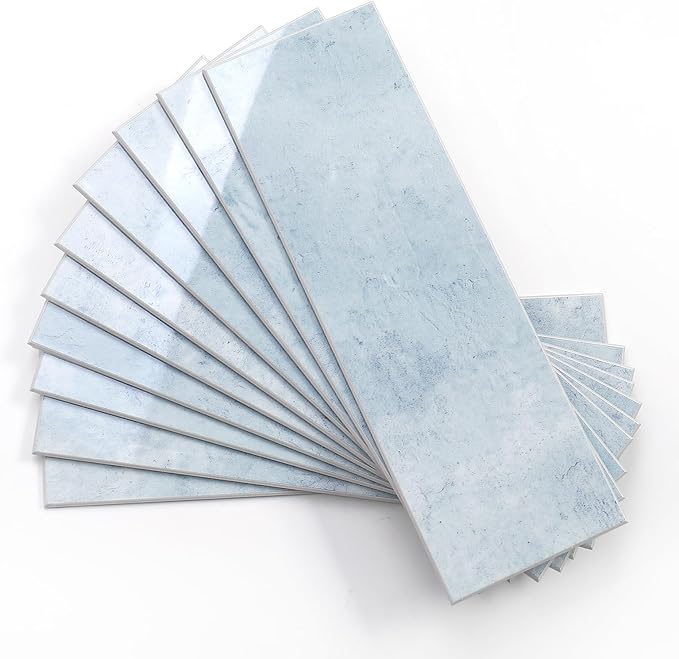
- Ceramic aqua wall tiles (approx. 25 sq ft)
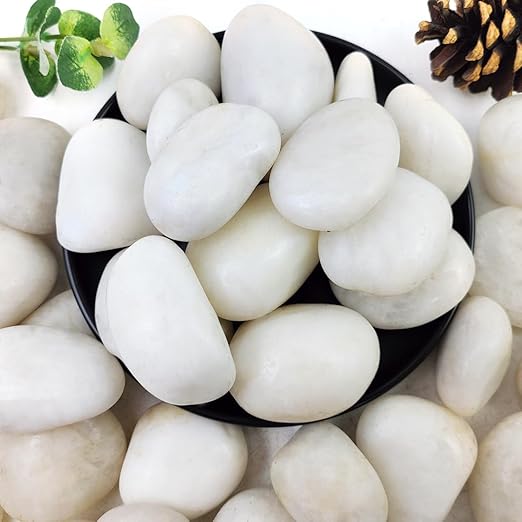
- White polished river pebbles (about 20 lbs)
- Optional: sealant spray
Step-by-step Guide
Step 1: Plan your seashell layout on the floor first to create a gentle cascade, then use epoxy adhesive to fix each shell directly to the tiled wall. Hold each in place for 30–60 seconds.
Step 2: Let everything cure for 24 hours. For real shells, spray a sealant layer to protect against moisture discoloration.
Step 3: Finish by adding white river pebbles to the base of your shower for a soft, natural foot massage and a beachy finish.
#18. Seashell and Starfish Coastal Tablescape
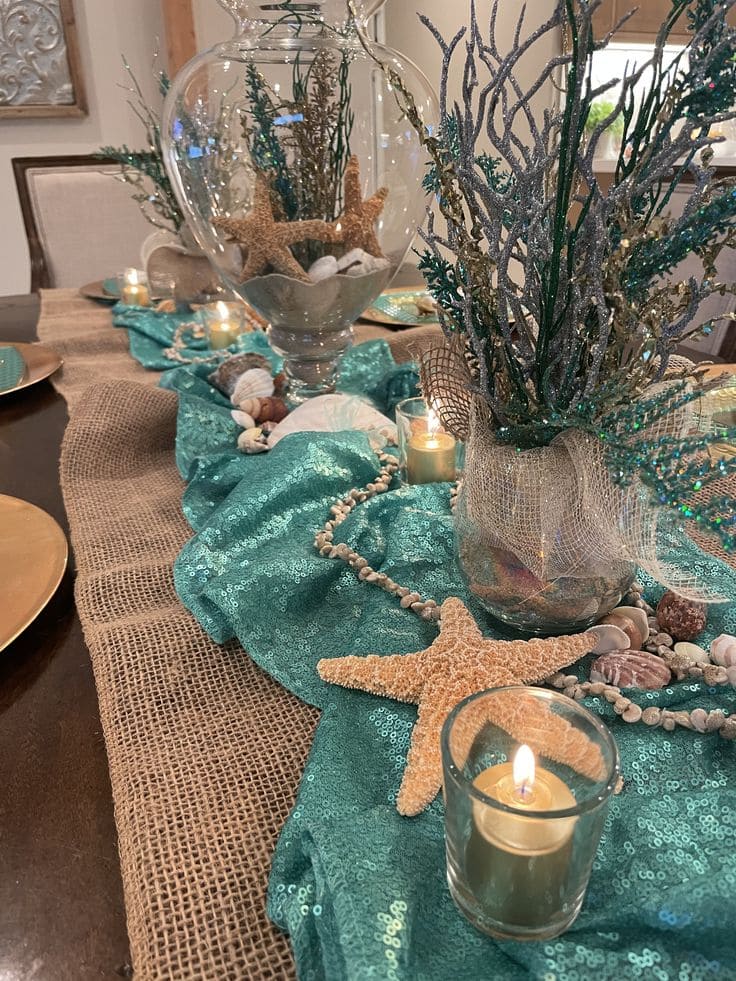
The teal sequins shimmer like sunlit water, while burlap tones down the glam with earthy charm. It’s romantic, refreshing, and beach-soul calming.
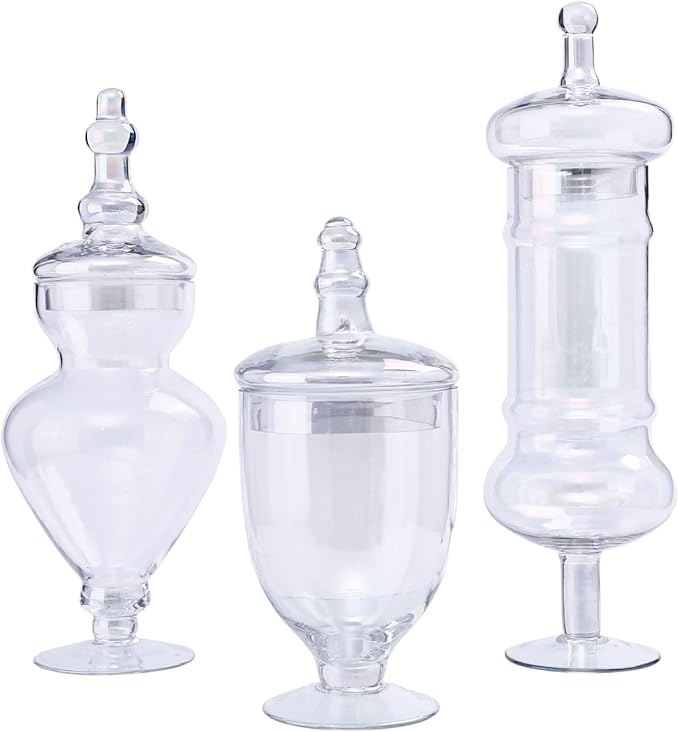 SHOP GLASS APOTHECARY VASES
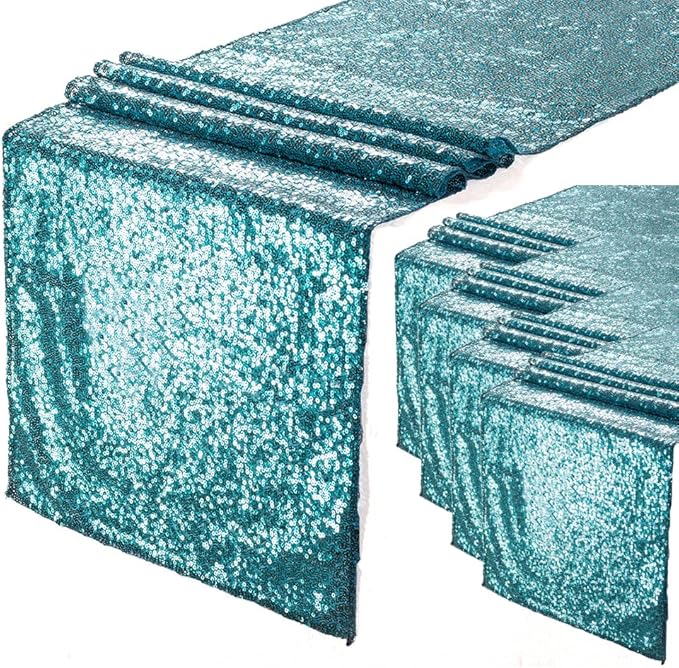 SHOP TEAL SEQUIN FABRIC RUNNER
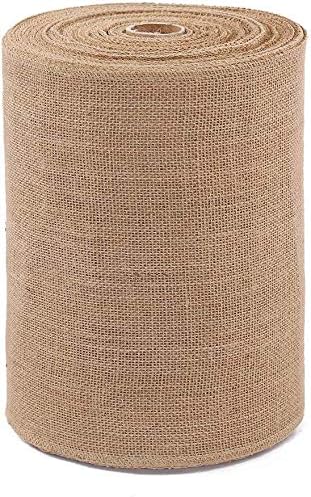 SHOP BURLAP TABLE RUNNER
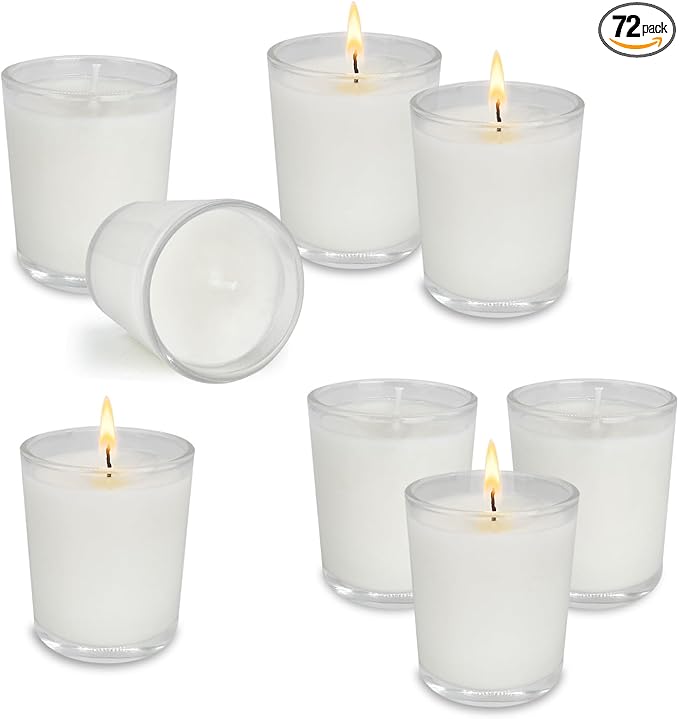 SHOP GLASS VOTIVE CANDLES
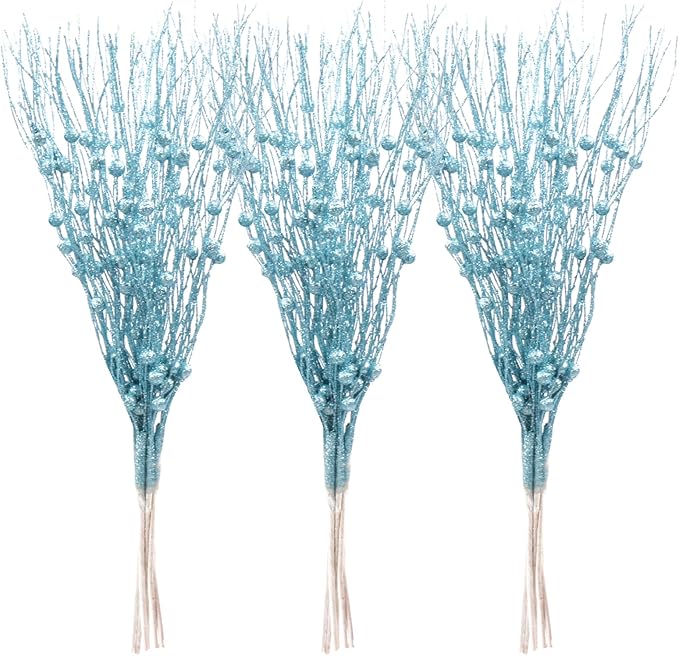 SHOP GLITTER CORAL PICKS
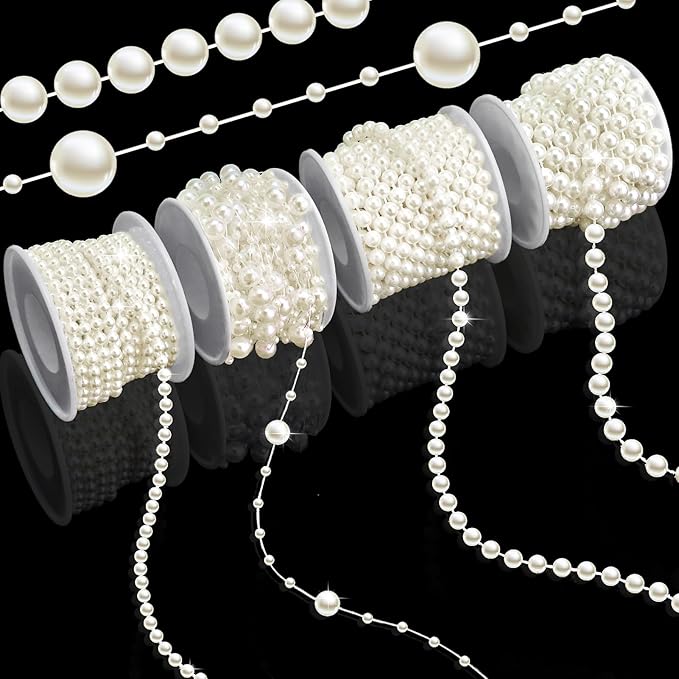 SHOP PEARL STRING GARLAND
Materials Needed
- 3 large glass apothecary vases (10″ to 14″ tall)
- 6 starfish pieces
- Mini seashells mix pack
- Teal sequin fabric runner (1.5 to 2 yards)
- Burlap table runner
- Glass votive candle holders + tealight candles
- 20-25 glitter coral picks
- Optional: pearl string garland
Step-by-step Guide
Step 1: Lay down the burlap runner first, then softly bunch the teal sequin fabric across the top for waves of texture.
Step 2: Position the vases in the center, filling them halfway with sand and layering in seashells, small pebbles, and a starfish in front.
Step 3: Add glitter coral picks into each vase and wrap the base with mesh or netting.
Step 4: Arrange votive candles and loose shells along the fabric, weaving in the pearl garland if desired.
Step 5: Finish by nestling a few extra starfish near the edges and lighting the candles for that magical ocean glow.
#19. Seashell Stemware Trinket Stands
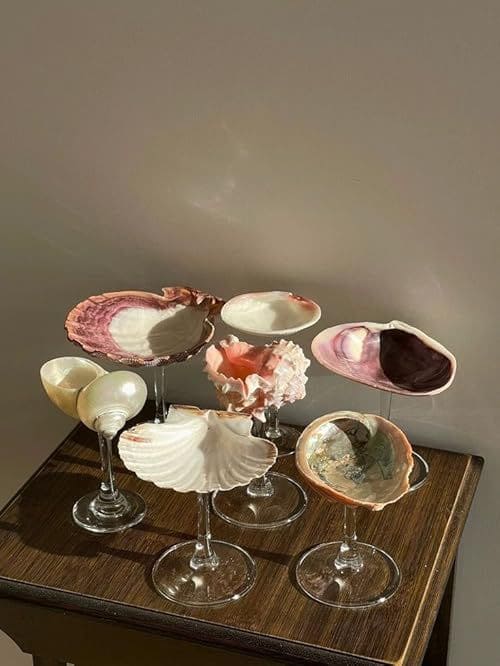
They look sculptural under soft light, and each one tells its own ocean story. You can use them for decor, altar spaces, or handmade gifting.
Materials Needed
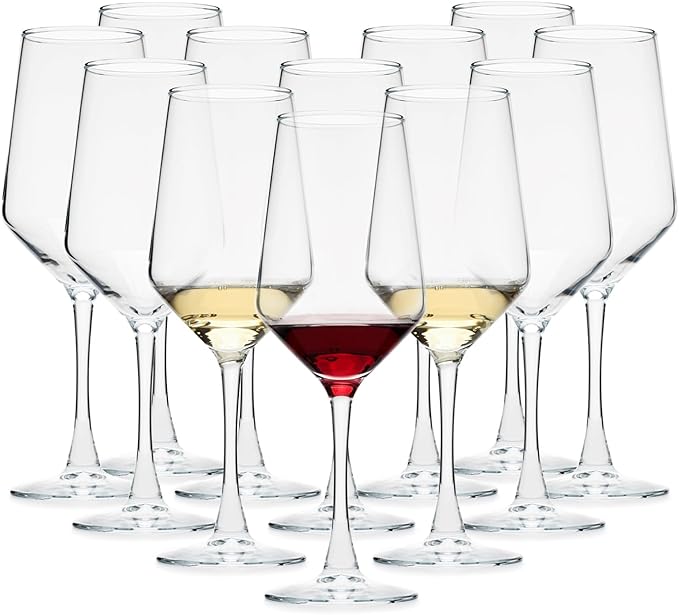
- 8 wine glasses
- Assorted large seashells (3″ to 5″ diameter)
- Clear industrial adhesive (like E6000)
- Optional: Iridescent paint
Step-by-step Guide
Step 1: Apply a thin ring of adhesive to the rim of the glass stem, then gently press the base of the shell onto the glass, adjusting for balance. Let it set upside-down for 24 hours.
Step 2: Once fully cured, optionally highlight edges with paint or gold leaf for a luxe finish.
#20. Coastal Keepsake Display Frame
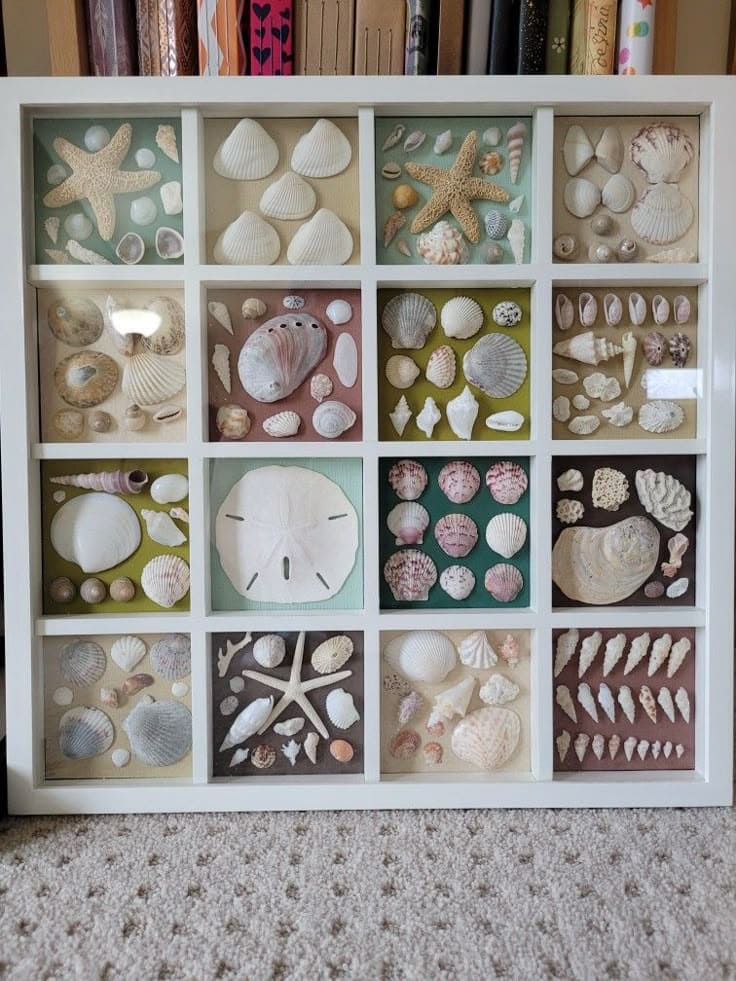
This shadowbox-style seashell art adds a warm, personalized touch to the home, great for hallways, craft rooms, or coastal-themed nooks.
Materials Needed
- Multi-section shadow box frame (16-grid) – approx. 16″x20″
- 100-120 assorted seashells and starfish
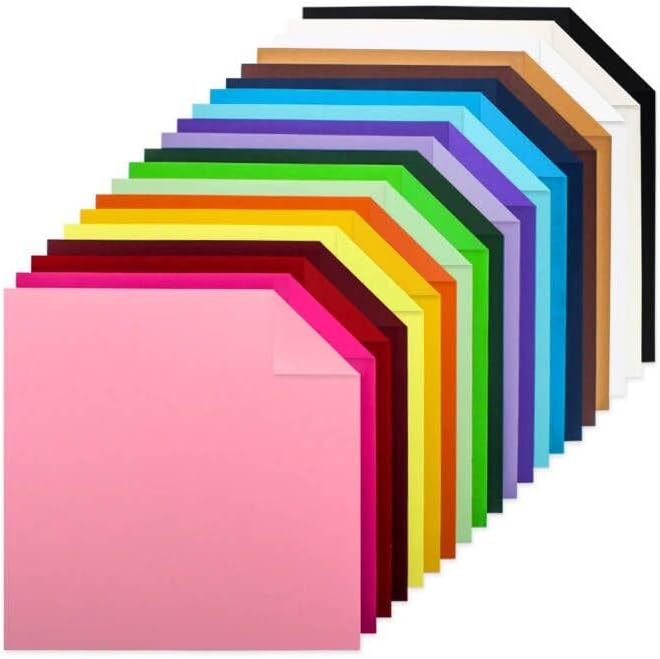
- 12 colored cardstock papers
- Craft glue
Step-by-step Guide
Step 1: Cut cardstock to fit each compartment and secure it to the back panel using double-sided tape.
Step 2: Arrange shells within each section by theme, color, or shape. Once satisfied with layout, glue each shell in place. Allow to dry completely.
Step 3: Reassemble the frame and hang on a wall or display on a shelf.
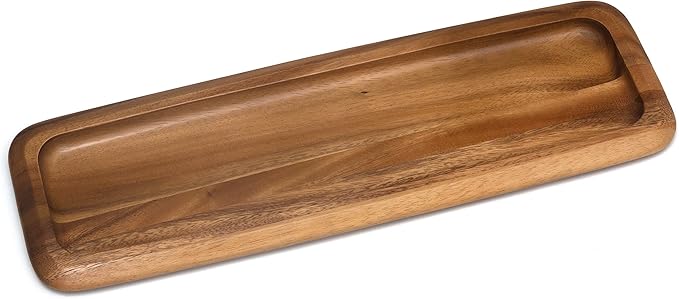
#21. Seashell Coastal Candle Tray
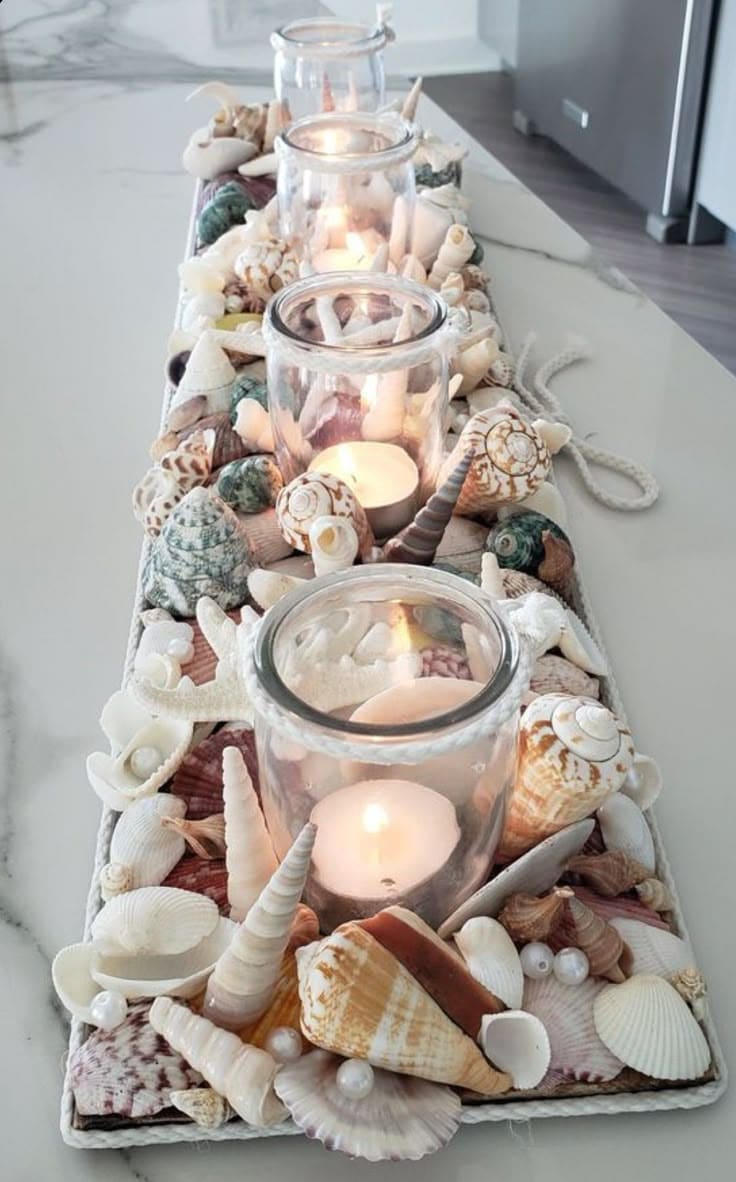
This piece is perfect for beach house decor or to add a coastal vibe to your everyday dining.
Materials Needed
- 4 glass candle holders (2.5″–3″ diameter)
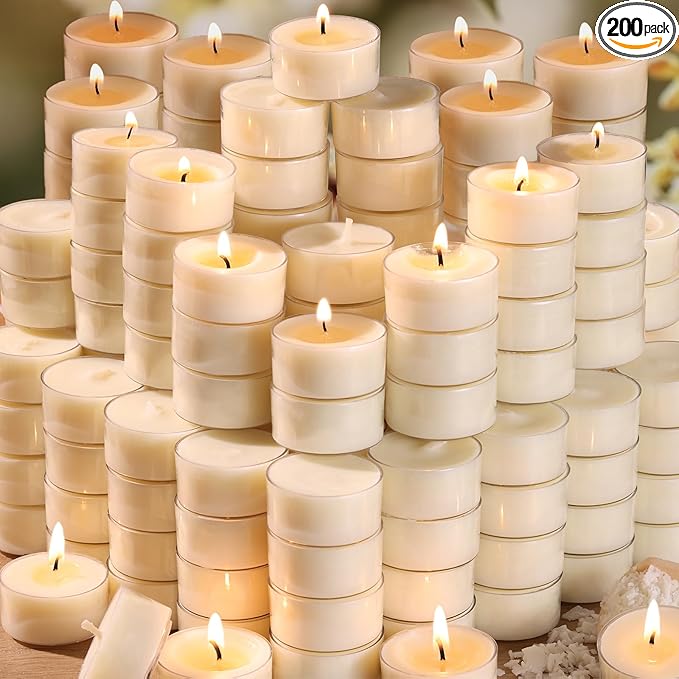
- 4 white tealight candles
- Flat wood tray base (18″x6″)
- 100 assorted seashells
- 40 pearl beads
- Hot glue gun and glue sticks
Step-by-step Guide
Step 1: Arrange the candle holders evenly across your tray base and mark their positions, then glue them securely to the base and let it cool fully.
Step 2: Begin placing larger seashells around the candles first, using hot glue to attach them one by one.
Step 3: Fill in the gaps with medium and small shells, layering shapes and tones. Add pearl beads for an elegant shimmer.
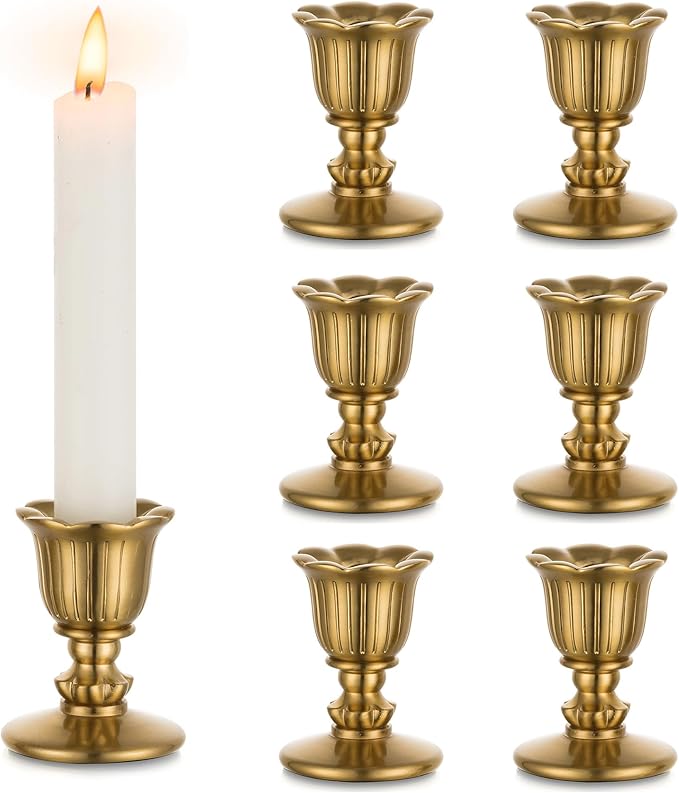
#22. Seashell Wall Sconces

These sculptural wall sconces shimmer beautifully in natural light and glow warmly when lit.

Materials Needed
- 2 wooden bases (8″x4″)
- 2 brass candle holders with screw plates
- 50 polished pearlized spiral shells (approx. 1.5″–2″)
- Strong clear adhesive like E6000
- Sawtooth picture hangers
Step-by-step Guide
Step 1: Attach the candle holders to the wooden backplates using screws or included mounting brackets.
Step 2: Start from the bottom and glue large spiral shells tightly together, slightly overlapping, until the board is fully covered.
Step 3: Fill gaps with smaller shells and adjust angles to give the surface a flowing, organic look. Once dry, add a hanger on the back and mount them on the wall.
#23. Seashell Curtain
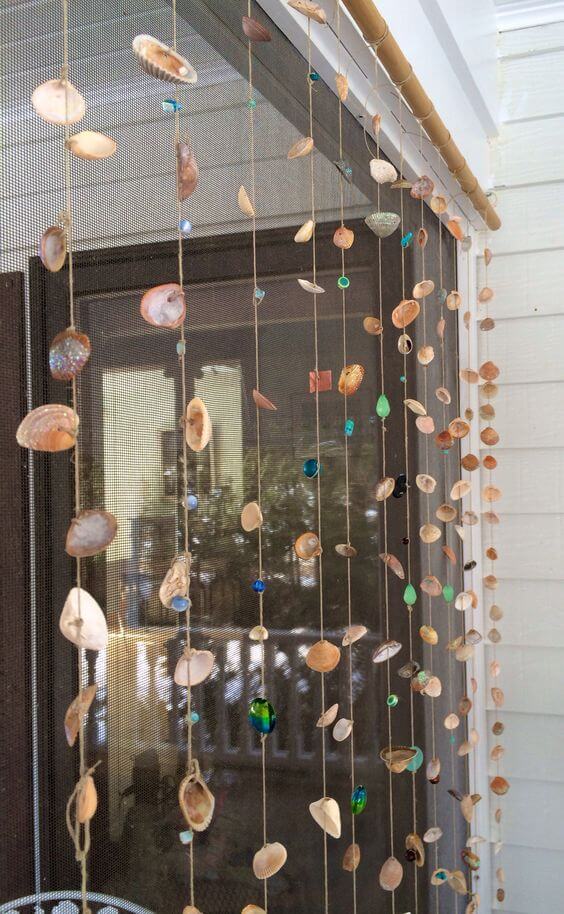
The delicate tapping of shells, the sparkle of hanging beads, it’s calming, enchanting, and full of character.
Materials Needed
- 100 small flat seashells
- 1 pack assorted glass beads
- Strong natural jute twine (40–60 ft)
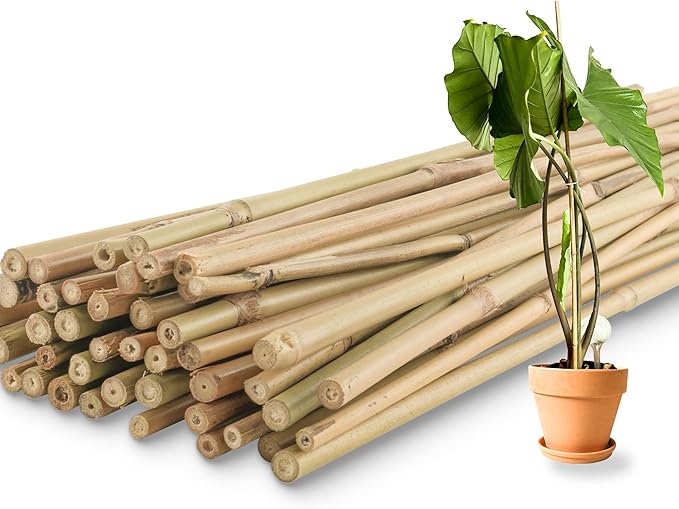
- 1 bamboo rod (36″ length, 1″ thick)
- Small drill
Step-by-step Guide
Step 1: Cut your twine or fishing line into 12–16 equal pieces, each about 5 feet long (adjust depending on your doorway).
Step 2: Tie or glue shells and beads along each strand in alternating patterns, spacing them about 3–4 inches apart.
Step 3: Tie each strand to the bamboo rod, keeping them evenly spaced. Add a hanging loop on each end of the rod.
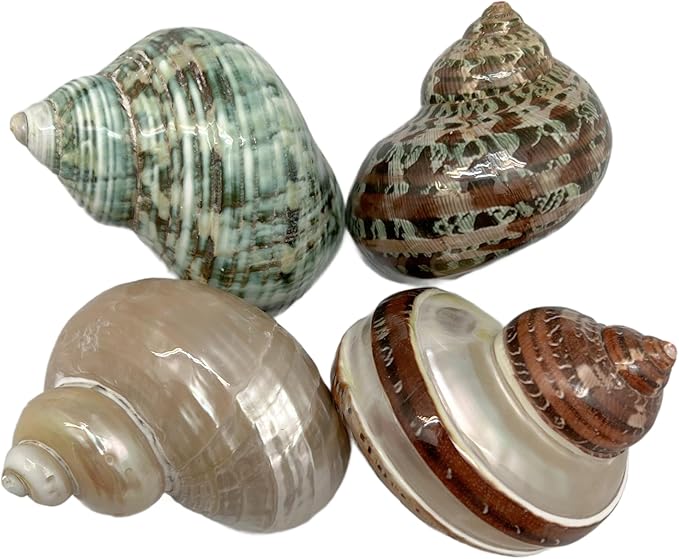
#24. Shell Bloom Centerpiece
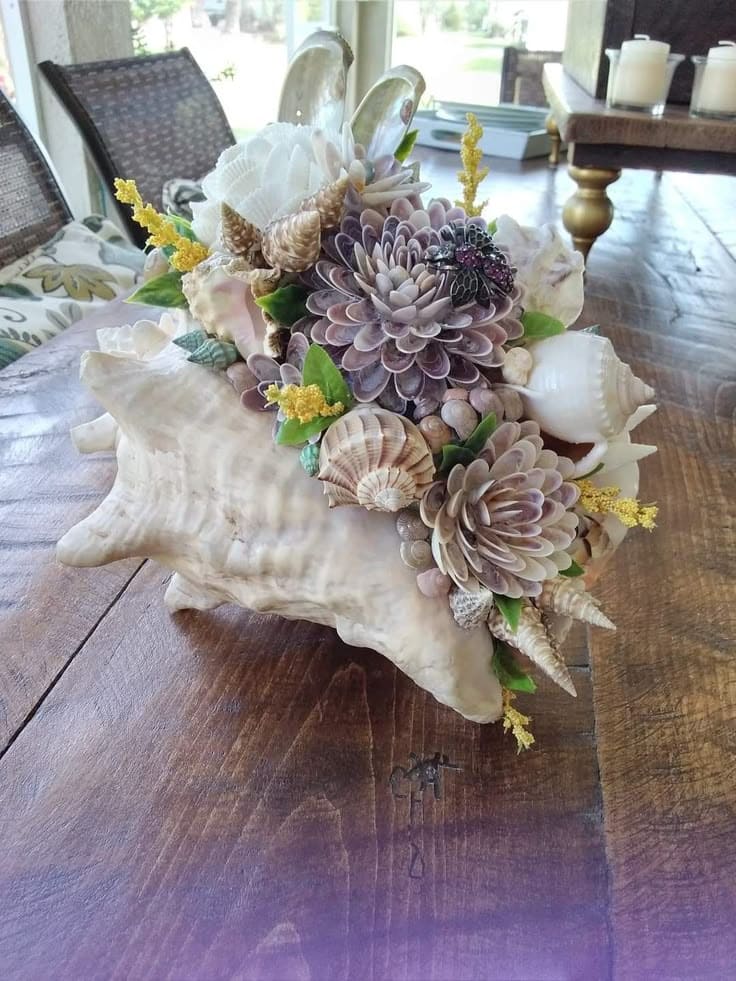
This is one of those rare pieces that made me pause and smile every time I walked past it.
Materials Needed
- 1 large sea snail shell (6″–10″)
- Mixed seashells
- Floral filler
- Hot glue gun + glue sticks
Step-by-step Guide
Step 1: Begin building flowers using small shells: overlap and glue them in layers from center outward. Make 3–4 floral clusters first.
Step 2: Attach the flowers into and around the shell opening with hot glue, arranging them to cascade slightly forward.
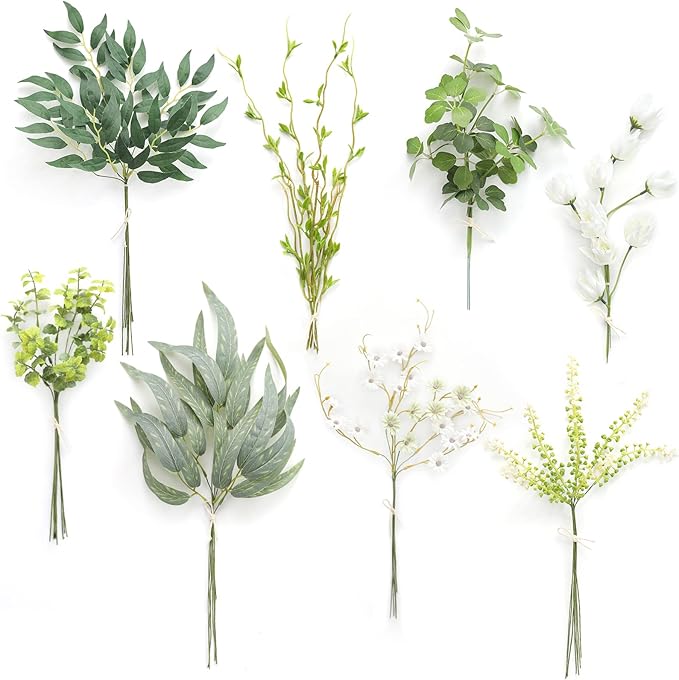
Step 3: Fill in spaces with faux leaves, tiny buds, or even real dried stems for texture and movement. Add your accent piece if desired.
#25. Seashell Turtle Canvas
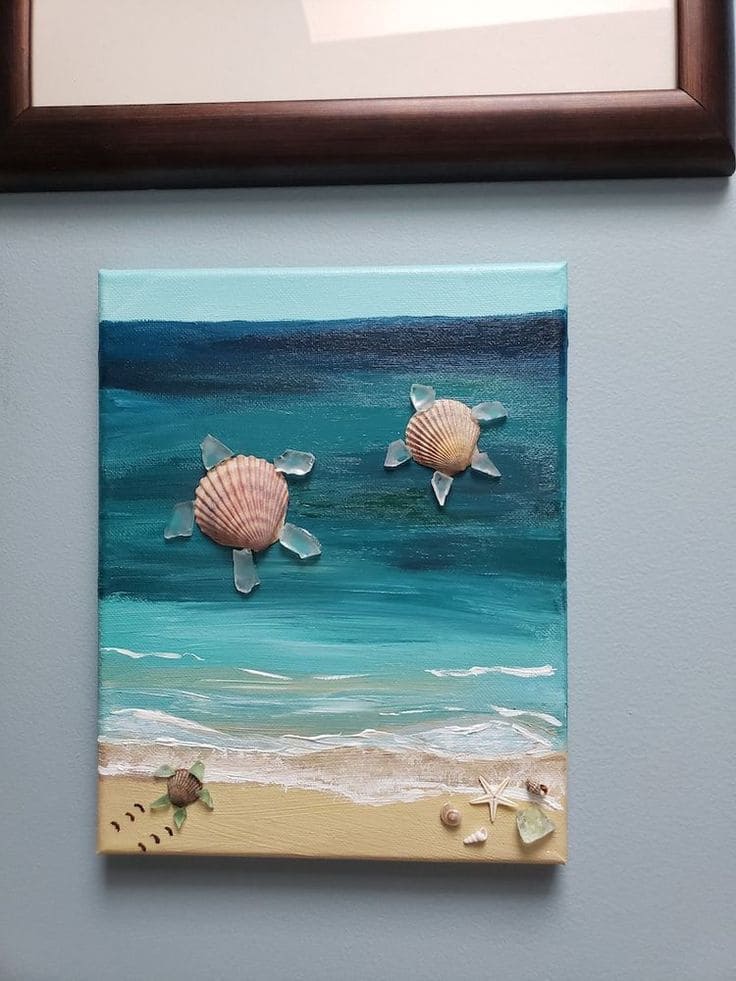
There’s something heart-melting about this piece. It feels like a soft whisper from the sea.
Materials Needed
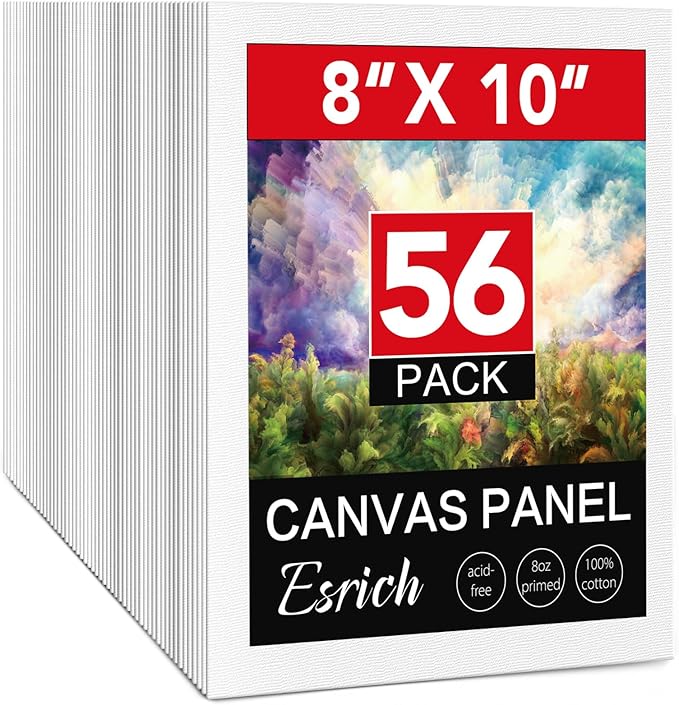
- 1 small canvas (8×10 inches)
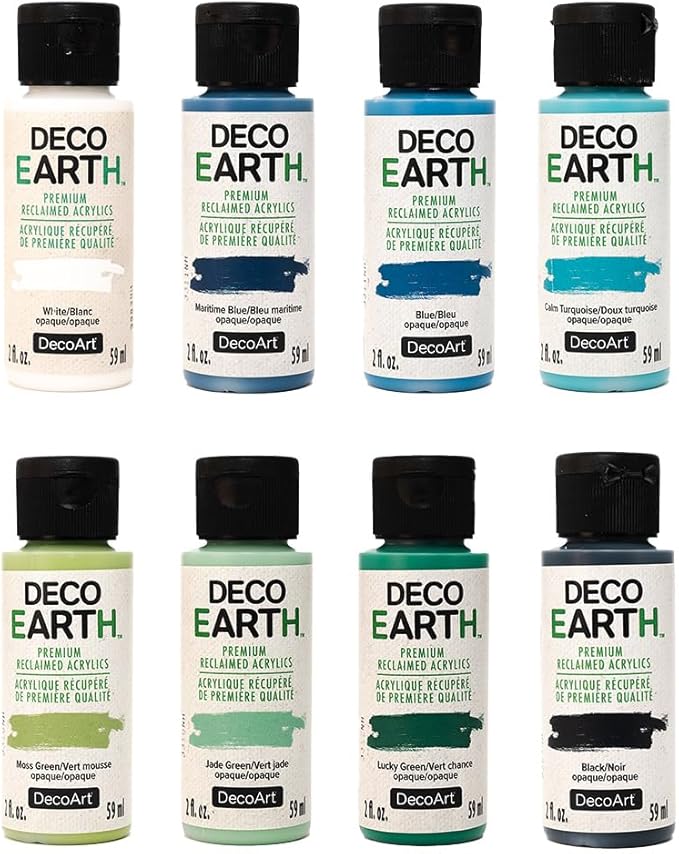
- Acrylic paint set (ocean colors)
- Flat clam shells (1.5–2″)
- Sea glass pieces
- Tiny starfish, mini shells, and sand
- Hot glue gun
- Fine-tipped paintbrushes
Step-by-step Guide
Step 1: Paint the background first: blend ocean tones from deep navy at the top to sandy beige at the bottom. Let dry.
Step 2: Glue shell bodies onto the canvas where you want your turtles. Add sea glass pieces as flippers and a small head for each.
Step 3: Paint subtle white lines for waves, and detail baby turtle tracks with a fine brush.
Step 4: Add finishing elements: small shells, a starfish, even real sand glued to the shore area for texture.
#26. Coastal Welcome Sign
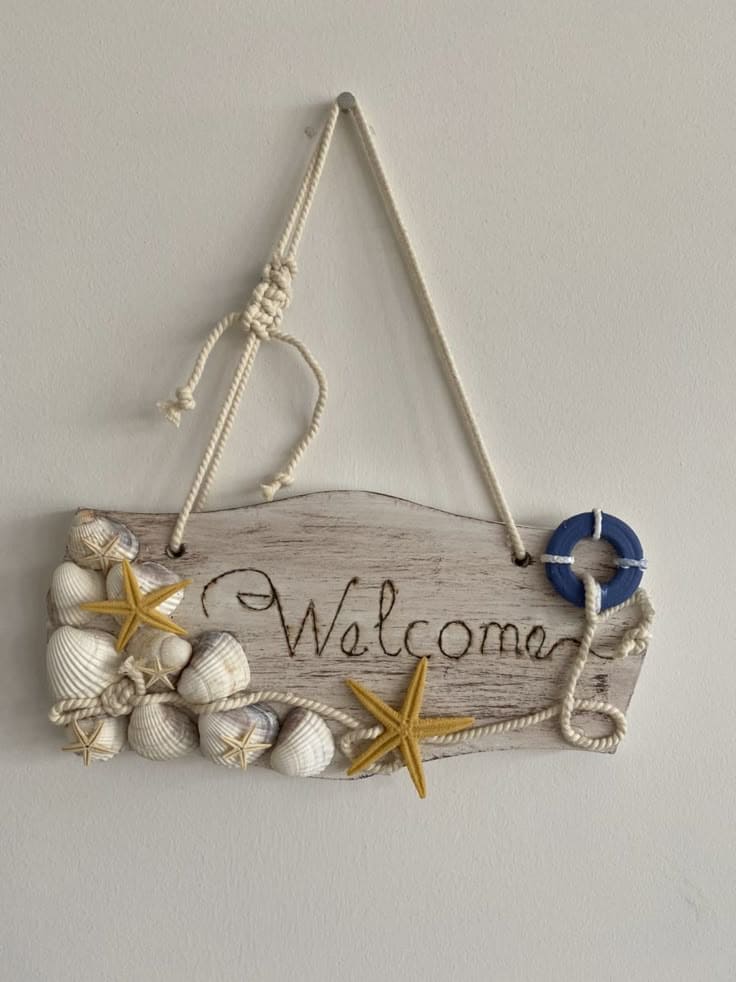
The starfish and rope detailing add just the right nautical flair without being overdone.
Materials Needed
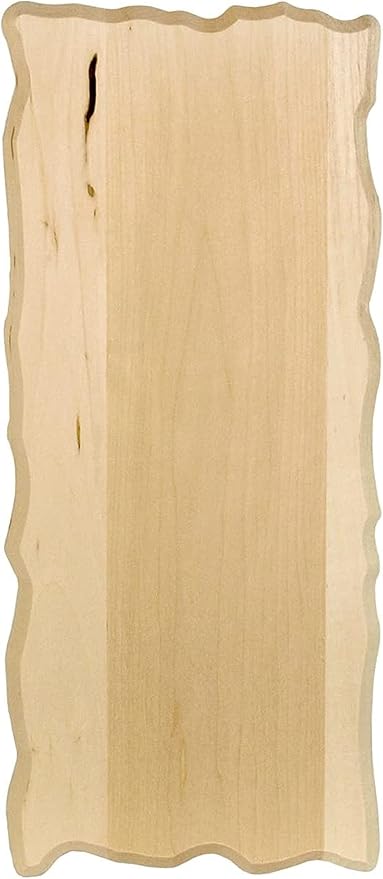
- 1 wooden plaque, approx. 12″x5″
- 15–20 natural seashell mix
- 5–6 mini starfishs
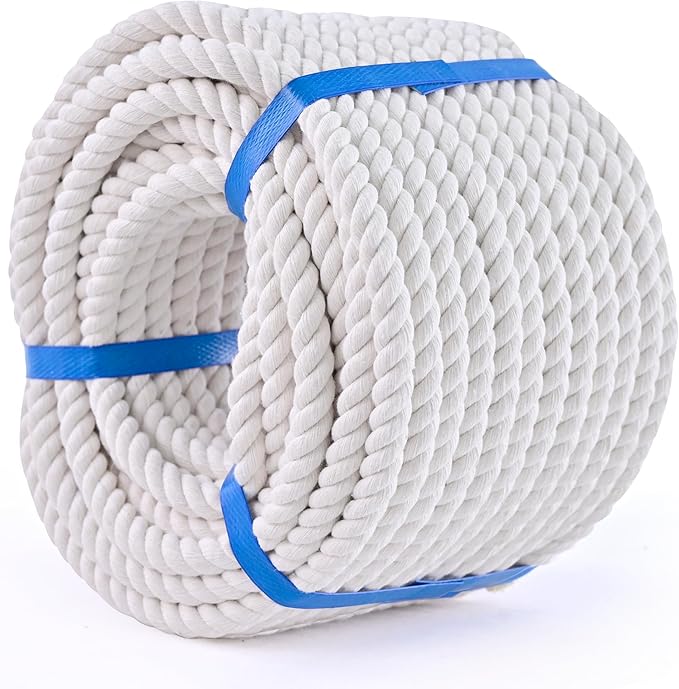
- Nautical cotton rope (¼” thick, 2 ft)
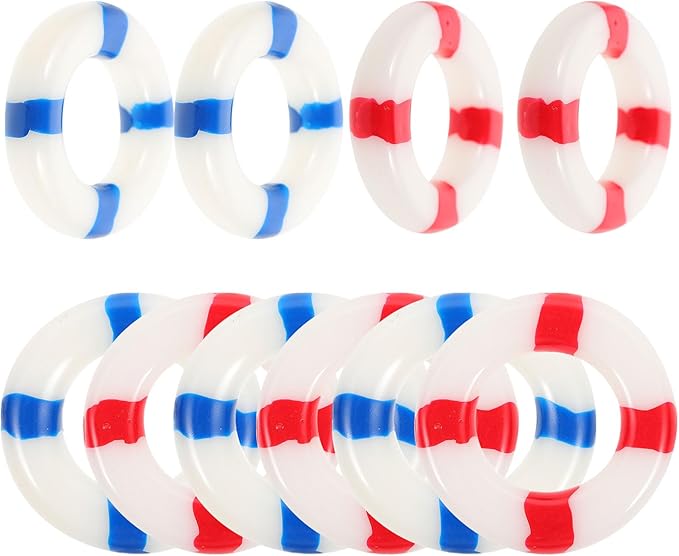
- Mini life ring decor piece (2″)
- Wood stain
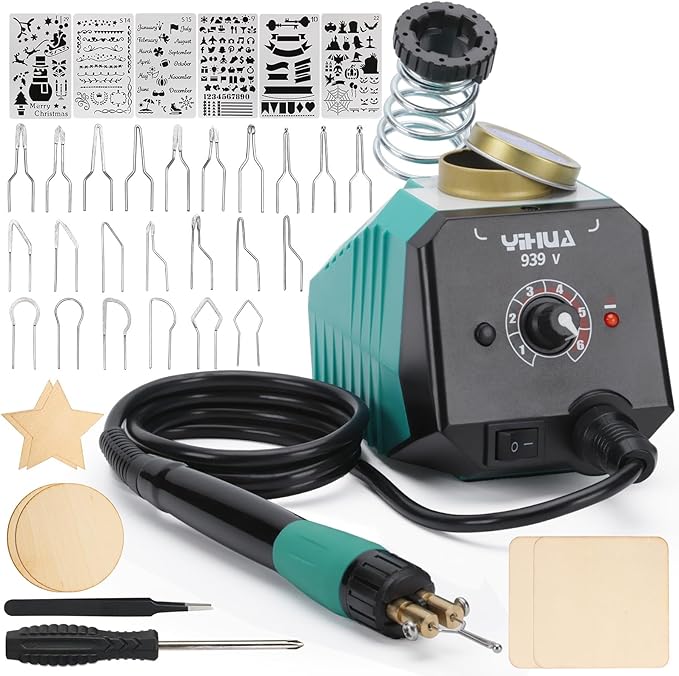
- Woodburning pen
- Glue gun + sticks
- Drill
Step-by-step Guide
Step 1: Lightly stain your wooden plaque and let it dry completely, then use a woodburning pen to write “Welcome” in the center, in your favorite style.
Step 2: Arrange your shells and starfish on the left and bottom edge, then glue them down securely.
Step 3: Loop your nautical rope across the plaque, gluing sections in waves or knots. Attach the mini life ring to one end. then hang your sign.
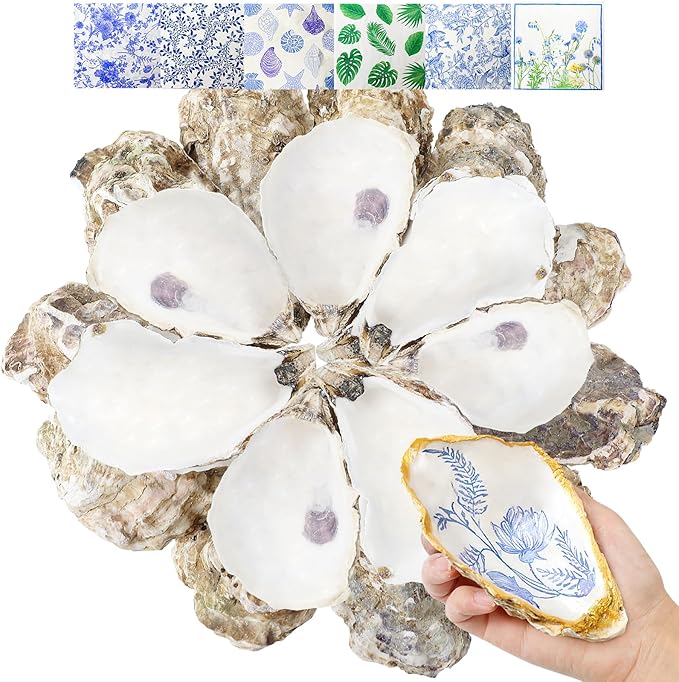
#27. Patterned Oyster Shell Flower Art
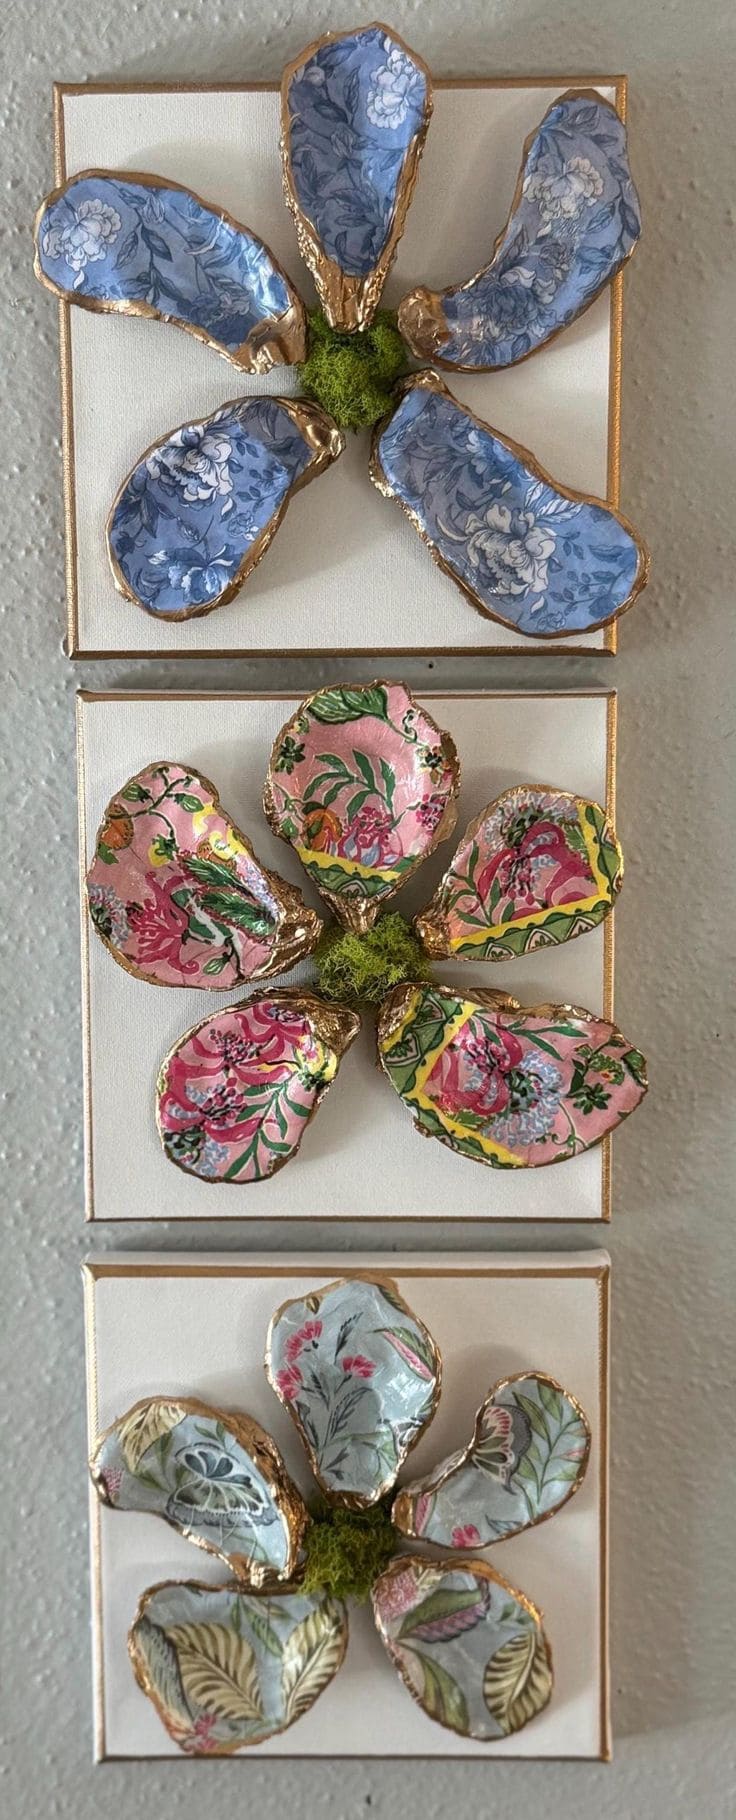
They make a perfect accent for a bathroom, hallway, or gift to someone who loves the sea.

Materials Needed
- Cleaned oyster shells (5 per flower)
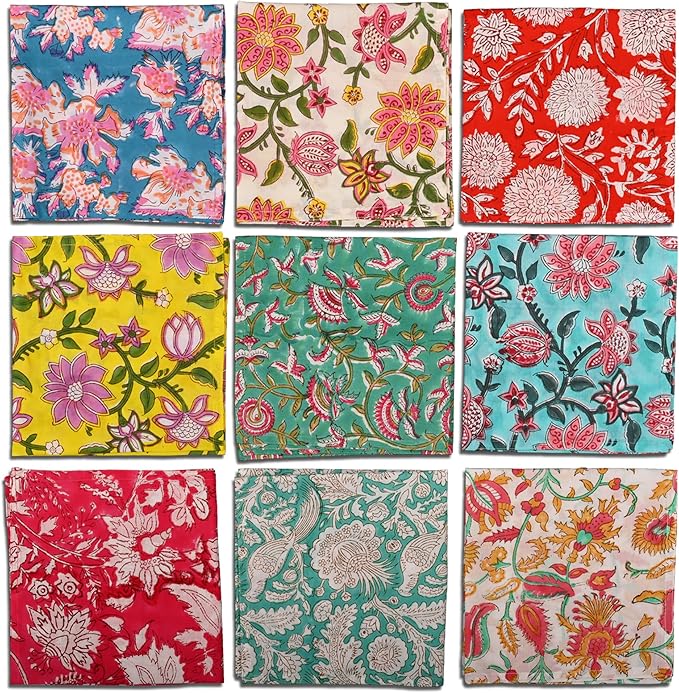
- Patterned napkins
- Gold leaf paint
- Canvas panel (6″x6″)
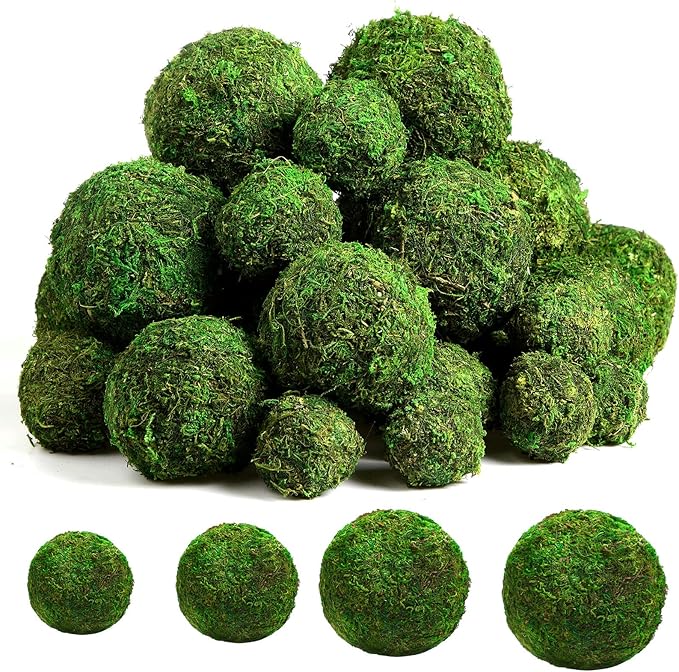
- Moss ball
- Mod Podge + brush set
- Strong glue
Step-by-step Guide
Step 1: Cut floral napkin layers and separate the top printed layer. Use Mod Podge to decoupage each oyster shell on the inside, smoothing wrinkles gently. Let them dry.
Step 2: Brush the edges with gold leaf paint for a finished, radiant look.
Step 3: Arrange 5 shells in a flower shape on your canvas panel and glue them down securely. Then, add a moss ball to the center to complete the flower design.
#28. Textured Seashell Balls
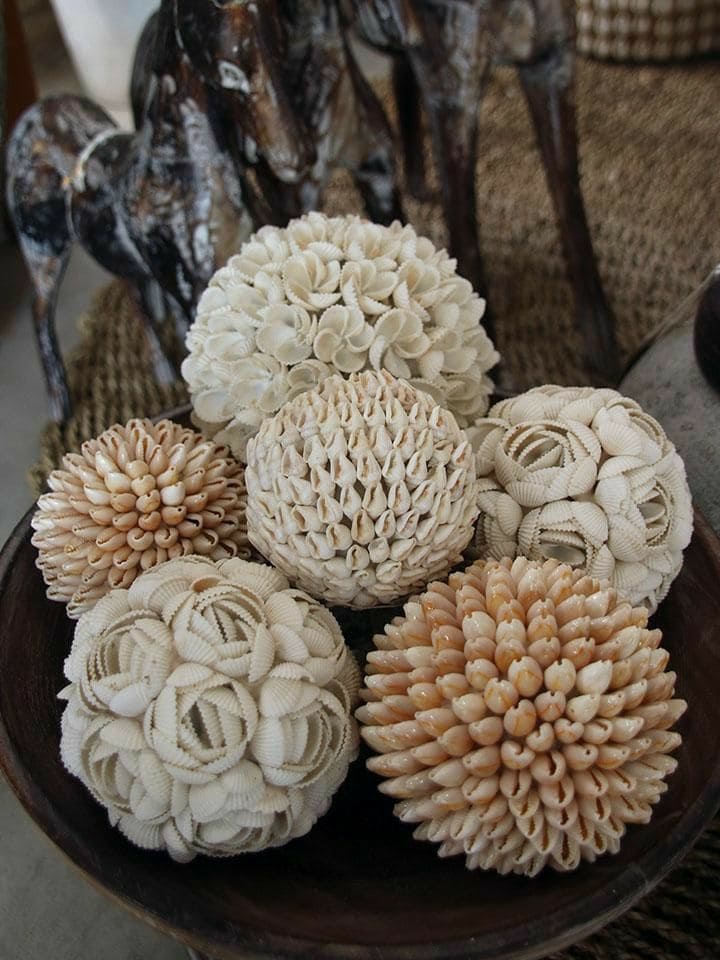
I made mine for the living room coffee table, and they get compliments every time.
Materials Needed
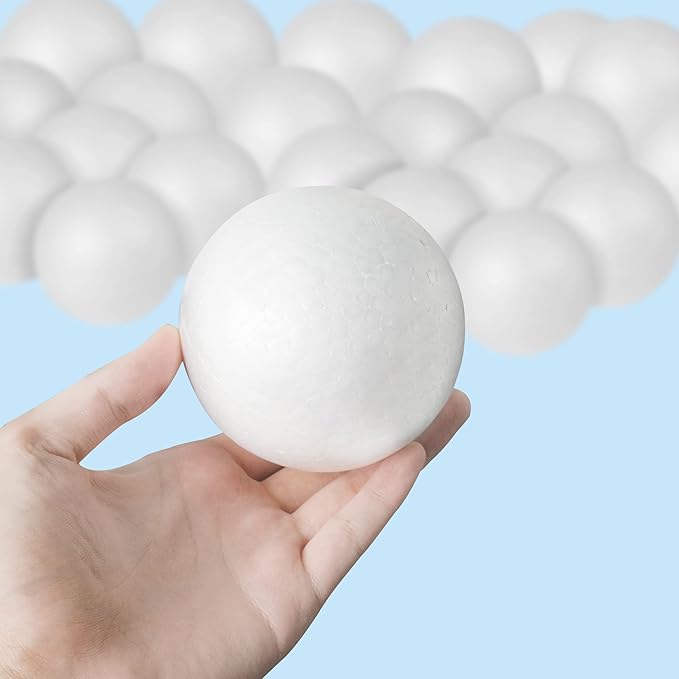
- 6–8 lightweight foam balls (3–4″ diameter)
- Miniature sea shells
- Hot glue gun + extra glue sticks
- Clear matte (optional)
Step-by-step Guide
Step 1: Using a hot glue gun, apply shells one by one onto the foam, starting from the top and spiraling downward for even coverage.
Step 2: For texture, alternate different shells (e.g., rose-like spirals, pointy cones, or tiny cockles) per ball. Once done, optionally seal each with a clear matte or gloss spray to enhance shine and durability.
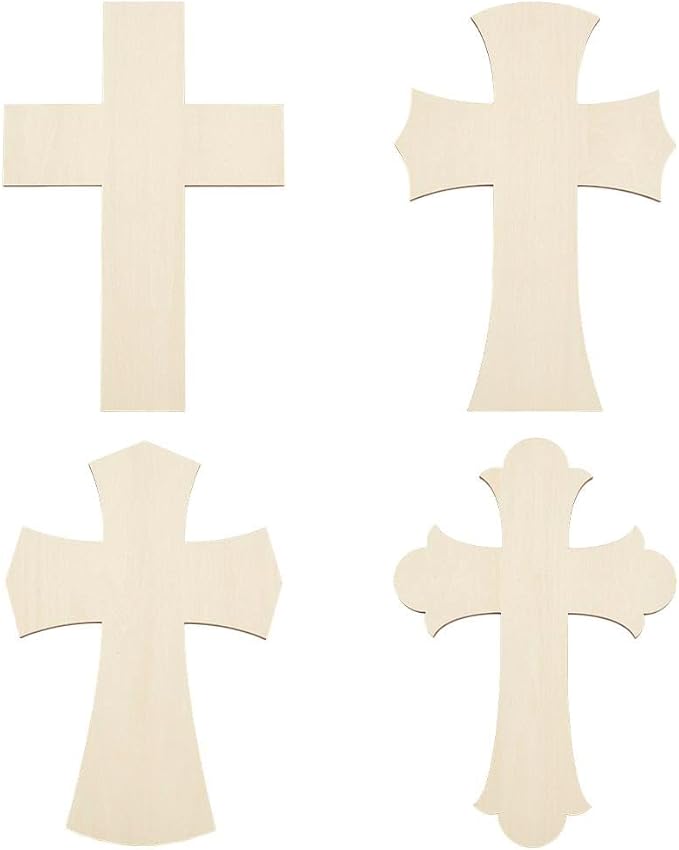
#29. Seashell Wall Crosses
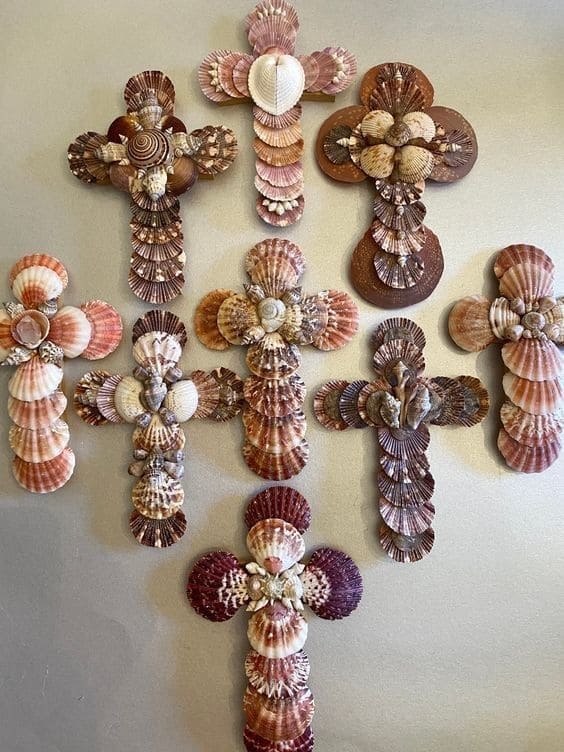
These handmade seashell crosses are more than just decor, they’re heartfelt tributes with a serene, beachy soul.
Materials Needed
- Wood or MDF cross bases (6–8″ tall)
- Assorted sea shells
- Hot glue gun and glue sticks
- Optional: acrylic paint
- Hanging hardware
Step-by-step Guide
Step 1: Start by laying out your shells over the cross base without glue, this lets you plan the symmetry and balance.
Step 2: Once satisfied, begin gluing from the center outward, working in layers. Alternate shell sizes for dimension.
Step 3: Add spiral or featured shells in the center as accents. Press each one firmly until the glue sets.
#30. Coastal Shell Garland
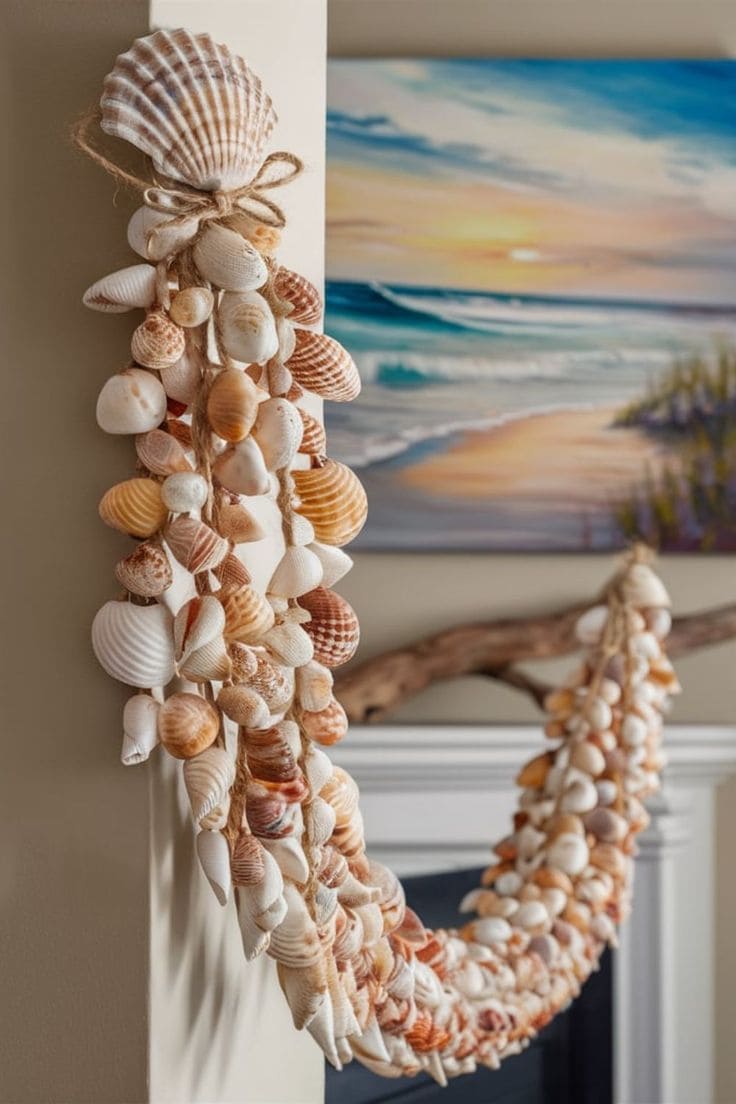
This seashell garland wraps your home in the warmth of beach days and salty air.
Materials Needed
- 150–200 medium & small natural seashells
- Jute rope
- Hot glue gun + sticks
- Drill with 1/16″ bit
- Large decorative shells (optional)
Step-by-step Guide
Step 1: Cut the jute rope to your desired length. Leave extra at both ends for tying or hanging.
Step 2: Sort your shells by size. If you plan to drill, gently bore small holes near the tops of each shell. For gluing, skip this step.
Step 3: Begin attaching shells either by threading them with knots between or gluing directly onto the rope in clusters. Space them evenly or let them overlap for fullness.
Step 4: Finish by tying large shells or decorative accents at the ends as a focal point. Hang over a mantle, doorway, or curtain rod.
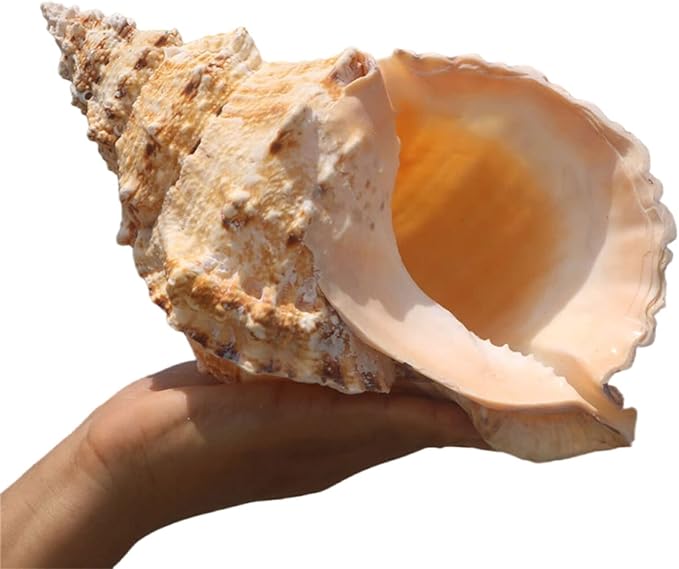
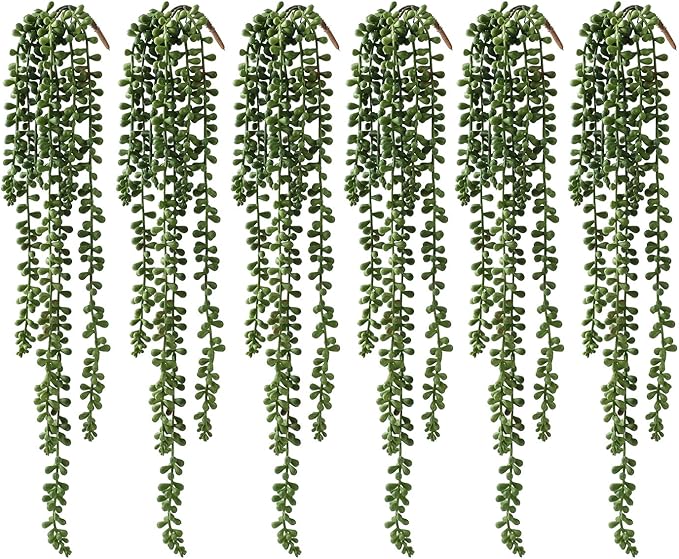
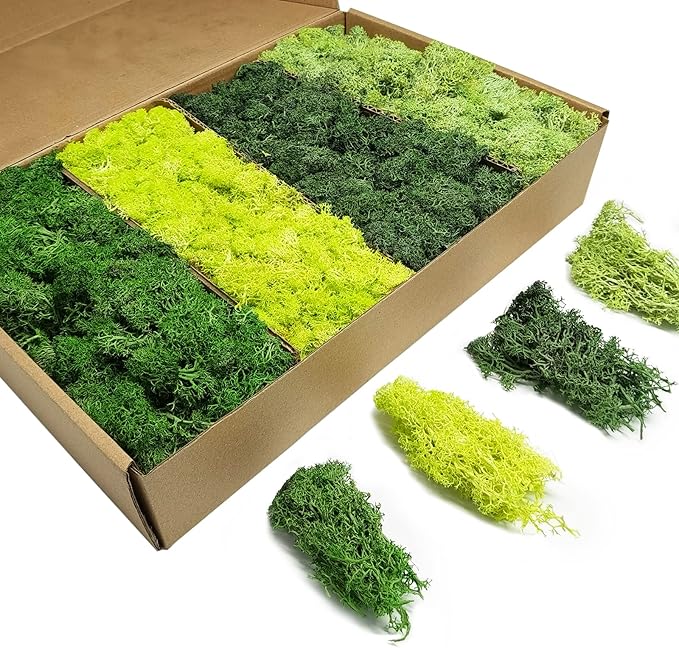
#31. Hanging Seashell Planters
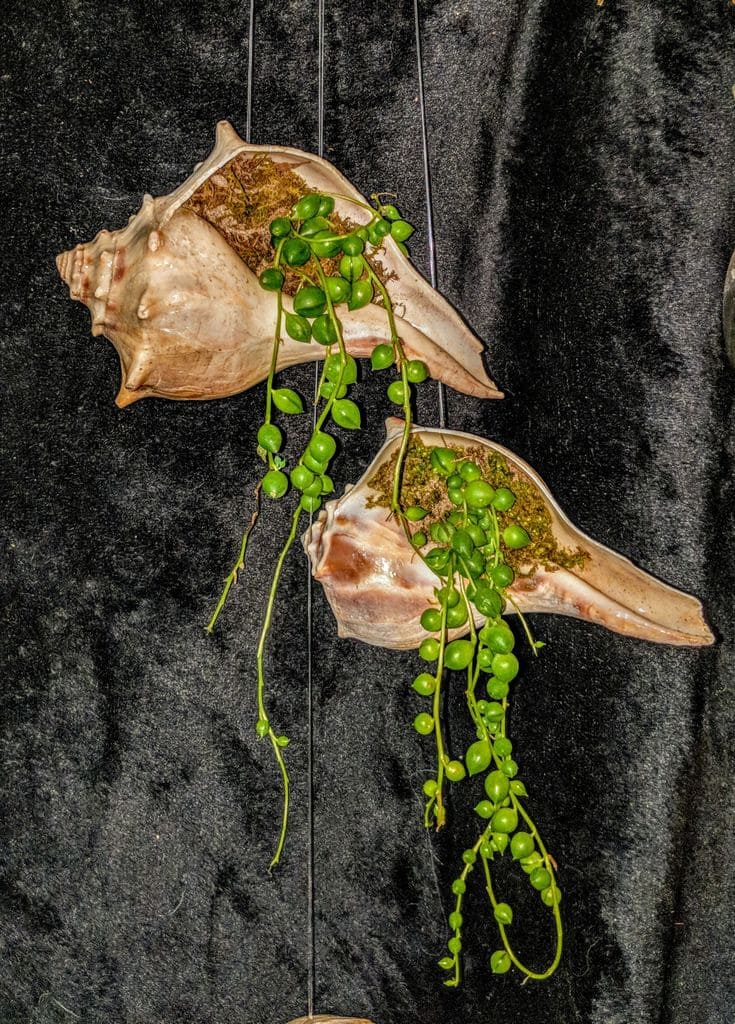
These hanging conch shell planters add a wild, nautical vibe to any indoor or outdoor corner, perfect for trailing vines or air plants.
Materials Needed
- 2 large conch shells (approx. 5–7 inches)
- Air plants or String of Pearls succulents
- Preserved moss
- Hanging wire (3 ft)
- Optional: Wall hooks
Step-by-step Guide
Step 1: Clean the shells and let them dry completely. Choose shells with deep hollows to hold your plant securely.
Step 2: Pack a bit of moss into the hollow part of each shell as a soft base. Add your succulent or air plant nestled in the moss.
Step 3: Wrap wire or cord securely around the middle or base of each shell, forming a hanger loop above the top.