Every summer, as July rolls in, I feel that familiar spark – the one that smells like barbecue, sounds like fireworks, and brings back memories of waving flags on the porch with lemonade in hand. There’s something magical about decorating for the 4th of July. It’s not just red, white, and blue, it’s a celebration of warmth, tradition, and simple joys.
Whether you’re hosting a backyard gathering or just want your home to beam with festive pride, these DIY decorations will help you create that cheerful, all-American vibe.
From charming porch touches to table centerpieces full of sparkle, every idea here adds heart to your holiday. Let’s turn every corner of your home into a little celebration of summer freedom.
This article contains affiliate links. If you purchase through them, I may earn a small commission at no extra cost to you. Thank you for your support!
#1. Rustic Ribbon Flag Wall Hanging
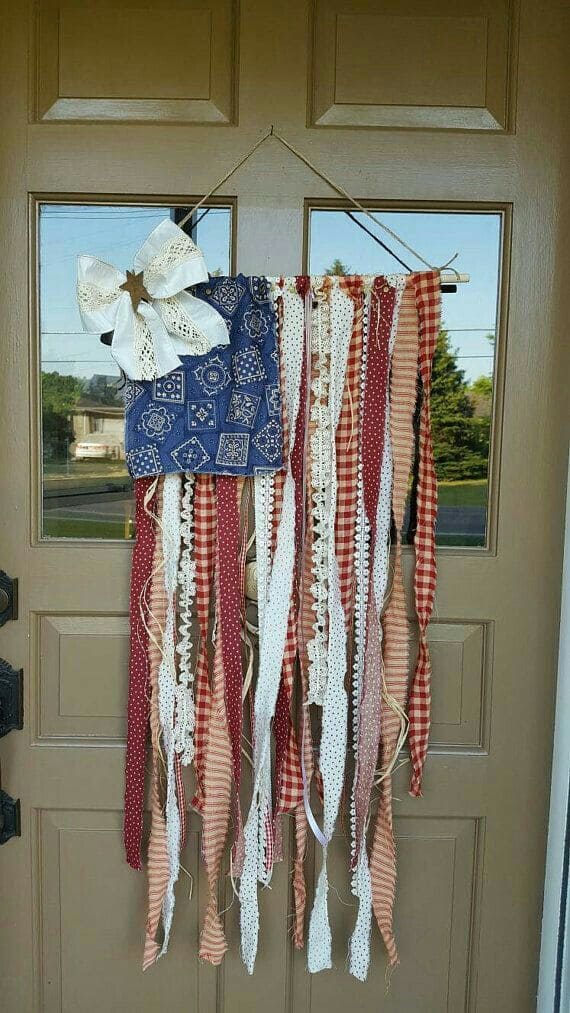
If you’re like me and love crafts that feel cozy and nostalgic, this one’s for you. This hanging flag-style decor piece made from fabric strips and lace brings a handmade, heartfelt flair to your front door.
 SHOP BLUE BANDANA FABRIC
 SHOP WOODEN DOWEL
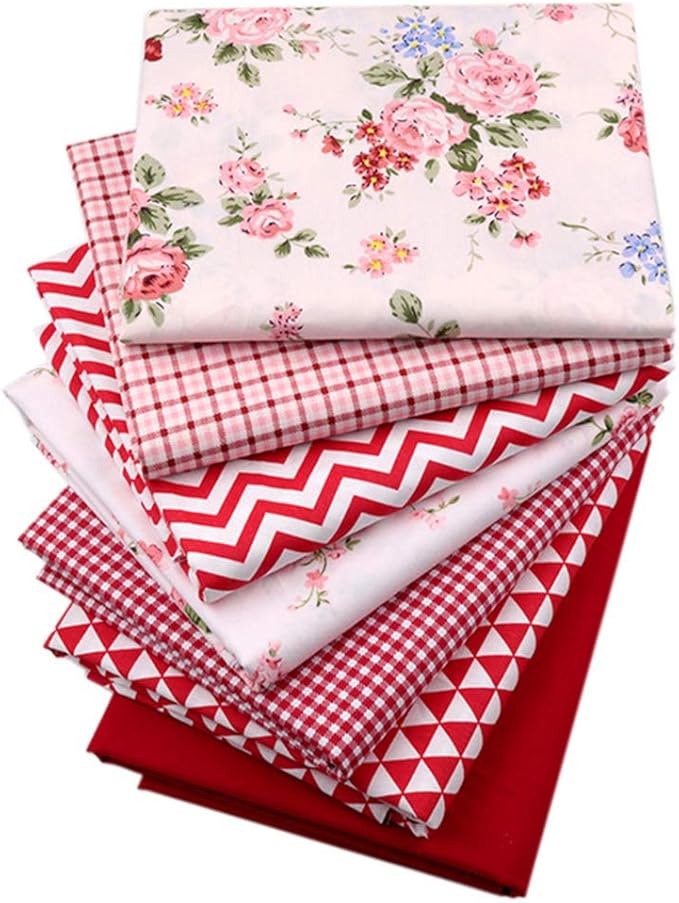 SHOP RED AND WHITE FABRIC
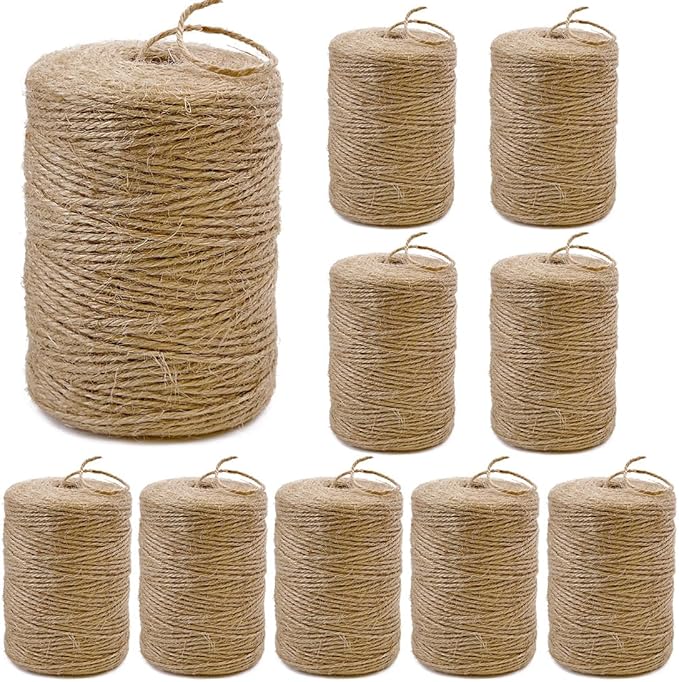 SHOP JUTE TWINE
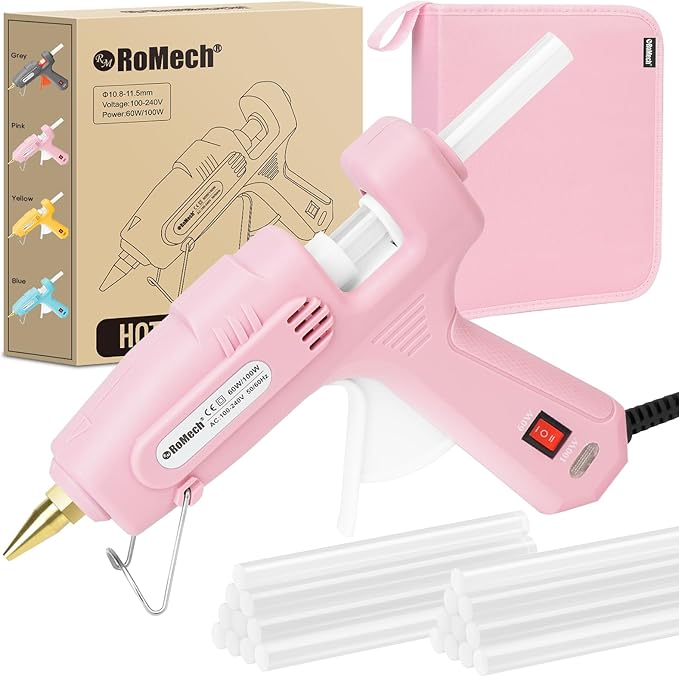 SHOP HOT GLUE GUN AND GLUE STICKS
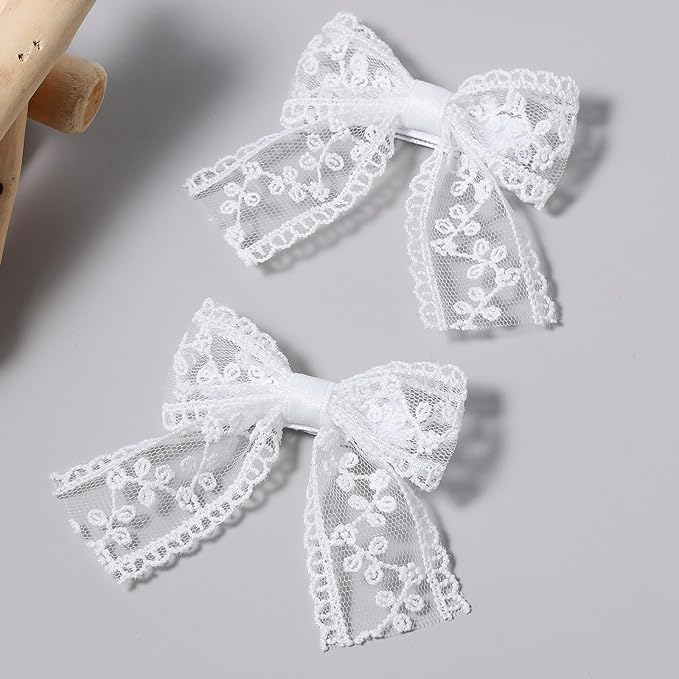 SHOP WHITE BOW
Materials Needed
- 1 wooden dowel (approx. 18–20″ long)
- 1 blue bandana fabric (approx. 10″ x 10″)
- 12–15 strips of red fabric, white fabric or lace (1.5” wide x 36” long)
- Jute twine or ribbon
- Glue gun and glue sticks
- Optional: white bow or star
Step-by-step Guide
Step 1: Tie or glue the red and white strips along the wooden dowel, alternating colors to mimic flag stripes.
Step 2: Fold and glue your blue bandana square over the top left corner, creating the “stars” section of the flag. Add a felt or wooden star on top if you’d like.
Step 3: Attach a piece of jute twine to each end of the dowel and tie at the center to create a hanger.
Step 4: Finish with a lace bow in the upper left corner and hang it on your front door for the perfect homespun patriotic vibe.
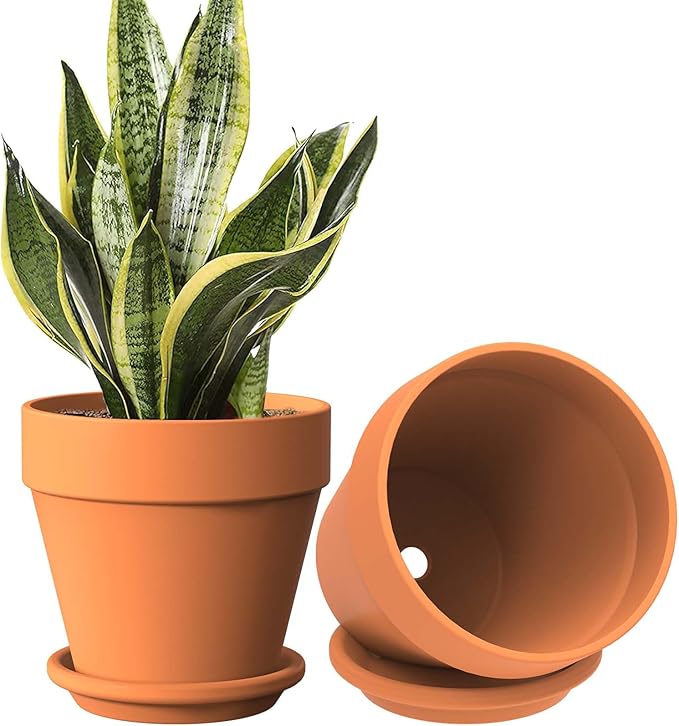
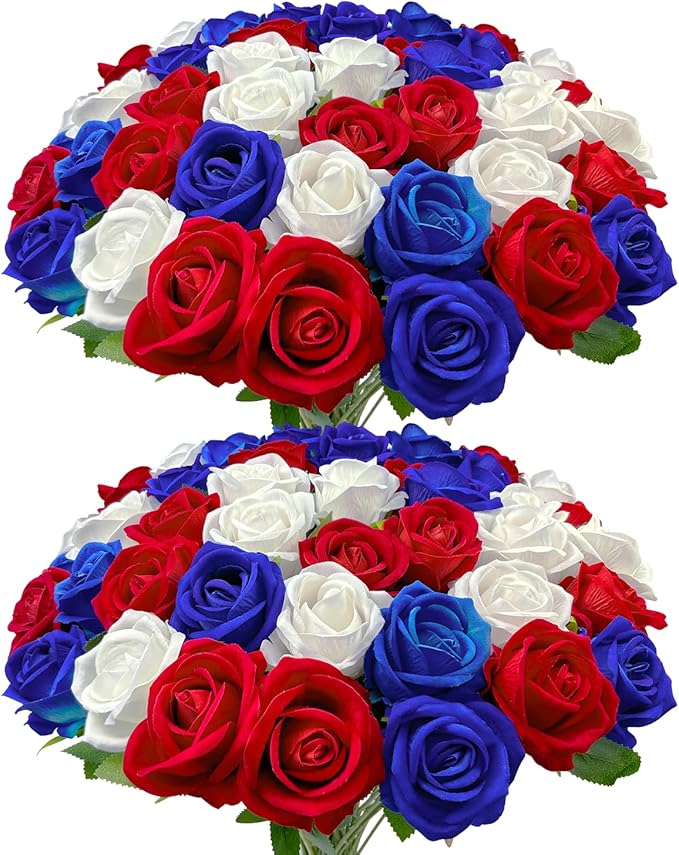
#2. Patriotic Flower Pots
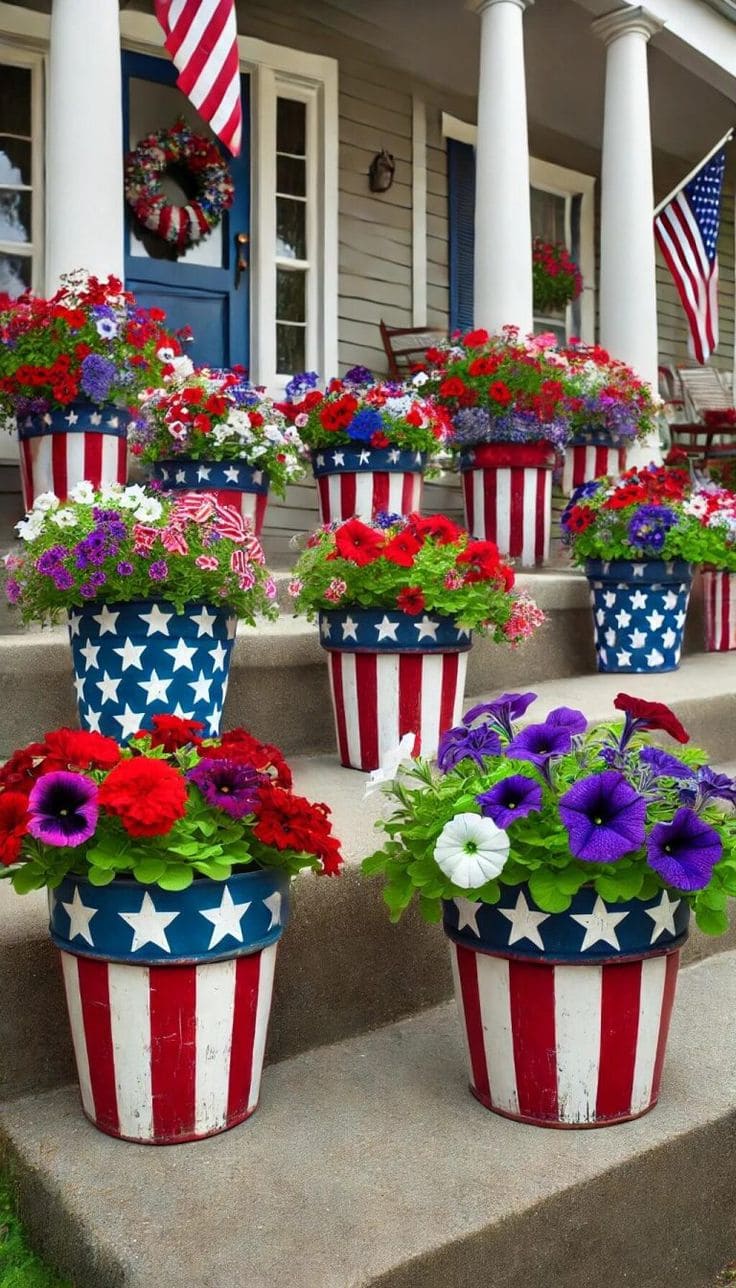
These red, white, and blue flower pots turned my front steps into a cheerful, flag-waving celebration zone. They’re bright, bold, and bursting with life, just like the 4th of July itself.
Materials Needed
- 10–16 terracotta flower pots (any size)
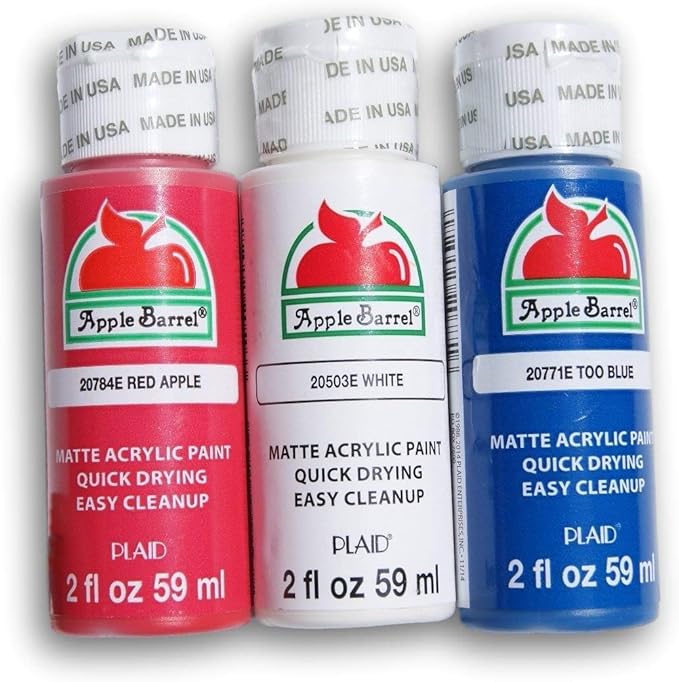
- Red, white, navy blue acrylic paint
- Painter’s tape or masking tape
- Small paint brushes
- Outdoor sealant spray (optional)
- Red, white, and blue flowers like petunias, verbena, geraniums
Step-by-step Guide
Step 1: Clean your flower pots thoroughly and let them dry. Use painter’s tape to create vertical stripes around each pot. Paint the exposed areas red first, then peel off the tape and fill the gaps with white.
Step 2: Once the stripes are dry, paint the top rim navy blue. Let dry completely.
Step 3: Place the star stencil over the blue rim and dab white paint gently through it using a small sponge or brush. Let it sit for a few hours to cure.
Step 4: Optional: Spray a sealant over the design to protect it from weather.
Step 5: Fill your pots with fresh soil and vibrant red, white, and blue blooms. Arrange them on your porch steps or entryway.
#3. Farmhouse Flag-Inspired Entryway
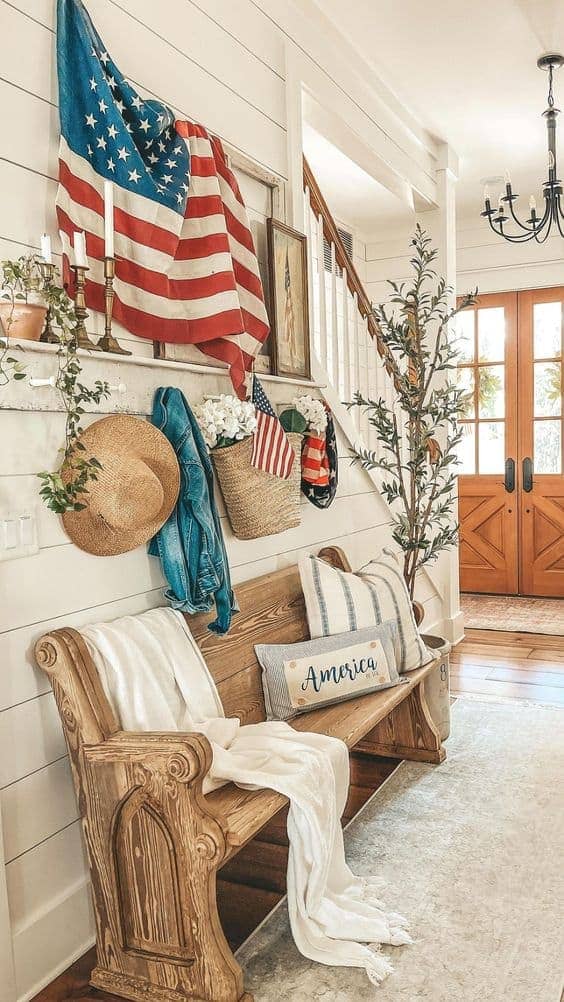
This warm and welcoming hallway is one of those spaces that doesn’t shout “4th of July” but gently whispers “home.”
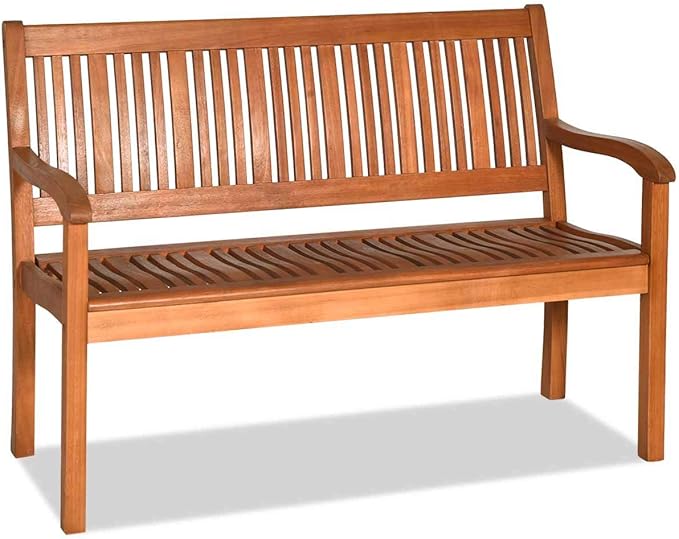 SHOP WOODEN BENCH
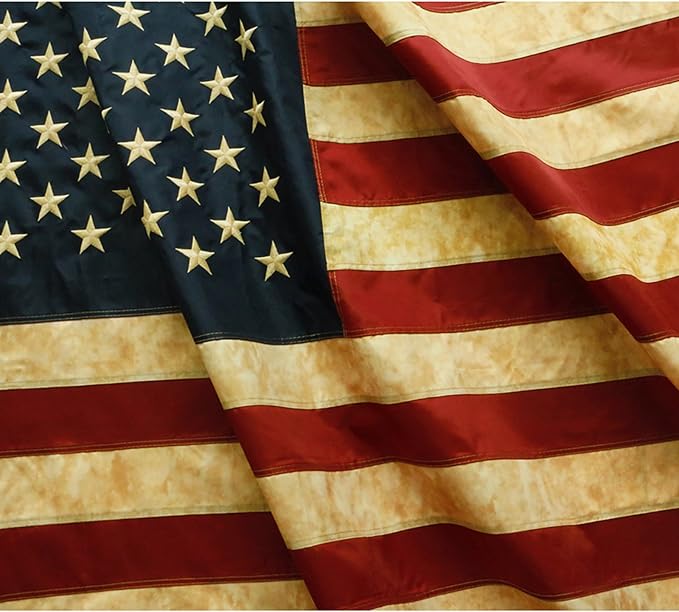 SHOP VINTAGE AMERICAN FLAG
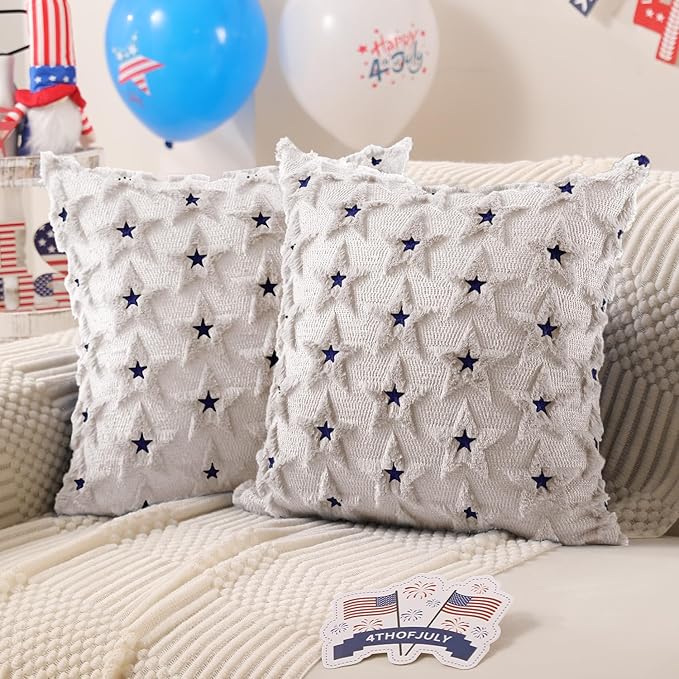 SHOP PATRIOTIC ACCENT PILLOW
 SHOP CANDLESTICK HOLDERS
Materials Needed
- Wooden bench
- Vintage American flag
- Patriotic accent pillow
- Natural woven hanging basket
- 4-5 mini U.S. flags
- Candlestick holders
- White throw blanket
Step-by-step Guide
Step 1: Hang the American flag at an angle over a mirror or empty frame to create a soft, draped look. Secure it with pins or decorative hooks.
Step 2: Place a wooden bench beneath and add cozy pillows with stars, stripes, or “America” quotes to make the space feel relaxed but festive.
Step 3: Layer a soft throw over the bench corner to balance the wood tones and add warmth.
Step 4: Hang a couple of straw hats and a lightweight denim jacket or scarf on wall hooks to create a lived-in feel.
Step 5: Use a woven wall basket to tuck in white faux flowers and mini flags for a playful touch.
Step 6: Add candle holders with neutral-toned candles on the shelf above for a soft evening glow.
#4. Patriotic Porch with Pup and Plants
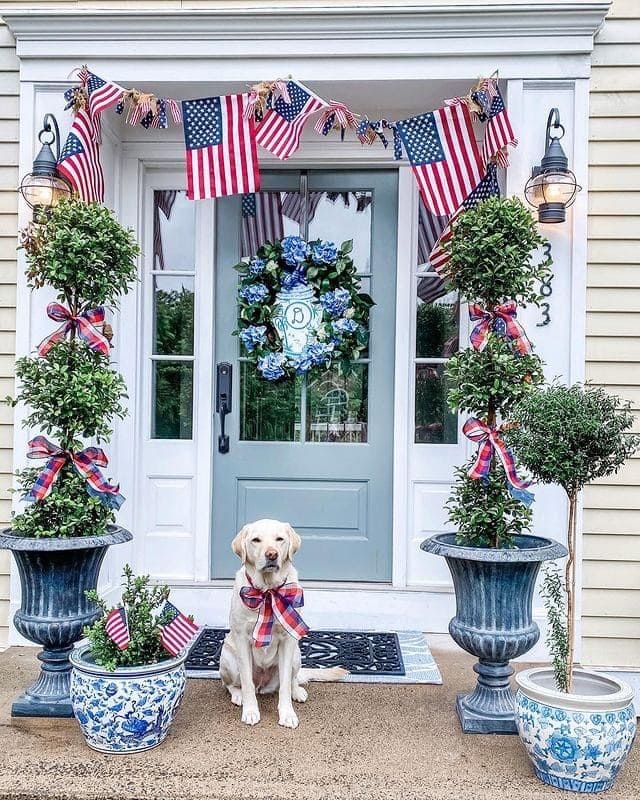
This front porch setup has everything I love about summer decorating, flags waving, topiaries dressed up, a charming wreath, and a bowtie-wearing pup who clearly knows he’s the main attraction.


Materials Needed
- 7-8 mini American flag banner
- 2 tall planters
- 4 mini American flags
- Red, white, and blue plaid ribbon
- Decorative pots
- Dog bandana
Step-by-step Guide
Step 1: Wrap each topiary with plaid ribbon, tying generous bows about one-third and two-thirds up the trunk for visual balance.
Step 2: Drape the mini flag garland above your front door, letting the flags overlap slightly for that fluttery charm. Use removable hooks for easy cleanup.
Step 3: Place small flags into decorative flowerpots on either side of the steps or porch base for added color and symmetry.
Step 4: Add one final patriotic touch – a pup with a festive bow.
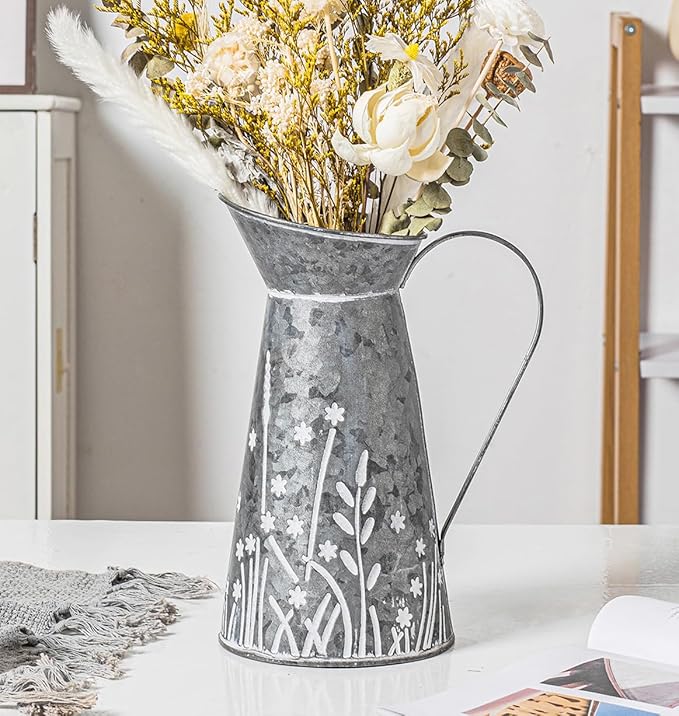
#5. Patriotic Flower Pitcher
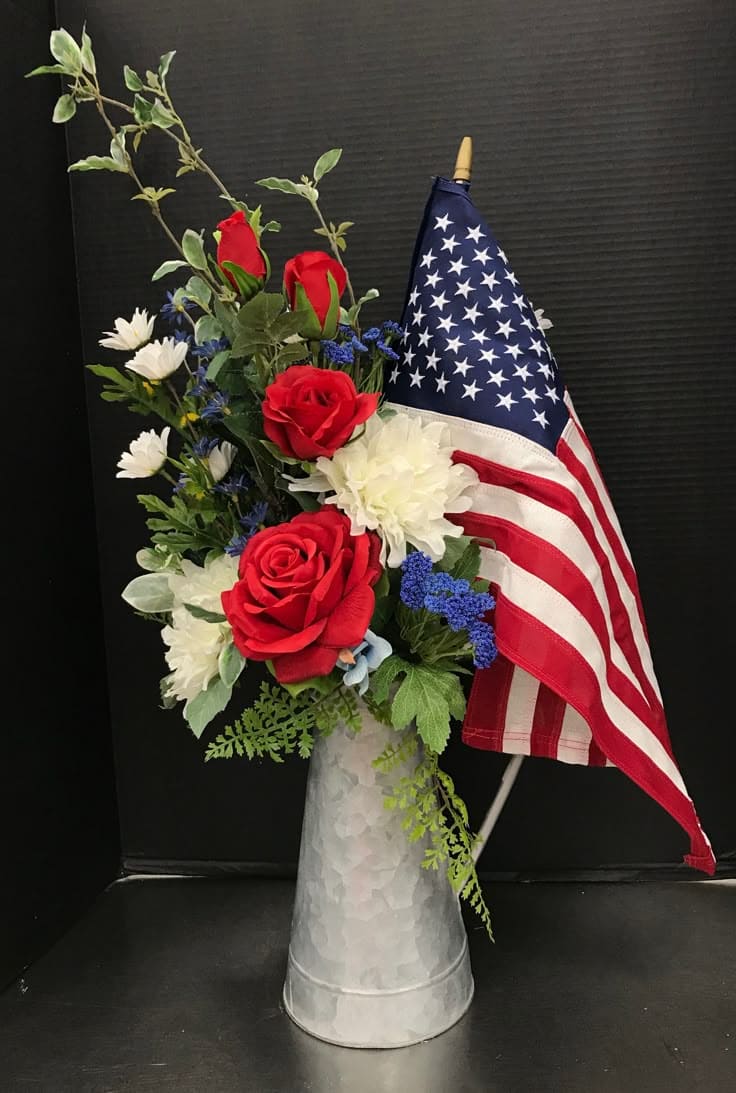
Paired with a classic galvanized metal pitcher, this easy decor piece adds a rustic farmhouse touch with zero effort. It’s one of those crafts that looks far more expensive than it is.
 SHOP GALVANIZED PITCHER VASE
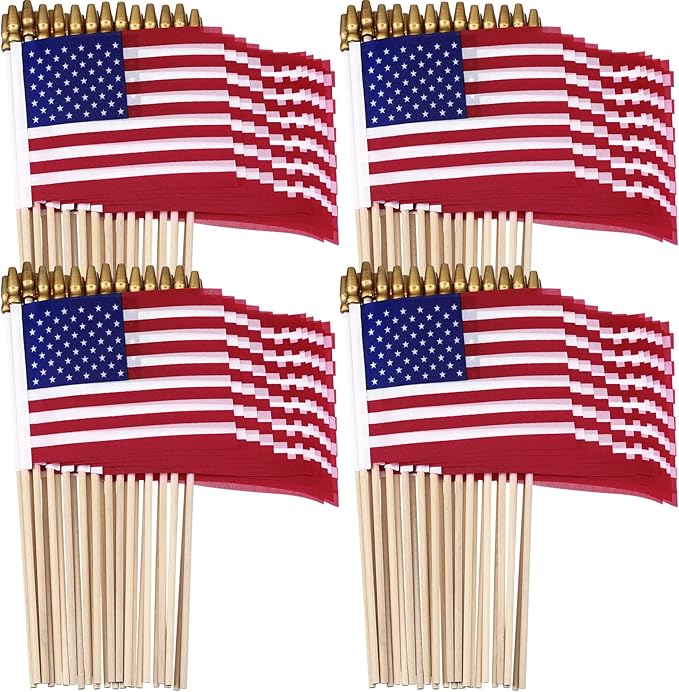 SHOP SMALL AMERICAN FLAGS ON STICKS
 SHOP RED ROSES
 SHOP WHITE ARTIFICIAL MUMS
 SHOP ARTIFICIAL GREENERY STEMS
Materials Needed
- 1 galvanized pitcher vase (around 10″–12″)
- 1 small American flag
- 3–4 red artificial roses
- 3 white artificial mums or daisies
- 3–4 blue accent stems (like lavender or statice)
- Greenery fillers
Step-by-step Guide
Step 1: Start by arranging your greenery stems in the pitcher, spreading them evenly to form a full base.
Step 2: Add red roses in a triangle pattern for balance, then tuck in your white flowers to fill the gaps.
Step 3: Accent the bouquet with blue sprigs, focusing toward the center and back to add depth.
Step 4: Gently insert your flag at an angle toward the back, making sure it fans out visibly.
#6. Charming Patriotic Kitchen Corner
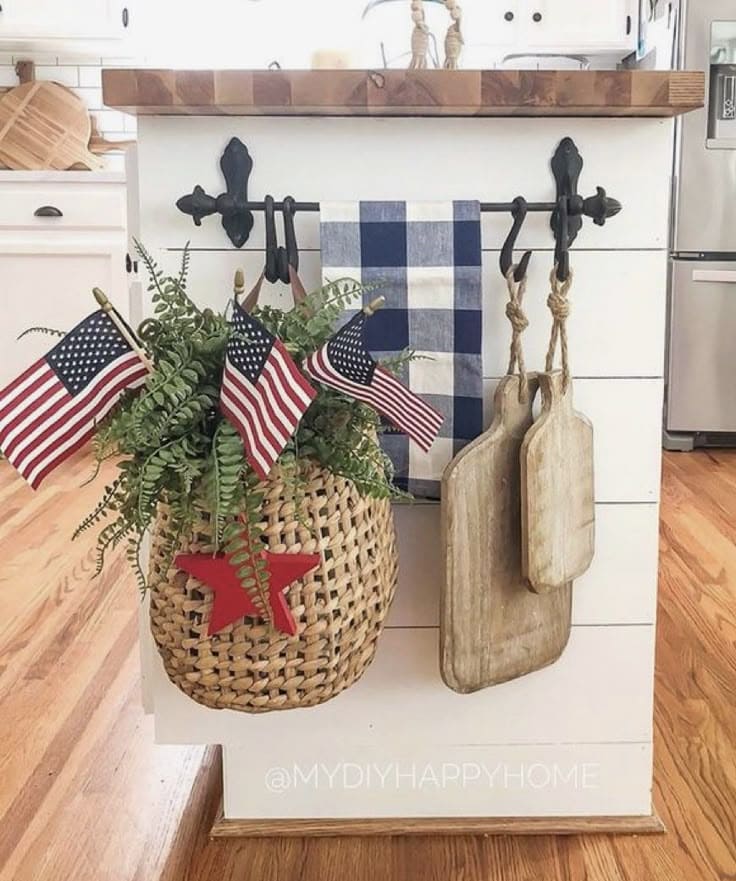
I love how the mini flags and woven textures play against the raw wood boards. It’s one of those small touches that completely changes the vibe of your kitchen.
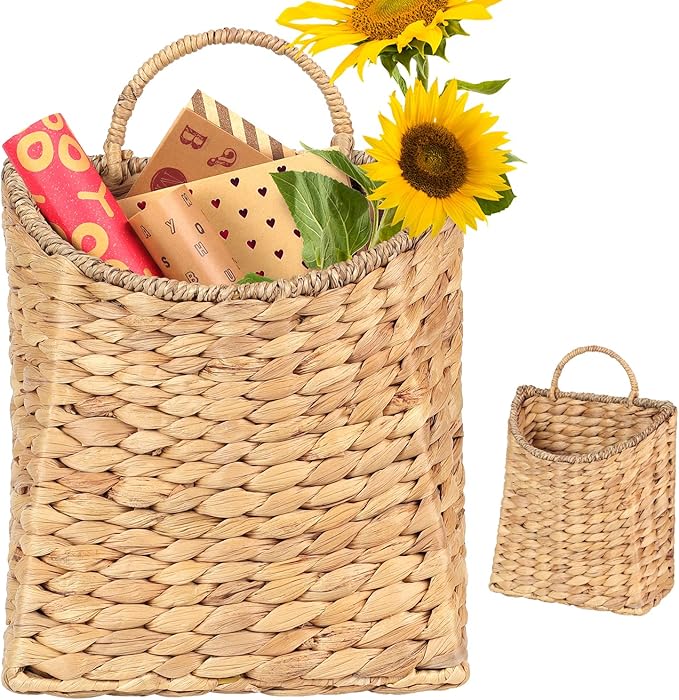 SHOP WOODEN HANGING BASKET
 SHOP FAUX FERN GREENERY
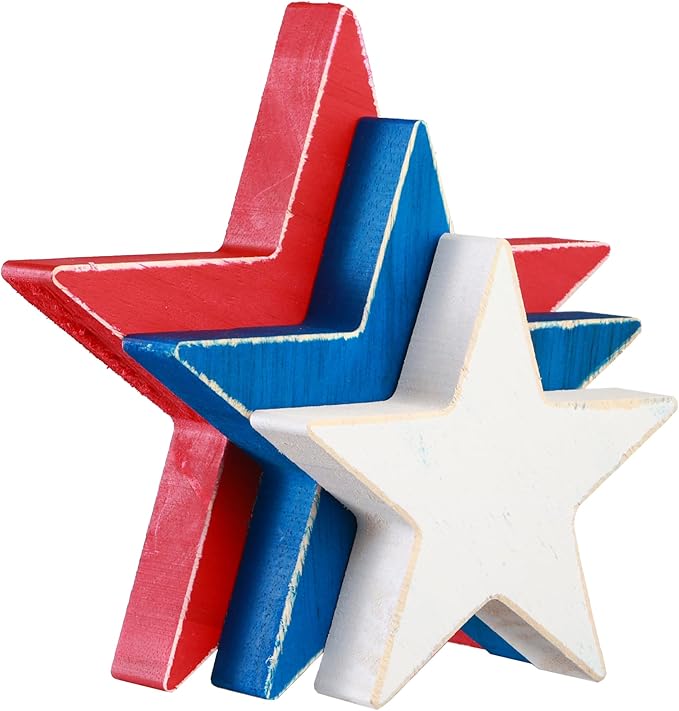 SHOP WOODEN STAR
 SHOP BLACK METAL ROD
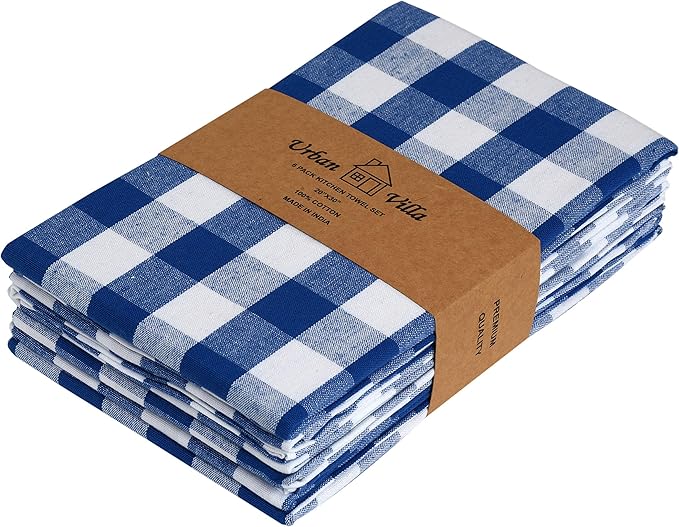 SHOP BUFFALO CHECK TOWEL
 SHOP CUTTING BOARDS
Materials Needed
- 3-4 mini American flags
- Woven hanging basket
- Faux fern greenery
- Small red wooden star
- Black metal rod with hooks
- Optional: rustic cutting boards, buffalo check towel, twine or ribbon
Step-by-step Guide
Step 1: Hang a sturdy rod with hooks along the side of your kitchen island, making sure it can support moderate weight.
Step 2: Fill the woven basket with fern leaves or faux greenery, then insert mini flags evenly spaced like a fan.
Step 3: Add a red wooden star to the front using twine, hot glue, or a small clip for a charming patriotic focal point.
Step 4: Use additional hooks to hang rustic cutting boards and a blue-and-white towel to balance the theme.
#7. Decked Out for the 4th
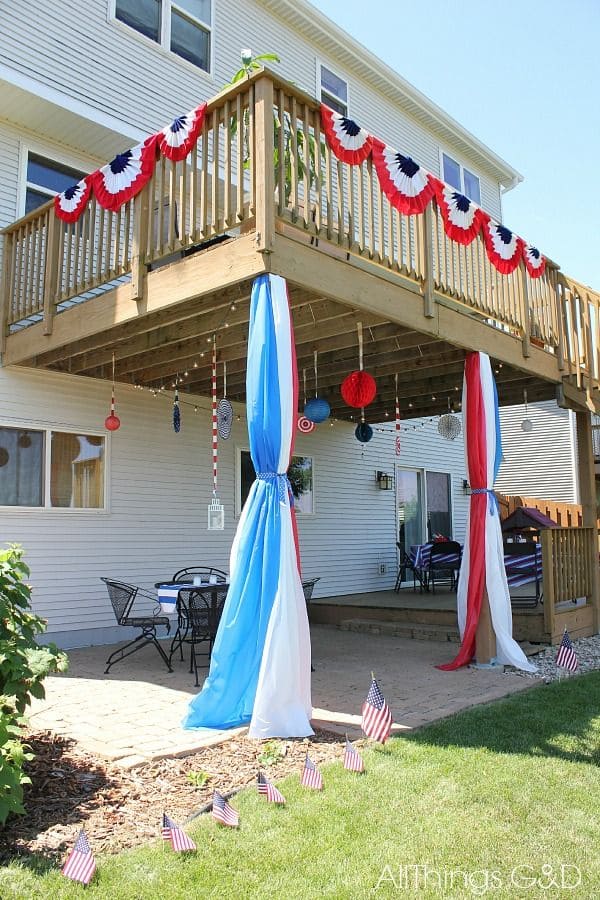
The draped fabric pillars felt like something straight out of a summer wedding, while the bunting added a dash of nostalgia. It’s stunning, it’s affordable, and it screams freedom (with a little glam).
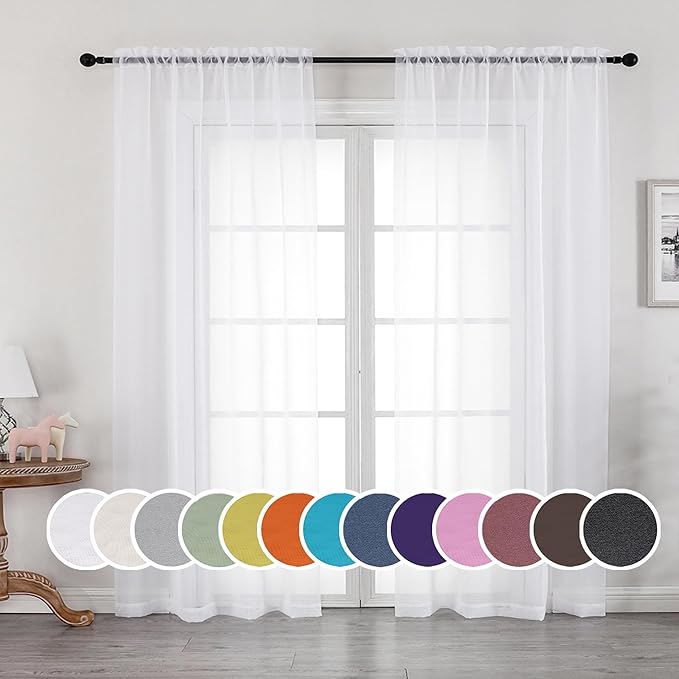 SHOP CURTAIN PANNELS
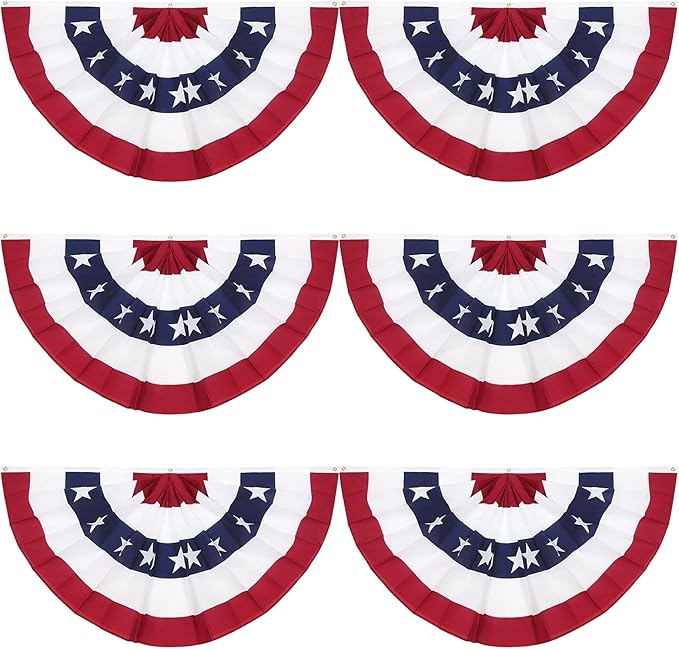 SHOP PATRIOTIC BUNTING FLAGS
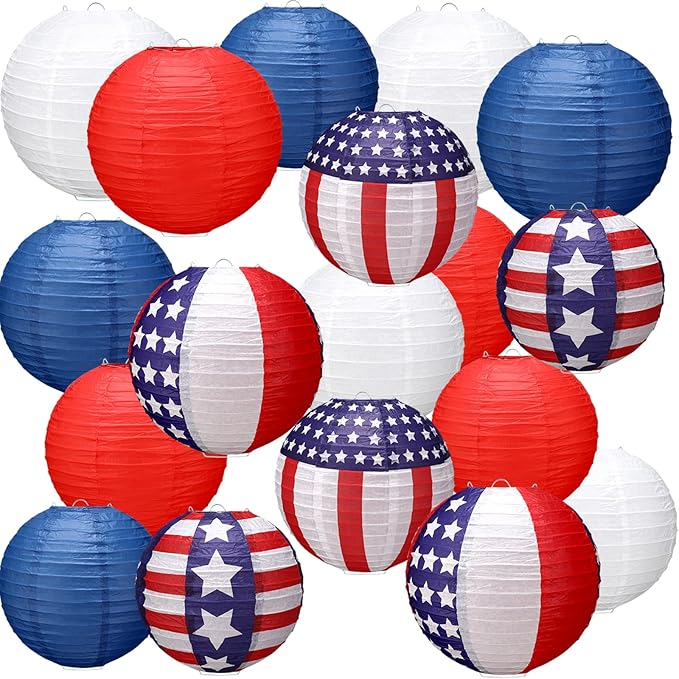 SHOP PATRIOTIC PAPER LANTERNS
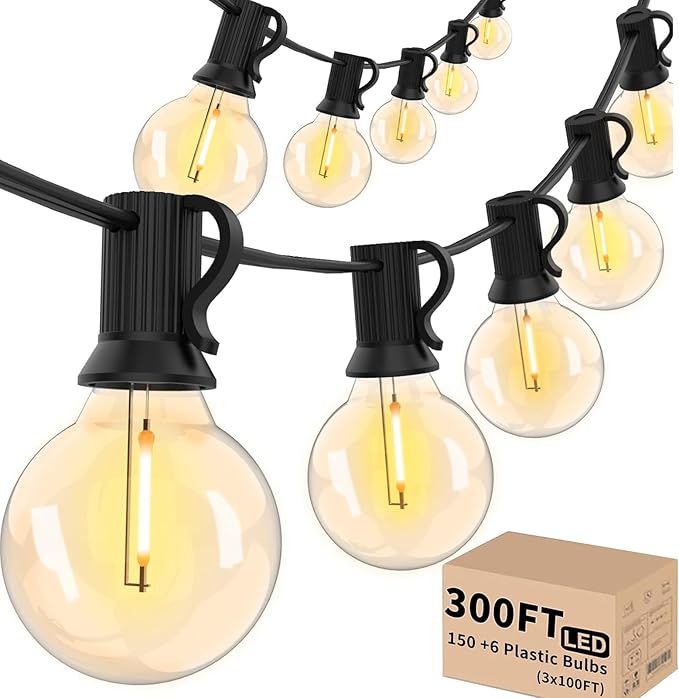 SHOP OUTDOOR STRING LIGHTS
 SHOP WHITE ZIP TIES
Materials Needed
- 84″ Red, white & blue sheer curtain panels
- White zip ties
- 3–6 feet Patriotic bunting flags
- 12–18 mini American stick flags
- Red, white & blue paper lanterns or honeycomb balls
- Clear outdoor string lights, 1–2 strands
- Command hooks or outdoor-safe tape
Step-by-step Guide
Step 1: Start by anchoring your sheer curtain panels at the top of each post using zip ties.
Step 2: Cinch the fabric halfway down with matching ties or floral wire for a flowy, elegant drape. Let the bottoms puddle slightly for a romantic feel.
Step 3: Hang your bunting flags around the deck railing using clear hooks or tie-on ribbon.
Step 4: String your lights underneath the deck, zigzagging for even glow. Hang paper lanterns or honeycomb balls in alternating colors along the same path.
Step 5: Finally, add mini American flags in the garden edge or planter boxes for a final patriotic flourish.
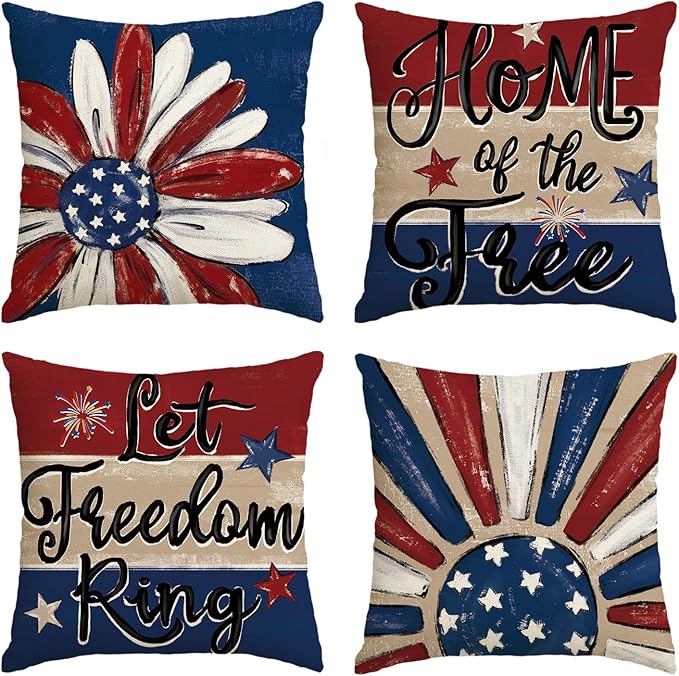
#8. Patriotic Porch Swing Makeover
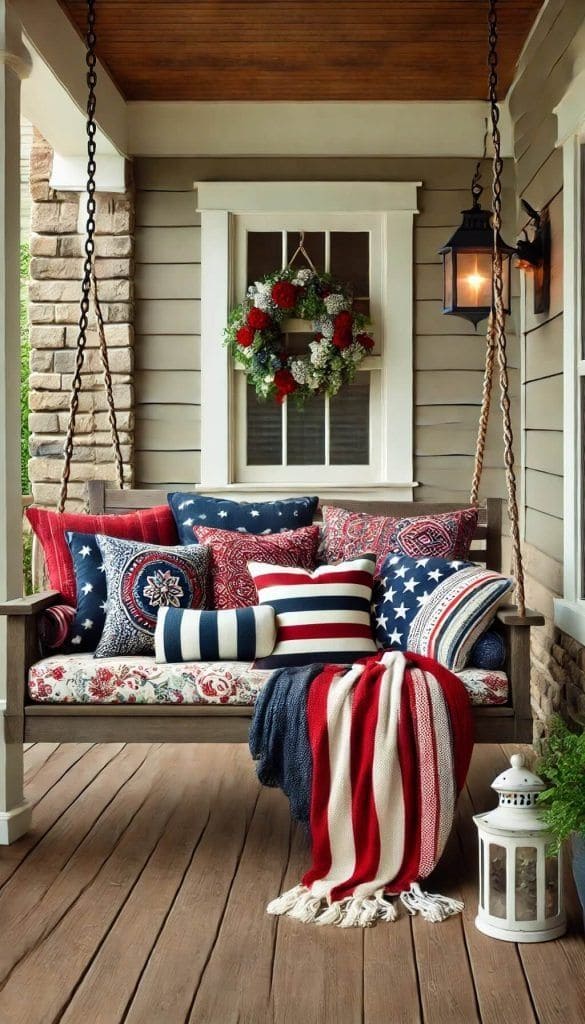
If you’ve ever wanted your porch to whisper “Americana elegance,” this 4th of July-inspired swing setup is your dream come true.
 SHOP PATRIOTIC THROW PILLOWS
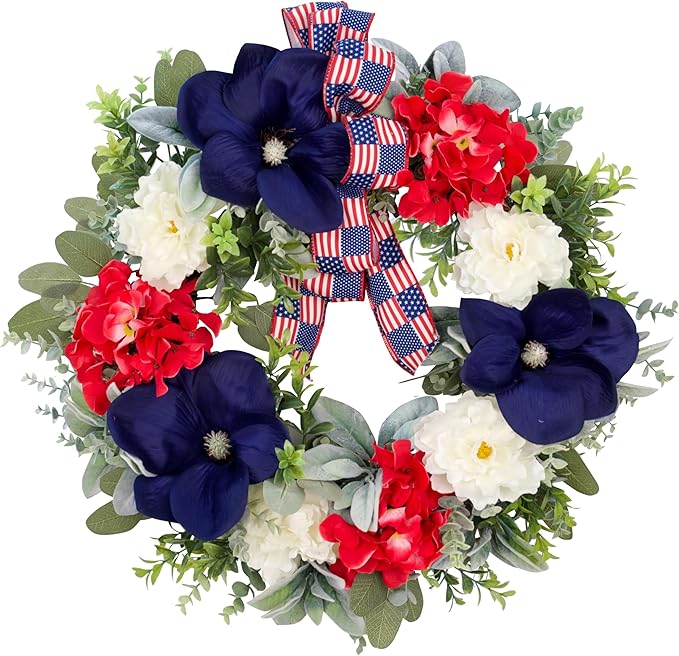 SHOP PATRIOTIC FLORAL WREATH
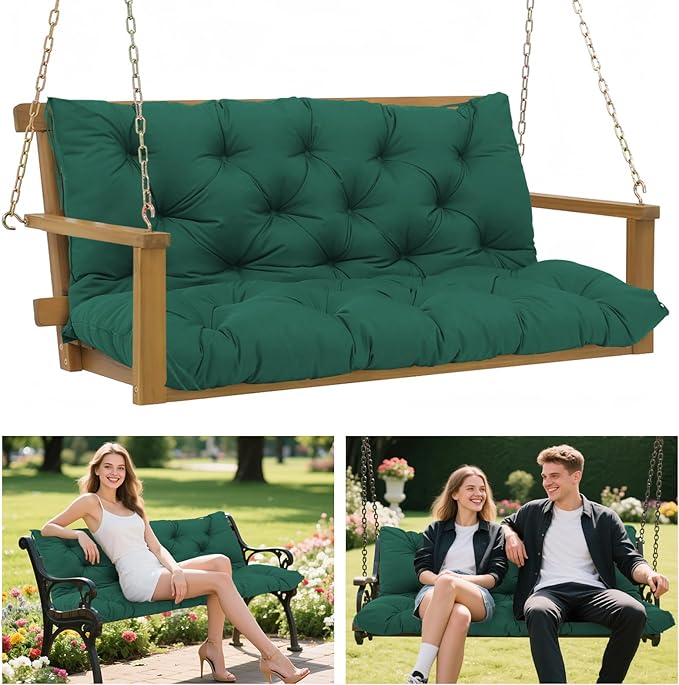 SHOP SWING CUSHION
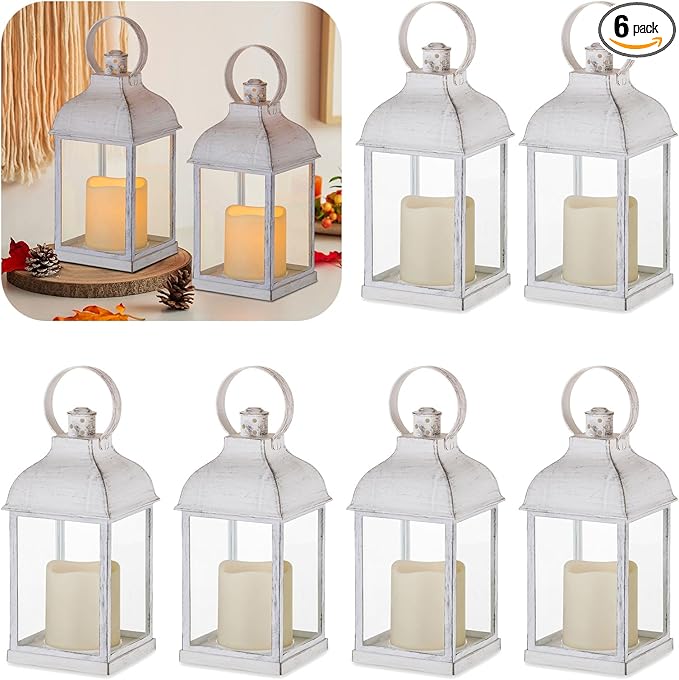 SHOP WHITE LANTERN DECOR
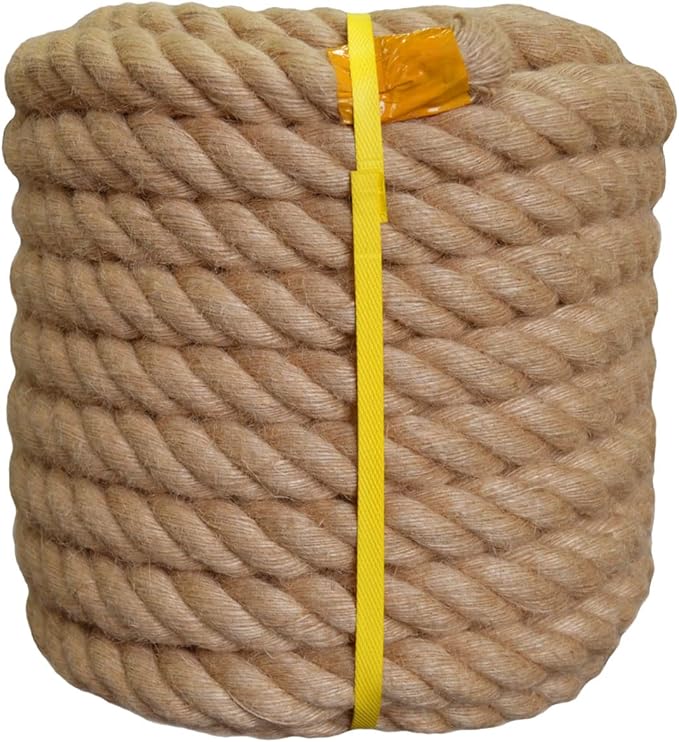 SHOP BROWN JUTE
Materials Needed
- Assorted red, white & blue throw pillows
- 1 red, white & blue knit throw blanket, at least 50″x60″
- Patriotic floral wreath
- Outdoor-safe swing cushion or bench cushion
- White lantern decor
- Brown jute
Step-by-step Guide
Step 1: Start by placing the base cushion on your swing or bench, then layer the pillows from largest to smallest, mixing solid patriotic hues with stripes, florals, and stars for contrast and dimension.
Step 2: Toss your throw blanket over one arm of the swing, letting it drape casually to soften the structure and invite a cozy sit-down.
Step 3: Hang the wreath using a simple jute ribbon centered above the swing, then add a lantern nearby for that warm porch glow as the sun sets.
#9. Rustic Patriotic Porch Display
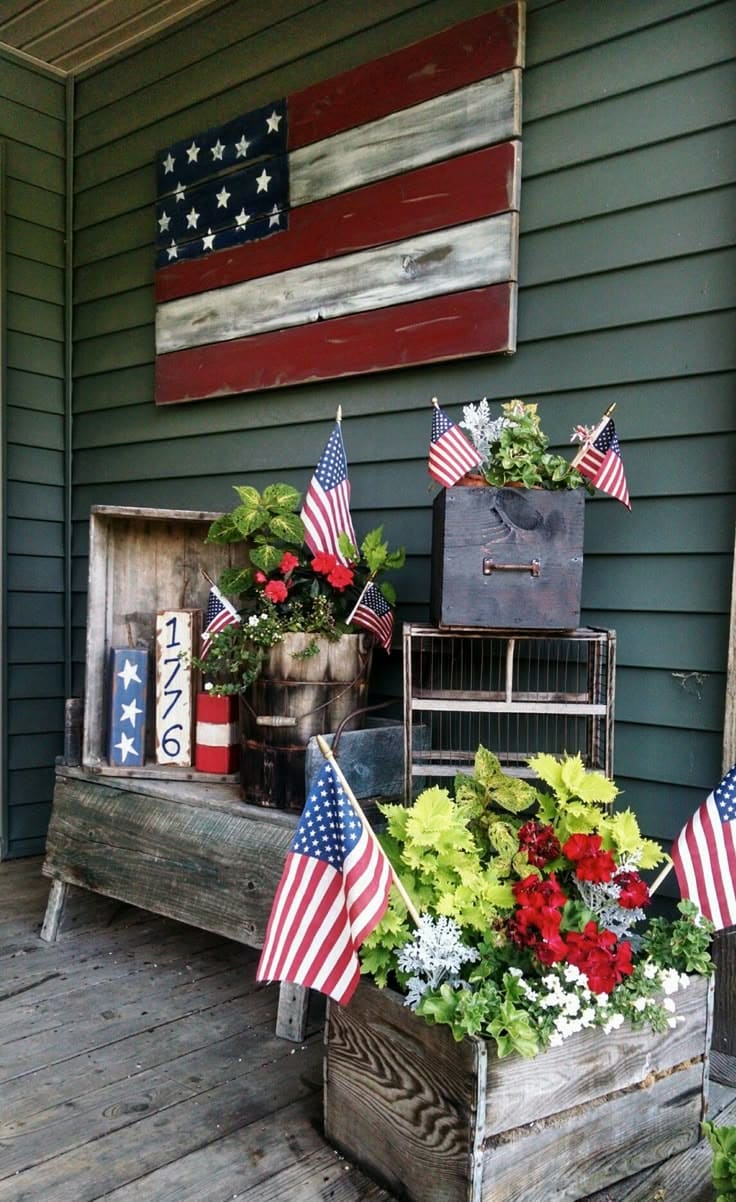
I built this whole setup with thrifted finds, scrap wood, and a little red-white-and-blue magic.

Materials Needed
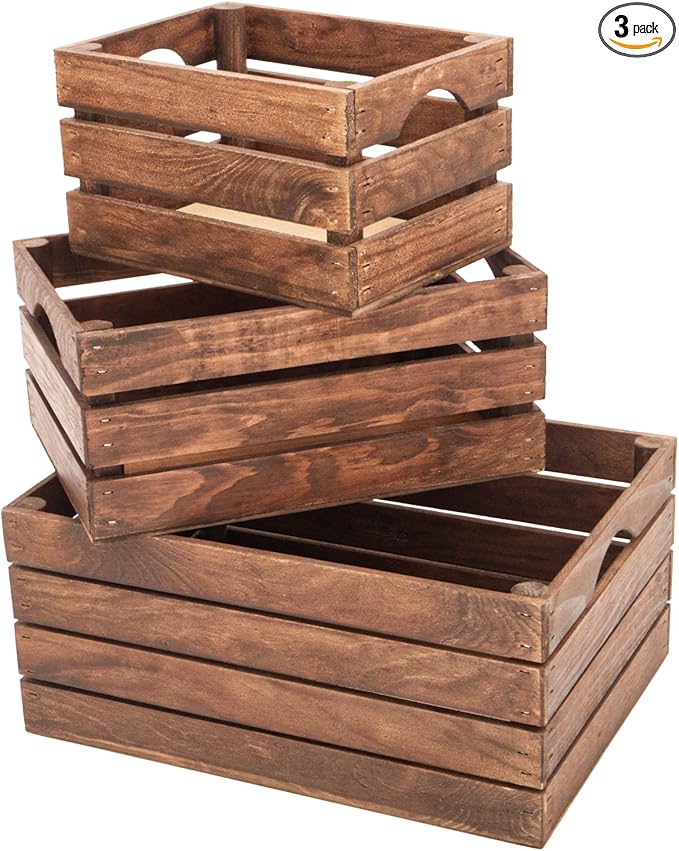
- 3–5 wood crates
- 6-8 miniature American flags
- Red, white, and blue craft paint
- Mix of red geraniums, white alyssum, blue lobelia, and coleus
- Optional: 2-3 reclaimed wood panels
Step-by-step Guide
Step 1: Arrange your crates and planters in layers – stack, tilt, and prop them to create height and dimension.
Step 2: Paint one reclaimed board with bold red and white stripes and a blue corner filled with stenciled white stars. Let dry and distress it with sandpaper for a vintage look.
Step 3: Fill each planter or box with patriotic flower arrangements, then stick mini flags into each planter and around the crates.
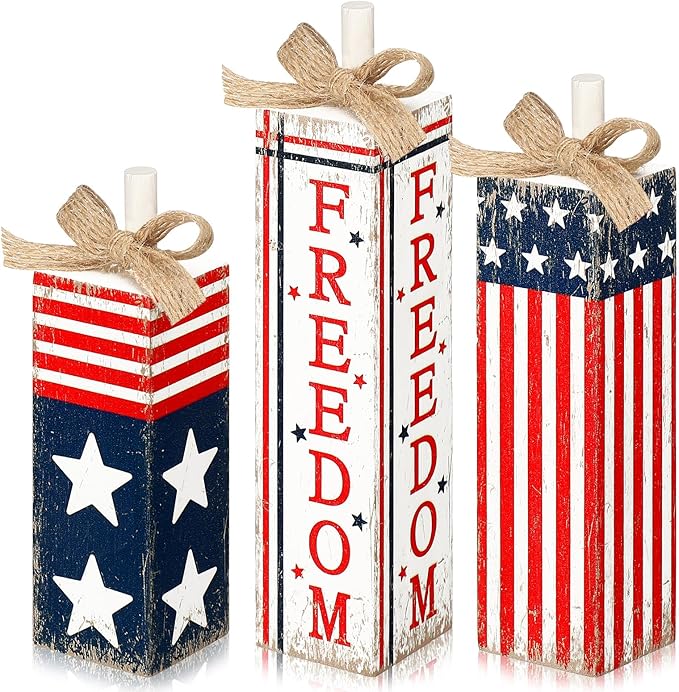
Step 4: Add smaller painted blocks or signs like “1776” or “USA” for that extra festive touch.
#10. Patriotic Parade Bike
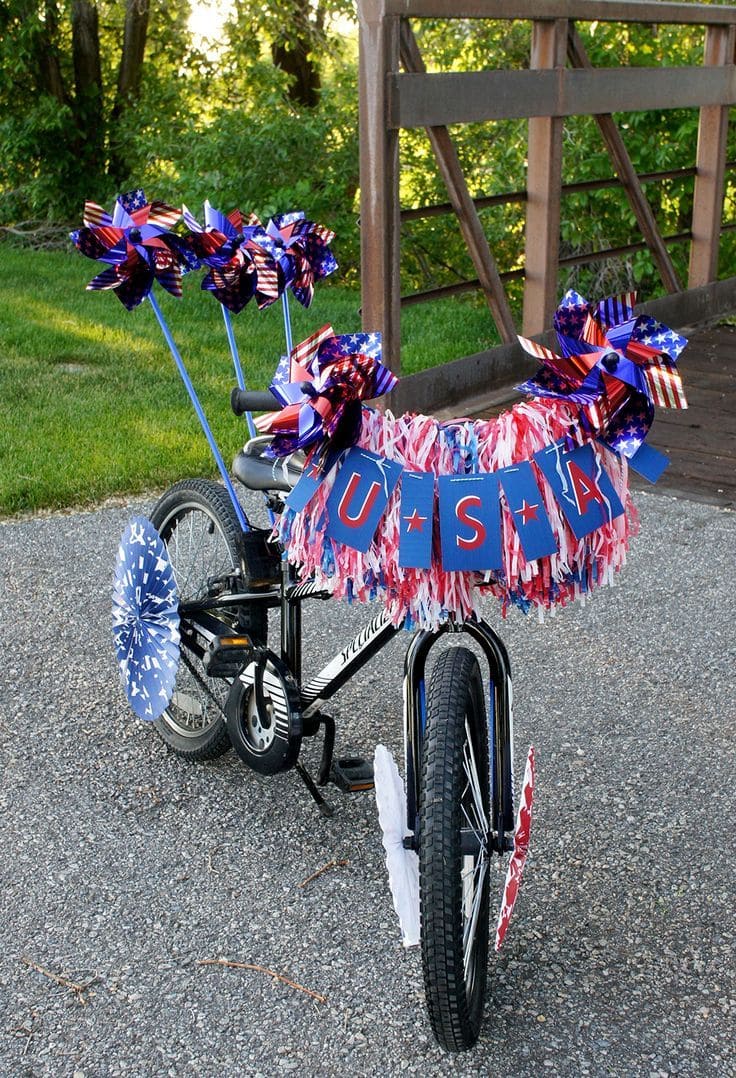
There’s something magical about decorating a bike for the 4th of July, especially when the whole thing ends up looking like a firework on wheels.
 SHOP PATRIOTIC TASSEL GARLAND
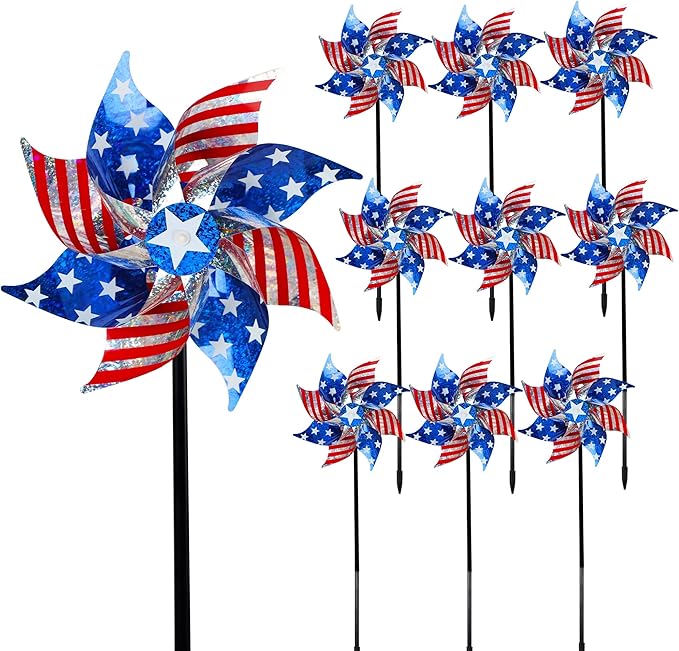 SHOP PATRIOTIC PINWHEELS
 SHOP THICK BLUE CARDSTOCKS
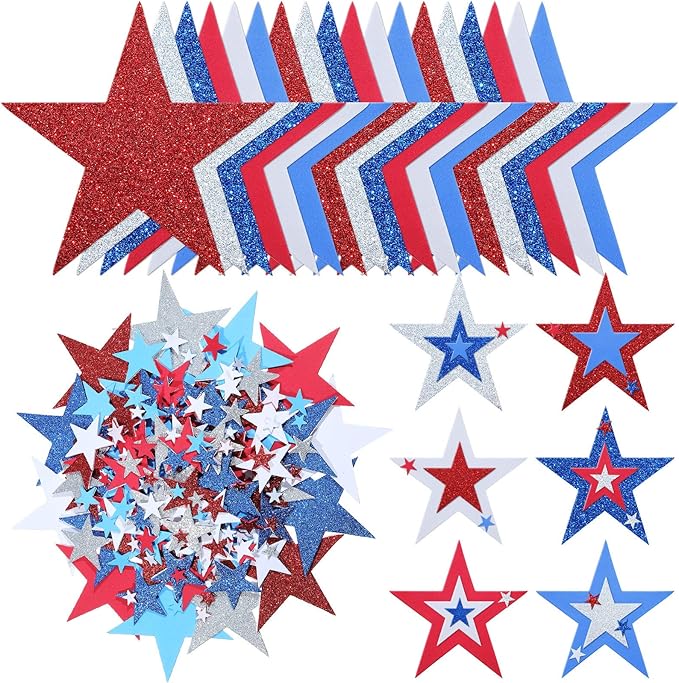 SHOP MINI FOAM STARS
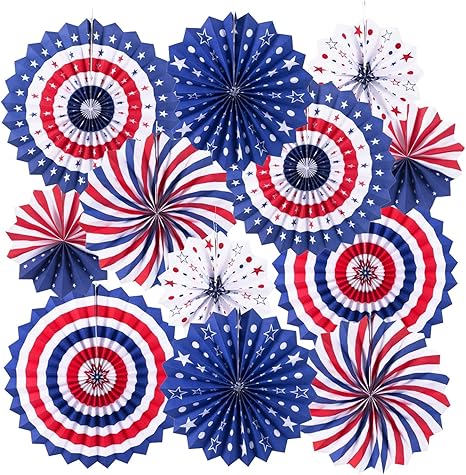 SHOP PATRIOTIC PAPER FANS
Materials Needed
- 5 red, white, and blue pinwheels
- 1 pack of red, white & blue tassel garland (9 ft long)
- 4 thick blue cardstocks
- Mini foam stars
- Hot glue gun and sticks
- Clear tape or zip ties
- Optional: 4 paper fans
Step-by-step Guide
Step 1: Wrap the tassel garland around the bike’s handlebars and secure the ends with tape or zip ties. Let it hang like a festive streamer curtain.
Step 2: Cut the blue cardstock into three rectangles and use white alphabet stickers to spell USA, placing each letter in the center. Add foam stars for a fun finish, then string the pieces together with twine and tie it across the front.
Step 3: Attach pinwheels to the handlebar grips and the rear of the bike using zip ties or strong tape. Add paper fans to the spokes for extra flair.
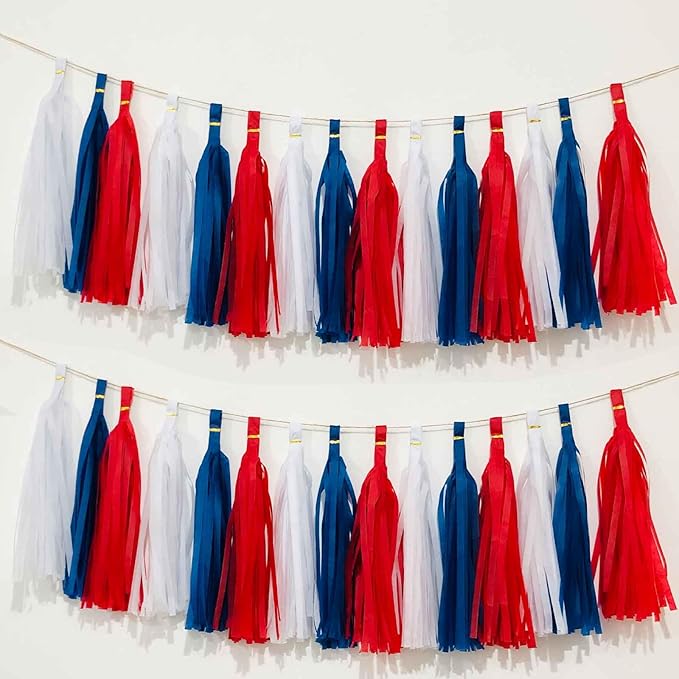
#11. DIY 4th of July Fabric Garland
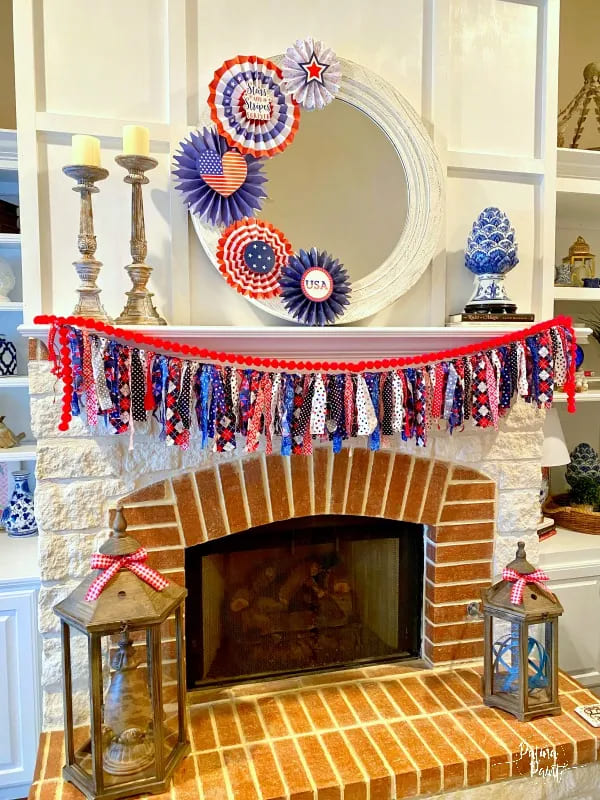
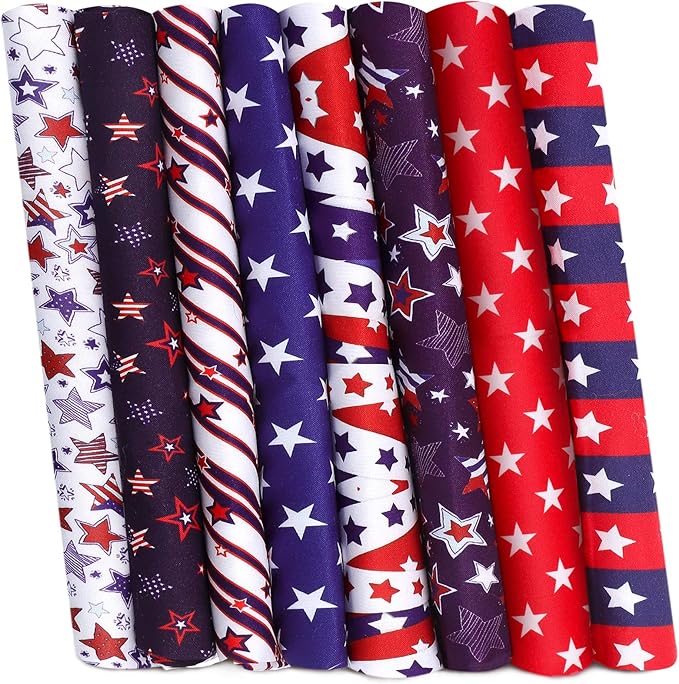
The mix of red, white, and blue scraps with patterns of stars, gingham, and polka dots makes this project both budget-friendly and wildly cheerful.
Materials Needed
- 80-100 assorted red, white, and blue fabric strips
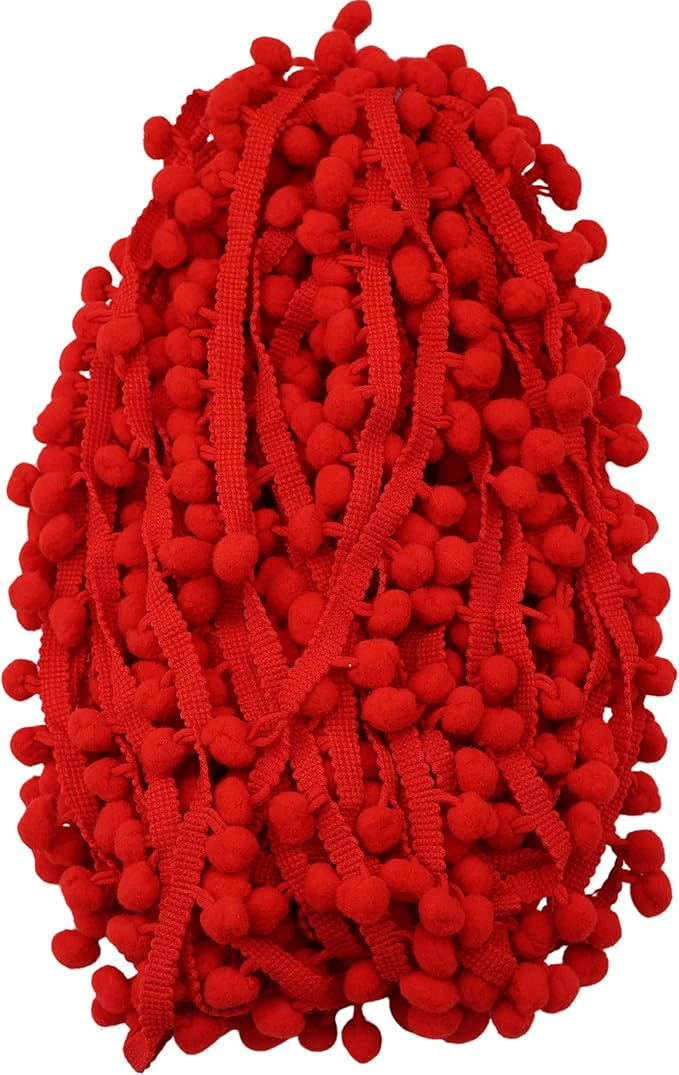
- 6–8 ft. red pom pom ribbon
- 6–8 ft. twine
- Scissors
- Hot glue gun and glue sticks
Step-by-step Guide
Step 1: Start by cutting all your fabric strips to equal length and width. Vary the prints but keep the palette focused on red, white, and blue.
Step 2: Tie each fabric strip to your twine using a simple knot, sliding them snugly next to one another for a full look. Alternate colors and patterns to avoid clusters of the same print.
Step 3: Once finished, glue a strip of red pom pom ribbon across the top of the garland for a polished, cheerful trim.
Step 4: Drape it across your mantel and secure it with hooks or clear tape.
#12. Patriotic Rice Jar Flags
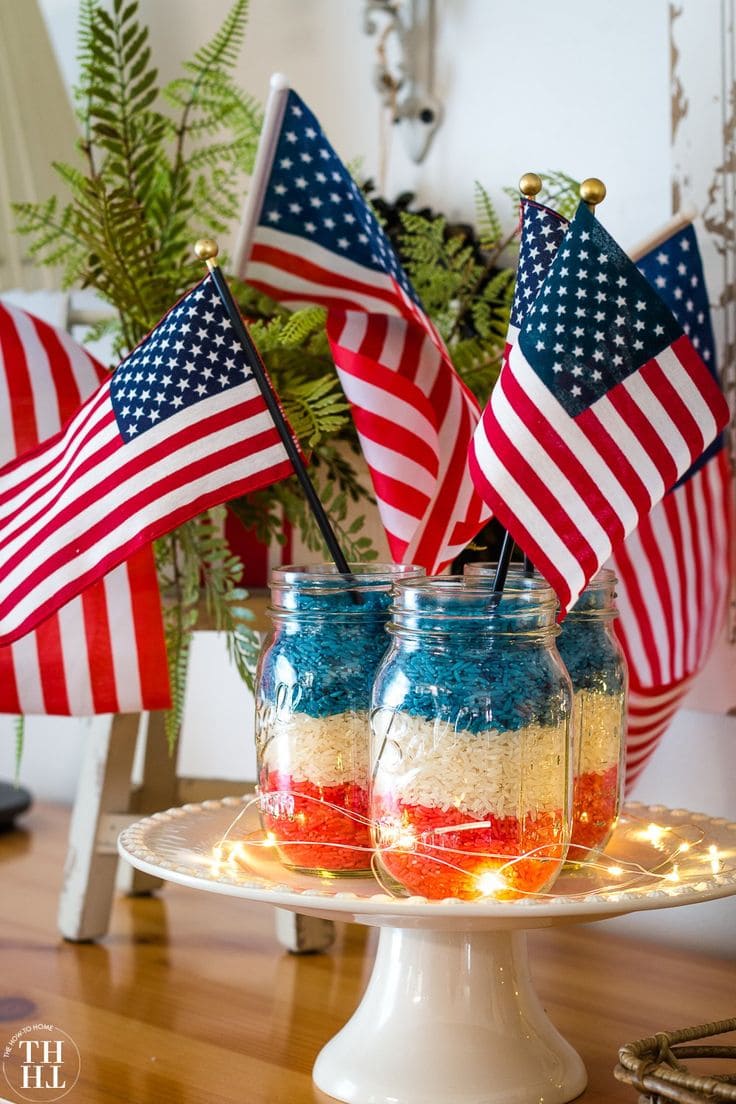
I had extra mason jars, a bag of rice, and some food coloring and boom, this layered flag look came to life!
 SHOP UNCOOKED WHITE RICE
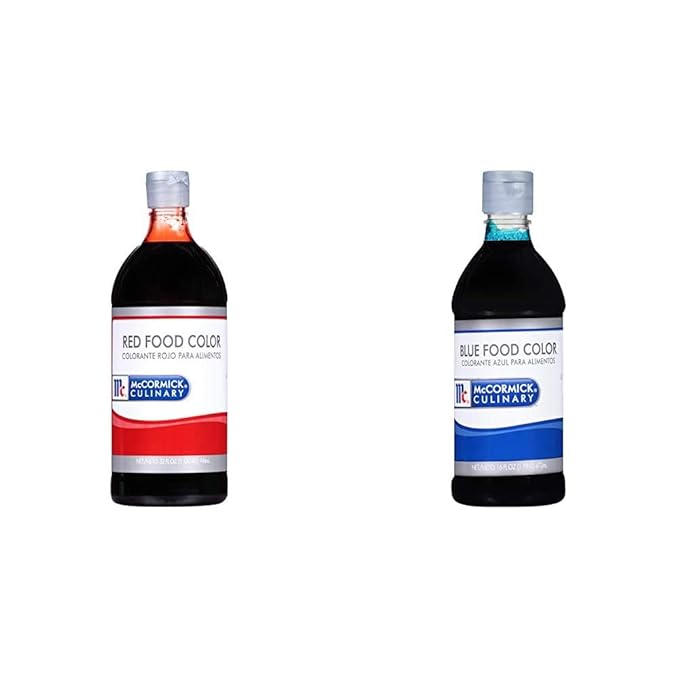 SHOP RED AND BLUE FOOD COLORING
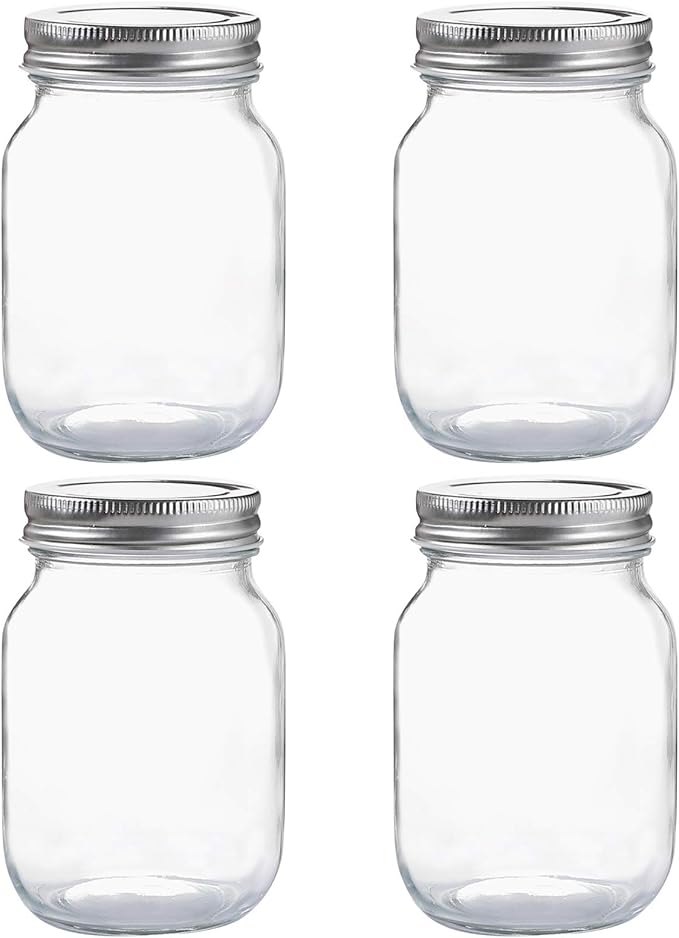 SHOP GLASS MASSON JAR
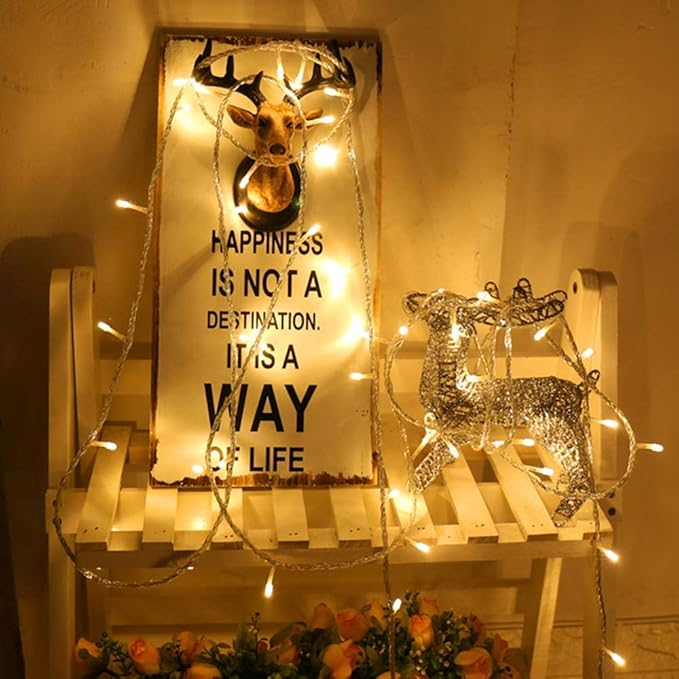 SHOP TWINKLE FAIRY LIGHTS
Materials Needed
- 3 glass mason jars (16 oz)
- 1½ cups of uncooked white rice per jar
- Red and blue food coloring
- Plastic zip bags
- 4–6 inches tall mini American flags
- Twinkle fairy lights (battery-powered)
Step-by-step Guide
Step 1: Divide your uncooked rice evenly into three plastic bags. Leave one as-is (white), and add red coloring to one bag and blue to the other. Shake well and let dry completely on parchment.
Step 2: Once dry, layer the rice inside the jars in the order of red, white, and blue. Use a spoon to flatten each layer gently.
Step 3: Stick a mini flag into the center of each jar.
Step 4: For extra sparkle, wrap fairy lights around the base or set them beneath the jars on a cake stand for a glowing centerpiece effect.
#13. 4th of July Ice Cream Cone Door Hanger
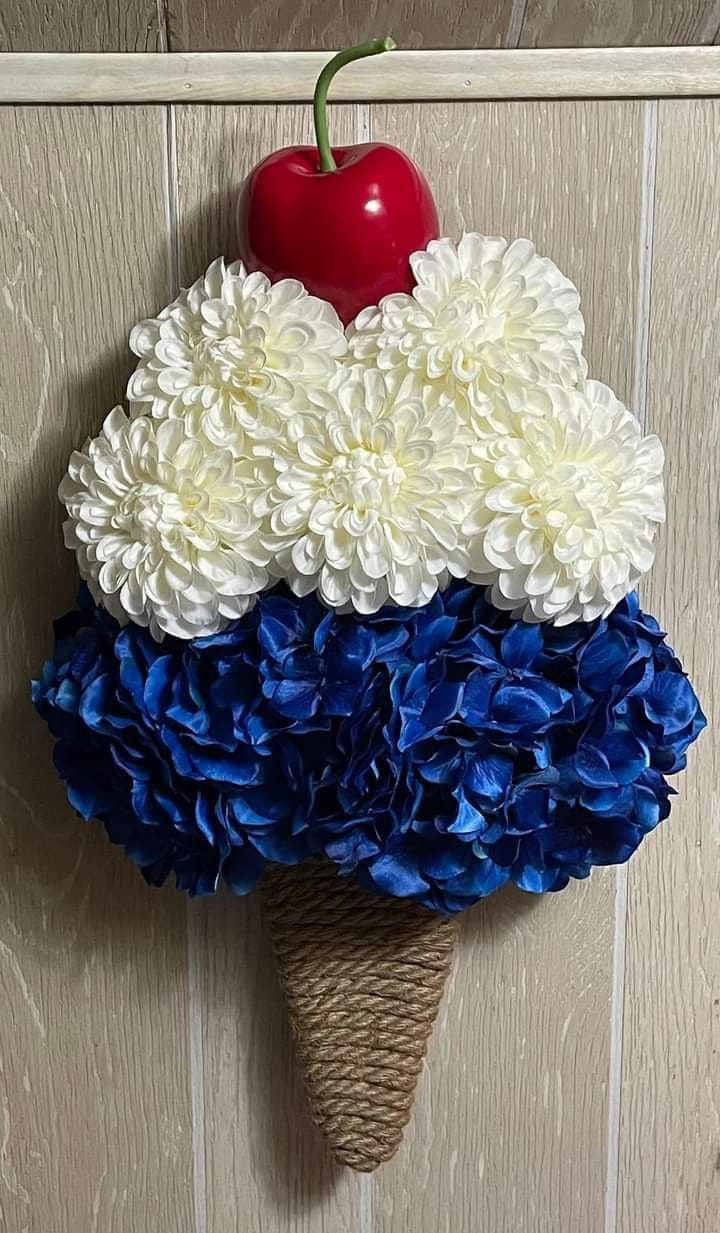
This one melts hearts, not in the sun! I made this adorable faux ice cream cone for my front door and it’s easily one of my favorite 4th of July crafts.


Materials Needed
- 1 foam cone (6–8″ tall)
- 6 ft jute rope
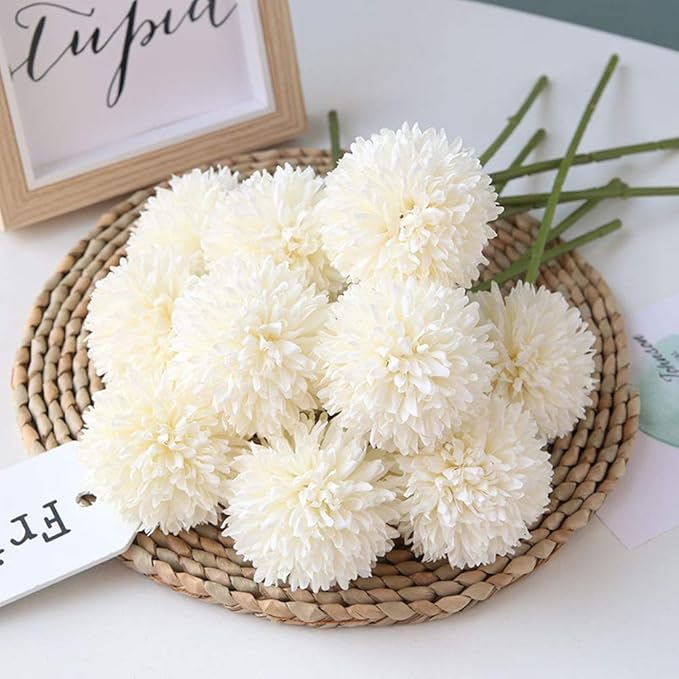
- 4 faux white flowers (like dahlias or mums, approx. 4″ each)
- 4 faux blue hydrangea stems
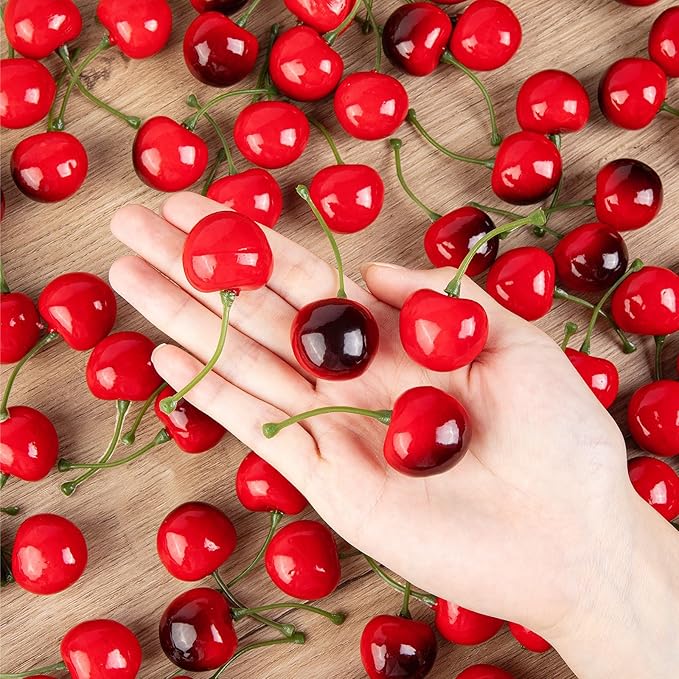
- 1 large red faux cherry
- Hot glue gun and glue sticks
Step-by-step Guide
Step 1: Wrap your foam cone with jute rope from bottom to top, gluing as you go for a snug finish. Let it cool completely.
Step 2: Trim your faux flowers and glue the blue blooms onto the bottom half of the “ice cream,” followed by the white ones on top. Fluff them up a bit for extra volume.
Step 3: Add your cherry to the center top using a strong dab of hot glue.
Step 4: Glue a small loop of rope or ribbon to the back and hang it on your front door.
#14. Repurposed Shutter Flag Porch Statement
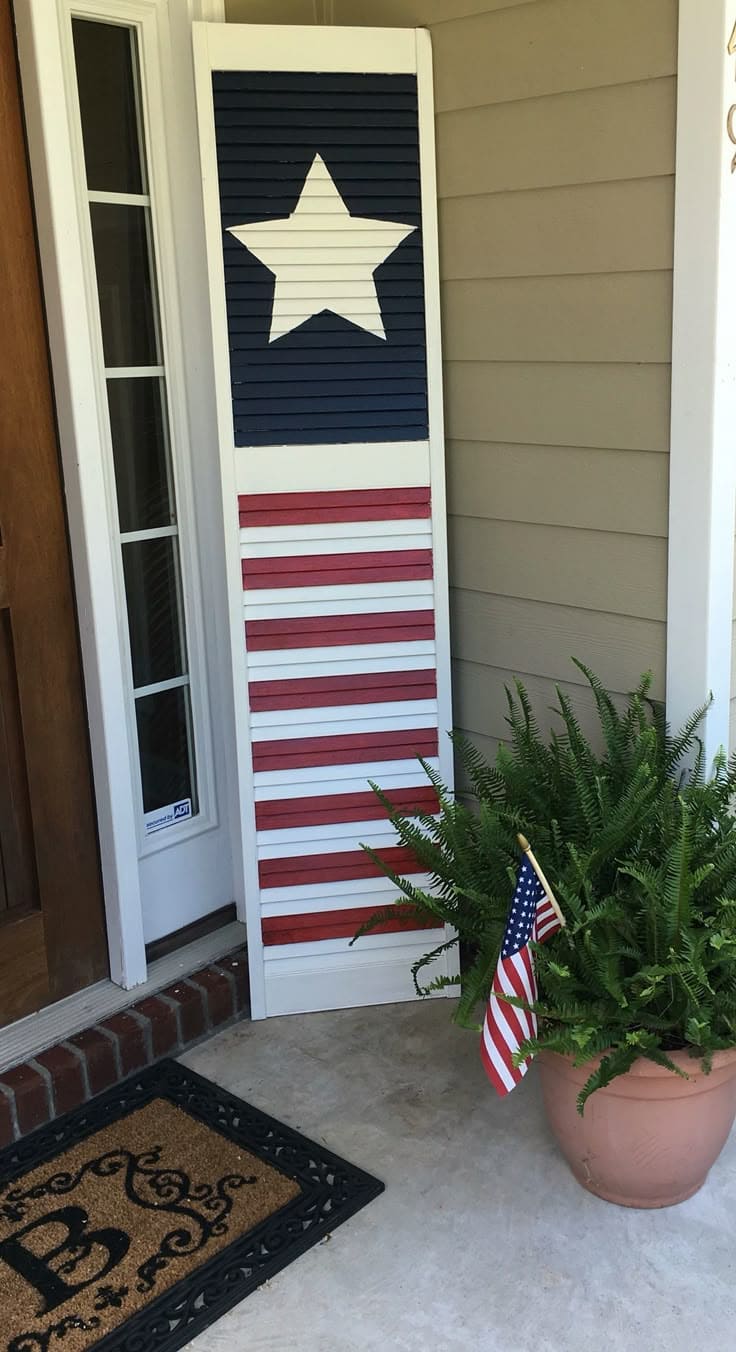
I found an old shutter in the garage and couldn’t bear to toss it, so this 4th of July, it got a bold Americana makeover. Now it stands proudly by the door, welcoming guests with its rustic charm.


Materials Needed
- 1 old shutter (approx. 48–60″ tall)
- Acrylic paint in navy blue, bright red, and white
- Wide painter’s tape (1.5″)
- Star stencil (or draw freehand)
- Small foam brushes or paintbrushes
- Optional: Clear spray sealer
Step-by-step Guide
Step 1: Clean and dry the shutter thoroughly. Use painter’s tape to mark off the top section for the blue star background and tape alternating slats for the red stripes.
Step 2: Paint the slats white first for a clean base. Then add red stripes and the navy blue upper panel. Let it dry in between coats to avoid bleeding.
Step 3: Place a star stencil in the center of the blue section and dab it with white paint.
Step 4: Once everything is dry, add a coat of clear sealer if the shutter will be outdoors.
#15. Vintage Window Flag Frame
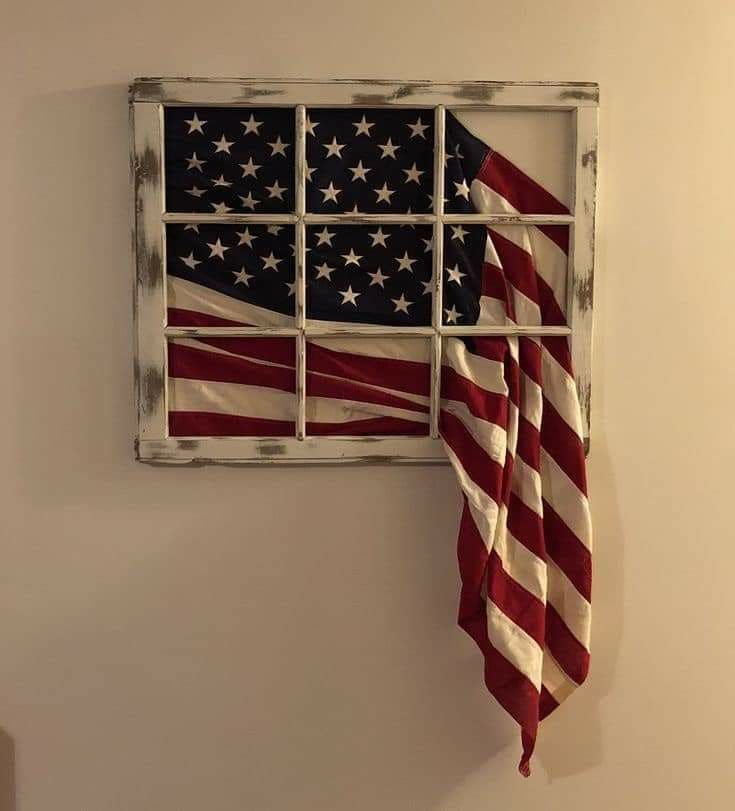
Using an old windowpane and a gently draped flag, this simple yet striking project brings rustic charm to any wall. I hung mine in the hallway and every guest comments on it.

Materials Needed
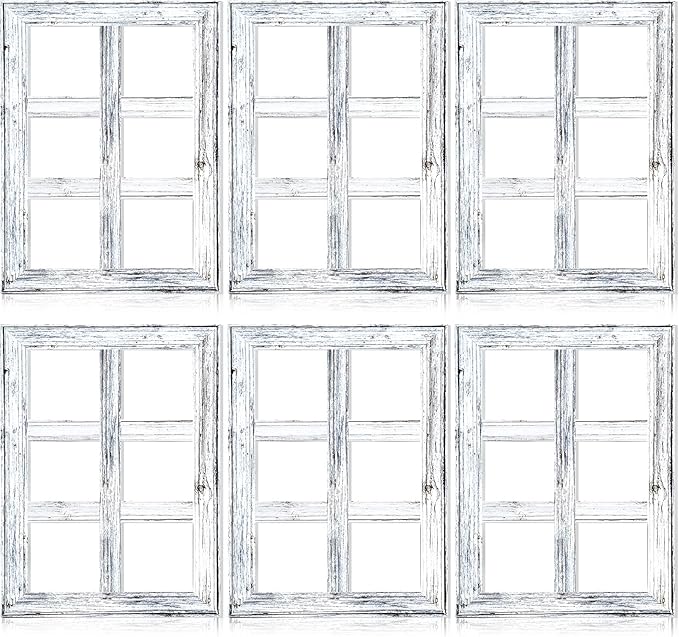
- 1 old window frame (6- or 9-pane recommended)
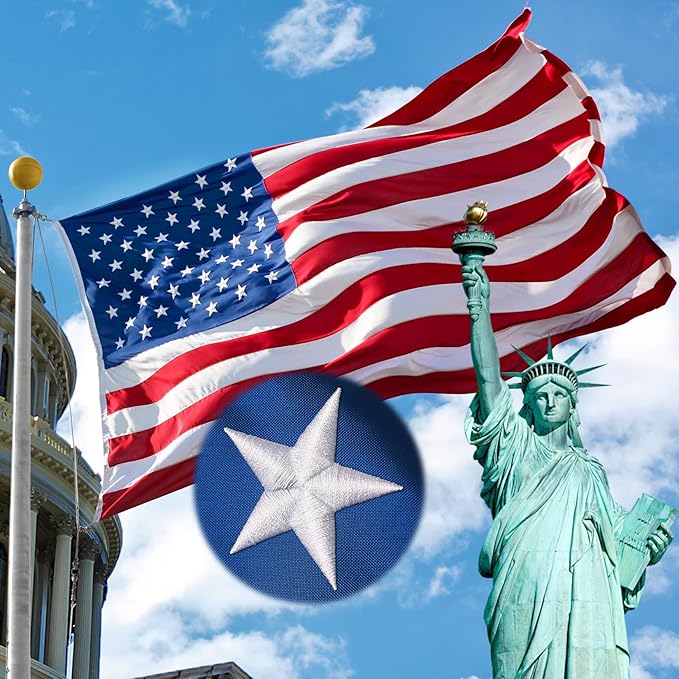
- 1 medium American flag (approx. 3ft x 5ft)
- Double-sided mounting tape or staples
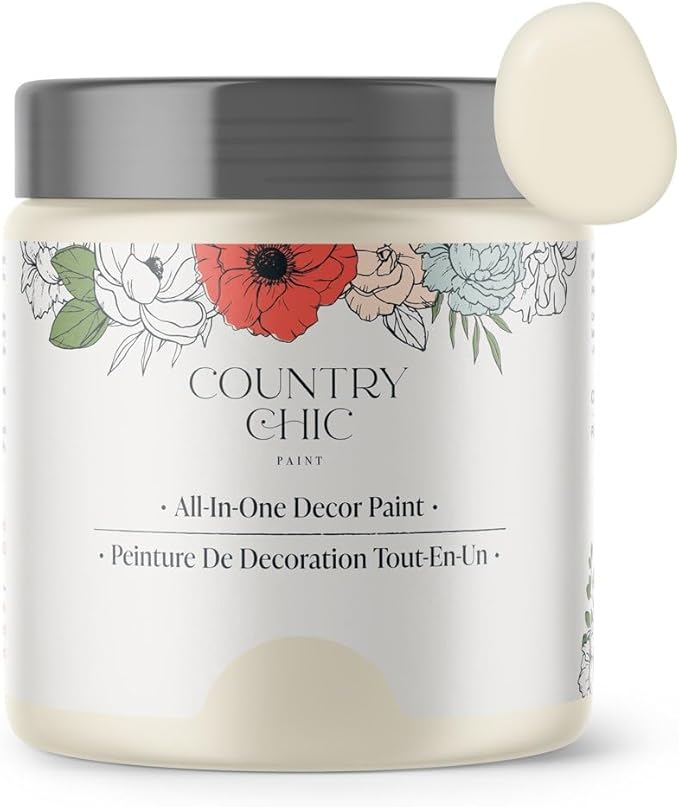
- Optional: Chalk paint
- Optional: Sandpaper
Step-by-step Guide
Step 1: If your window frame needs a makeover, give it a coat of white chalk paint and lightly sand the edges for a weathered, farmhouse effect.
Step 2: Carefully fold or drape your flag so that the stars fit neatly into the top left panes and the stripes cascade through the rest. Let part hang down for a relaxed feel.
Step 3: Secure the flag behind the panes using mounting tape, staples, or a few small nails, make sure it stays smooth but not stretched.
Step 4: Hang your framed piece with sturdy wall hooks or lean it on a mantel.
#16. Rustic Patriotic Table Centerpiece
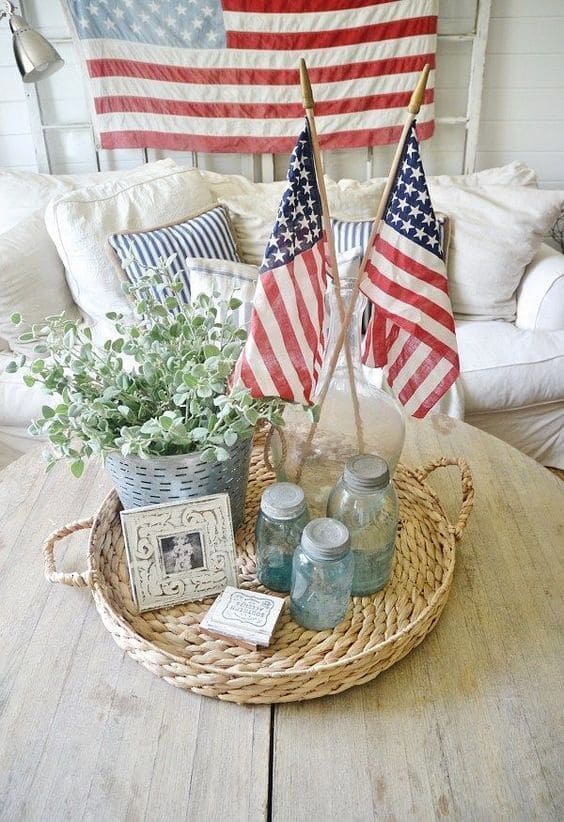
This soft-toned 4th of July tray brings all the charm of a farmhouse cottage into your living space. I love the calm palette, all tied together with two proudly waving flags.
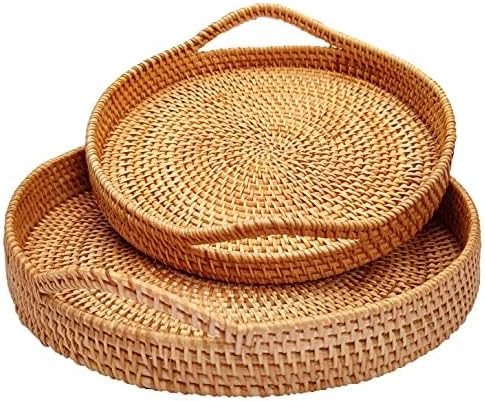 SHOP ROUND WOVEN TRAY
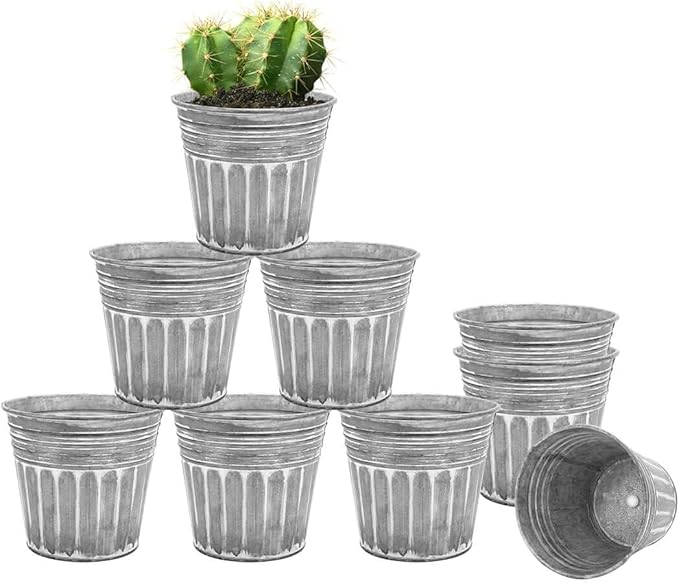 SHOP SMALL METAL PLANTER
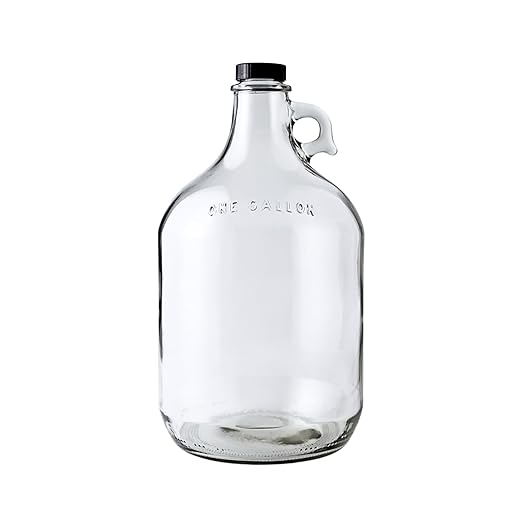 SHOP GLASS JUG
 SHOP BLUE MASSON JAR
 SHOP FAUX EUCALYPTUS BRUSH
Materials Needed
- 2 small vintage-style American flags (12″x8″)
- Glass jug (at least 10″ tall)
- 3 blue mason jars
- Faux eucalyptus bush
- Small metal planter
- Round woven tray (16–18″)
Step-by-step Guide
Step 1: Place your woven tray in the center of your table, couch console, or coffee table as a grounding base.
Step 2: Insert your faux eucalyptus bush into the metal planter and place it to one side of the tray.
Step 3: Fill the large glass jug with sand or pebbles and insert the two American flags inside for structure and height.
Step 4: Finally, line up your three mason jars in a cluster near the front corner.
#17. Patriotic Porch Chair Makeover
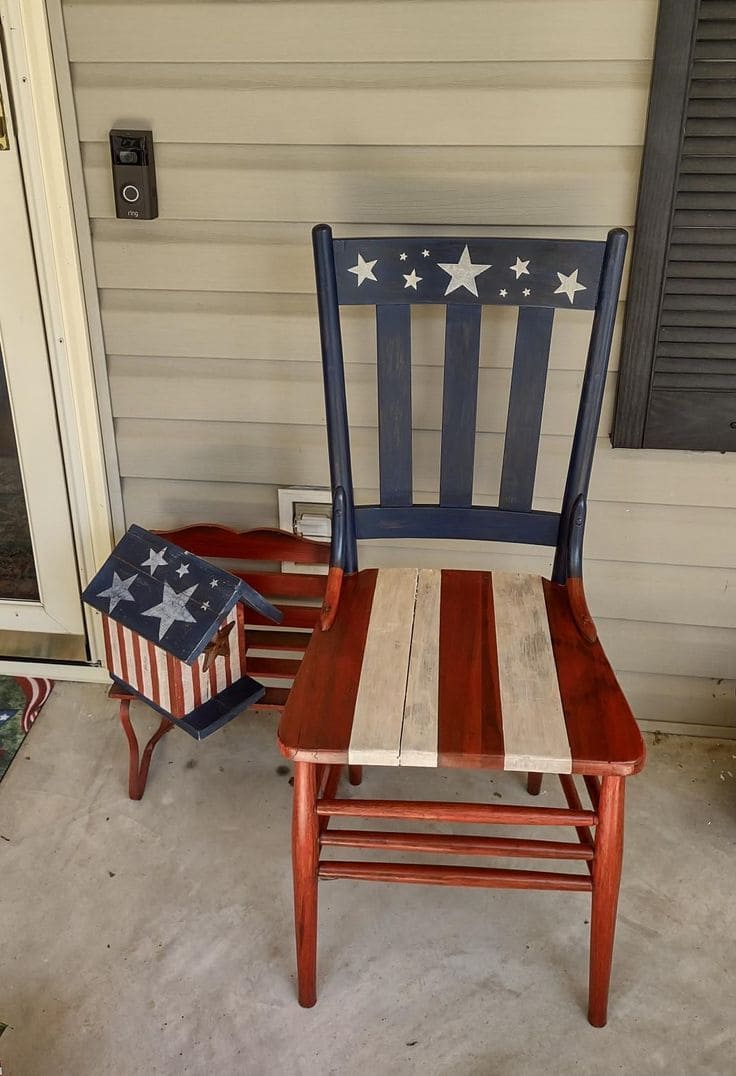
If you’ve got a wooden chair that needs a second life, this DIY is a fun and meaningful way to celebrate the 4th of July.
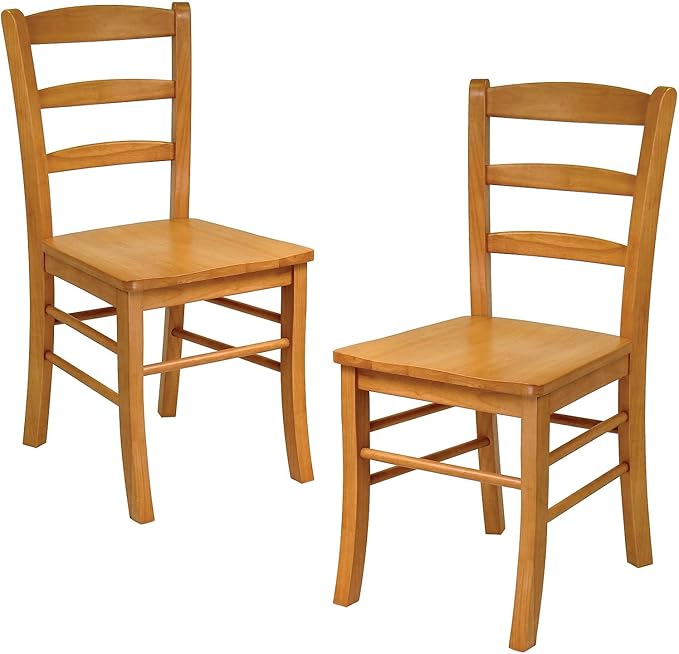
Materials Needed
- One old wooden chair
- Red, white, and navy acrylic paints
- Set of foam brushes or small paintbrushes
- Painter’s tape
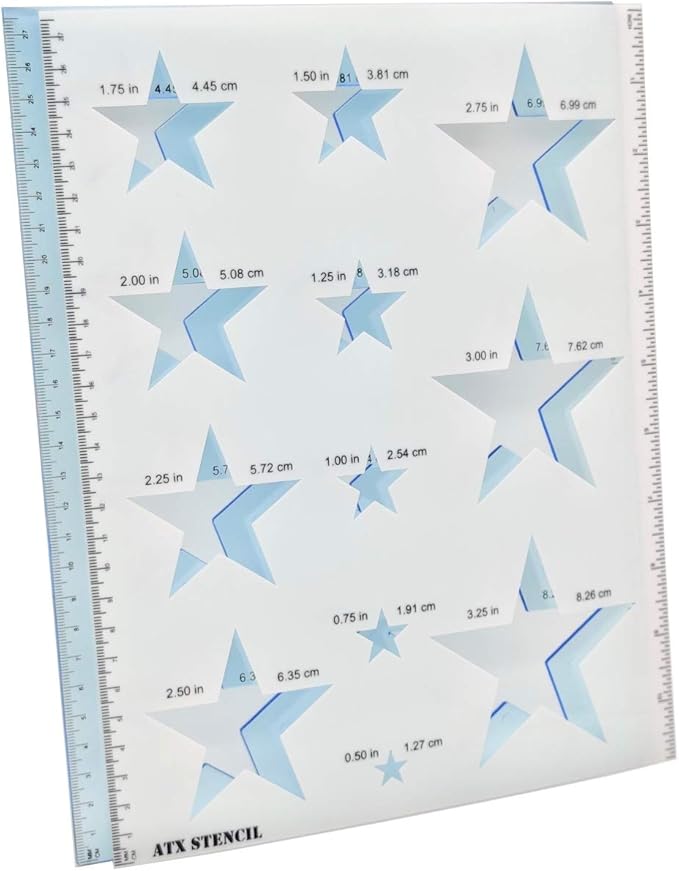
- Star stencil or star-shaped stickers
- Matte clear sealant spray
Step-by-step Guide
Step 1: Lightly sand the chair and wipe it clean. Use painter’s tape to mark off the stripes on the seat and the navy section on the backrest.
Step 2: Paint the seat in alternating red and white stripes. Paint the top slat of the backrest navy blue. Let everything dry completely before removing the tape.
Step 3: Use a stencil or stickers to add white stars to the navy backrest. You can also hand-paint them if you’re feeling bold.
Step 4: Seal the whole chair with a matte clear coat so it holds up outdoors. Let it cure for 24 hours before using.
#18. Cozy Patriotic Nook Makeover
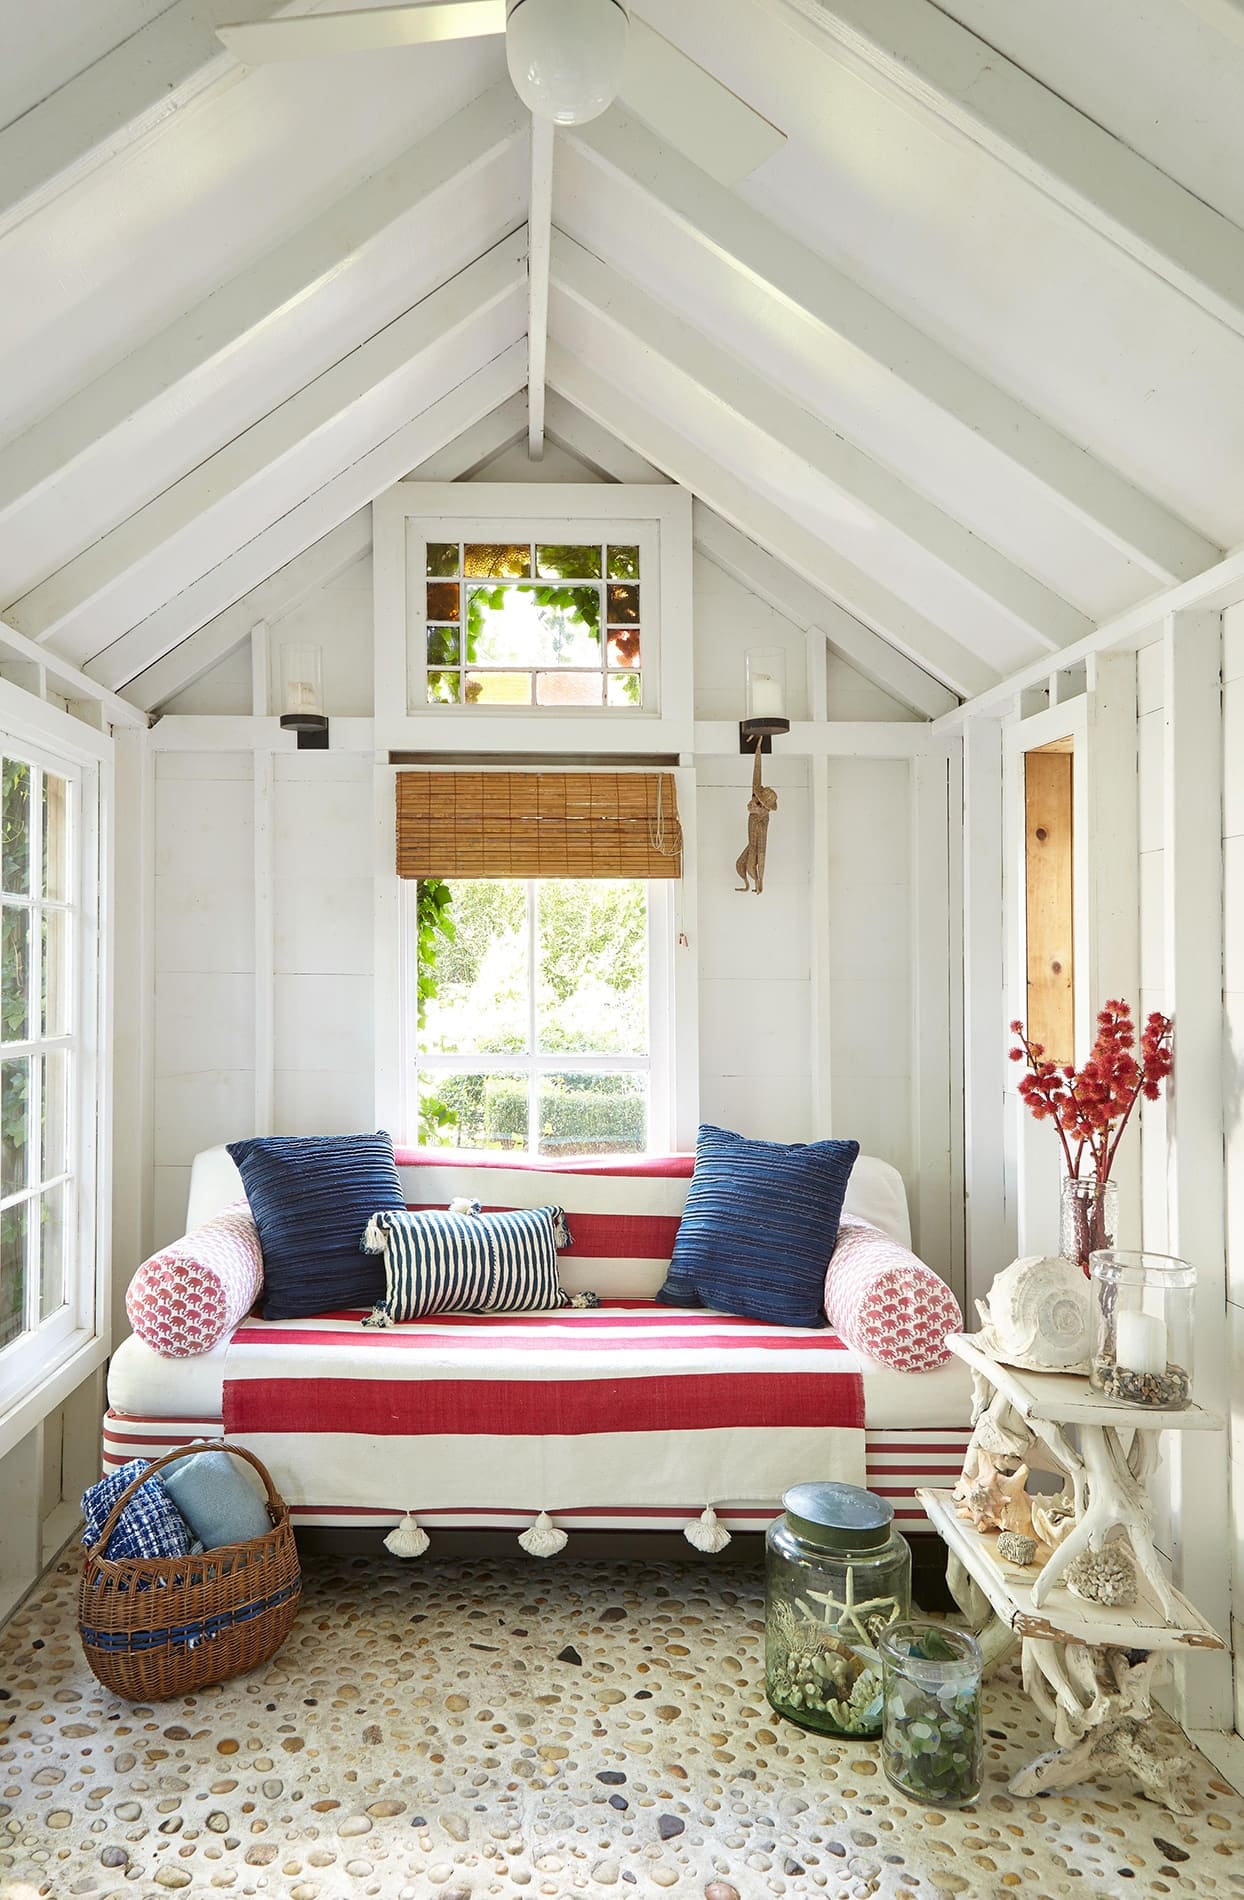
Tucked into a quiet garden shed or sunroom, this mini lounge space feels like summer patriotism wrapped in comfort.
 SHOP NAVY BLUE THROW PILLOWS
 SHOP WOVEN BOLSTER PILLOWS
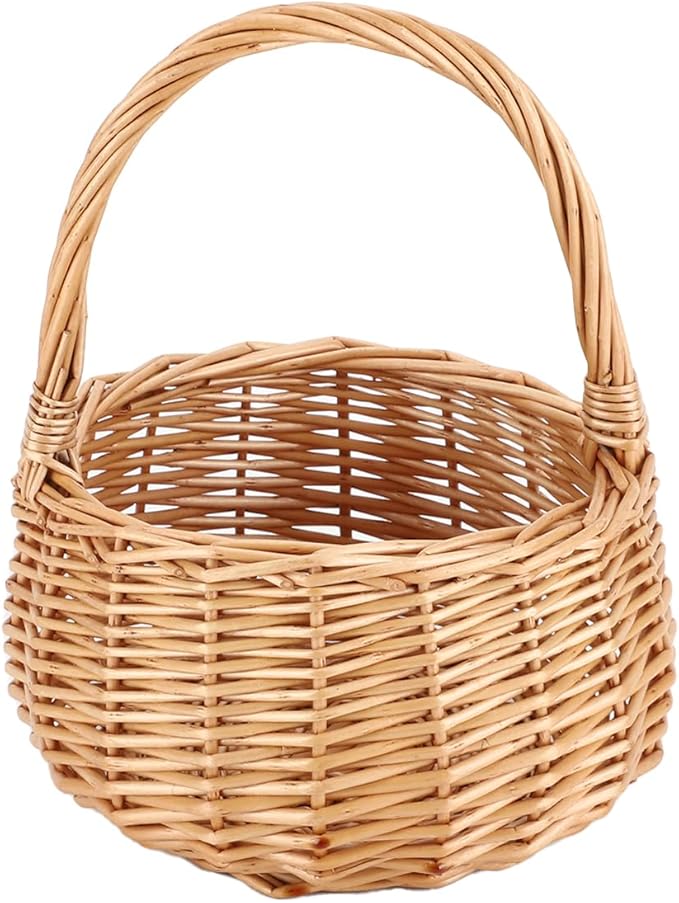 SHOP WICKER BASKET
 SHOP LARGE GLASS JARS
Materials Needed
- Striped throw blanket (60″ x 80″)
- Navy blue throw pillows (2, 18″ x 18″)
- 2 Woven bolster pillows
- Wicker basket
- Mini driftwood shelf
- Glass jars with lids
- Natural fiber window shade
Step-by-step Guide
Step 1: Drape the striped throw across your couch or bench seat to act as a slipcover. Fold cleanly over the edges and let tassels hang front and center.
Step 2: Add two dark navy throw pillows and one smaller striped accent cushion for a layered, relaxed look.
Step 3: Place the bolster pillows on both arms to balance the setup visually and add lounging comfort.
Step 4: Arrange seashells, driftwood, and small treasures on a natural shelf or tabletop to bring in a beachy flair.
Step 5: Fill large glass jars with sand, starfish, or pebbles for subtle coastal nods, bonus points if collected from a family vacation!
Step 6: Complete the corner with a woven basket of rolled throws and a few patriotic textiles peeking out.
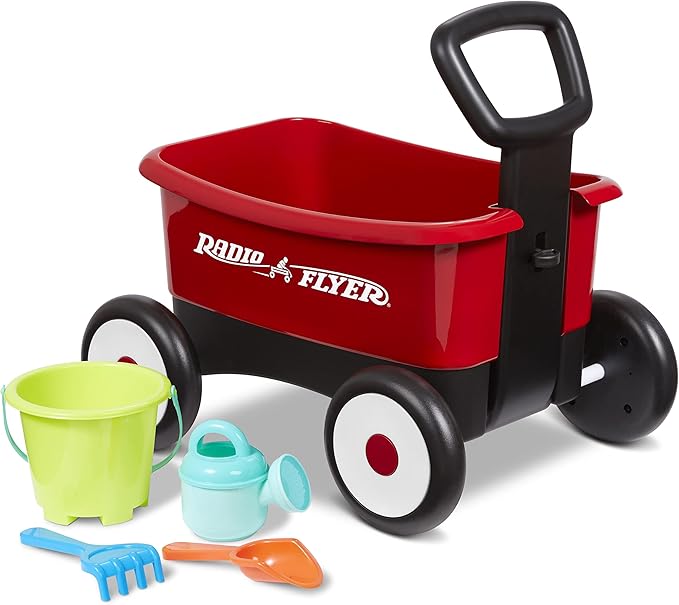
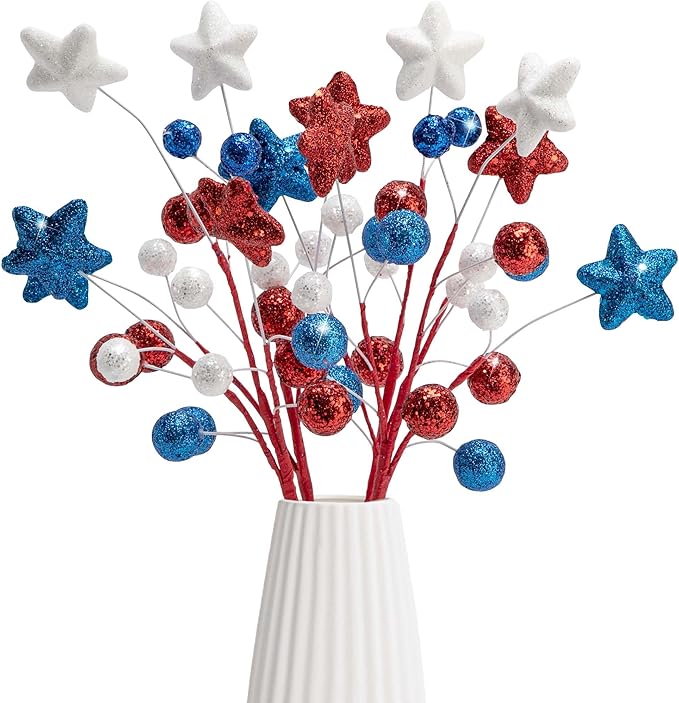
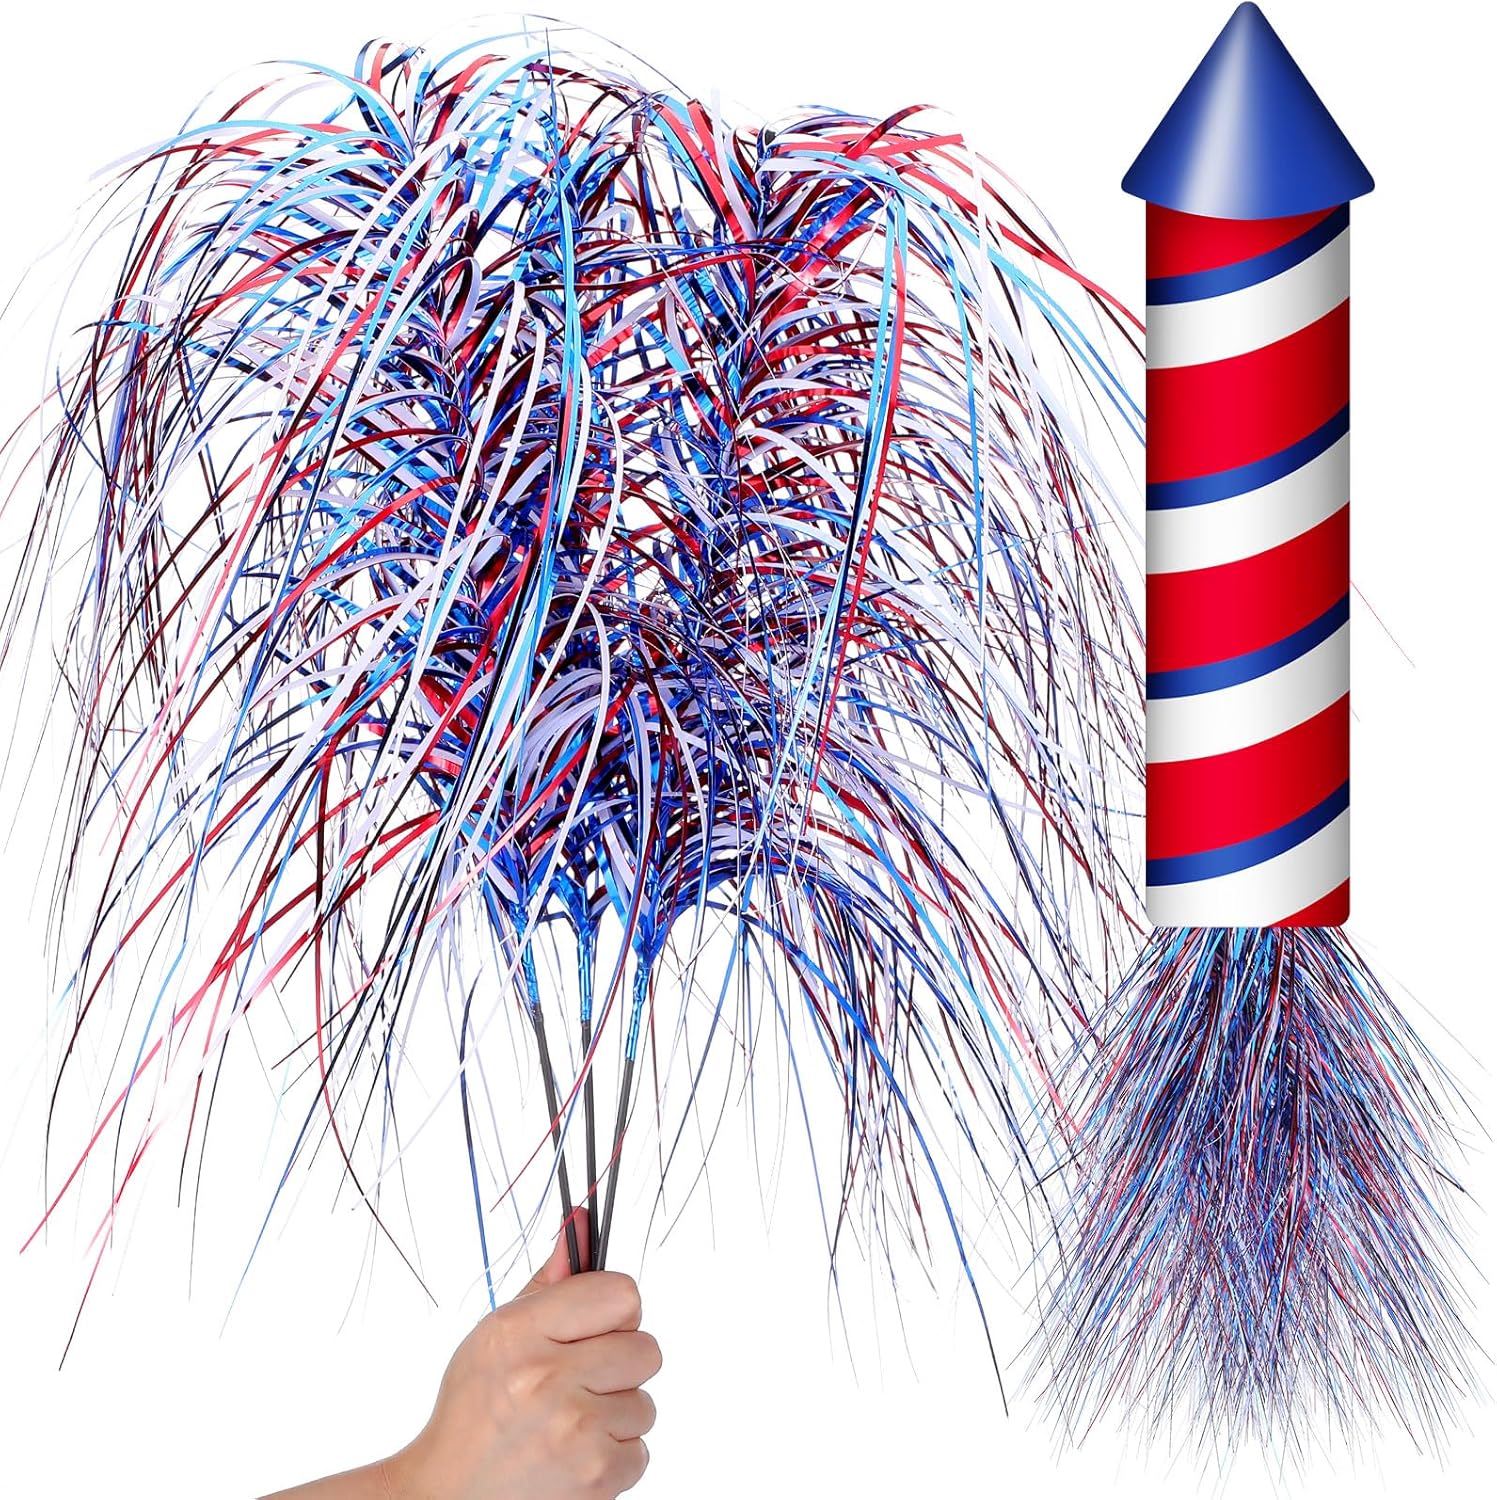
#19. 4th of July Mini Wagon Flower Display
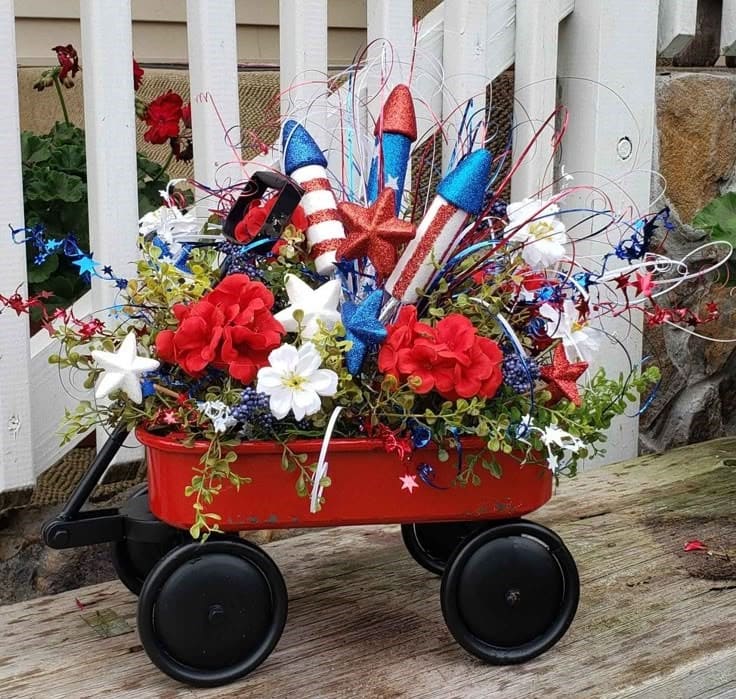
Overflowing with faux flowers, glittery rockets, and all the red-white-and-blue spark your heart can handle, this DIY project is cheerful, bold, and full of personality.
Materials Needed
- 1 small red wagon (around 12″ long)
- 4-6 red and white faux flowers (petunias, geraniums, or daisies)
- 3-4 glitter rocket picks or patriotic firework sprays
- Blue filler flowers (lavender or wildflowers)
- Assorted greenery sprigs (ivy, ferns, or eucalyptus)
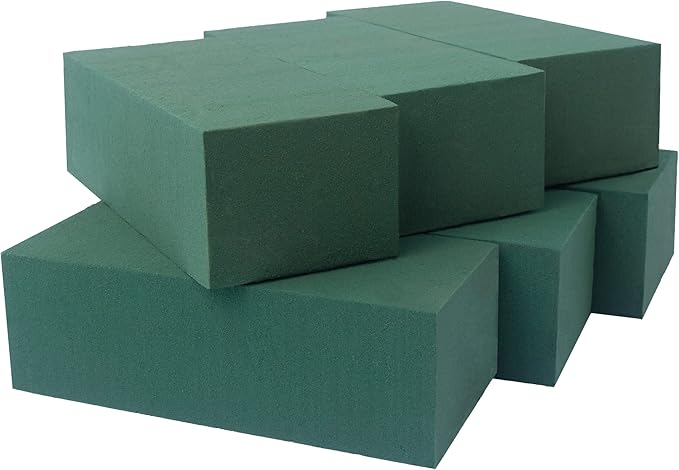
- Floral foam
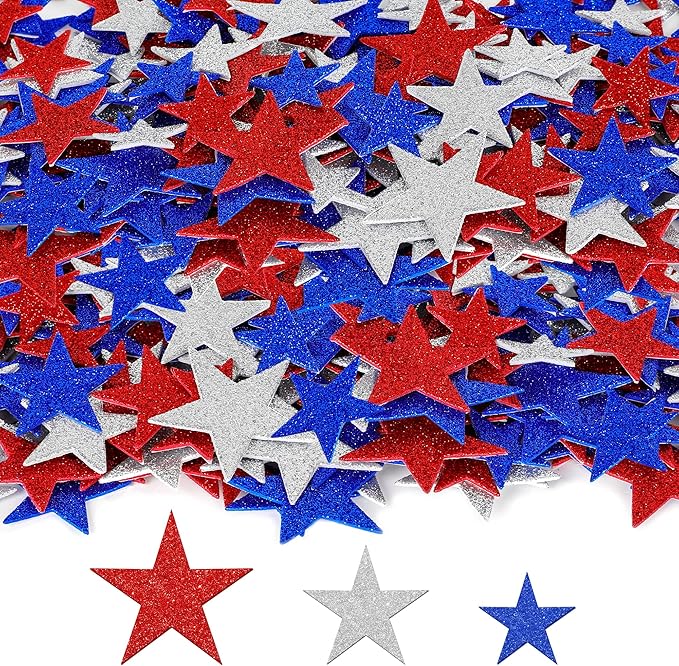
- Red, white, and blue glitter stars
Step-by-step Guide
Step 1: Fit a Styrofoam block inside the wagon to serve as your base. You can glue it down or leave it loose if you want to reuse the wagon later.
Step 2: Start with greenery and filler flowers to shape a full, lush bed. Keep some pieces flowing over the edge.
Step 3: Insert the red and white blooms evenly across the foam for a balanced, vibrant look.
Step 4: Add blue accents, focusing toward the front or sides for a pop of contrast.
Step 5: Finish by placing the rocket picks at an angle toward the back and surrounding them with glitter stars and curly wire sprays for a firework effect.
#20. Rustic Patriotic Star Wall Hanging
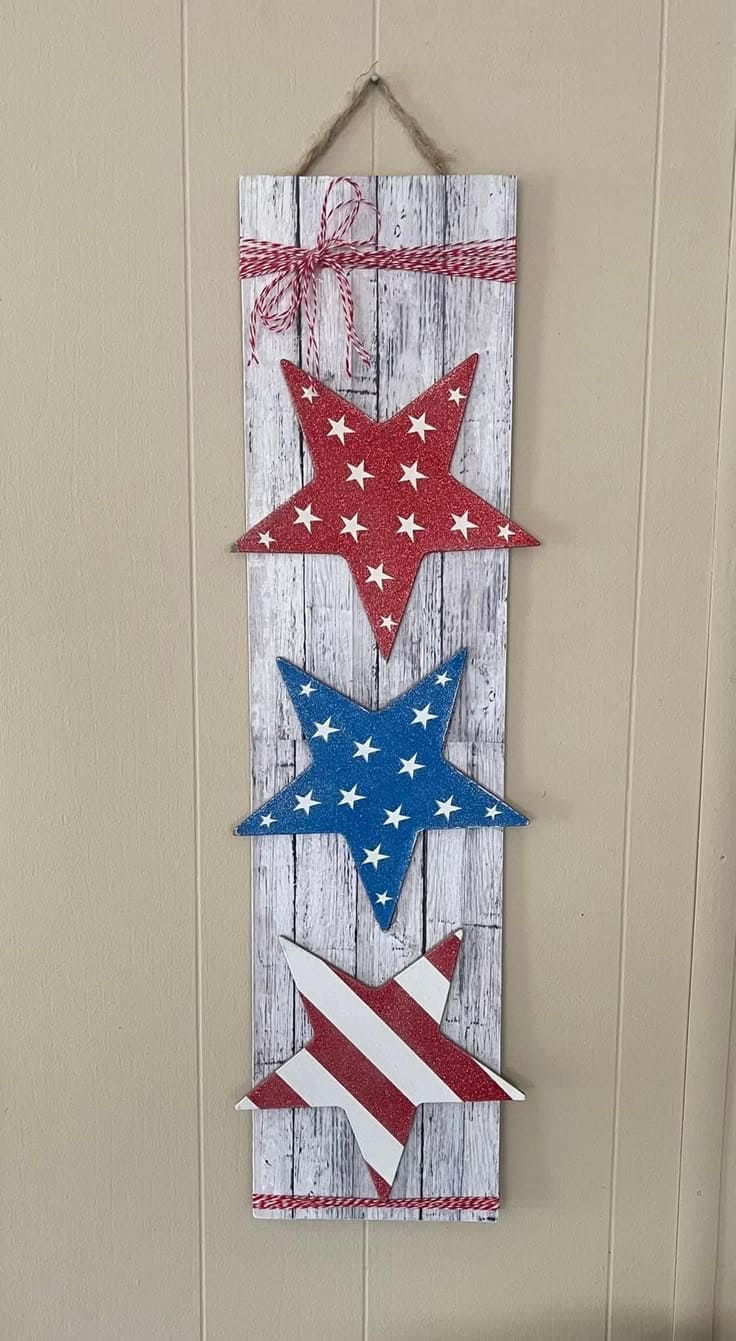
The weathered wood look, sparkly stars, and twine bow give it a mix of rustic and festive, and I loved how easy it was to personalize with glitter and paint.

Materials Needed
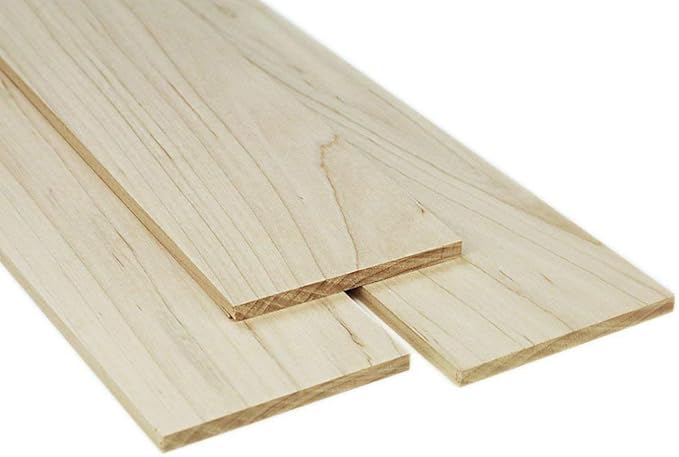
- 1 wood board (approx. 5″x18″)
- 3 wooden star cutouts (4″–5″ each)
- Red, white & blue acrylic paints
- Star stickers or white paint pen
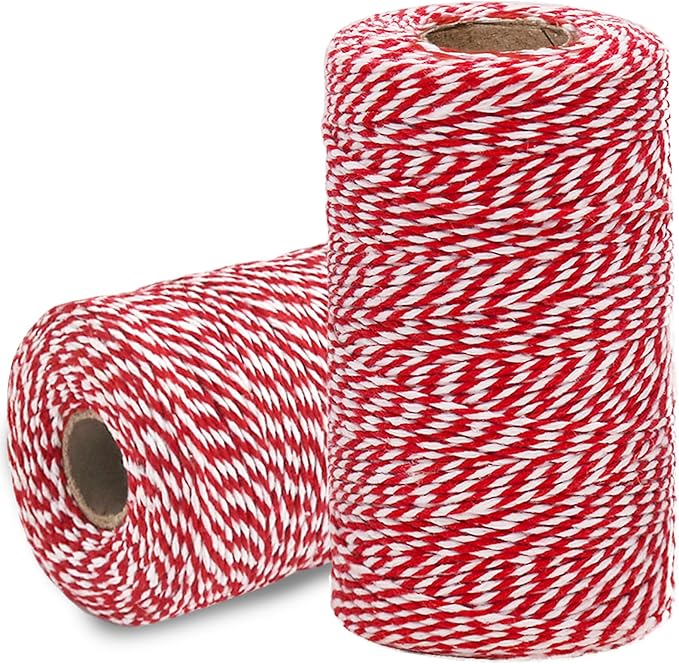
- Red/white twine ribbon
- Jute rope
- Hot glue gun and glue sticks
Step-by-step Guide
Step 1: Paint the wood board with a distressed white-wash effect. Let it dry fully.
Step 2: Paint each star separately, one in red with white stars, one in blue with stars, and one in white with red stripes. Add glitter for sparkle.
Step 3: Once dry, hot glue the stars vertically down the center of the board.
Step 4: Add twine ribbon to the top and bottom of the board. Tie a bow with the same twine and glue it in the upper corner.
Step 5: Attach a jute rope hanger to the back and hang your star-spangled masterpiece with pride!
#21. Cozy Patriotic Porch Perfection
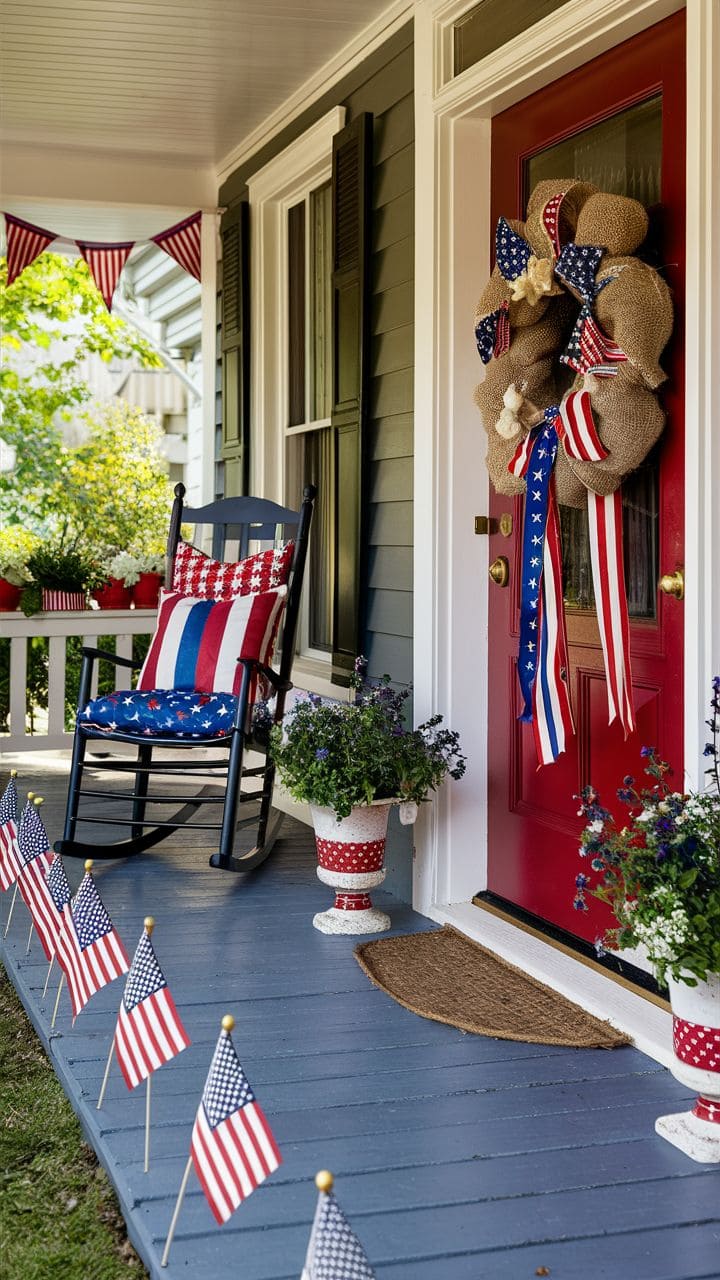
You’ll adore how the bold red door anchors everything, while the burlap wreath, festive rocker cushions, and flag-lined steps invite guests to pause and smile.

Materials Needed
- Burlap ribbon (about 6 yards)
- Patriotic wired ribbon (2–3 designs)
- Foam wreath base (14″)
- Mini American flags (10–12 pack)
- Pillows or covers (star, stripe, and red-white-blue patterns)
- Outdoor planters (red/white accents)
- Small U.S. bunting or garland
Step-by-step Guide
Step 1: Create the burlap wreath by looping and tucking your burlap into the foam base, alternating with wired patriotic ribbon for a layered look. Use floral pins or hot glue to secure.
Step 2: Dress your rocking chair with themed cushions – stars on the seat, stripes on the back, and red accents to pull it together.
Step 3: Line the porch walkway with small American flags. Push them into the ground or use floral foam in hidden planters to keep them upright.
Step 4: Use painted pots or wrap planters in red-and-white ribbon, then fill with blue and white flowers like lobelia, alyssum, or petunias.
Step 5: Add bunting above your porch rail or window for extra flair, and let the color wave proud.
#22. DIY Patriotic Table Setting
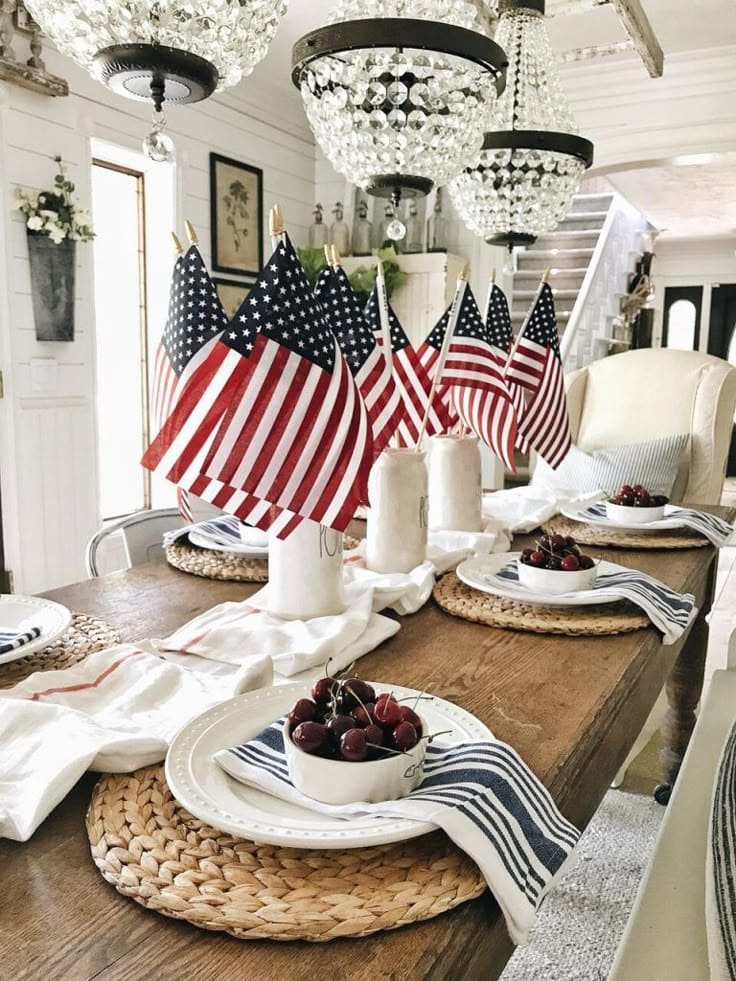
The combination feels warm and inviting, yet polished. It’s the kind of look that says, “You’re welcome here, let’s make memories.”

Materials Needed
- 8-10 mini American flags (12″x18″ size)
- 3 white ceramic jars
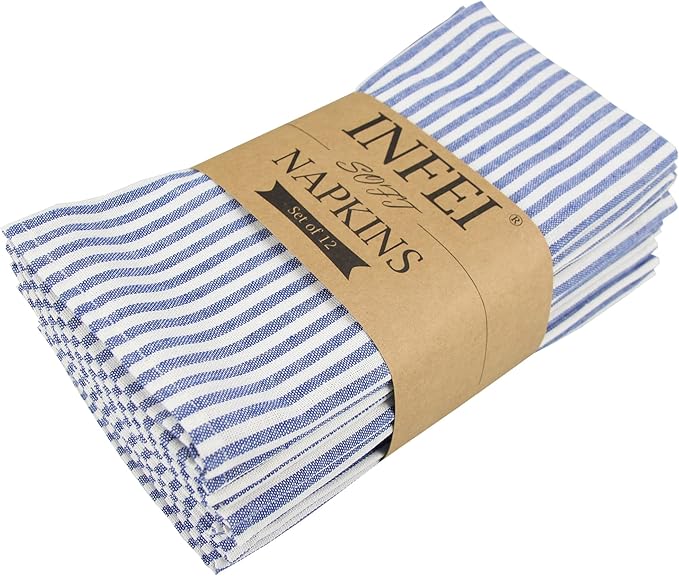
- Striped cloth napkins
- White dinner plates and shallow bowls
- Woven placemats
- Fresh cherries
- Light table runner
Step-by-step Guide
Step 1: Lay your runner or towel across the center of the table. Let it drape casually for a relaxed farmhouse feel.
Step 2: Arrange 3 white jars down the center and place one or two flags in each, fanned out slightly.
Step 3: Set each place with a woven placemat, white plate, and striped napkin folded or draped off the side.
Step 4: Nest a small bowl on top of the plate and fill it with cherries.
#23. DIY Patriotic Tiered Tray Display
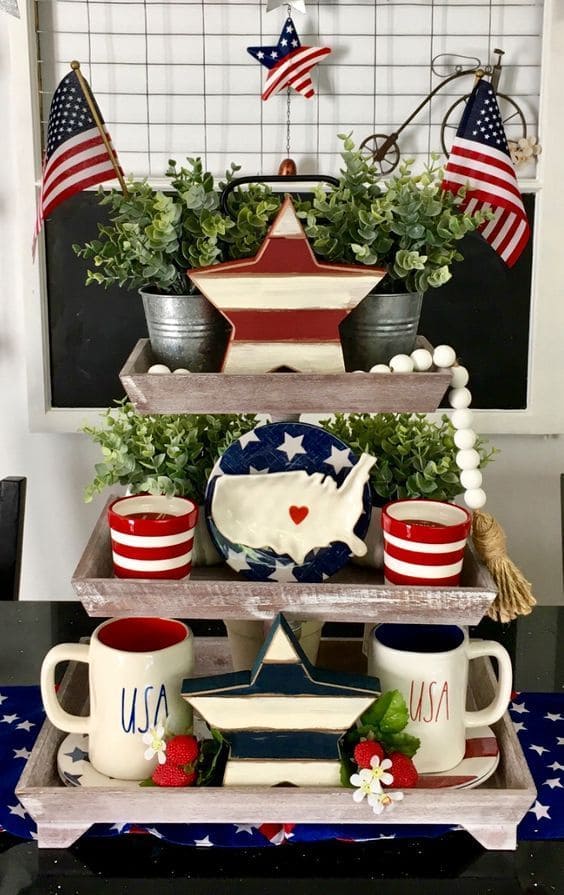
With just a few themed pieces, greenery, and some creative layering, you can build a mini celebration that brightens the whole room.
 SHOP 3-TIER WOODEN TIERED TRAY
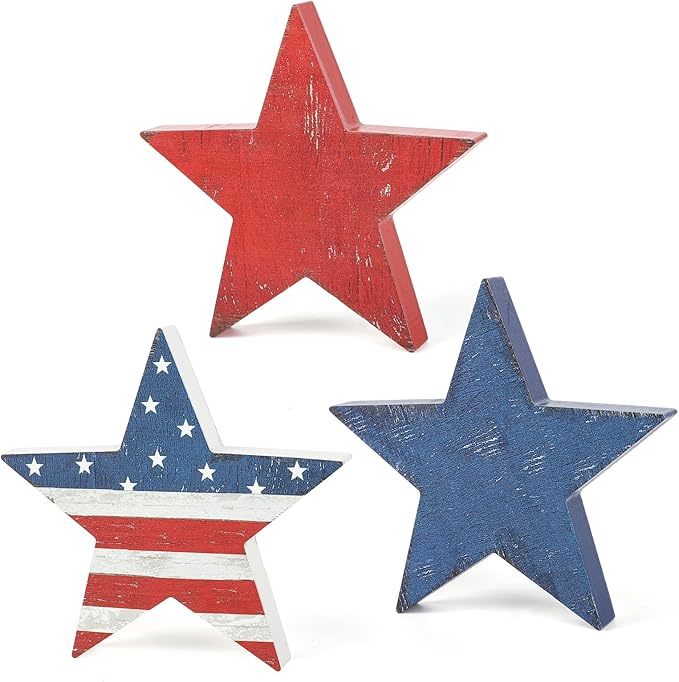 SHOP PATRIOTIC WOODEN STARS
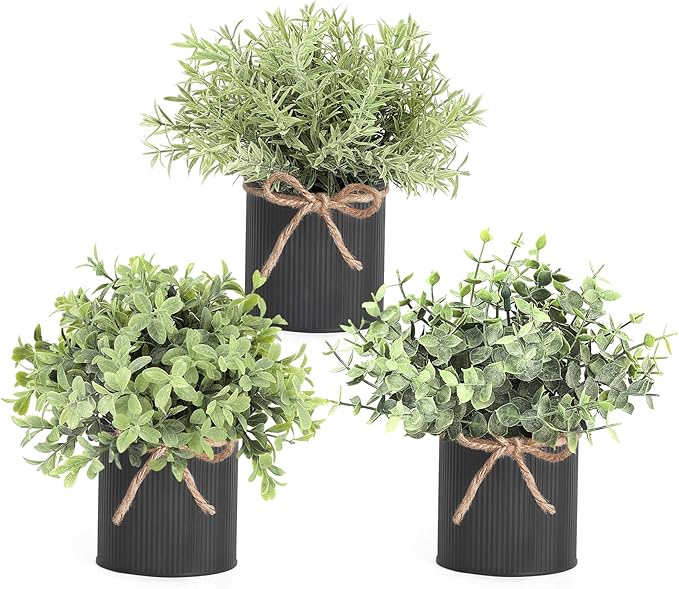 SHOP FAUX PLANTS
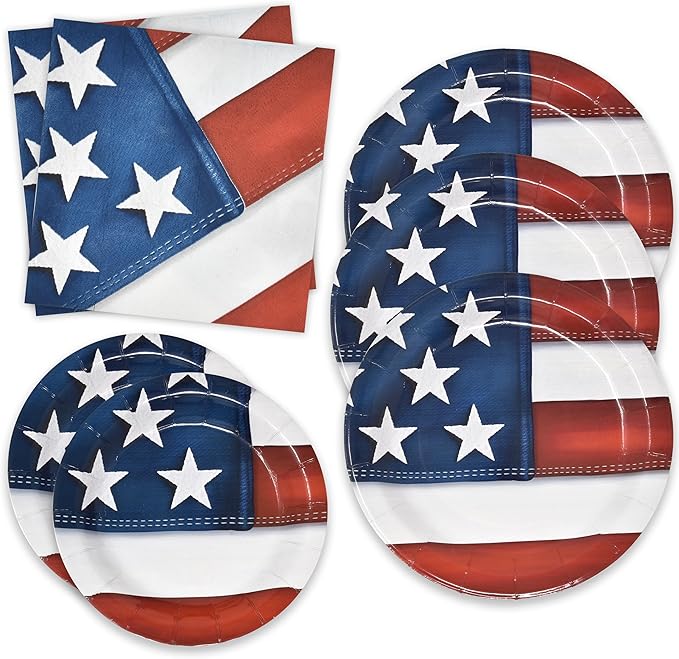 SHOP PATRIOTIC DISH
 SHOP PATRIOTIC MUGS
 SHOP WHITE WOODEN BEADS WITH TASSEL
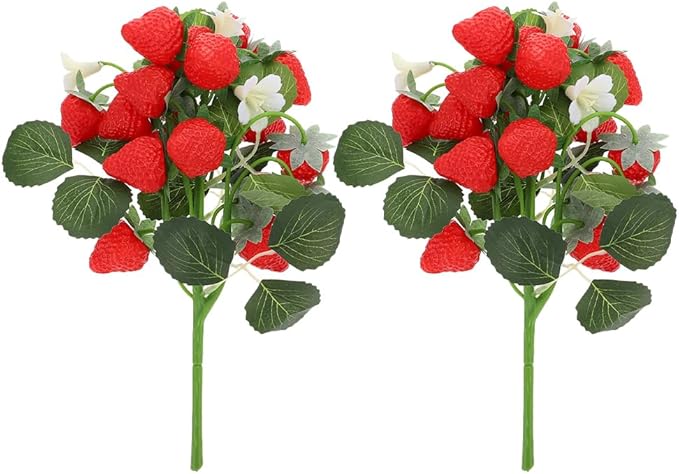 SHOP FAUX STRAWBERRIES
Materials Needed
- 3-tier wooden tiered tray
- 2 small faux plants in galvanized pots
- 2 patriotic wooden stars
- 1 USA map-shaped dish or sign
- Red and white striped cups or ramekins
- USA mugs
- 2 mini stick American flags
- White wooden beads with tassel
- Faux strawberries
Step-by-step Guide
Step 1: Start by placing the faux greenery pots in the top tier corners, then prop a striped star or flag centerpiece in between.
Step 2: In the middle tier, nest the USA dish upright (leaned against greenery or backed with cardboard), flanked by striped cups or small decor pieces.
Step 3: On the bottom, arrange the mugs and a large patriotic star in the center. Add faux strawberries or florals for color pops.
Step 4: Drape the wood bead garland along the edge or hang it over the tray for a soft, finished look.
Step 5: Tuck in two American flags for a bold finishing touch.
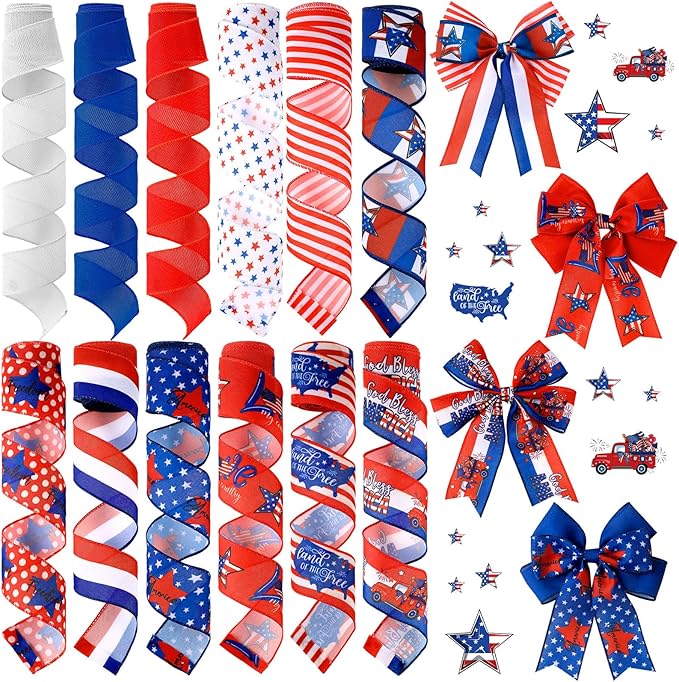
#24. Stars and Stripes Burlap Bow Table Runner
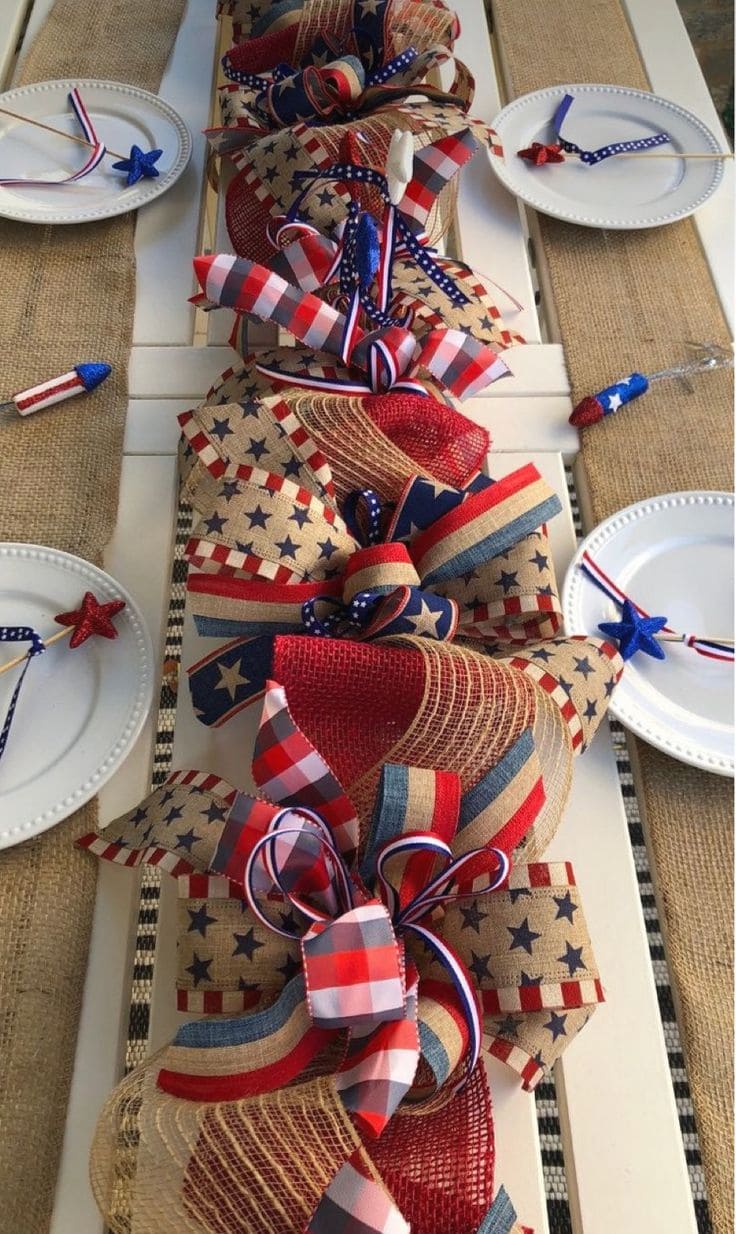
I made mine for under $15 using ribbon leftovers and a roll of mesh from last year’s wreath project—and honestly, it came out better than I imagined!
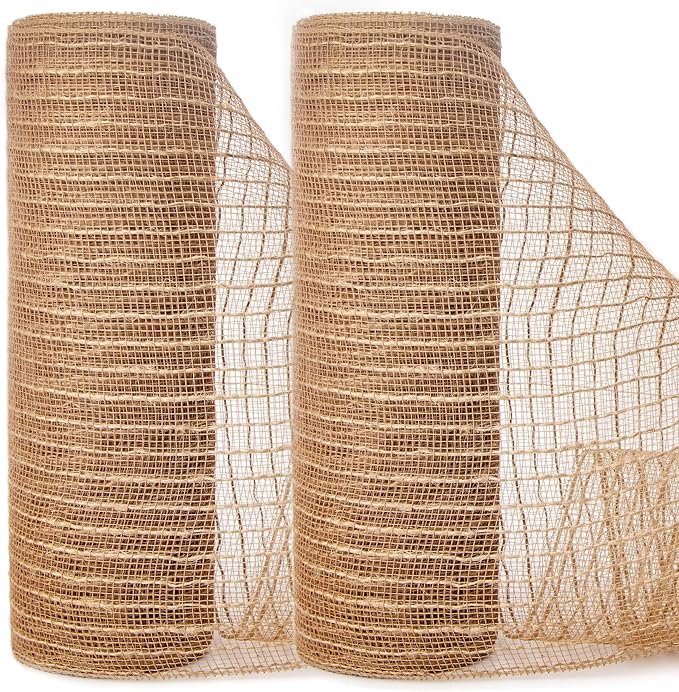 SHOP BURLAP DECO MESH
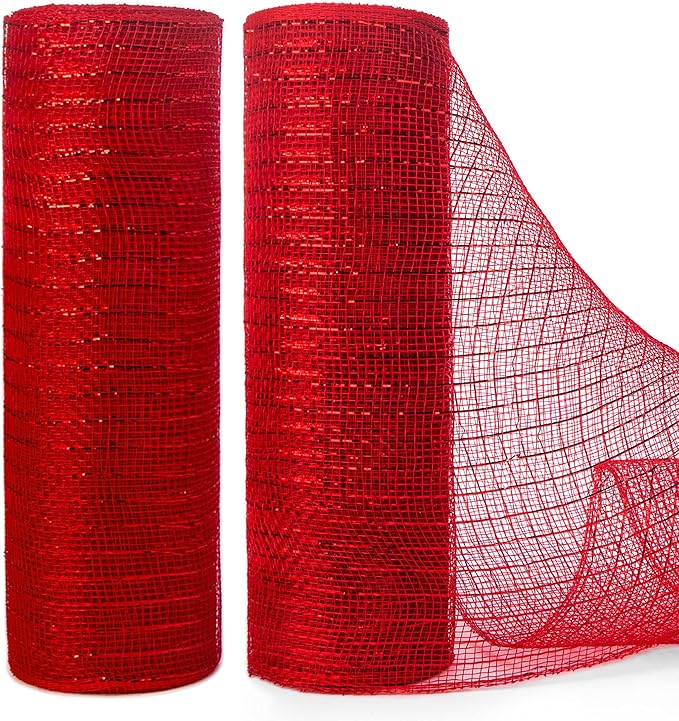 SHOP RED DECO MESH
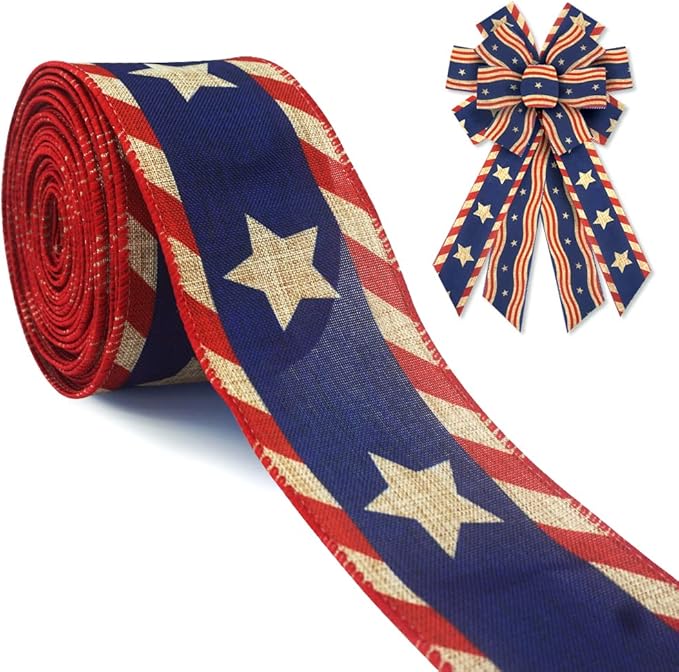 SHOP PATRIOTIC RIBBON
 SHOP STAR RIBBON
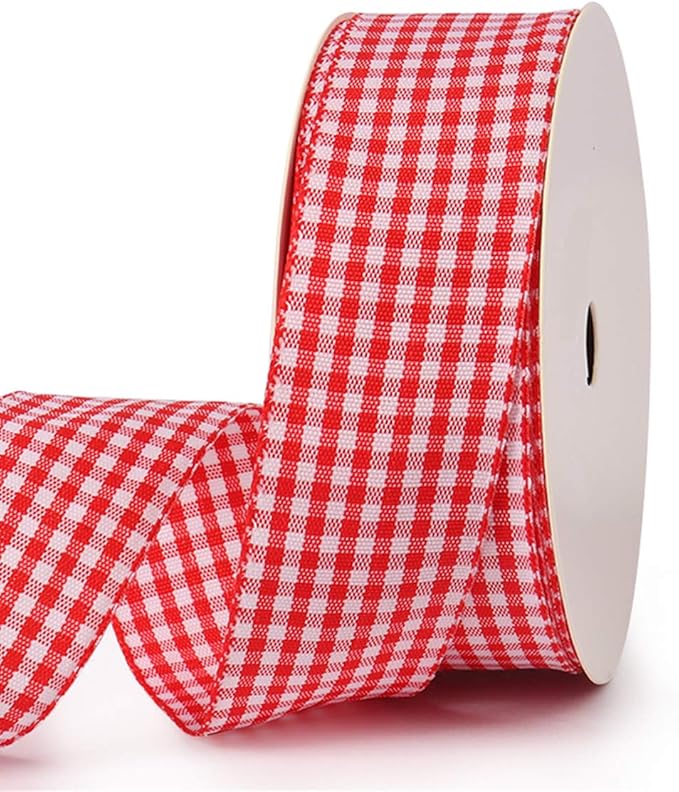 SHOP RED CHECKERED RIBBON
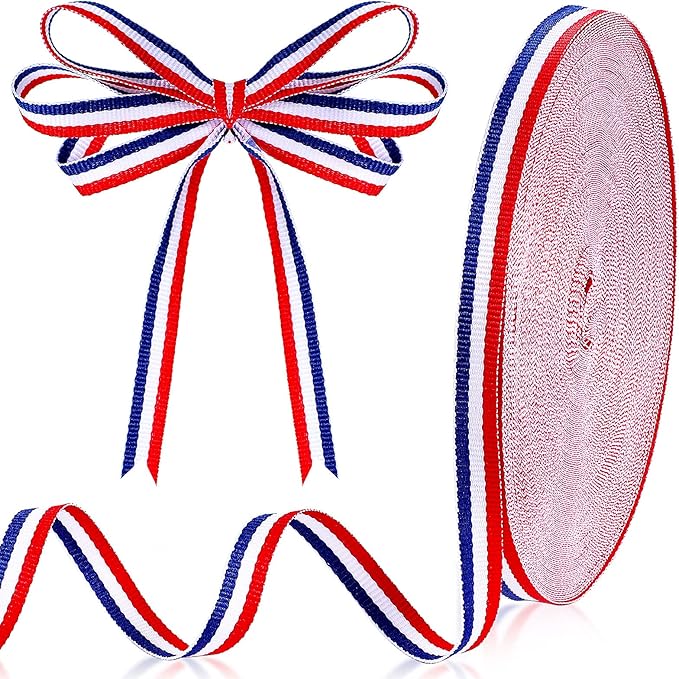 SHOP NAVY AND RED STRIPED RIBBON
Materials Needed
- Burlap deco mesh (10-inch wide, 30 ft roll)
- Red deco mesh (10-inch, glittered or plain)
- Patriotic ribbon in 3 styles (1.5–2.5 inch width)
- Star ribbon
- Red checkered ribbon
- Navy/red striped ribbon
- Twist ties, pipe cleaners, or floral wire
- Hot glue gun + glue sticks
- Scissors and wire cutter
Step-by-step Guide
Step 1: Cut alternating strips of burlap mesh and red mesh into 10–12″ sections. Roll each piece loosely into a curl and pinch the center.
Step 2: Layer 3–4 mesh curls at a time and secure with a pipe cleaner to form a pouf. Repeat until you have enough poufs to stretch the full table length.
Step 3: Cut 12–15″ strips of ribbon and fold each into a loop or V-shape. Stack a few patterns together and twist into the center of each pouf.
Step 4: Use pipe cleaners to attach the poufs end-to-end in a straight line. You can also twist onto a central ribbon or mesh strip for easy placement.
Step 5: Fluff the bows and secure them in place with hot glue if needed.
#25. Rustic Americana Table Tray
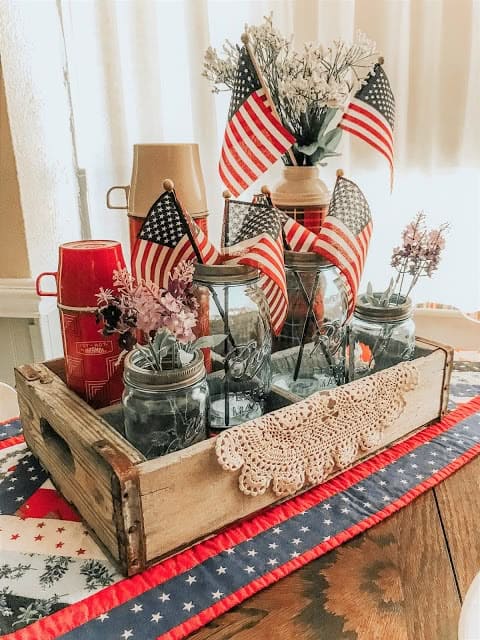
This vintage crate display is perfect if you love decorating with found objects and want to add personality without overdoing it.
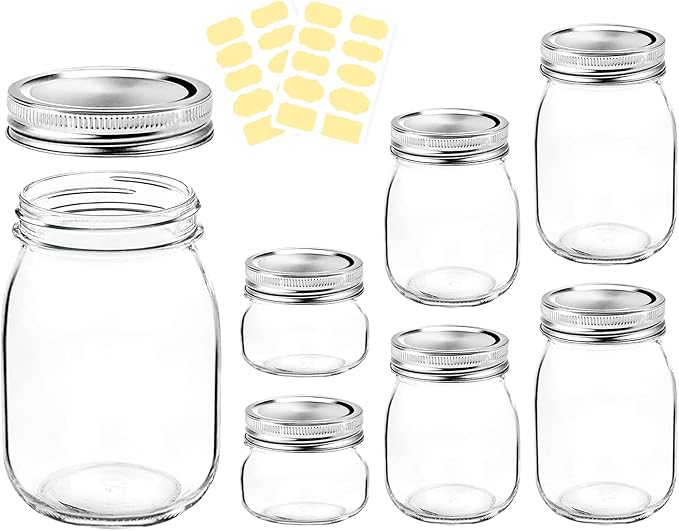 SHOP ASSORTED-SIZE MASON JARS
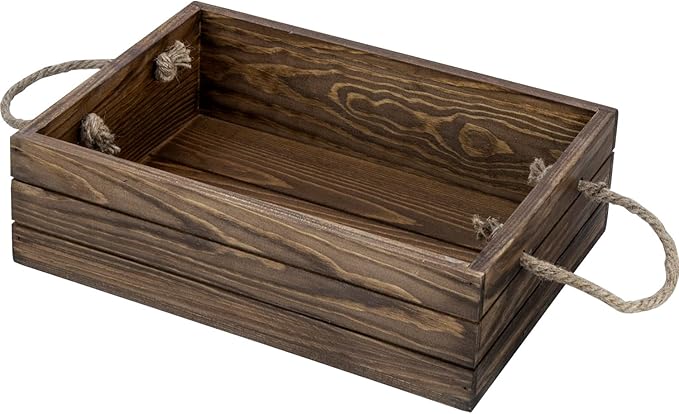 SHOP WOODEN CRATE
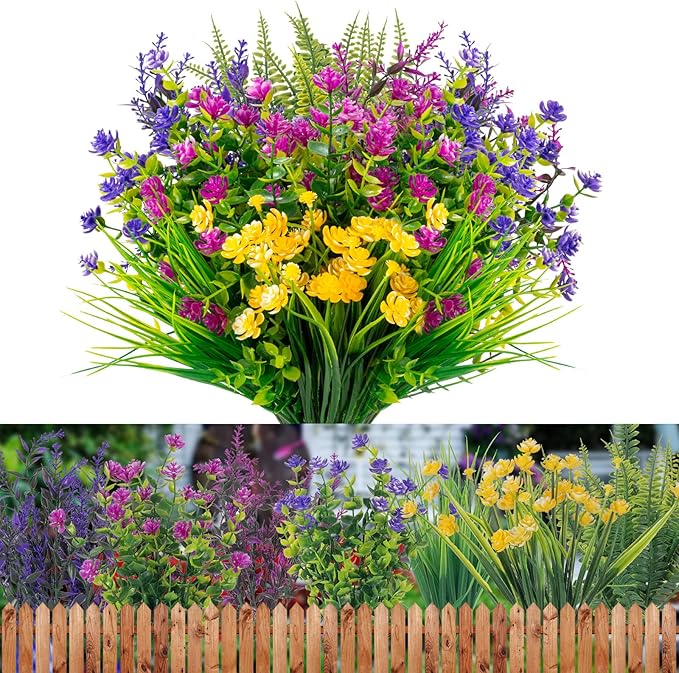 SHOP ARTIFICIAL WILDFLOWERS
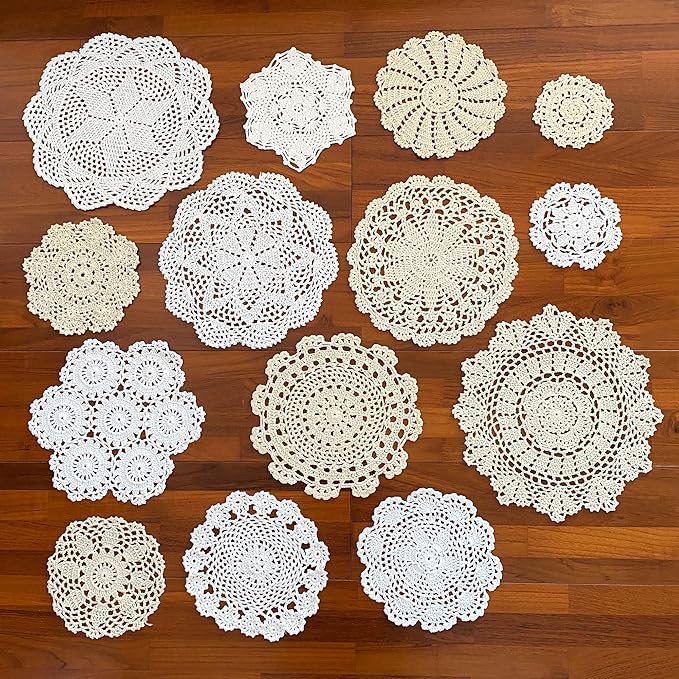 SHOP CROCHET DOILY
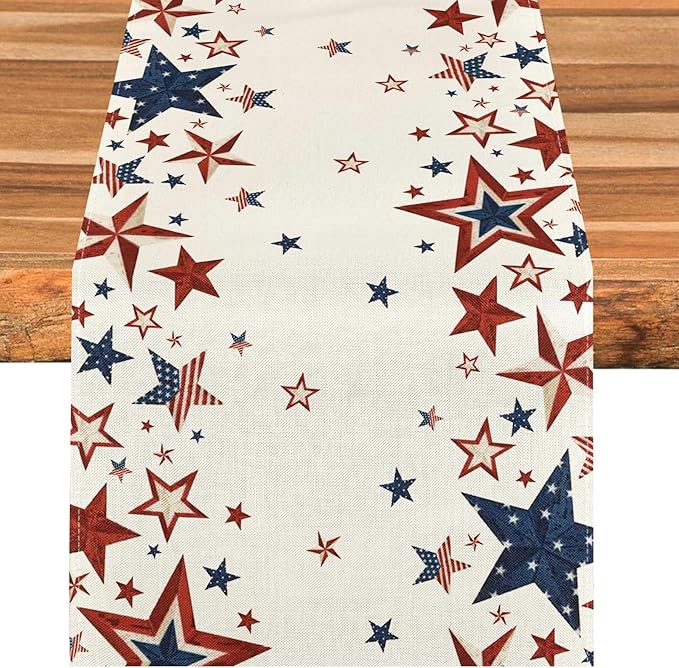 SHOP PATRIOTIC TABLE RUNNER
Materials Needed
- Wooden crate approx. 14–18 inches wide
- 4–6 mason jars
- 4–6 Mini American flags
- Artificial wildflowers
- Crochet doily
- Red thermos (optional)
- Patriotic table runner
Step-by-step Guide
Step 1: Lay your table runner first, then center the wooden crate on top.
Step 2: Fill mason jars with faux flowers and flags. Mix tall stems with mini bouquets for natural variation.
Step 3: Tuck the thermos toward the back or center to anchor the eye.
Step 4: Add a folded crochet doily over one edge of the crate to soften the rustic wood.