Are you a wine lover with a collection of corks piling up? It’s time to uncork your creativity and discover the endless possibilities of DIY Wine Cork Home Decor! In this inspiring guide, we present to you 22 ingenious ideas to transform those humble wine corks into stunning and unique decorations for your living space.
From charming wall art and stylish coasters to functional kitchen accessories and whimsical ornaments, these DIY projects will not only showcase your love for wine but also add a touch of rustic elegance to your home.
Whether you’re a seasoned crafter or new to the world of DIY, these ideas offer something for everyone, with step-by-step instructions and helpful tips to bring your visions to life.
So, grab a glass of your favorite vintage, gather your collection of corks, and let your imagination run wild as you embark on this creative journey of repurposing wine corks into one-of-a-kind home decor masterpieces.
This article contains affiliate links. If you purchase through them, I may earn a small commission at no extra cost to you. Thank you for your support!
#1. Wine Cork Bulletin Board

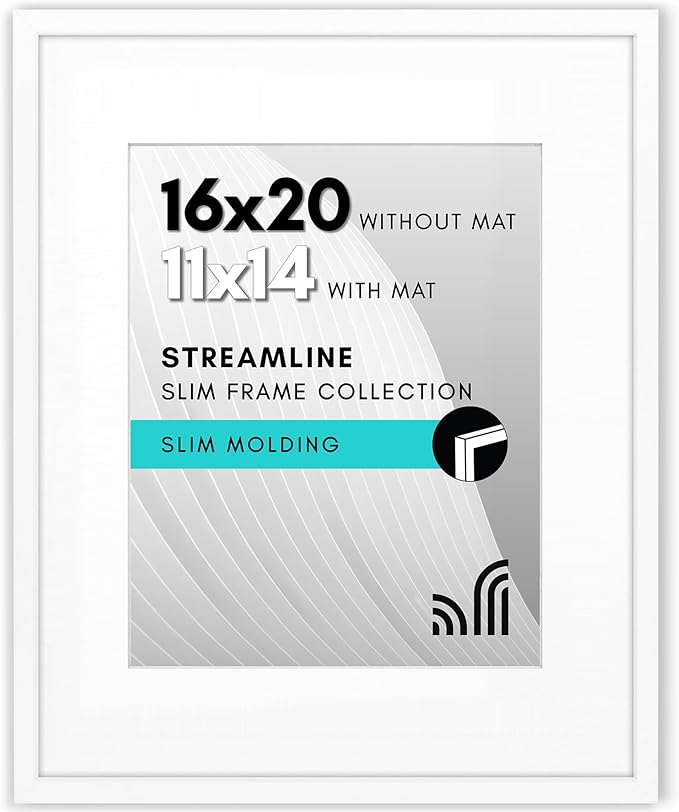
I created this wine cork wall art frame as a fun way to showcase my favorite corks while adding rustic charm to my kitchen.
 SHOP WINE CORKS
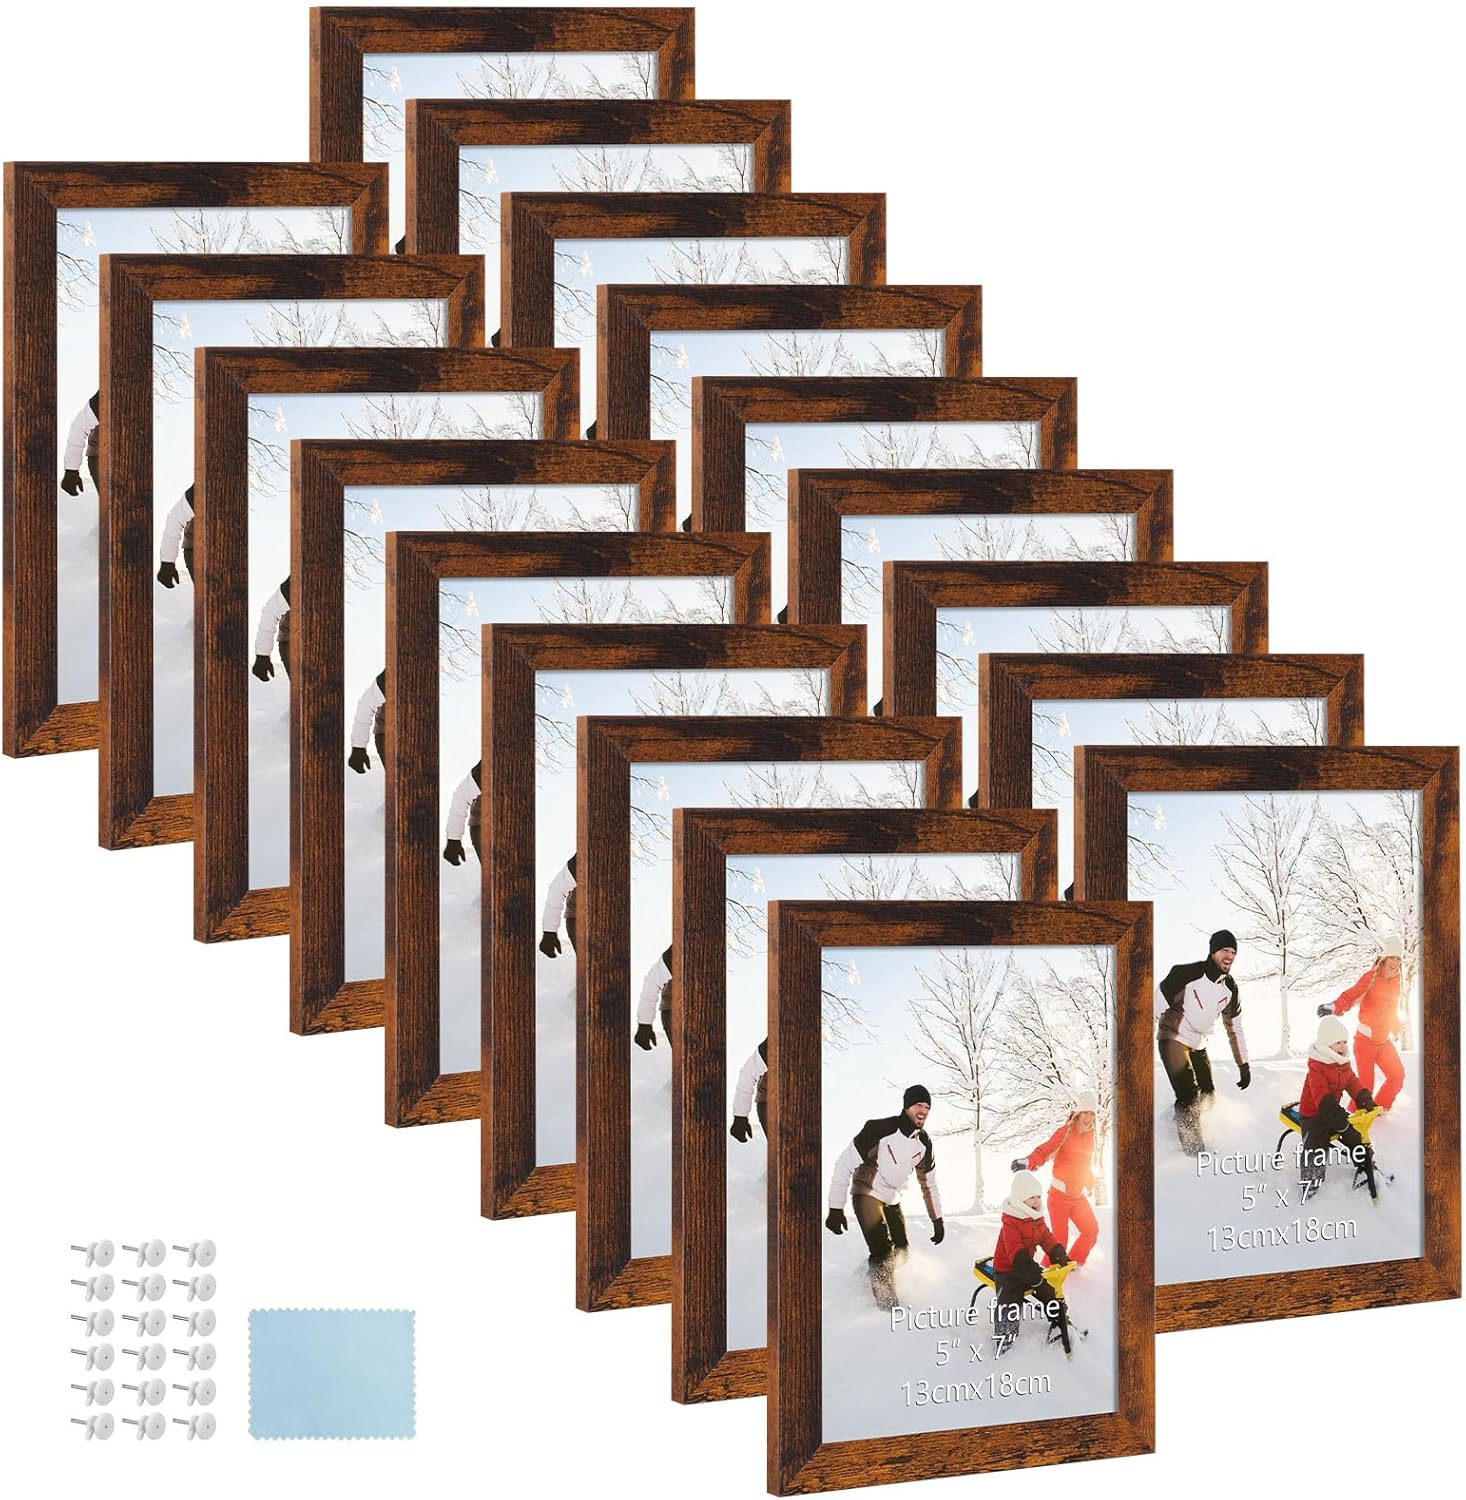
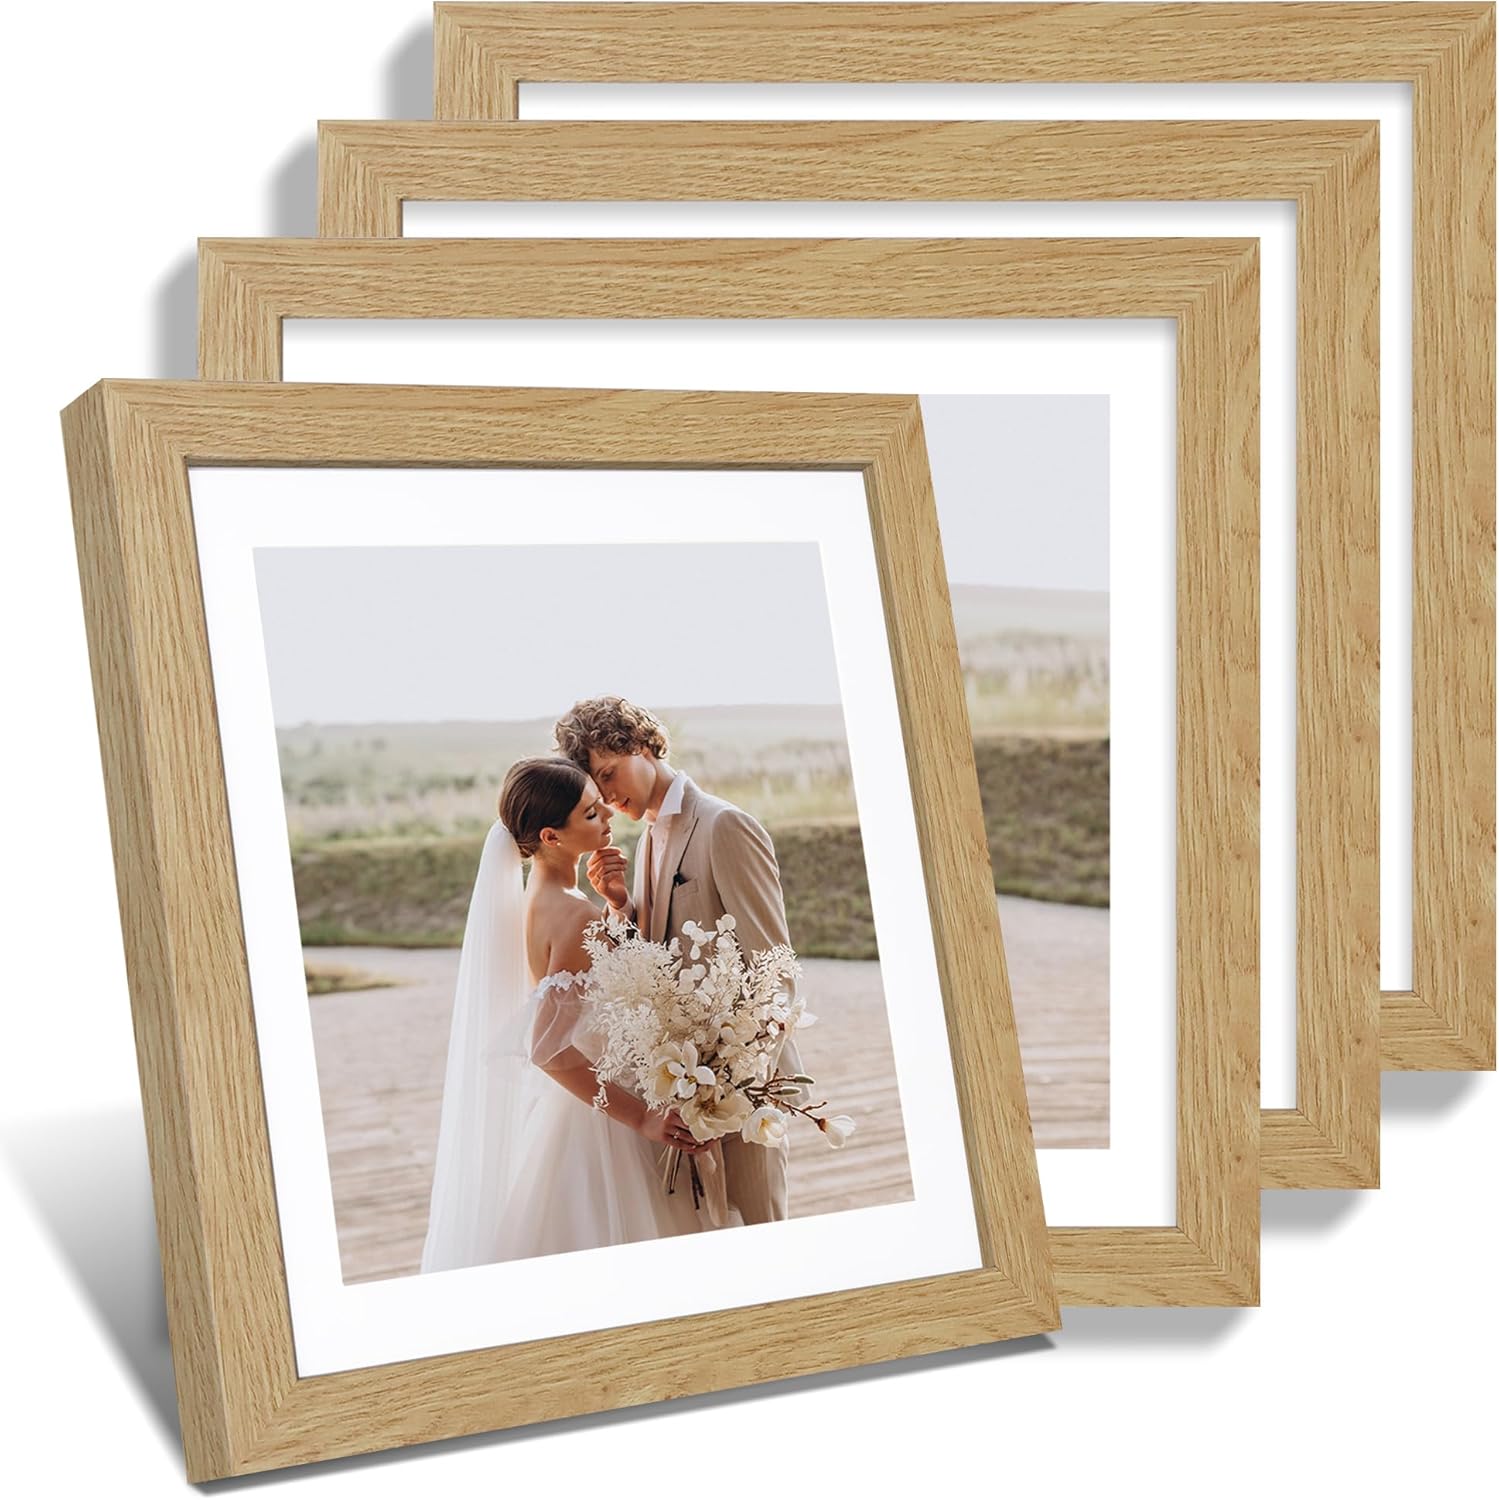 SHOP WOODEN FRAME
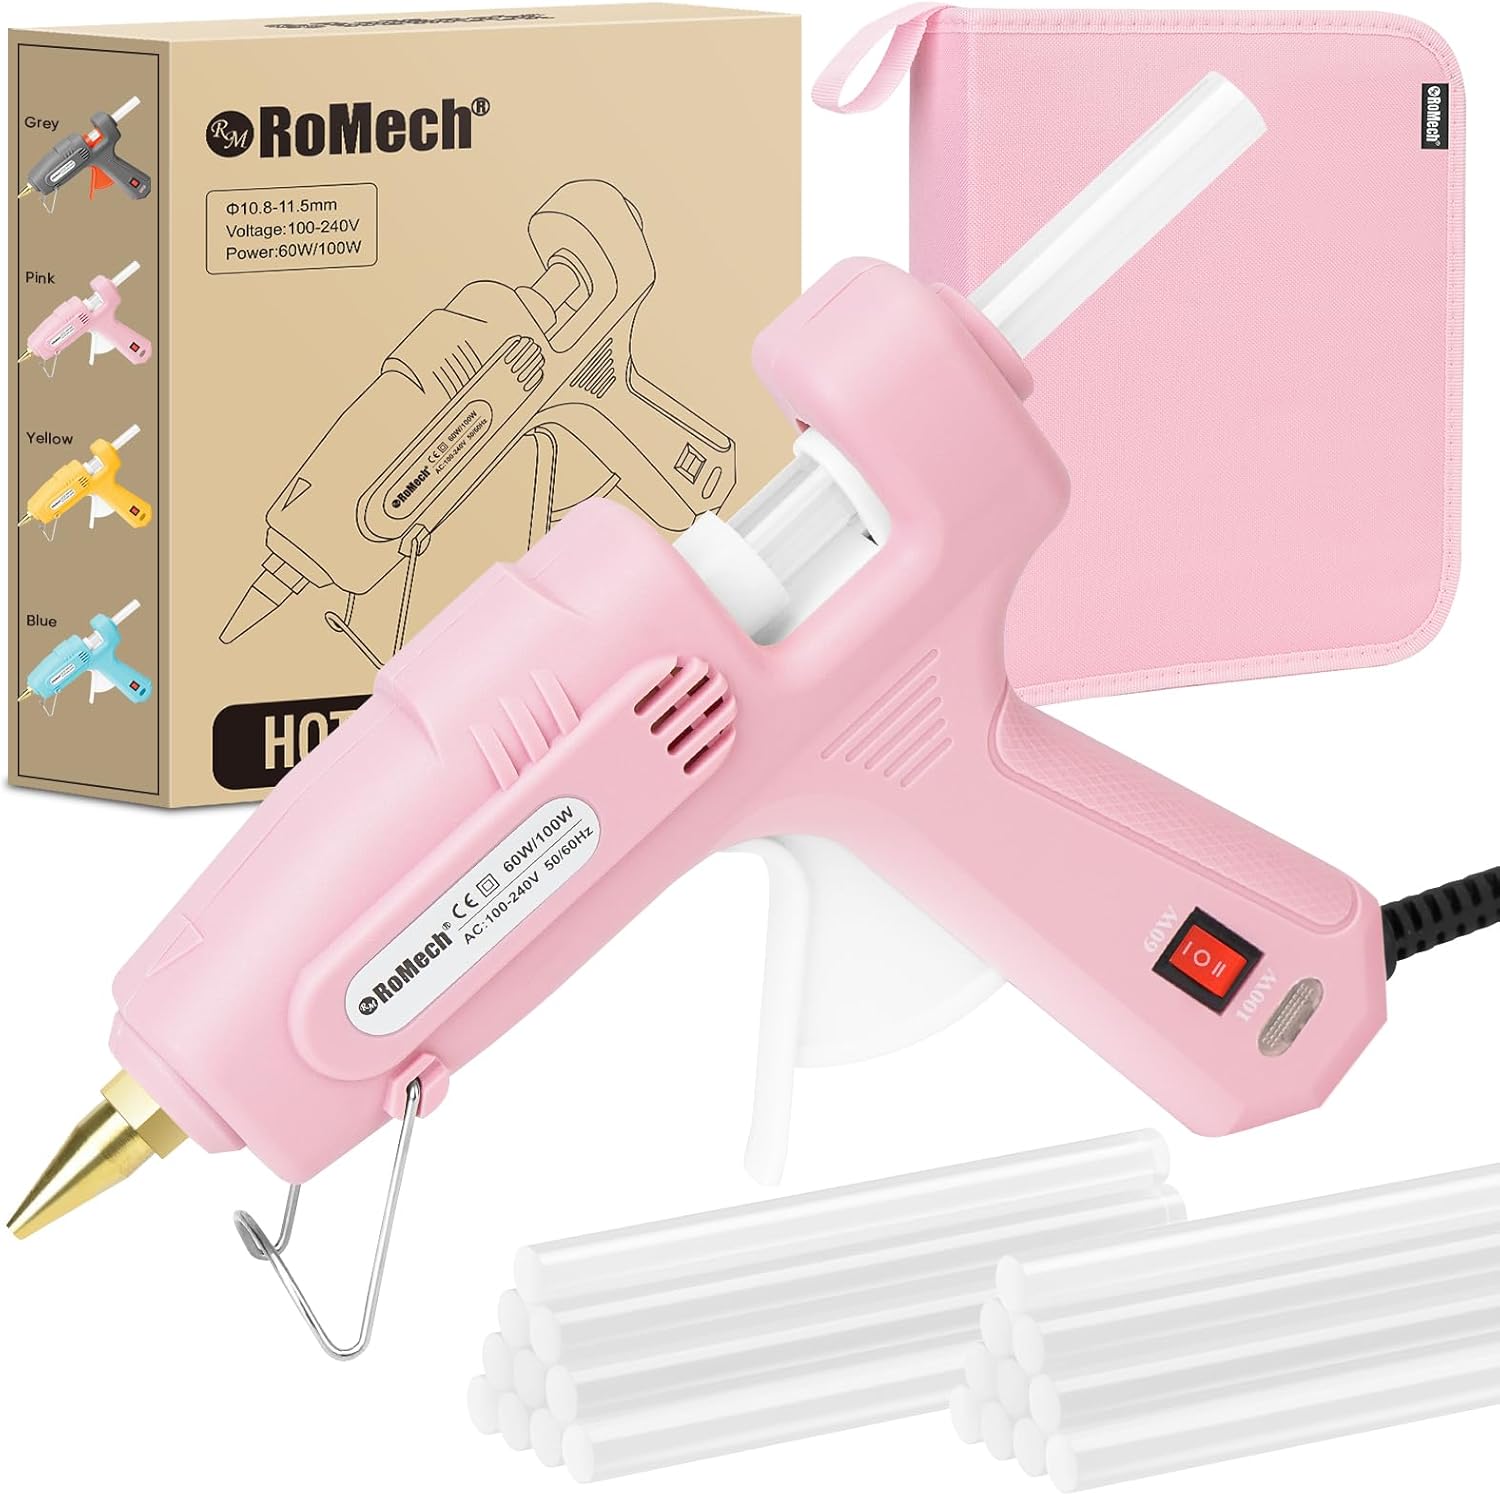 SHOP HOT GLUE GUN AND GLUE STICKS
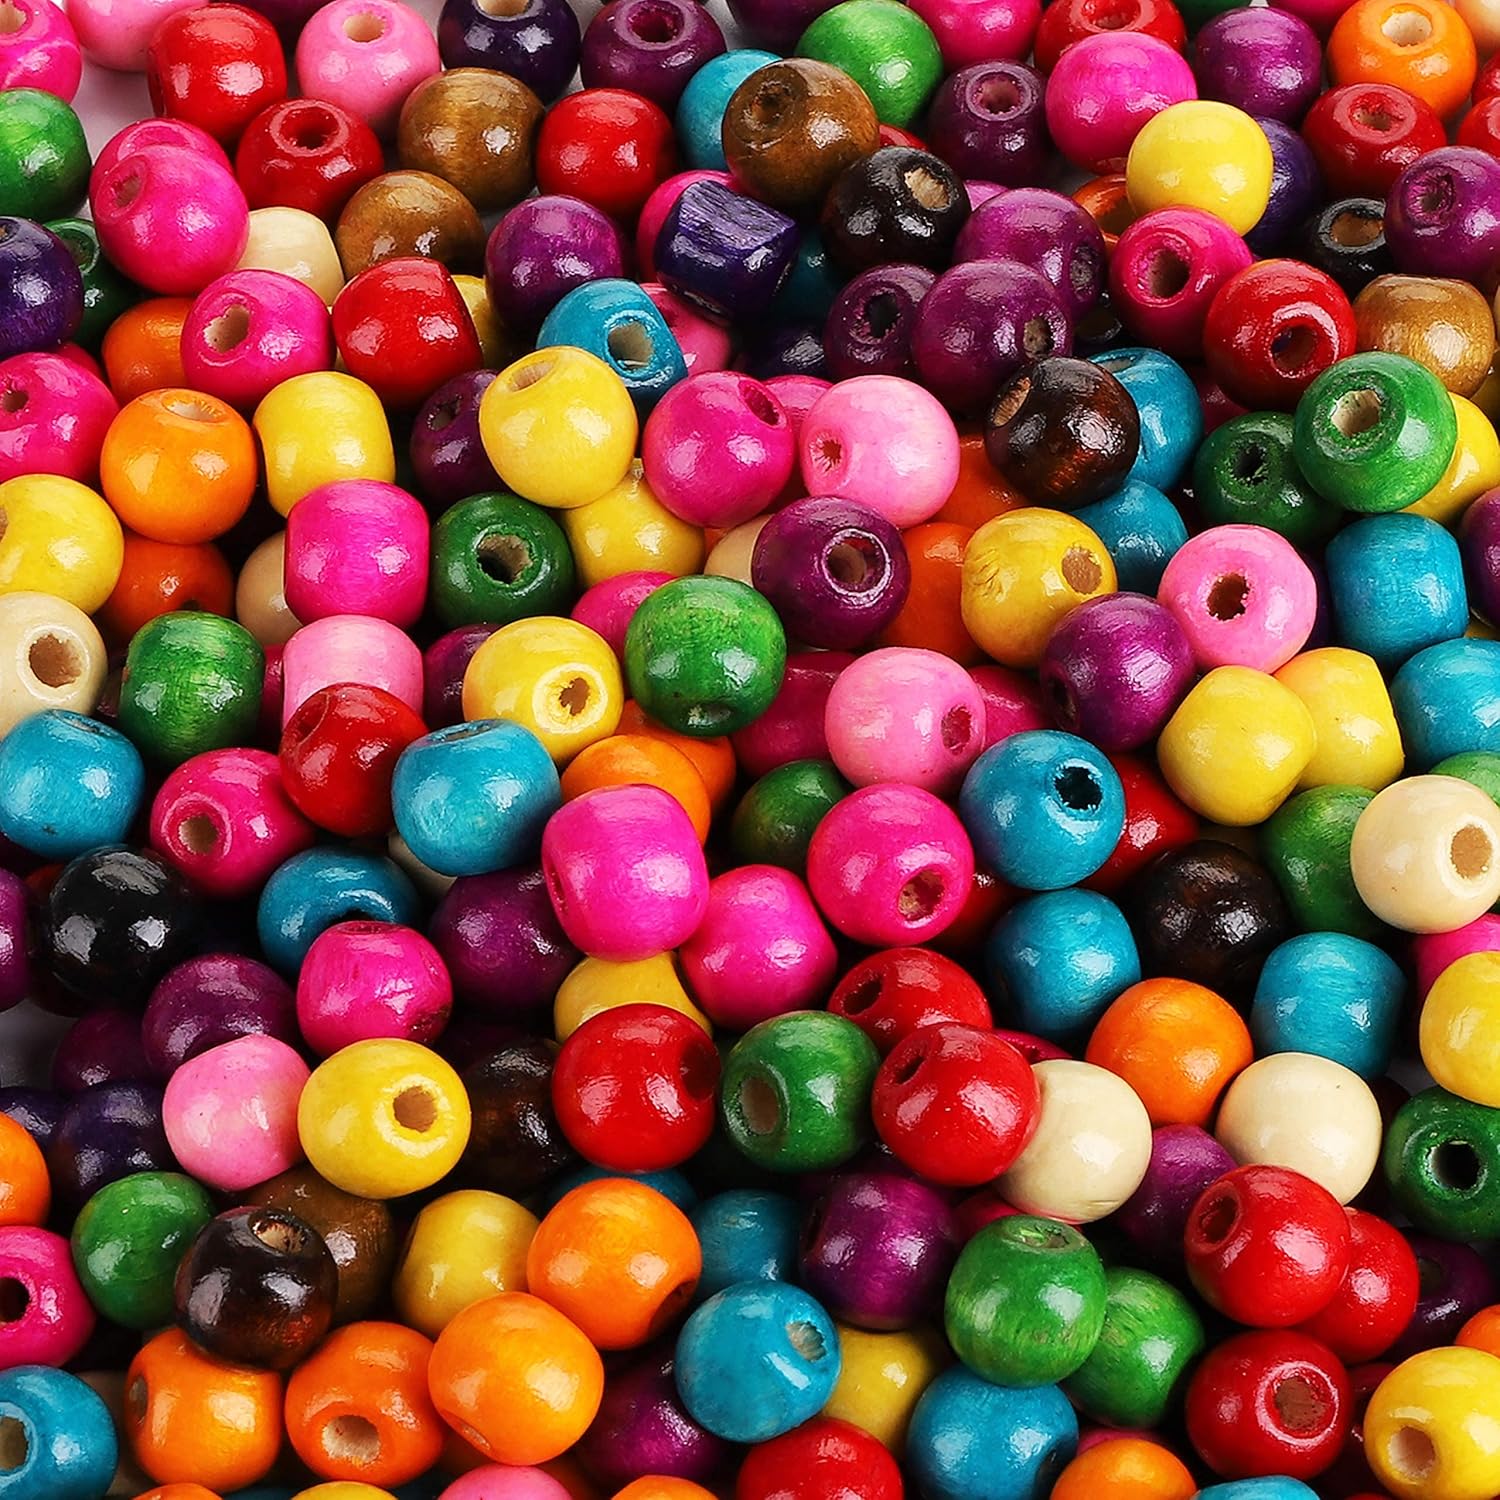
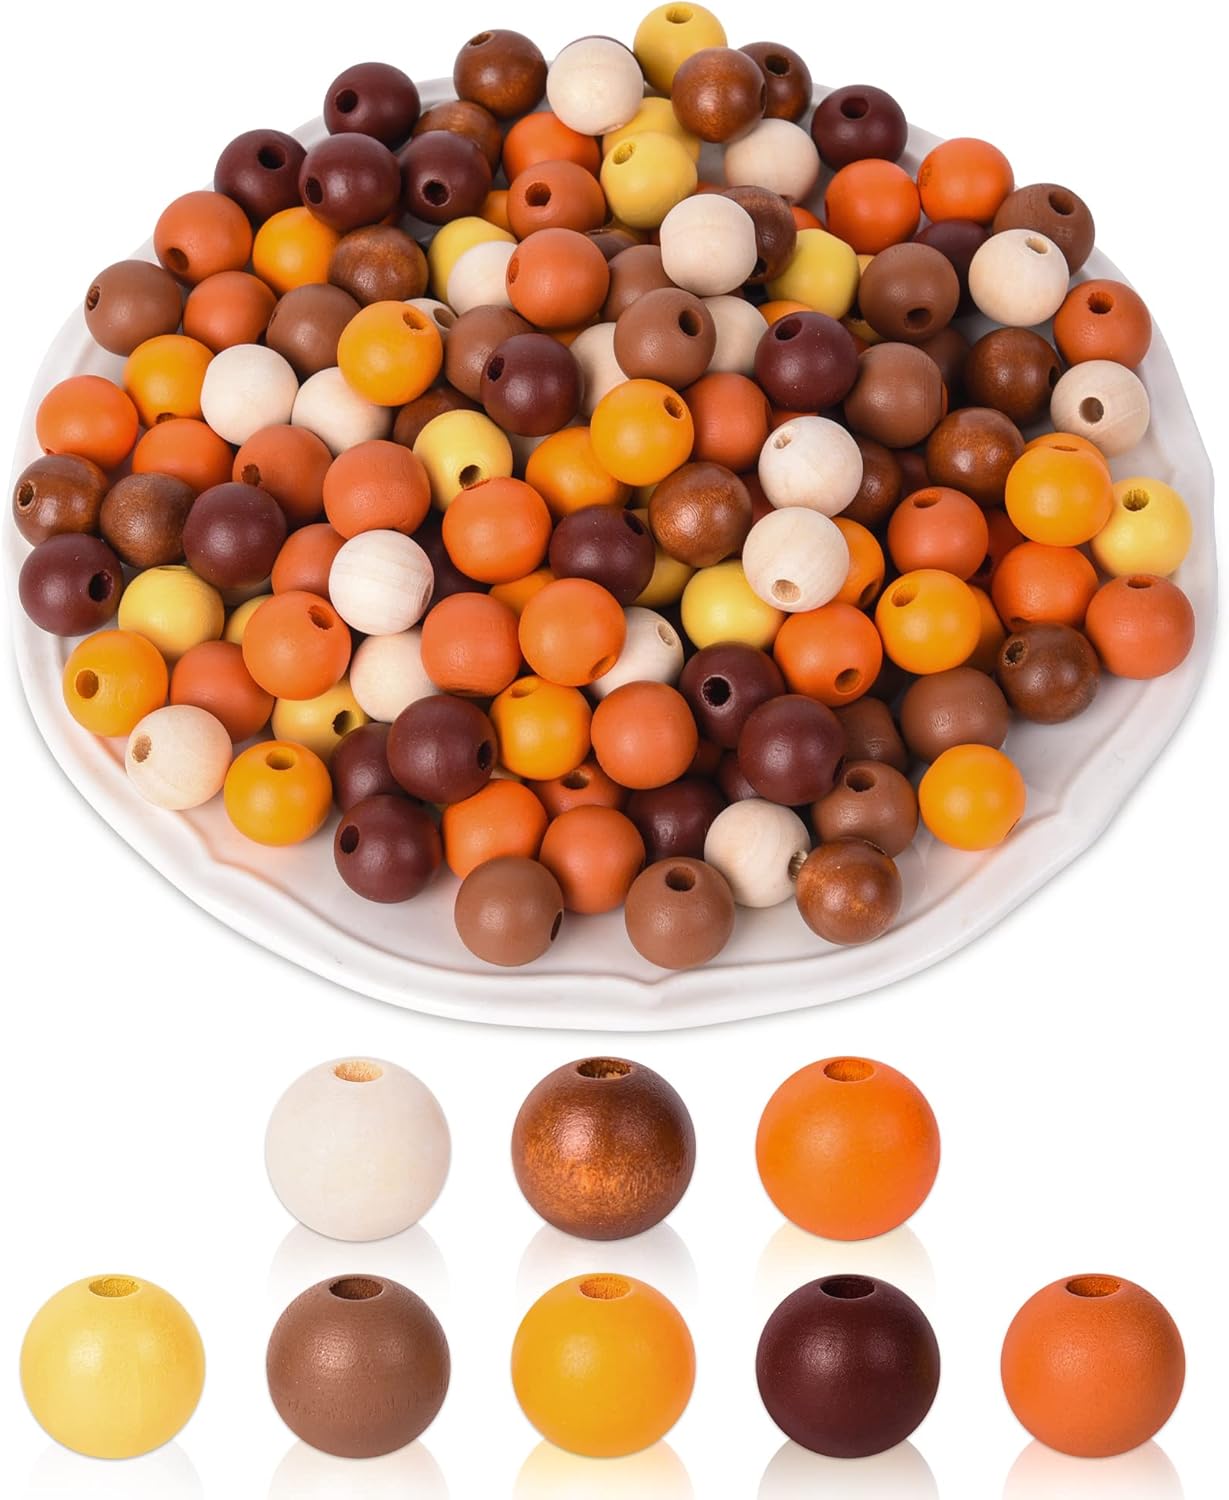 SHOP WOODEN BEADS
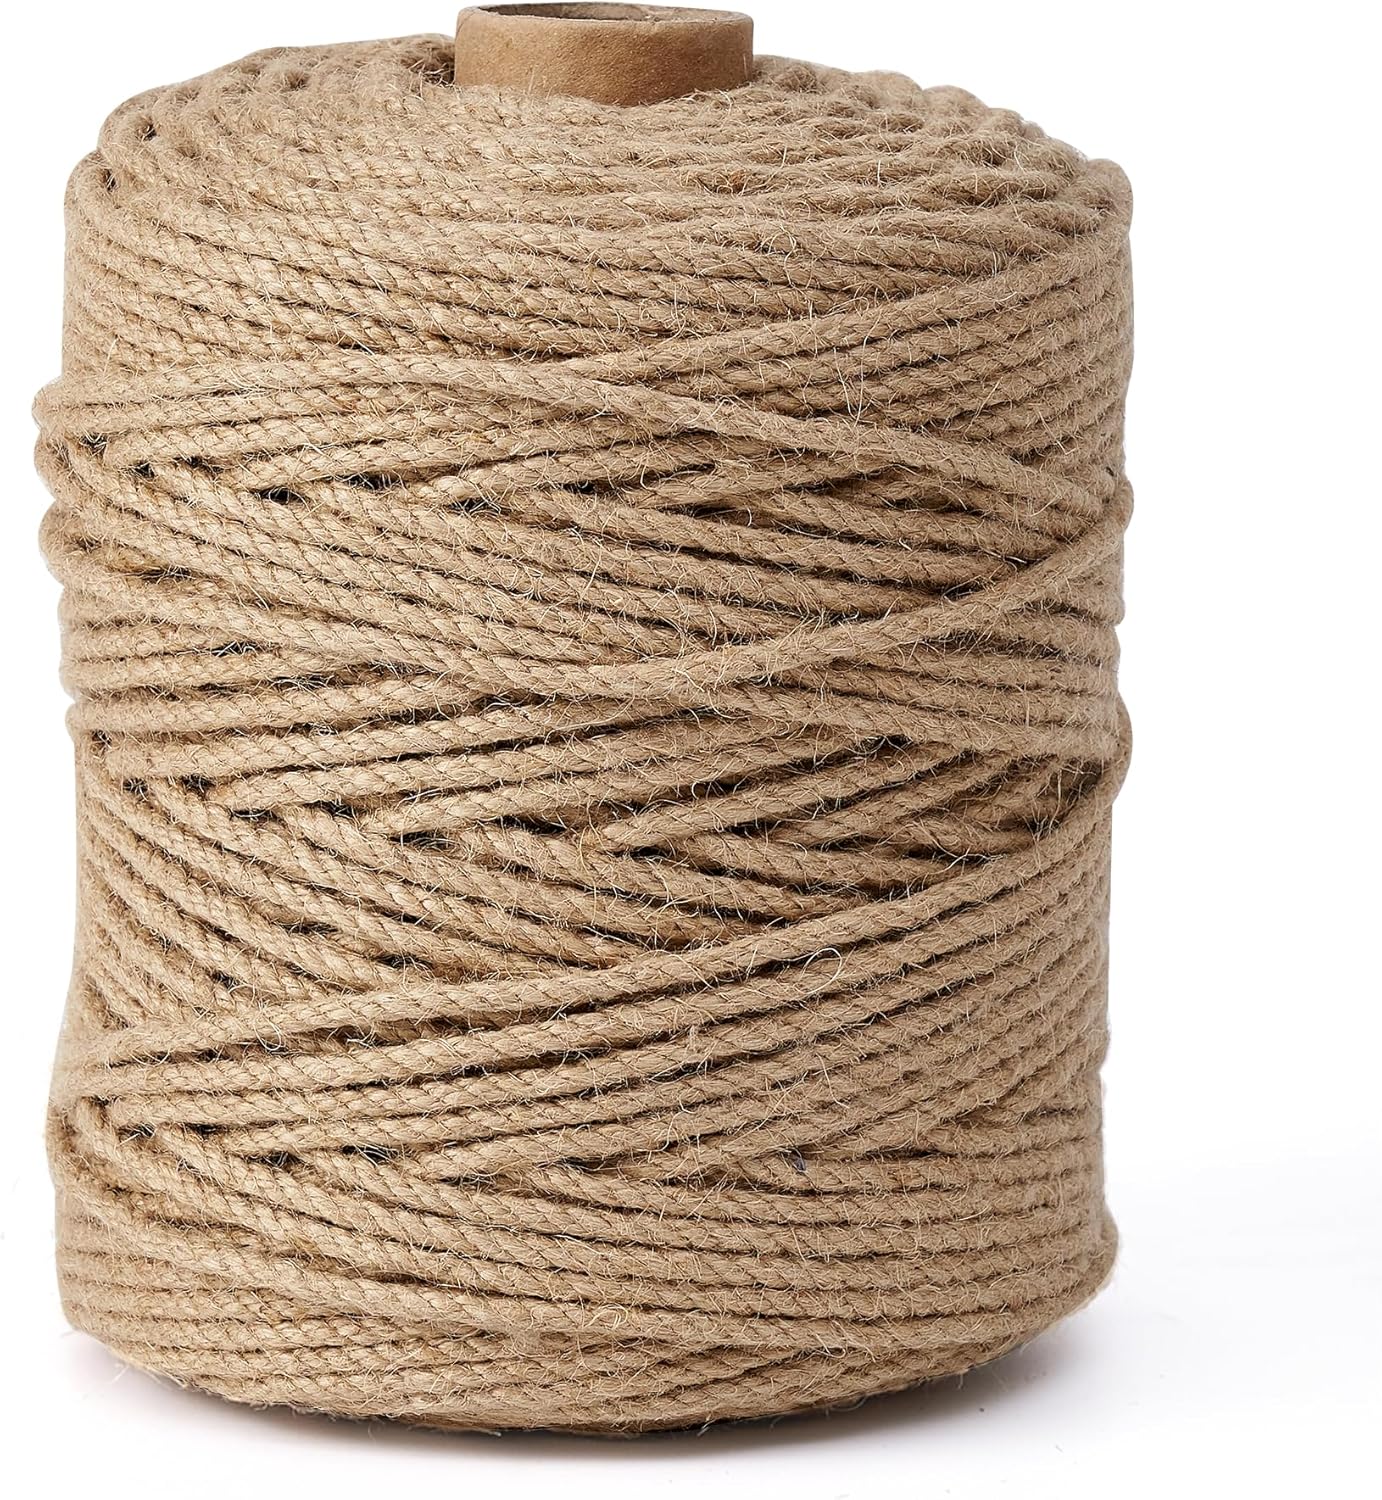 SHOP STRONG STRING
Materials Needed
- Approx. 80 wine corks
- Wooden frame (approx. 12 x 12 inches)
- Hot glue gun and glue sticks
- 30 wooden beads (optional)
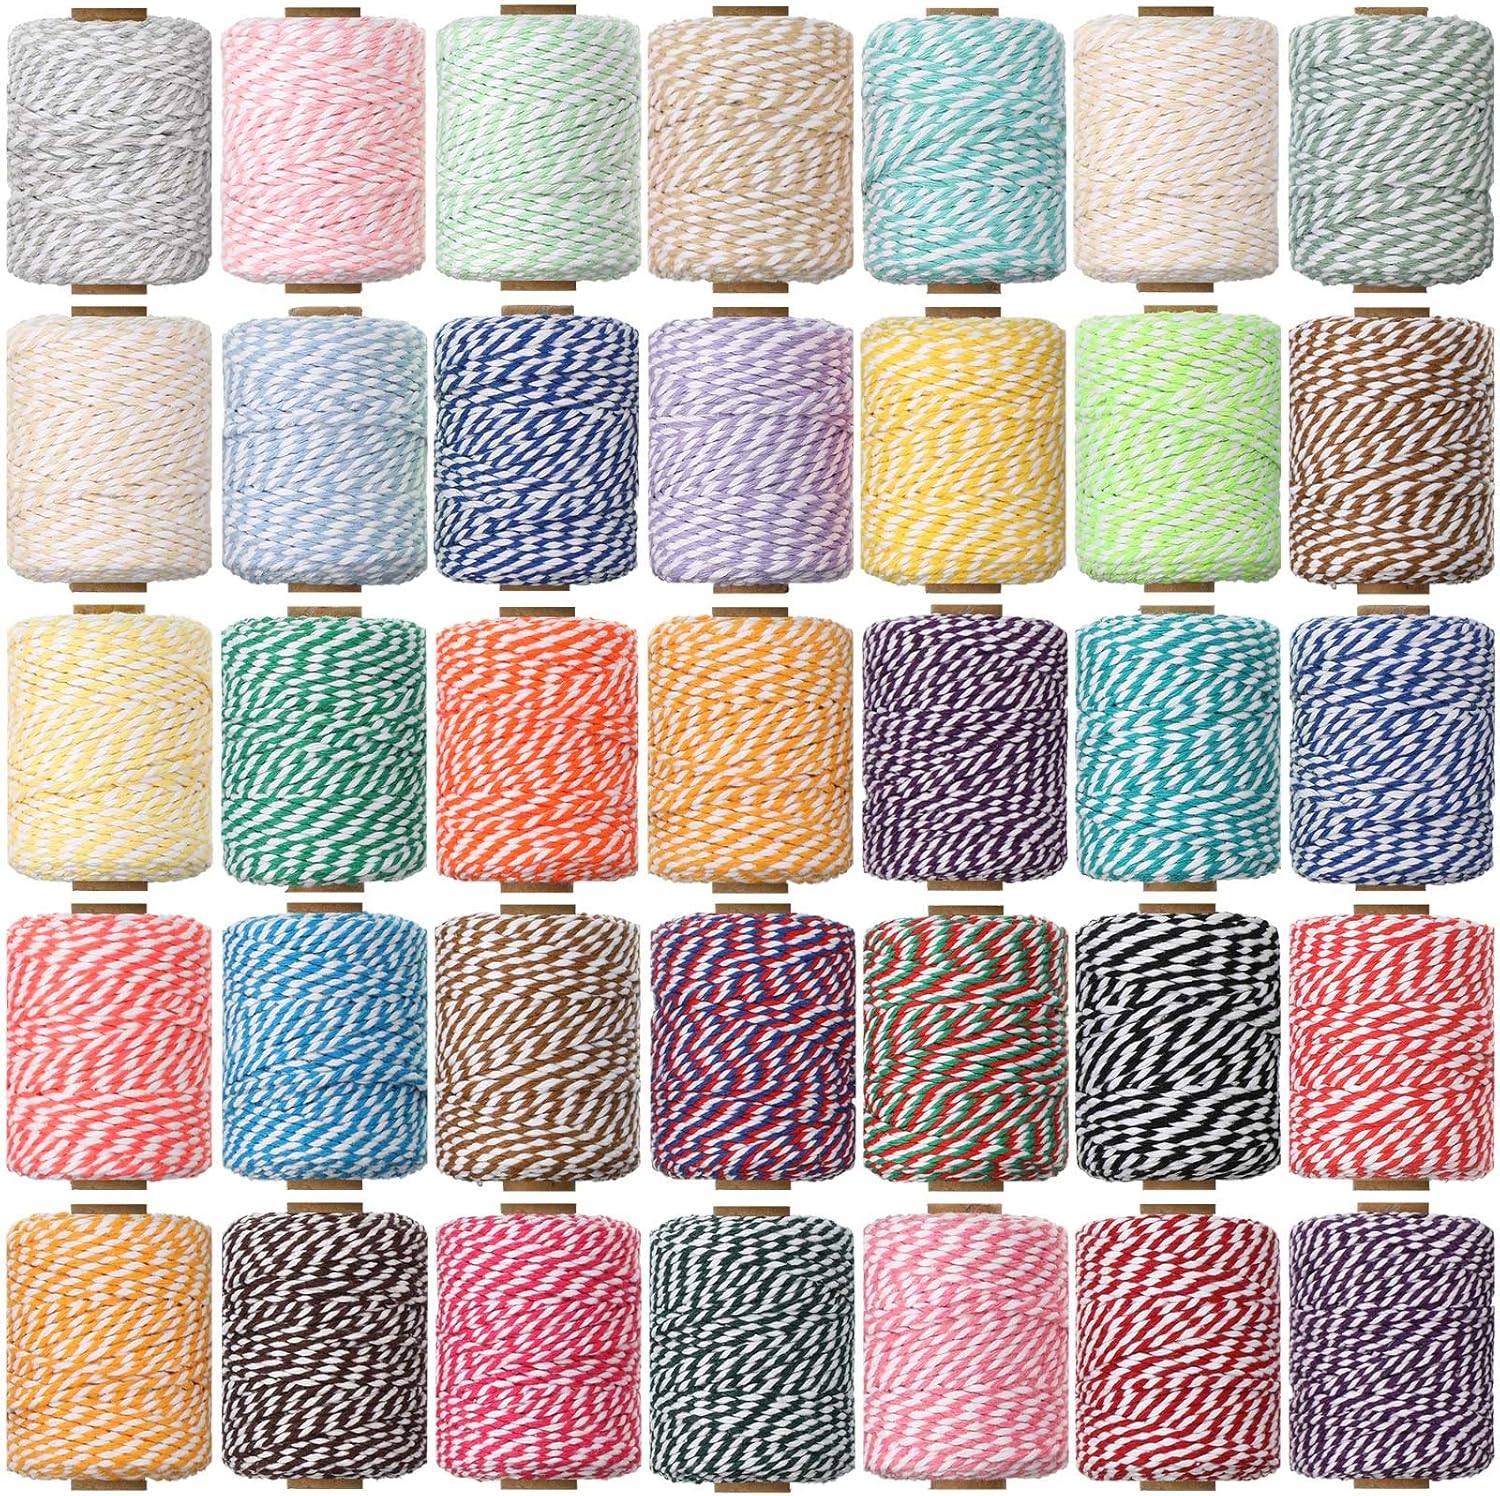
- Strong string
- Scissors
Step-by-step Guide
Step 1: Arrange the wine corks inside the frame to fill it completely, alternating horizontal and vertical orientations for a mosaic look.
Step 2: Use a hot glue gun to secure each cork in place, working carefully to keep the arrangement tight and level.
Step 3: Optional: String wooden beads onto twine to create a decorative hanger, and attach securely to the frame.
Step 4: Allow glue to dry fully, then hang your unique cork art on the wall to enjoy your handcrafted wine memory display.
#2. Wine Cork Coasters
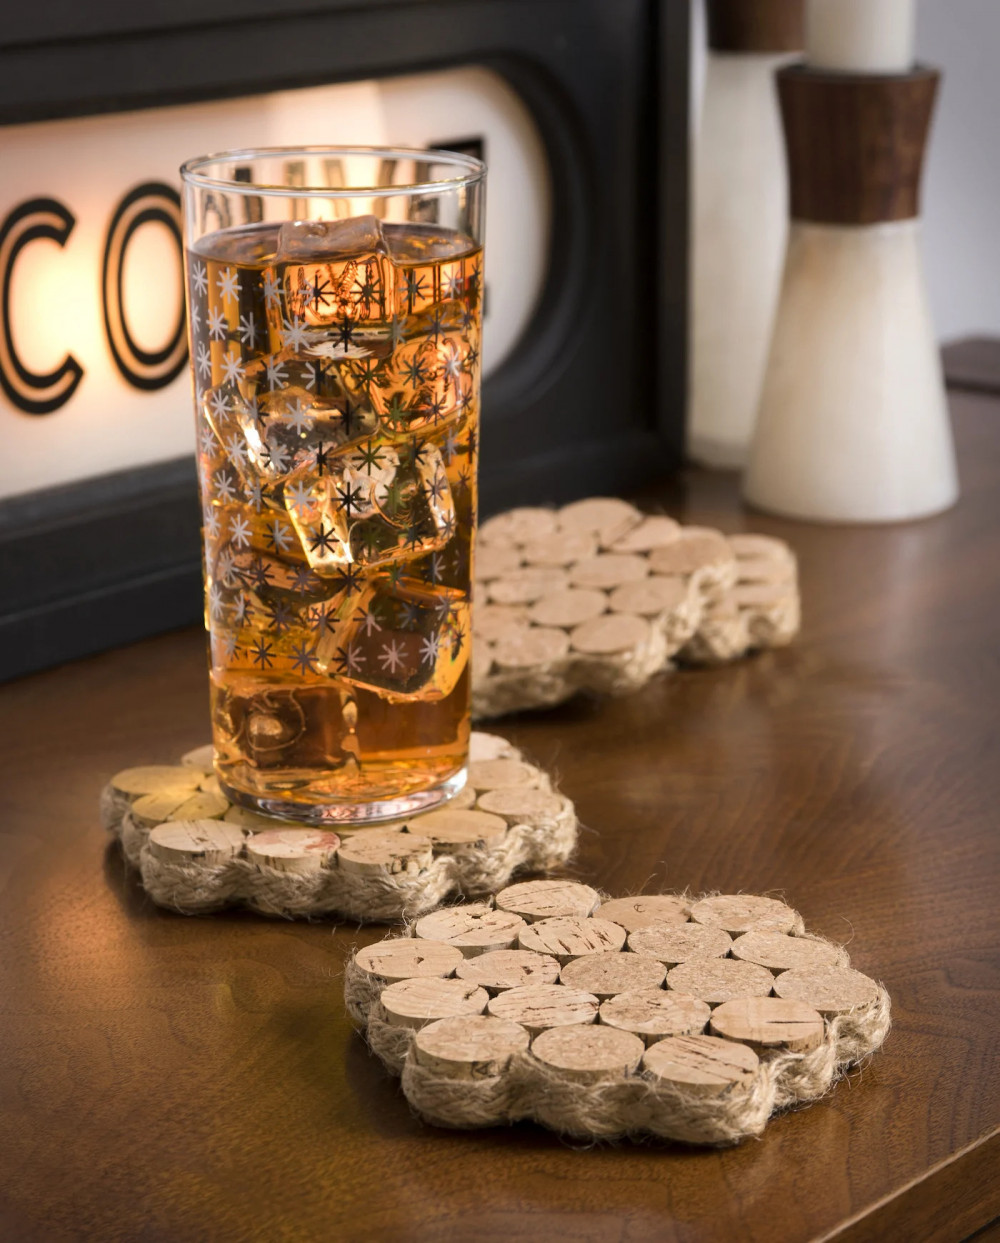
These DIY wine cork coasters are a clever way to reuse corks while adding rustic charm to your coffee or dining table.
Materials Needed
- 20 wine corks per coaster
- Thick jute (about 3 yards)
- Hot glue gun and glue sticks
- Scissors
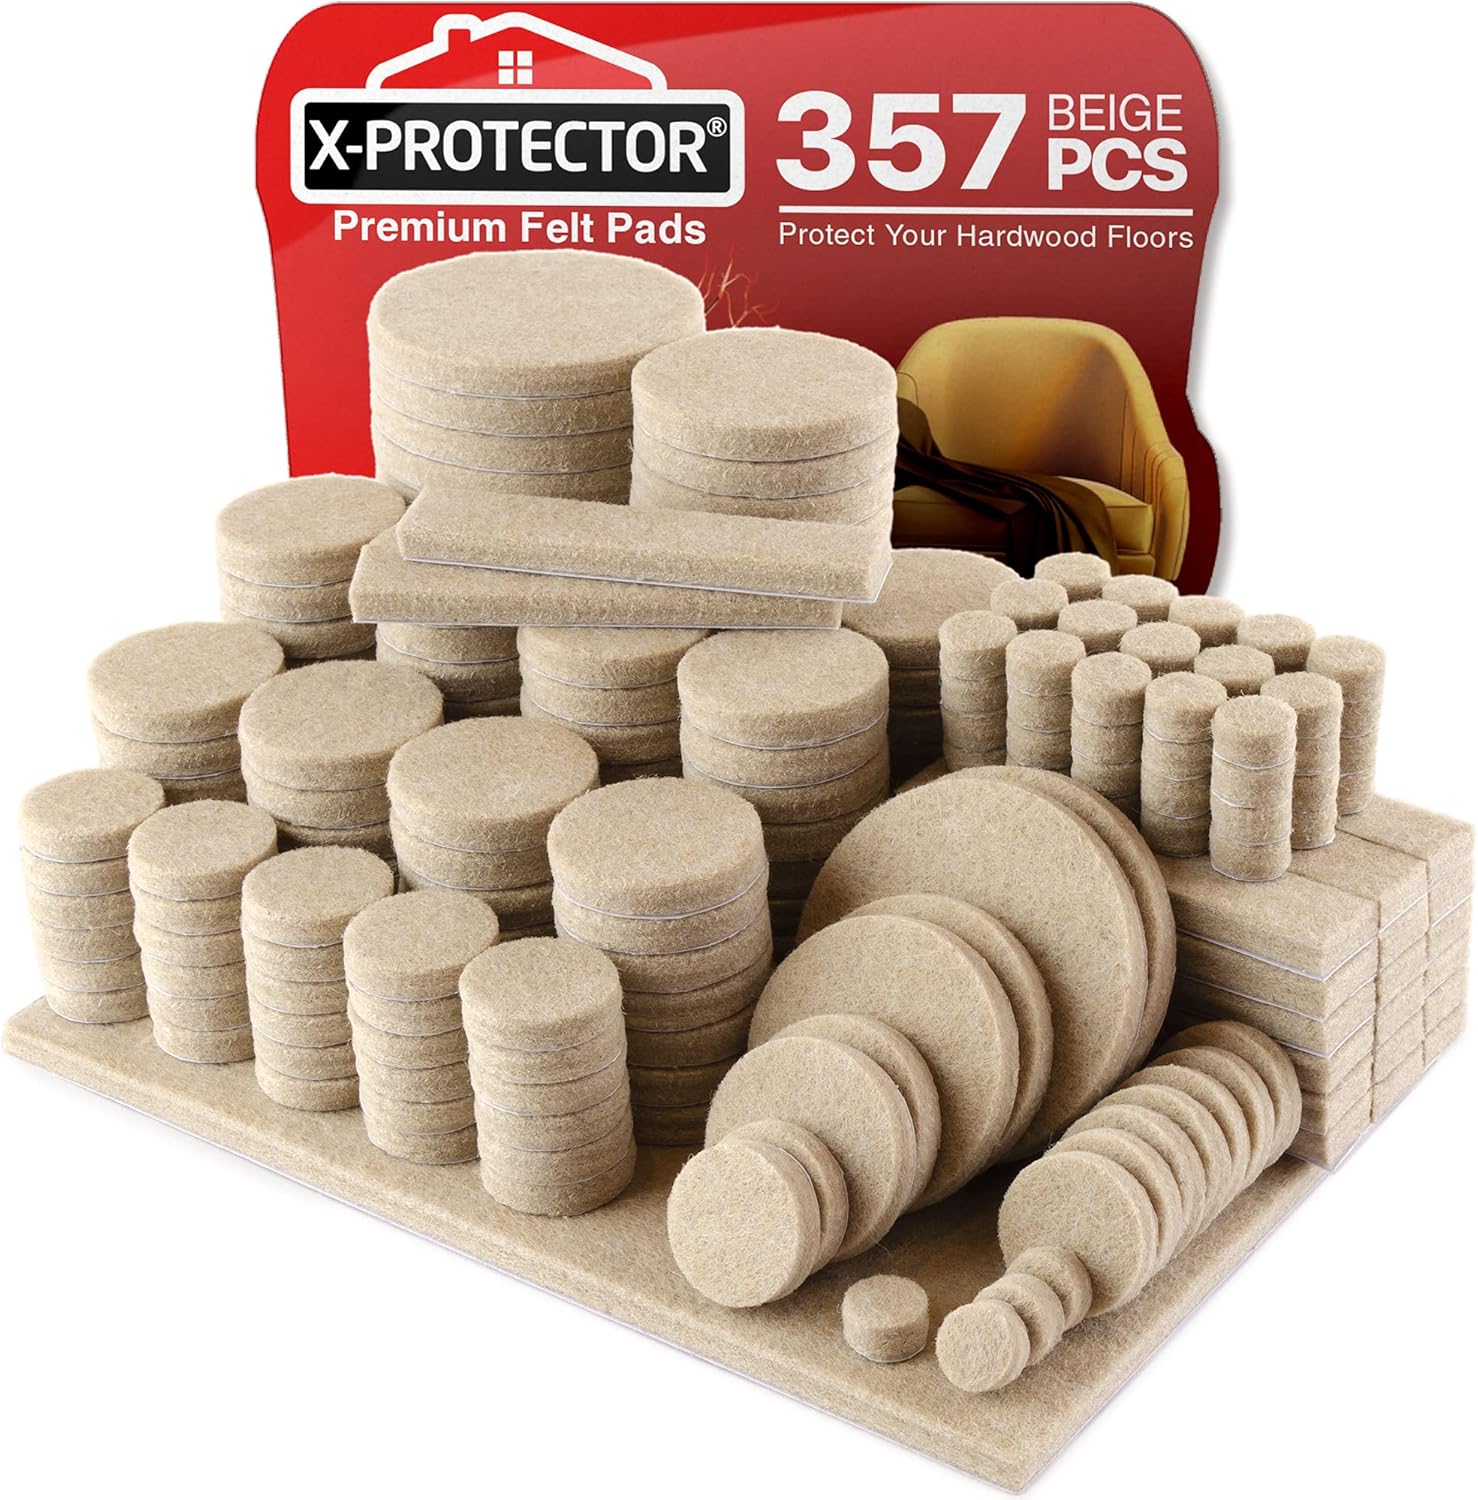
- Optional: Felt pads
Step-by-step Guide
Step 1: Cut wine corks in half lengthwise for flat surfaces, or use whole corks if preferred, then arrange them tightly in a circle or square pattern to form the coaster shape.
Step 2: Use a hot glue gun to attach the corks together securely, applying glue to all contact points.
Step 3: Wrap the outer edge of the cork arrangement with jute rope, gluing it in place as you go for a neat, finished border.
Step 4: Optional: Attach felt pads to the underside to prevent slipping and protect furniture.
#3. Wine Cork Place Card Holders

I made these for a dinner party, and they added a charming, rustic touch while being super simple to create.
Materials Needed
- Wine corks
- Craft knife
- Place cards
Step-by-step Guide
Step 1: Using a craft knife, carefully cut a thin slit lengthwise into the wine cork about halfway through to hold the card, then insert your place card or small sign into the slit.
Step 2: Arrange the cork place card holders on your table to guide guests to their seats with style and charm.
#4. Wine Cork Vase Filler

I love how these wine cork candle holders add warmth and texture to any room.
Materials Needed
- 40 wine corks per vase
- Clear glass vases
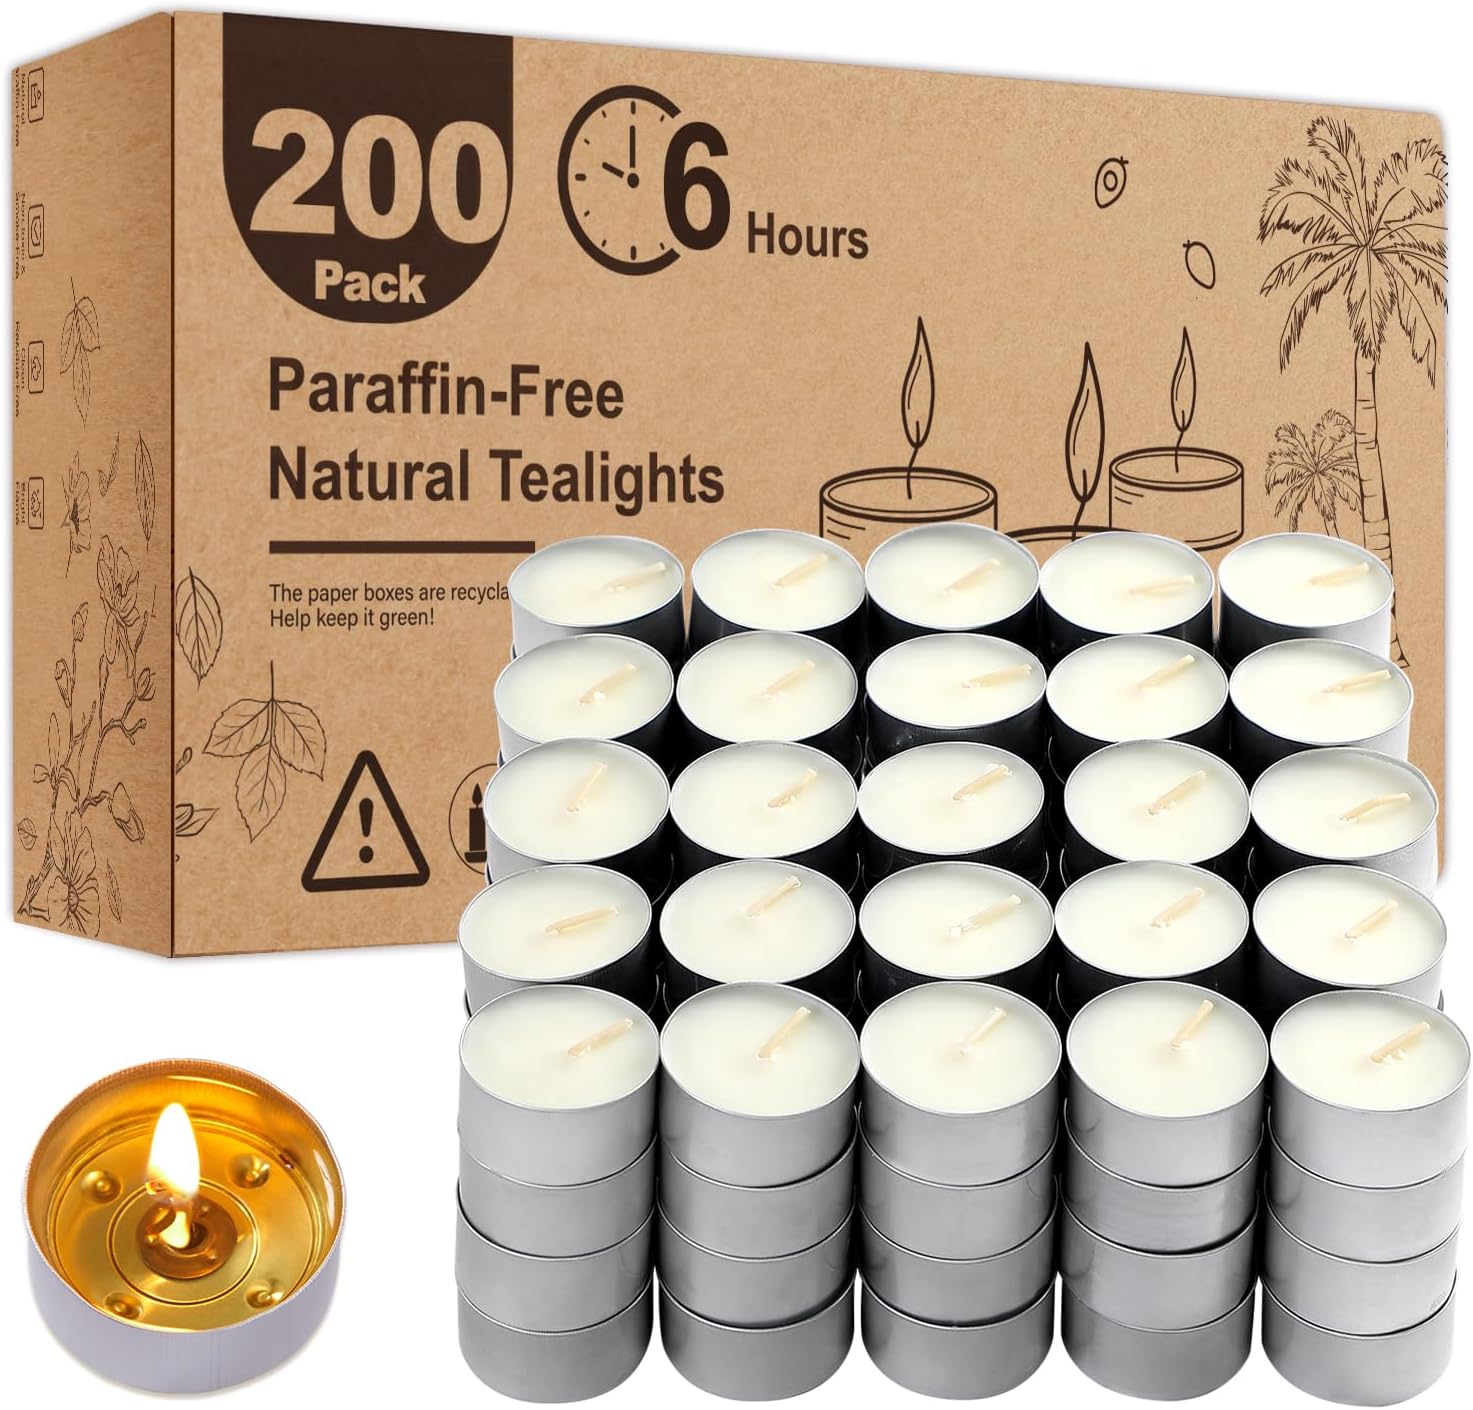
- Tea light candles
Step-by-step Guide
Step 1: Fill your chosen glass vase with wine corks, stacking them evenly but loosely for a natural look.
Step 2: Place a tea light or small candle on top of the corks, making sure it sits stable.
#5. Wine Cork Trivet

The interlaced cork design provides insulation from hot pots and pans while adding a charming, handmade touch to the kitchen or dining area.
Materials Needed
- 18 wine corks
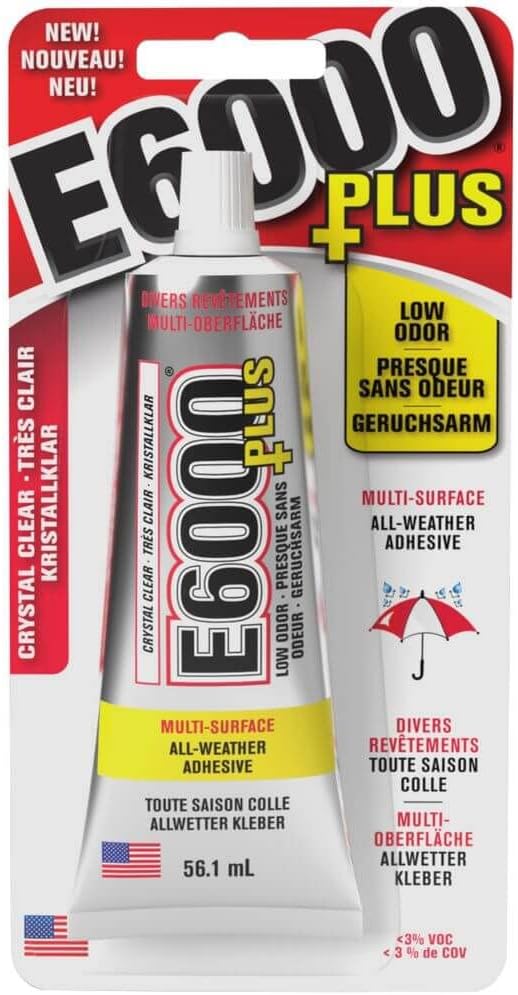
- Strong glue
- Craft knife
- Flat surface
Step-by-step Guide
Step 1: Arrange corks in two sets: horizontal and vertical, alternating to form a woven pattern.
Step 2: Glue the intersections where corks overlap, holding them until secure.
Step 3: Trim any corks that extend beyond your desired size to create a neat square or rectangle shape.
Step 4: Allow glue to dry completely before using the trivet to protect your furniture from heat.
#6. Wine Cork Keychain

Adding colorful beads and charms makes each keychain unique and personal. This DIY is easy to customize and makes a thoughtful gift.


Materials Needed
- 1 wine cork per keychain
- Assorted beads
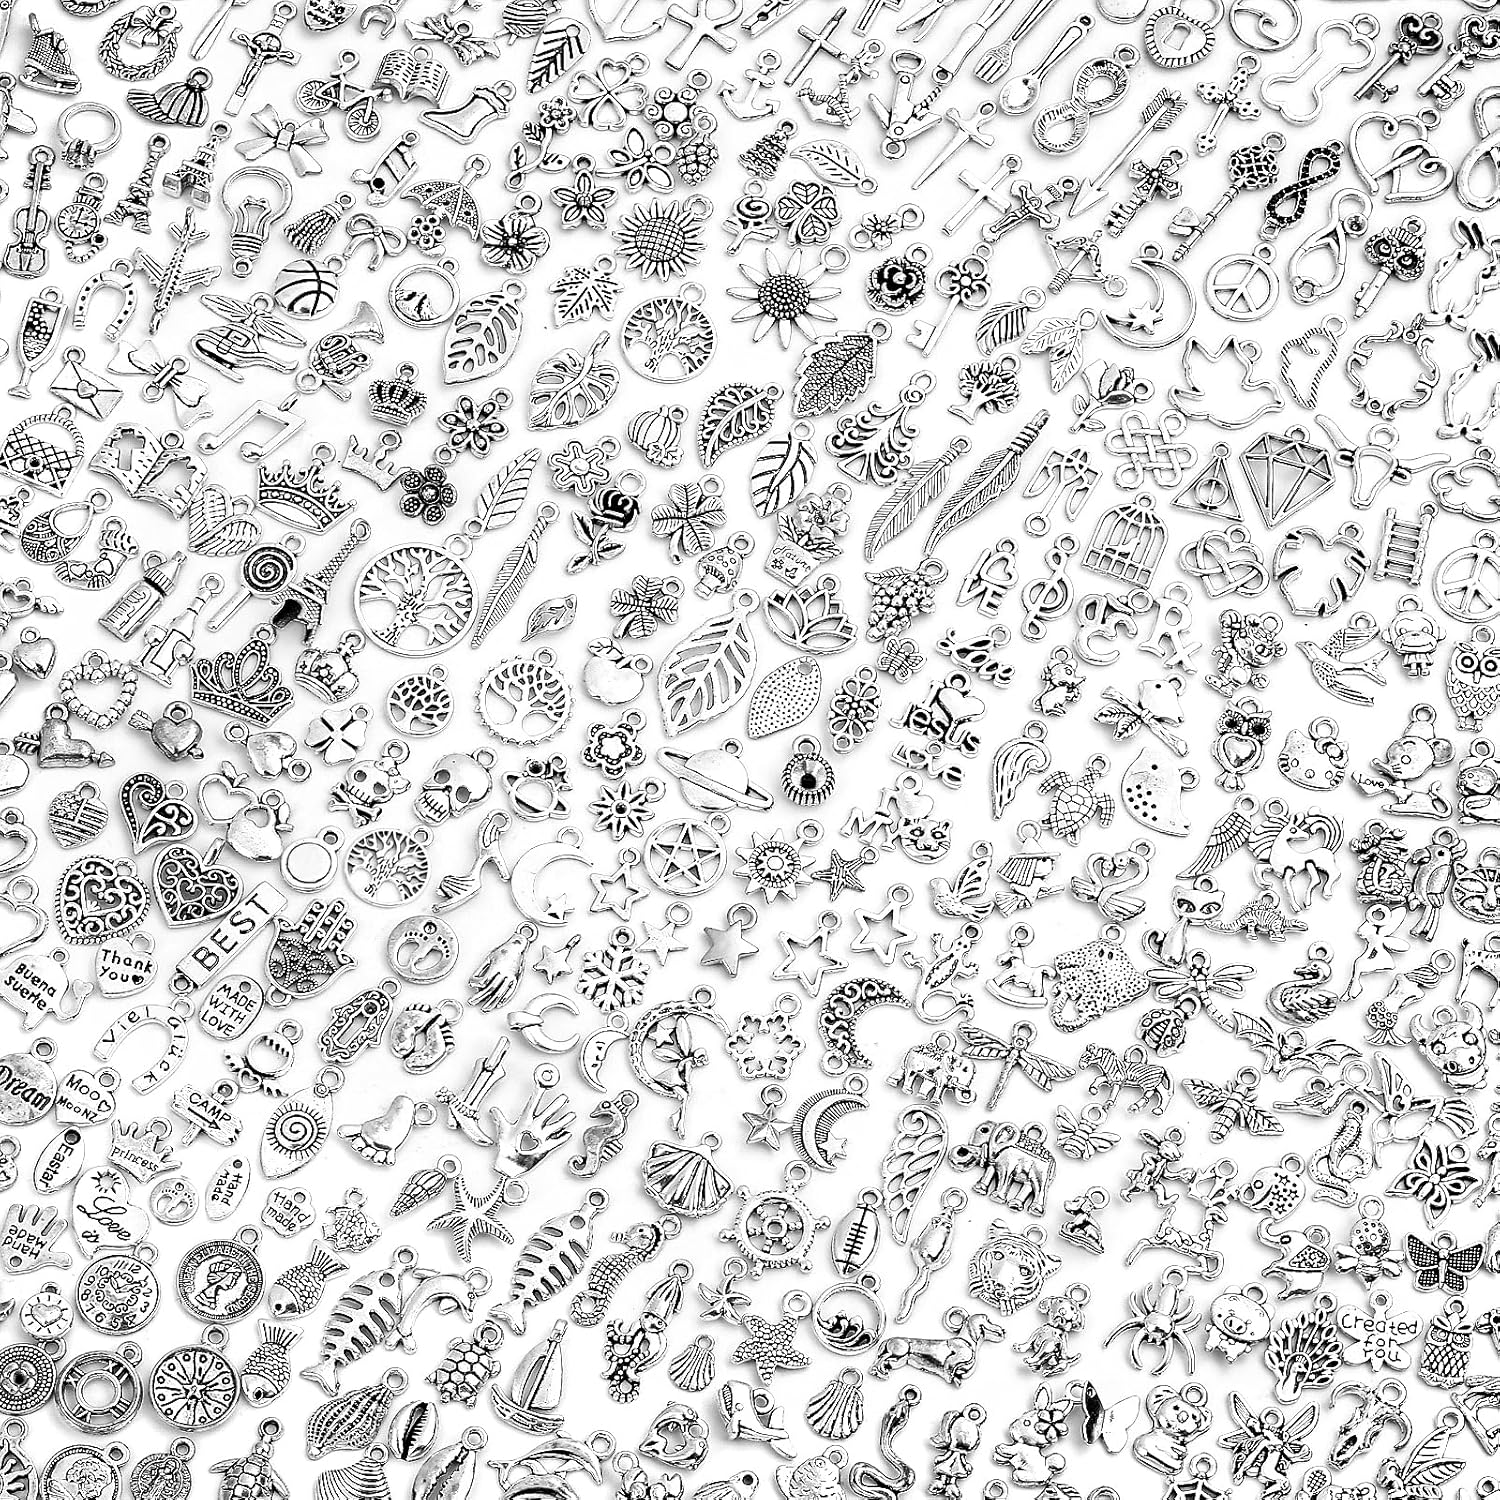
- Small metal charms (optional)
- Key rings (1 per keychain)
- Jewelry wire (1 per keychain)
- Needle nose pliers and wire cutters
- Drill
Step-by-step Guide
Step 1: Carefully drill a hole through the center of the wine cork lengthwise.
Step 2: Thread a bead, charm, and cork onto the jewelry wire or head pin, securing them with pliers by making loops or twists at the ends.
Step 3: Attach the key ring to the wire loop securely.
Step 4: Repeat to make as many keychains as you like, customizing beads and charms for each.
#7. Wine Cork Wreath

Making a wine cork wreath is a fantastic way to reuse corks and create a stunning, rustic decoration for your door or wall.
Materials Needed
- 100-120 wine corks
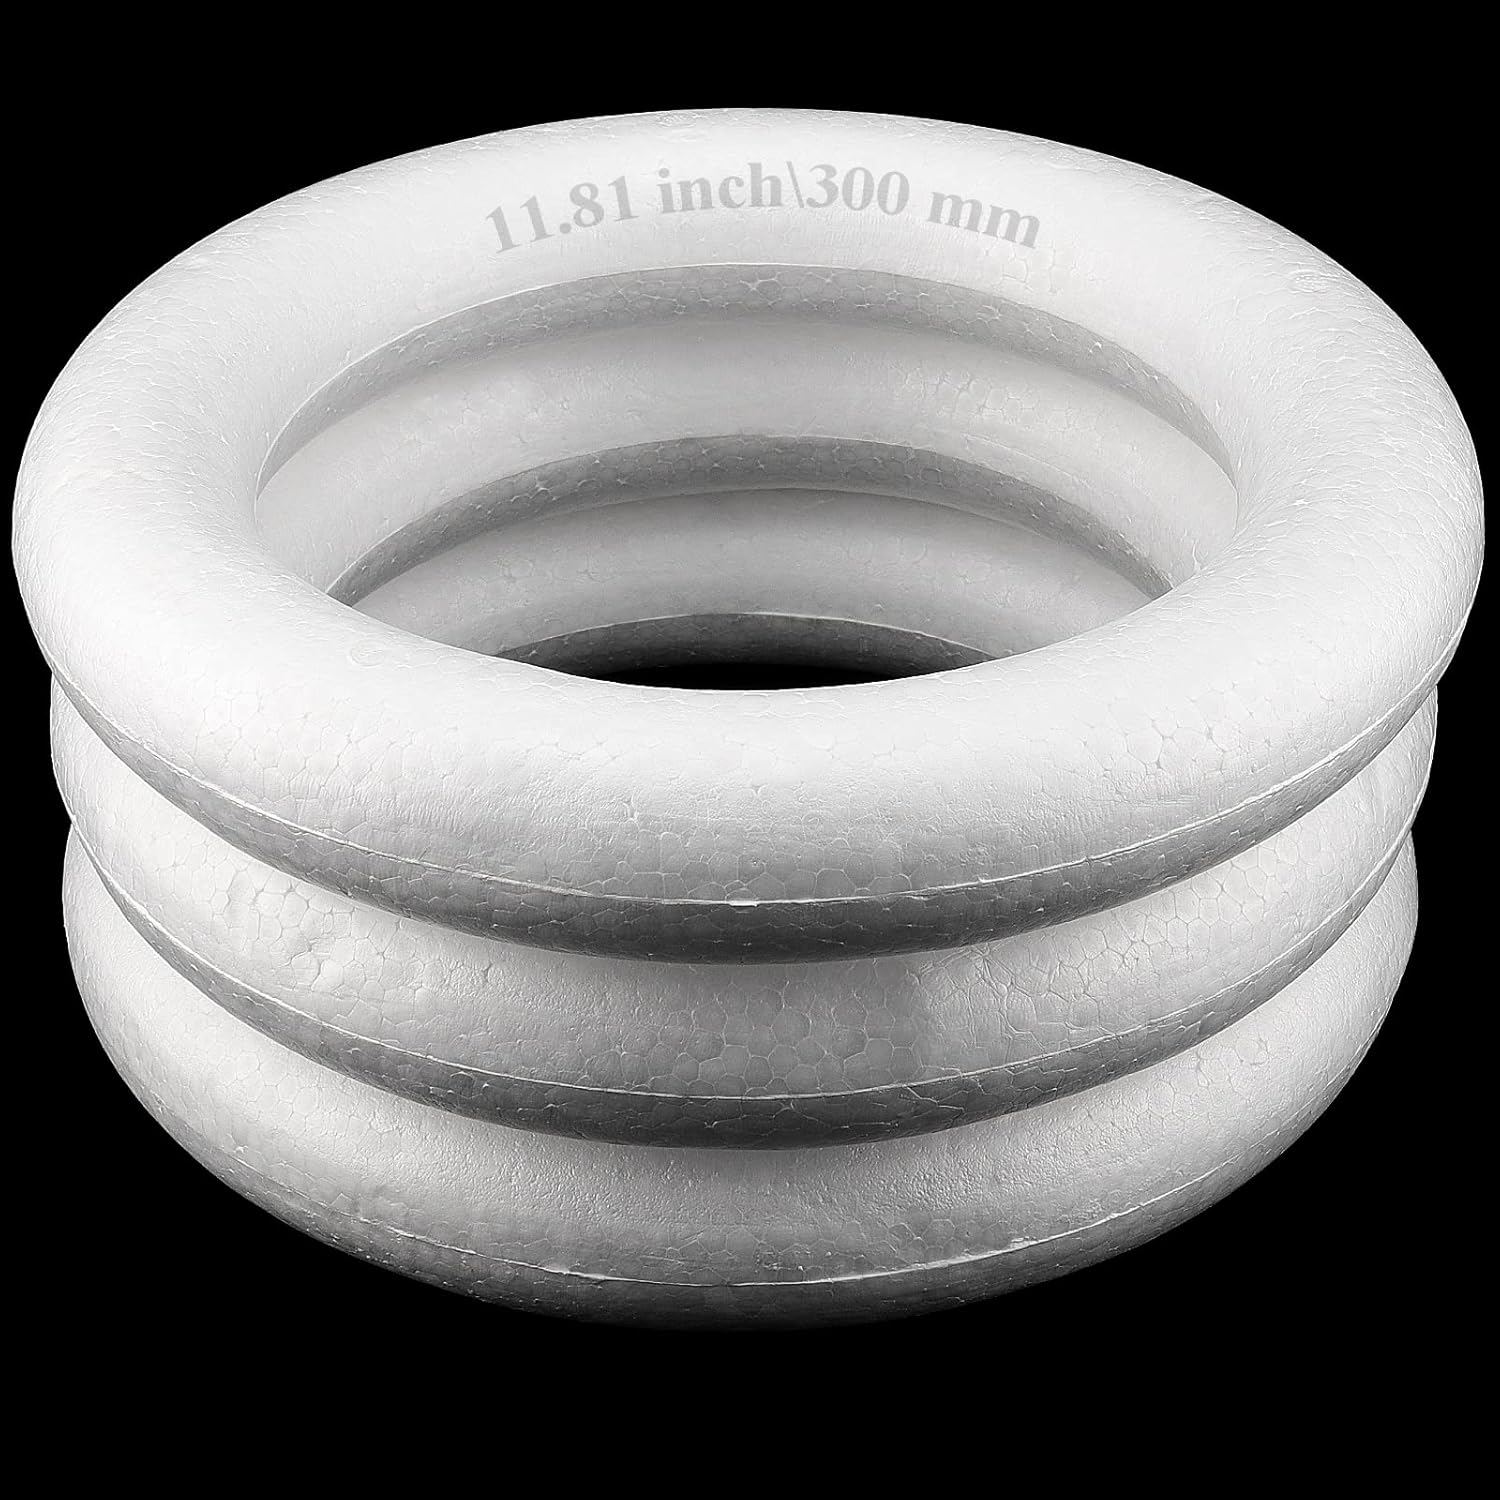
- Foam wreath base (12-14 inches diameter)
- Hot glue gun and glue sticks
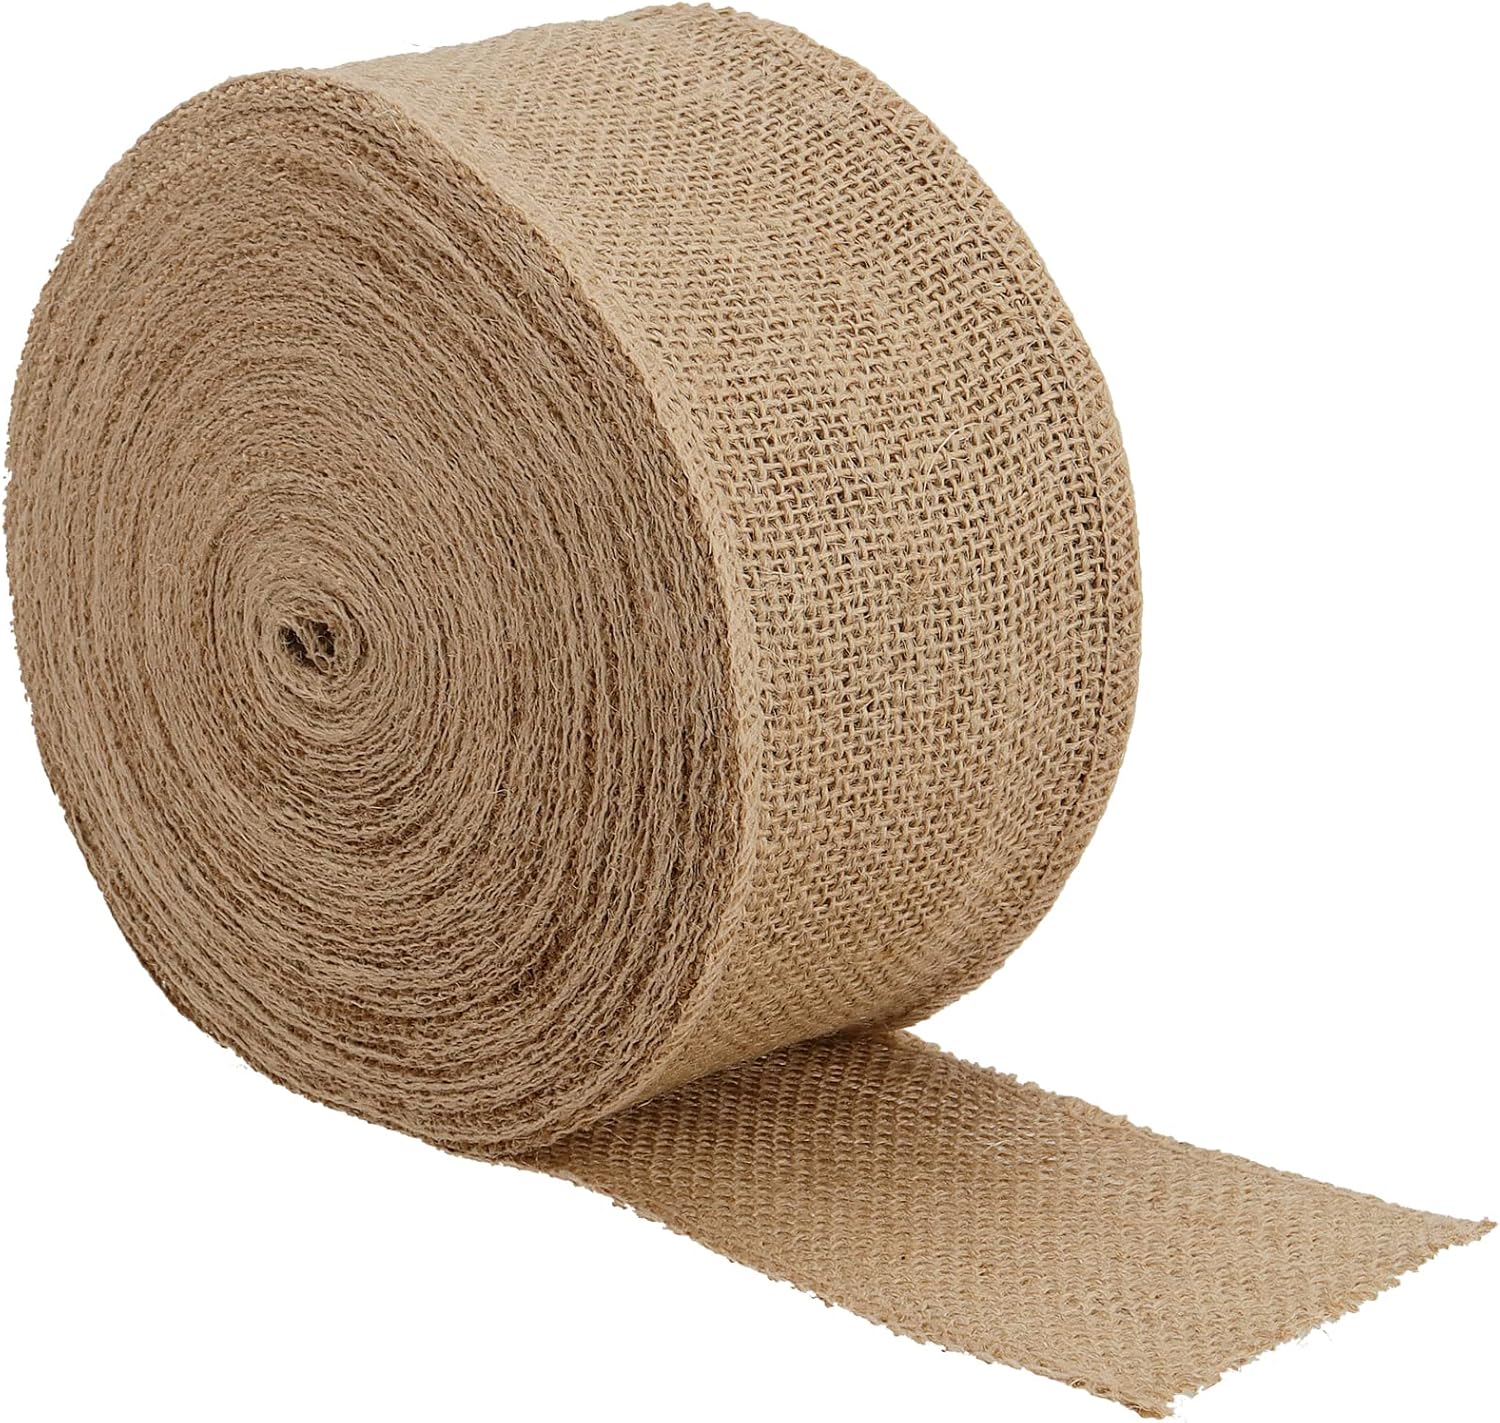
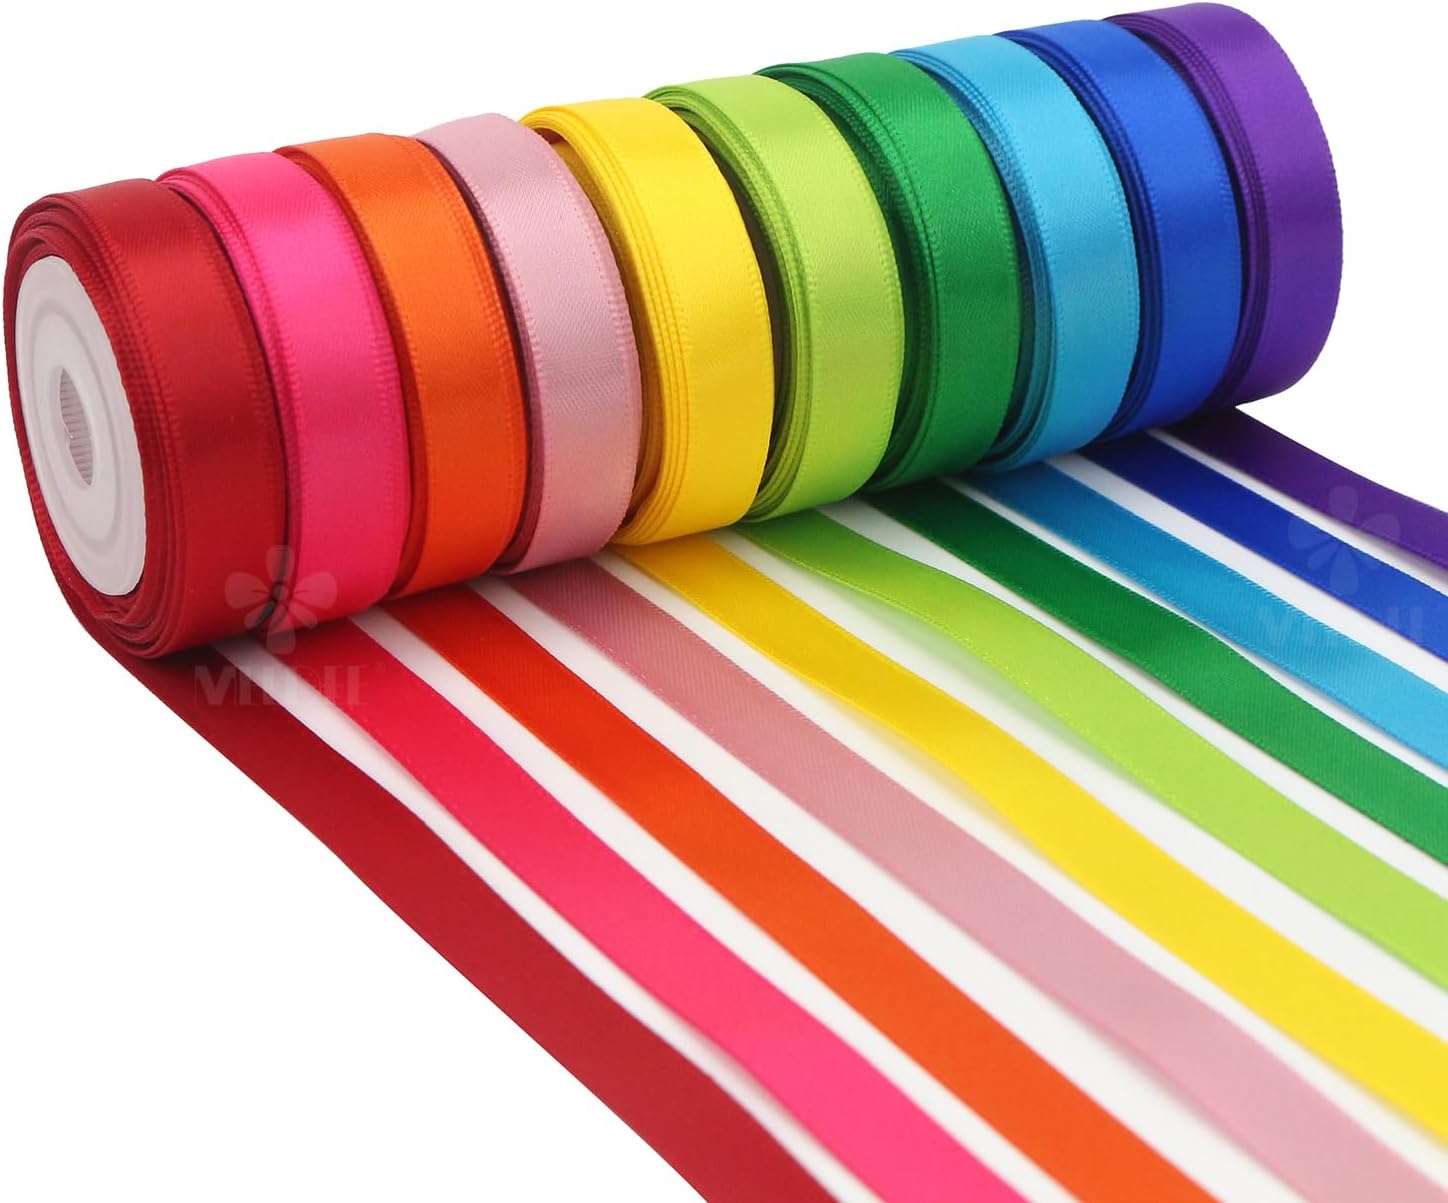
- Burlap ribbon
- Wire cutters and scissors
Step-by-step Guide
Step 1: Begin gluing wine corks vertically around the wreath base, tightly packing them side by side.
Step 2: Continue layering corks until the entire wreath is covered with no gaps visible.
Step 3: Attach a burlap bow or ribbon to one side of the wreath using hot glue or floral wire for a finishing touch.
#8. Wine Cork Jewelry Organizer

This project not only recycles corks but also offers a personalized way to keep your earrings, necklaces, and bracelets neatly displayed and easily accessible.
Materials Needed
- 50 wine corks
- Picture frame (around 12×12 inches recommended)
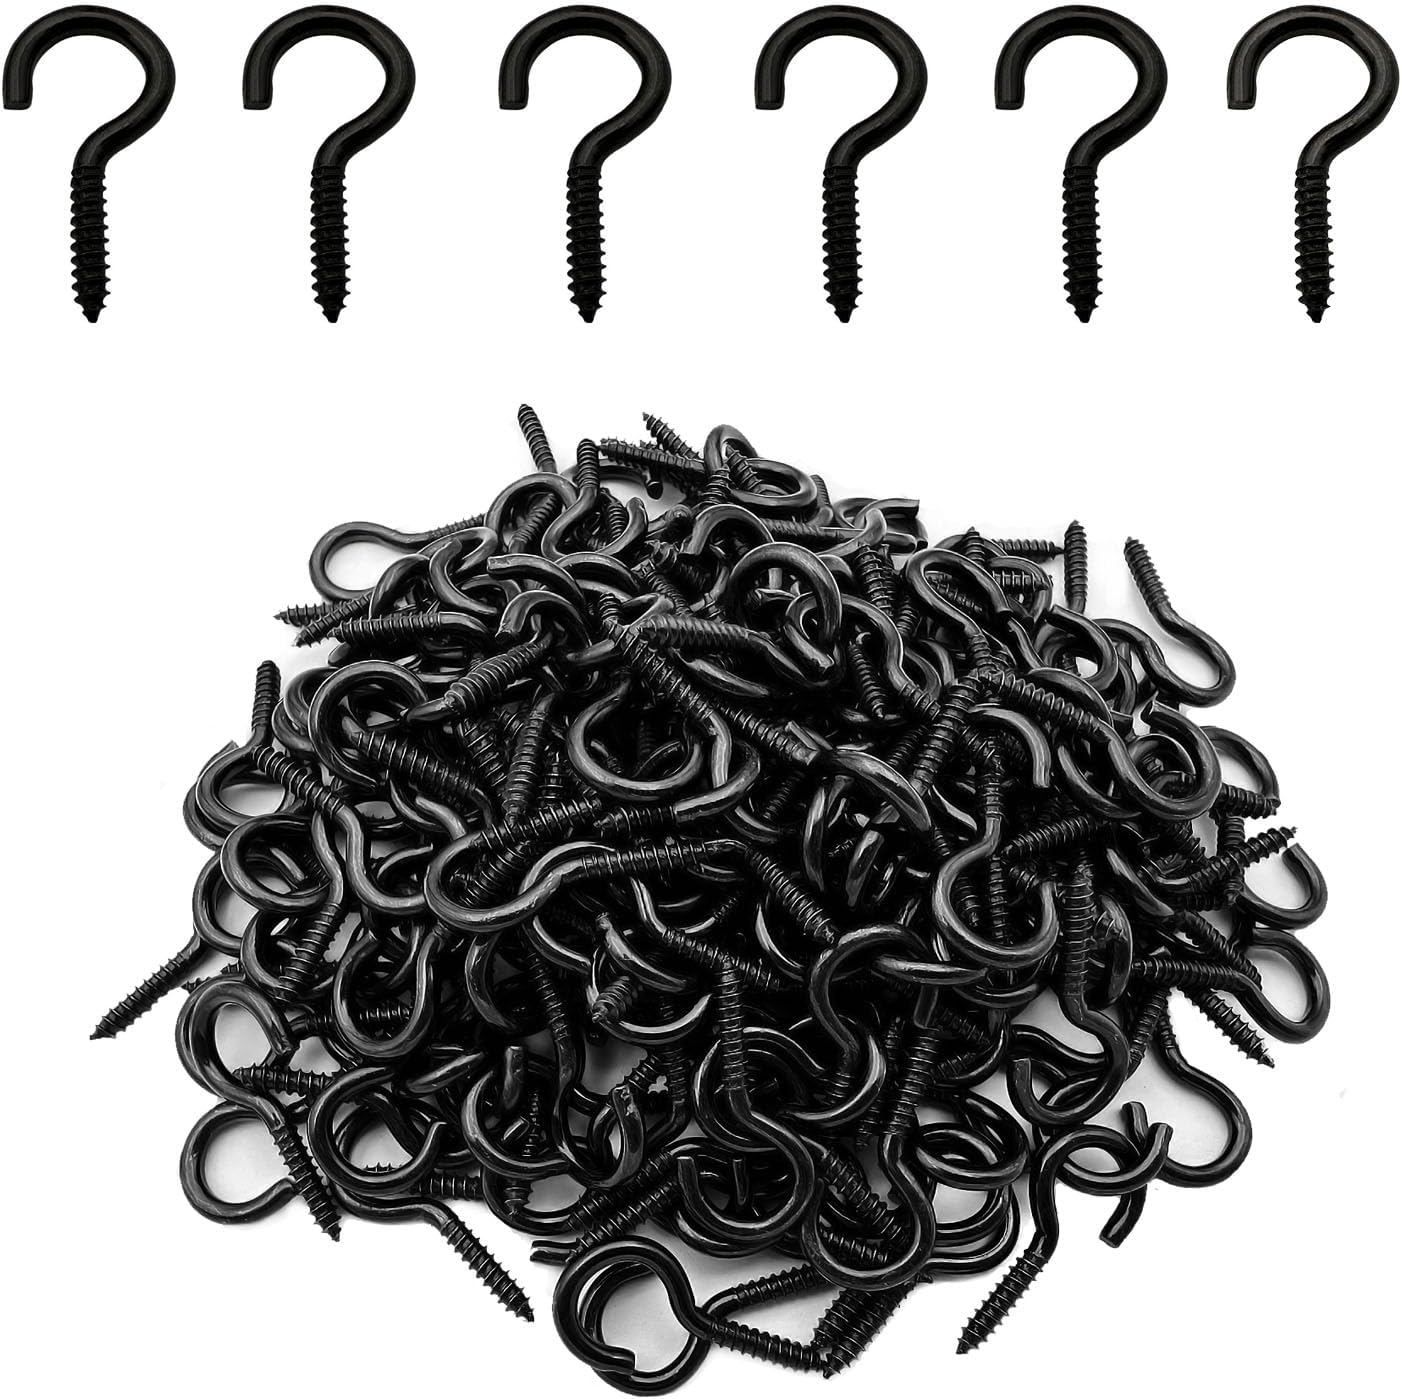
- Small jewelry hooks (15-20 hooks)
- Hot glue gun and glue sticks
- Strong adhesive (optional)
- Ribbon (optional)
Step-by-step Guide
Step 1: Glue the wine corks inside the frame in a tight, grid-like pattern to cover the entire backing area.
Step 2: Once glue dries, screw small cup hooks into the bottom of corks for necklaces and bracelets, and use the cork body to hold earrings by pushing posts into the cork.
Step 3: Attach ribbon or string to the back of the frame for hanging, if your frame does not have built-in hooks.
#9. Wine Cork Plant Markers

Perfect for labeling herbs, flowers, or vegetables, these markers add a personal touch and help keep your garden organized.
Materials Needed
- 15 wine corks
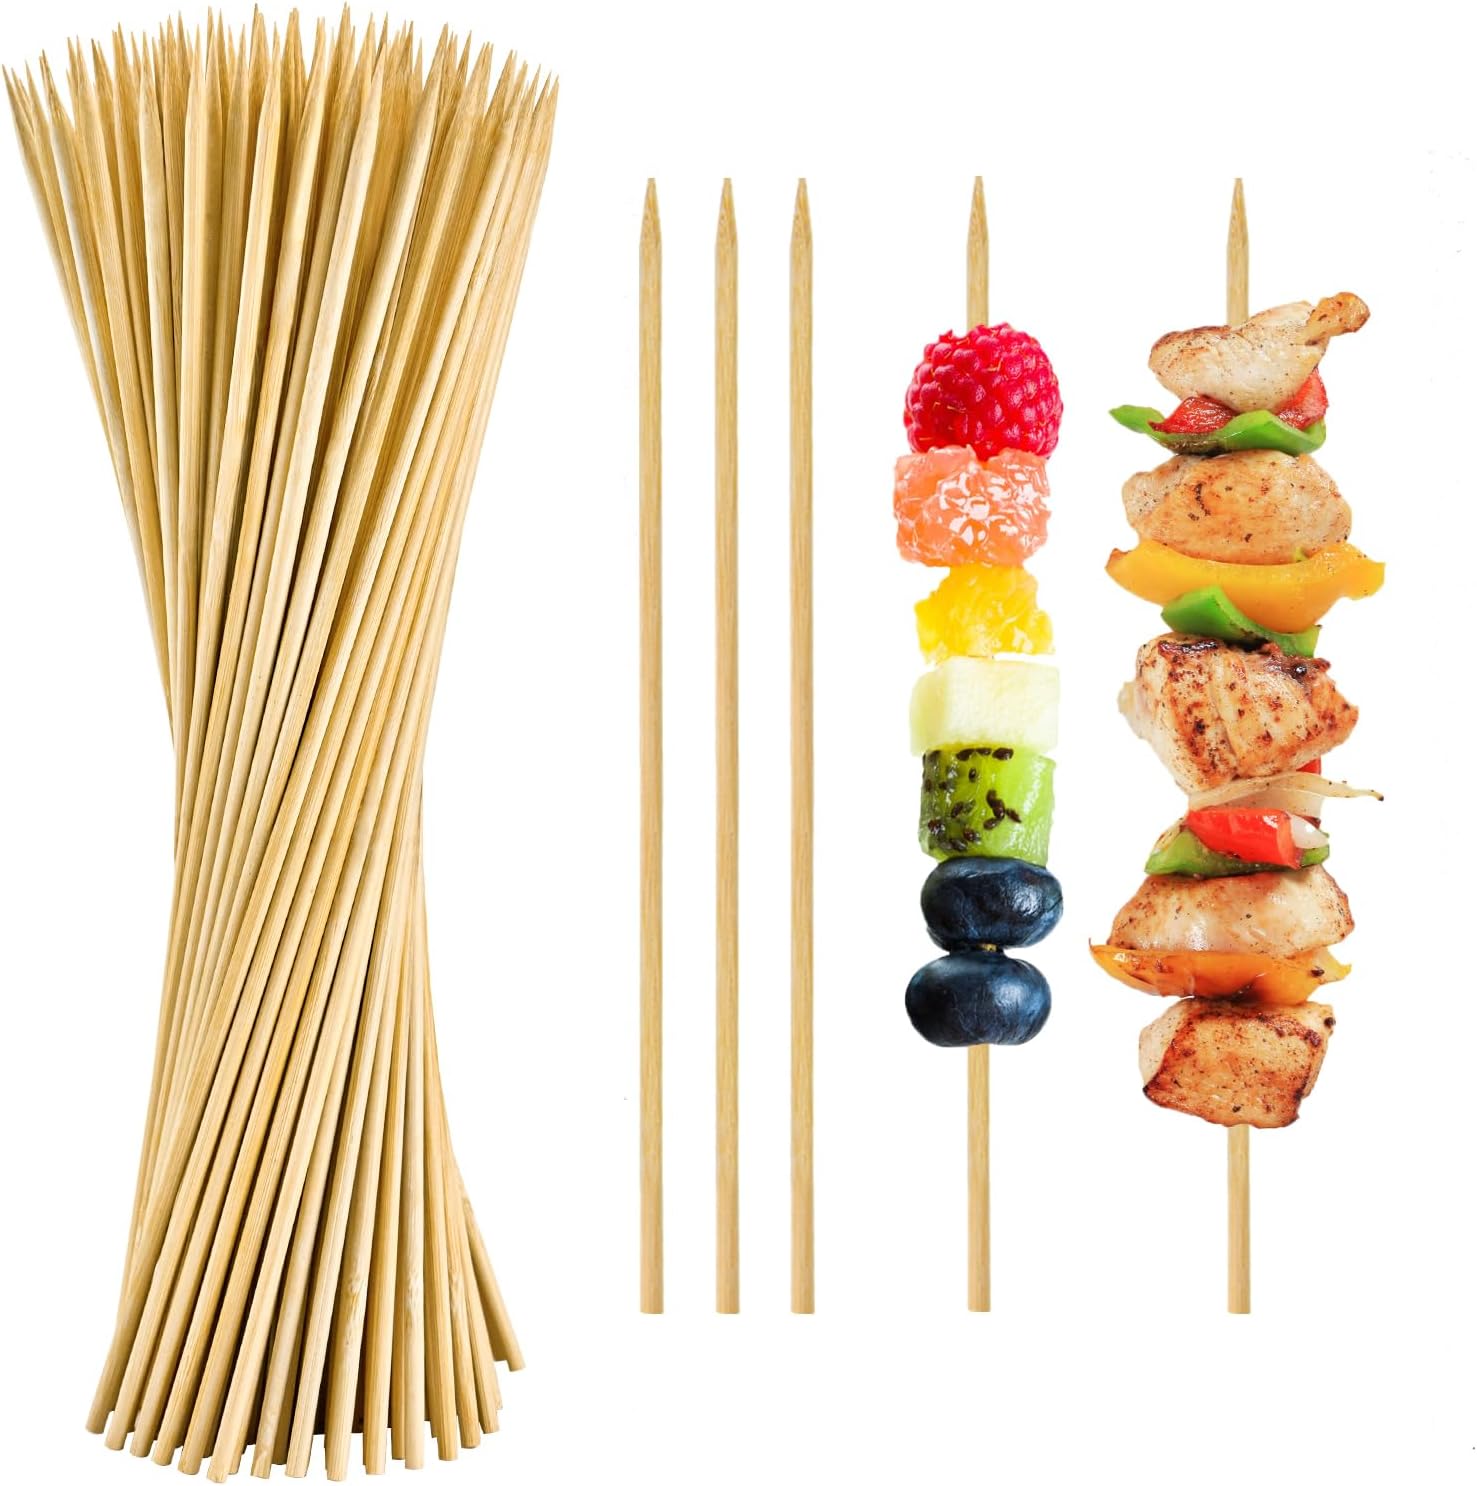
- 15 wooden skewers
- Permanent marker
- Drill
Step-by-step Guide
Step 1: Carefully drill a hole or carve a small slit lengthwise through the center of each wine cork.
Step 2: Insert a wooden skewer or bamboo stick into each cork, pushing firmly to secure it.
Step 3: Write the name of each plant clearly on the side of each cork using a permanent marker or paint pen.
#10. Wine Cork Candle Holder

I love how easy it is to assemble, and it transforms simple candles into a stylish centerpiece with a personal touch.
Materials Needed
- 70 wine corks
- Large clear glass container
- Votive candles
Step-by-step Guide
Step 1: Select a large clear glass container , then fill the container with wine corks, arranging them loosely but to your liking, making sure there’s enough space to place the candle inside.
Step 2: Place a candle in the center of the cork-filled container.
#11. Wine Cork Napkin Rings

These wine cork napkin rings are budget-friendly and a fun way to recycle wine corks while impressing guests with your creative flair.
Materials Needed
- 1 wine corks
- Drill or sharp tool
- Elastic cord (about 12 inches per ring)
- 10 beads
Step-by-step Guide
Step 1: Use a drill or sharp tool to carefully make two holes lengthwise through each wine cork.
Step 2: Cut the elastic cord to about 12 inches for each napkin ring.
Step 3: Thread the cord through the holes in the cork and tie the ends together to form a loop that fits around a napkin. Add beads or charms for extra decoration if desired.
Step 4: Slide the napkin through the ring and arrange your table setting with these charming rustic napkin holders.
#12. Wine Cork Backsplash

The natural textures and patterns of the corks create a warm, rustic charm that complements modern or traditional kitchens alike.
Materials Needed
- 700 wine corks
- Strong adhesive
- Clear sealant (optional)
- Measuring tape and pencil
- Utility knife
Step-by-step Guide
Step 1: Clean and measure the backsplash area to determine how many corks you’ll need.
Step 2: Arrange corks on a flat surface in a pattern you like, mixing vertical and horizontal placements for visual interest.
Step 3: Using a strong adhesive, start gluing corks onto the backsplash surface from bottom to top, pressing firmly. Trim corks as needed to fit edges or outlets.
Step 4: After the glue dries, optionally apply a clear sealant to protect the cork backsplash from kitchen moisture and stains.
Step 5: Allow the sealant to cure before using the area to ensure durability.
#13. Wine Cork Picture Frame

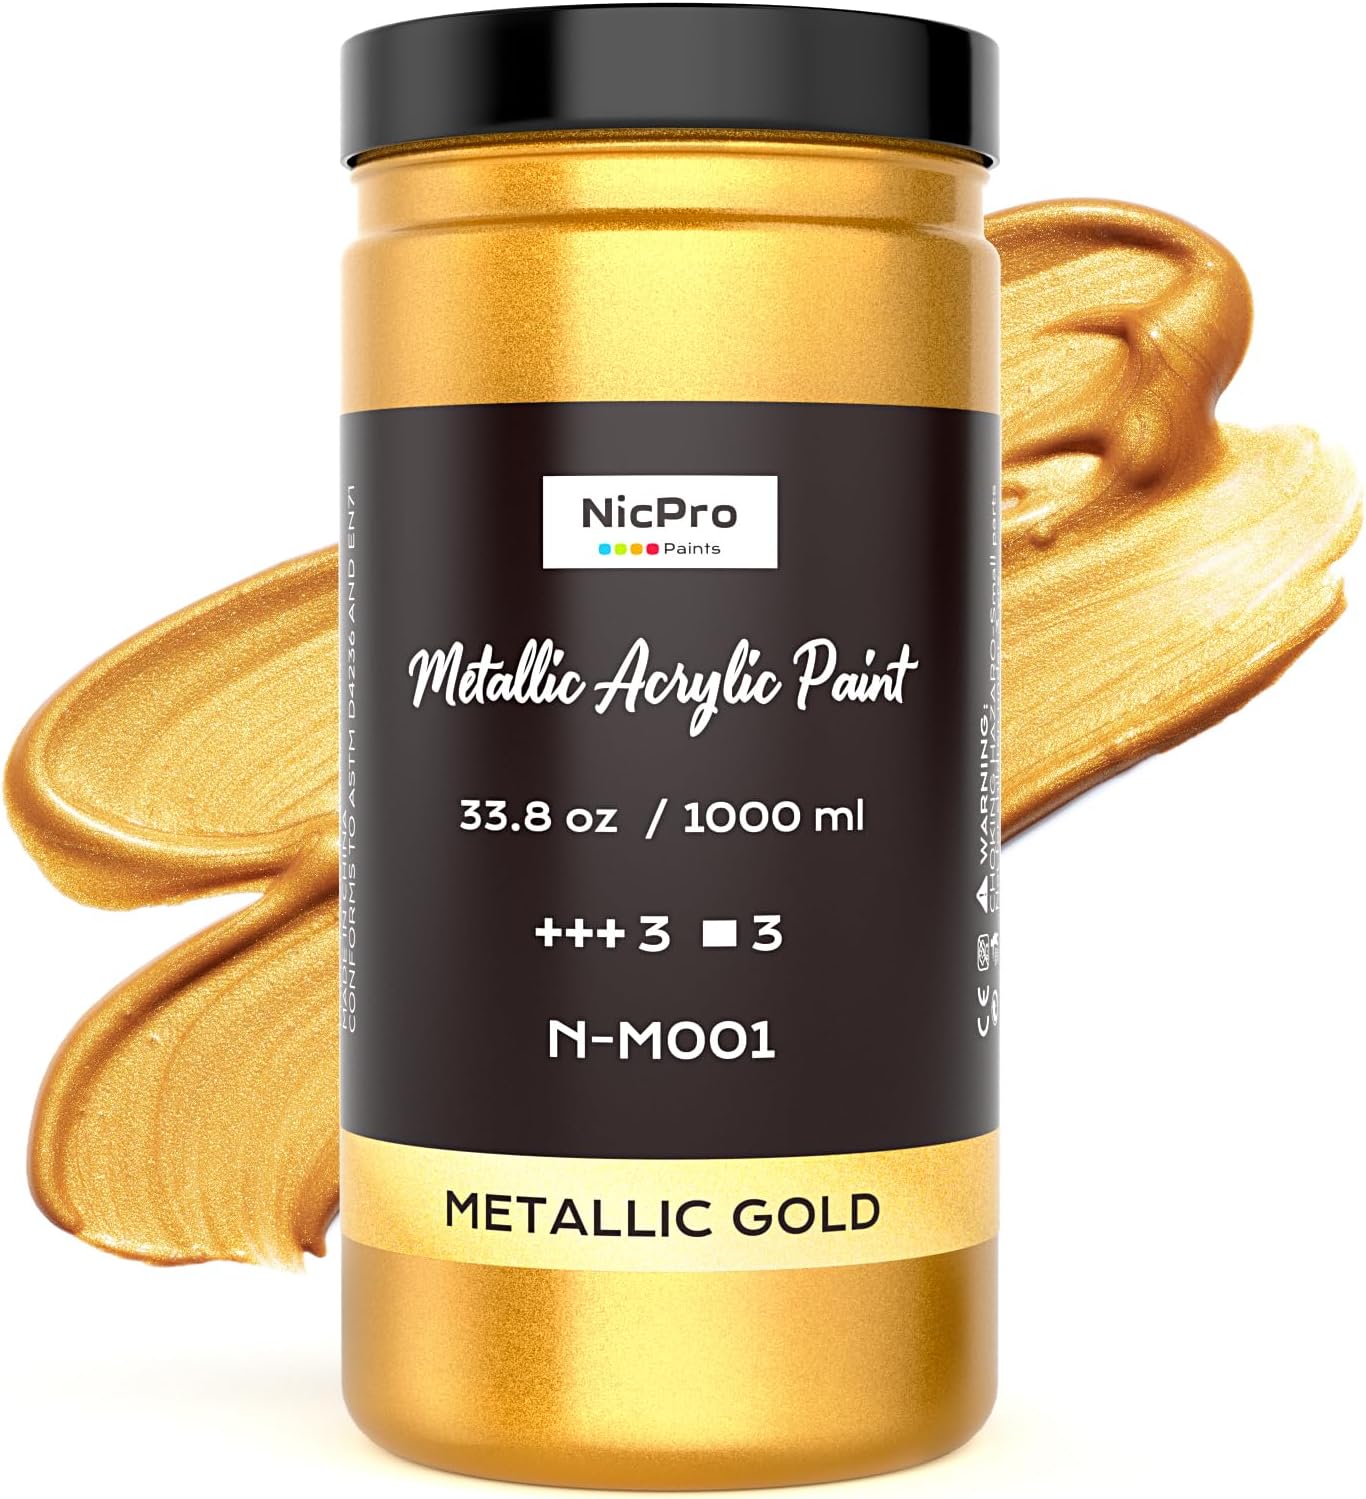
The combination of natural cork with a splash of gold paint and cute accents creates a warm, handmade feel that brightens any space.
Materials Needed
- 20 wine corks
- Plain photo frame (any size)
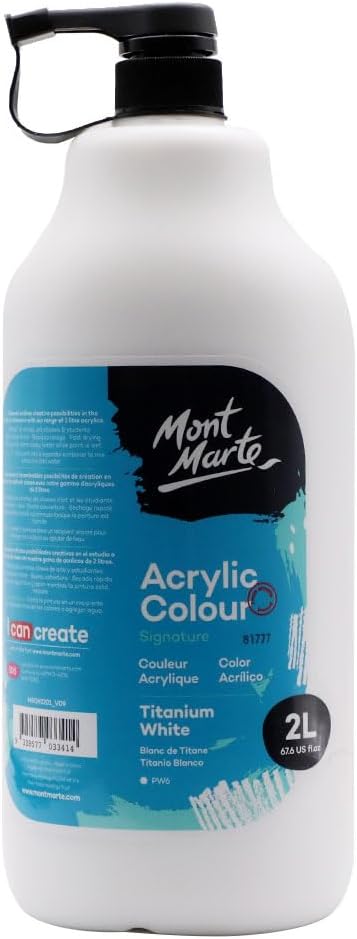
- Gold acrylic paint and paintbrush
- Hot glue gun and glue sticks
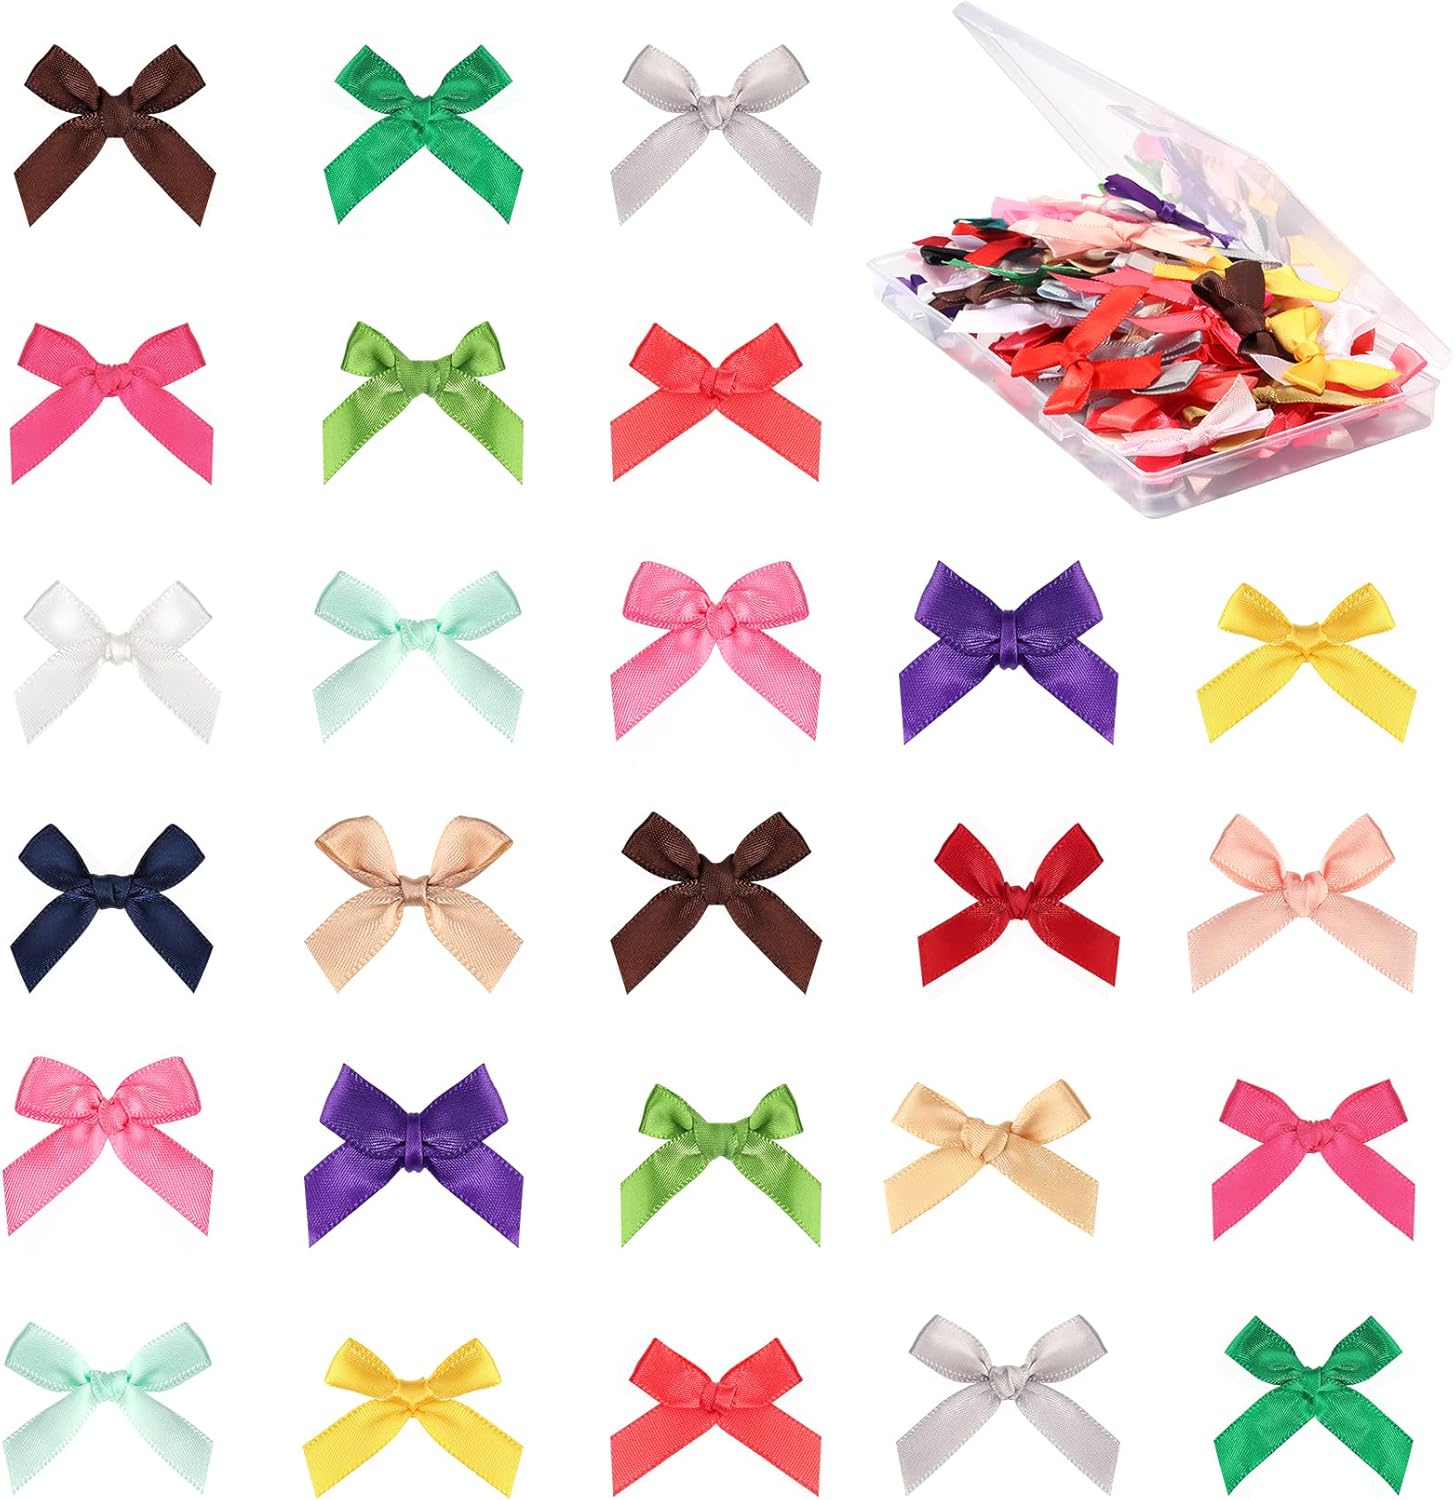
- Decorative ribbon and small embellishments (optional)
Step-by-step Guide
Step 1: Paint the edges of the corks with gold acrylic paint. Let dry completely.
Step 2: Arrange the corks around the photo frame to decide on placement, mixing painted and natural corks for visual interest.
Step 3: Use the hot glue gun to attach corks firmly around the frame’s edges, then add a decorative ribbon bow and small embellishments with glue to enhance the look if desired.
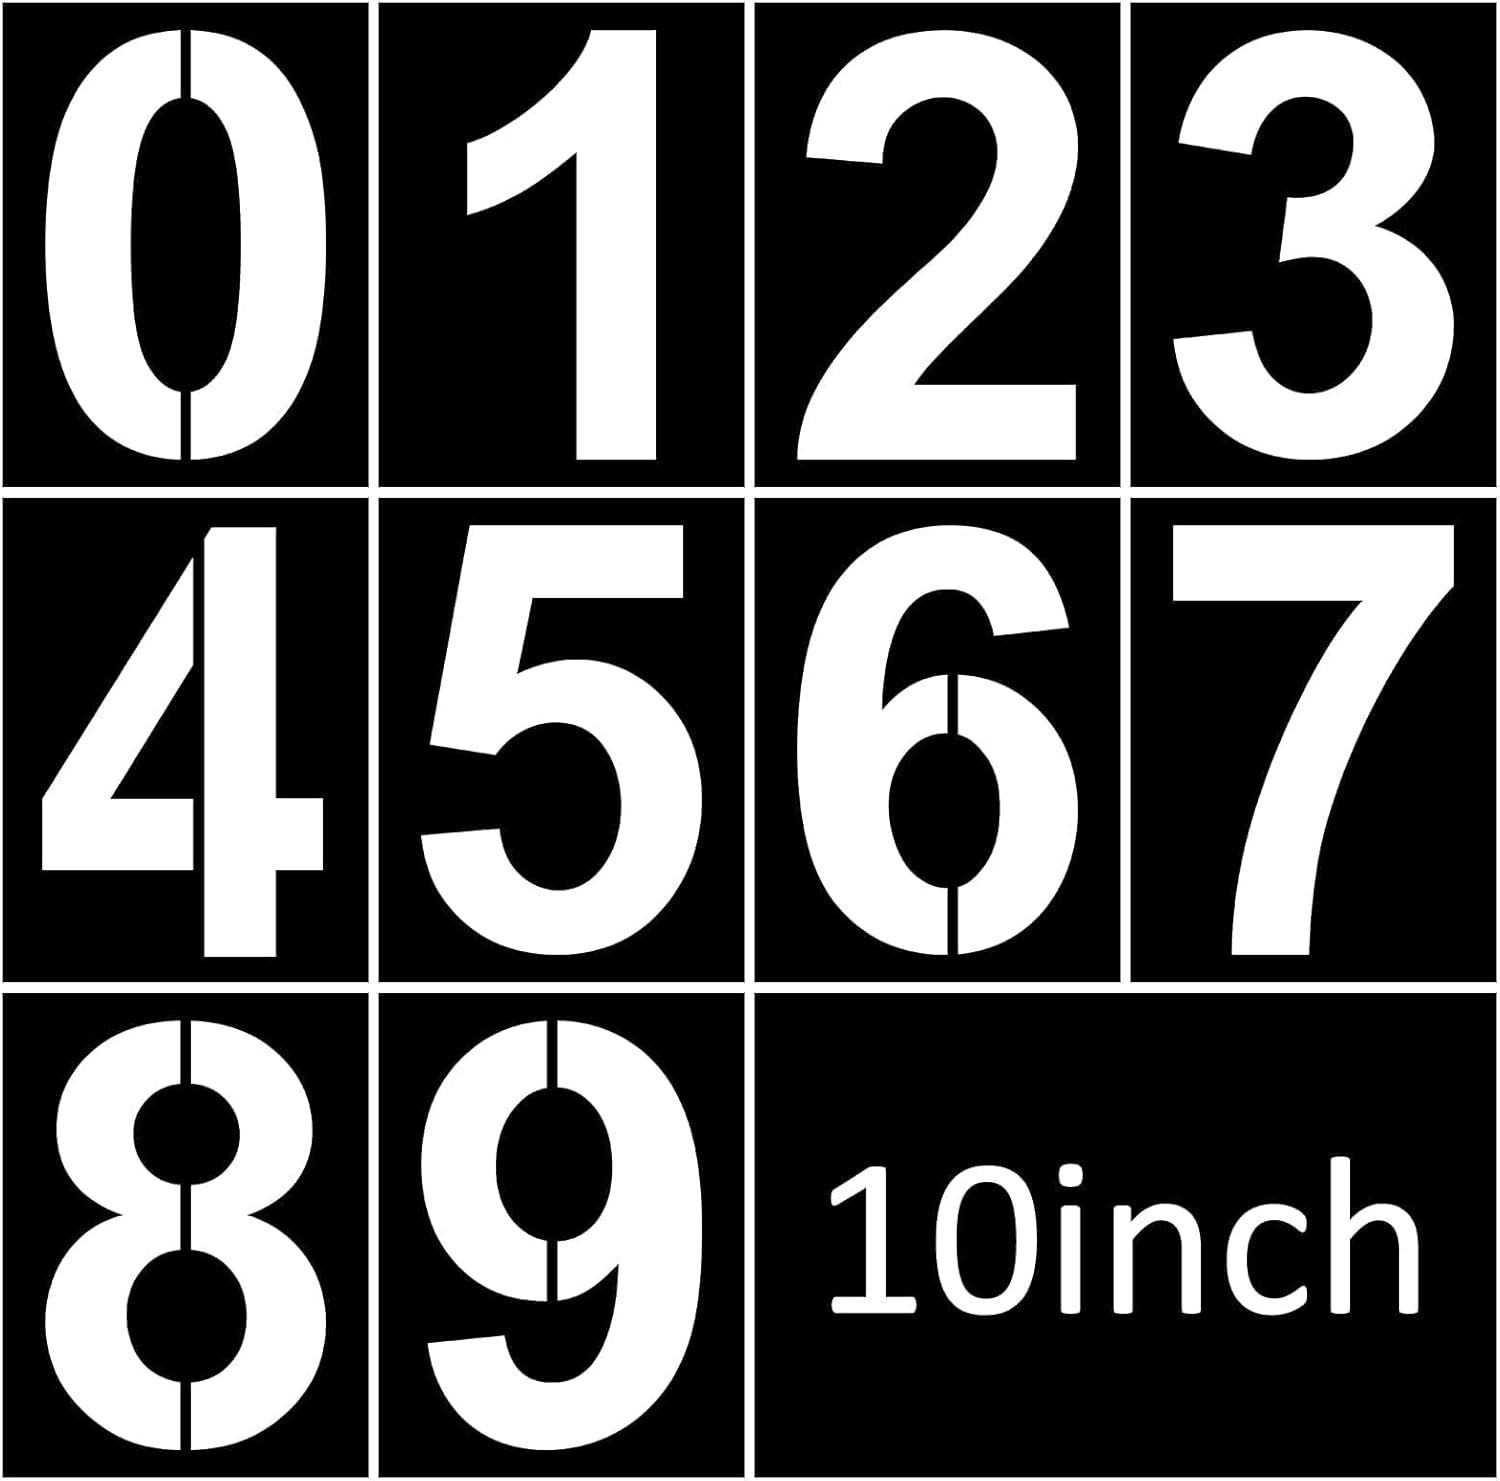
#14. Wine Cork Table Numbers

This quirky set of wine cork numbers is an excellent way to commemorate special dates or anniversaries with a creative twist.
Materials Needed
- 40 wine corks
- Strong craft glue
- Wooden number templates (optional)
- Pencil and scissors
Step-by-step Guide
Step 1: Arrange the corks on a flat surface to form each number shape, mixing natural and stained corks for color variety.
Step 2: Start gluing corks side-by-side, carefully building each number. Use strong craft glue or hot glue for quick setting.
Step 3: Layer corks vertically if needed to give numbers thickness and stability. Let the glue dry fully.
#15. Wine Cork Christmas Ornaments

This project feels warm and personal, perfect for adding homemade cheer to your tree or gifting to friends and family.
Materials Needed
- 3 wine corks
- White acrylic paint
- Black and orange paint markers
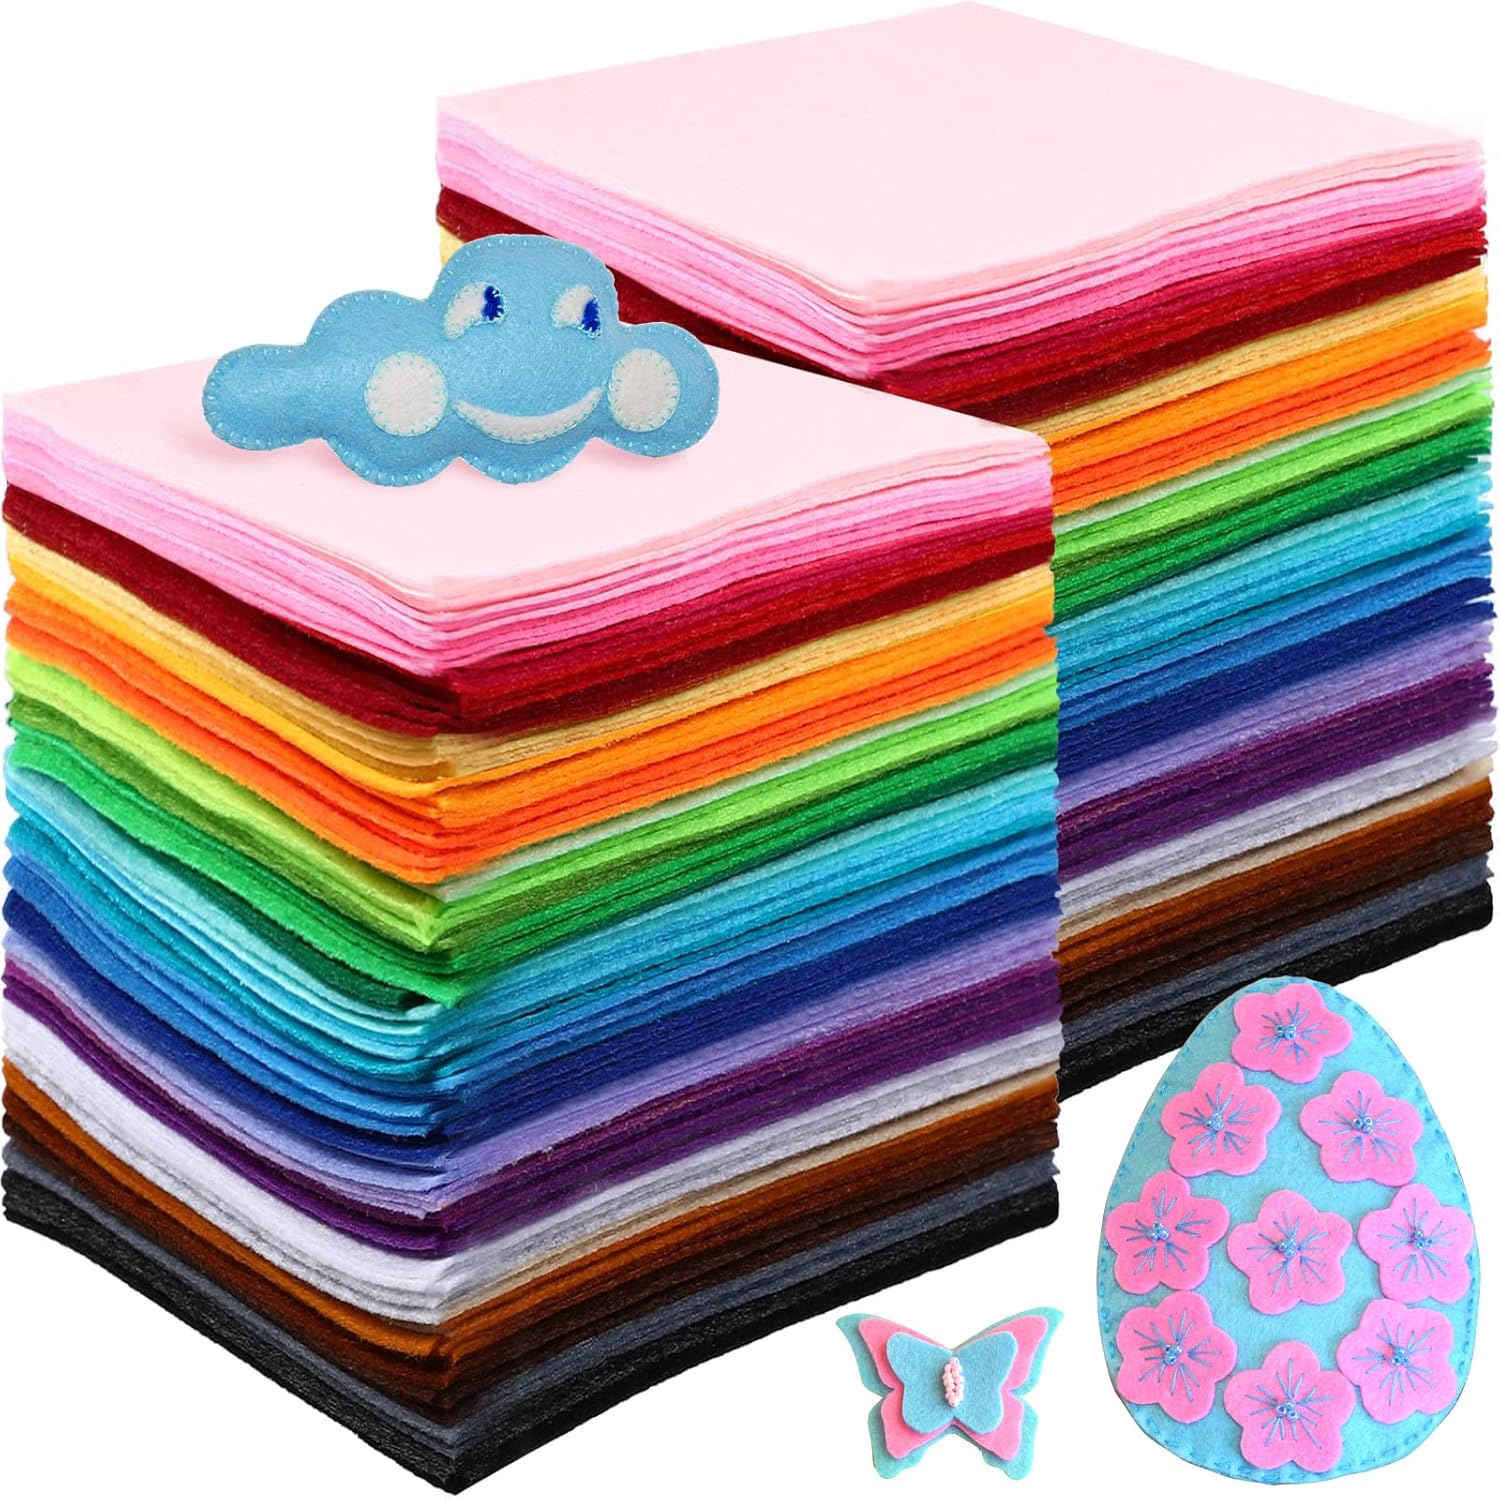
- Small pieces of colorful felt
- Craft glue
- Thin string
- Scissors
Step-by-step Guide
Step 1: Paint the wine corks white and let them dry completely to create the snowman base.
Step 2: Using paint markers or fine brushes, draw simple eyes, carrot noses, and dotted smiles on each cork to create cute snowman faces.
Step 3: Cut and glue small fabric or felt pieces to make scarves, hats, or earmuffs. Attach these accessories securely to each cork.
Step 4: Create a small loop with string or twine, glue it to the top of the cork for hanging on the tree.
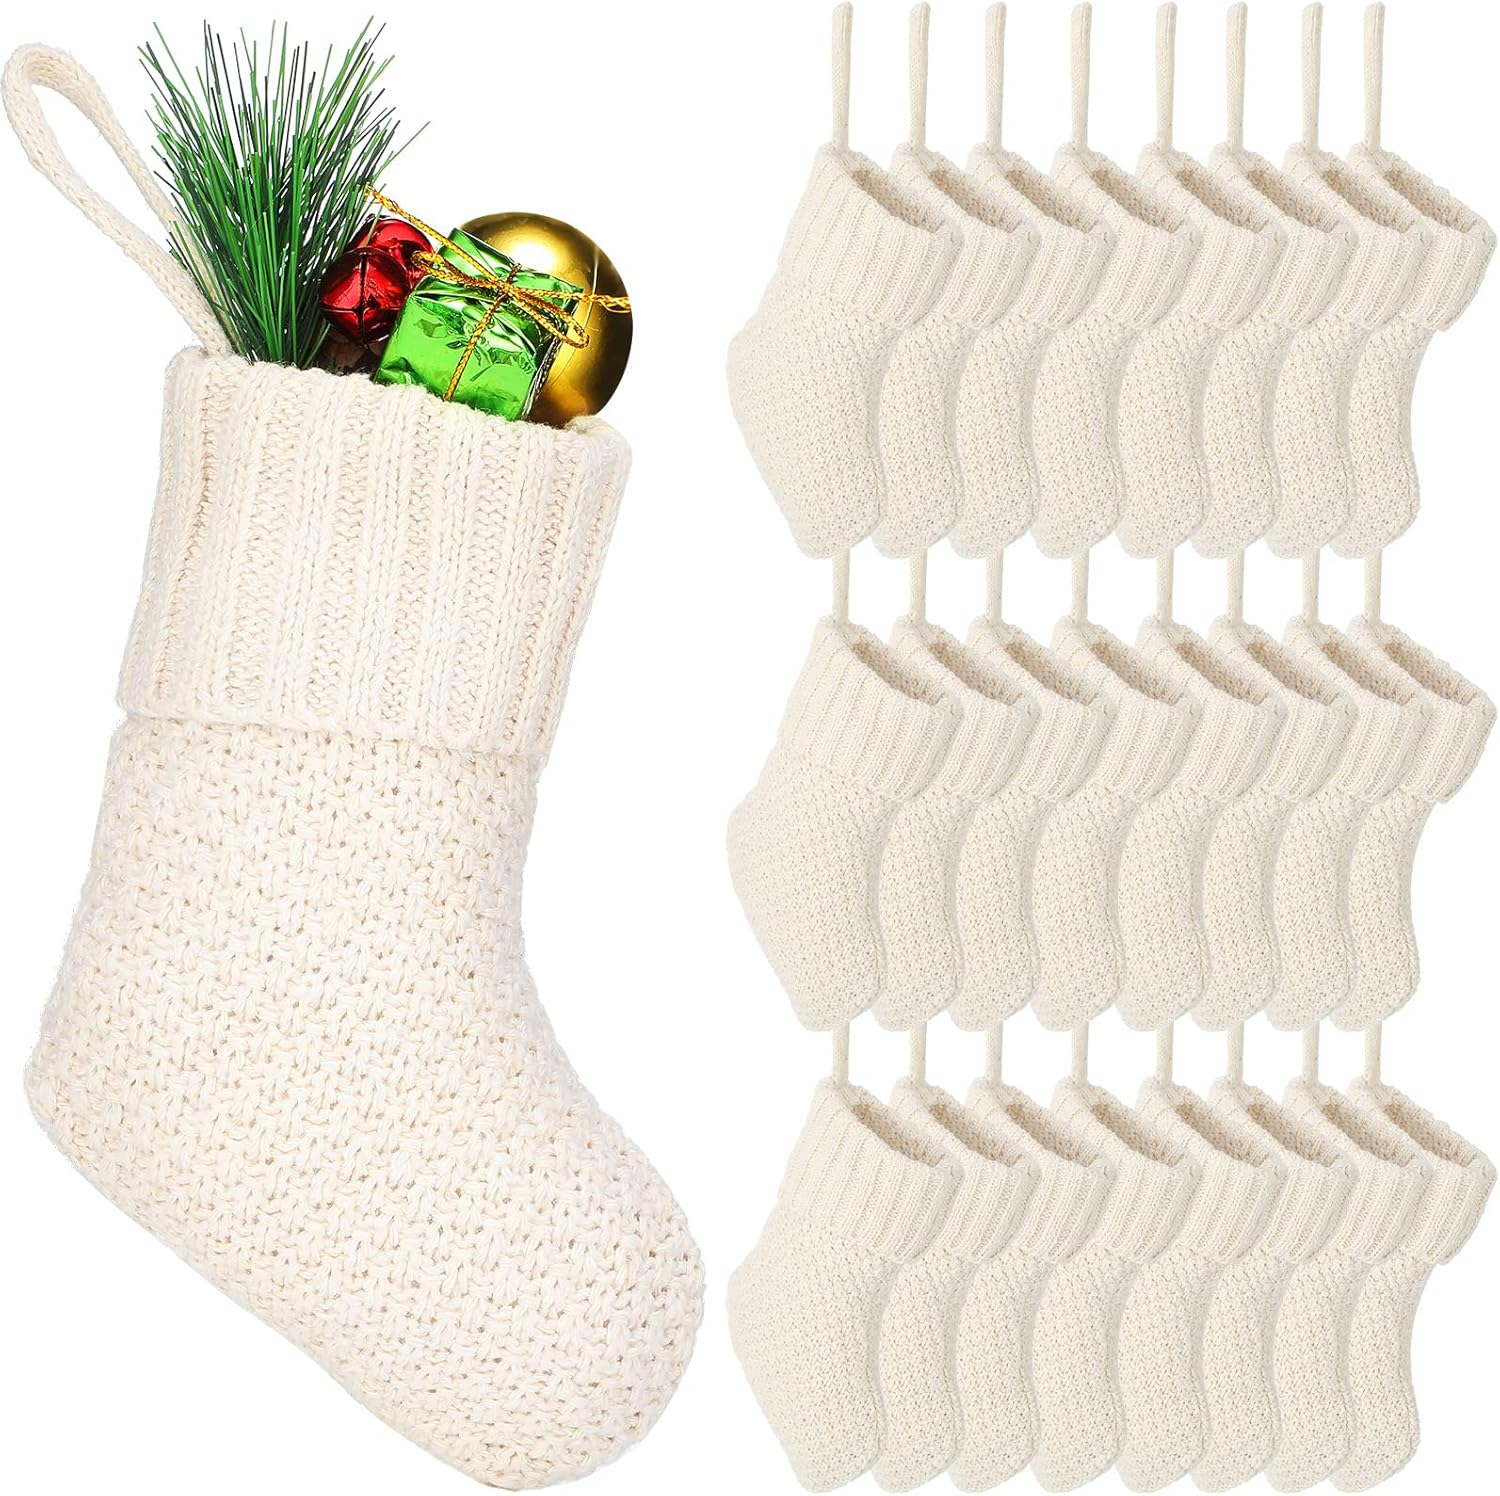
#16. Wine Cork Garland

The materials are easy to find and repurpose, making it a satisfying DIY for anyone who enjoys a touch of whimsy with their wine-inspired crafts.
Materials Needed
- About 50-60 wine corks
- Strong string (around 6 feet)
- 6 small mini stockings
- 6 felt or fabric letters to spell “BUBBLY” (optional)
- Hot glue gun and glue sticks
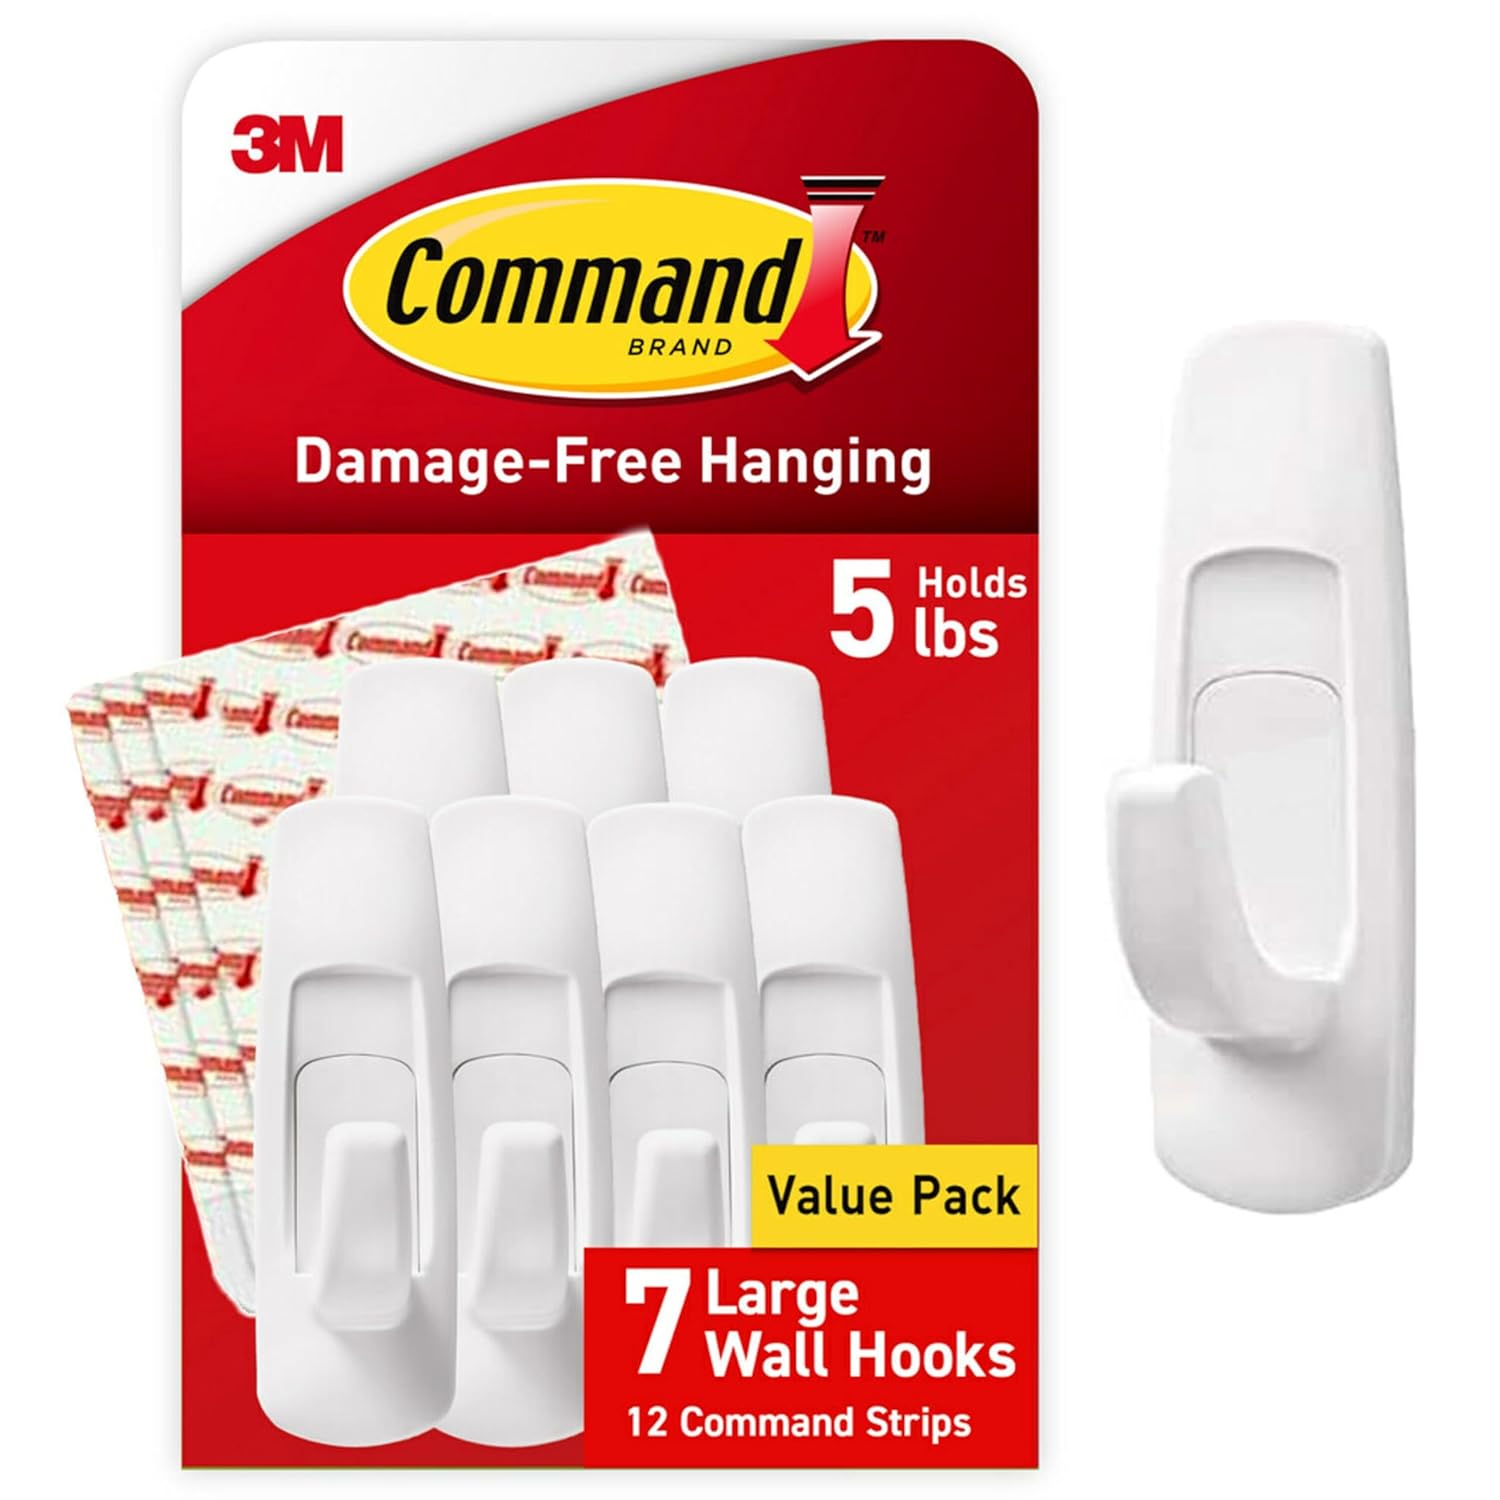
- Two adhesive hooks
Step-by-step Guide
Step 1: Arrange and thread the wine corks onto the string or twine, spacing them evenly for a full, chunky garland look. Secure the ends tightly.
Step 2: Attach felt or fabric letters to each mini stocking using hot glue to spell out “BUBBLY” or your preferred message.
Step 3: Hang the mini stockings evenly spaced along the garland using their loops, securing them firmly.
Step 4: Use adhesive hooks or nails to hang the cork garland across your chosen spot like a door or window. Adjust spacing and positioning as needed for the perfect festive display.
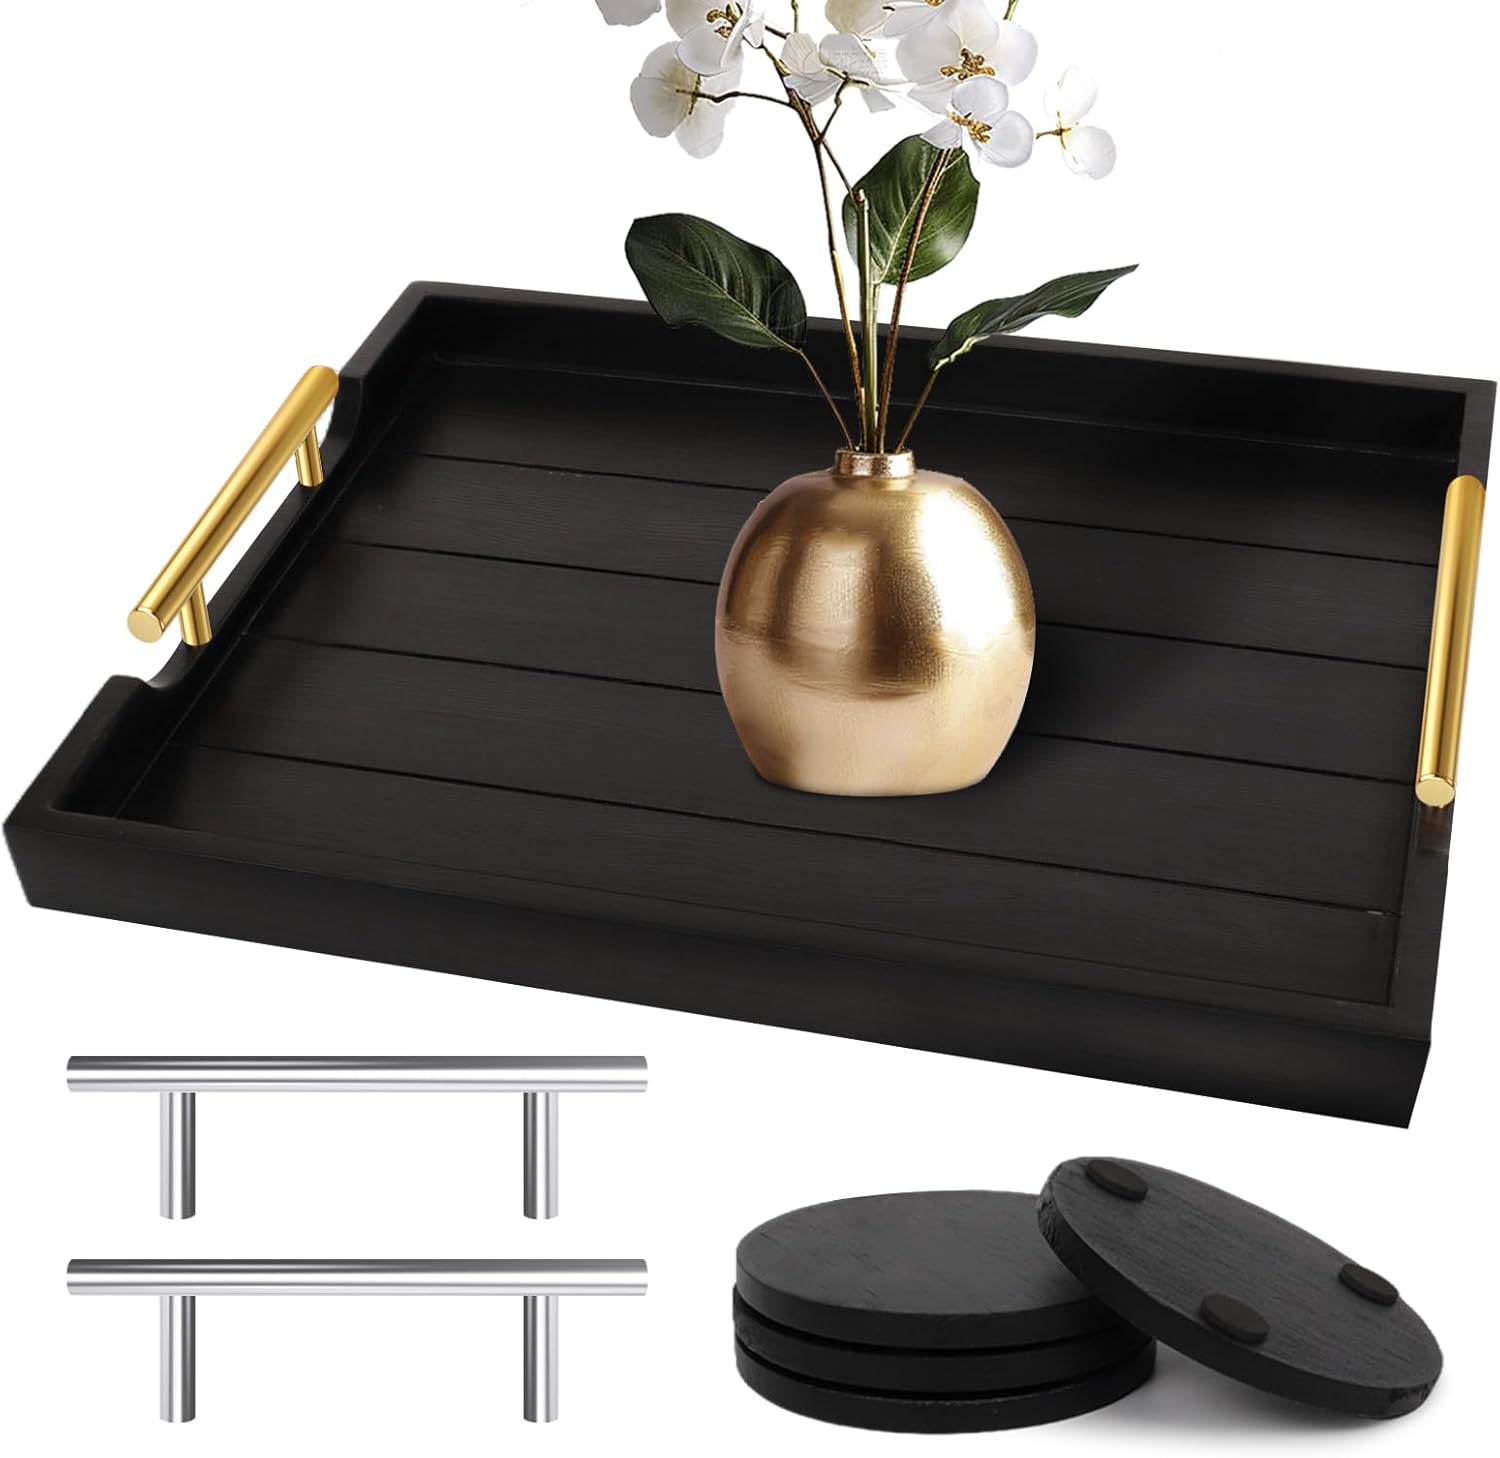
#17. Wine Cork Serving Tray

This wine cork tray adds a charming rustic touch to your home entertaining setup. The natural cork texture combined with the practical use as a serving tray creates a perfect blend of style and function.
Materials Needed
- Around 50-70 wine corks
- A plain wooden tray (size approx. 12×16 inches)
- Strong craft glue
- Clear epoxy resin (optional)
- Sandpaper (optional)
Step-by-step Guide
Step 1: Clean the corks thoroughly and sand any rough edges if desired for a smooth finish.
Step 2: Arrange the corks inside the tray in a tight, grid-like pattern, cutting any corks if necessary to fit.
Step 3: Glue the corks securely to the base of the tray, pressing firmly to ensure adhesion.
Step 4: Let the glue dry completely, then optionally apply a clear epoxy resin or sealant over the corks for a durable, waterproof finish.
#18. Wine Cork Birdhouse

Making this project feels incredibly satisfying, blending creativity with sustainability. It’s a standout piece that invites nature closer to your home.
Materials Needed
- Approximately 100-150 wine corks
- Strong wood glue
- Lightweight wood pieces
- A craft knife
- Paint or sealant (optional)
- String (optional)
Step-by-step Guide
Step 1: Design the birdhouse structure, cutting cardboard or lightweight wood to form the base and roof shapes.
Step 2: Start gluing the corks horizontally side by side to build the walls of the birdhouse, stacking layers until the desired height.
Step 3: Construct the roof by gluing corks together at angles to form a triangular peak, ensuring a tight fit.
Step 4: Cut a hole in the front wall for the bird entrance, smoothing edges carefully.
Step 5: Attach the roof securely to the walls with glue, reinforcing any weak spots.
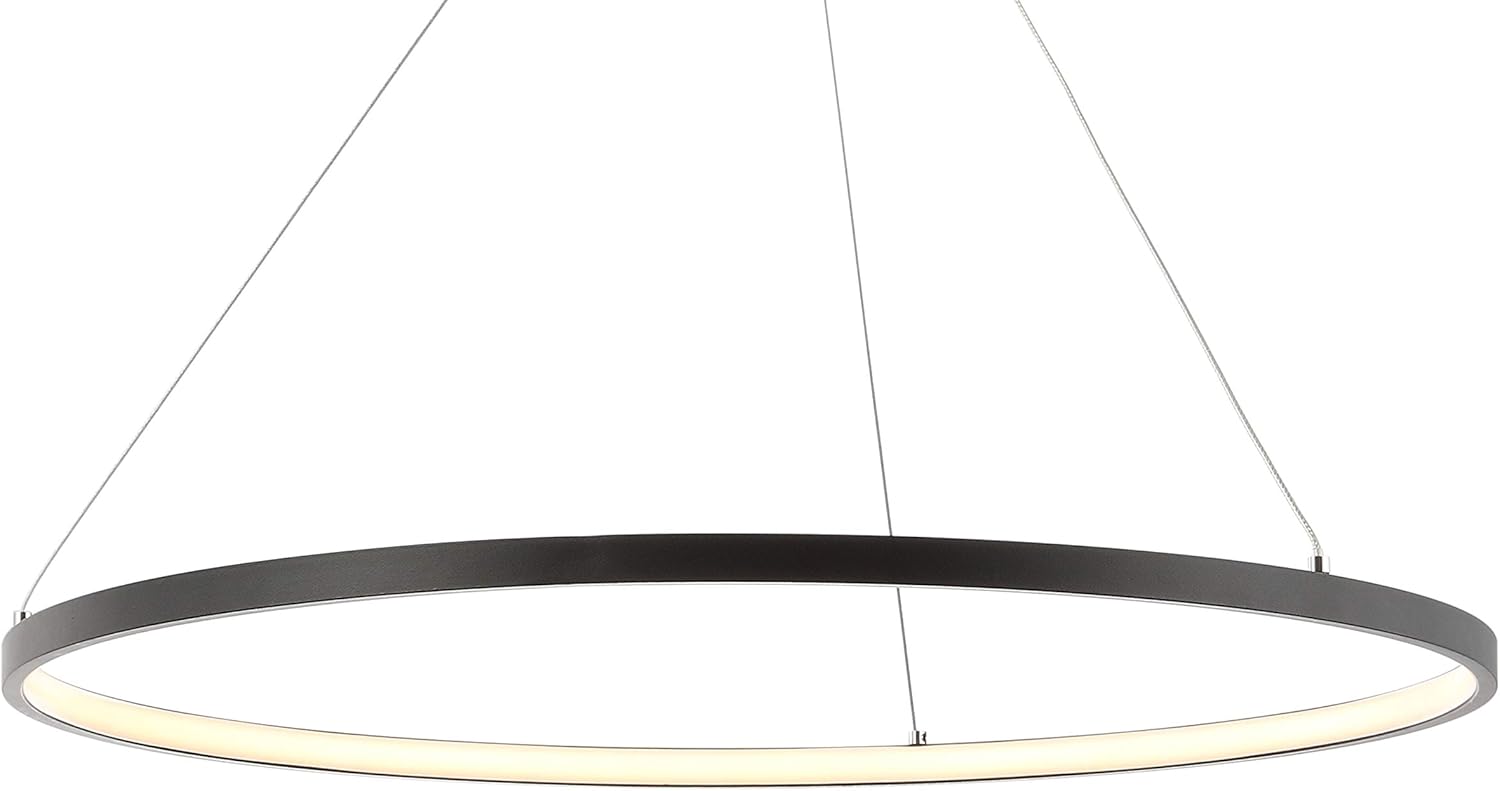
#19. Wine Cork Chandelier

Crafting this brings a rewarding sense of creativity, perfect for adding natural warmth and charm to any room.
Materials Needed
- Approximately 100-150 wine corks
- A circular wire frame (around 12–18 inches diameter)
- Strong twine
- Hot glue gun
- Scissors
- Twine
Step-by-step Guide
Step 1: Cut lengths of twine or fishing line in varying sizes for a tiered effect, then attach one end of each string securely to the wire frame.
Step 2: Glue a wine cork to the bottom of each string, ensuring it hangs straight.
Step 3: Attach additional corks along the strings as desired to create fullness and layered texture.
Step 4: Tie twine across the top of the frame for hanging support. Hang your cork chandelier in a suitable location, adjusting lengths and spacing as needed for balance and aesthetic appeal.
#20. Wine Cork Tabletop

This charming tabletop made entirely of wine corks offers a rustic, recycled touch to any room. It’s a creative way to repurpose corks into a functional and eye-catching surface.
Materials Needed
- Around 70-100 wine corks
- Strong wood glue
- A wooden tabletop base
- Sandpaper
- Clear varnish (optional)
Step-by-step Guide
Step 1: Arrange corks on your tabletop base to create a tight, even pattern covering the surface.
Step 2: Begin gluing corks down one by one, pressing firmly to ensure adhesion and maintaining your pattern. Let the glue dry thoroughly, ideally overnight, for a secure hold.
Step 3: Sand the surface lightly to smooth any uneven edges or glue residue. Optionally apply a clear varnish or sealant to protect the cork surface and enhance longevity.
#21. Wine Cork Drawer Knobs

This project adds a charming, rustic accent using recycled corks, perfect for those who love unique and sustainable decor.
Materials Needed
- 3 wine corks
- 3 screws with washers and nuts
- Drill with drill bits
- Power drill driver
- Optional: sandpaper
Step-by-step Guide
Step 1: Remove old drawer handles or knobs if any, then drill a hole through each wine cork at the base, making sure it’s wide enough for the screw to fit through snugly.
Step 2: Drill a hole in each drawer front where the handle will be attached. Insert the screw through the drawer front hole, then through the cork.
Step 3: Secure the cork by tightening the screw and nut from inside the drawer, ensuring the cork handle is firmly attached.
#22. Wine Cork Wall Art

This stunning wine cork wall art transforms recycled corks into a vibrant, textured centerpiece that instantly draws the eye.
Materials Needed
- Approximately 800–1000 wine corks
- Large wooden board
- Strong craft glue
- Saw (optional)
- Wall hanging hardware
Step-by-step Guide
Step 1: Plan your design, decide if you want a uniform look or a random pattern with some corks cut to different lengths.
Step 2: Apply glue to the bottom of each cork and press firmly onto the board, starting from one corner and working your way across.
Step 3: Fill the entire surface with corks, ensuring they are tightly packed and secured. Allow glue to dry completely (check manufacturer’s drying time).