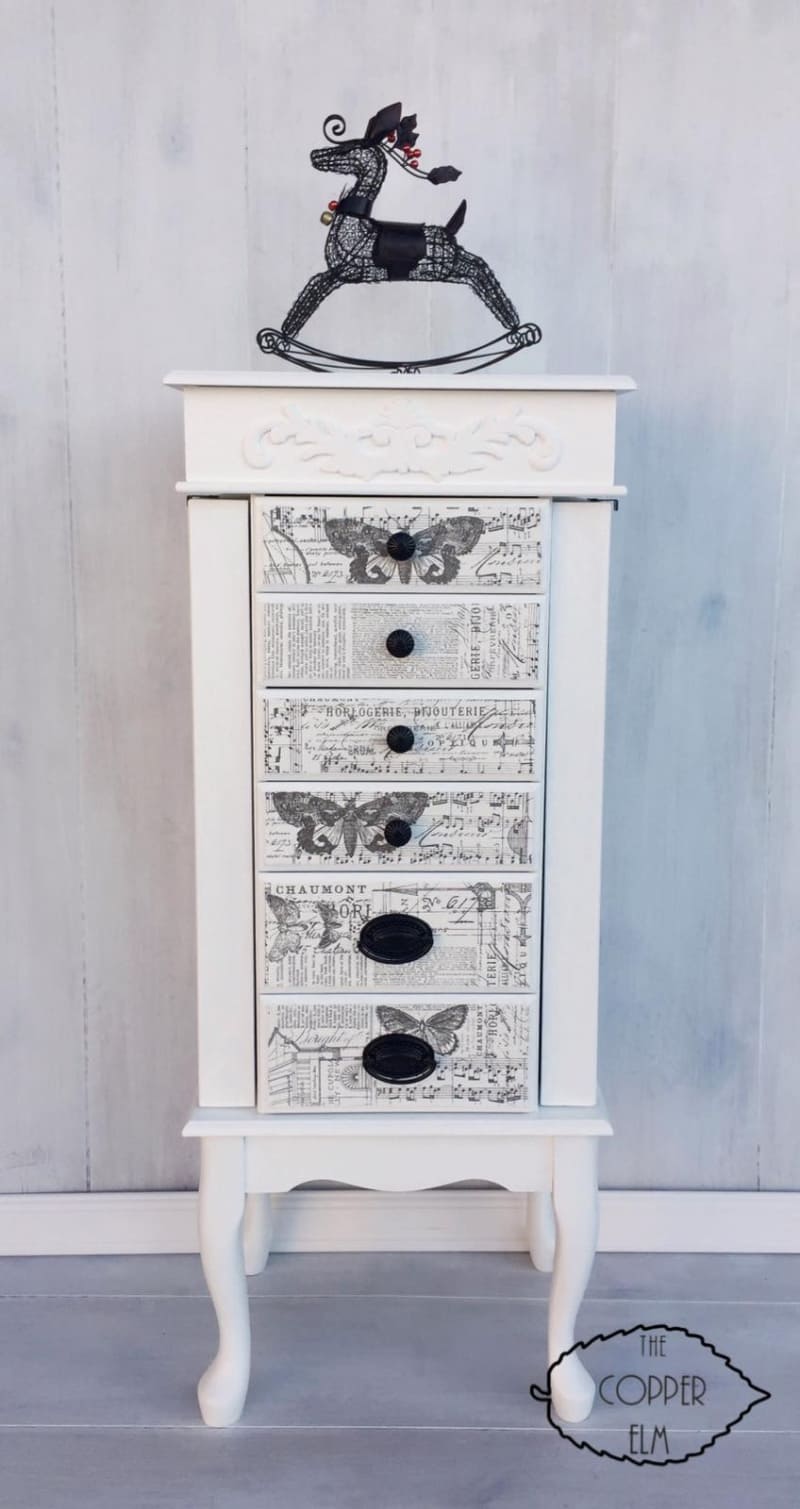
This makeover is a lesson in how simple decoupage and fresh paint can breathe life into an old dresser. With its white chalk-painted frame and drawers covered in vintage-style paper prints of script, butterflies, and music notes, the piece feels refined yet approachable.
Plus, black knobs and pulls add contrast while complementing the monochrome palette.
Decoupage is a budget-friendly technique that lets you experiment with patterns, and a protective sealer ensures that the design will last. Perfect for a bedroom, hallway, or reading nook, this dresser balances charm with utility.
Materials Needed
- 1 small wooden dresser, approx. 30-35″ tall with 4-5 drawers
- 1 sheet 120-grit sandpaper & 1 sheet 220-grit sandpaper
- 1 quart primer (water-based)
- 1 quart white chalk paint
- 5–6 sheets decoupage paper or printed tissue paper (A3 size, vintage script/music note/butterfly patterns)
- 1 bottle decoupage glue (e.g., Mod Podge 8 oz)
- 1 foam brush (2″) & 1 soft bristle brush (1″)
- Sharp scissors or craft knife
- 4-5 black drawer knobs & pulls (1.5-2″ diameter/length)
- 1 can clear matte or satin topcoat spray (12 oz) or finishing wax (250 ml)
- Painter’s tape & drop cloth
Step-by-step Guide
Step 1: Remove existing hardware and sand the dresser with 120-grit, then finish with 220-grit for a smooth surface. Then wipe away dust with a damp cloth.
Step 2: Prime the dresser body and drawers with one coat of water-based primer. Then allow at least 2 hours to dry.
Step 3: Apply two coats of white chalk paint to the dresser frame. Let each coat dry completely before moving on.
Step 4: Cut your decoupage paper to fit each drawer front. For seamless placement, lay them out first before gluing.
Step 5: Apply a thin coat of decoupage glue to a drawer front, then gently press the paper on top. You can also smooth it out from the center outward to avoid air bubbles. Then allow 30 minutes to dry per drawer.
Step 6: Once dry, brush another thin coat of glue on top of each papered drawer. This seals the paper and enhances durability. Let it cure overnight.
Step 7: Spray or brush a clear protective topcoat over the entire dresser for long-lasting protection.
Step 8: Attach black knobs and pulls to complete the monochrome look.
Tips: If the paper edges lift, sand them gently with fine 220-grit sandpaper and reseal with glue.