If you’ve ever dreamed of hatching your own chicks, making a DIY incubator is a fun and rewarding project.
Whether you’re working with chicken, duck, or even quail eggs, you don’t need a fancy setup, just a few simple materials and a little patience.
I’ve done this myself, and I can tell you there’s nothing quite like the excitement of watching those tiny beaks break through their shells!
Why Build Your Own Incubator?
Buying a high-end incubator can be expensive, but the good news is you can make one yourself for a fraction of the cost. A homemade incubator is perfect for small-scale hatching, school projects, or just experimenting with poultry farming.
Plus, it’s an excellent way to control the entire process, ensuring the right temperature, humidity, and conditions for your eggs.
What You’ll Need
To get started, gather these materials:
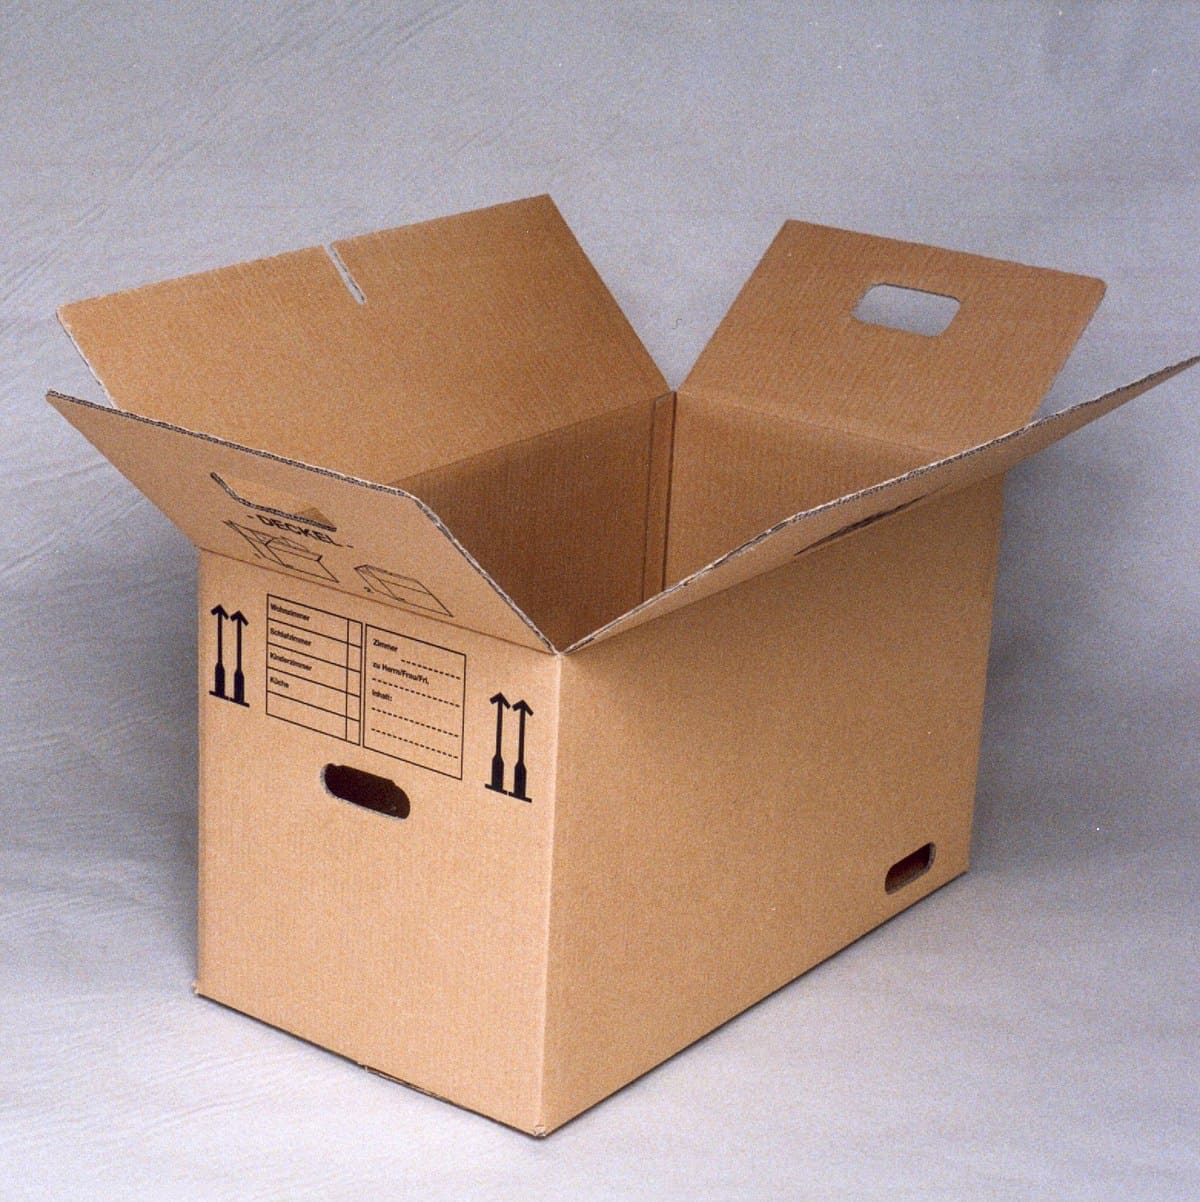
- A sturdy cardboard box – This will serve as the incubator’s body. It needs to be big enough to hold your eggs with space for airflow.
- A light bulb with a plug and cord – This is your heat source, essential for keeping the right temperature. A 40- to 60-watt bulb works well.
- A thermometer and hygrometer – These help you monitor temperature and humidity. Eggs need a stable, warm, and slightly humid environment to hatch successfully.
- Sawdust or quilted bedding – A soft surface for the eggs to rest on, mimicking a natural nest.
- A small water container – Helps regulate humidity levels inside the incubator.
- Fertilized eggs – Ensure the eggs are from a reliable source, as only fertilized eggs will hatch.
How to Assemble Your Incubator
Step 1. Prepare the Box
First. find a sturdy cardboard box that’s big enough to hold your eggs and allow airflow., then cut a small viewing window at the top so you can monitor the eggs without opening the box.
Cover this opening with a piece of clear plastic or cling wrap to maintain heat while letting you check on progress.
Step 2. Install the Heat Source
Position the light bulb on one side of the box, securing it in place so it doesn’t touch anything flammable. The heat should distribute evenly across the incubator, so avoid placing it too close to the eggs.
Step 3. Add Insulation and Bedding
Line the bottom of the box with sawdust or quilted fabric. This provides a soft surface for the eggs and helps maintain warmth.
Too much sawdust, though, can make turning the eggs difficult, so keep it at a moderate level.
Step 4. Regulate Temperature and Humidity
Place the thermometer and hygrometer inside to track conditions. The ideal incubation temperature is 99.5°F (37.5°C), and humidity should be around 50-55% for most of the incubation period.
During the last few days before hatching, increase humidity to 65-70% to help chicks break through their shells.
Step 5. Add a Water Container
Humidity is crucial, and a small dish of water inside the incubator will help maintain proper moisture levels. Make sure it’s shallow so there’s no risk of drowning if a chick hatches near it.
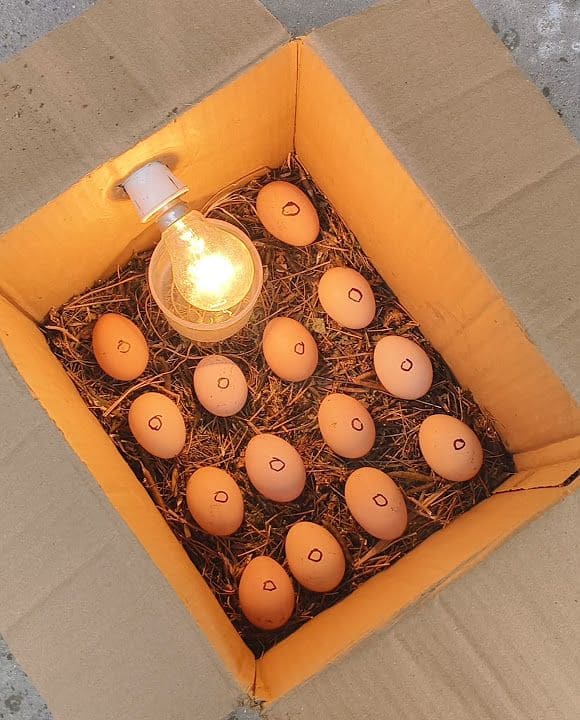
Step 6. Place the Eggs
Carefully position the fertilized eggs inside the incubator, giving them enough space so they’re not touching each other. You’ll need to turn them at least three times a day to prevent the developing chick from sticking to the shell.
A simple trick? Mark one side of the egg with an “X” and the other with an “O” so you can track which ones you’ve turned.
Maintaining the Incubator
Hatching eggs requires patience and consistency. Here’s what you need to do daily:
- Check the temperature and humidity levels regularly.
- Turn the eggs three to five times daily.
- Keep the incubator clean.
- Increase humidity during the last three days.
Hatching Time!
Most chicken eggs hatch around 21 days, though it can vary depending on species. Around day 18, stop turning the eggs and let the embryos settle.
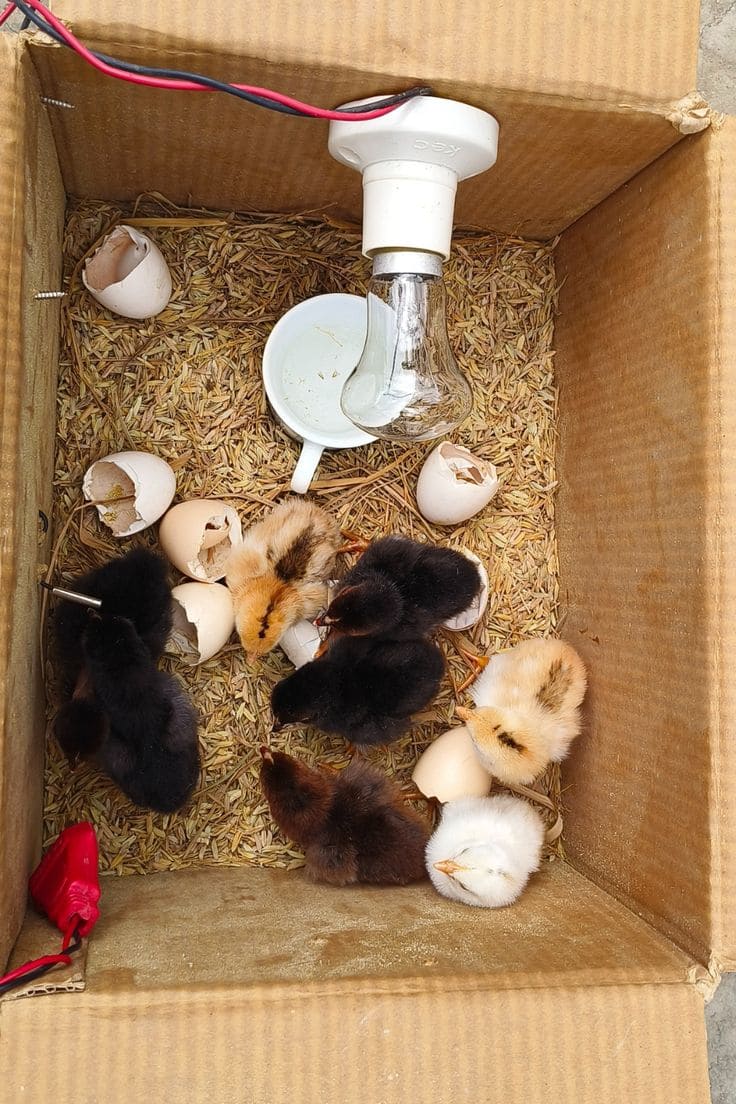
At this point, you may hear soft peeping from inside the shells, a sure sign that hatching is close! The chicks will start “pipping” (cracking the shell) and should fully emerge within 24 hours.
Once the chicks have hatched, leave them in the incubator for a few hours to dry off and gain strength before moving them to a warm brooder with food and water.
