Do you love peanuts and want to enjoy the fun of growing this nut at home? If yes, growing peanuts in containers is the answer for you. Peanuts are not only delicious and nutritious, but they are also versatile and easy to grow. You can enjoy them raw, roasted, boiled, or made into peanut butter, oil, flour, milk, or even biodiesel.
Peanuts are also good for your soil, as they fix nitrogen and improve its fertility. Growing peanuts in containers is a fun and rewarding project that anyone can do with some basic materials and a sunny spot. And now, read on to find out how to grow your own peanuts in containers.
1. Choosing The Perfect Peanuts And Containers
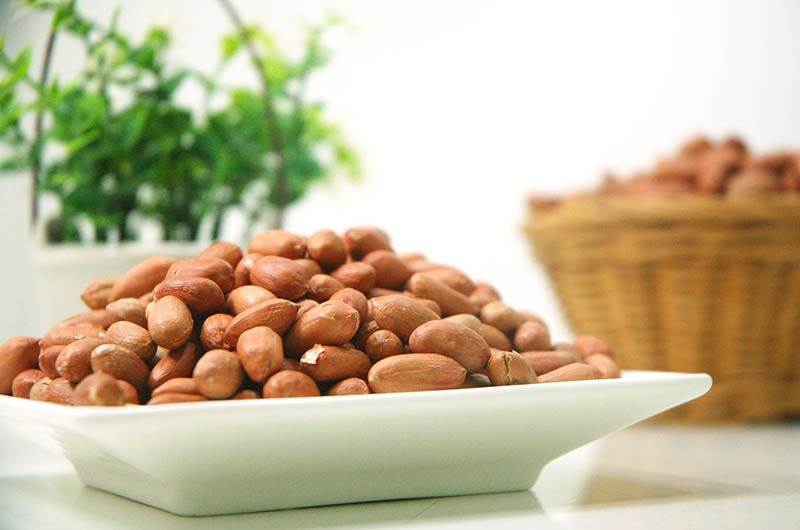
First things first – choose your peanuts. Opt for a peanut variety suited for container growing. Varieties like ‘Valencia’ or ‘Spanish’ tend to work best. Valencia peanuts have a sweet flavor and are frequently used in all-natural peanut butter or boiling peanuts, while Spanish peanuts have a nutty flavor and are commonly used in sweets, confections, and peanut butter.
Peanuts are a bit particular about their location. Go for a deep container, preferably 18 inches deep or more, to give those underground peanuts space to work their magic. Make sure it has drainage holes, as soggy peanuts are not happy peanuts.
2. Planting And Early Care
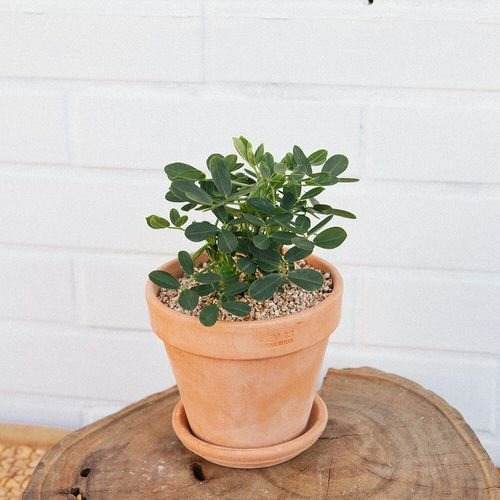
Peanuts like warm soil, so wait until after the last frost to sow. Fill your container with a well-draining potting mix. Plant your peanut seeds about 2 inches deep and 3-4 inches apart. As the plant grows, you need to cover the base of the plant with more soil. It is called earthing up, which helps your peanuts to produce nuts underground.
3. Sunshine And Watering
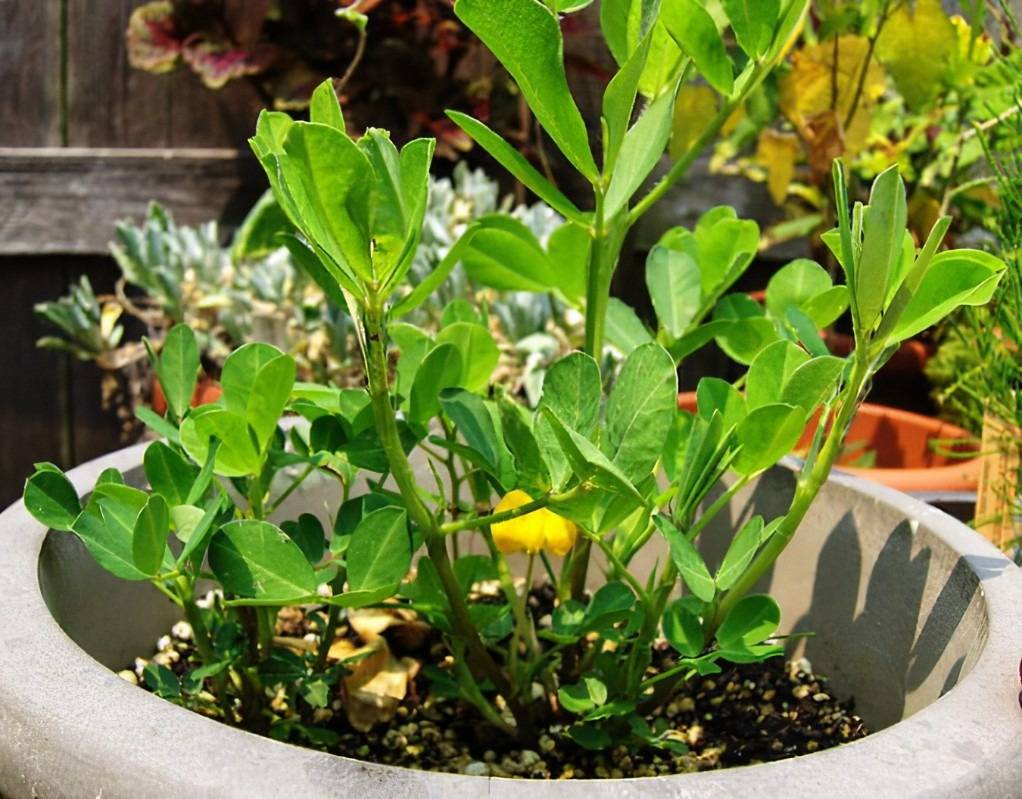
Peanuts thrive in full sun, so pick a spot that are sunny but less windy for your container. Six to eight hours of direct sunlight daily will keep them happy.
As for watering, peanuts don’t want to feel like they’re at a waterpark. Keep the soil consistently moist but not waterlogged. Stick your finger in the soil – if it’s dry about an inch deep, it’s time to give them a drink.
4. Fertilization – The Peanut Diet
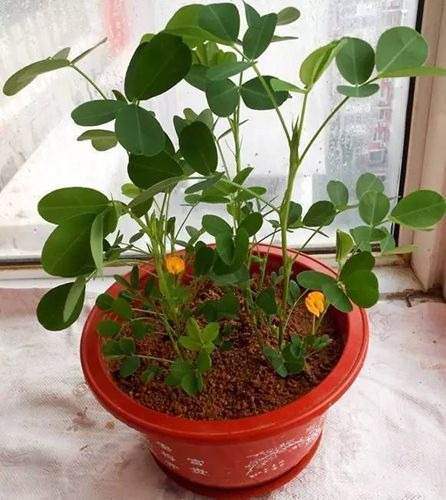
Peanuts, like all plants, need a balanced diet. You can use a balanced, slow-release fertilizer to keep them well-fed throughout their growing journey. Follow the package instructions, and you’ll have some well-nourished peanuts on your hands.
5. Pest Control
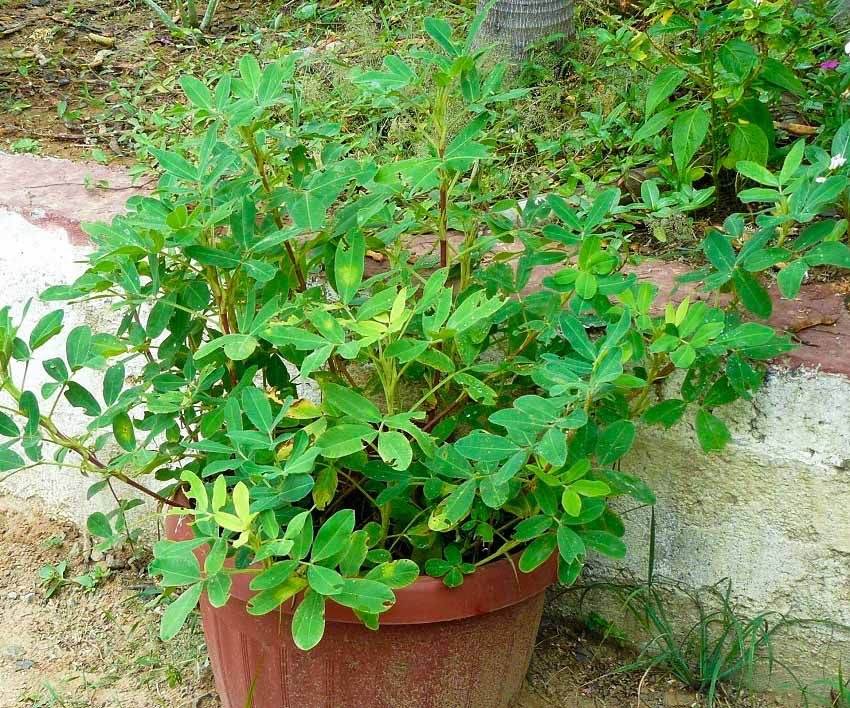
Your peanuts can fall into victims of nasty critters like aphids and spider mites. That’s why you should regularly inspect your peanut plants. If you spot any unwanted guests, a strong jet of water or neem oil spray should do the trick. Keep your peanuts pest-free and thriving!
6. Harvest Time
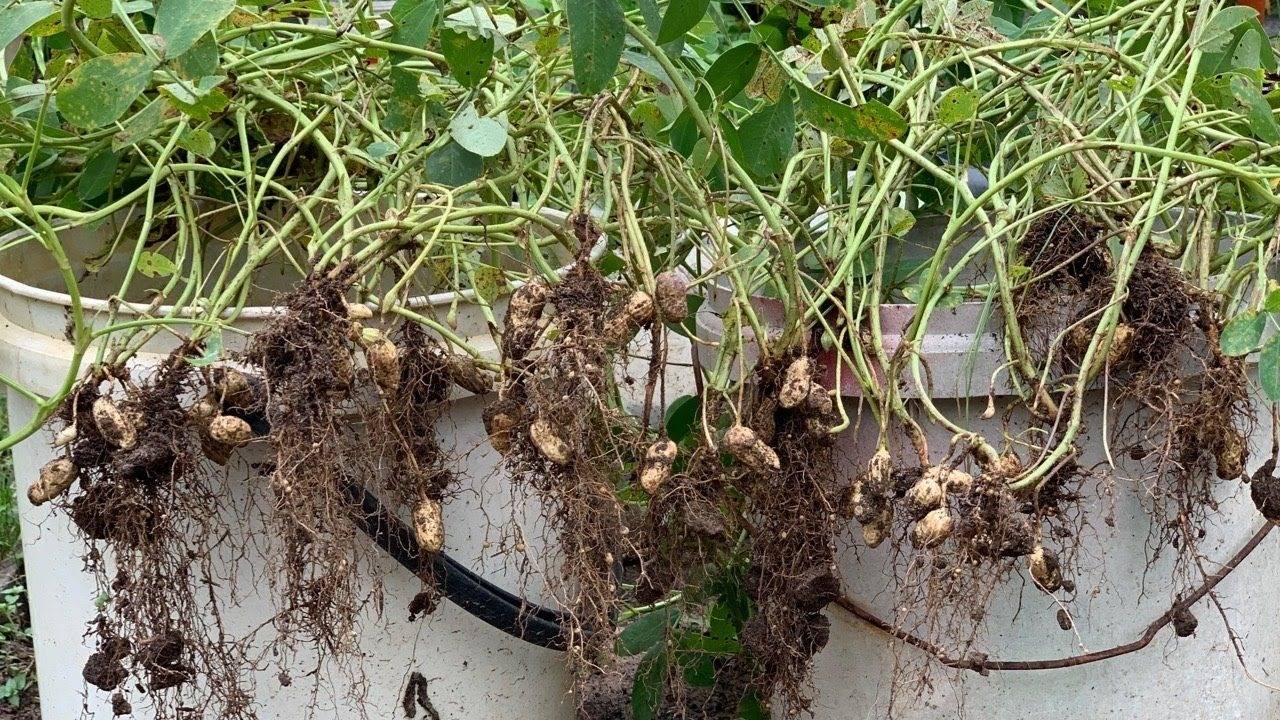
As the peanut plants grow, they’ll produce little yellow flowers. After pollination, these flowers develop into “pegs” that burrow into the soil. Harvest time typically arrives in about 100-130 days. You’ll know it’s peanut-picking time when the leaves turn yellow, and the plant starts to wither. Gently dig around the base of the plant, being careful not to damage the peanuts. Shake off the excess soil, and let it dry for about two weeks.
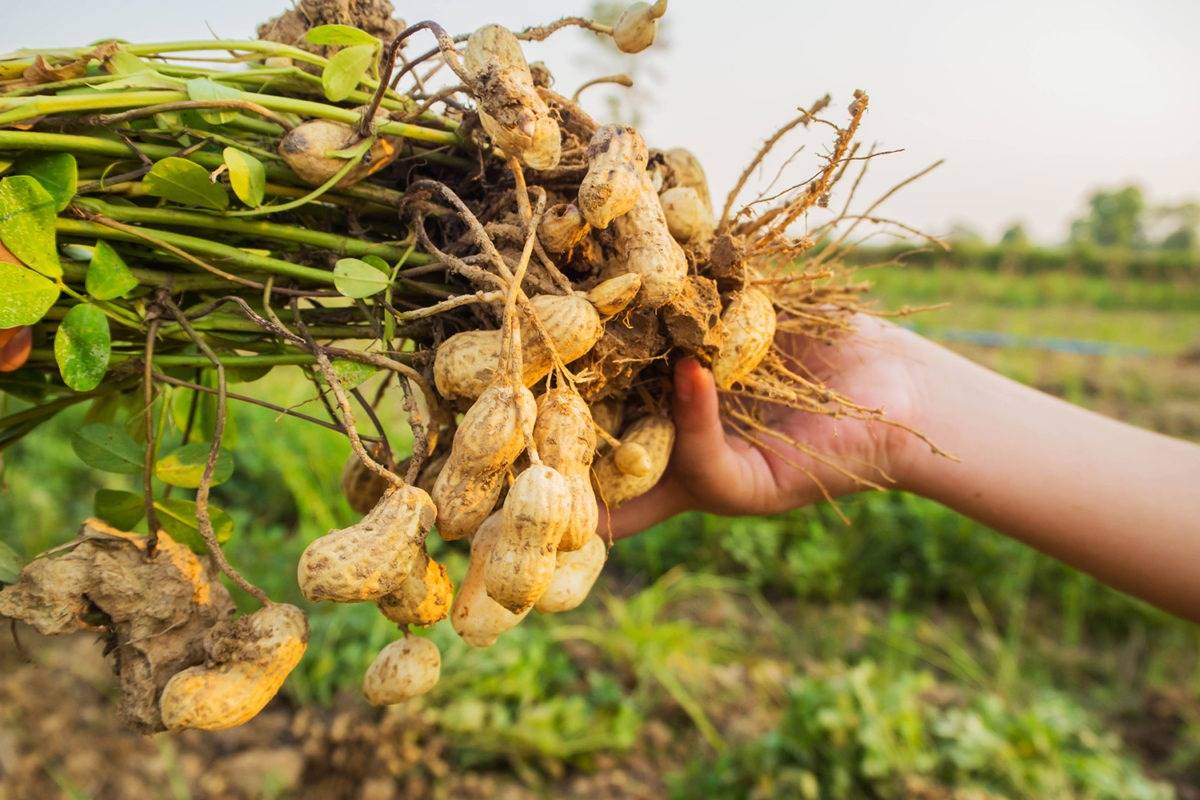
Now, it’s your part to roast them, salt them, or just munch them straight out of the shell. Your homegrown peanuts are sure to be a hit. As for storing peanuts, settle them in a cool and dry place.
Whether you’re a peanut butter lover or just looking for a unique gardening experience, growing peanuts in containers is a nutty adventure worth taking. Start growing your own nutritious snack, and leave a comment below if you want to share with us this enjoyable experience.
