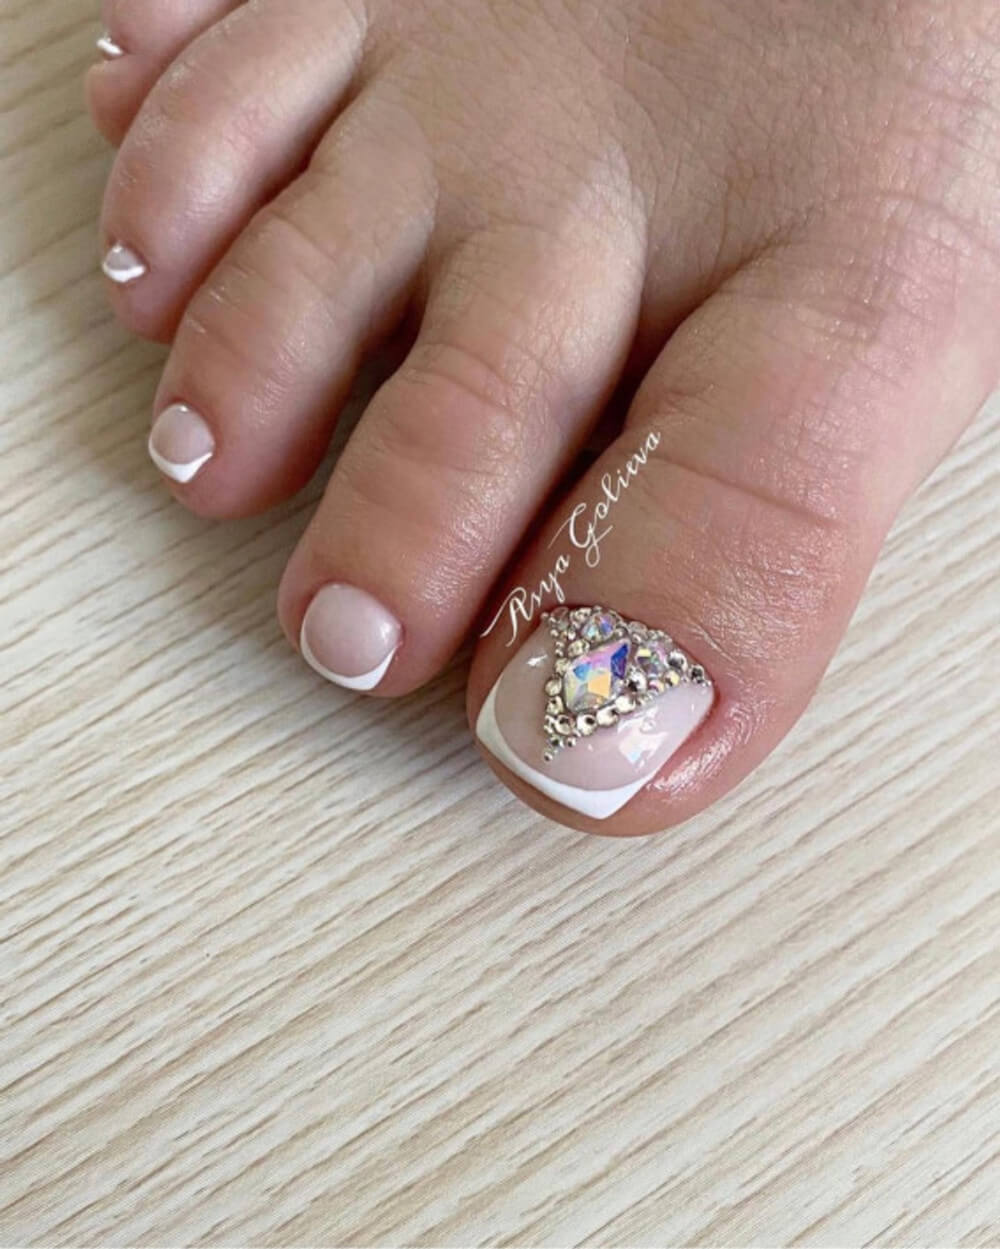
More than just makeup or perfect manicures, a pretty lady knows that she also needs to take care of her toes. It would be a shame to neglect our pretty feet when they can be glam up in so many ways!
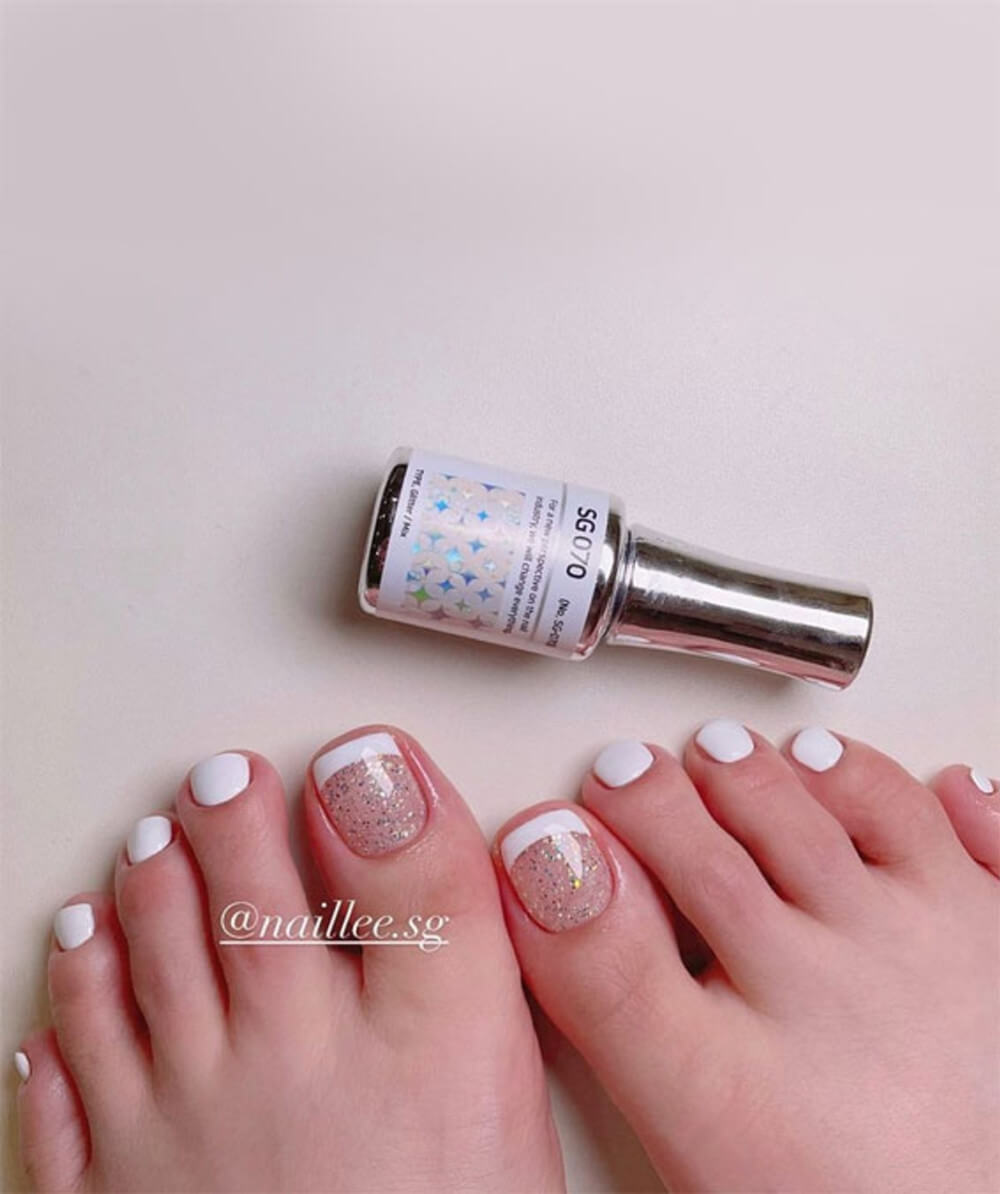
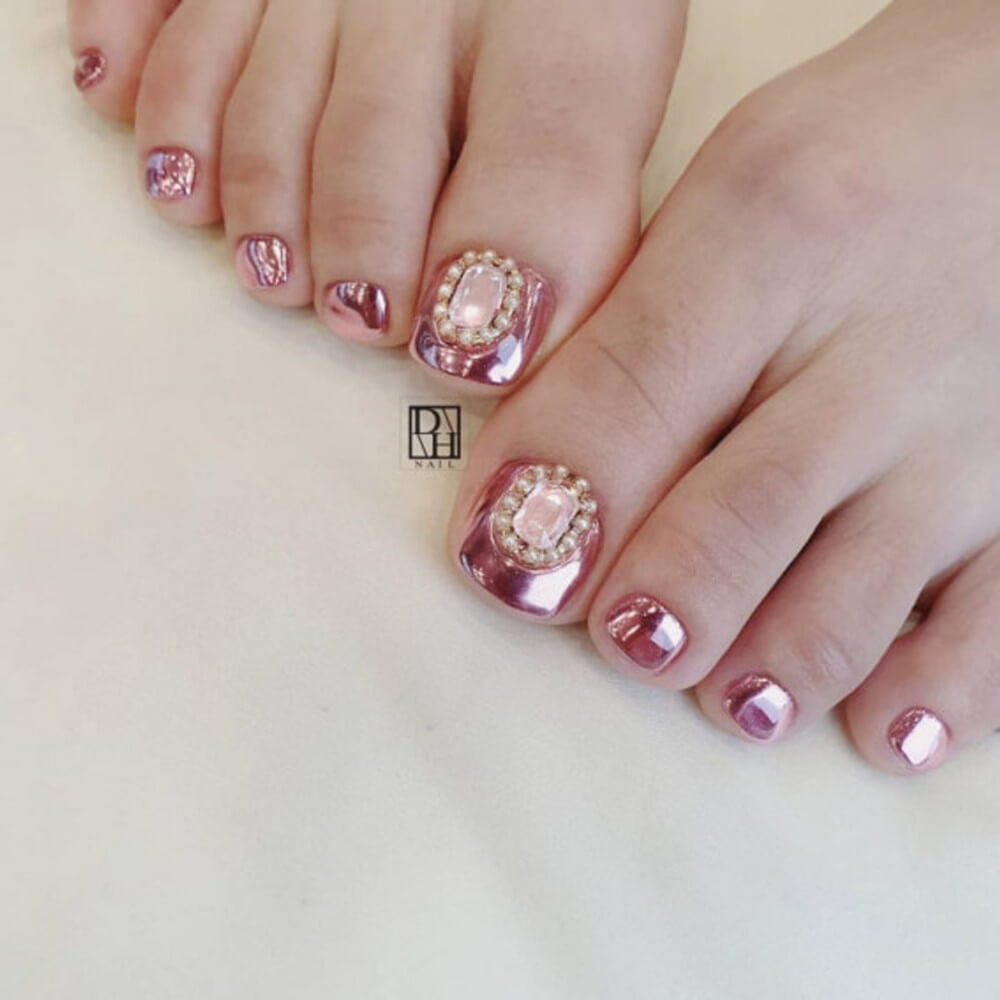
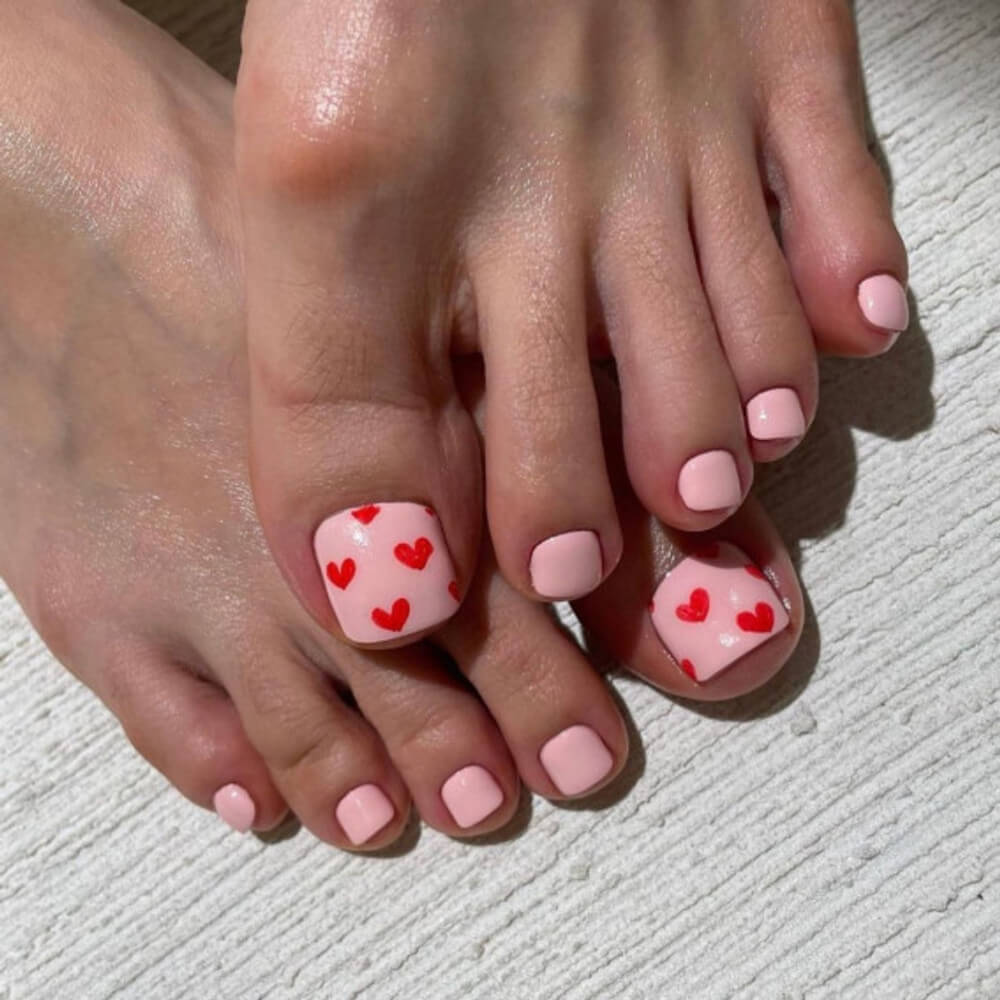
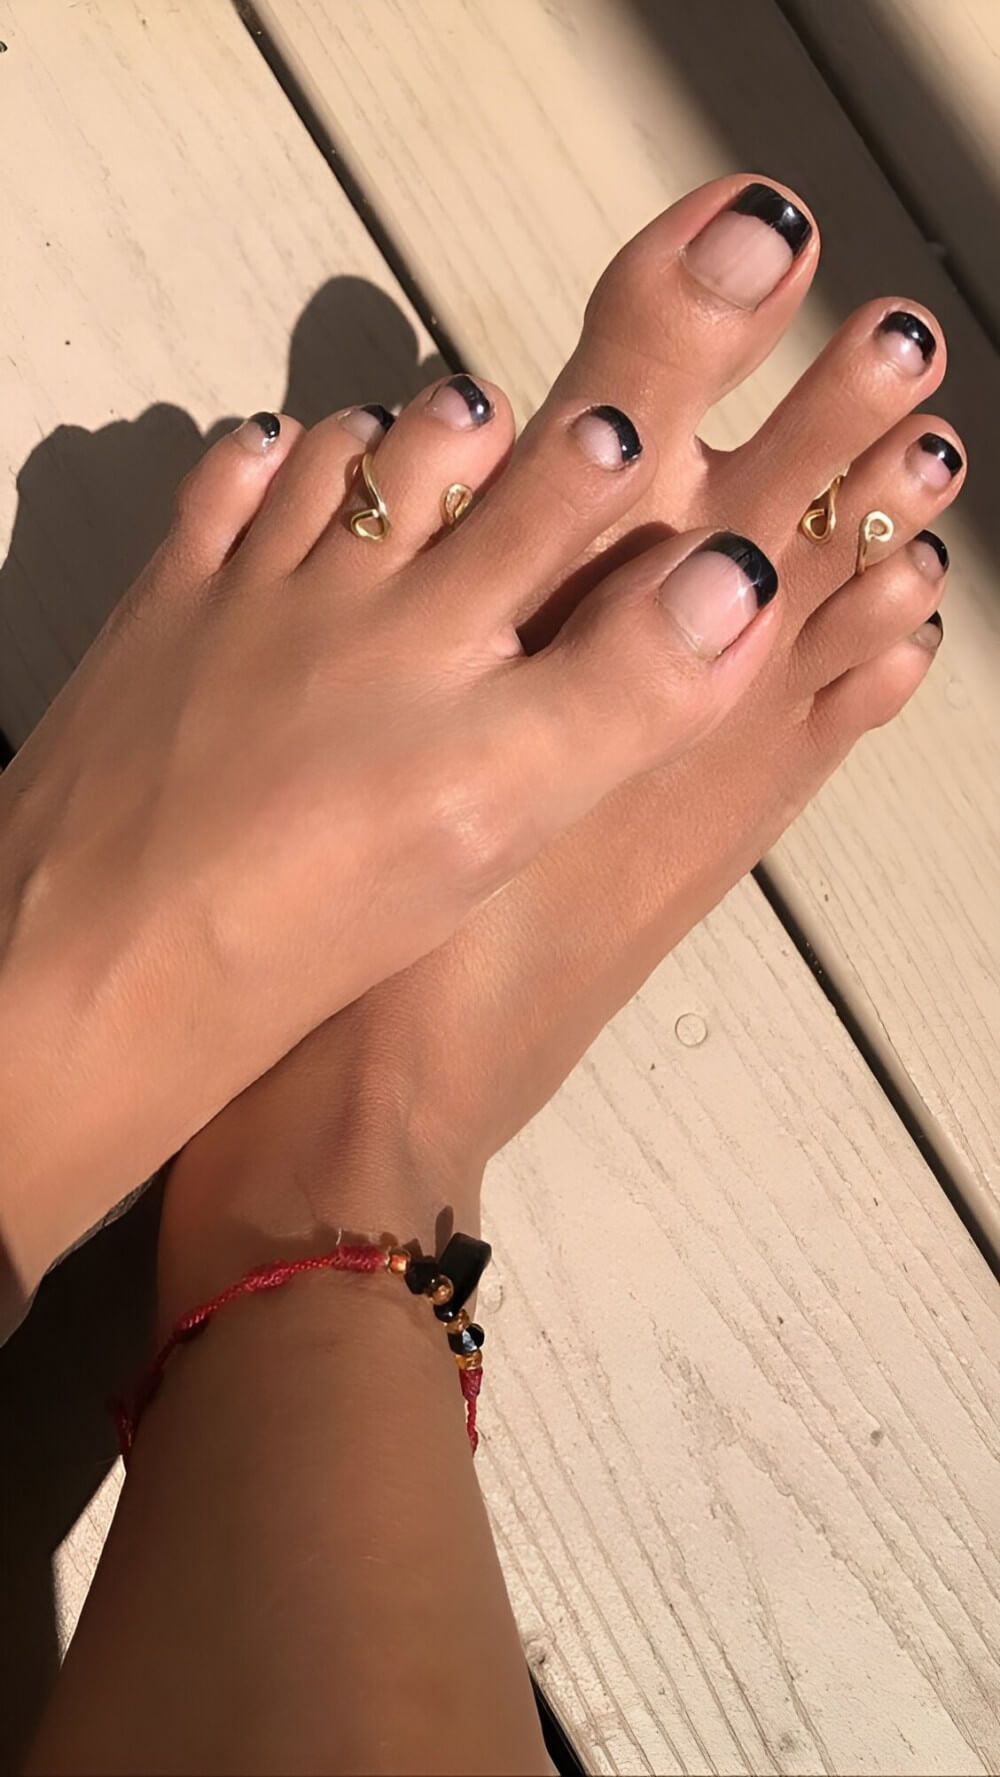
Beautiful toenail designs can make great accessories, especially when you often wear sandals or go barefoot on the beach. If you have to show your toes to the world, it’s best to present them in the prettiest way, right?
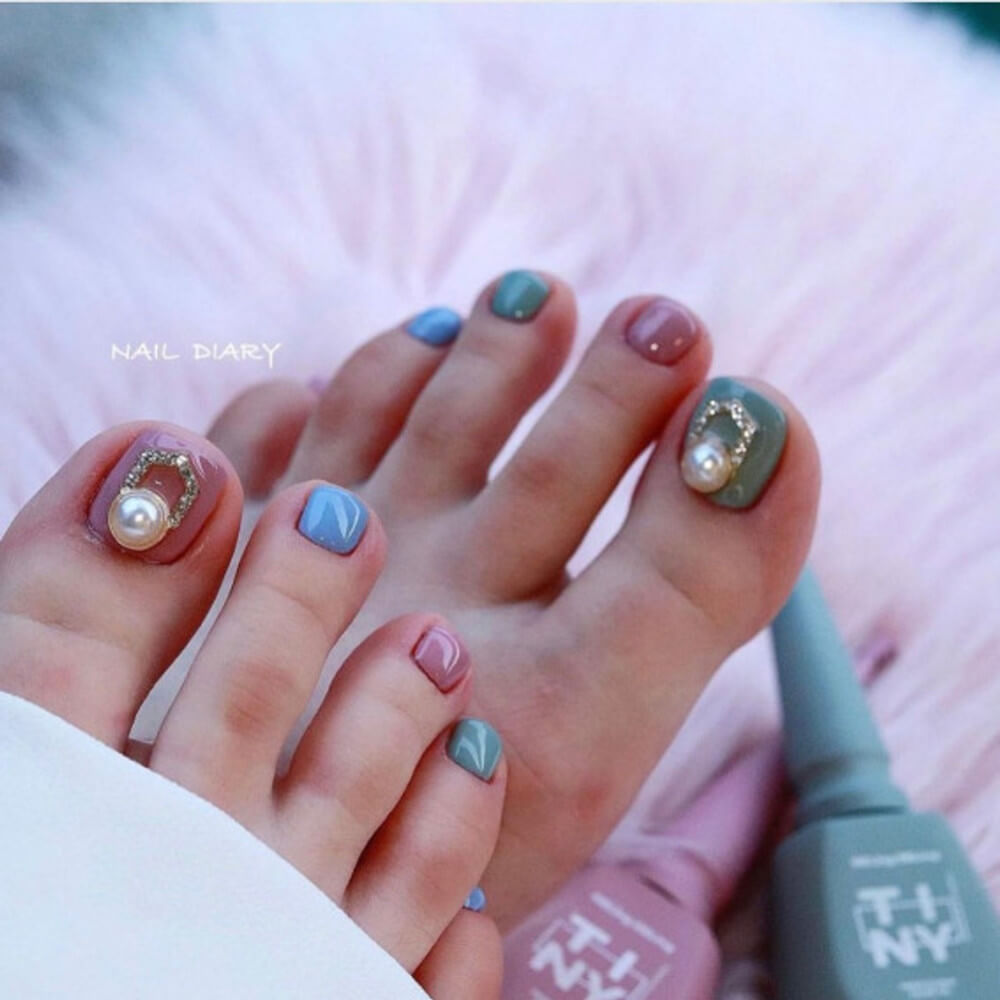
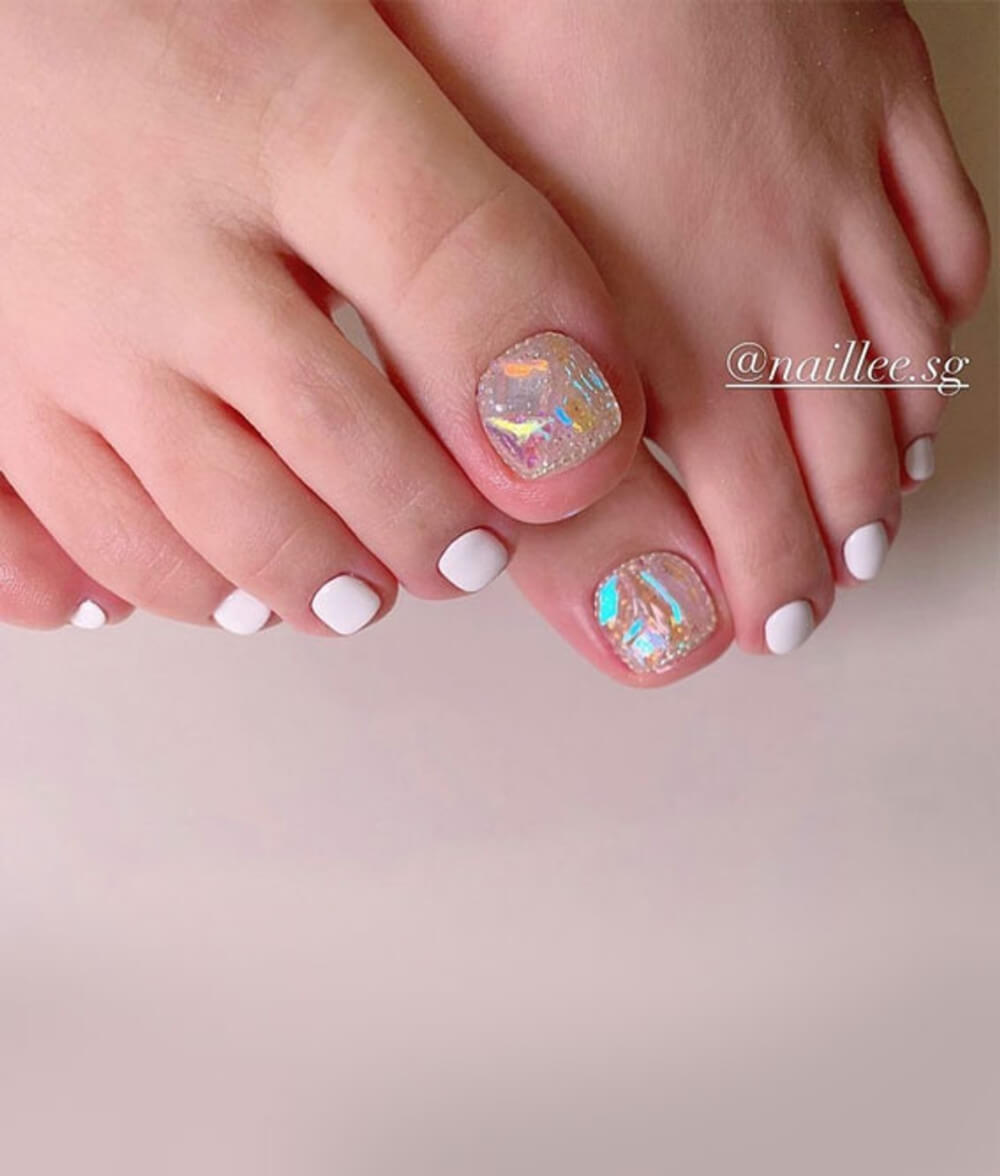
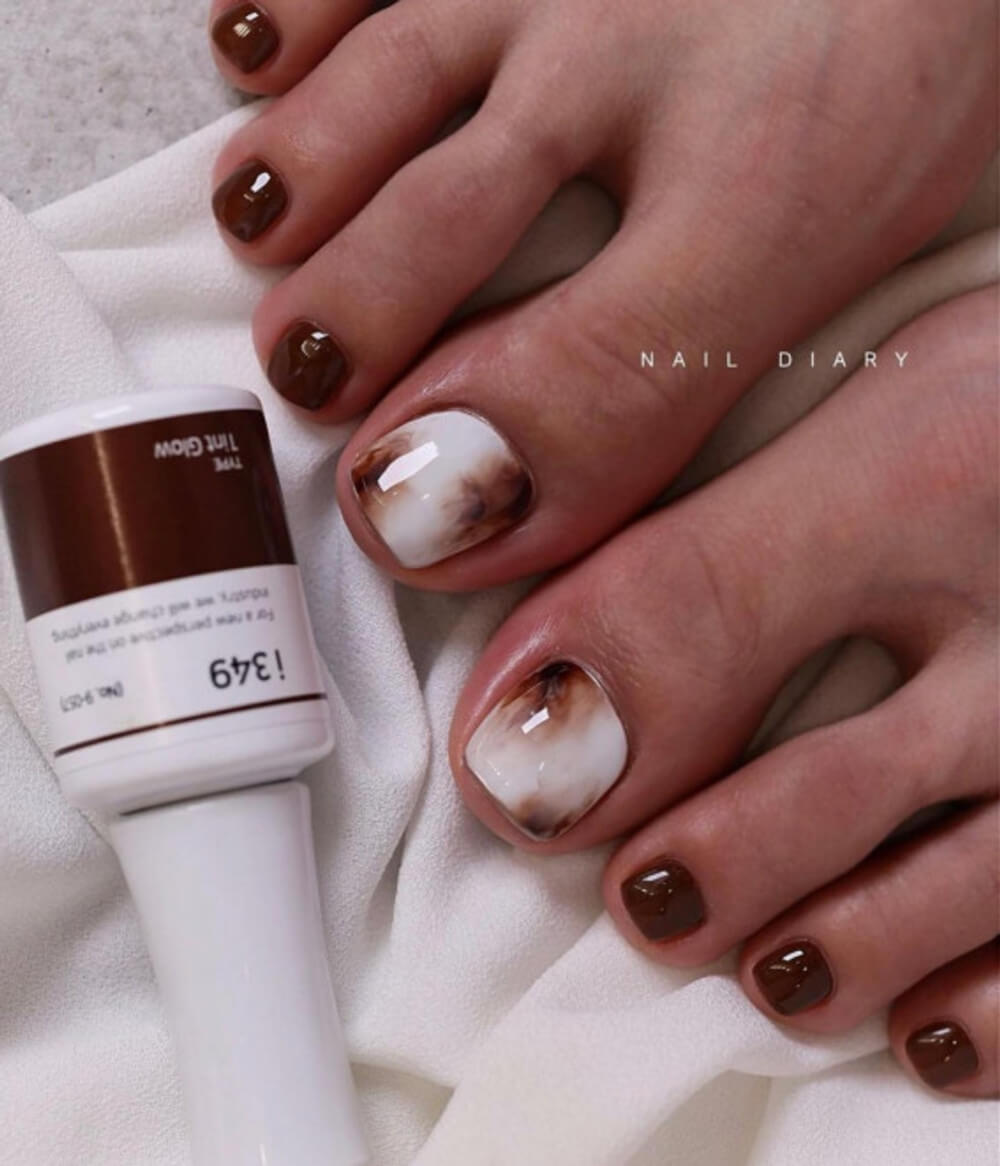
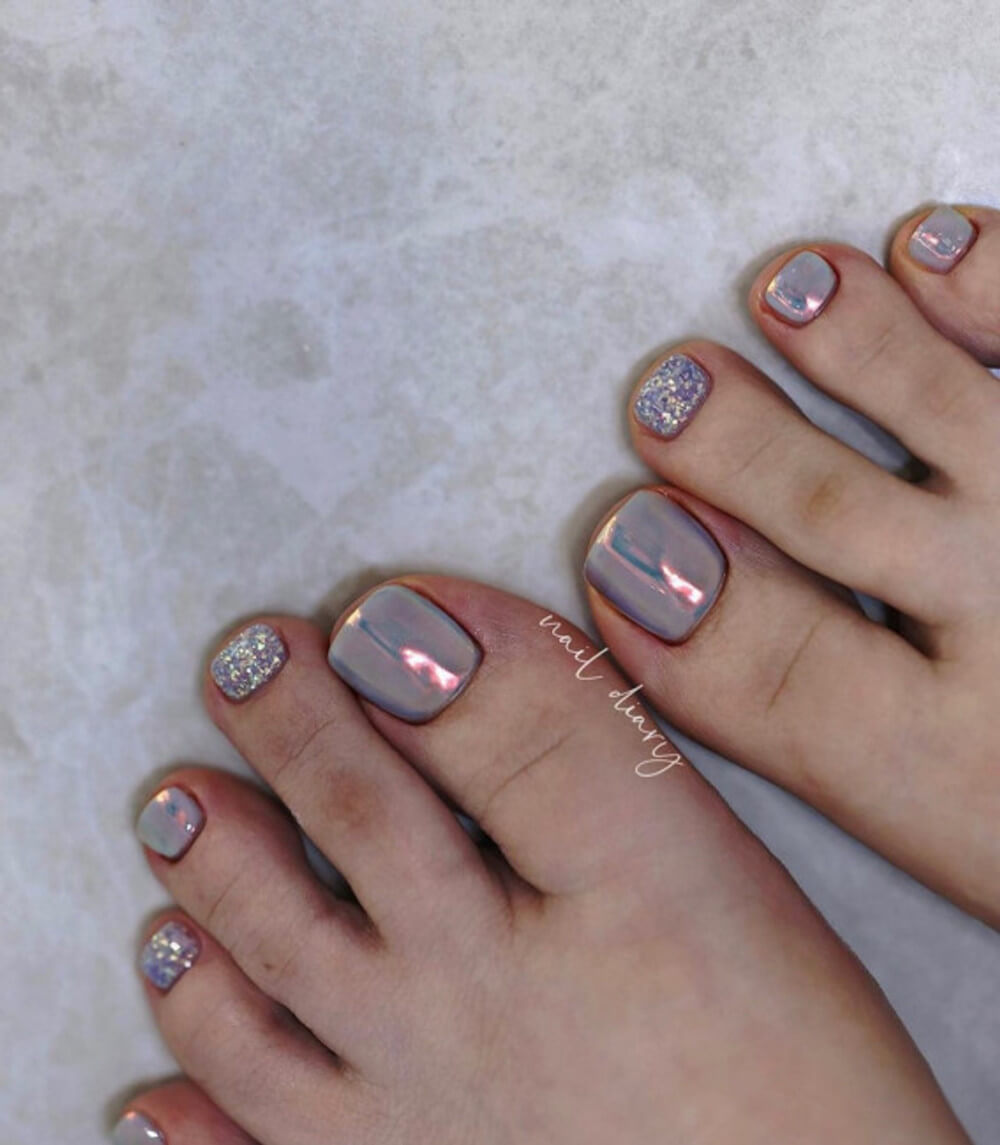
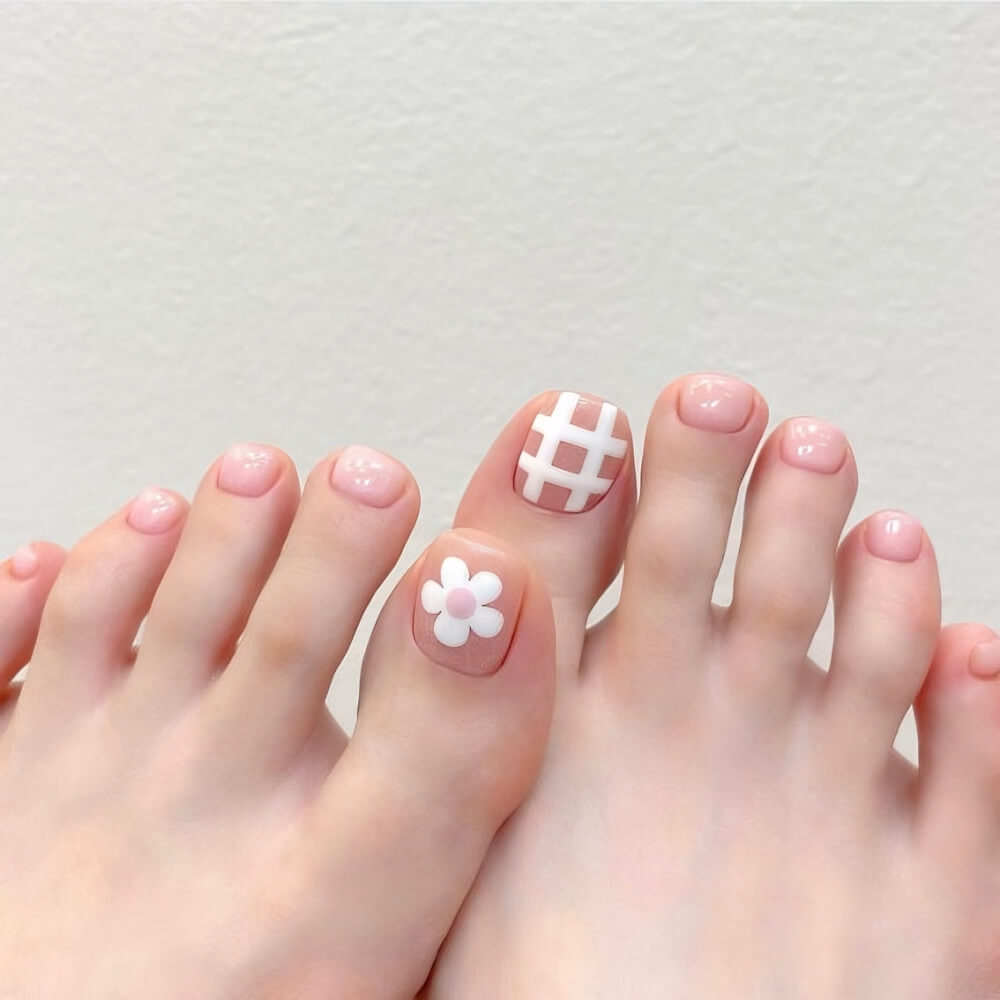
But what if you don’t want to spend hours sitting in a chair to get your toenails done? Well, you better save this list. These are some of the easy but gorgeous toe nail ideas online.
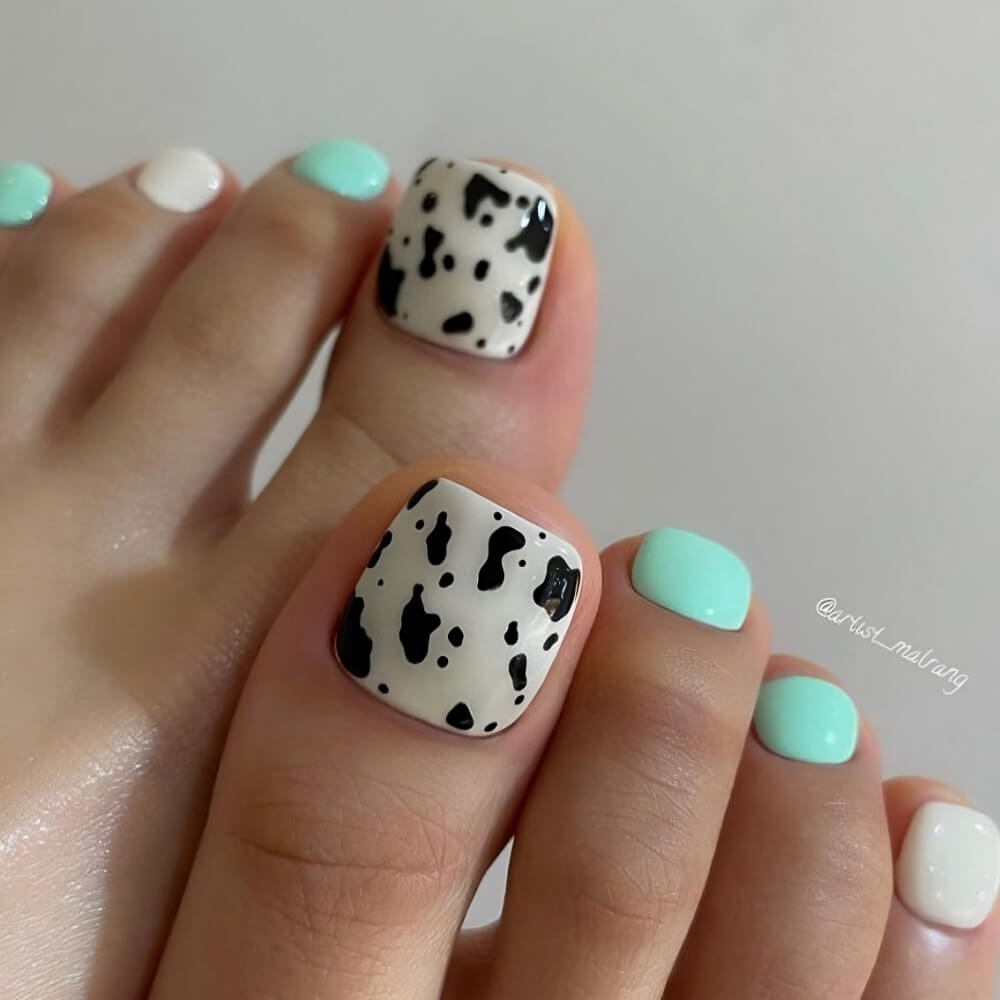
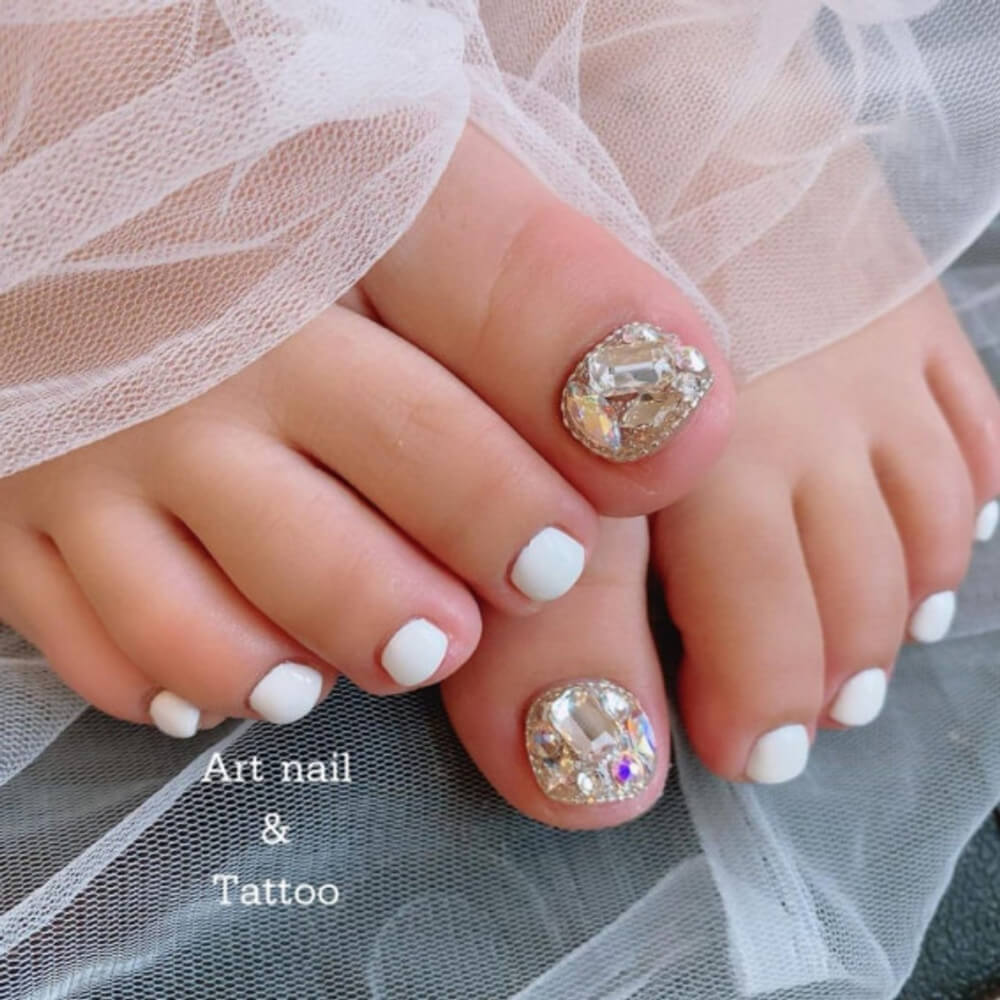
You can copy these designs or create your own ideas from these pictures. You can also try on different shades and play with various finishes to create new nail art.
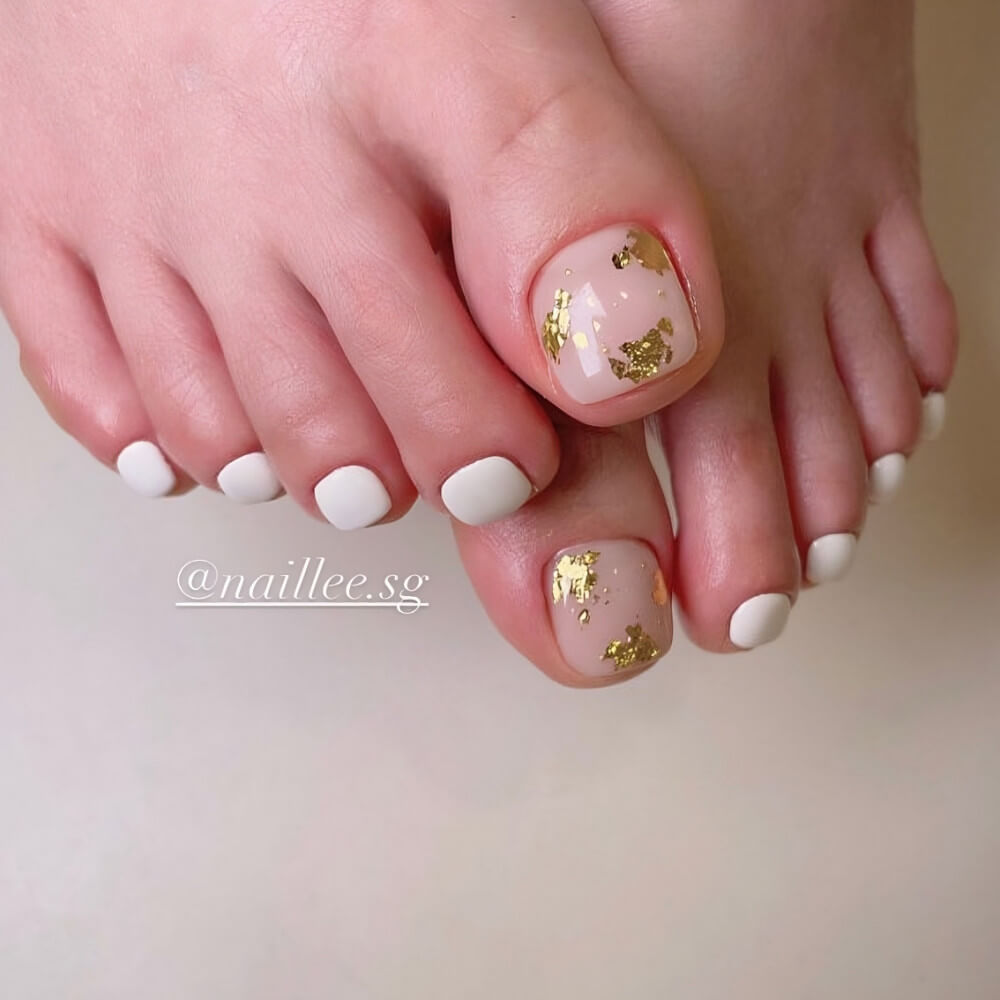
Scroll down to find out about these stunning yet easy pedicure designs. Let this be your inspiration for your future nail makeover. These toenail designs will definitely hook you on the trend!
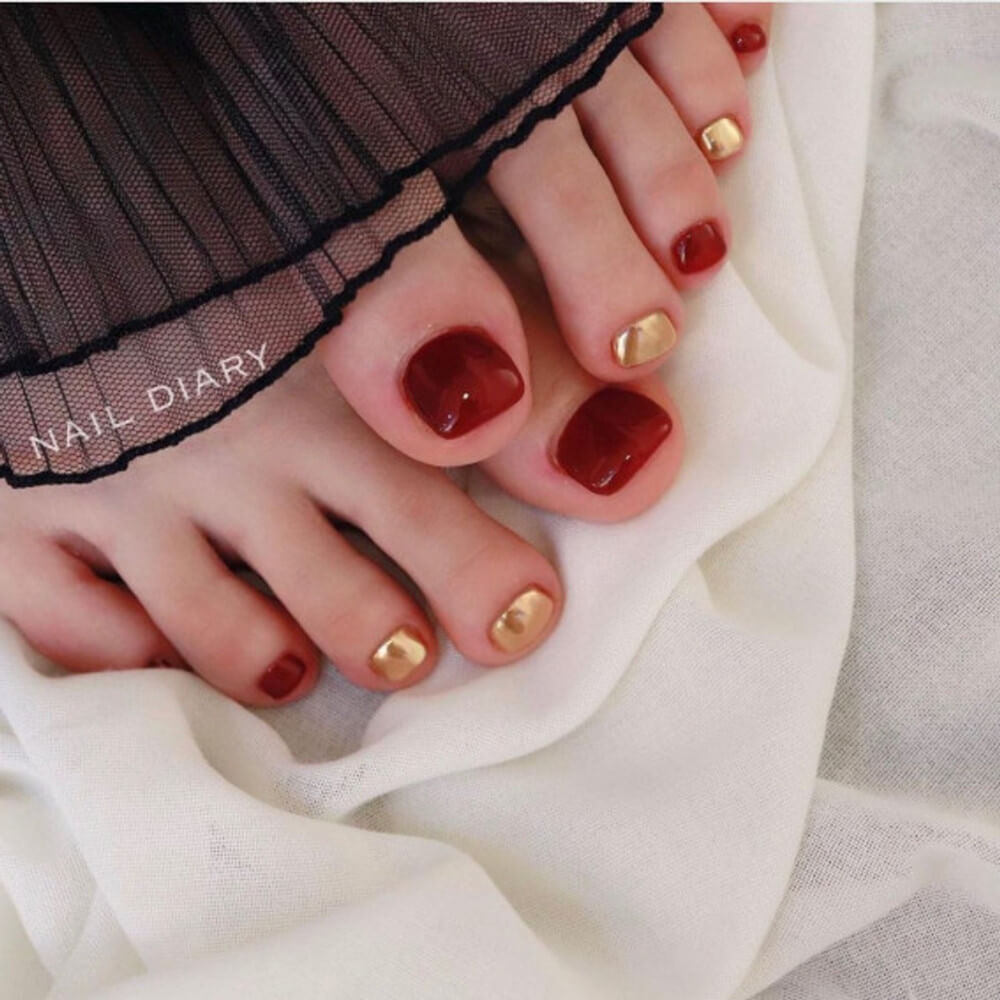
1.
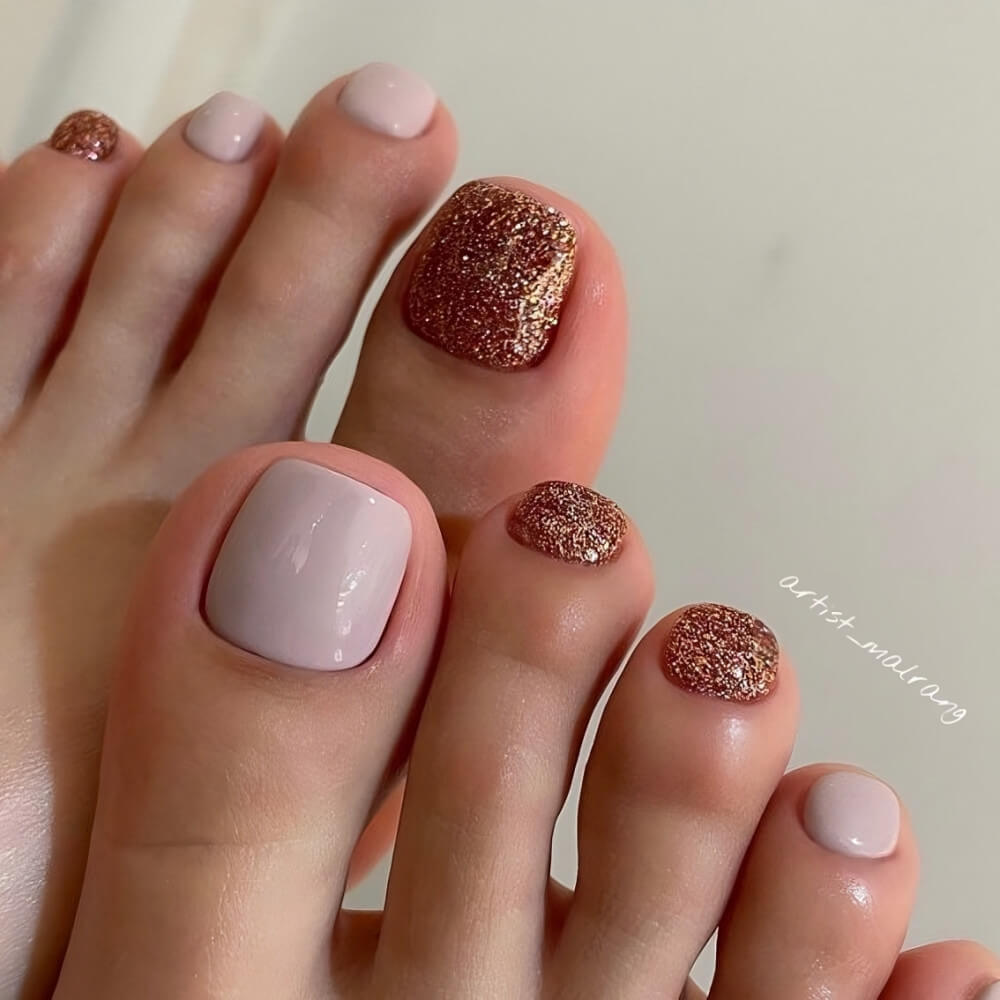
2.
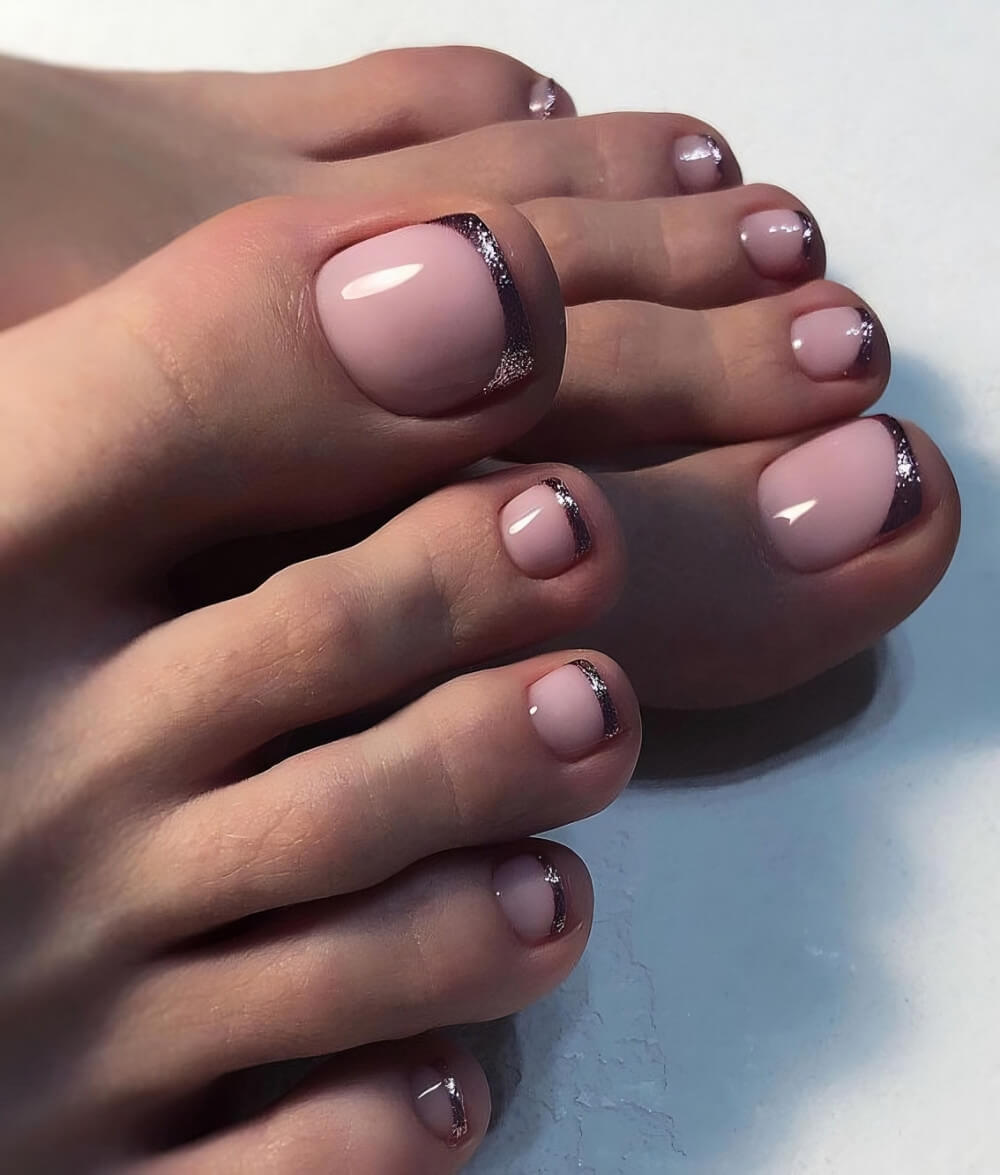
3.
Your Easy Guide to Gorgeous, Polished Toenails
As soon as the weather warms up, our feet emerge from their winter hibernation, and the focus shifts instantly to the pedicure.
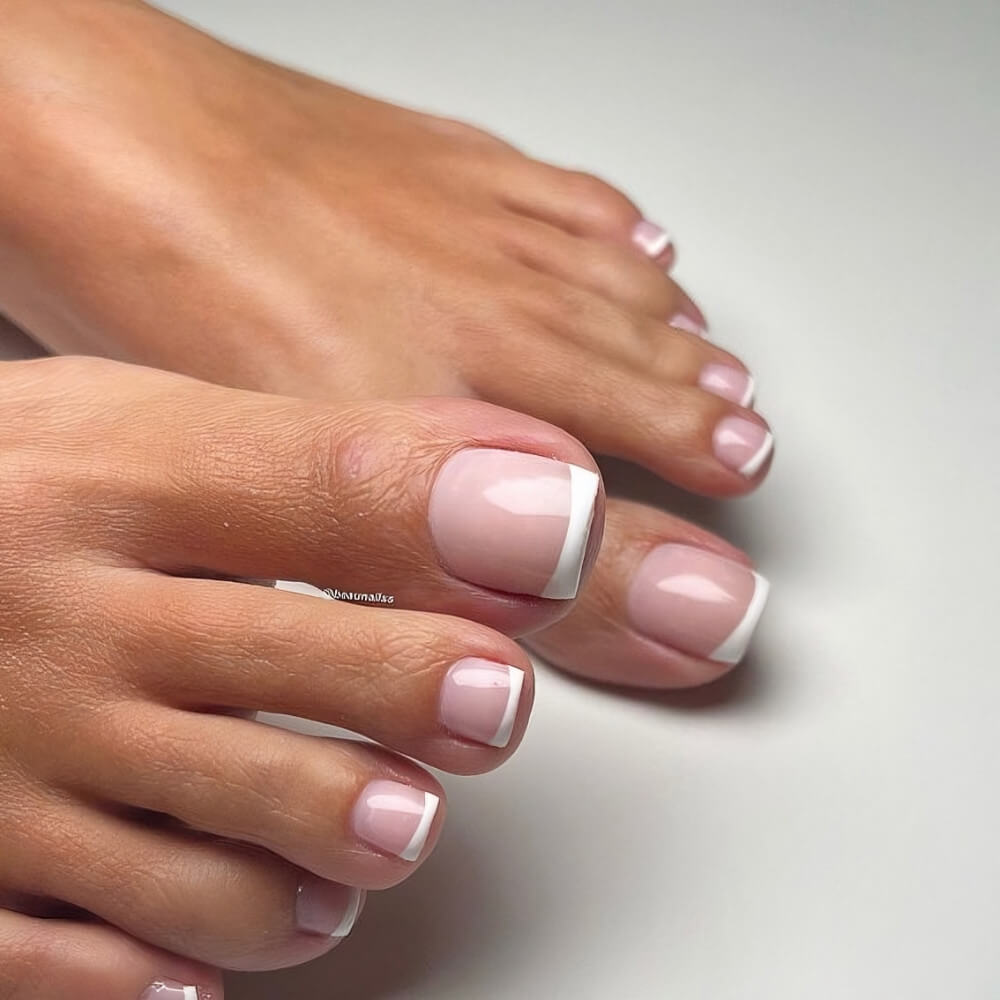
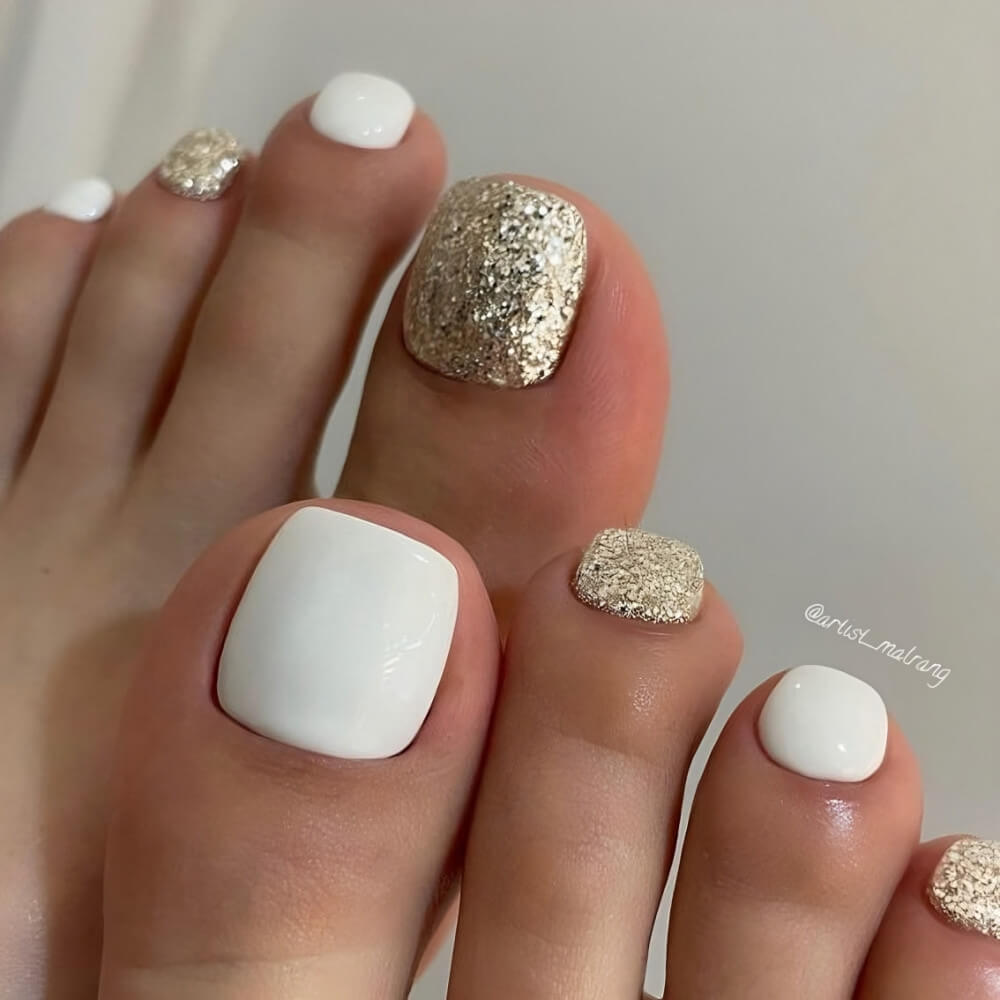
Achieving gorgeous, salon-quality toenails at home doesn’t require complex tools or advanced nail art skills; it requires meticulous preparation, strategic color choice, and a focus on simplicity.
The easy but gorgeous toe nails are those that are healthy, well-shaped, and finished with a clean, high-shine polish.
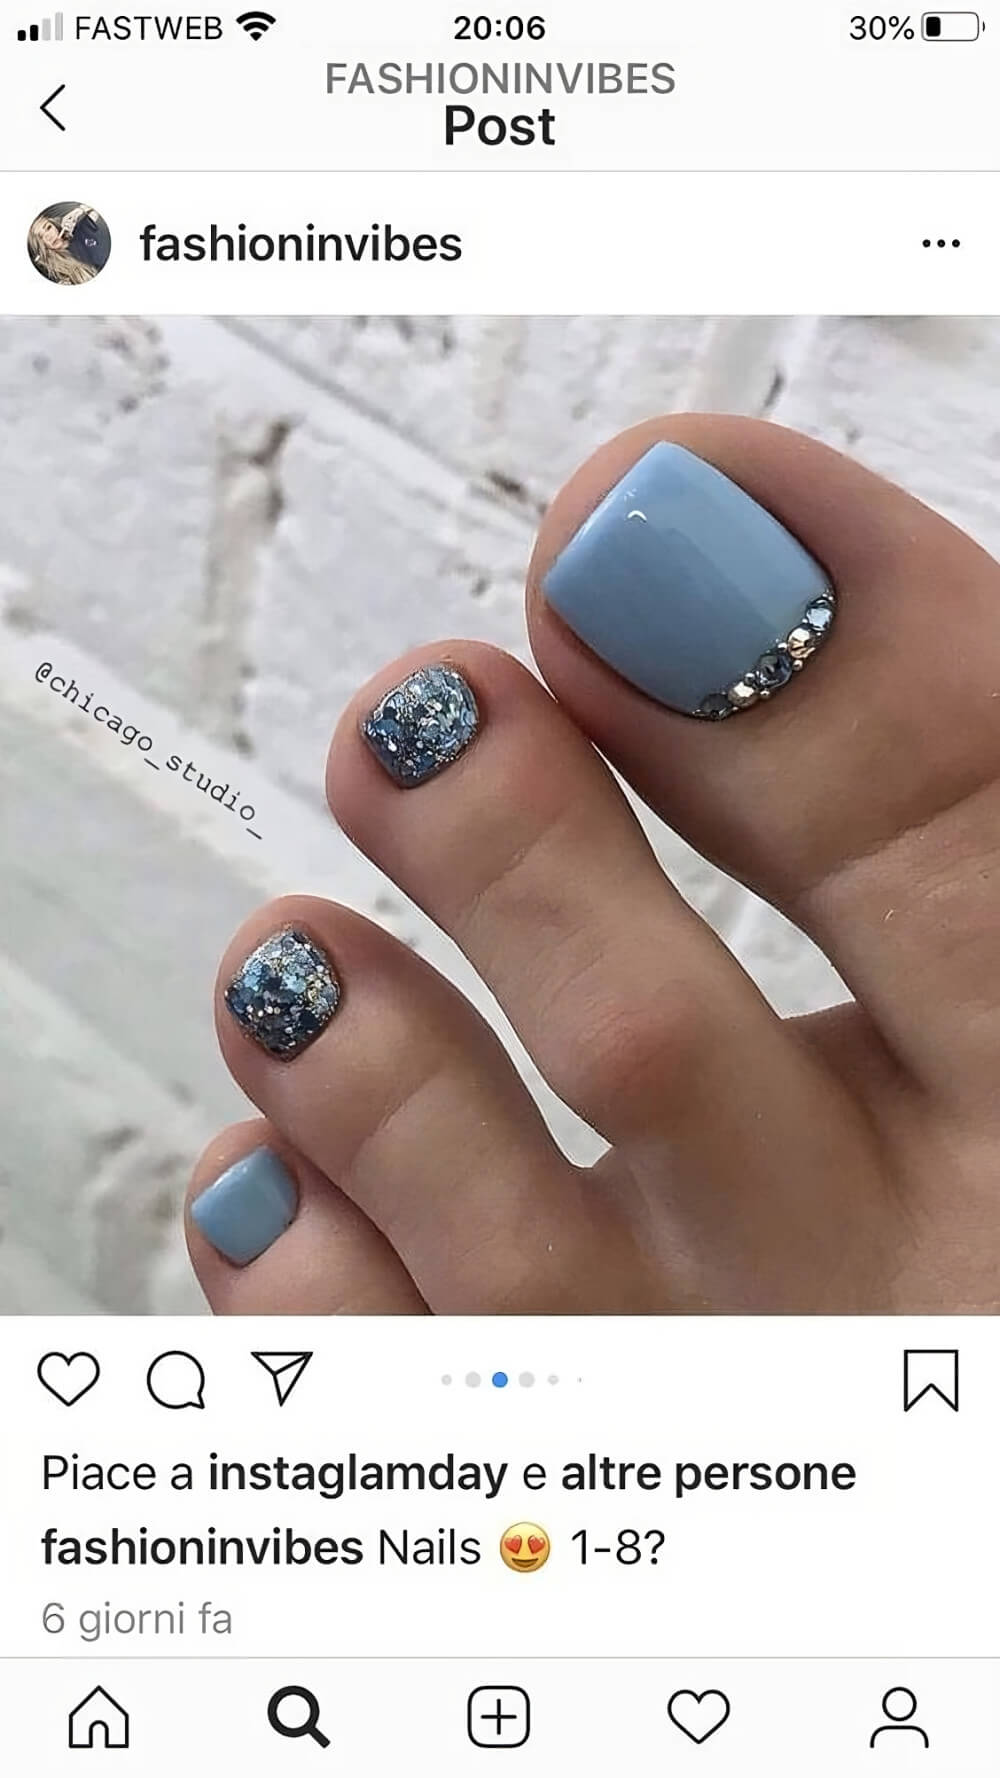
4.
5.
6.
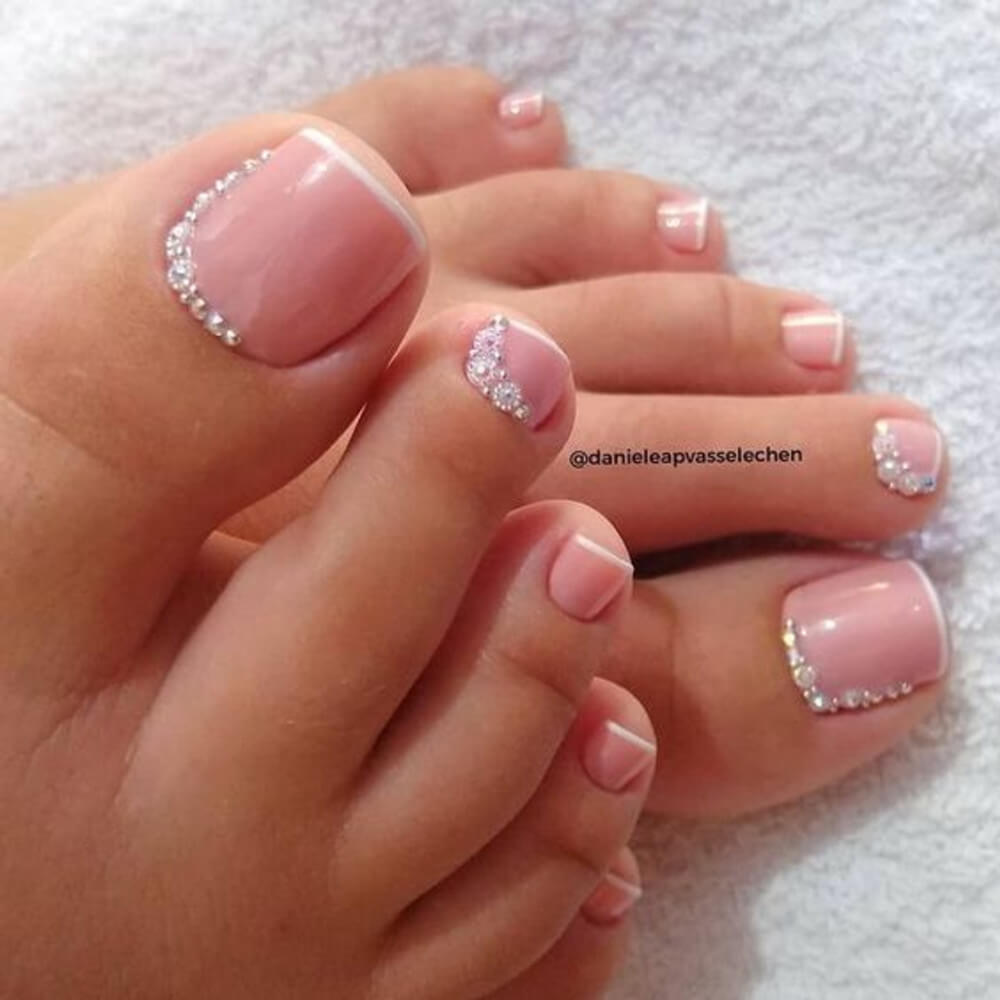
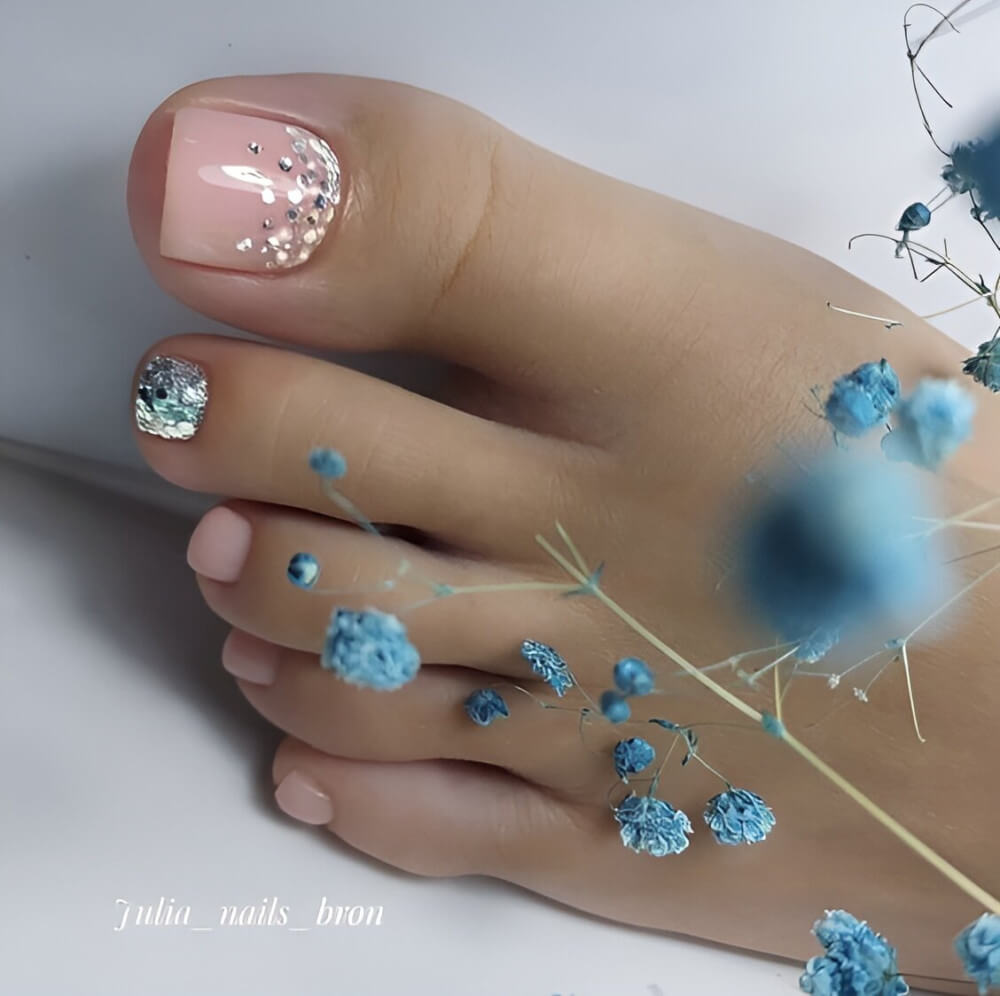
This guide simplifies the process, breaking down the essential steps to master an easy, flawless pedicure.
We’ll focus on the foundation and then move to easy yet chic color and styling ideas that ensure your feet are always sandal-ready, whether you’re heading to the beach or just enjoying a moment of barefoot relaxation.
7.
8.
Prepping for Polish
The secret to a long-lasting, gorgeous pedicure is 80% prep. Neglecting these steps means the polish won’t adhere properly and the final look will appear unfinished.
The Soak and Soften Ritual
Start with a thorough soak. Fill a basin with warm water and add Epsom salts, a few drops of essential oil (like peppermint for revitalization), or a gentle body wash.
Soak your feet for 10 to 15 minutes. This softens the skin and cuticles, making the next steps easier.
9.
10.
11.
Shedding Winter Dryness
Calluses and dry, rough skin are the enemy of a perfect pedicure.
- Exfoliate: While the skin is still damp, use a pumice stone or a foot file (never a sharp razor!) on the heels and the balls of the feet to gently slough away hardened skin. Focus on consistent, gentle pressure rather than aggressive scrubbing.
- Smooth: Apply a thick foot scrub to the entire foot and lower leg, massaging in circular motions to remove dead skin and increase circulation. Rinse well.
12.
13.
14.
Nail Shaping and Cuticle Care (The Safety First Rule)
Toenails have one rule that is paramount for health and aesthetics: cut them straight.
- The Shape: Always cut toenails straight across to prevent painful ingrown nails. Once cut, use a nail file to slightly round the sharp corners into a gentle squoval shape. This provides a clean, elegant edge without the risk of ingrowns.
- The Cuticles: Gently apply cuticle remover and let it sit for a minute. Then, use an orangewood stick or gentle pusher to carefully push the softened cuticle back from the nail plate. Avoid aggressively trimming the cuticles as this can cause irritation and infection.
15.
16.
17.
The Clean Canvas
Before applying polish, wipe each nail with a cotton pad dipped in nail polish remover or rubbing alcohol.
This crucial step removes all residual oils and moisturizers, which are the main culprits behind polish chipping.
18.
19.
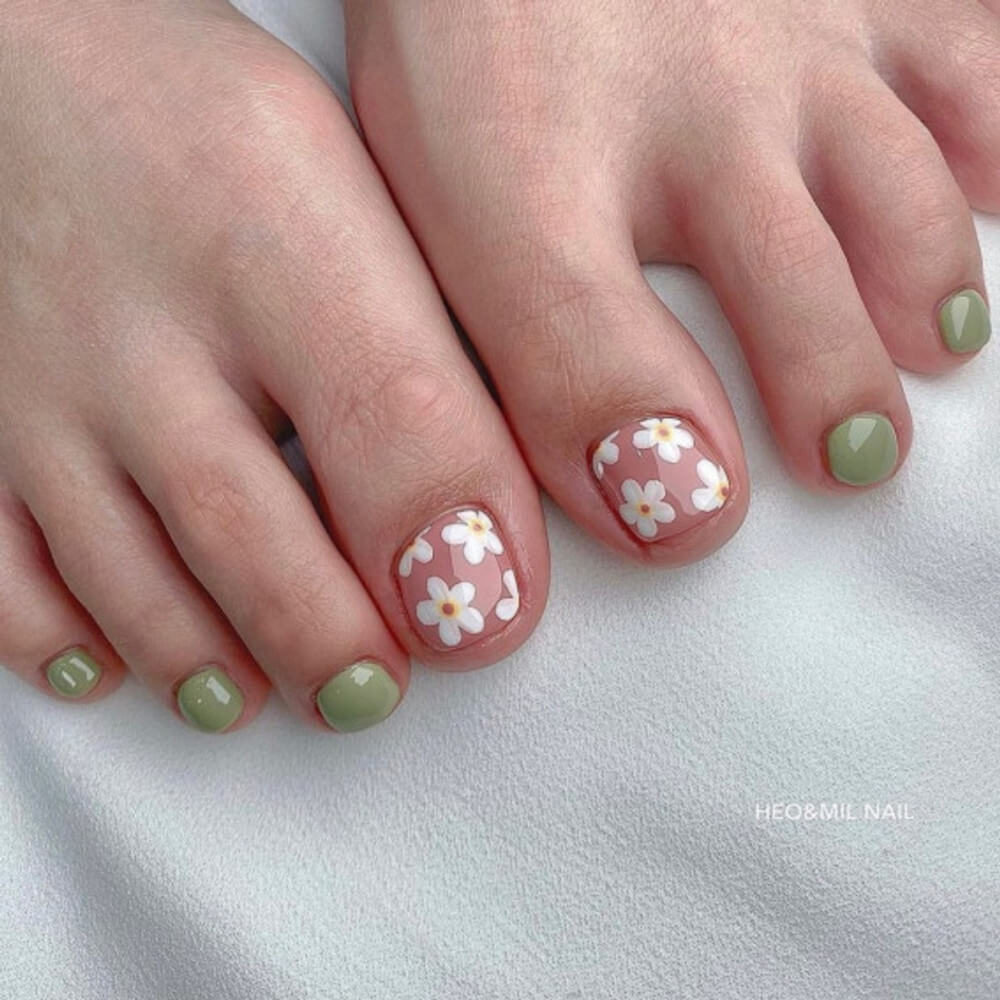
The Easy Techniques
You don’t need complex art to have gorgeous toenails. The beauty is in the application and the high-quality finish.
The Toe Separator Essential
Never skip toe separators. They keep your toes from touching, preventing smudges and giving you clear, clean access to the entire nail bed.
If you don’t have separators, folded cotton balls work just as well.
20.
21.
22.
The Three-Stroke Rule for Polish Application
This technique ensures full coverage without messy flooding of the cuticles.
- Apply a thin strip of polish down the center of the nail.
- Apply the second stroke to the left side.
- Apply the third stroke to the right side.
- Tip: Keep each coat thin. Two thin coats are always better than one thick coat, as thick coats take longer to dry and are more prone to bubbling and smudging.
23.
24.
25.
The Power of Top and Base Coats
These steps are non-negotiable for a professional-looking, long-lasting pedicure.
- Base Coat: This clear layer protects your natural nail from staining (especially with dark colors) and gives the color polish something to grip onto.
- Top Coat: Use a generous, glossy, quick-dry top coat. This is the key to sealing the color, adding that professional high-shine finish, and making your polish last for weeks. Reapply a thin layer of top coat every 3-4 days to refresh the shine and extend the wear.
26.
27.
28.
29.

30.