Do you recall the galaxy craze that swept the internet ten years ago? Everything galactic-themed went crazy in 2013, including galactic-themed furniture, decor, notebooks, tumblers, and even hair.
This trend was picked up on well-known blogging platforms, Twitter, Facebook, and other social media networks.
Even after over ten years, galaxies are still strikingly beautiful and enigmatic.
Milky Way-inspired galaxy nail art inspired by the galaxy’s abundance is taking Instagram by celestial storm. And right now, this fashion is unquestionably back!
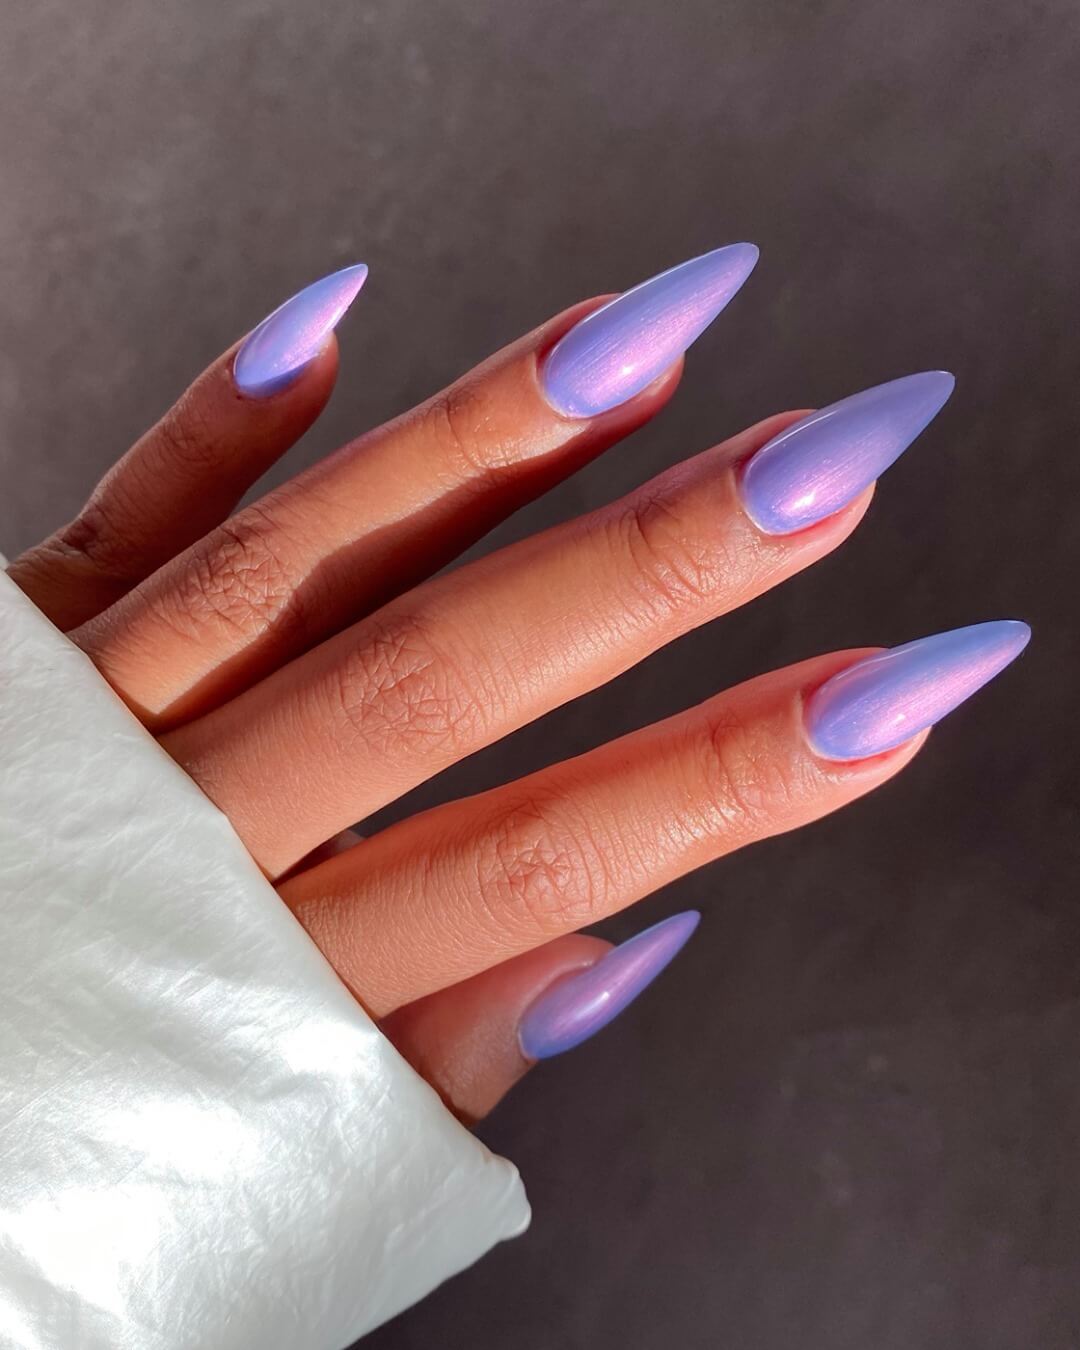
Galaxy hologram nails imply the creation of the galaxy effect against a shimmering sky, which is a fantastic choice for self-confident ladies.
Many people still think that this manicure only uses black and blue hues, but we’re here to reassure you that you may use any gel paint and still look fantastic. Take a look at some brilliant ideas below.
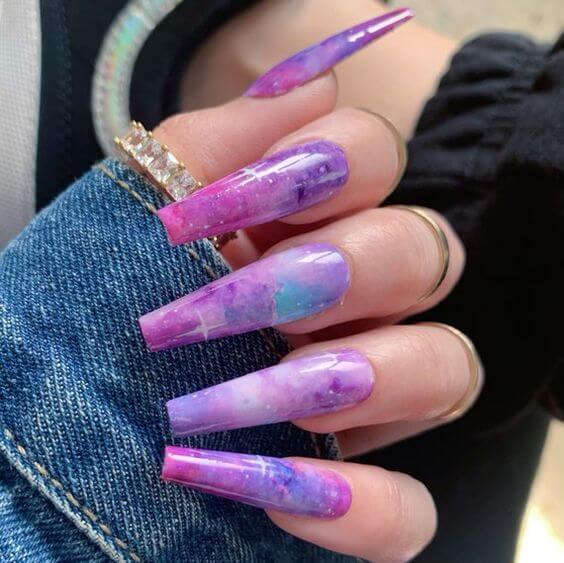
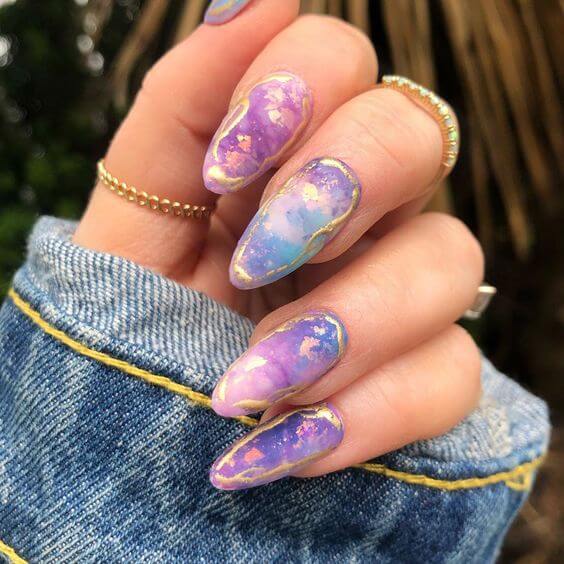
Galaxy Nails Inspiration
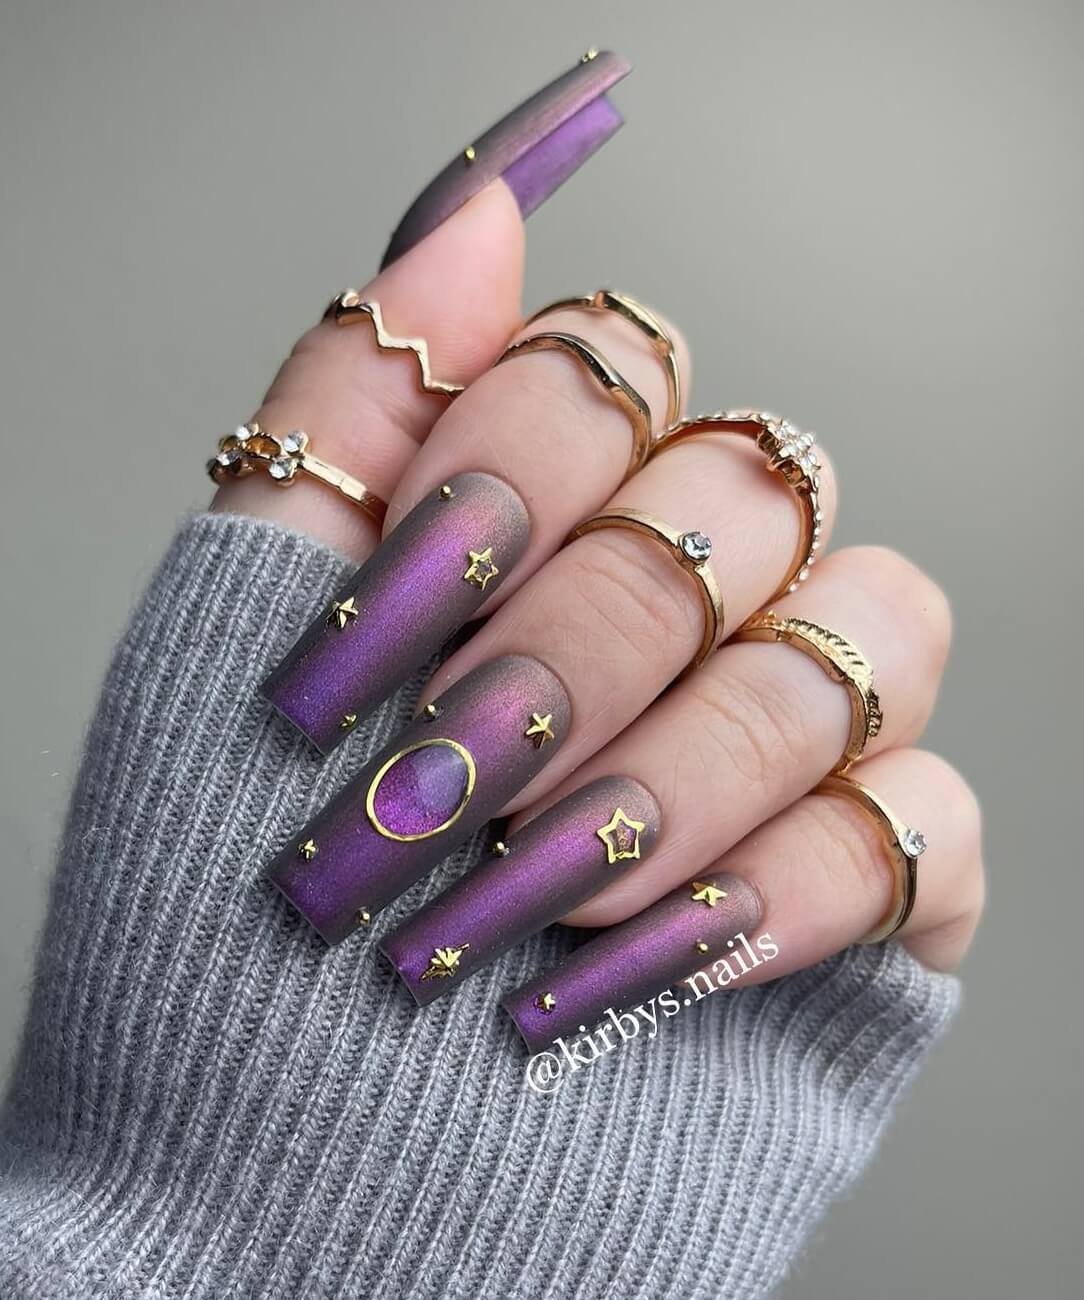
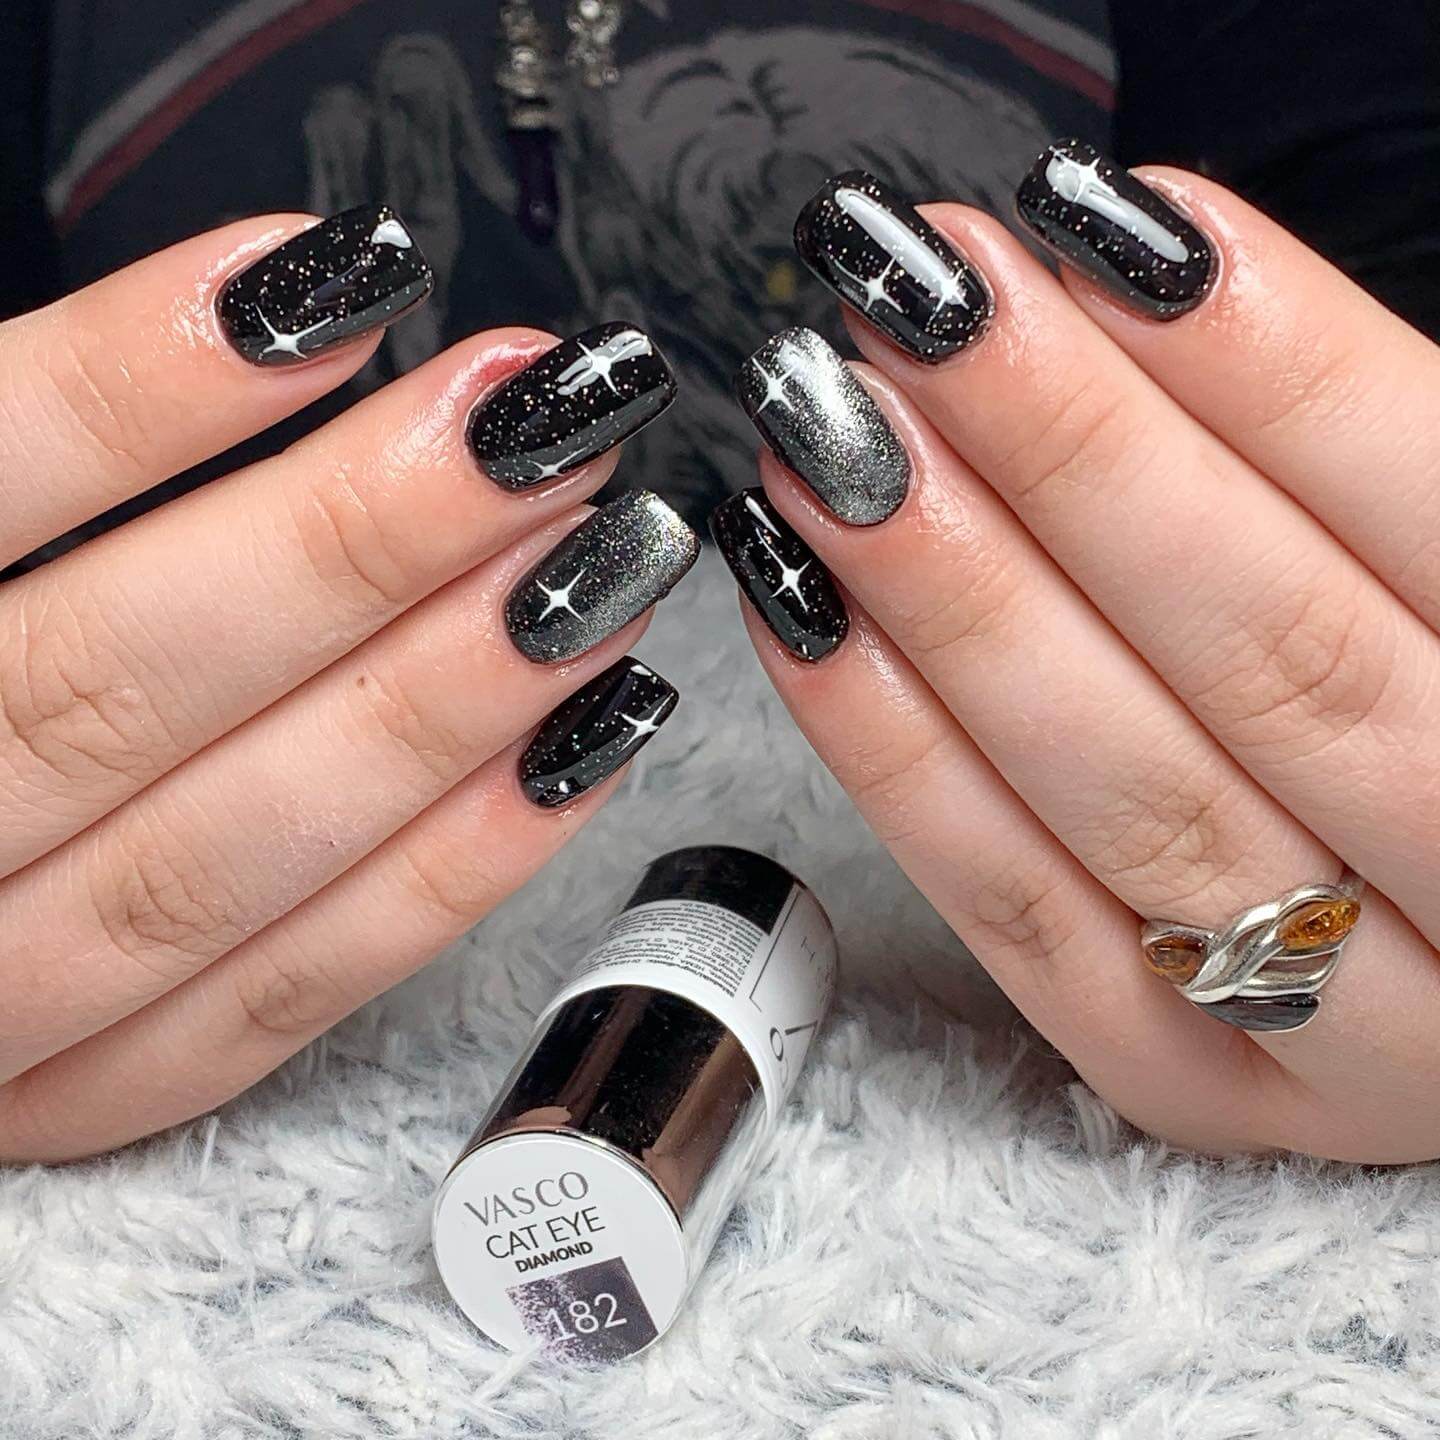
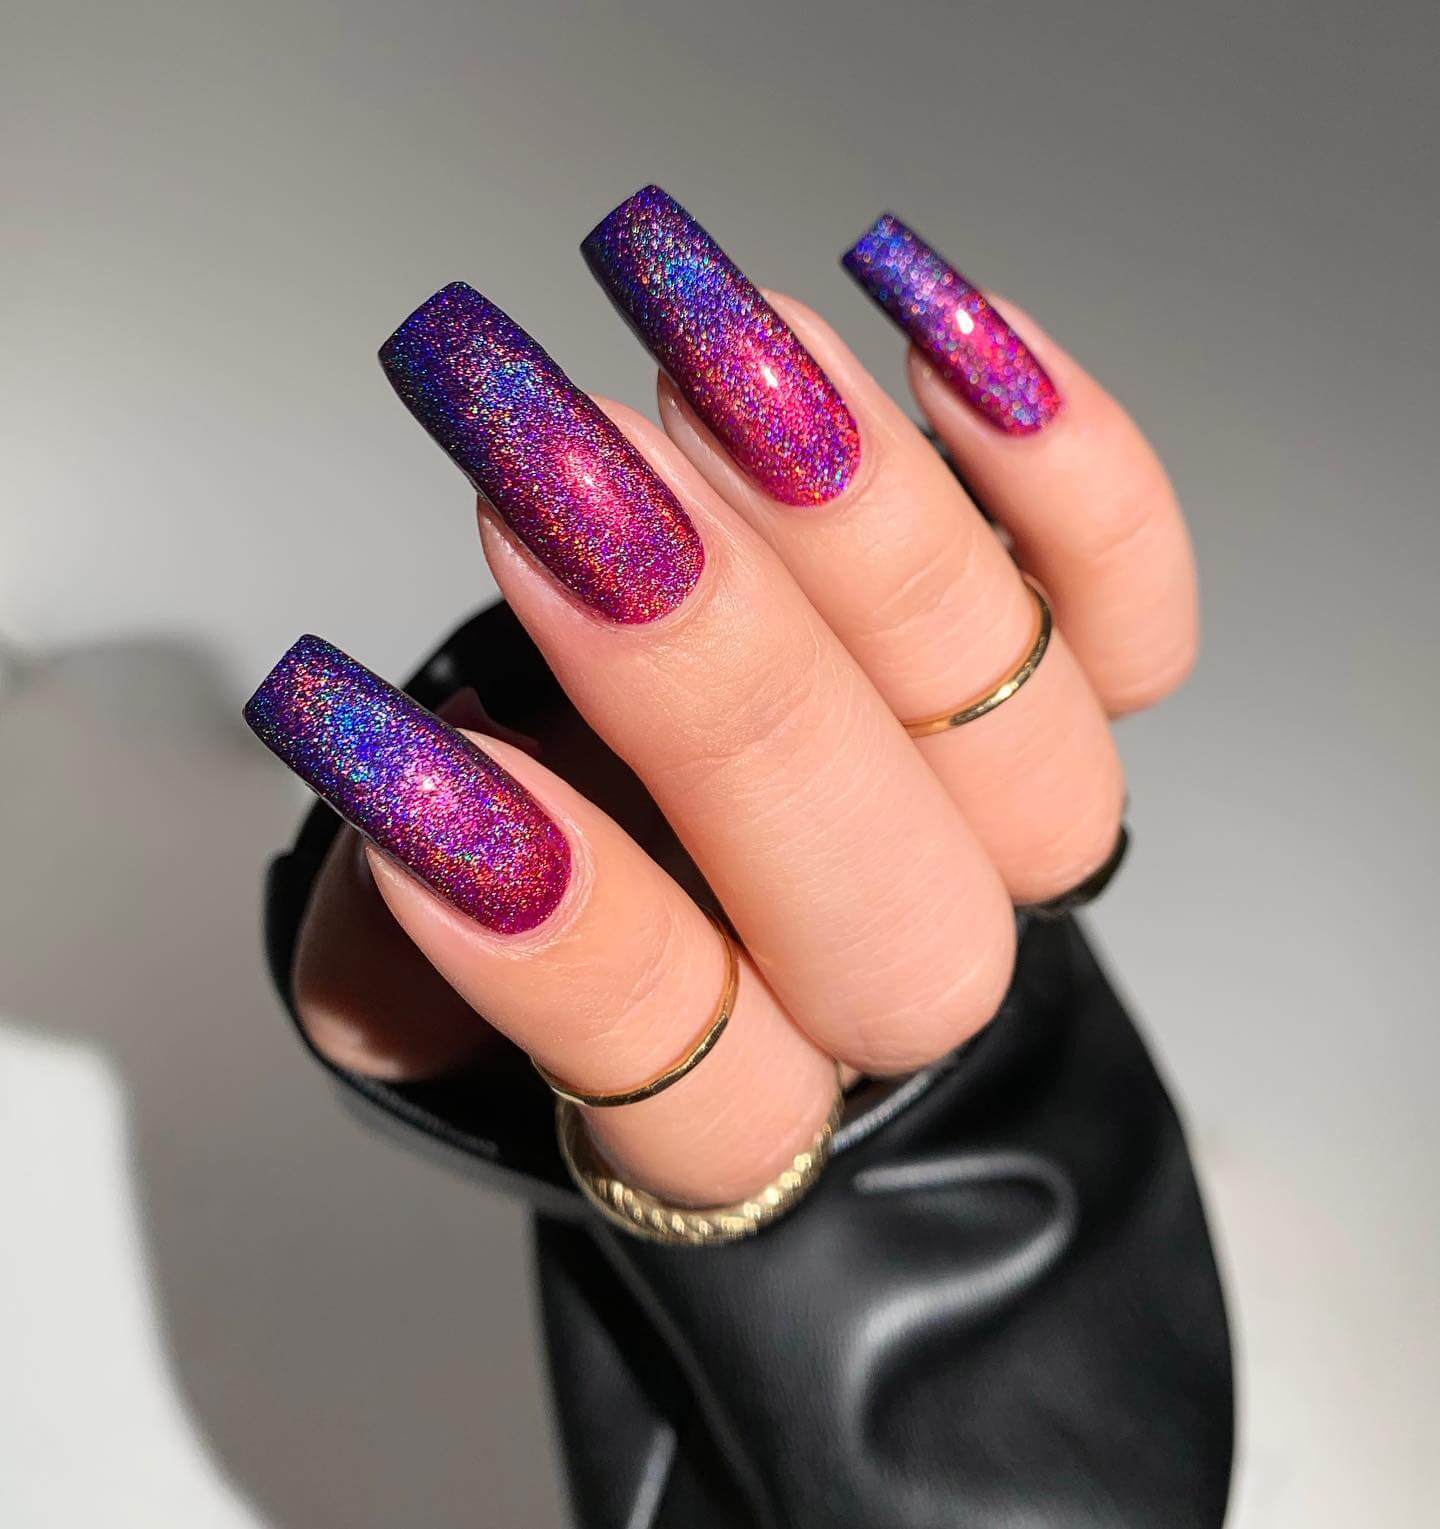
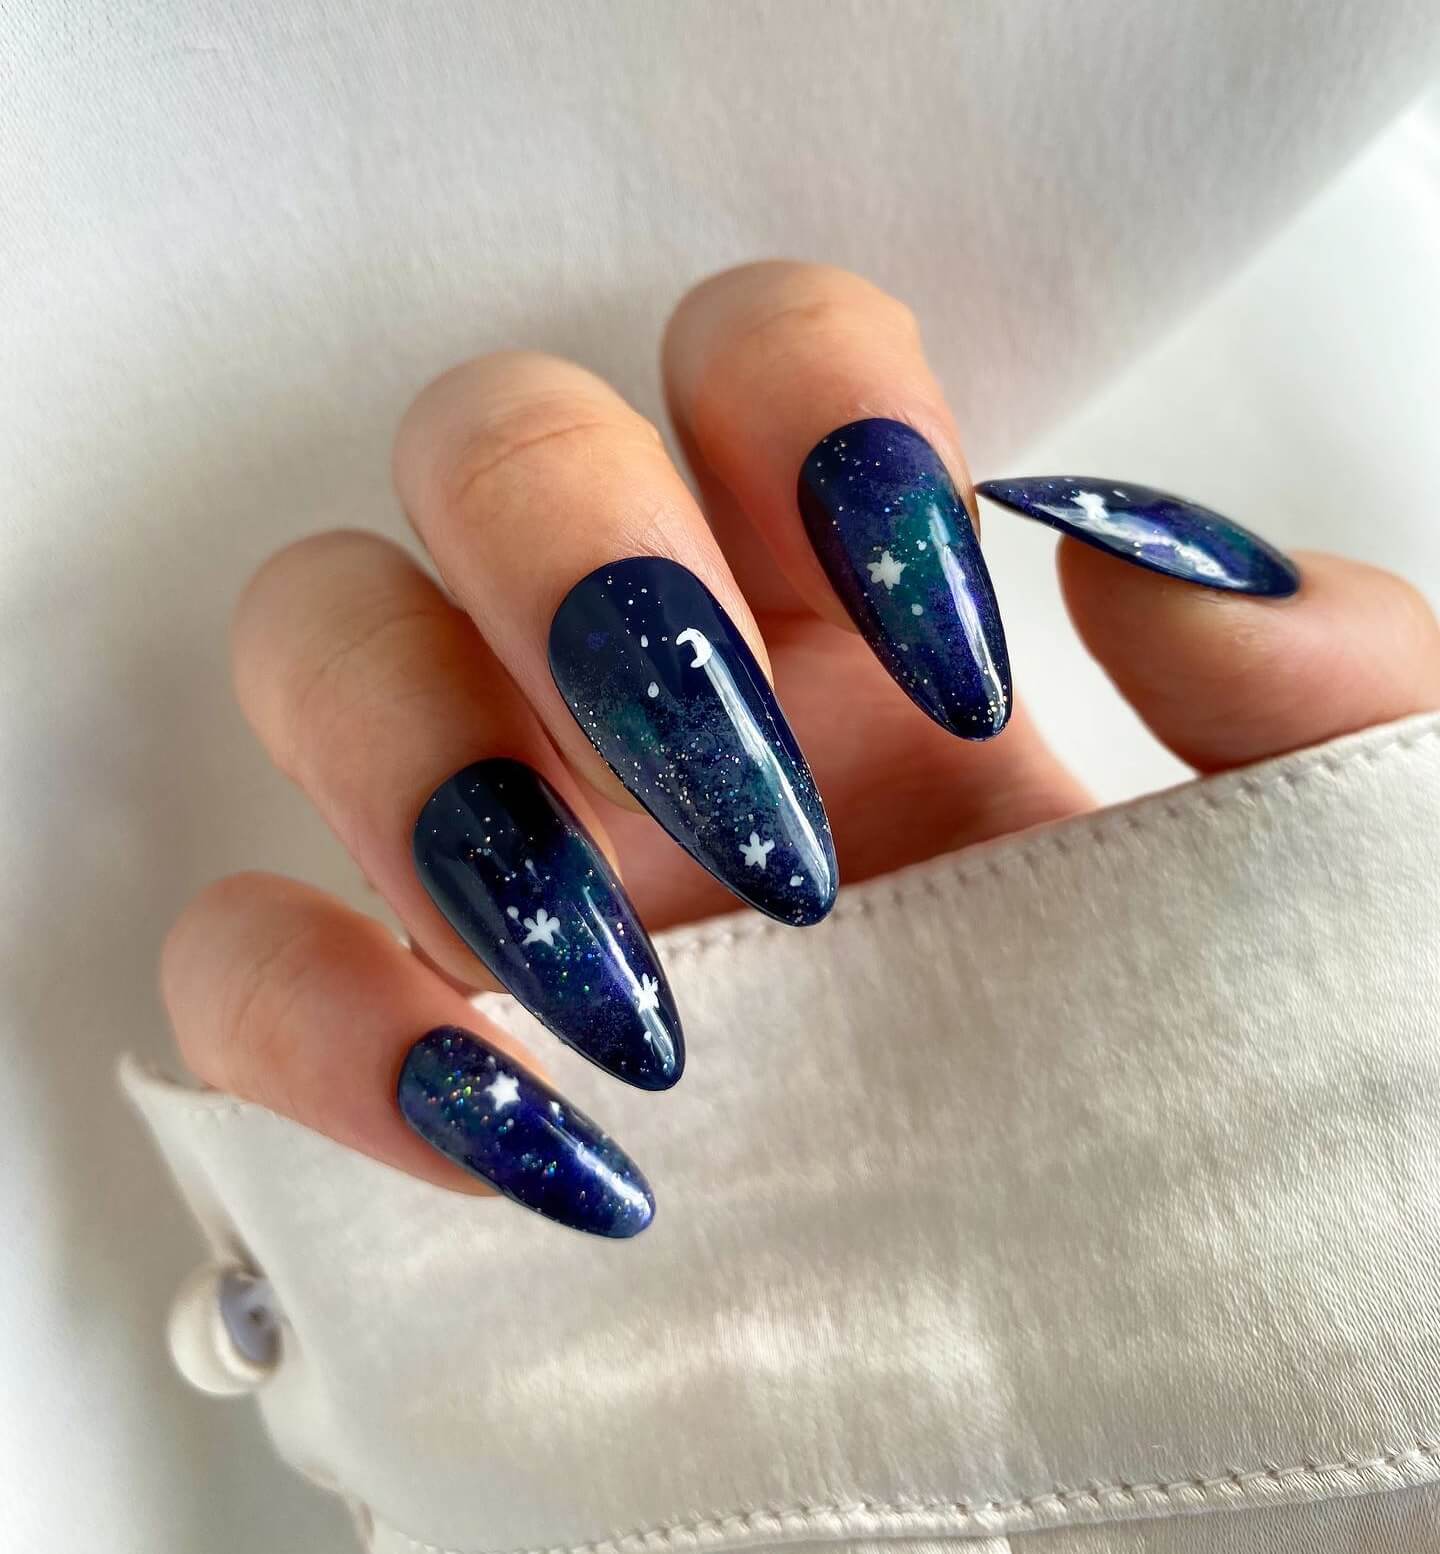
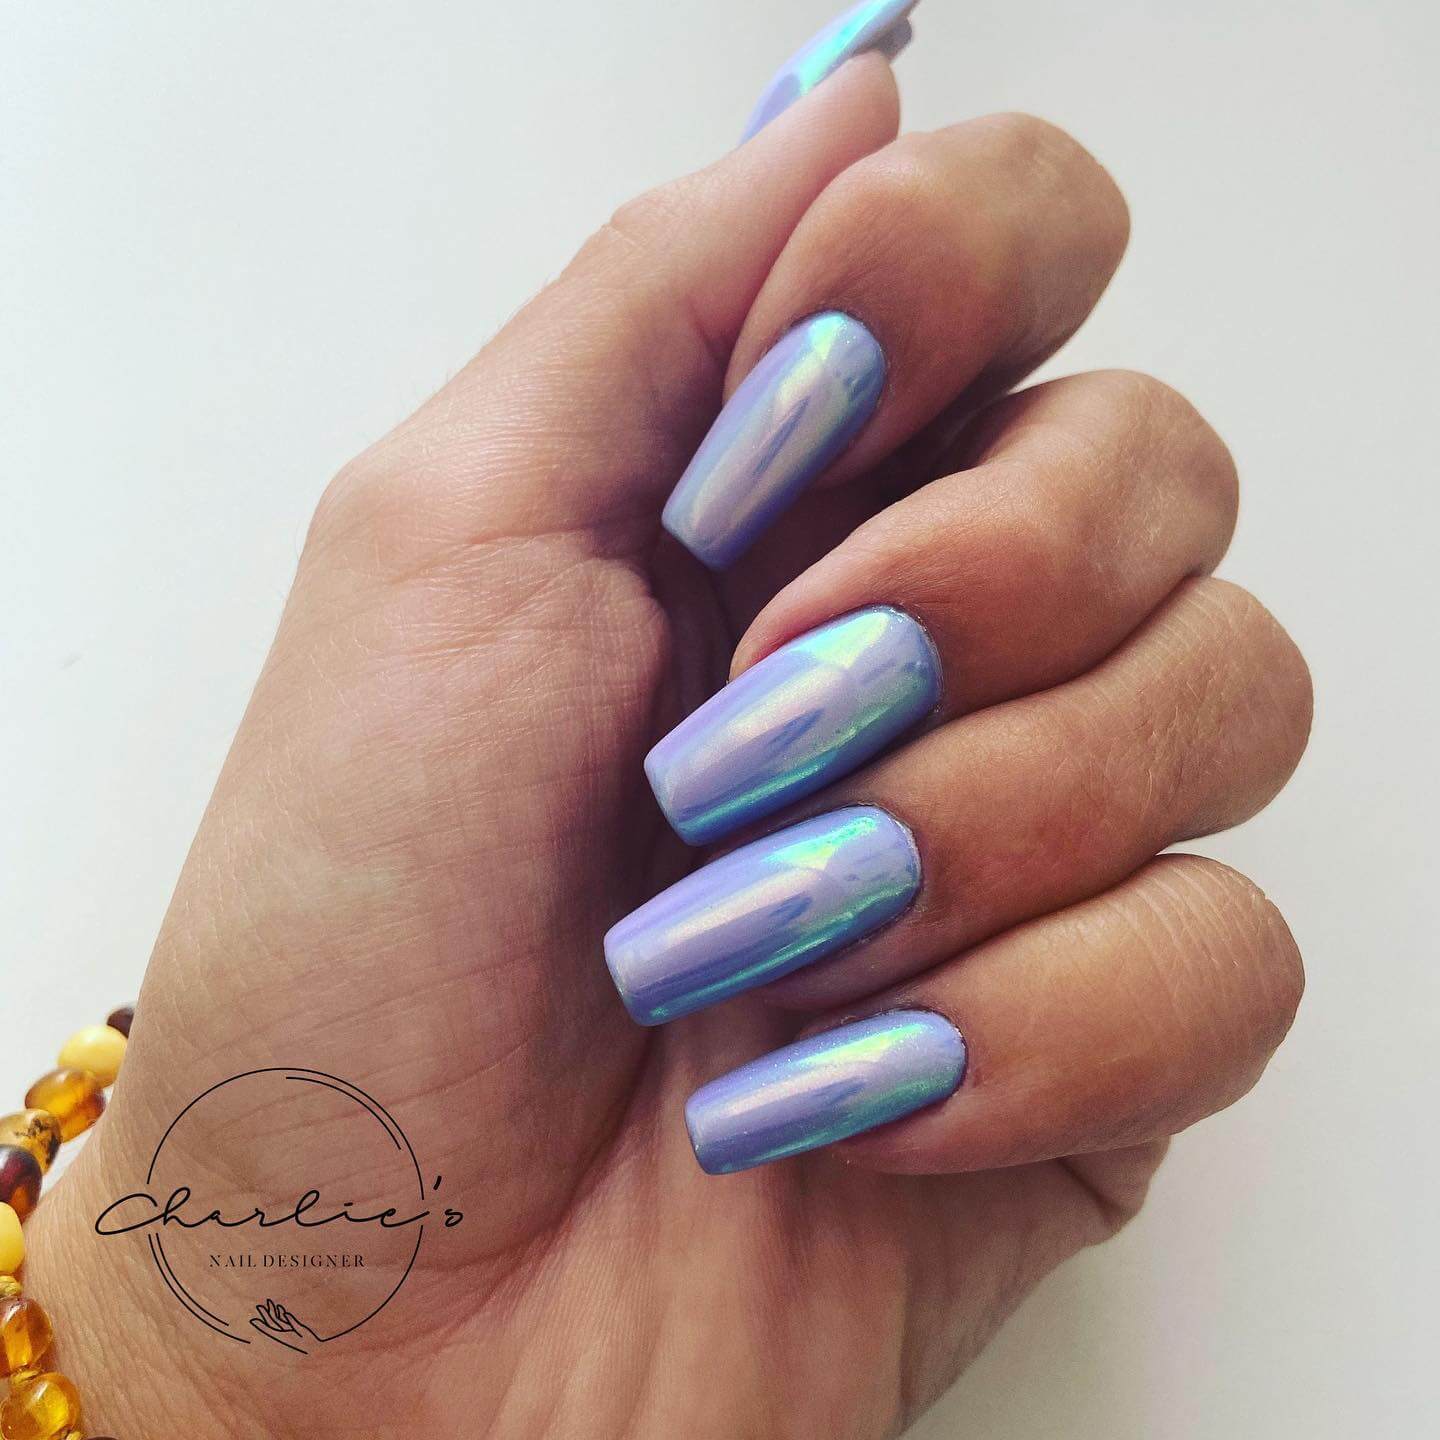
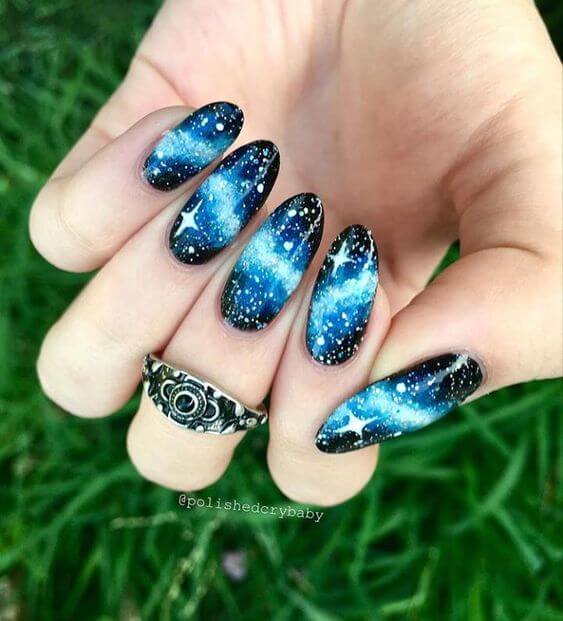
#1
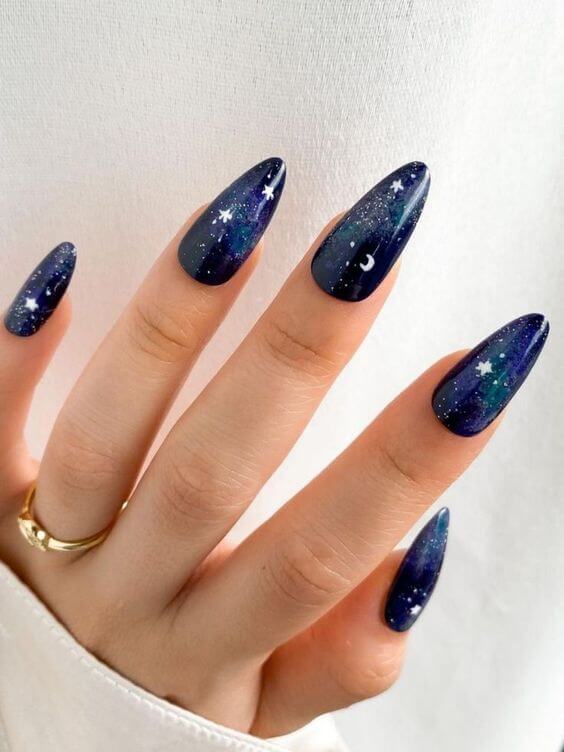 Source: unknown
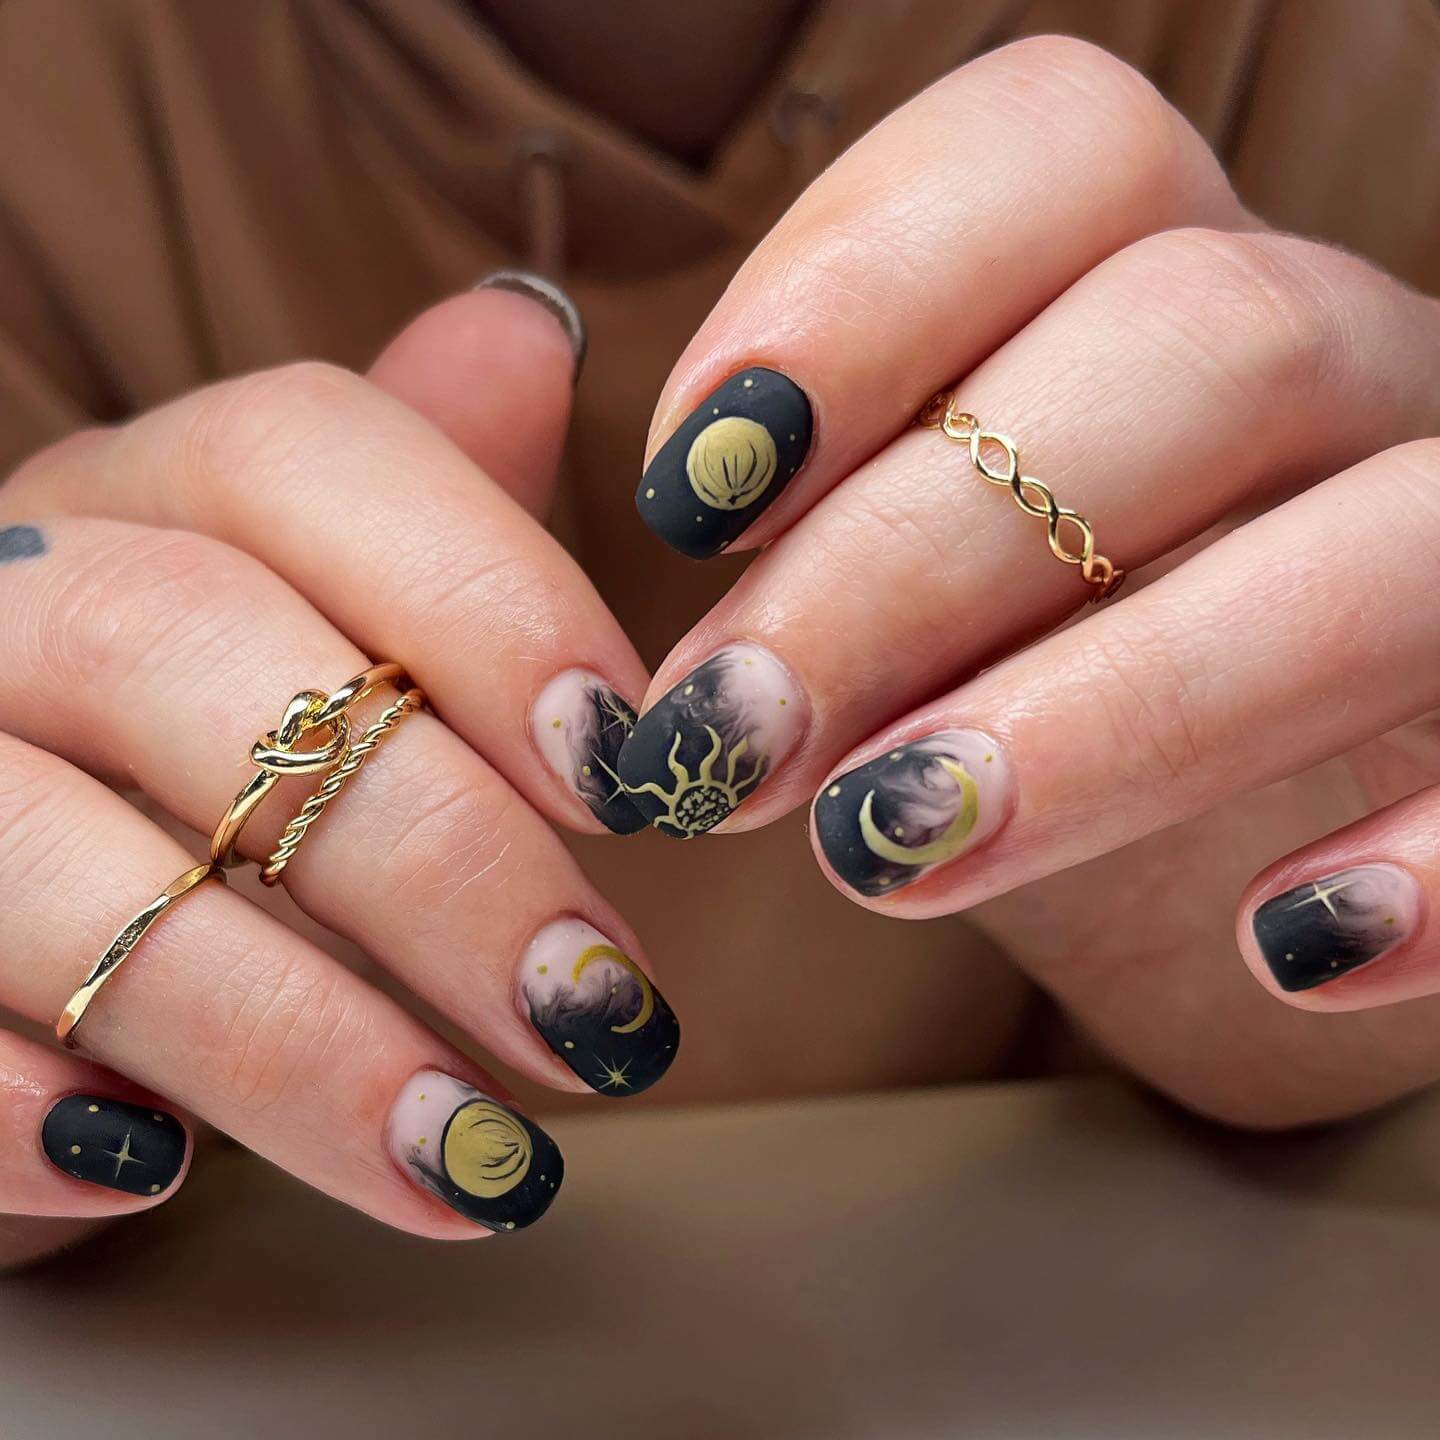
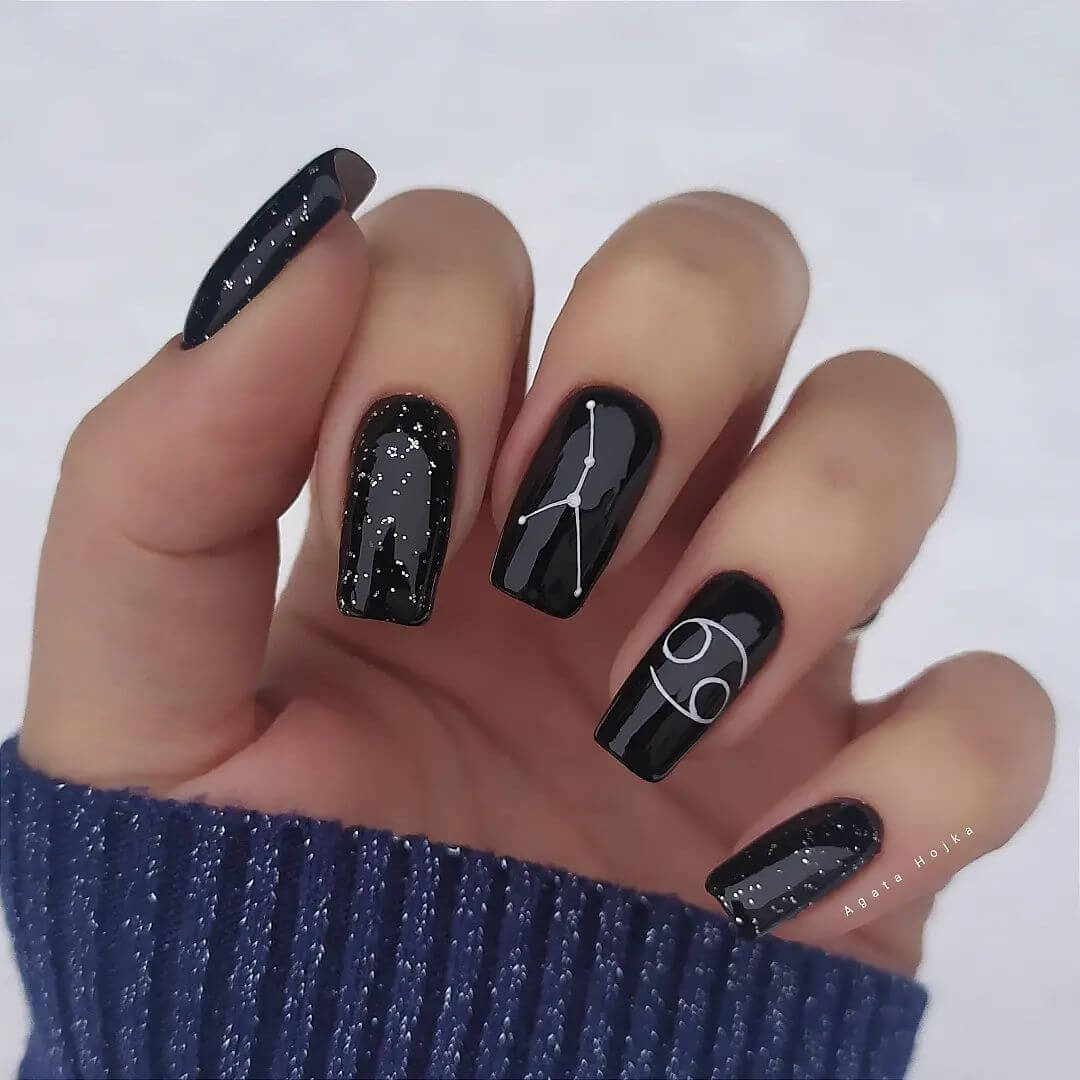
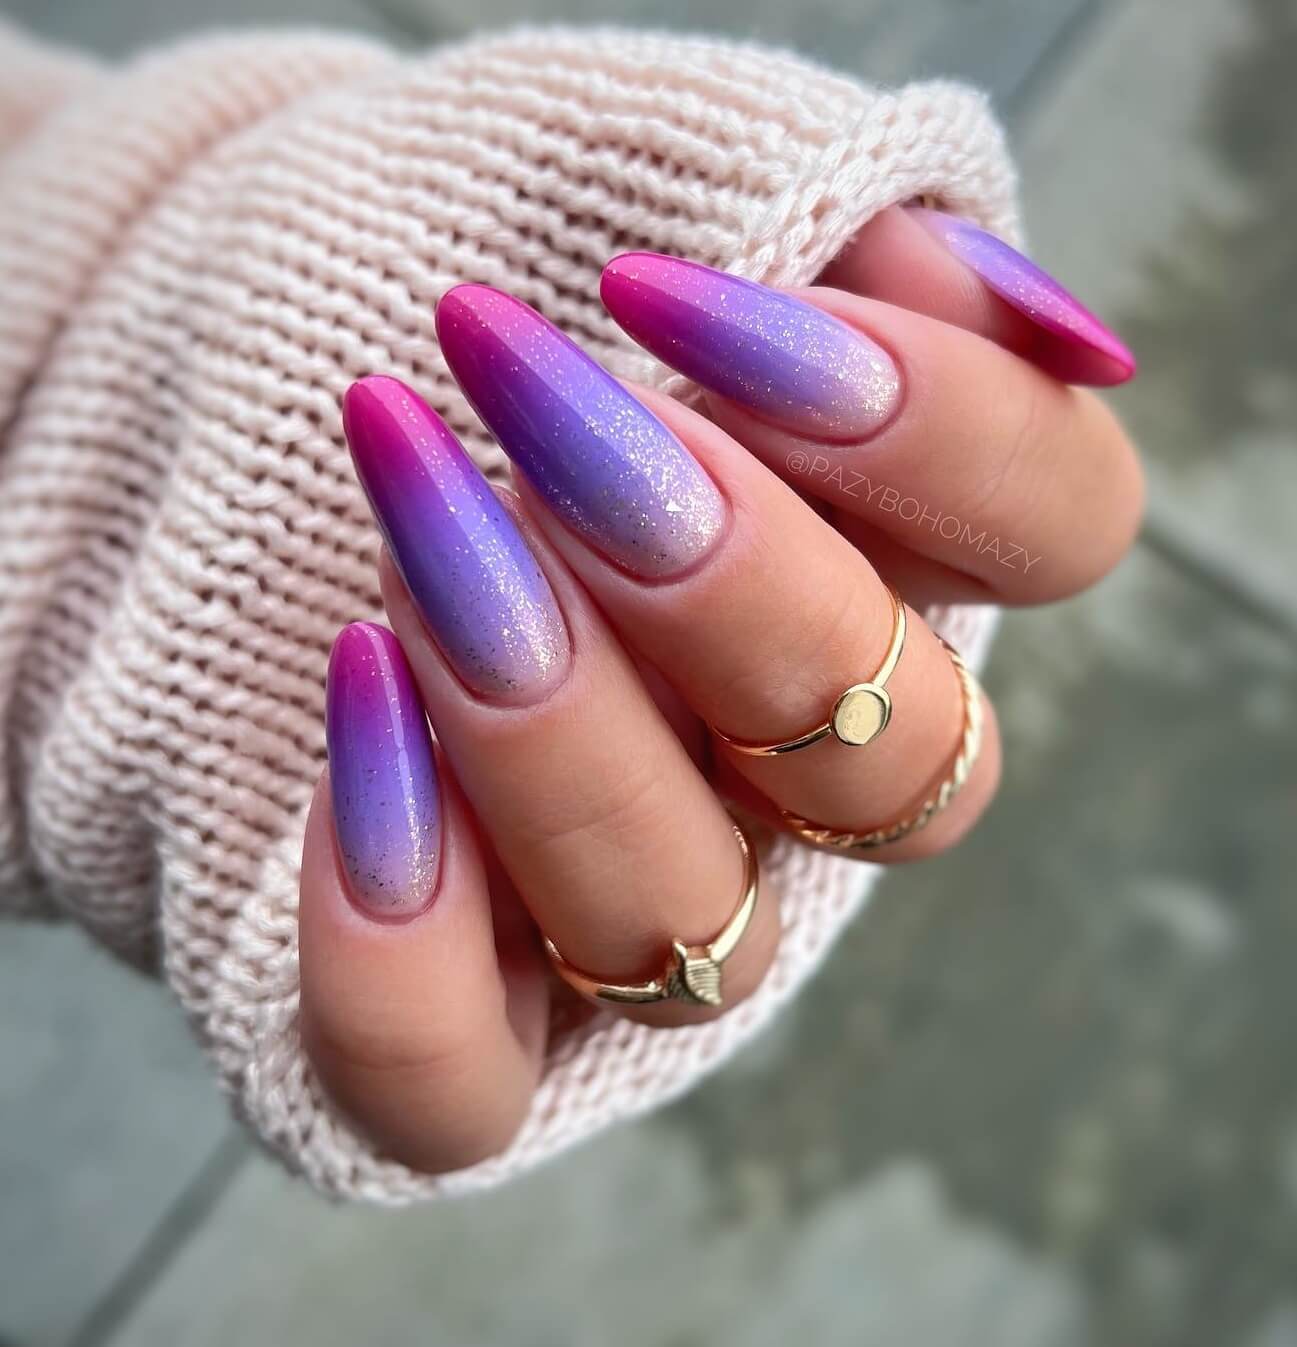
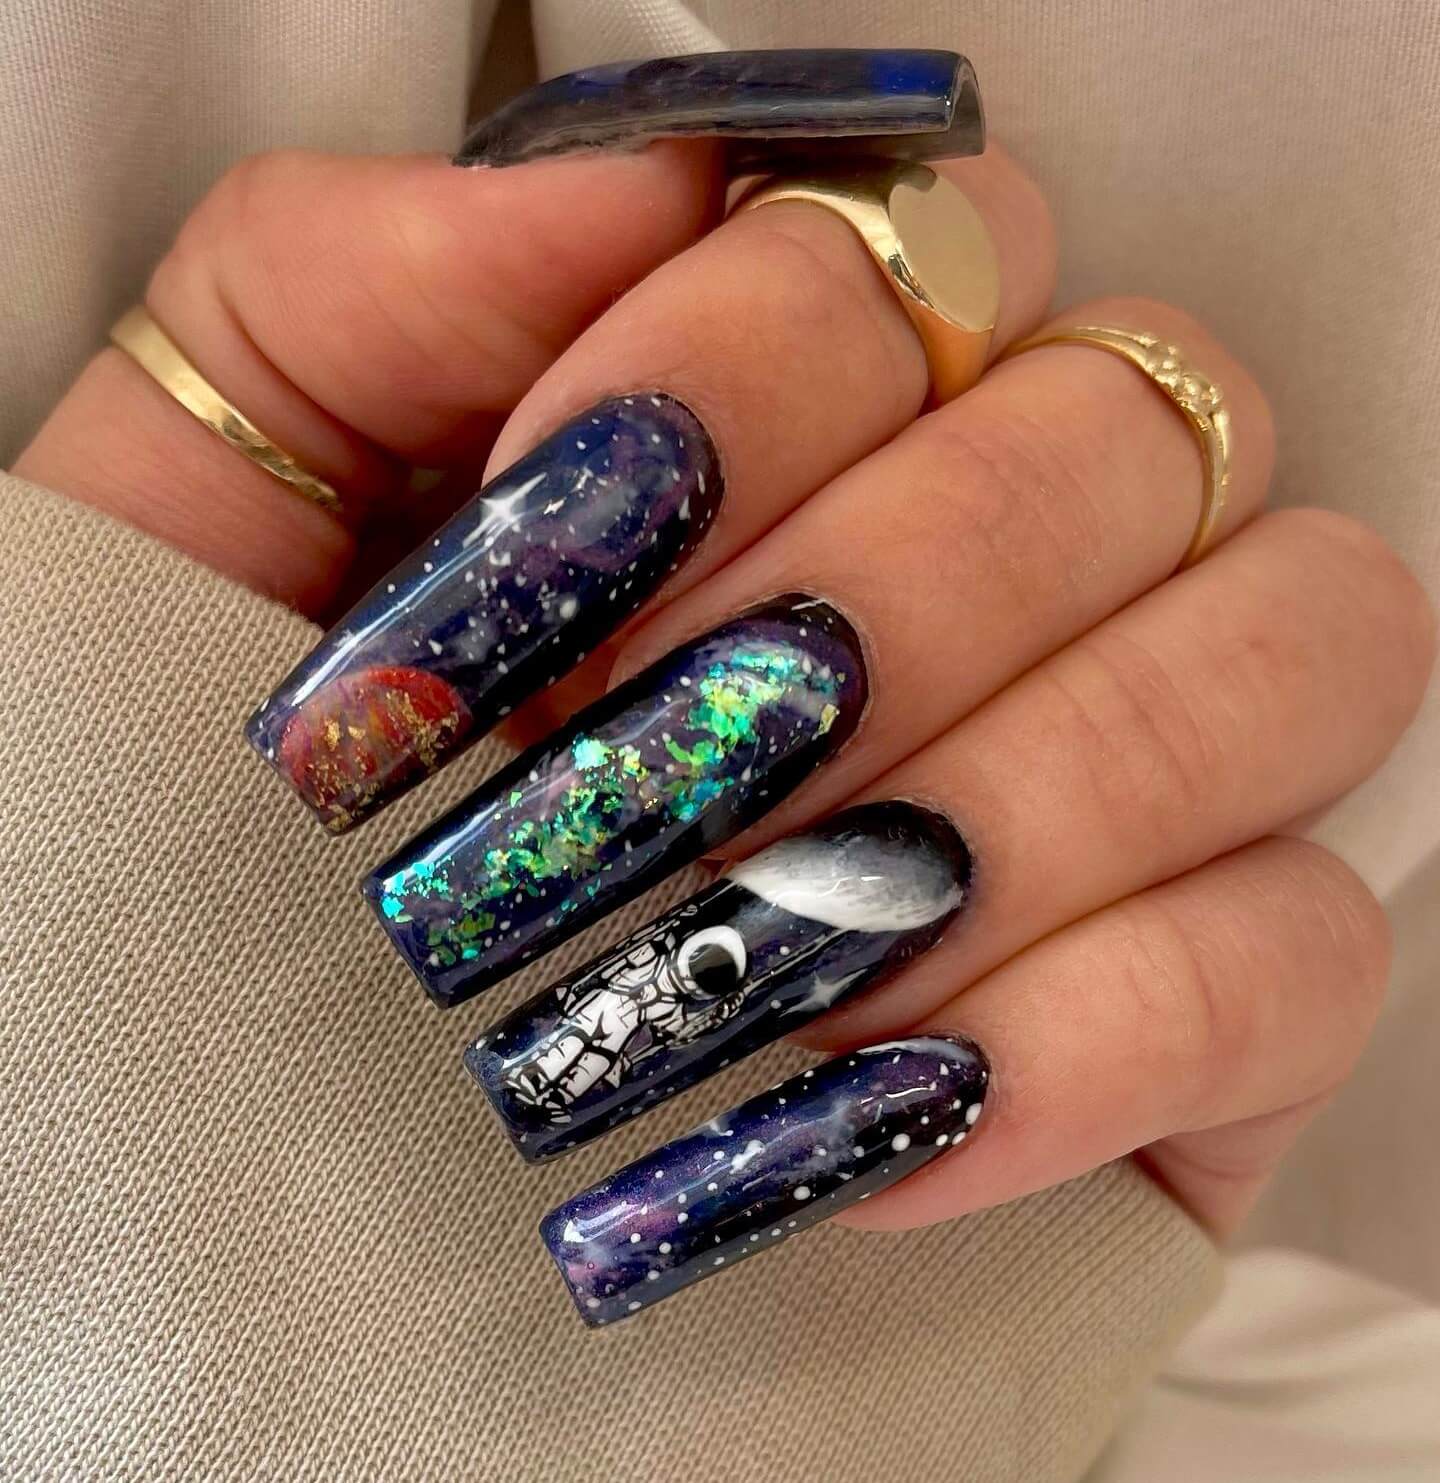
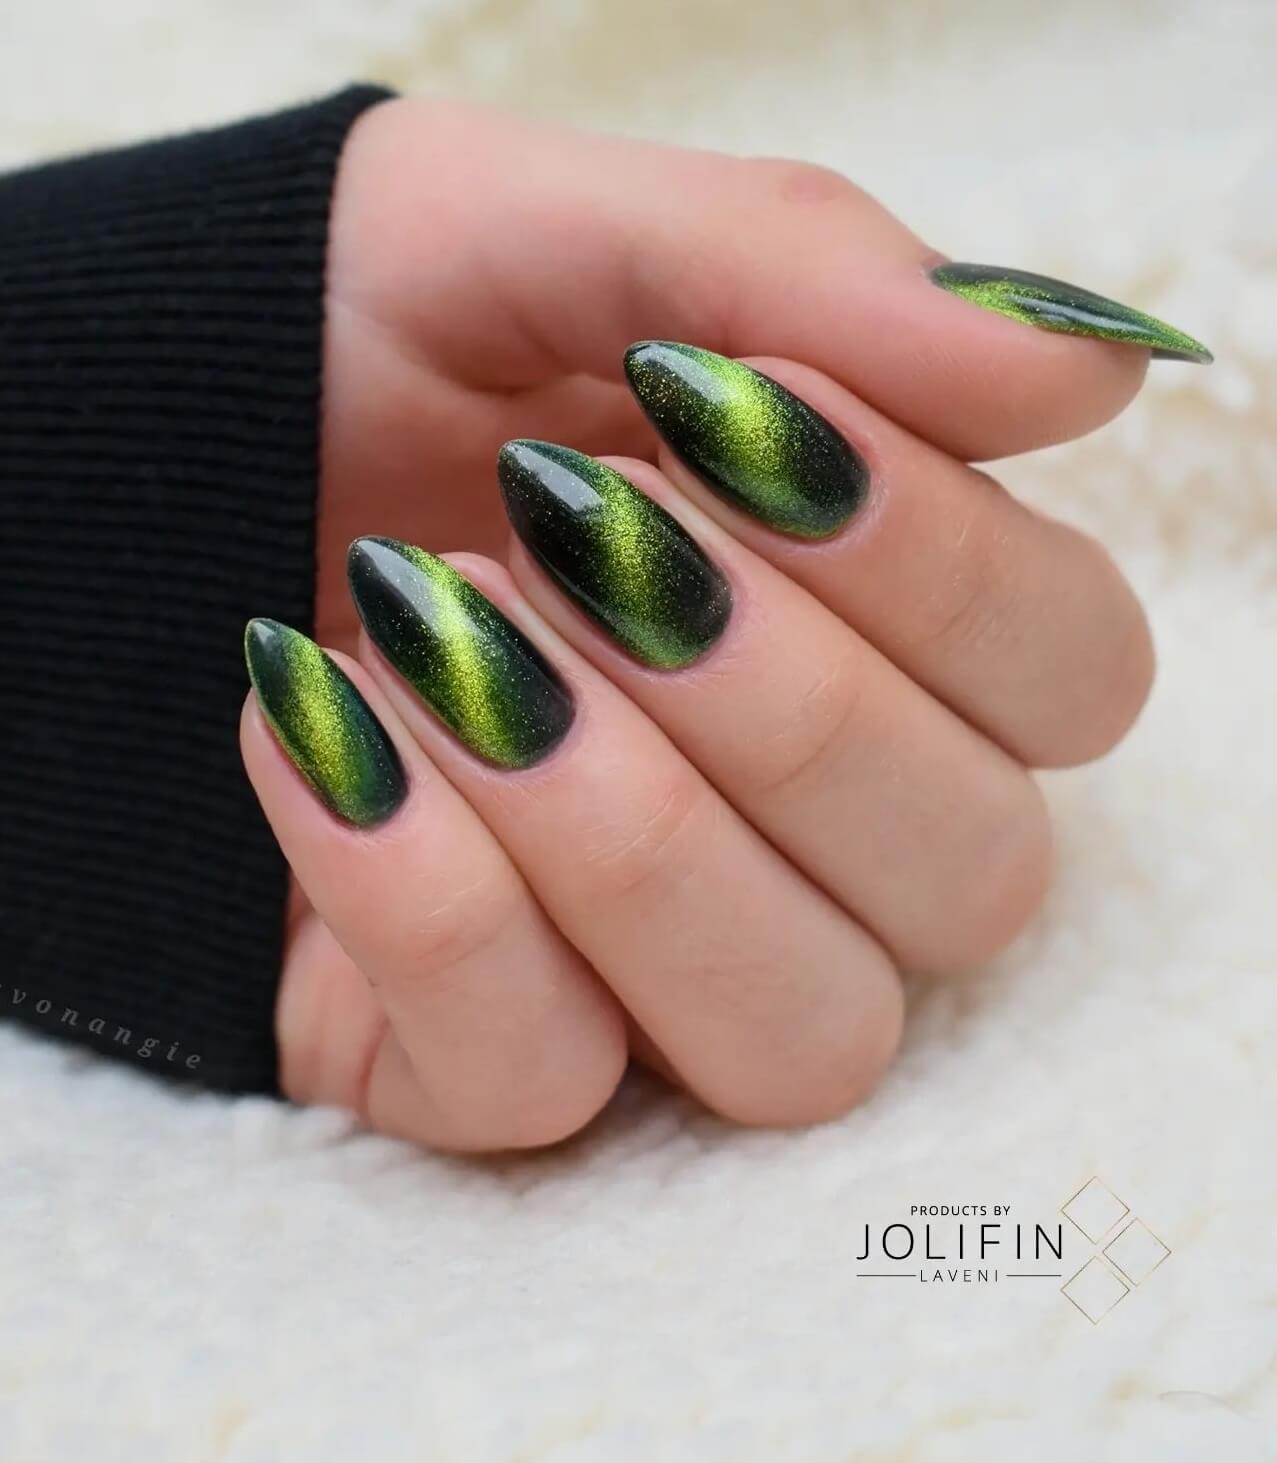
#2
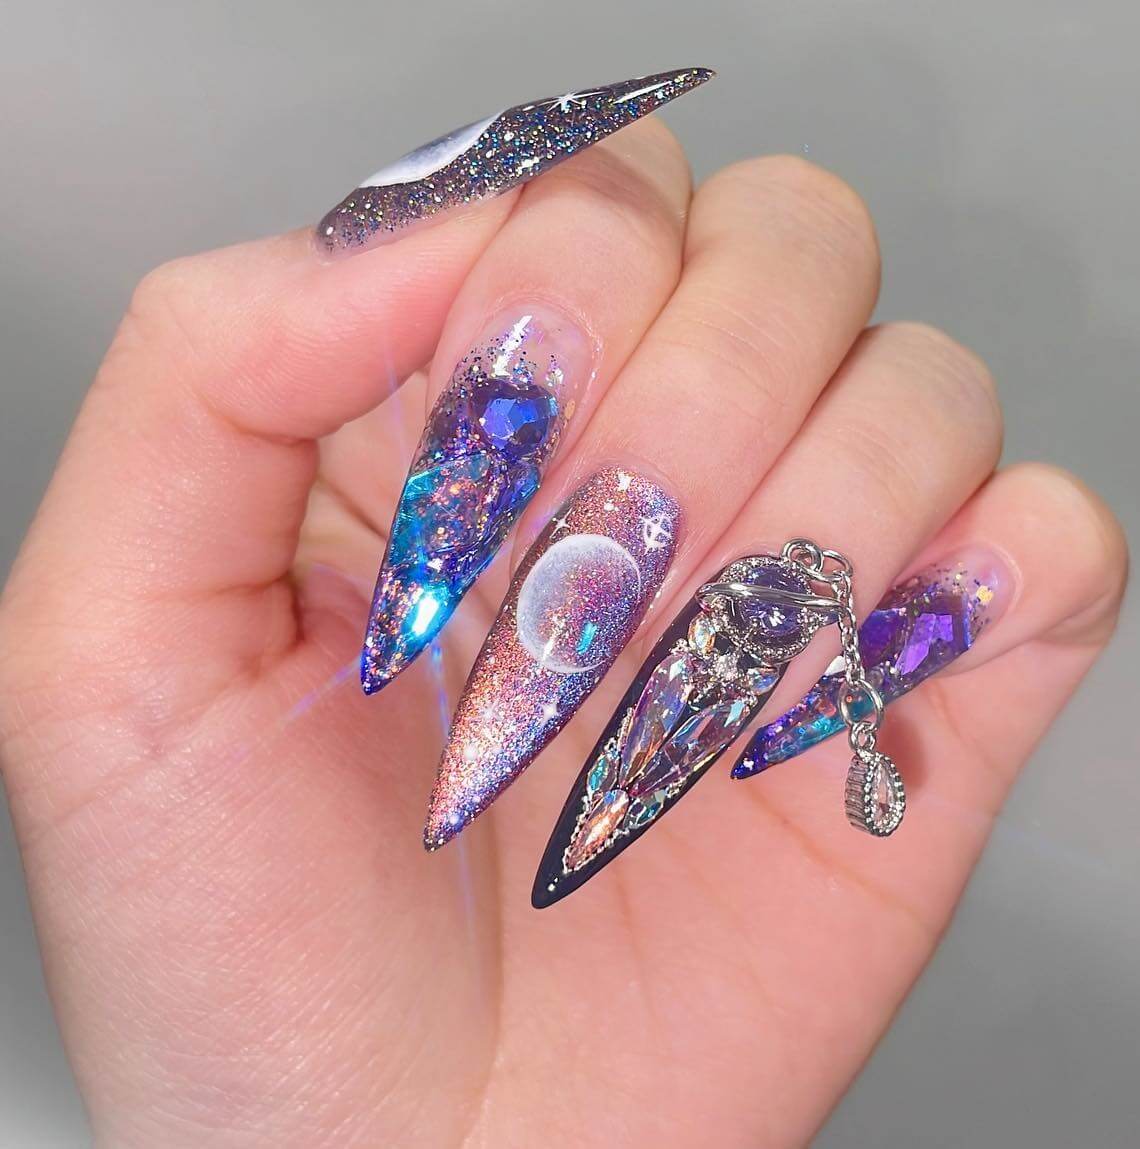 Source: unknown
How To Do Galaxy Nails At Home
If you love the mesmerizing look of galaxy nails but are hesitant to try the intricate DIY process at home, believing the stunning cosmic design is too complicated, there’s no need to stress!
We’ve found an amazing nail art guide that is both simple to follow and essentially a fail-proof way to achieve that beautiful, flawless celestial design.
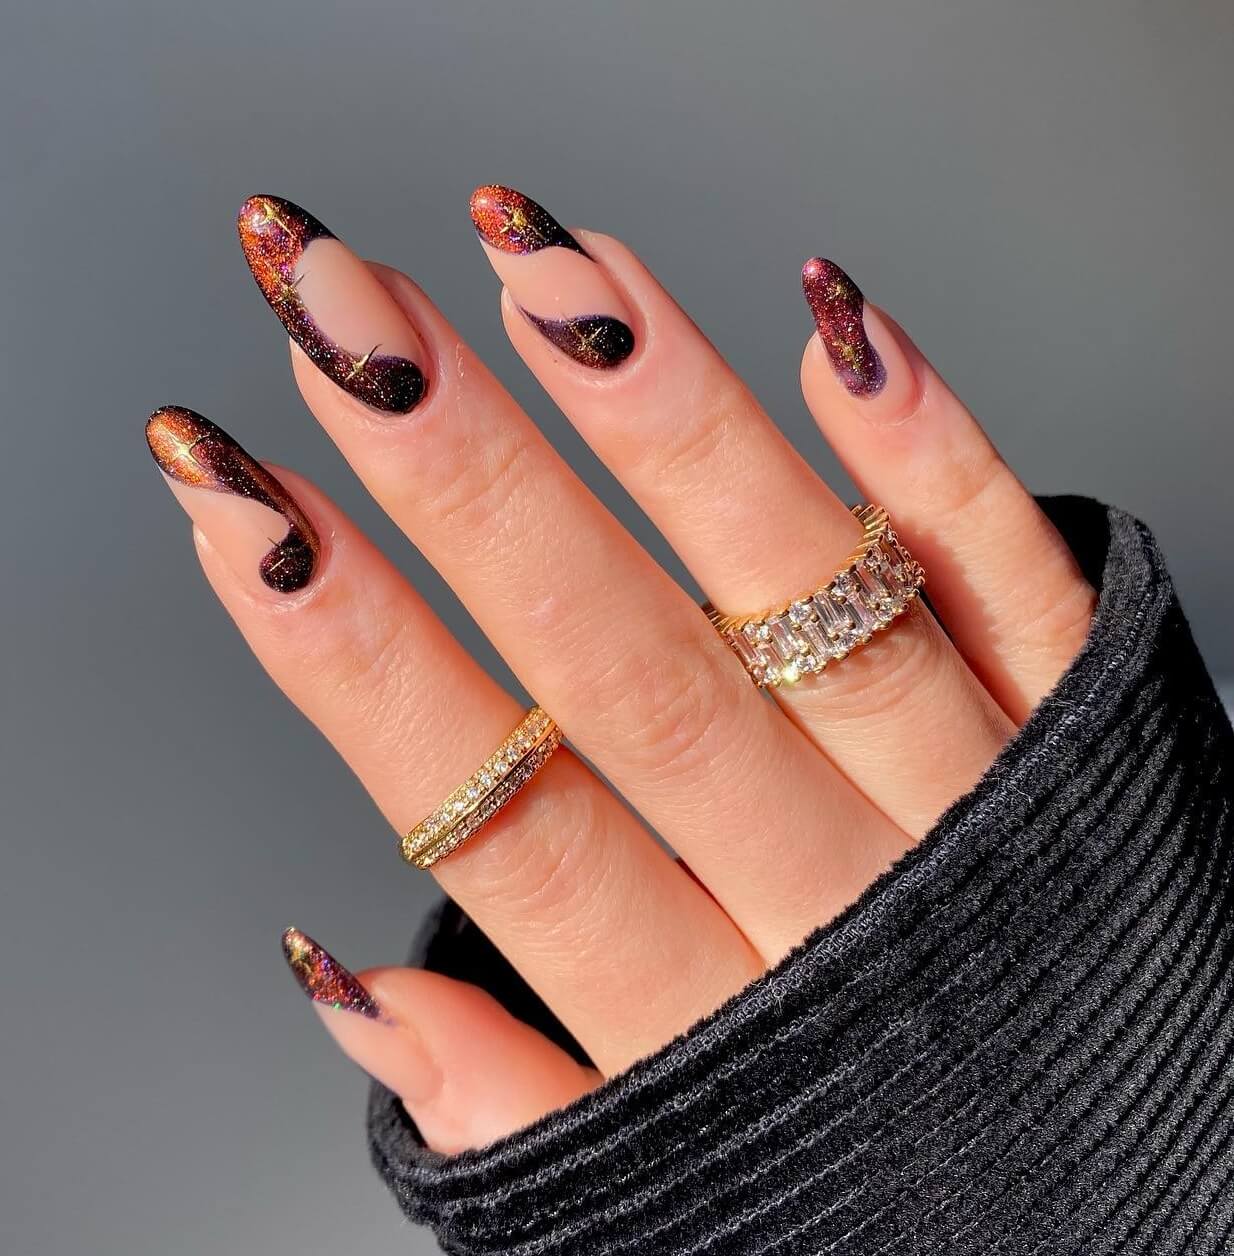
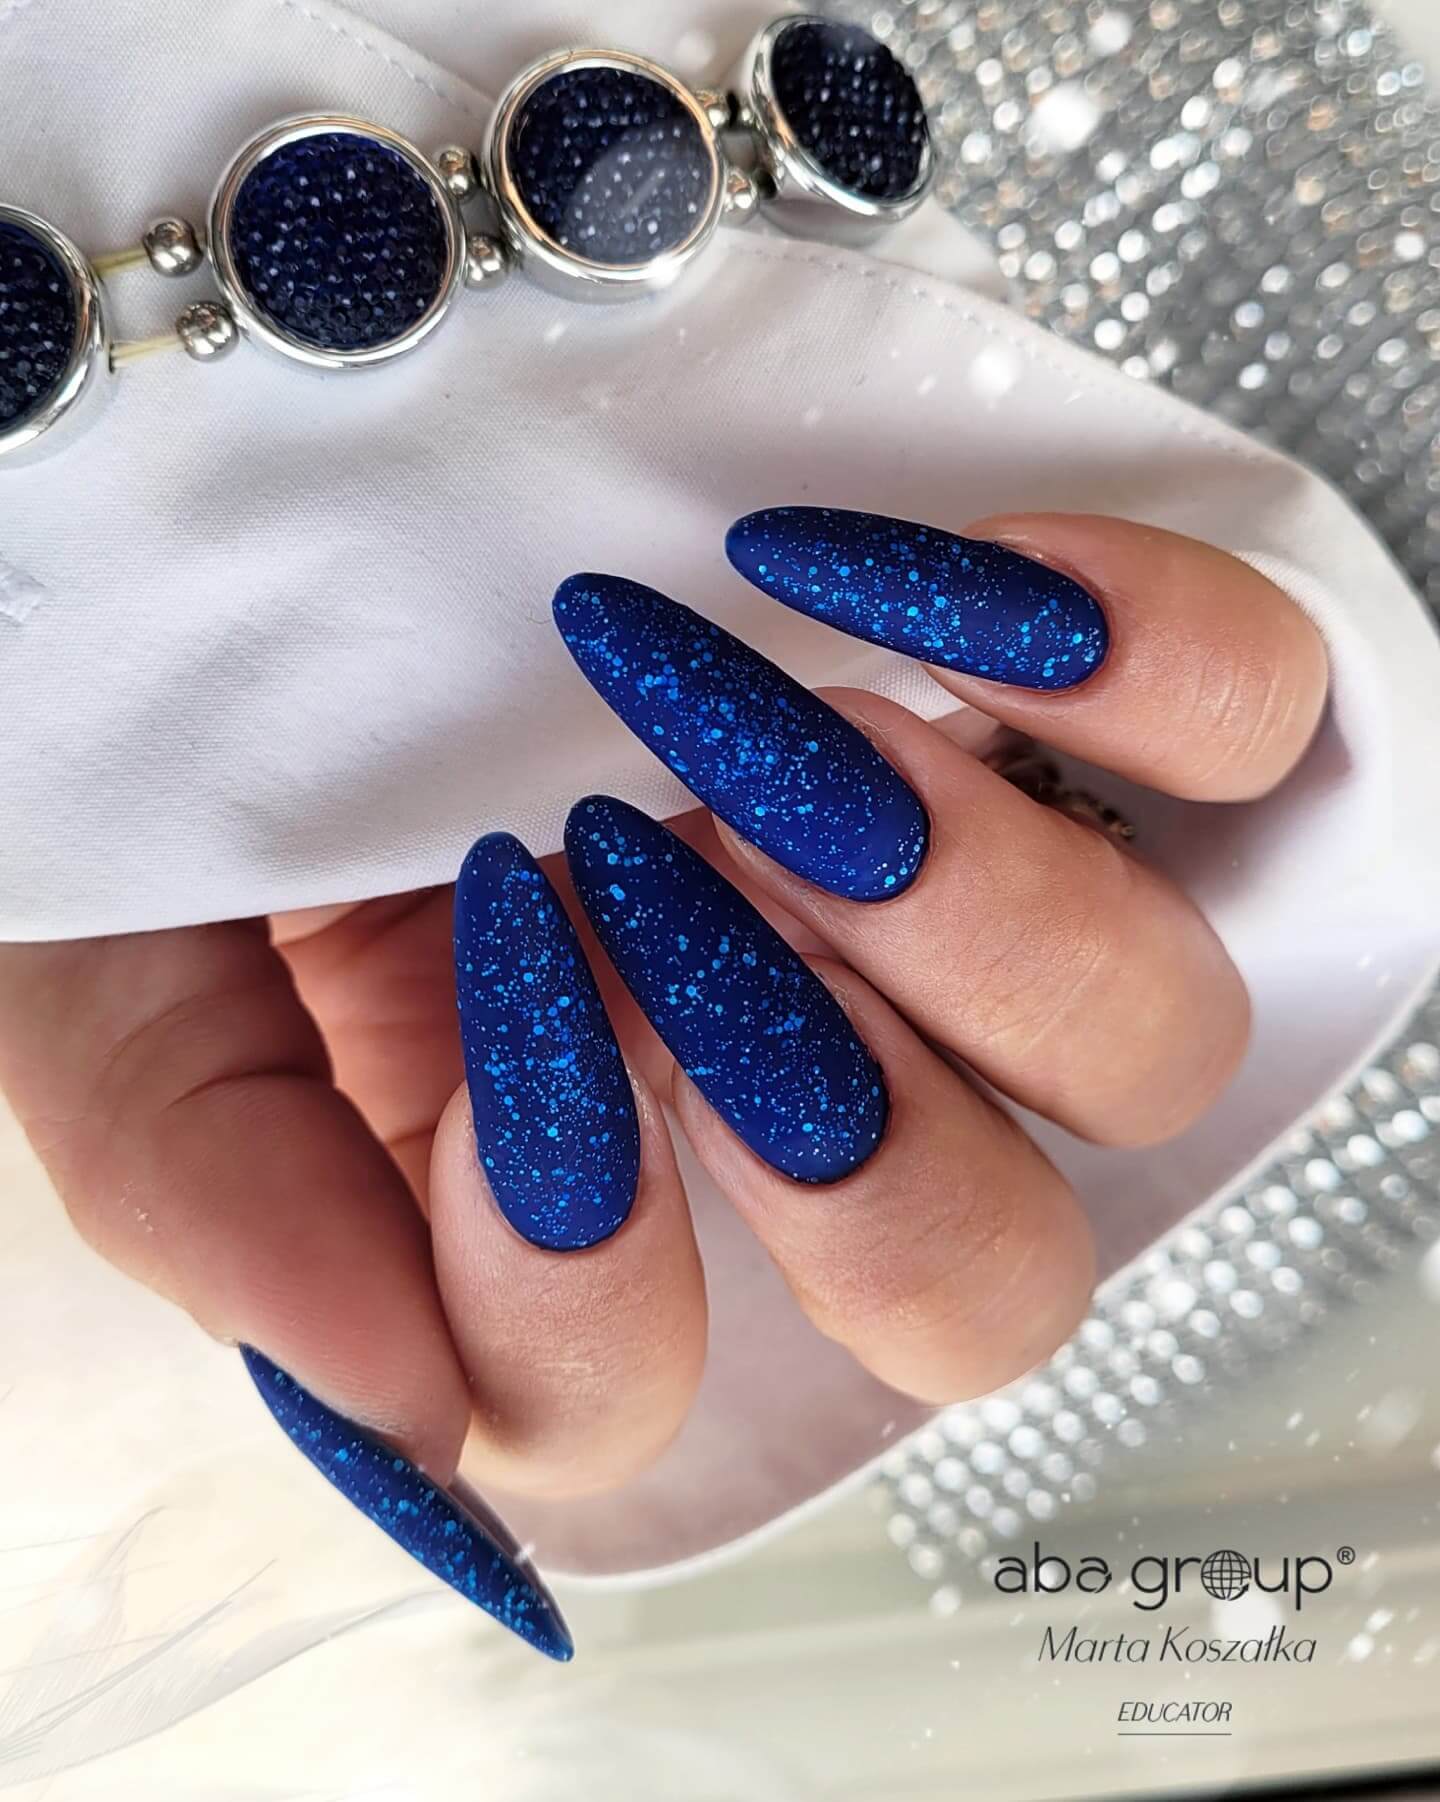
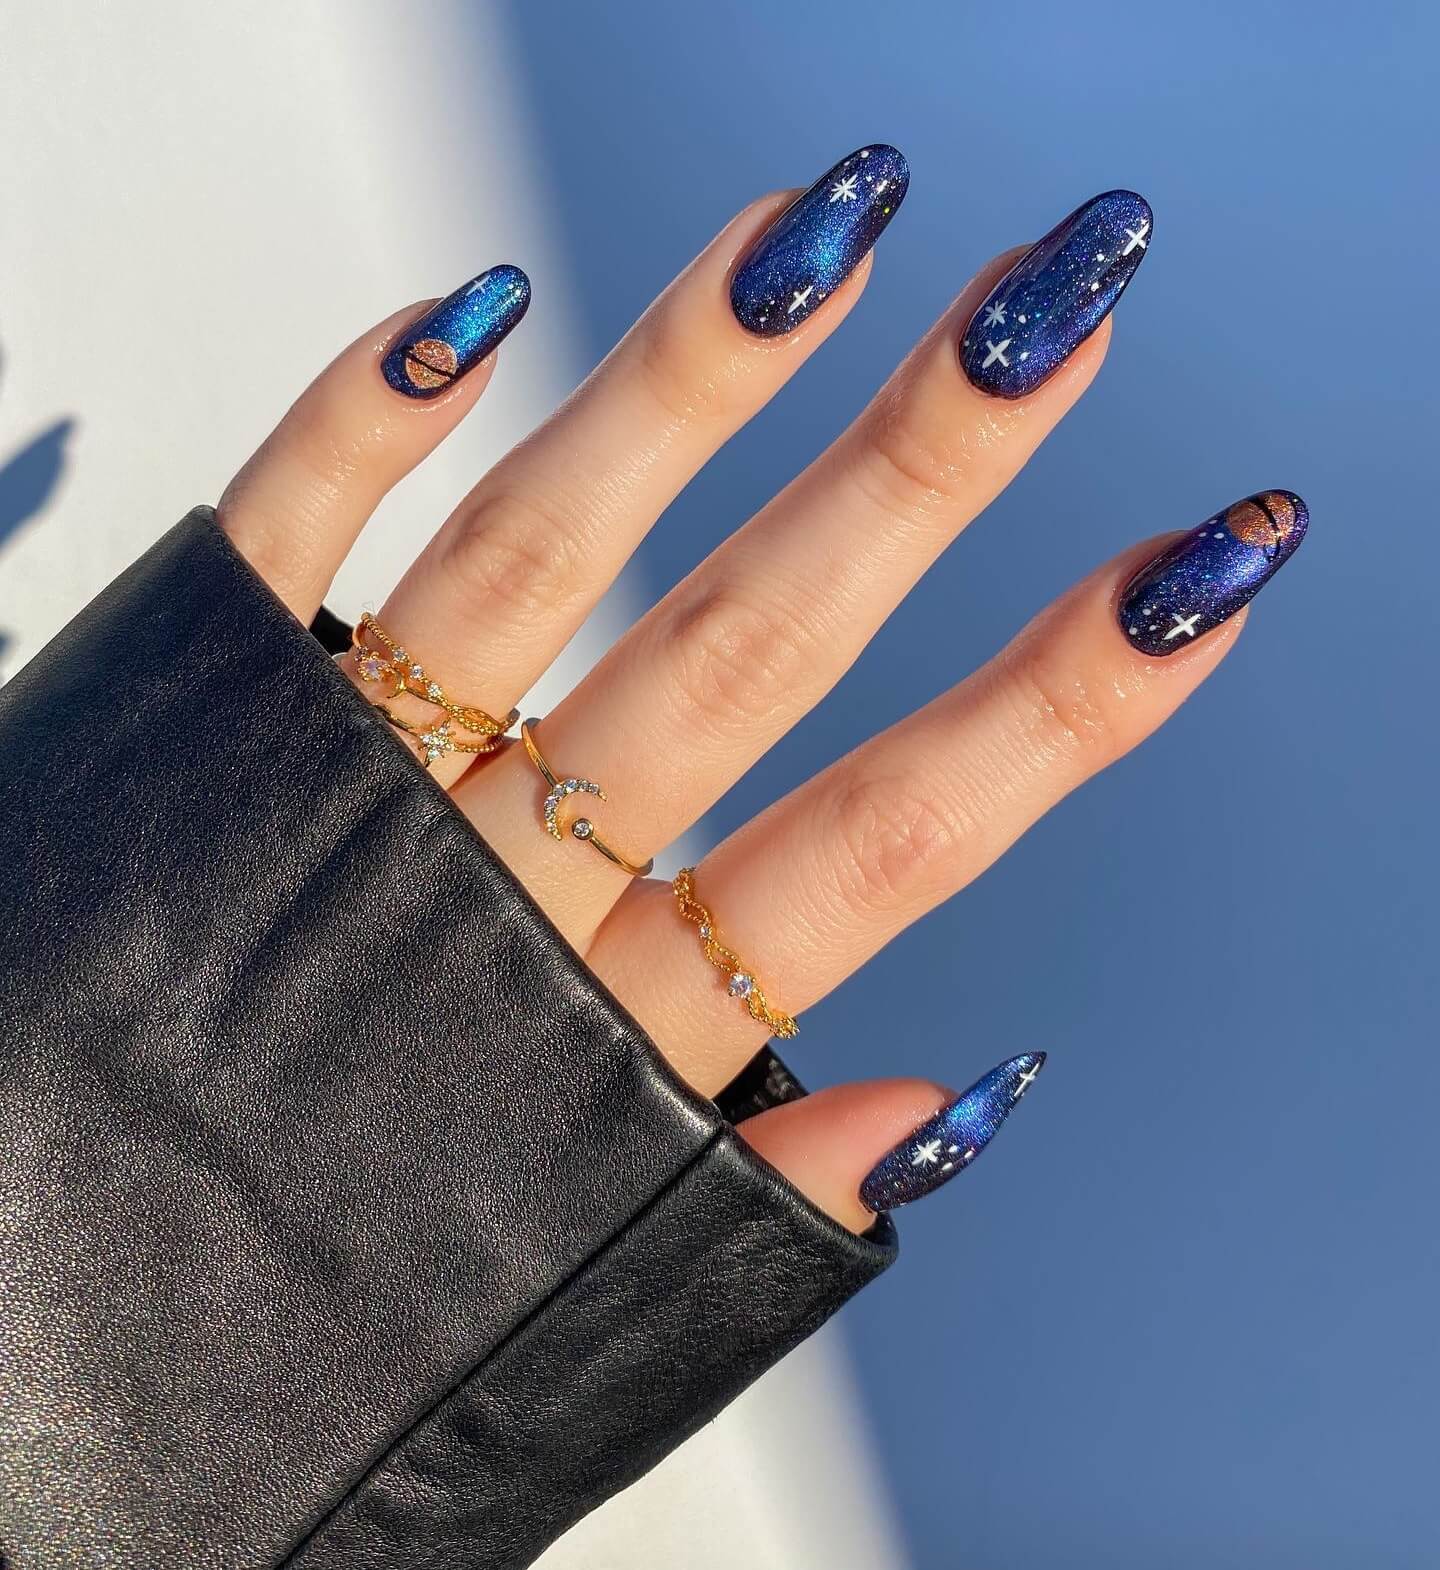
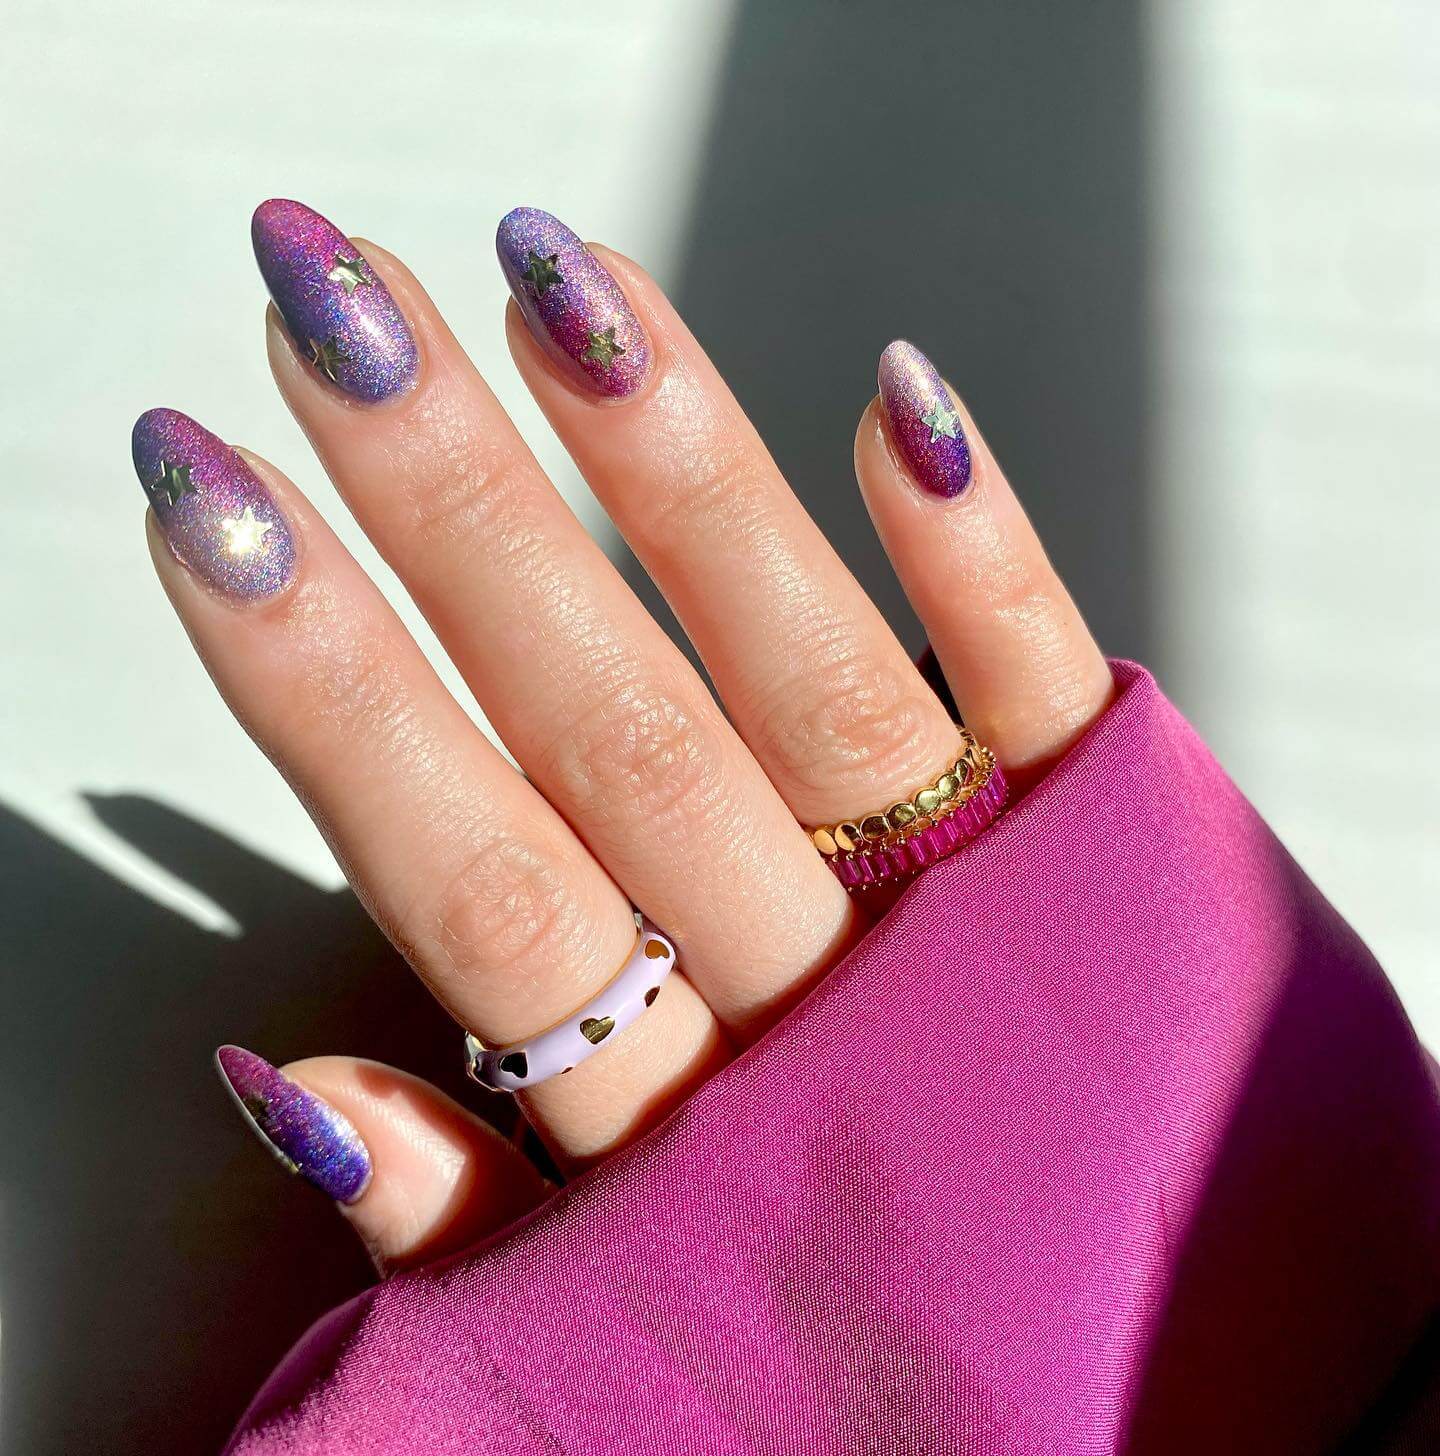
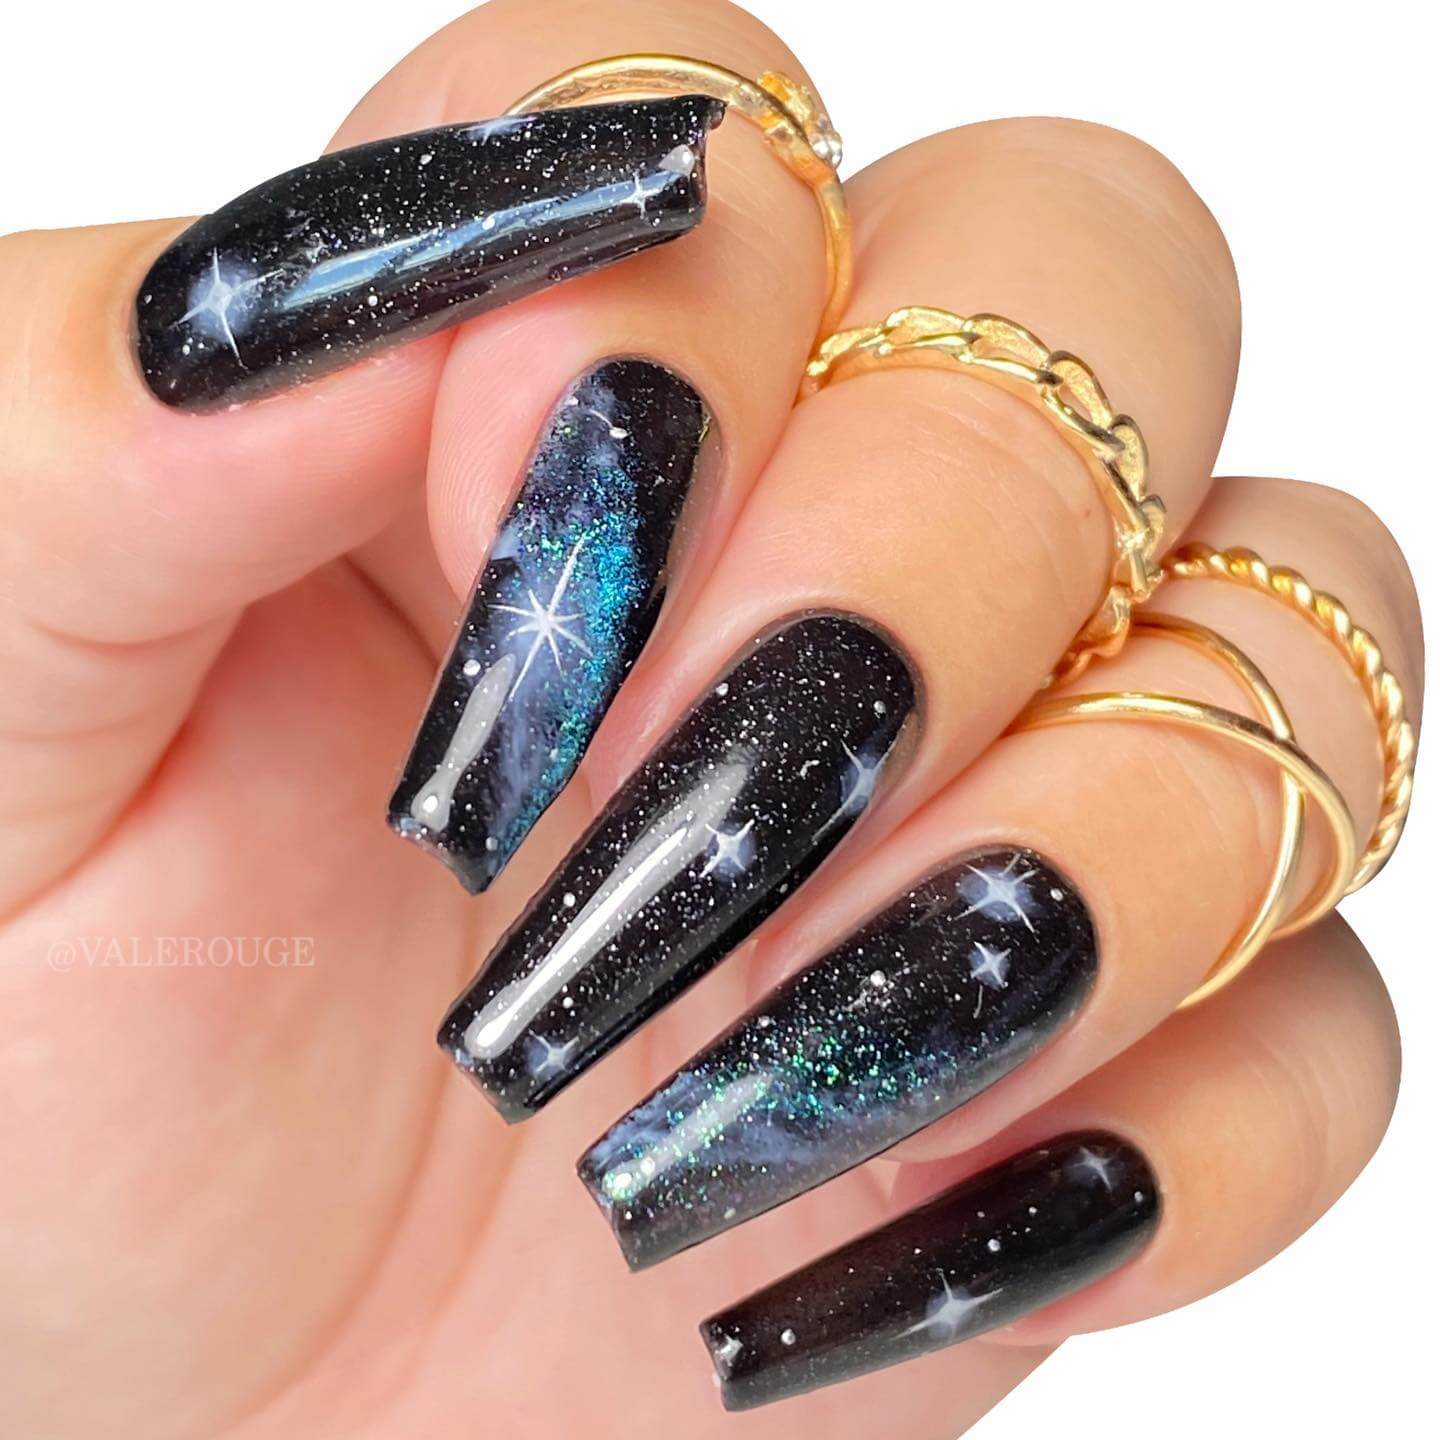
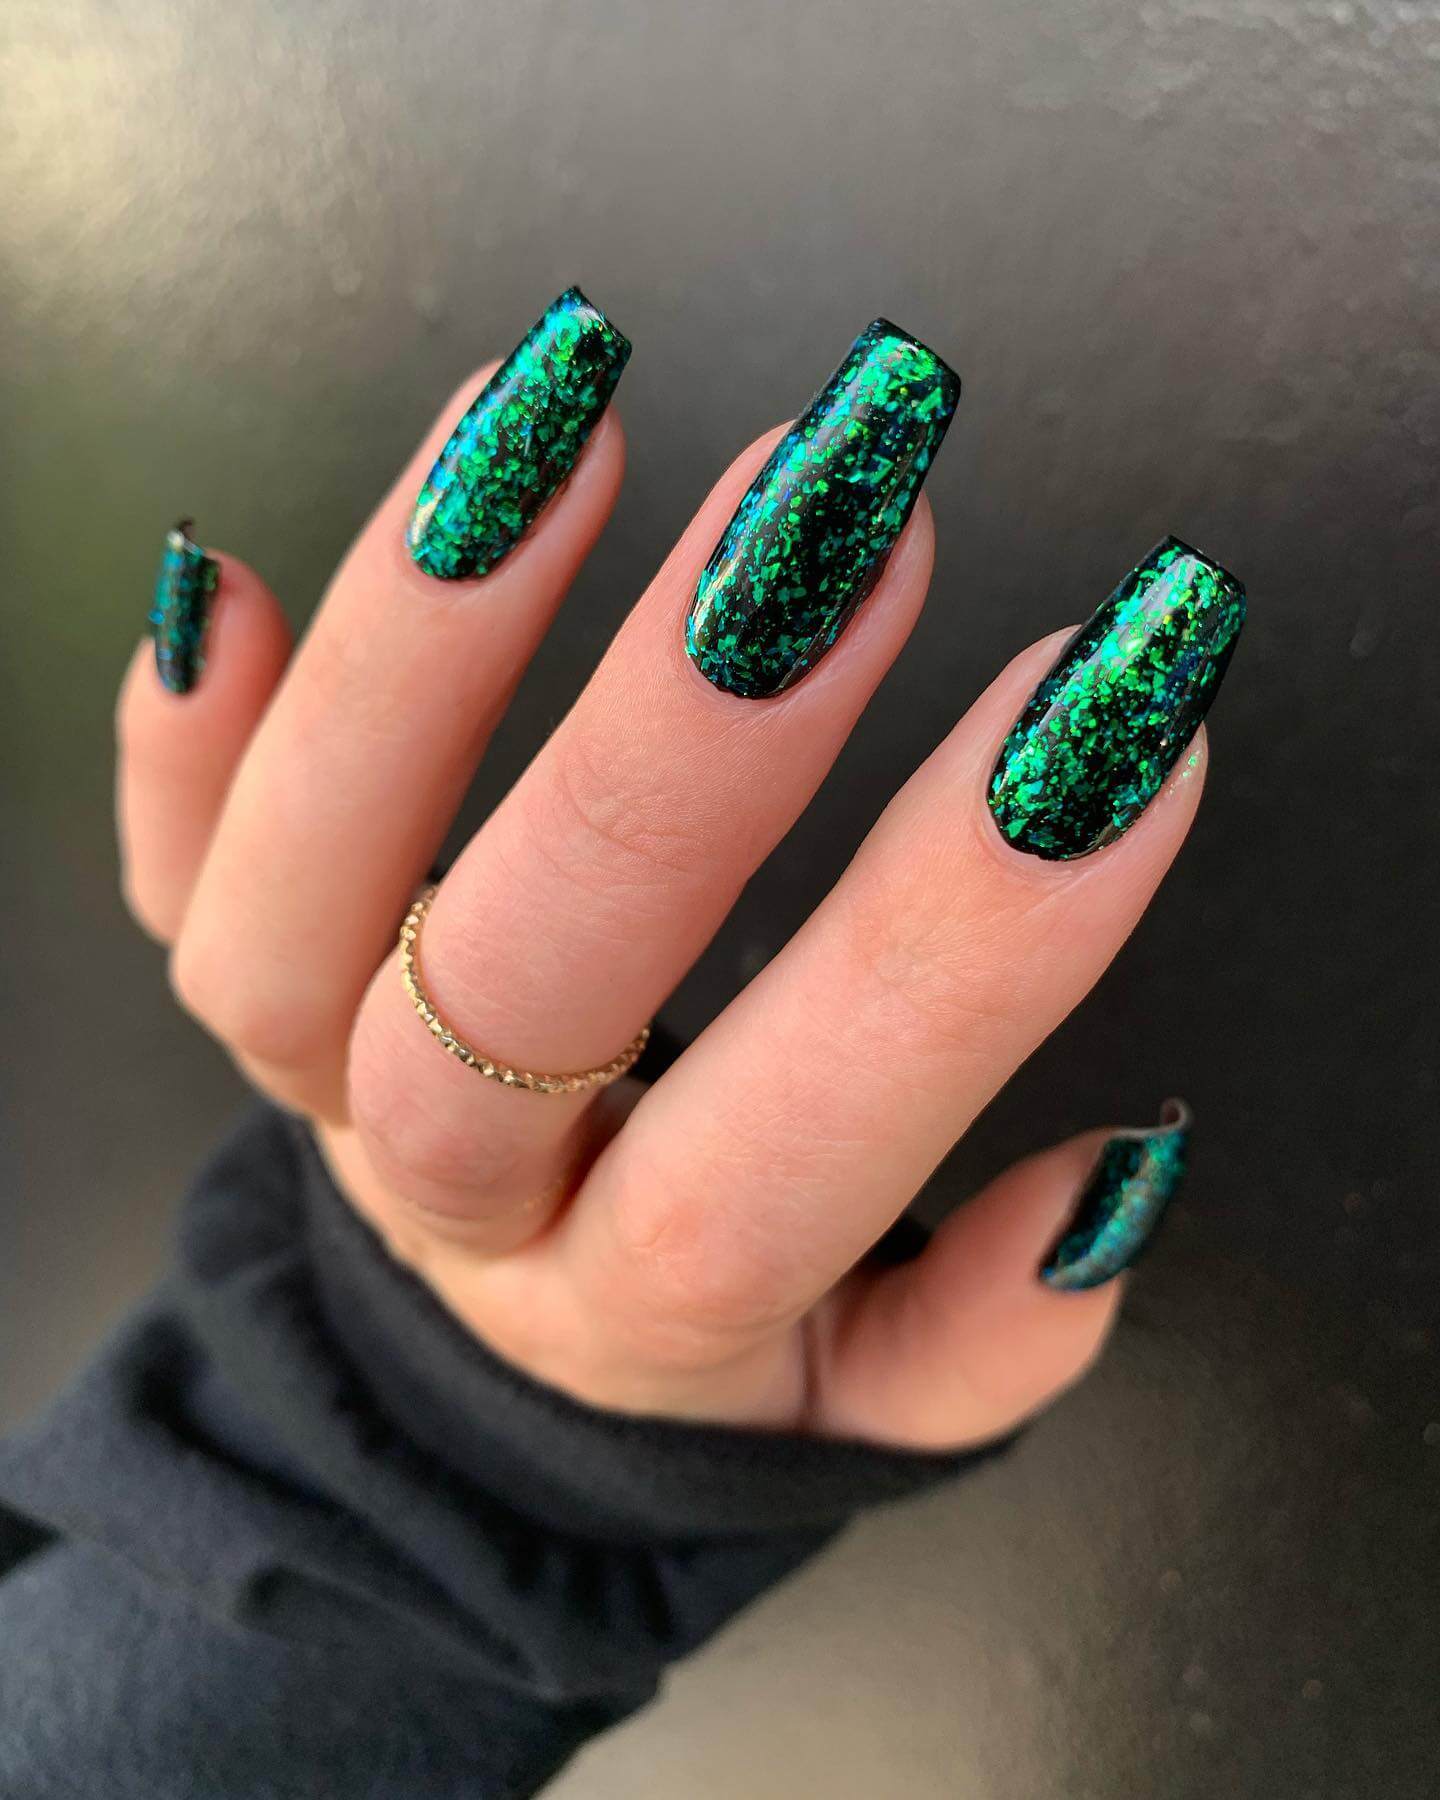
#3
 Source: unknown
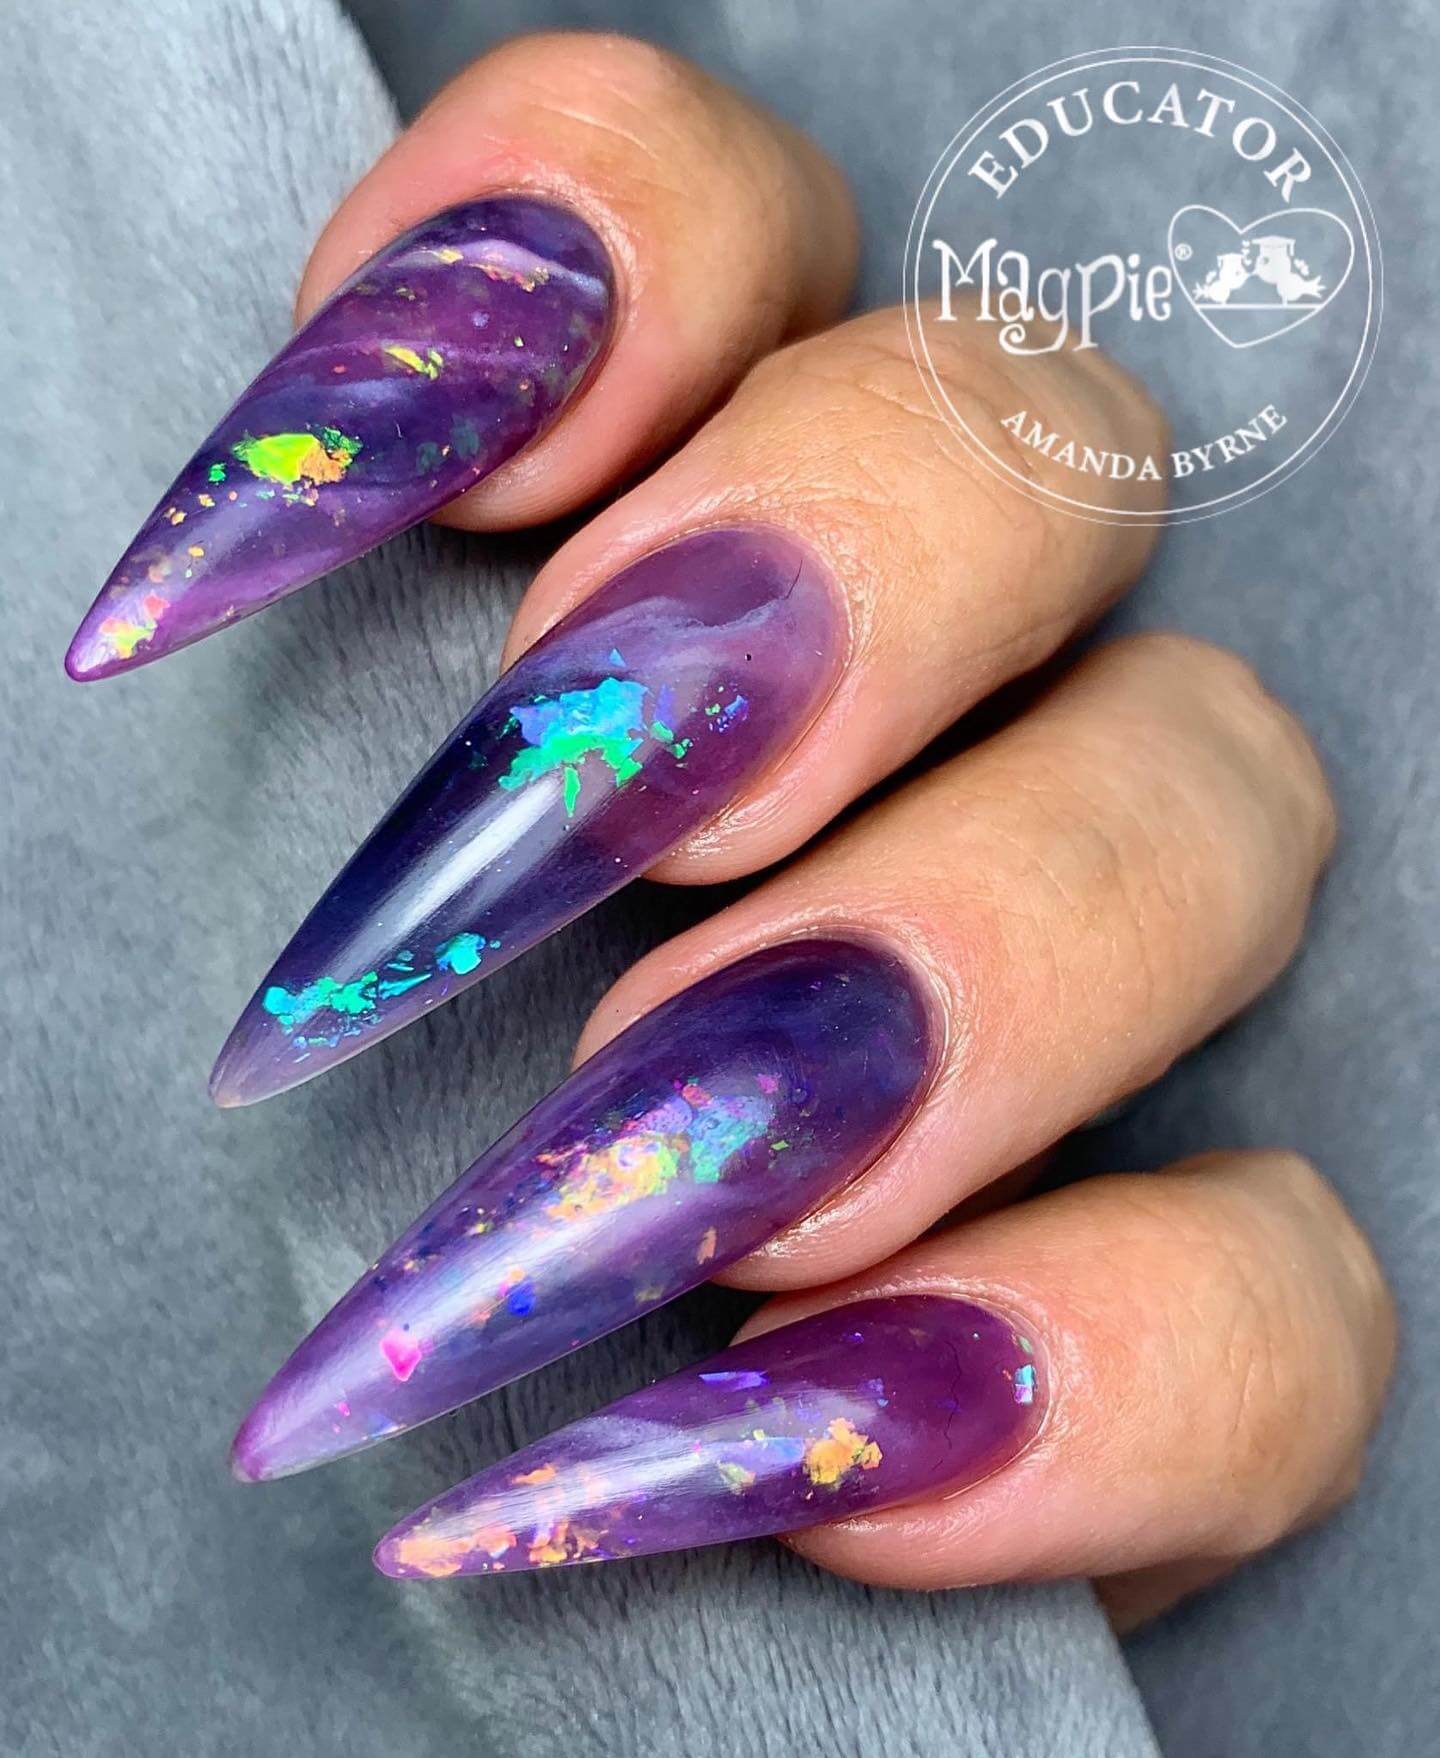
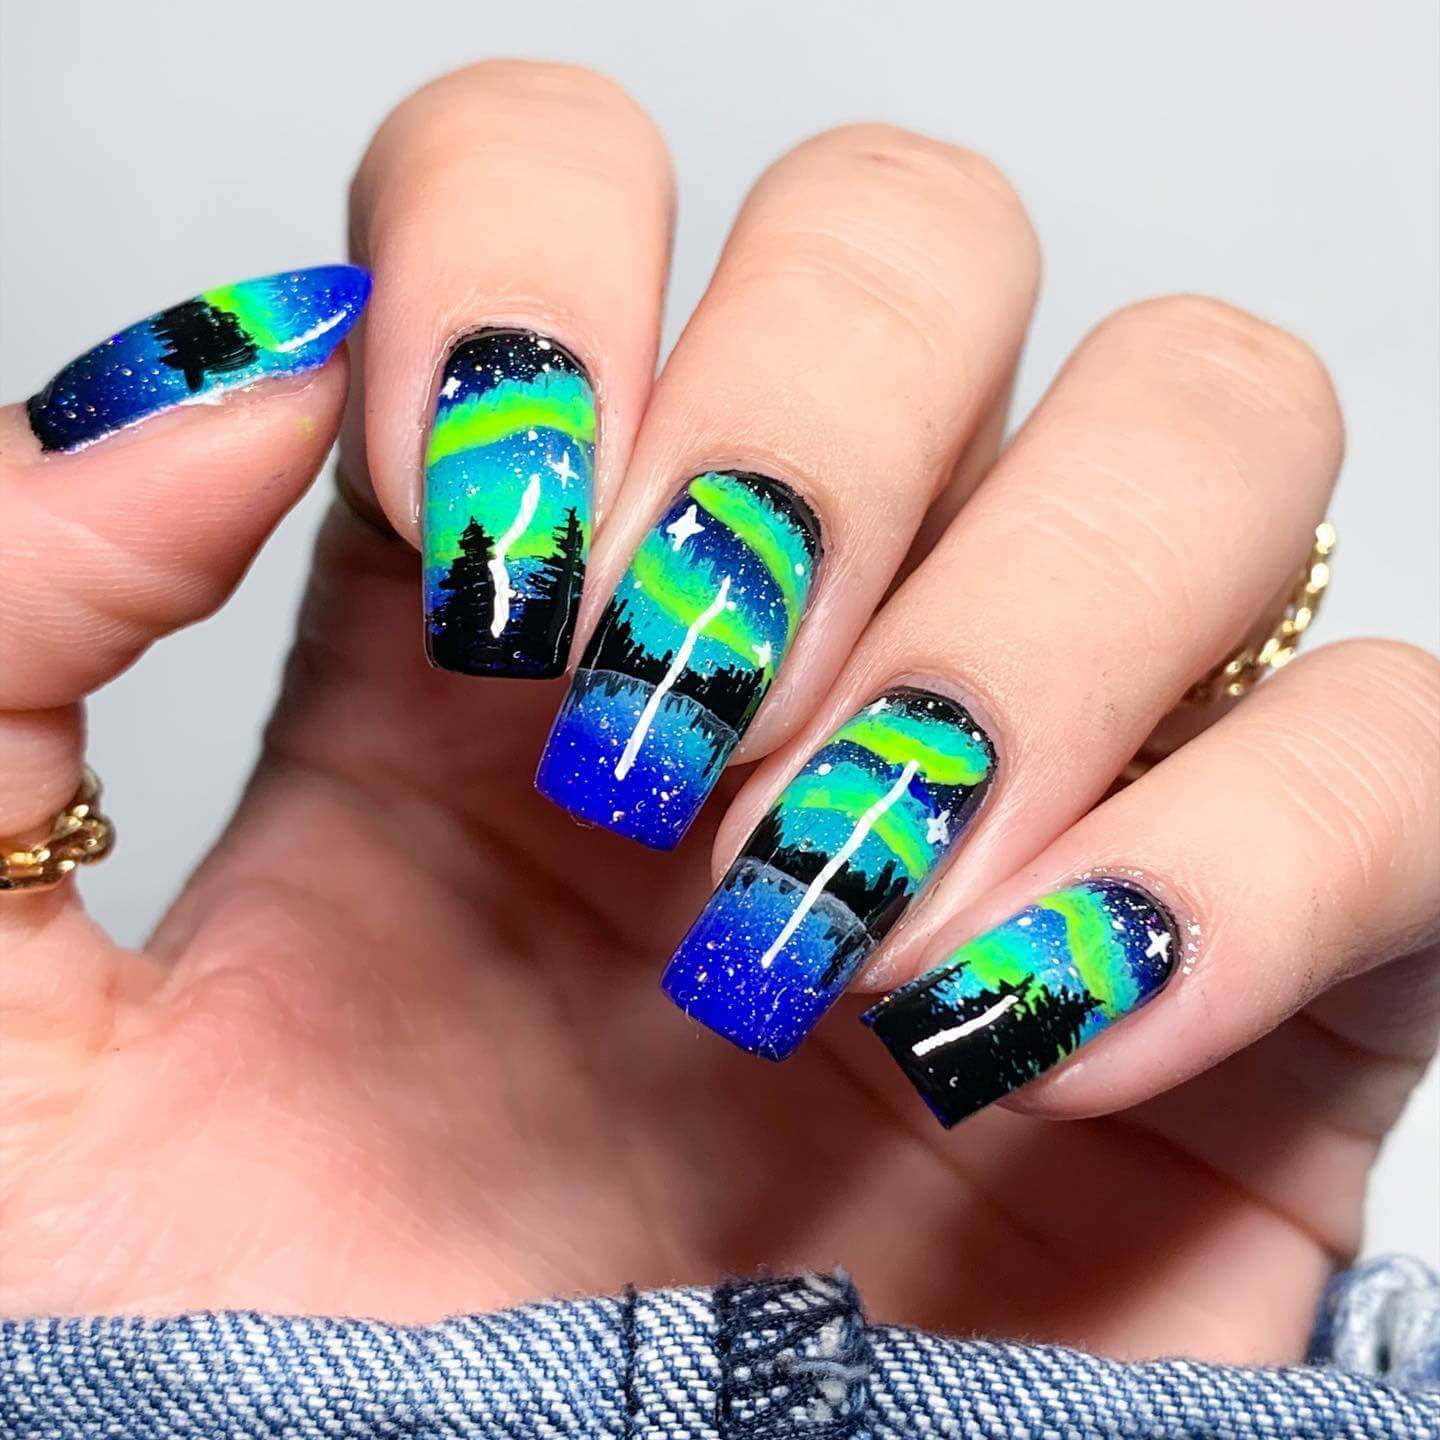
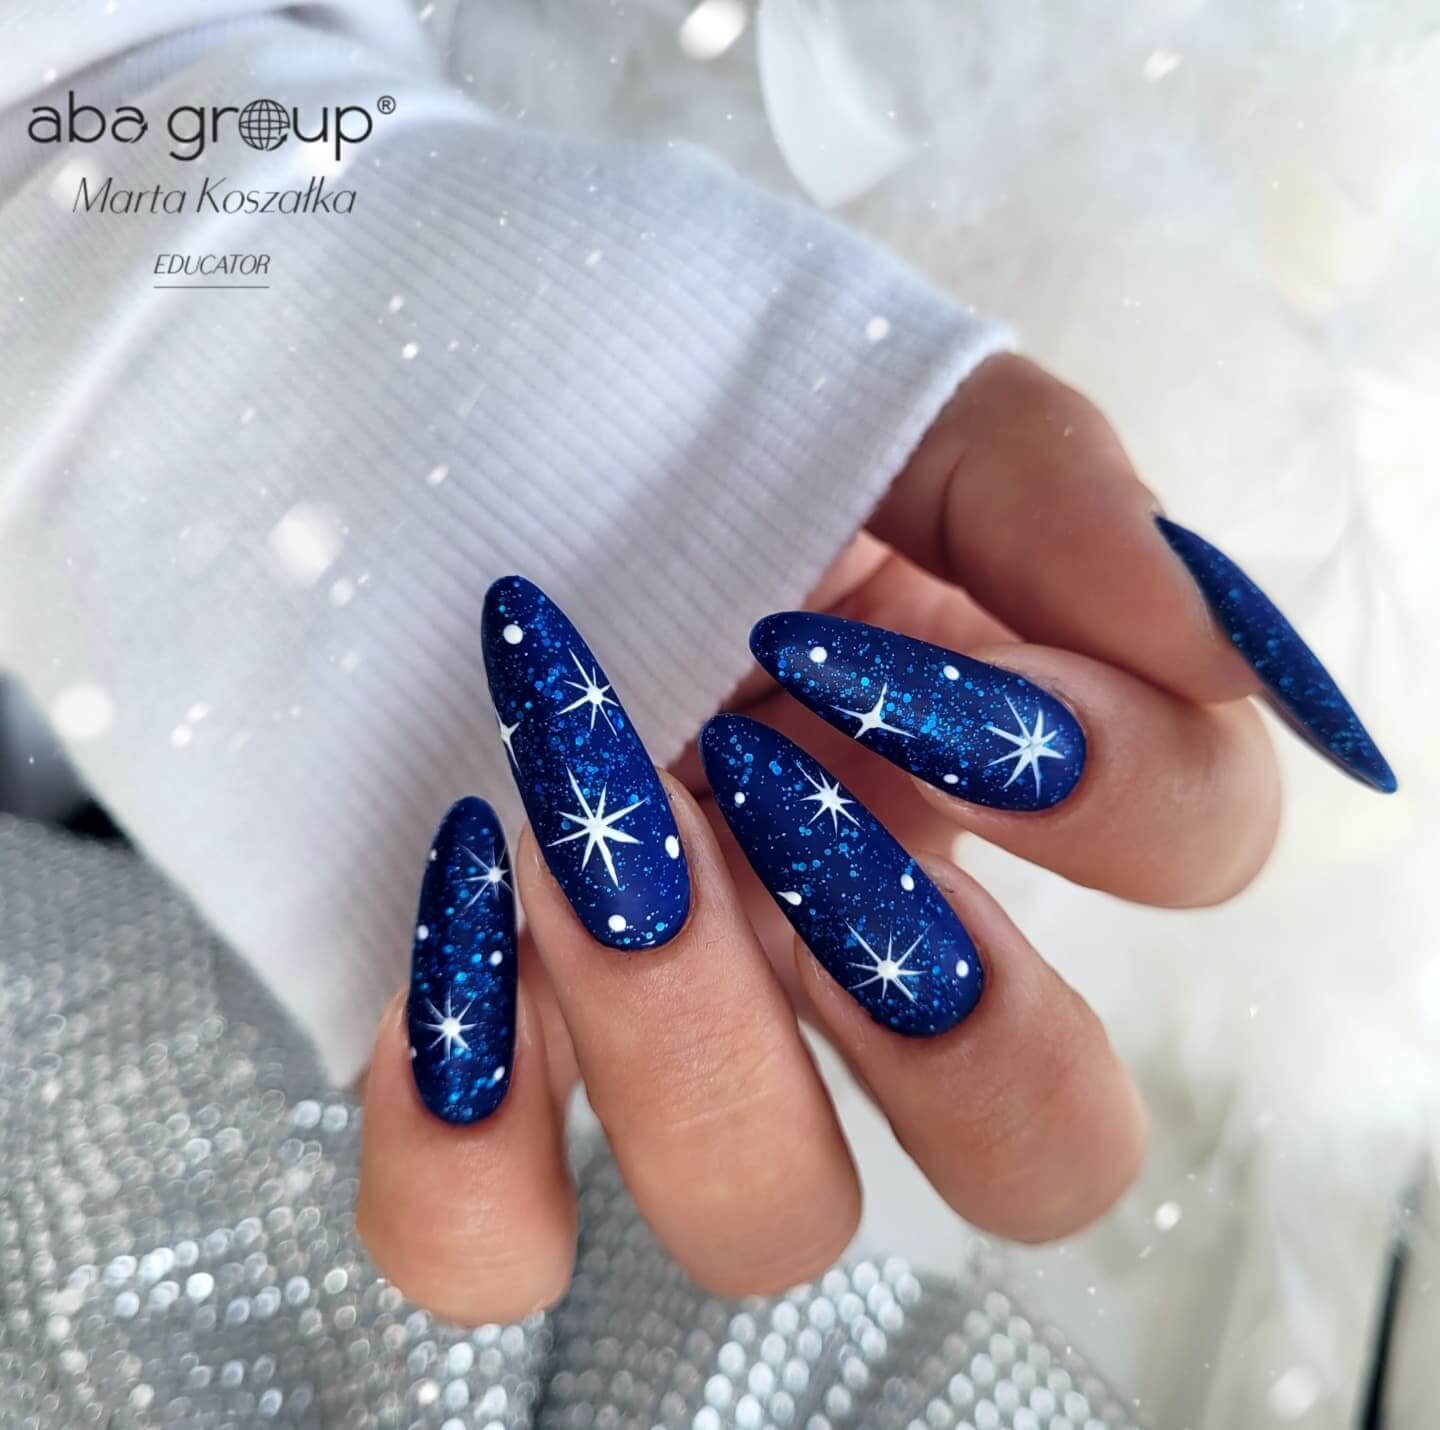
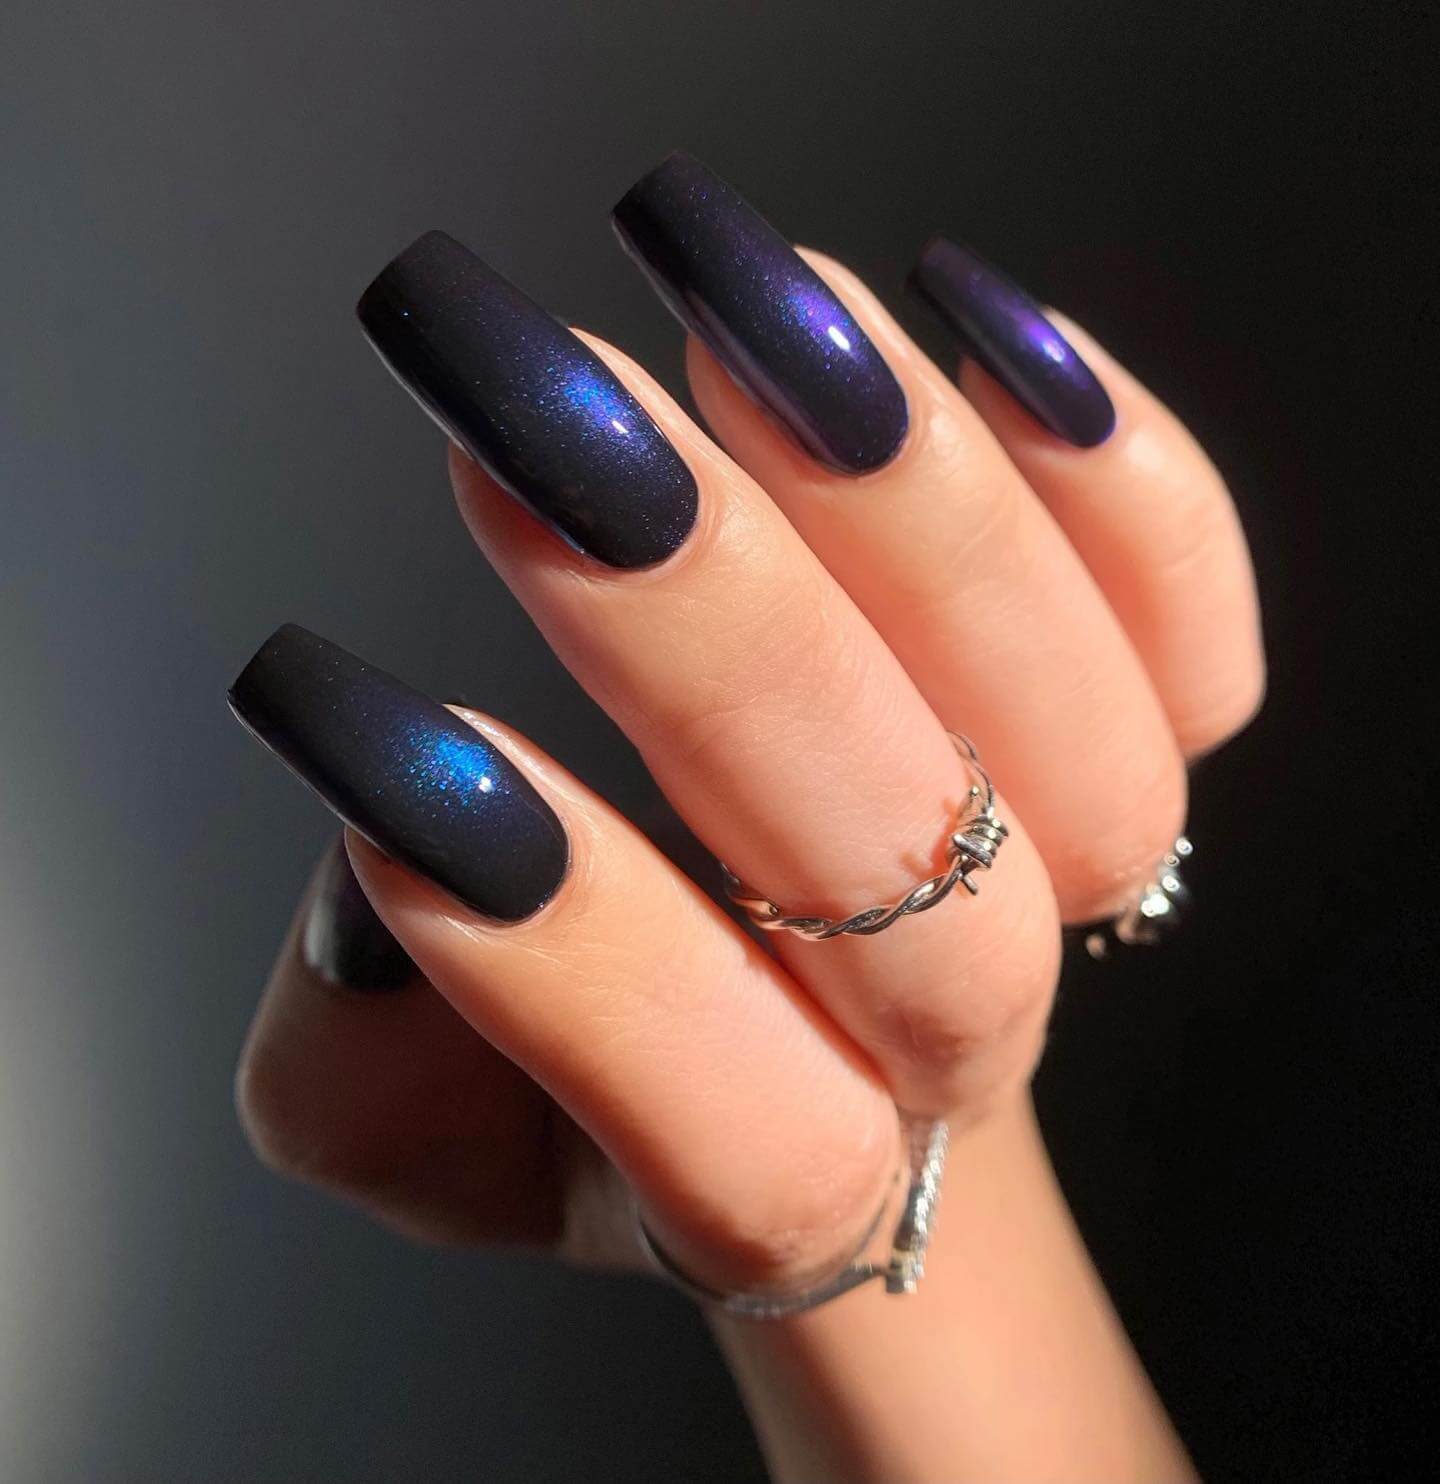
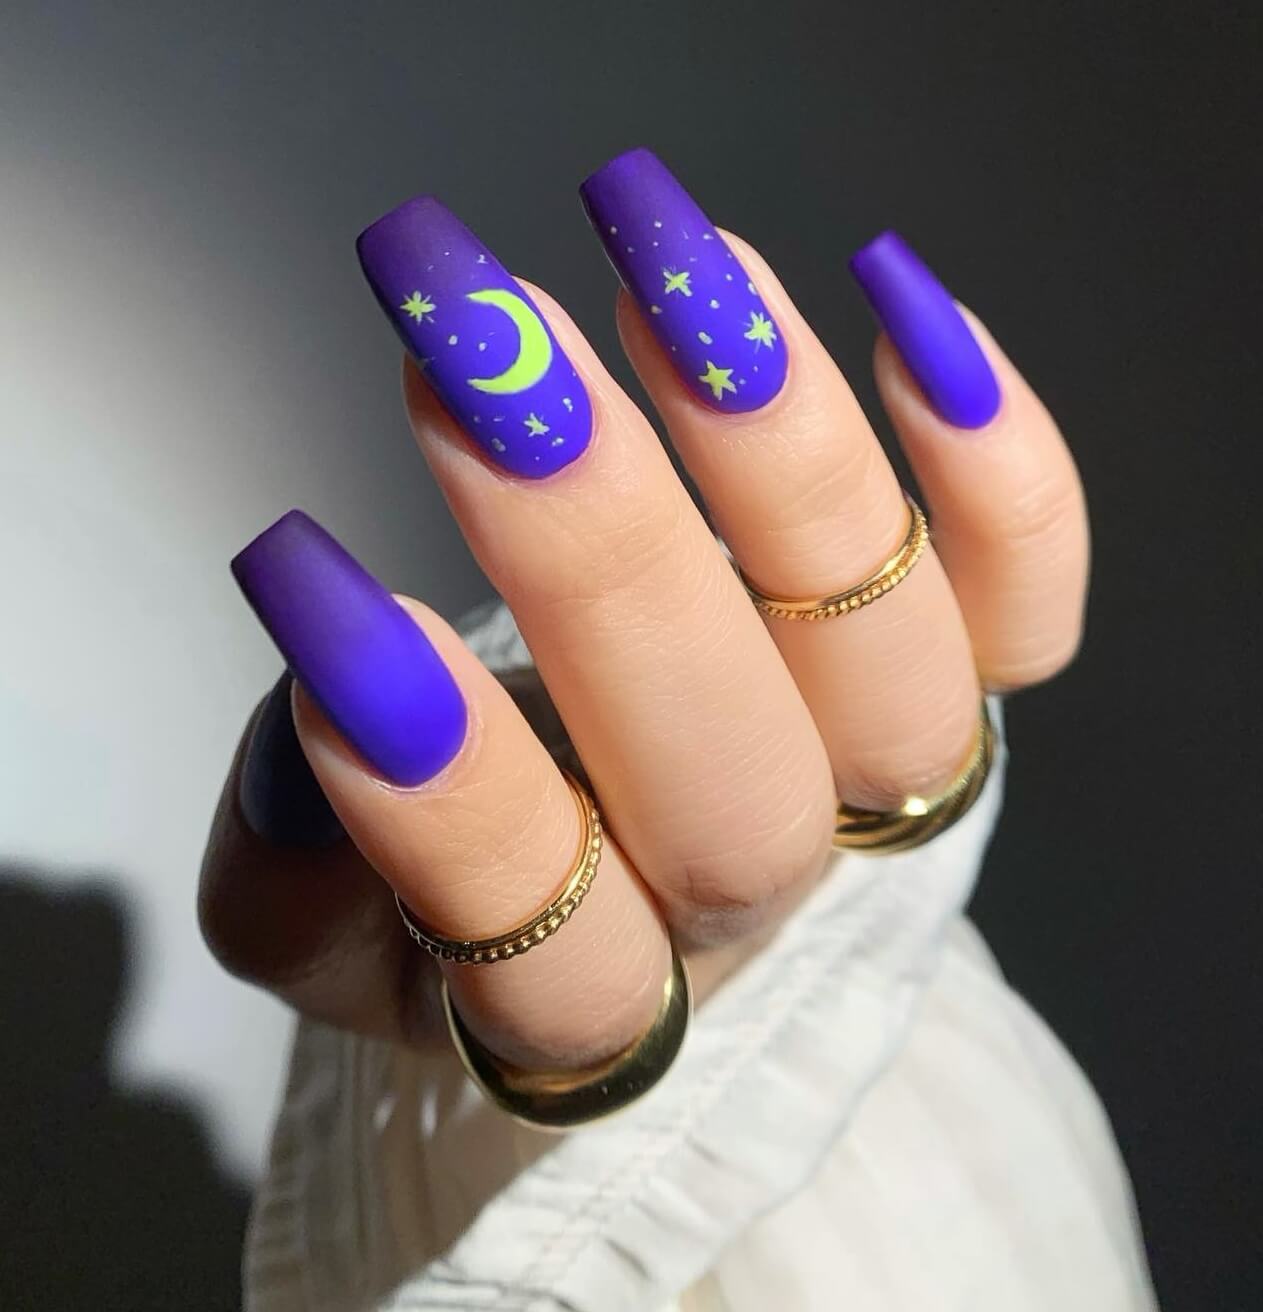
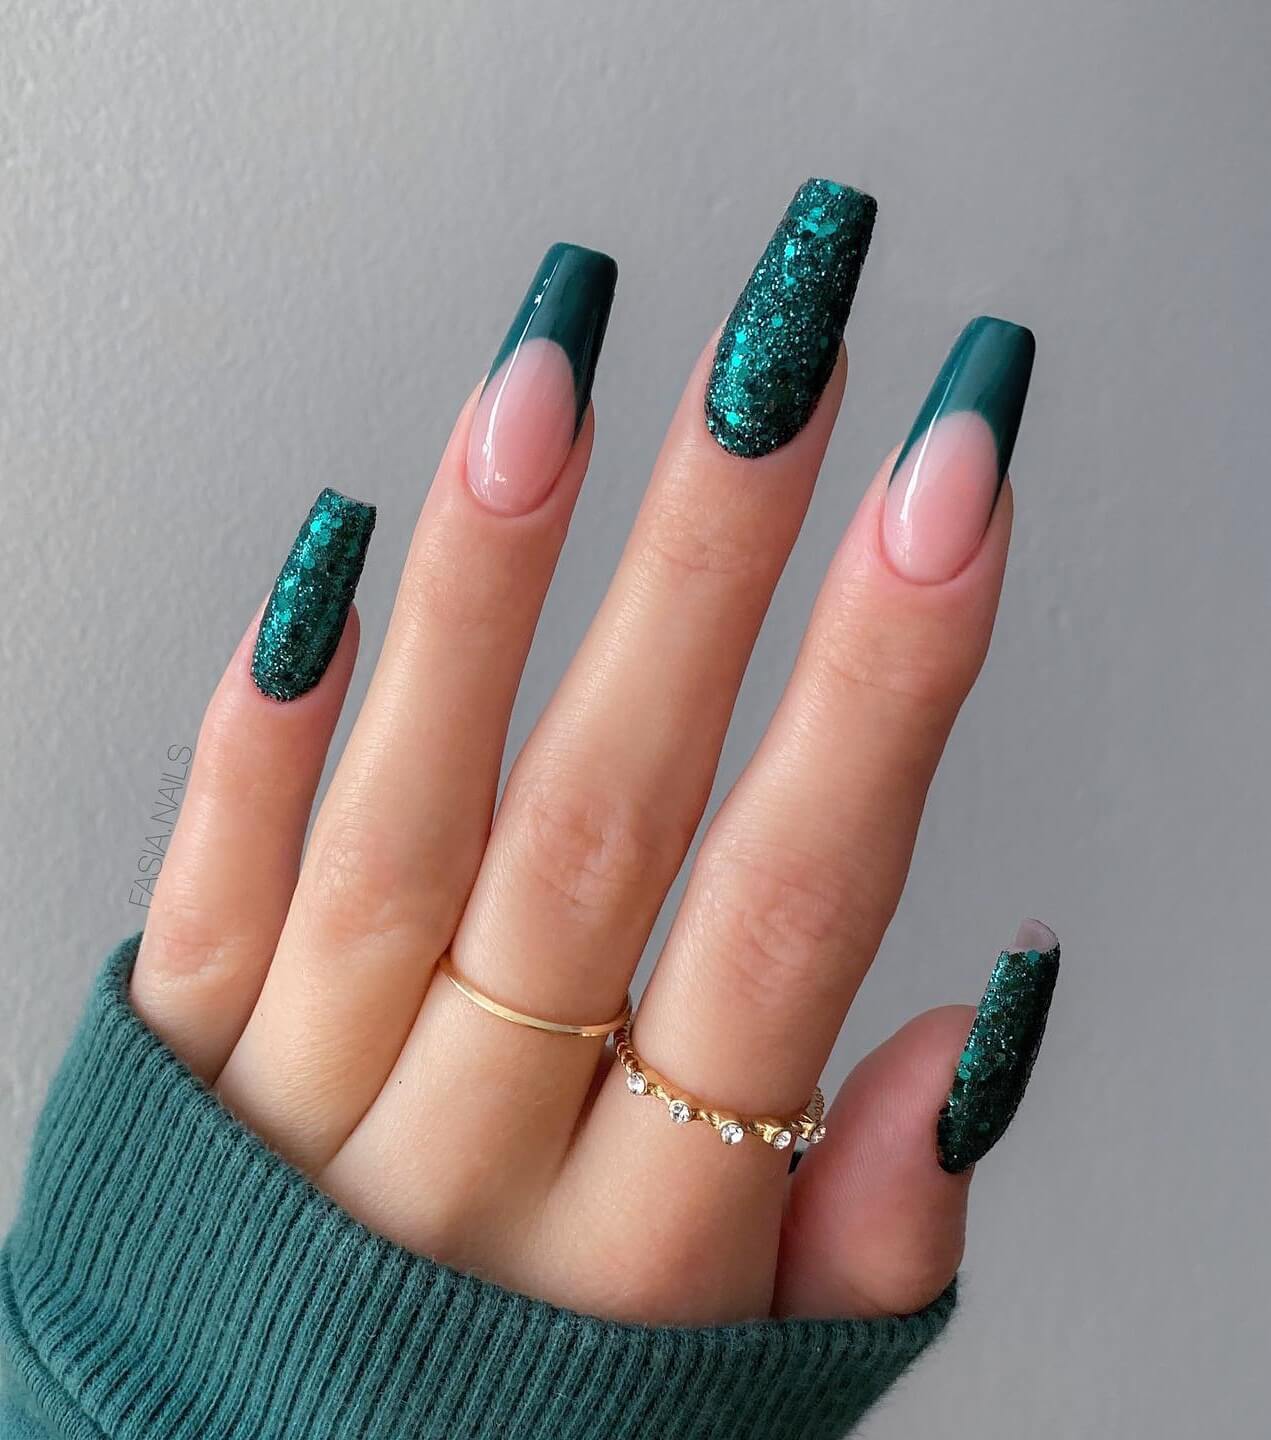
#4
 Source: unknown
#5
 Source: unknown
The techniques used are truly perfect for beginners because the process relies more on easy layering, blending, and the forgiving nature of the sponging technique rather than on meticulous precision.
You don’t need a steady hand or years of practice to master this look.
#6
 Source: unknown
#7
 Source: unknown
You will need several different nail polish colors: specifically, deep, opaque colors for your cosmic base (think navy, black, or deep purple) and various metallic, holographic, or glitter polishes to capture the stunning shimmer of the stars and nebulae.
The method itself is surprisingly straightforward. Prepare to transform your nails into a unique, breathtaking starry night sky without ever setting foot into a salon!
#8
 Source: unknown
#9
 Source: unknown
You will be truly astounded by how cool and professional the final result appears with its incredible stars and deep outer space aspect. This design is much easier to achieve than it looks!
Here are the detailed instructions for painting your stunning galaxy-themed nails:
#10
 Source: unknown
#11
 Source: unknown
Step 1: Lay the Foundation
To begin, you will need to create the deep, dark void of space.
Apply two to three thin, even coats of black nail polish to all of your nails.
#12
 Source: unknown
#13
 Source: unknown
It is absolutely crucial to allow each layer to dry completely before moving on.
The black polish serves as the base for your entire galaxy, so ensuring it is perfectly dry will prevent smudging and allow your subsequent cosmic colors to pop brilliantly.
#14
 Source: unknown
#15
 Source: unknown
Step 2: Pour a tiny amount of each color onto a plate. Start by taking the white makeup sponge and lightly sponge on a bit of white.
Next, incorporate a tiny touch of royal blue and purple. Adjust the sponging as you wish until you like the look. You can also use slightly different colors based on the type of design you’re doing.
#16
 Source: unknown
#17
 Source: unknown
#18
 Source: unknown
Now that you have your base colors, it is time to bring the cosmic scene to life.
Add Dimension and Depth
Next, add just a tiny bit of white polish to your sponge to create stunning, swirling nebulae. As you lightly dab the white over the colored areas, be strategic: leave some of the black polish visible on your nails.
This untouched black space is crucial, as it provides the deep contrast and depth needed to truly represent the “space” aspect of your design.
#19
 Source: unknown
#20
 Source: unknown
#21
 Source: unknown
Create the Stars
To finish your galaxy, add a little silver sparkle or a fine glitter polish last. Remember the golden rule for this step: the less, the better.
You want the subtle shimmer of faraway stars, not a heavy glitter nail. A very light touch will ensure you wind up with a truly sophisticated galaxy manicure that is beautifully nuanced and utterly flawless.
#22
 Source: unknown
#23
 Source: unknown
#24
 Source: unknown
#25
 Source: unknown
Step 3: Add the Stars and Constellations
This is the magical step where your galaxy truly comes to life! To represent the delicate, distant stars, use a toothpick (or a very fine dotting tool if you have one) dipped in white or light silver polish.
Carefully add tiny, scattered dots across your nail, ensuring the pattern looks random and organic, just like the night sky.
#26
 Source: unknown
#27
 Source: unknown
To add realism and variety to your cosmos, you can also create slightly larger, brighter stars by gently drawing a tiny cross or star shape with the toothpick.
This simple technique distinguishes your main stars from the background shimmer. Remember to apply the polish sparingly. A light, steady hand is key to creating a believable galaxy effect.
#28
 Source: unknown
Step 4: Once the artwork has dried, apply a top coat to complete your galaxy. You can choose a matte or shiny topcoat depending on the desired effect; nevertheless, both can be incredibly gorgeous.
Keep in mind that you may use conventional, gel, dip, or acrylic nail paint by simply following these instructions. Your galaxy-themed nails will be designed in the same way!
#29
 Source: unknown
#30
 Source: unknown