A freshly painted set of easy nails is always something special. A little pampering and a great manicure, particularly with some amazing nail art, can make you feel like you’re on top of the world.
However, if you visit the salon frequently, the costs can quickly add up. Furthermore, not everyone can afford an artsy manicure on a regular basis.
Furthermore, in the current socioeconomic climate, the fewer trips one makes, the better. So what’s a girl to do but take her best shot at home? Plus, there’s no shortage of inspiration to be found by scrolling through Instagram feeds.
We will also provide you with great nail-care tips in this article to ensure that you can rock new designs for a longer period of time.
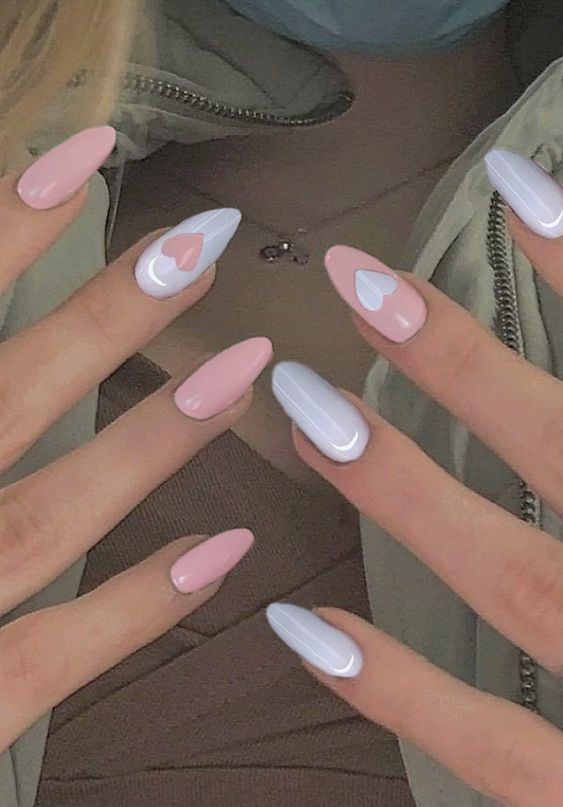
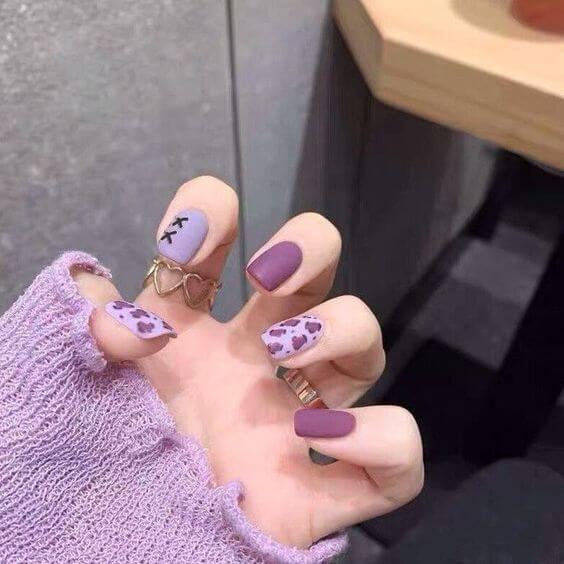
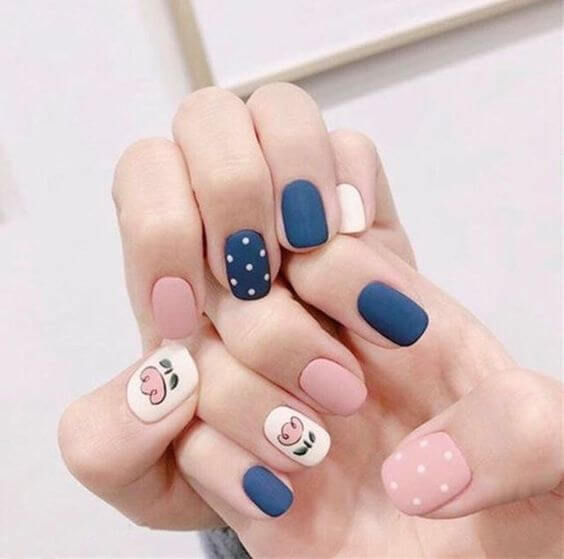
#1 Cotton Candy Hearts
 Source: unknown
3 Reminders For Long-Lasting Nails
Handwashing Before Applying Polish
Have you ever wondered why nail technicians swipe your nails with polish remover before applying color, even if you aren’t wearing polish?
The reason is simple: your nails naturally carry oils, often transferred from your fingertips.
These oils create a slick surface that can prevent polish from adhering properly, leading to streaks, bubbles, or a manicure that chips too soon.
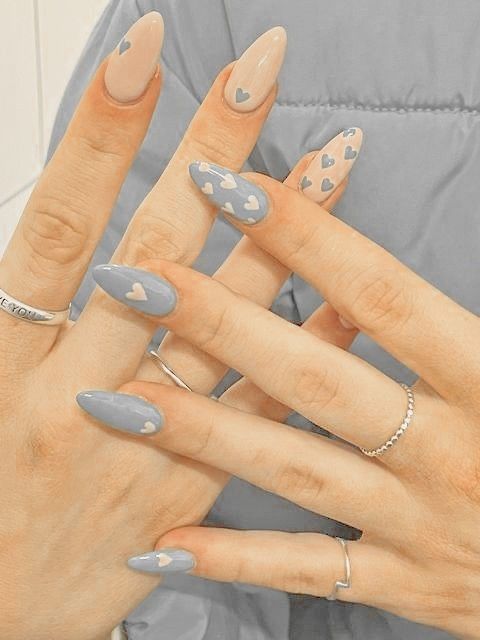
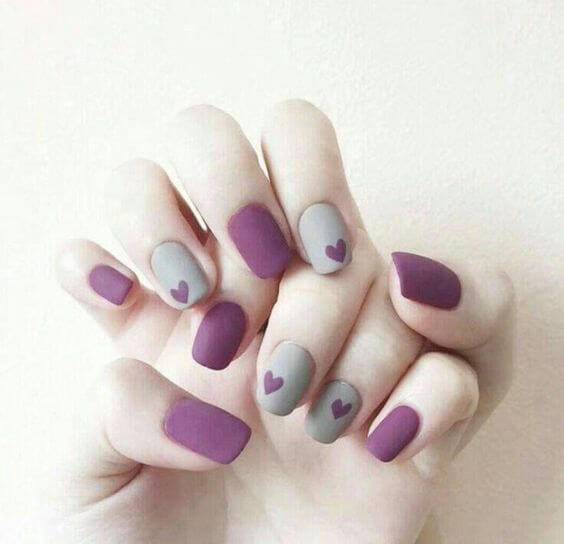
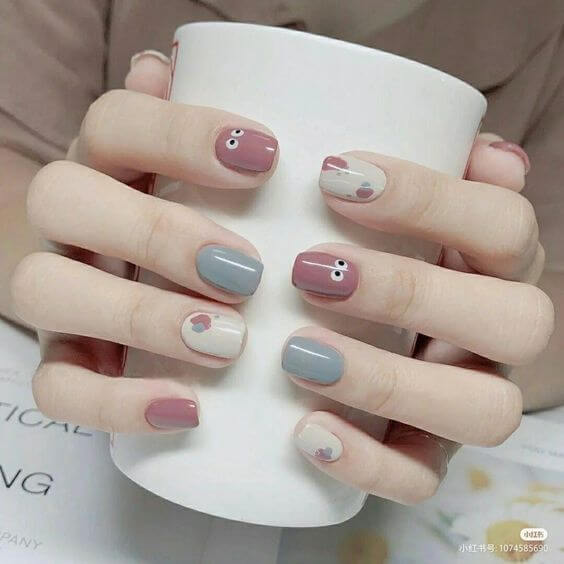
#2 Love in Pastels
 Source: unknown
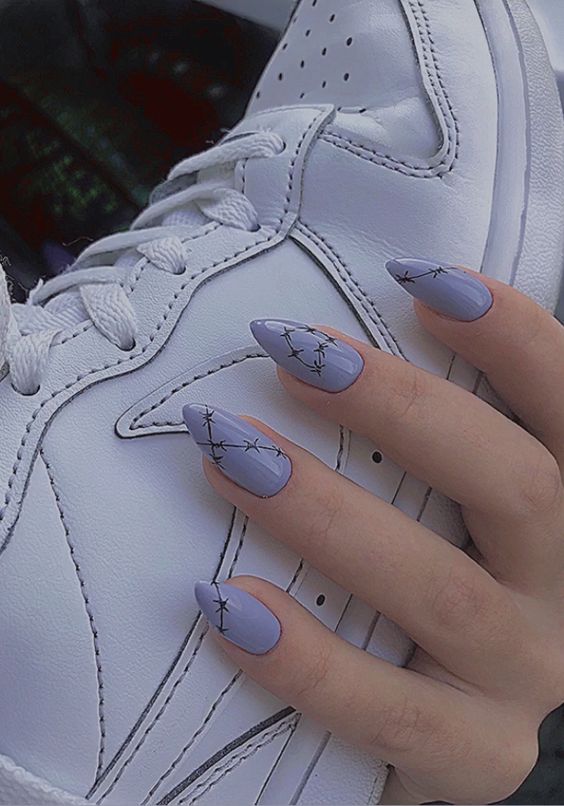
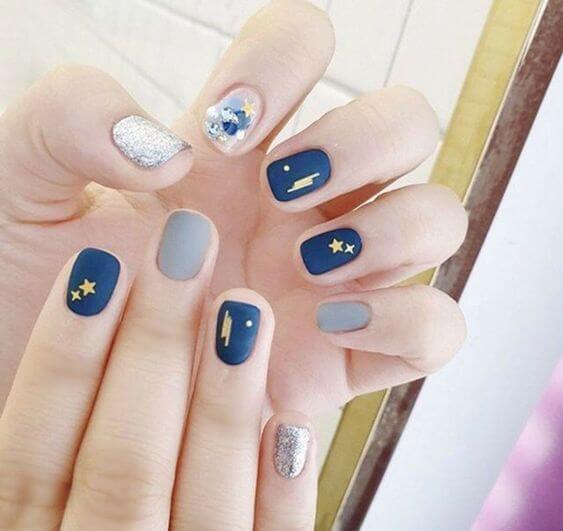
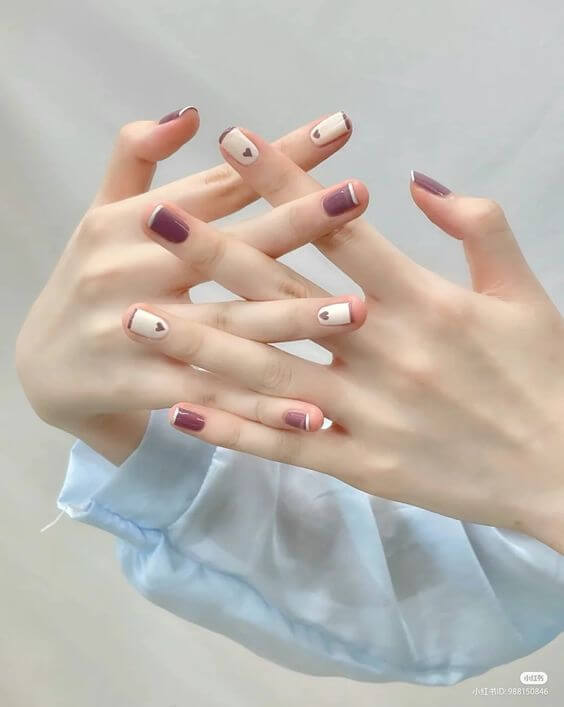
#3 Edgy Sweetheart Glow
 Source: unknown
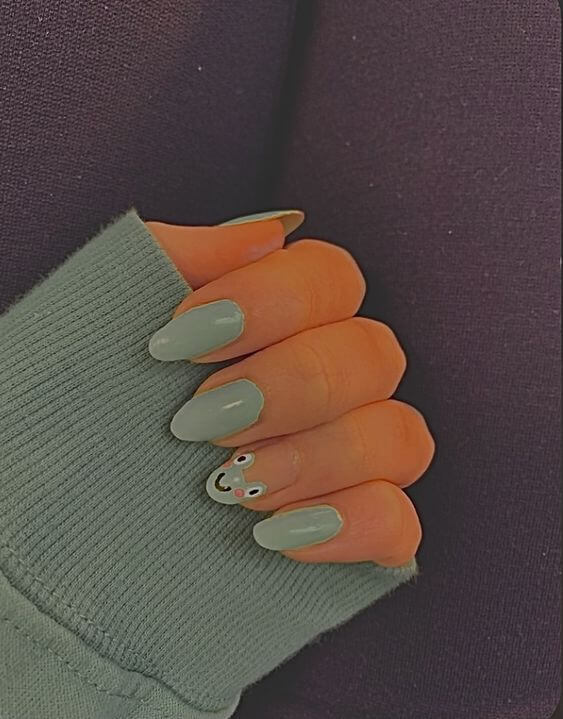
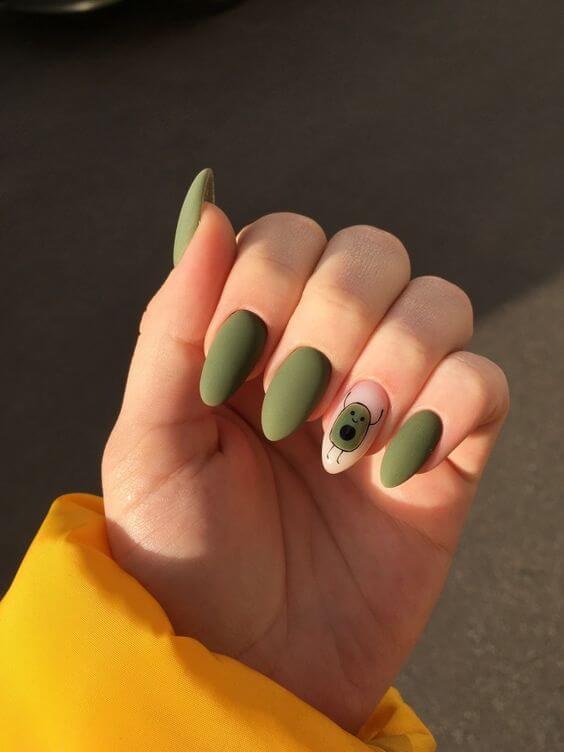
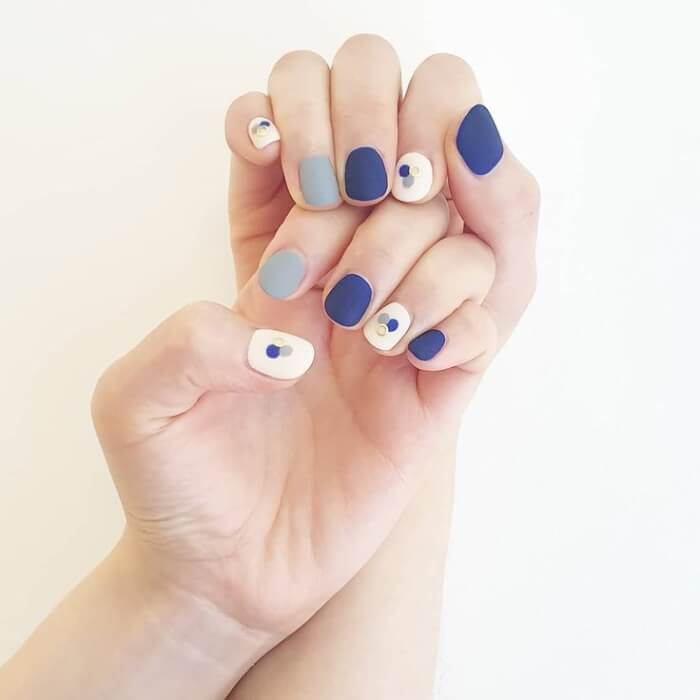
#4 Doodle Frog
 Source: unknown
The quick fix is to cleanse your nails with polish remover before applying your base coat.
This extra step removes invisible oils and residue, giving the polish a clean surface to grip.
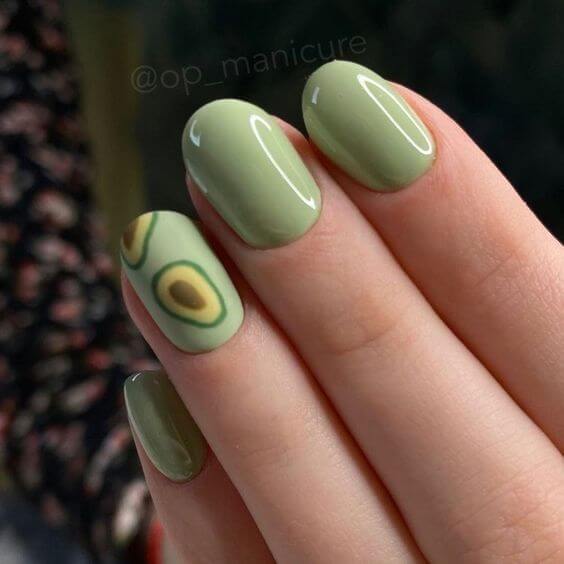
#5 Yay Avocado
 Source: unknown
#6 Short Avocado Mani
 Source: unknown
Once you’ve done this, makeup and nail artist Katie Jane Hughes recommends washing your hands with soap and water to eliminate any lingering film from the remover itself.
This ensures your nails are perfectly prepped and ready for a long-lasting manicure.
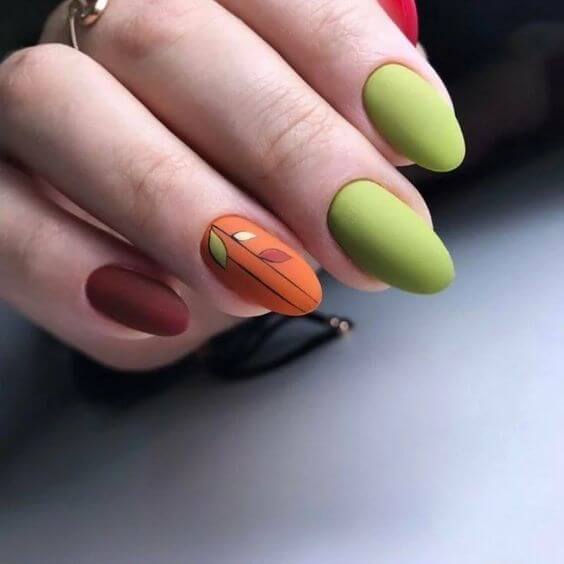
#7 Harvest Glow
 Source: unknown
#8 Falling Leaves Vibes
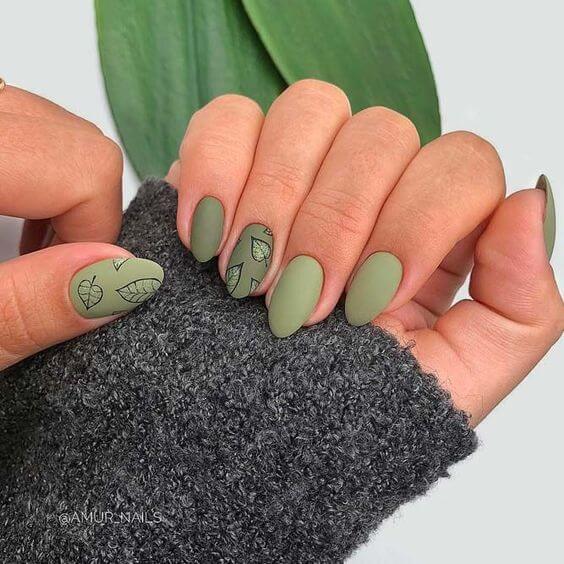 Source: AMUR_NAILS
By taking a moment to do this at home, just as the pros do in salons, you’ll notice a big difference in how smooth, even, and durable your polish looks.
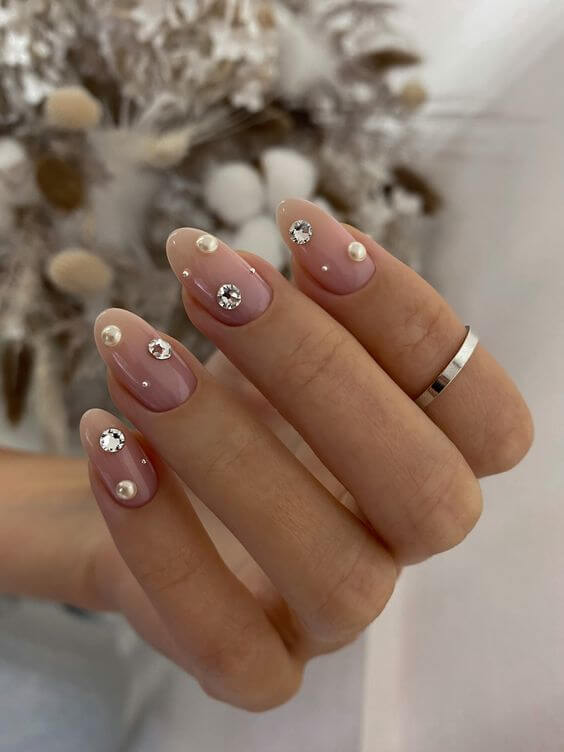
#9 Glow Accents
 Source: unknown
#10 Diamond Clusters
 Source: unknown
Do Not File Your Nails In Various Directions
One of the most common mistakes people make when filing their nails is using the file like a saw, moving it back and forth across the nail edge.
While it might feel quicker, this motion actually weakens your nails, making them more prone to peeling and breaking. Instead, a little patience and the right technique will keep your nails strong and smooth.
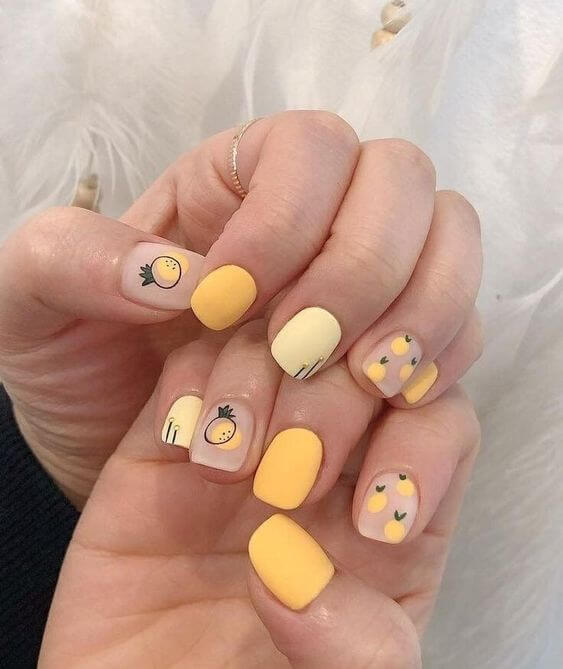
#11 Juicy Lemonlini
 Source: unknown
#12 Teddy Latte Nails
 Source: unknown
#13 Caramel Comfort Nails
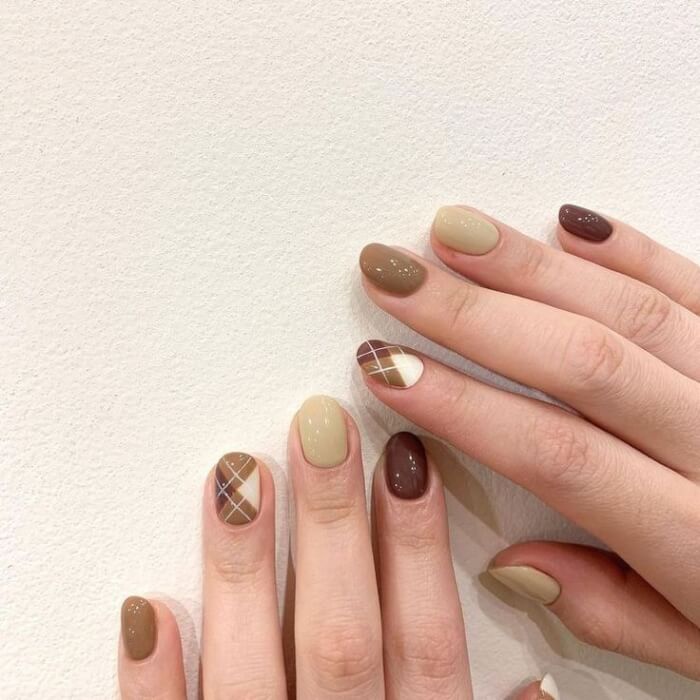 Source: unknown
Celebrity manicurist Deborah Lippmann recommends gently running the file in one direction only, starting at the outer edge of the nail and pulling it toward the center.
This controlled motion helps maintain the nail’s structure while creating a clean, even shape.
Not only does this prevent unnecessary splitting, but it also makes your nails look more polished and professional.
#14 Cozy Cocoa Tips
 Source: unknown
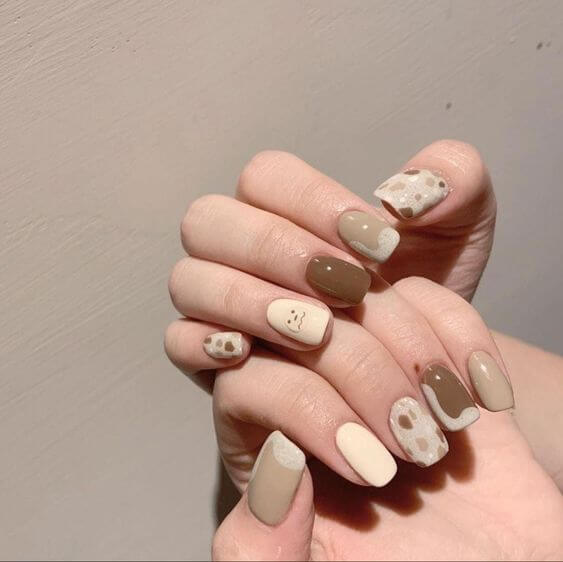
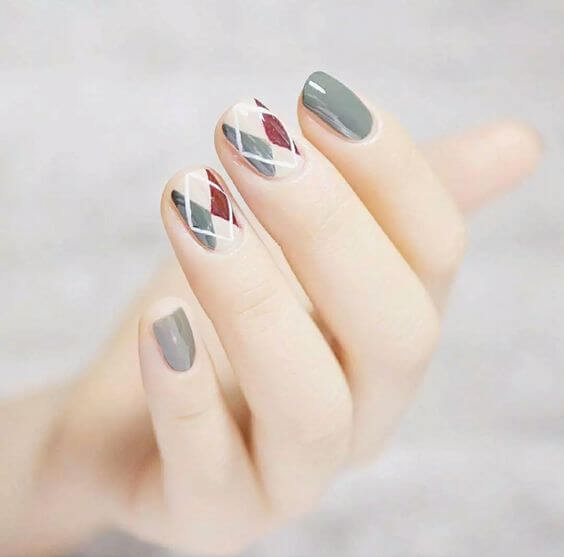
#15 Cozy Patchwork Nails
 Source: unknown
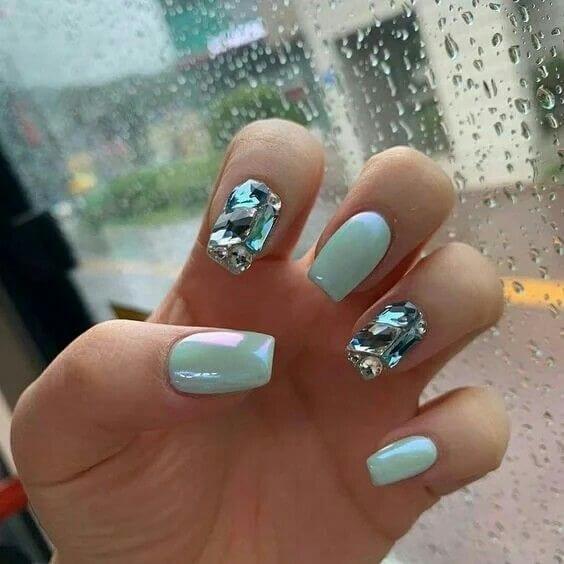
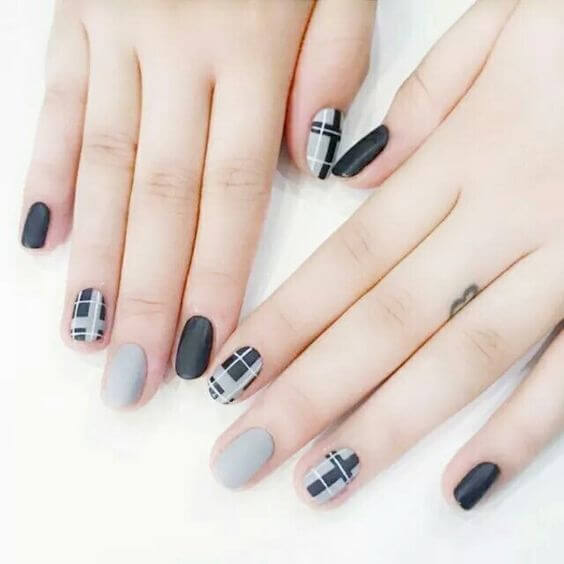
#16 Frosted Elegance
 Source: unknown
If your nails are naturally thin or fragile, extra care is needed. Lippmann suggests holding the file flush against the nail and tilting it slightly underneath as you file.
“This allows you to see exactly what you’re doing and helps protect against overfiling,” she explains. By working carefully and with the right angle, you reduce the risk of thinning your nails even further.
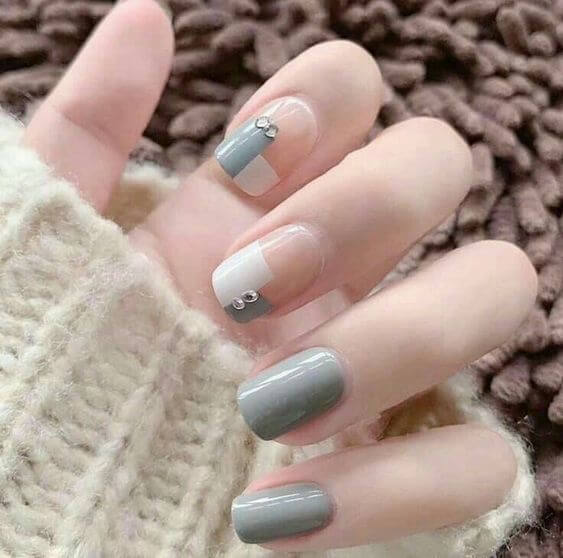
#17 Grey Glam
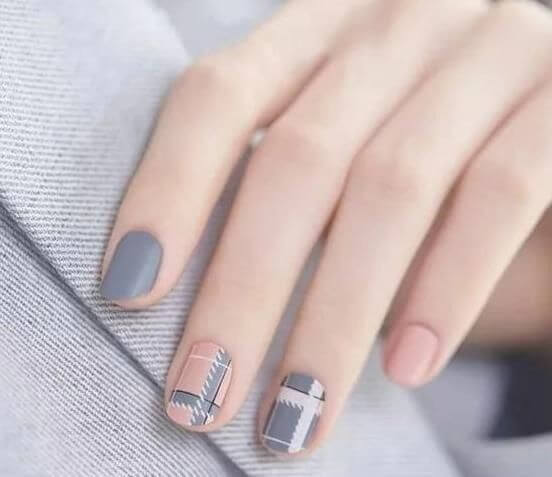 Source: unknown
#18 Cozy Gingham Tips
 Source: unknown
#19 Sweater Weather
 Source: unknown
The key takeaway? Filing should be gentle and precise, never rushed.
With the right method, you’ll keep your nails healthy, strong, and ready for any polish or nail art you want to try next.
#20 Lilac Sweater Mani
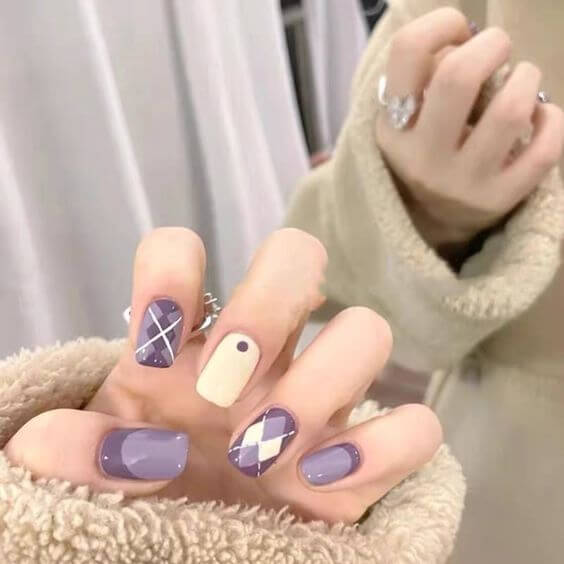 Source: unknown
Remember To Buff Your Nails!
If you skip buffing, you might be setting your manicure up for failure without even realizing it. According to Rita Remark, Essie’s global lead educator, “If you don’t buff, the natural oils in your nails can build up, leaving manicure-ruining residue on them.”
Buffing is like brushing your teeth. It brightens the surface, smooths out ridges, and makes your nails look fresher and more youthful overall.
#21 Violet Safari
 Source: unknown
#22 Purple Love
 Source: unknown
#23 Midnight Galaxy
 Source: unknown
The best part? You don’t need anything fancy to do it. Remark’s go-to tool is a simple sponge buffing block: soft, smooth, and not overly abrasive.
She even uses it beyond just nails. “I also love using them on the sides of my fingers when they start to get dry and peel,” she shares.
A quick buff can instantly revive the look of your hands and prep your nails for a flawless polish application.
#24 Blue Nebula
 Source: unknown
#25 Polka Dot Daydream
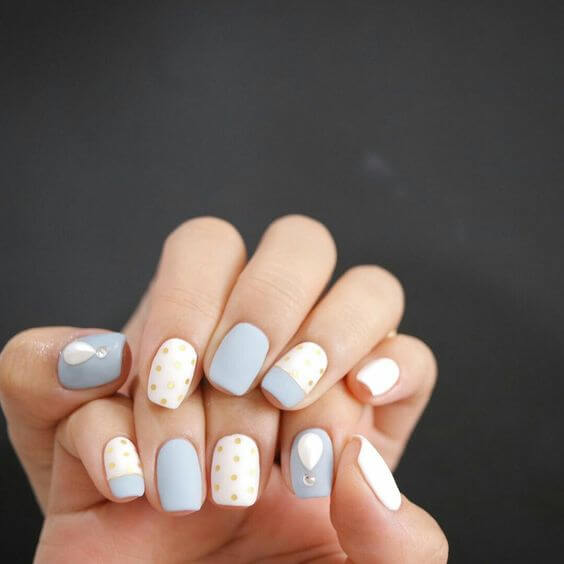 Source: unknown
#26 Sugar Cloud Nails
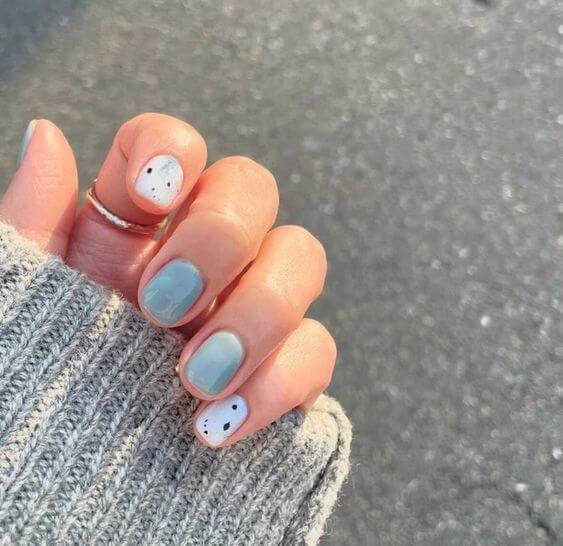 Source: unknown
Once your nails are buffed, cleaned, and ready, you can start planning your next look. And this is where the fun really begins. Whether you’re into bold, playful designs or soft, minimalist styles, there are endless ways to get creative right at home.
Of course, I won’t sugarcoat it: creating nail art does require patience and a steady hand. But the payoff: a salon-quality manicure you did yourself is totally worth the effort.
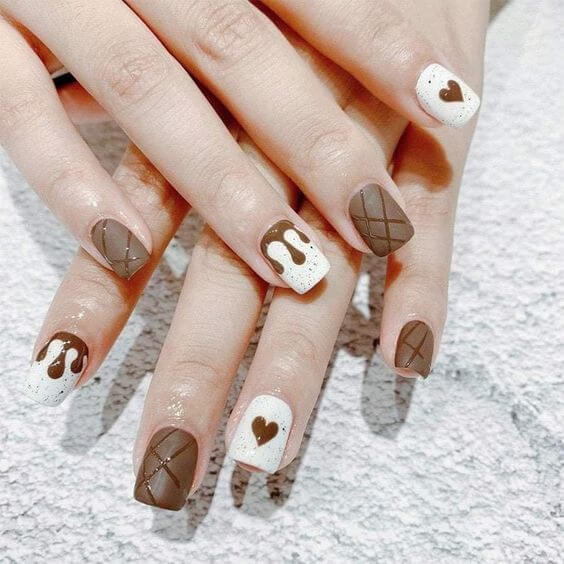
#27 Mocha Love Nails
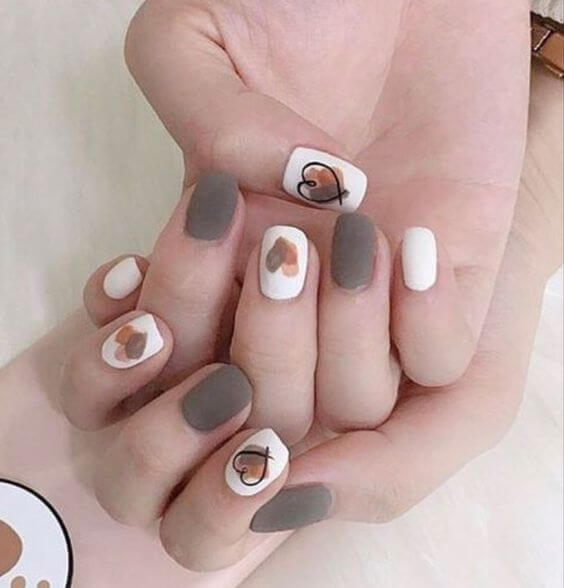 Source: unknown
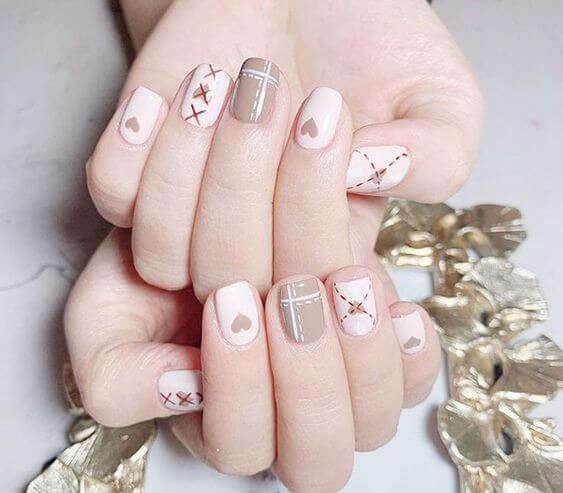
#28 Heart & Hue
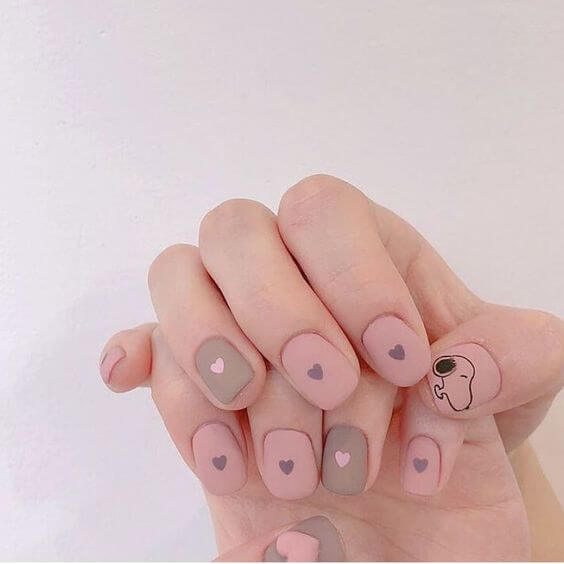 Source: unknown
To make things easier, I’ve gathered a list of simple, DIY-friendly nail design ideas that you can try no matter your skill level.
From chic French tips with a twist to colorful gradients and cute little decals, these looks are designed to inspire you to pick up your tools and play.
With the right prep and a touch of creativity, you’ll be surprised at how professional your at-home manicure can look.
#29 Minimalist Garden
 Source: unknown
#30 Coffee Kiss Nails
 Source: unknown
#31 Autumn Affection
 Source: unknown