Nail art is both enjoyable and costly, and there is a look for every occasion. Not all designs, from bold and bright to simple and minimalistic, require hours of skill to complete. Sometimes the best nail art ideas are the effortlessly chic ones.
If you’ve been thinking about doing your own nail art to save time and money while also letting your creative juices flow, now is the time to get inspired.
However, before immersing yourself in our endless collection, let’s take a look at the list of things you need to do before decorating those blank canvases with colorful polish.
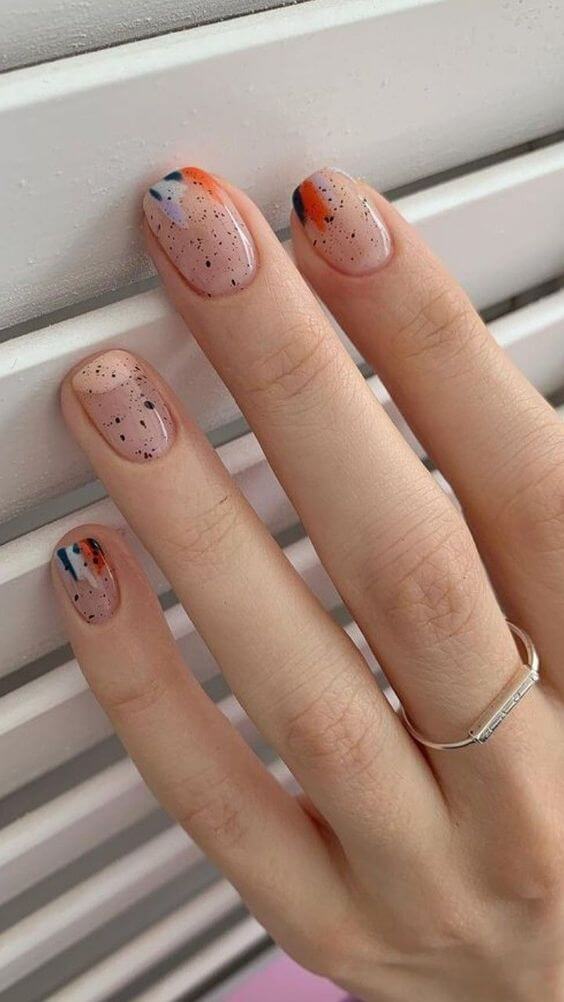
#1 Scattered Glass
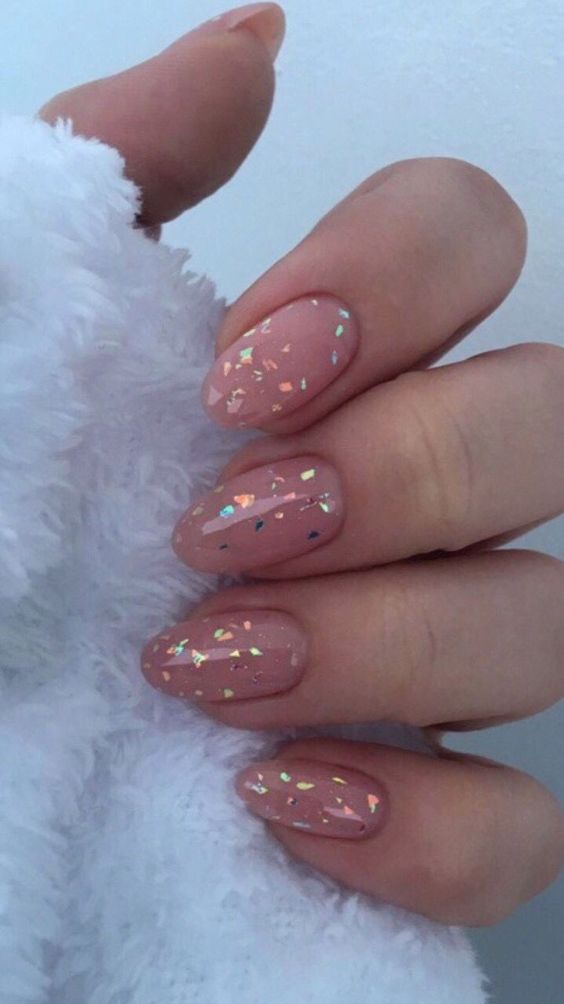 Source: unknown
Tip #1 for Nail Idea Painting: You only need three strokes.
One of the biggest secrets to a salon-worthy manicure at home is knowing that you don’t actually need to overload your nails with brushstrokes.
In fact, most professionals will tell you that three simple strokes are all it takes to cover your entire nail evenly.
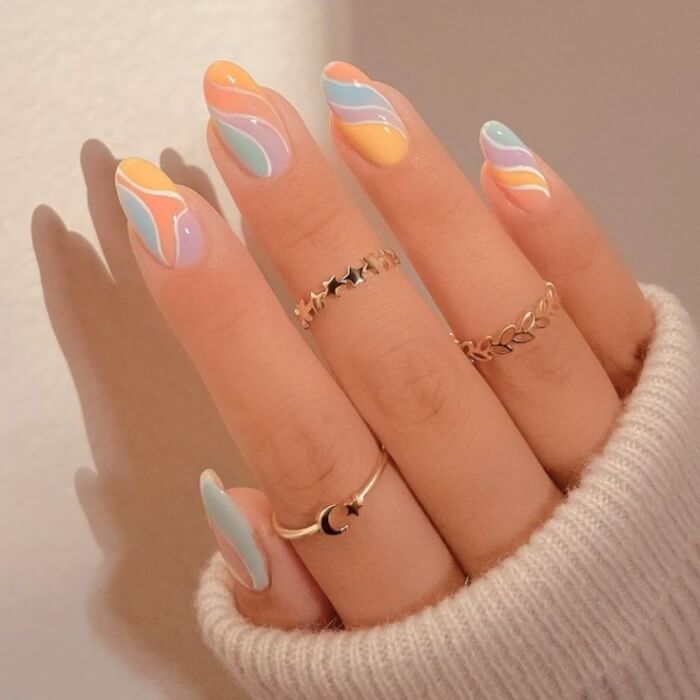
#2 Ocean Lady
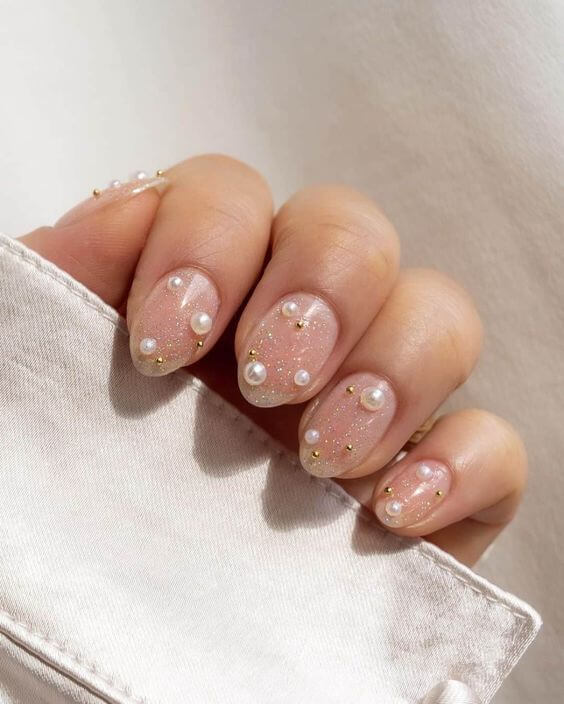 Source: unknown
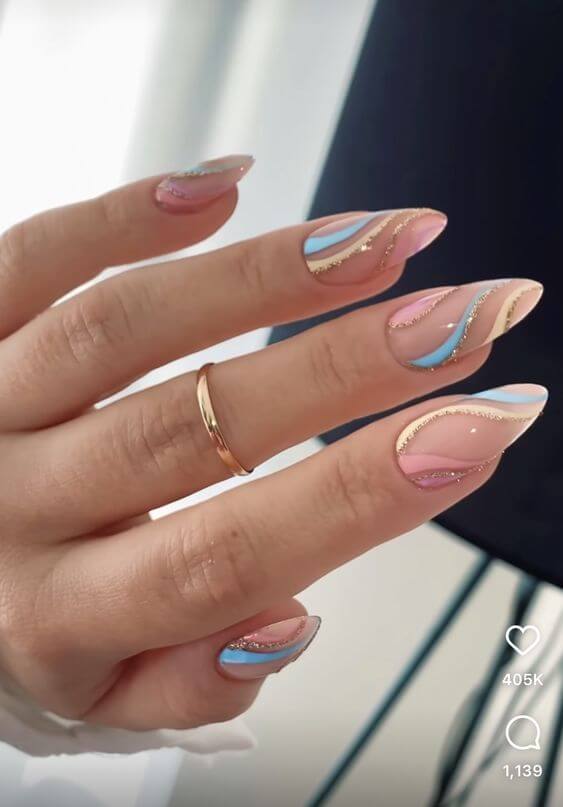
#3 Glow Drops
 Source: unknown
Celebrity nail artist Simcha Whitehill, also known as Miss Pop, explains it best: “You want the polish to do the majority of the work and spread out as it’s placed on the nail. The brush is just there to guide the dot of polish into place.”
In other words, let the formula flow naturally instead of dragging the brush around too much, which can cause streaks and uneven texture.
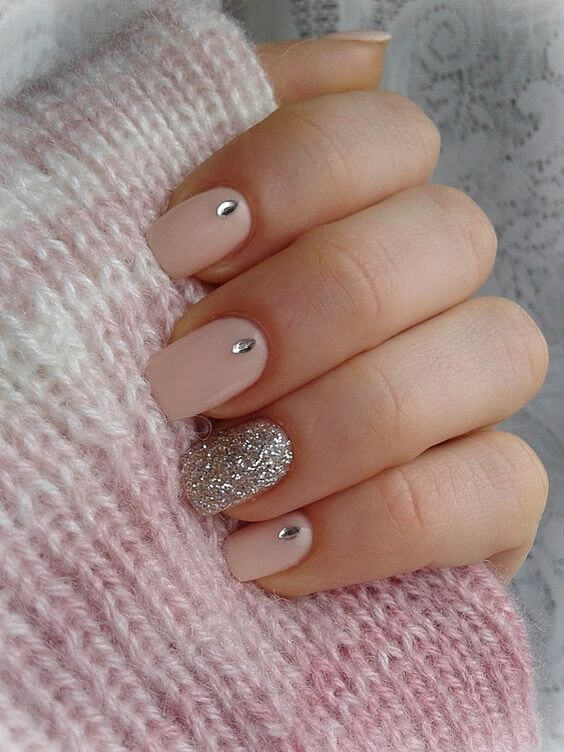
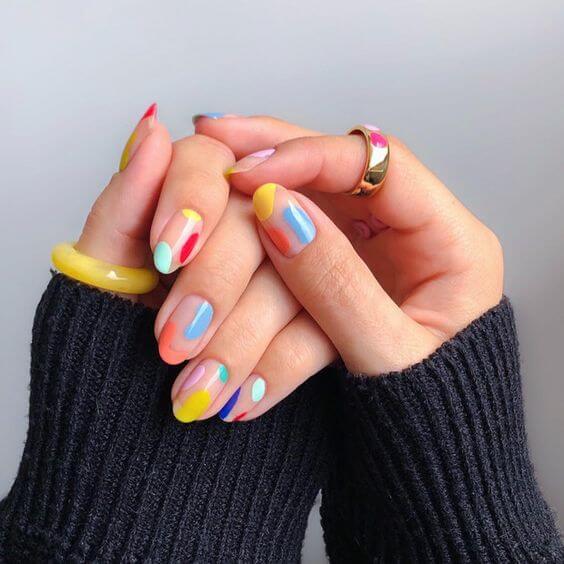
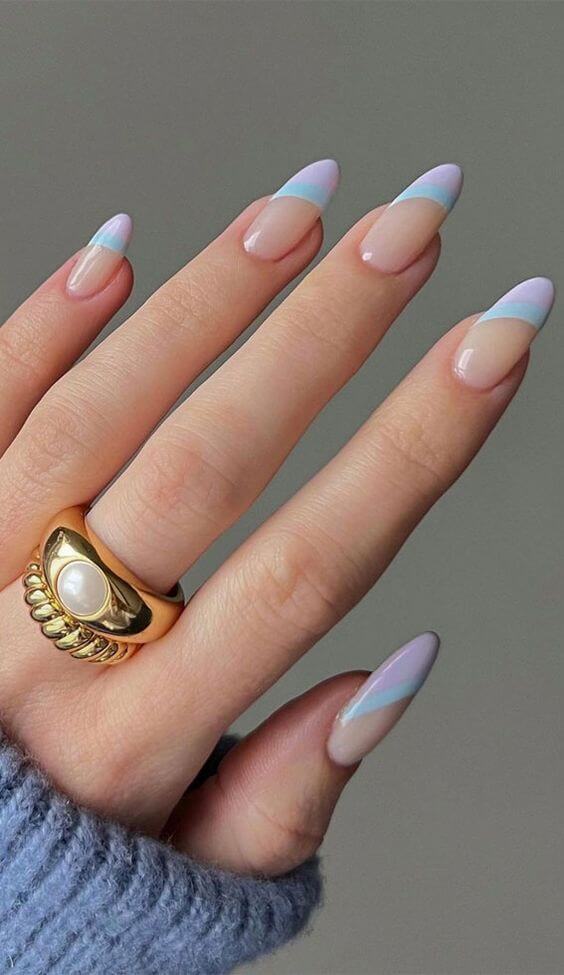
#4 Minimalist Party Glam
 Source: NAILSBYHARRIET
#5 Funky Eye Nails
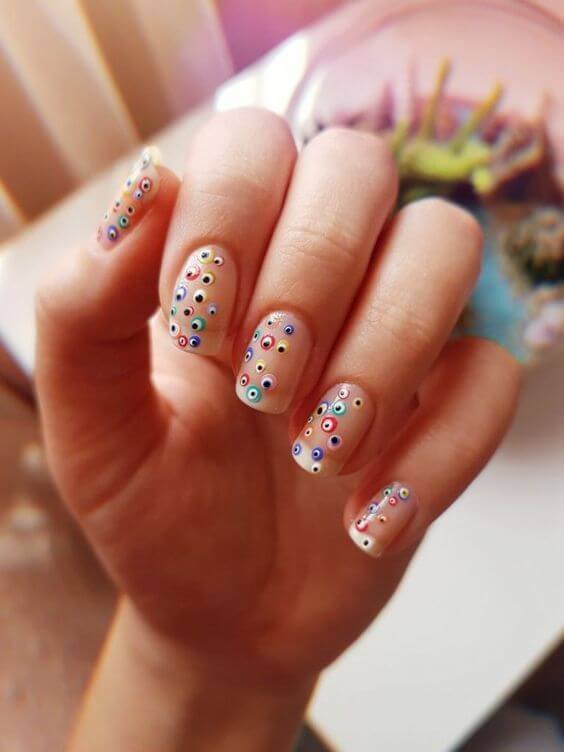 Source: unknown
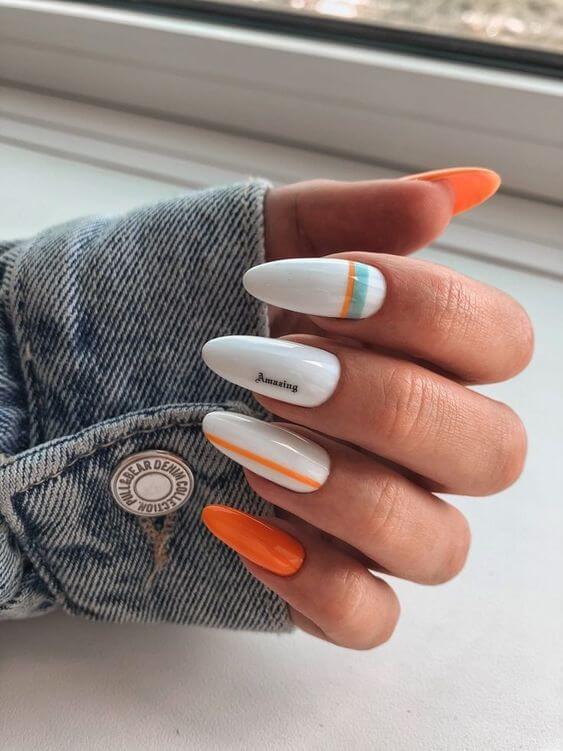
#6 Mordern Nail Art Idea
 Source: unknown
Here’s how to do it:
- Start at the base of your nail with a small bead of polish on your brush.
- Stroke once to the left.
- Stroke once to the right.
- Finish with a stroke down the center.
Your nail is fully covered with a smooth, even coat. This technique not only makes your polish look neater but also helps prevent clumping, pooling at the edges, or dragging marks across the nail.
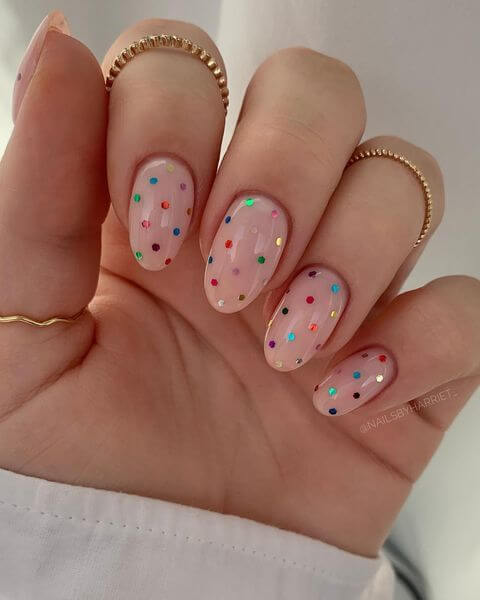
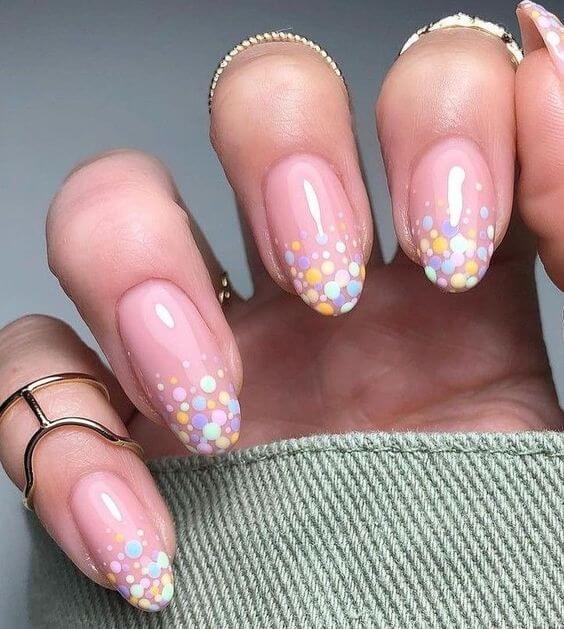
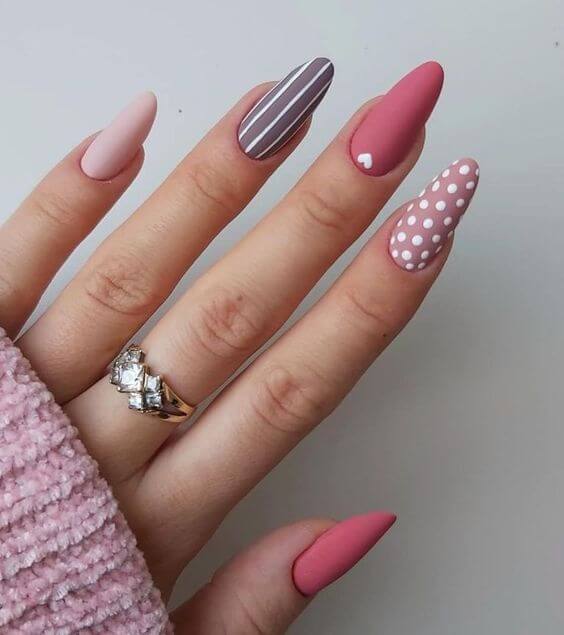
#7 Pastel Dot Tips
 Source: unknown
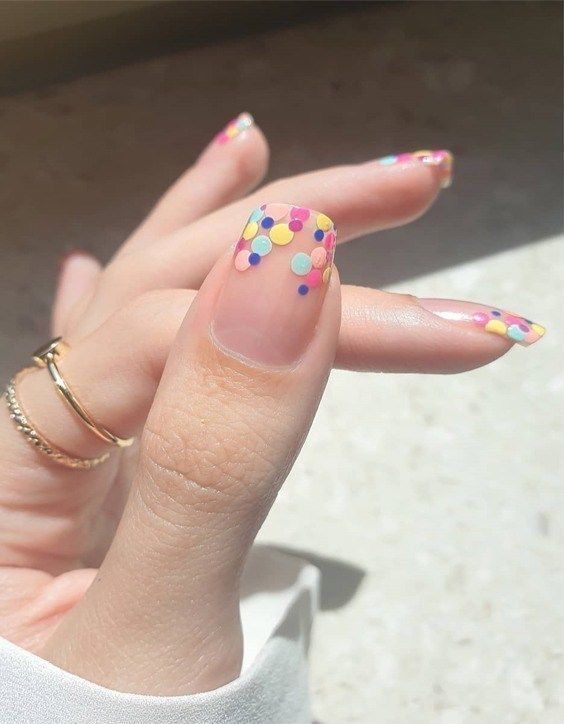
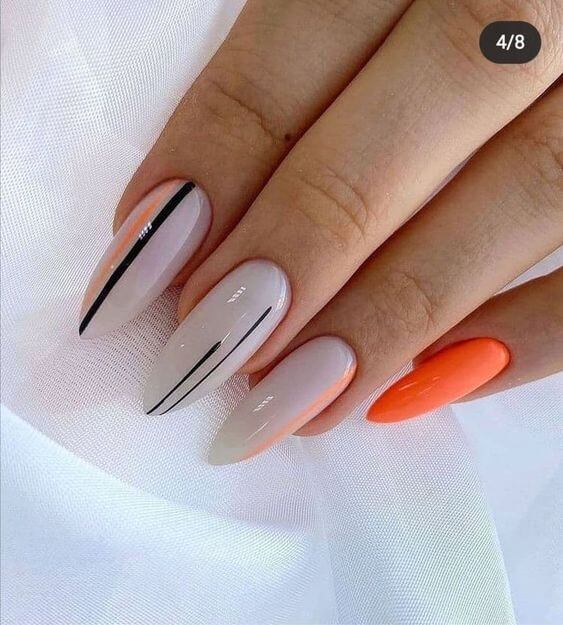
#8 Ombre Colorful Dots
 Source: unknown
If your nails are wider or longer, you can add a light touch-up stroke, but in most cases, sticking to the three-stroke rule is the easiest way to achieve that sleek, professional finish.
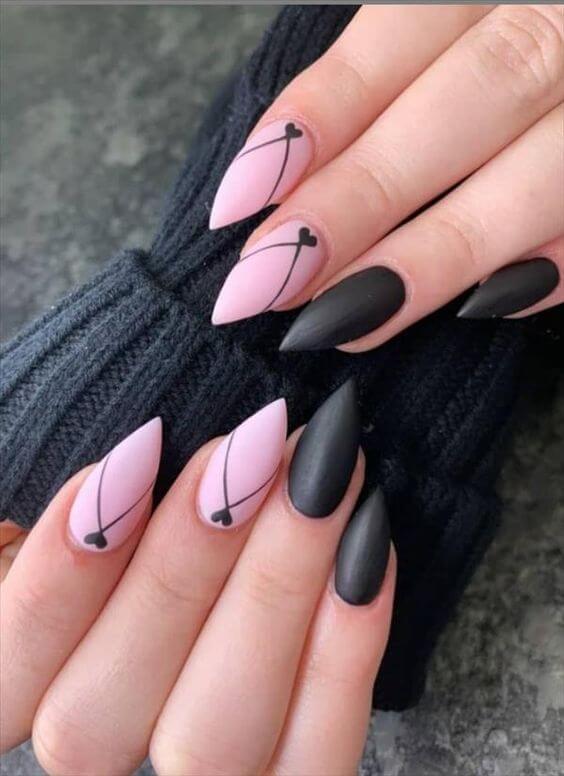
#9 Subtle Love
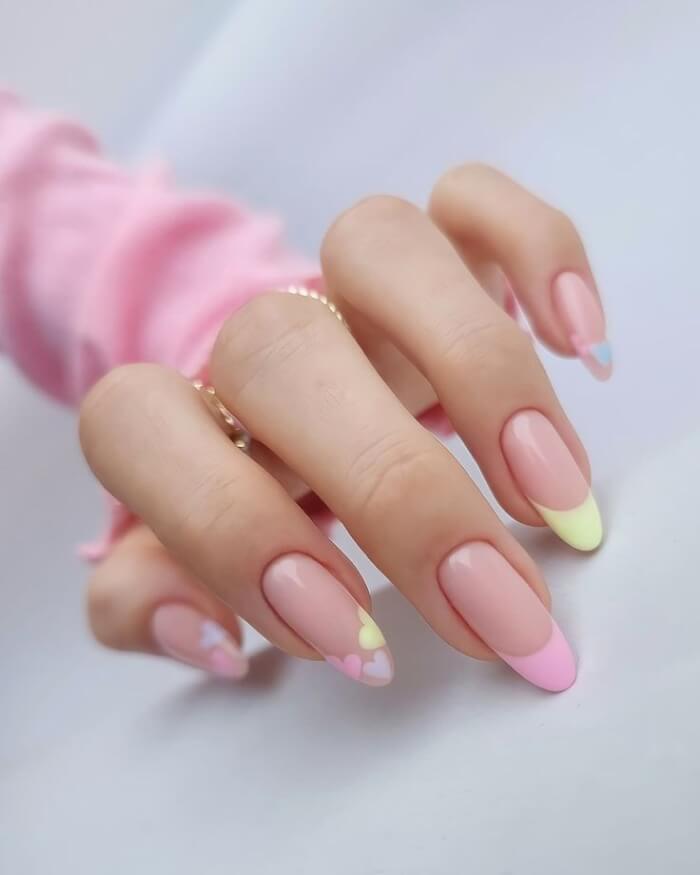 Source: unknown
#10 Candy Crush Nails
 Source: unknown
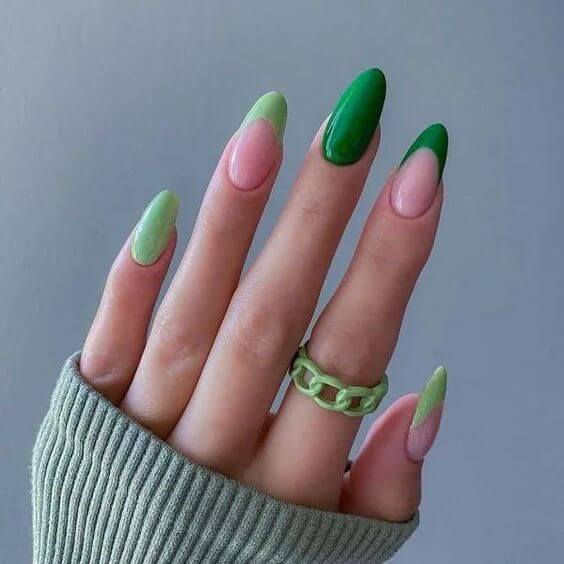
#11 Sweetheart Vibes
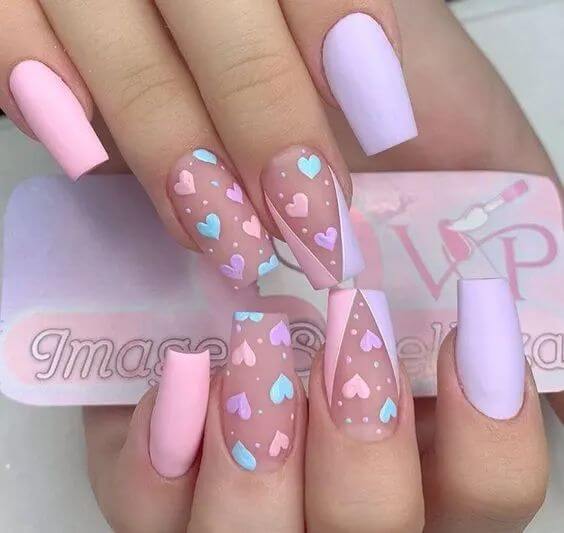 Source: unknown
Tip #2 for Nail Painting: Always use a base coat when painting your nails.
It might add a few extra minutes to your manicure routine, but applying a base coat is one of the smartest steps you can take for long-lasting nails.
Celebrity nail artist Simcha Whitehill explains: “A base coat gives the colored polish something to adhere to, making your manicure last a couple of extra days longer.”
By creating a smooth, grippy surface, it helps polish glide on more evenly and stay in place without chipping as quickly.
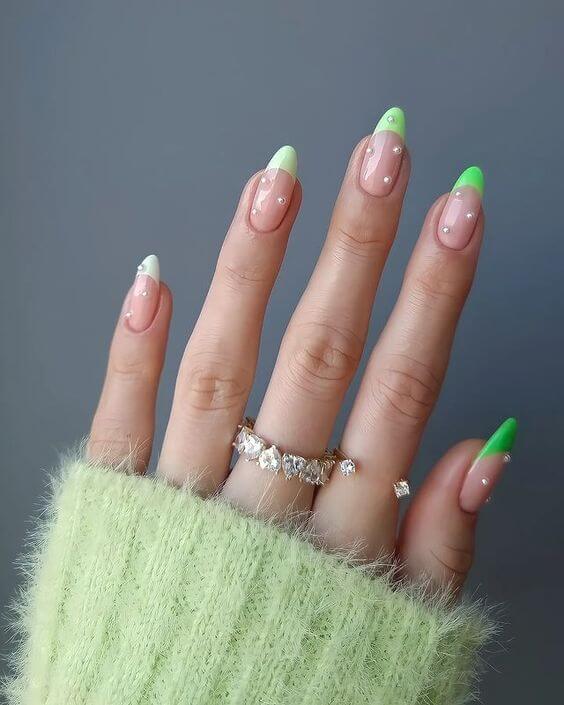
#12 Cool Blue
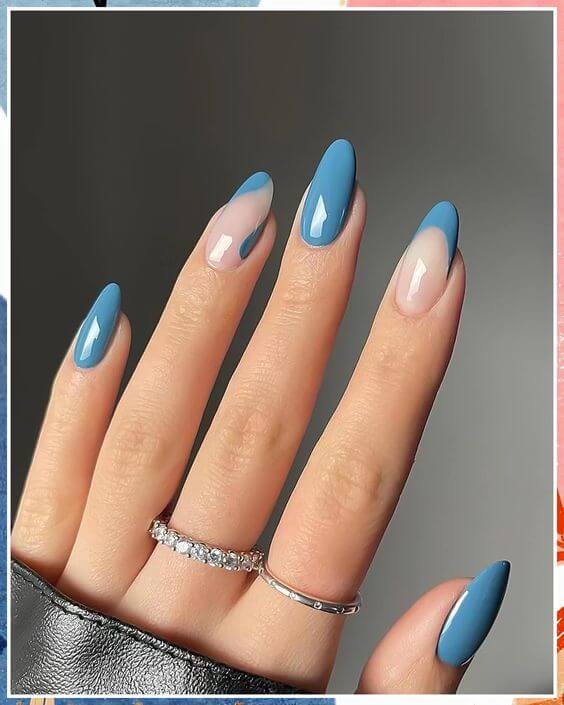 Source: unknown
#13 Sweet French Mani
 Source: unknown
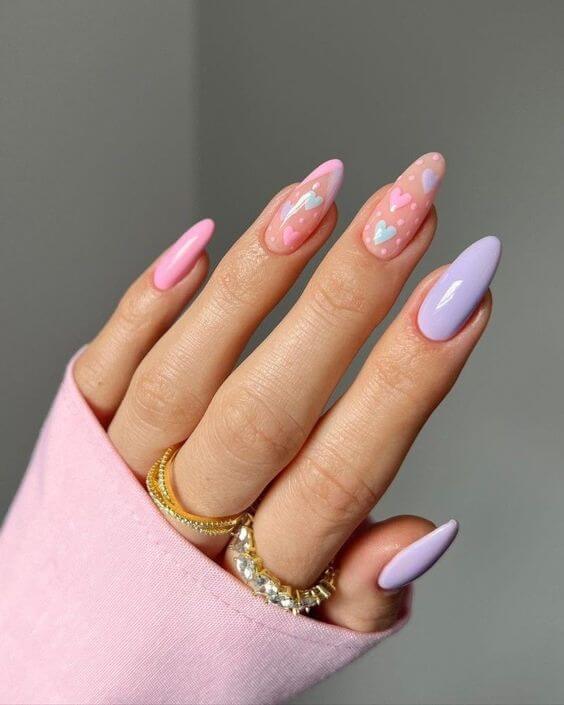
#14 Pastel Palette
 Source: unknown
A base coat also acts as a protective barrier between your nails and the pigments in your polish. Highly pigmented shades are notorious for leaving behind stains or yellowish tints.
A good base coat shields your natural nails, keeping them healthy-looking and stain-free even if you love switching up colors often.
#15 Subtle Swirls
 Source: unknown
#16 Easy Short Nail Art Idea
 Source: unknown
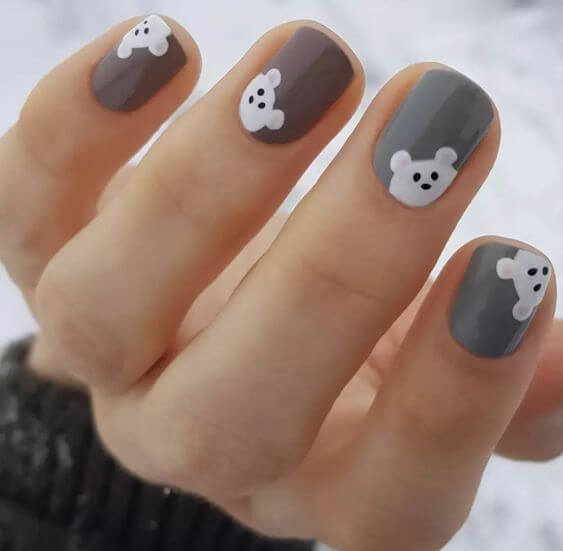
#17 Sneaky Bear
 Source: unknown
Beyond protection, some base coats come with bonus benefits. Strengthening formulas can help fragile nails resist breaking, while ridge-filling formulas create an ultra-smooth canvas for polish.
If you struggle with peeling or uneven nail texture, a treatment base coat can be a game-changer.
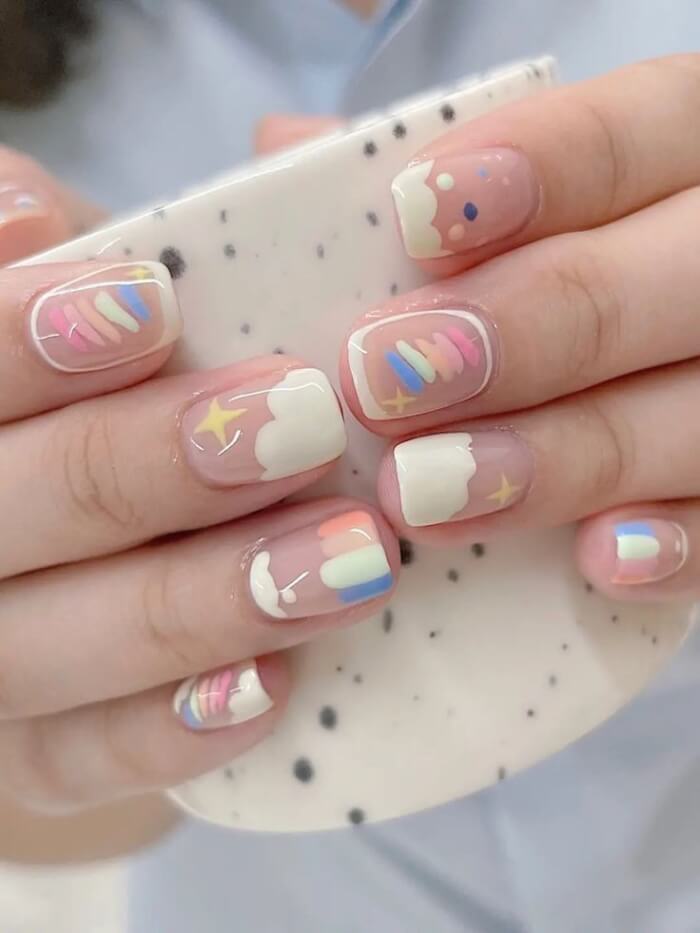
#18 Comic Sky
 Source: unknown
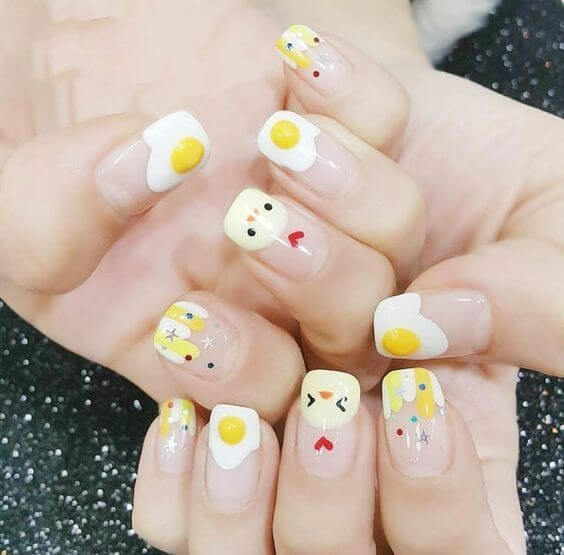
#19 Adorable Duck
 Source: unknown
Tip #3 for Nail Painting: A top coat is essential for nail painting.
Top coat may seem obvious to most, but you’d be surprised how many people skip it. Don’t be one of those people, because a top coat is the simplest way to prevent chips.
To seal in your polish, use a basic top coat and paint it all the way to the tip of your nails.
#20
 Source: unknown
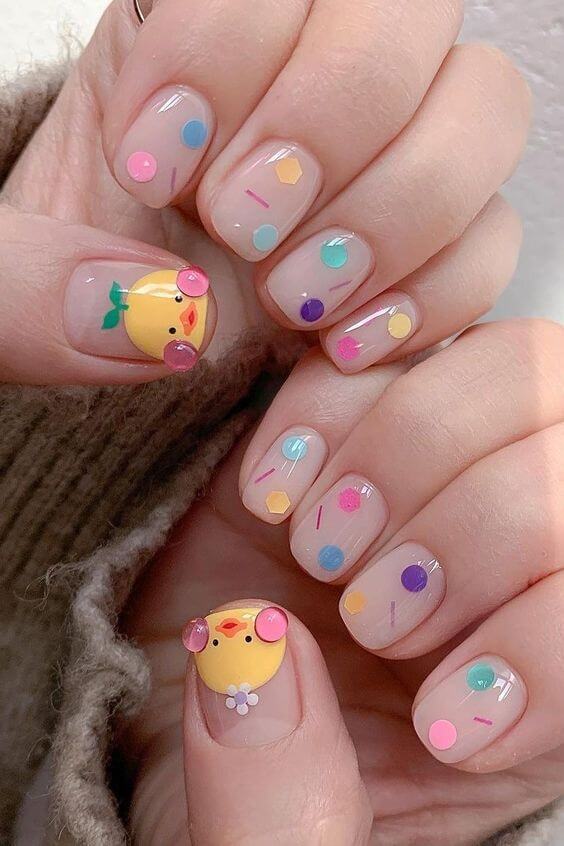
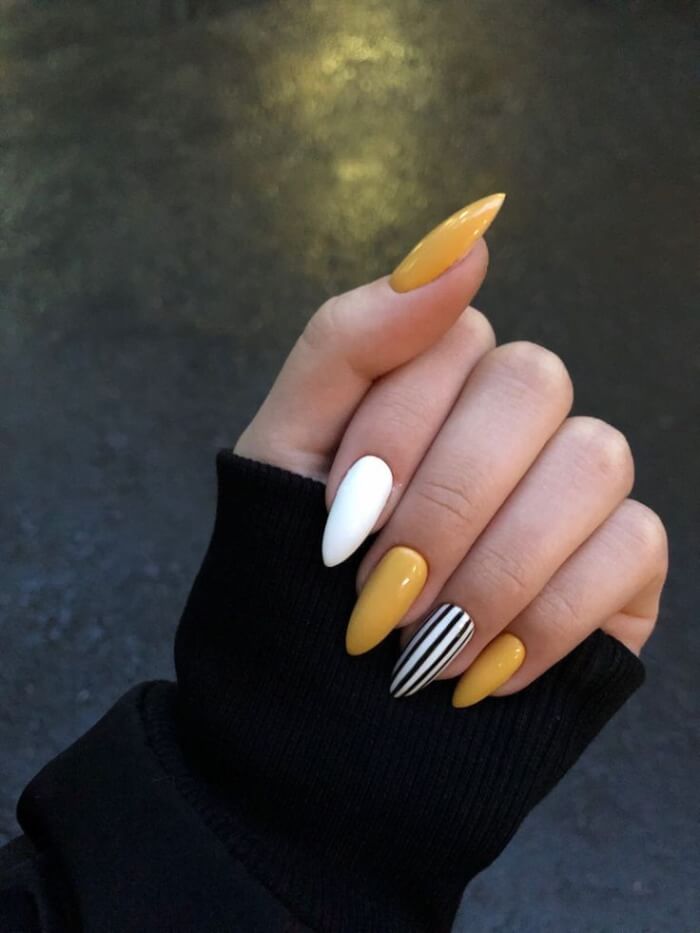
#21 Yellow Chick
 Source: unknown
#22 Carrot Lover
 Source: unknown
Tip #4 for Nail Painting: Clean up your edges
We’ve all accidentally painted outside the lines! But when it comes to nail polish, precision makes all the difference.
A messy edge can distract from even the prettiest manicure, which is why cleanup is an essential step in achieving that salon-quality look at home.
#23 Pup Love
 Source: unknown
#24 Meow
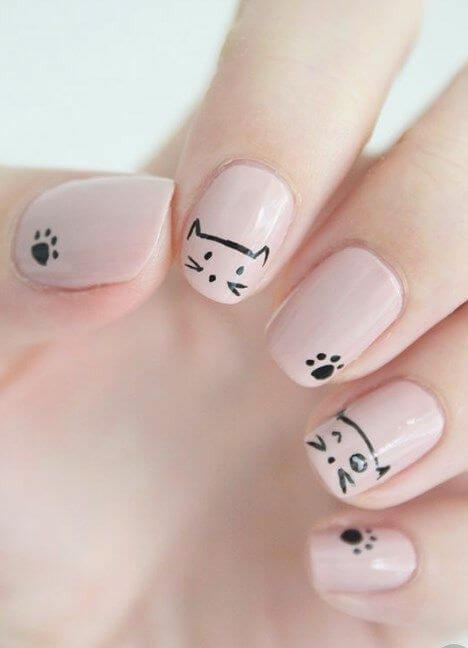 Source: unknown
#25 Love Note
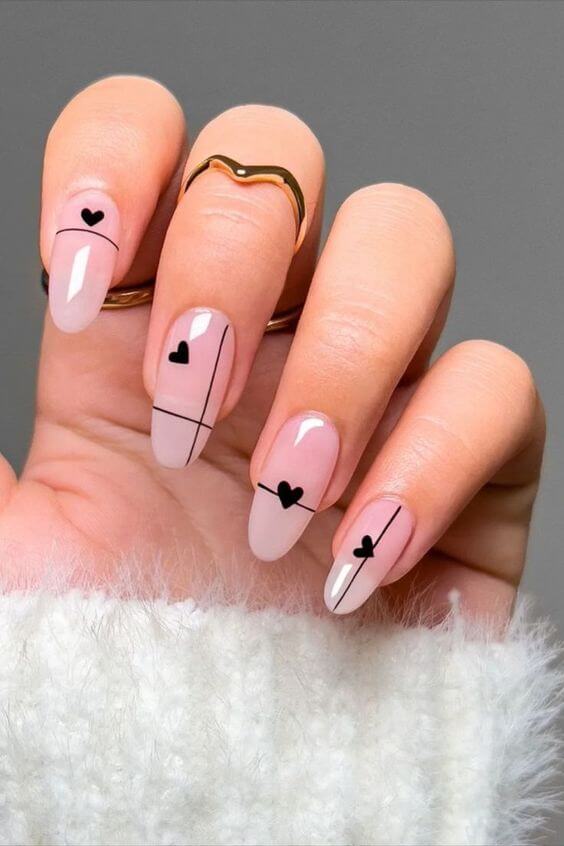 Source: unknown
Celebrity nail artist Simcha Whitehill (a.k.a. Miss Pop) suggests an easy, professional method: dip an old lip brush into a bottle of nail polish remover and carefully swipe it around your nail bed.
Unlike cotton swabs, which can leave behind fibers or create uneven lines, a lip brush gives you more control and precision.
The angled tip allows you to glide along the cuticle and sides of your nail with accuracy, erasing any mistakes without disturbing the rest of your polish.
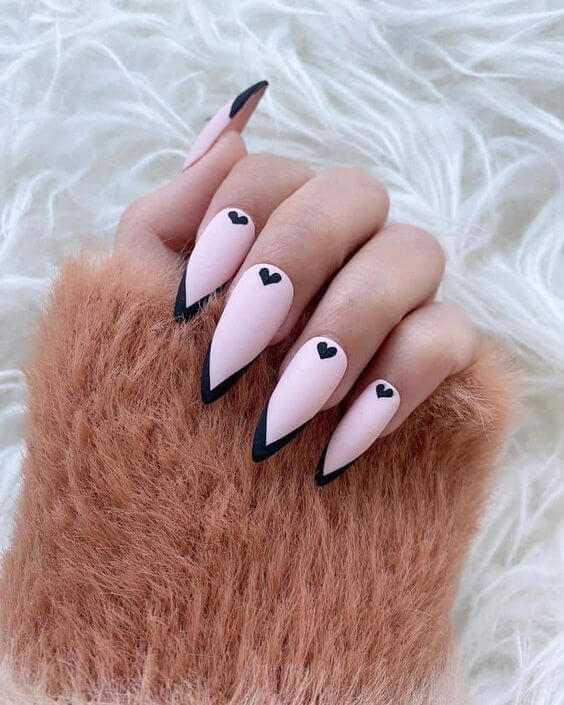
#26 Thorn Heart
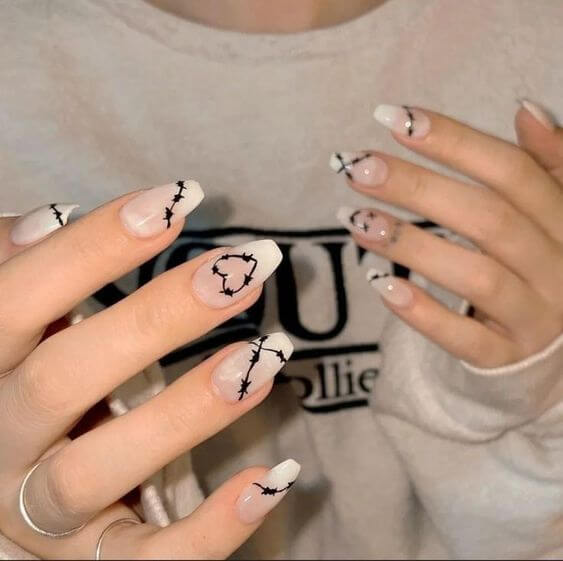 Source: unknown
#27 Black Thin French Mani
 Source: unknown
This little trick ensures that your nails look neat and polished, even if your painting skills weren’t perfect on the first try.
Plus, keeping a dedicated cleanup brush in your manicure kit means you’ll always have the right tool on hand to fix slips and smudges in seconds.
#28
 Source: unknown
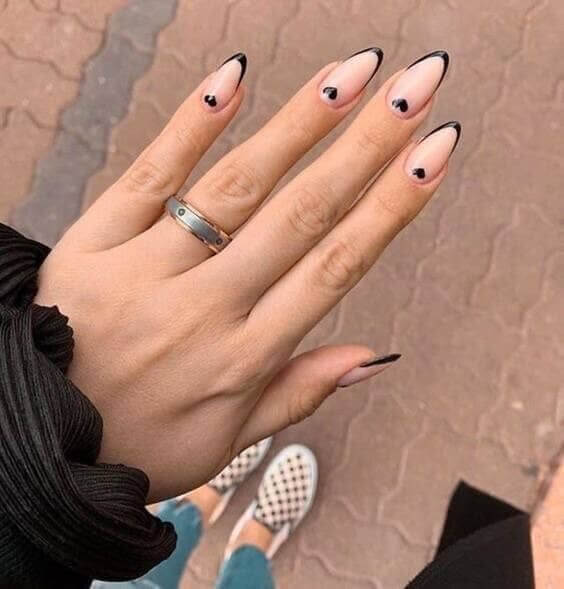
#29 Dark Love
 Source: unknown
#30
 Source: unknown
Tip #5 for Nail Painting: Find the Right White
So you want to try to replicate that badass white manicure you saw on Instagram.
Make sure the formula is thick and creamy before you choose your shade, so it doesn’t go on too sheer or streaky.
Take the brush and wipe it against the inside of the cap if you’re not sure how opaque the shade is just by looking at it.
#31 Dreamy Romance Nails
 Source: unknown
#32 Autumn Chic
 Source: unknown
#33 Sporty Set
 Source: unknown
#34
 Source: unknown
#35 Trendy Hue
 Source: unknown
#36 Ombre Tips
 Source: unknown