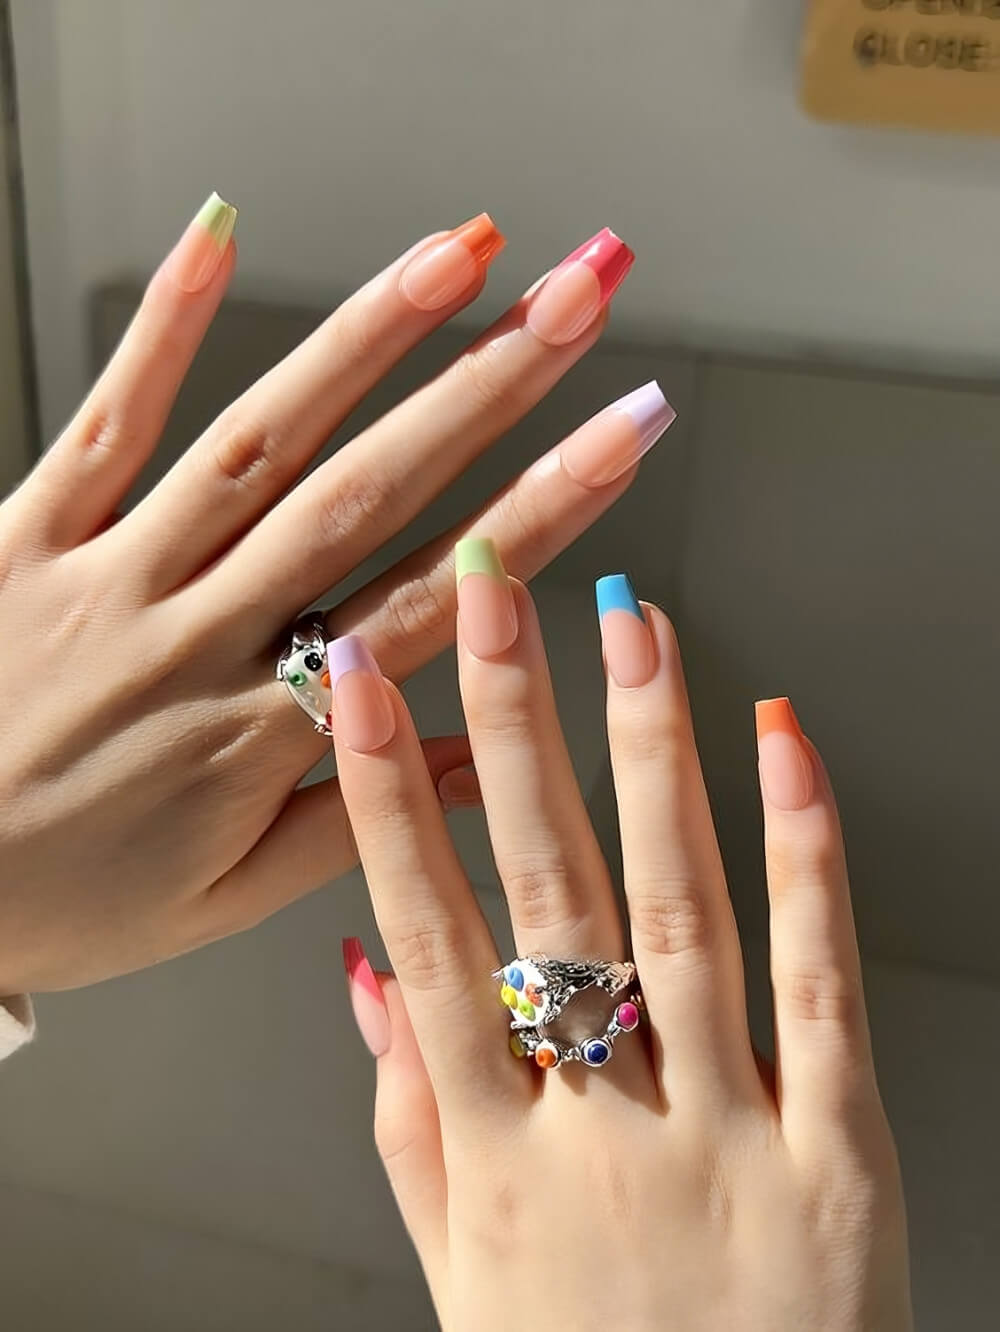
French tips are classy and timeless. They are simple yet elegant, which is perfect for beginners and traditionalists who want something effortless yet stunning.
The best thing about French manicures is that you can spin them about a million ways, so you definitely won’t get bored with them anytime soon.
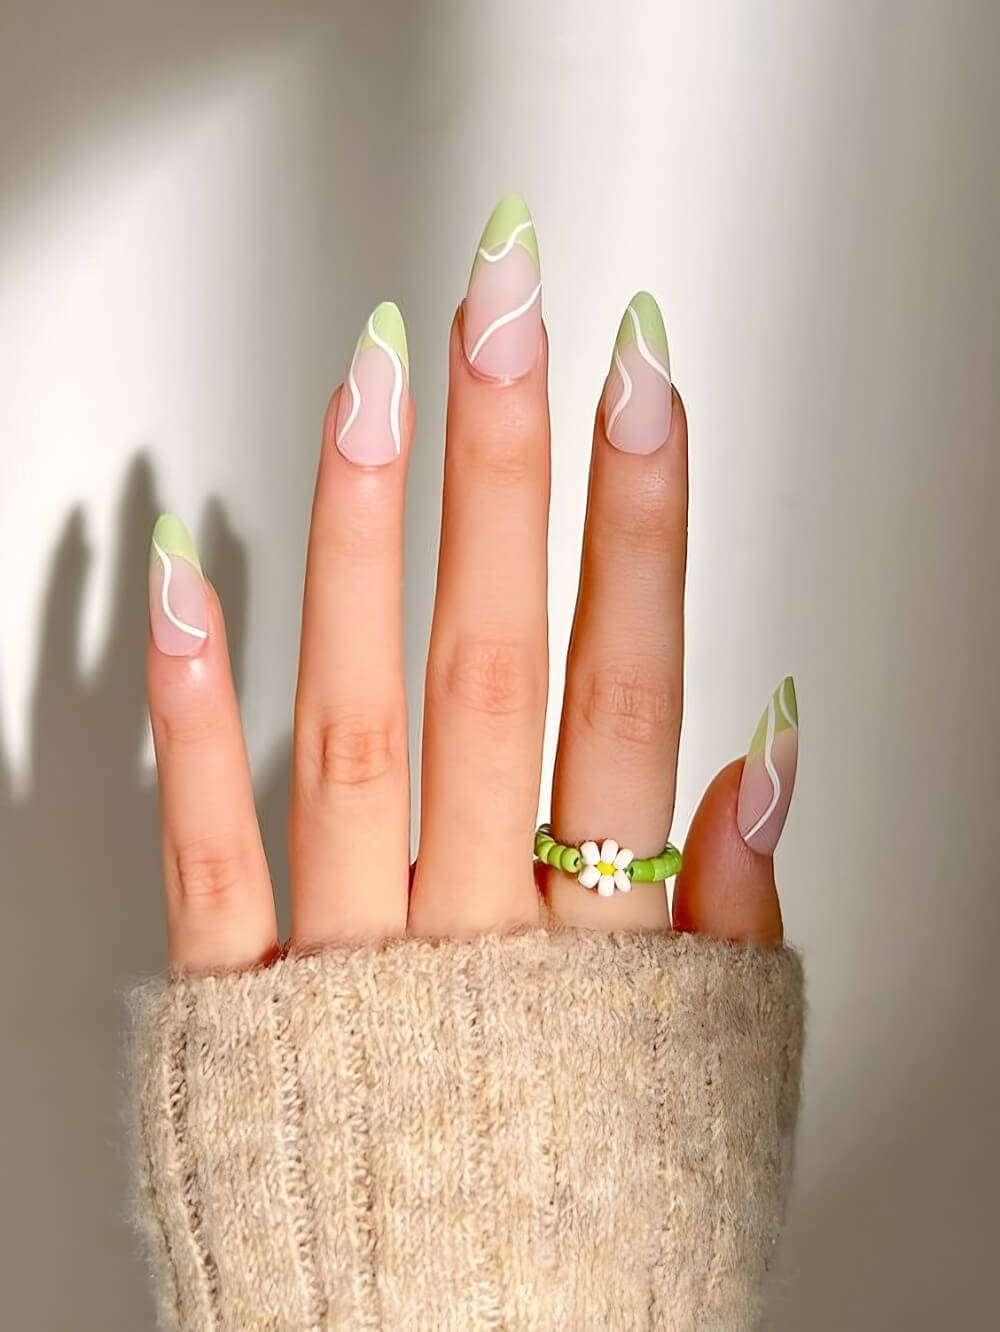
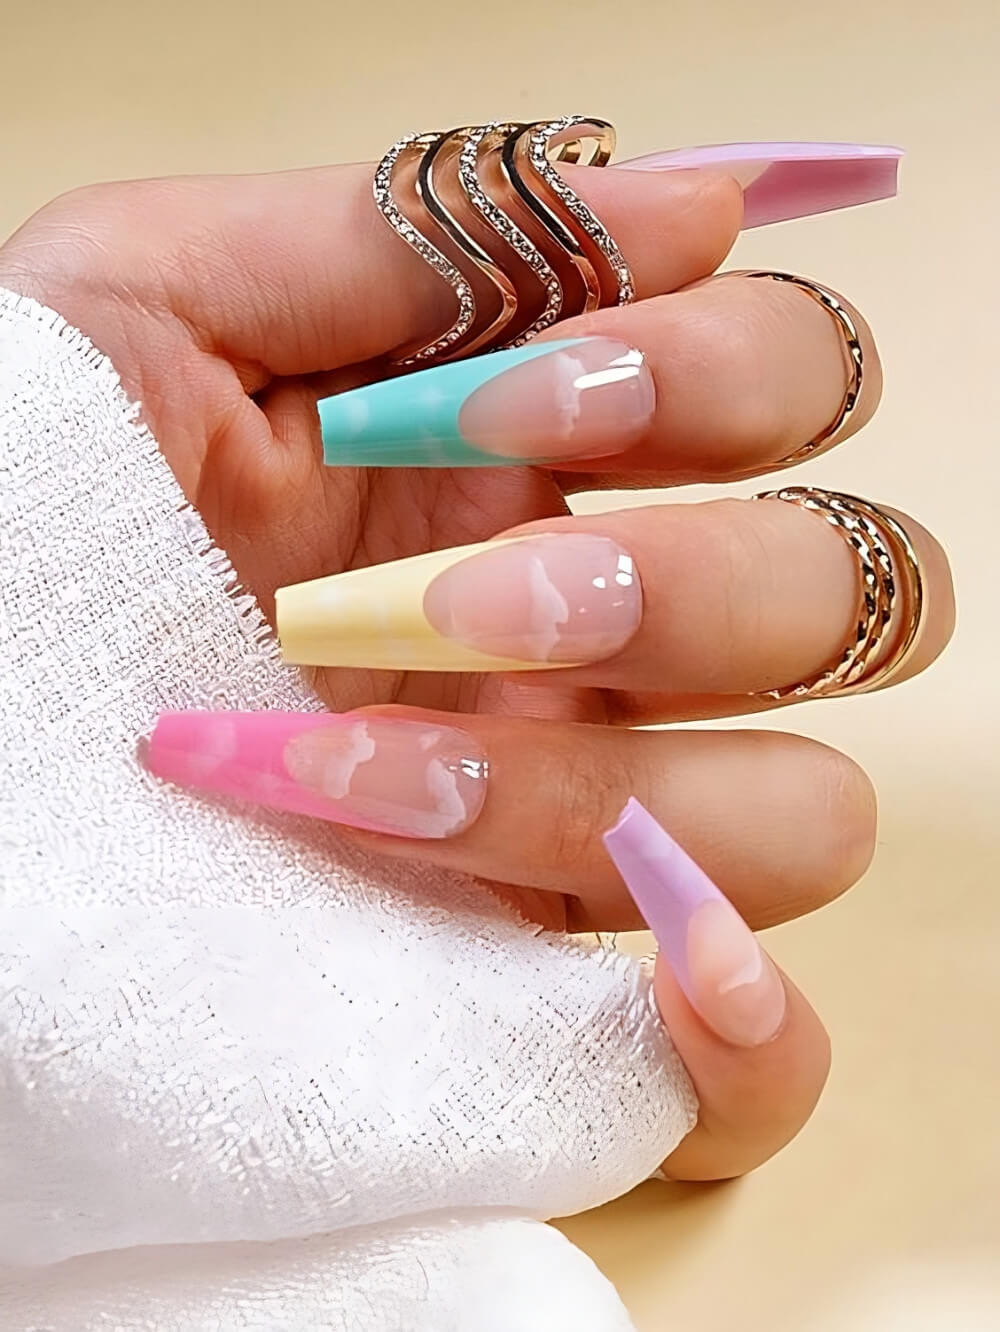
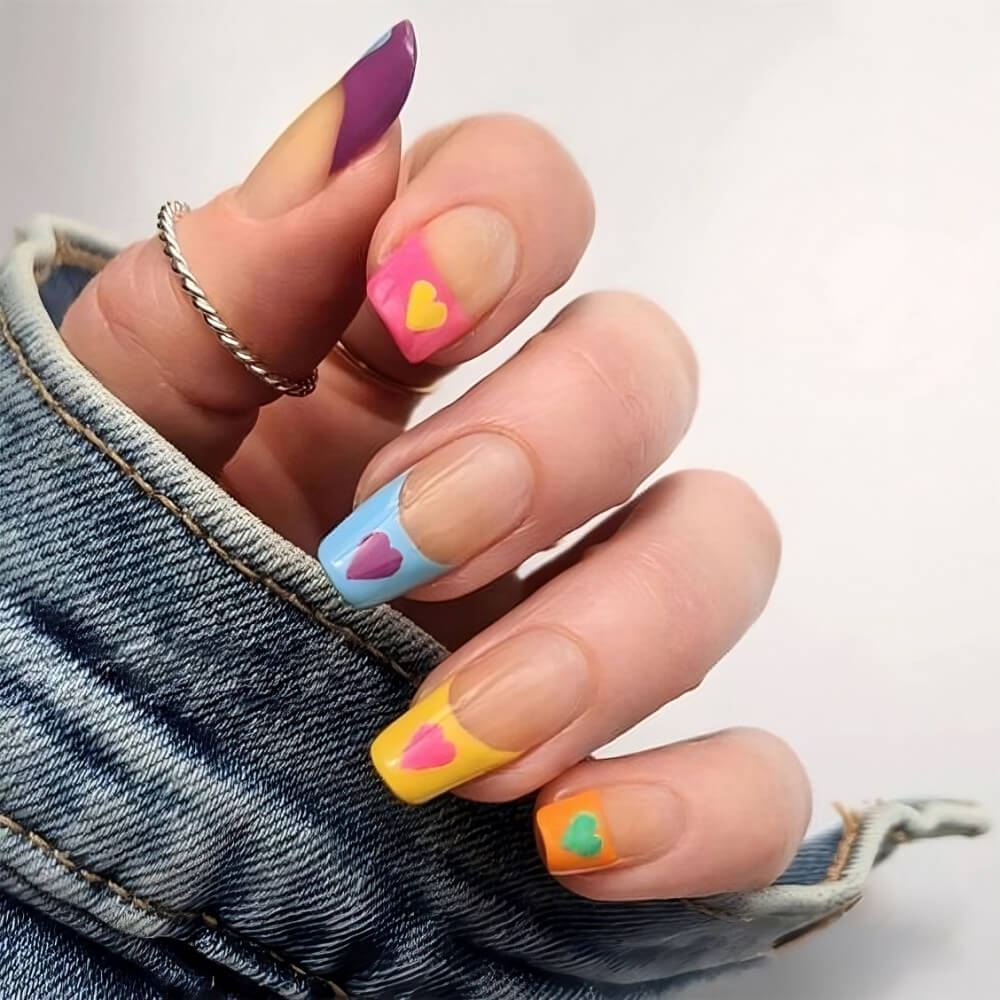
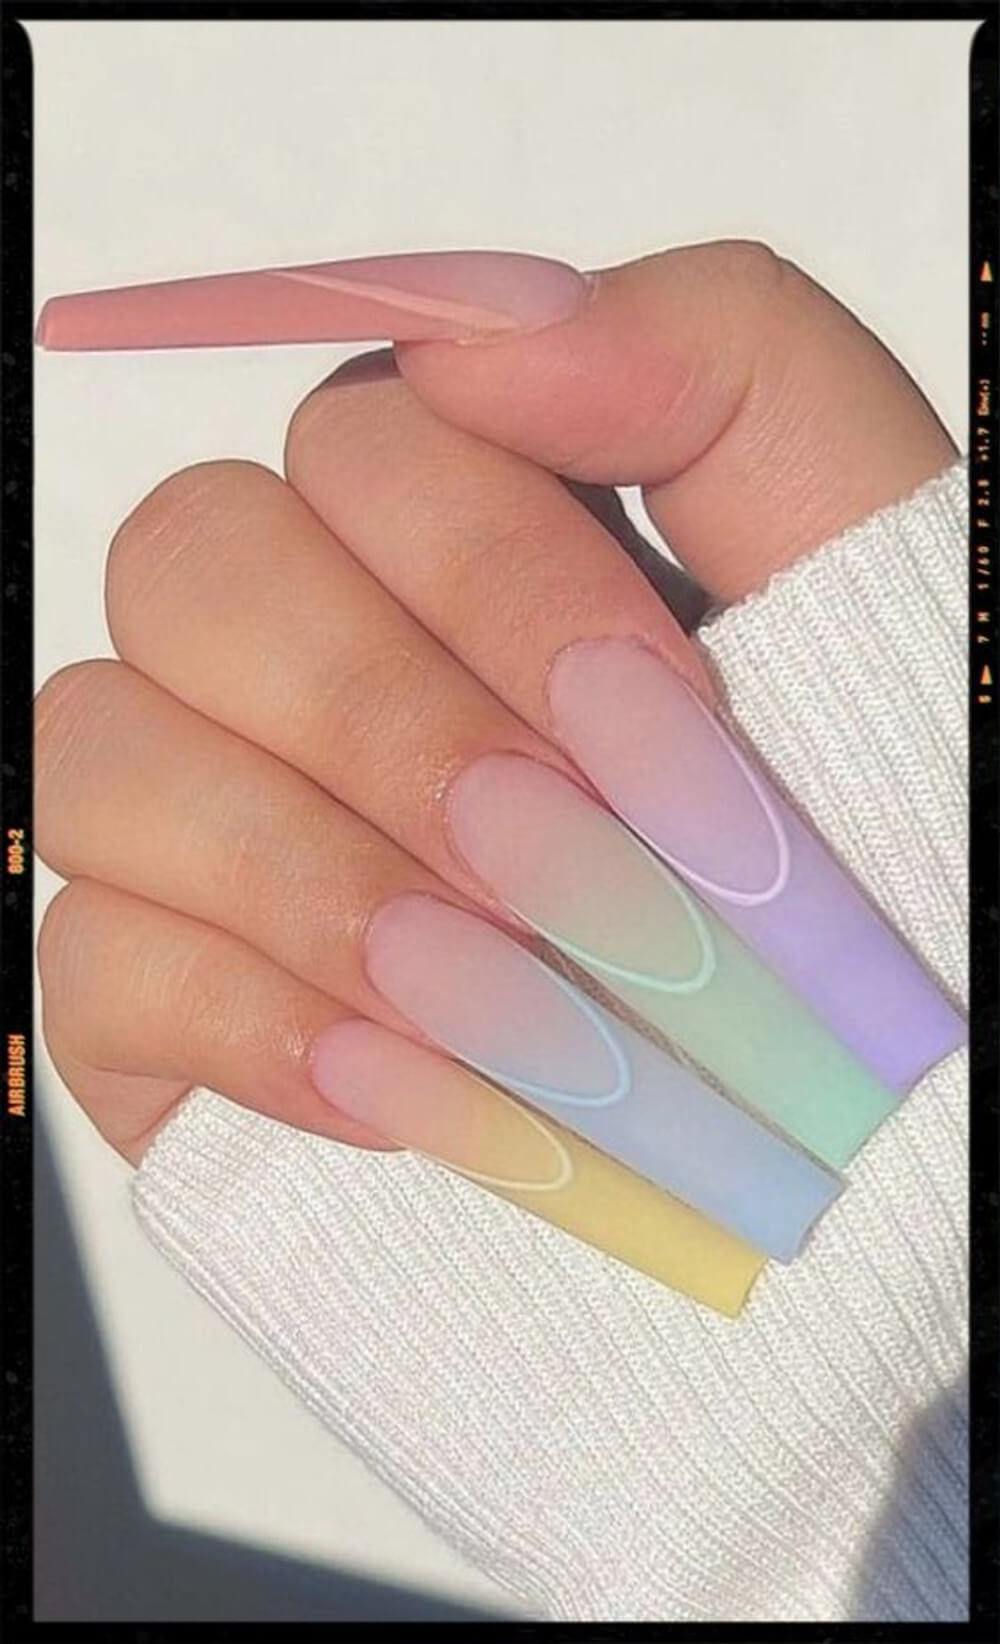
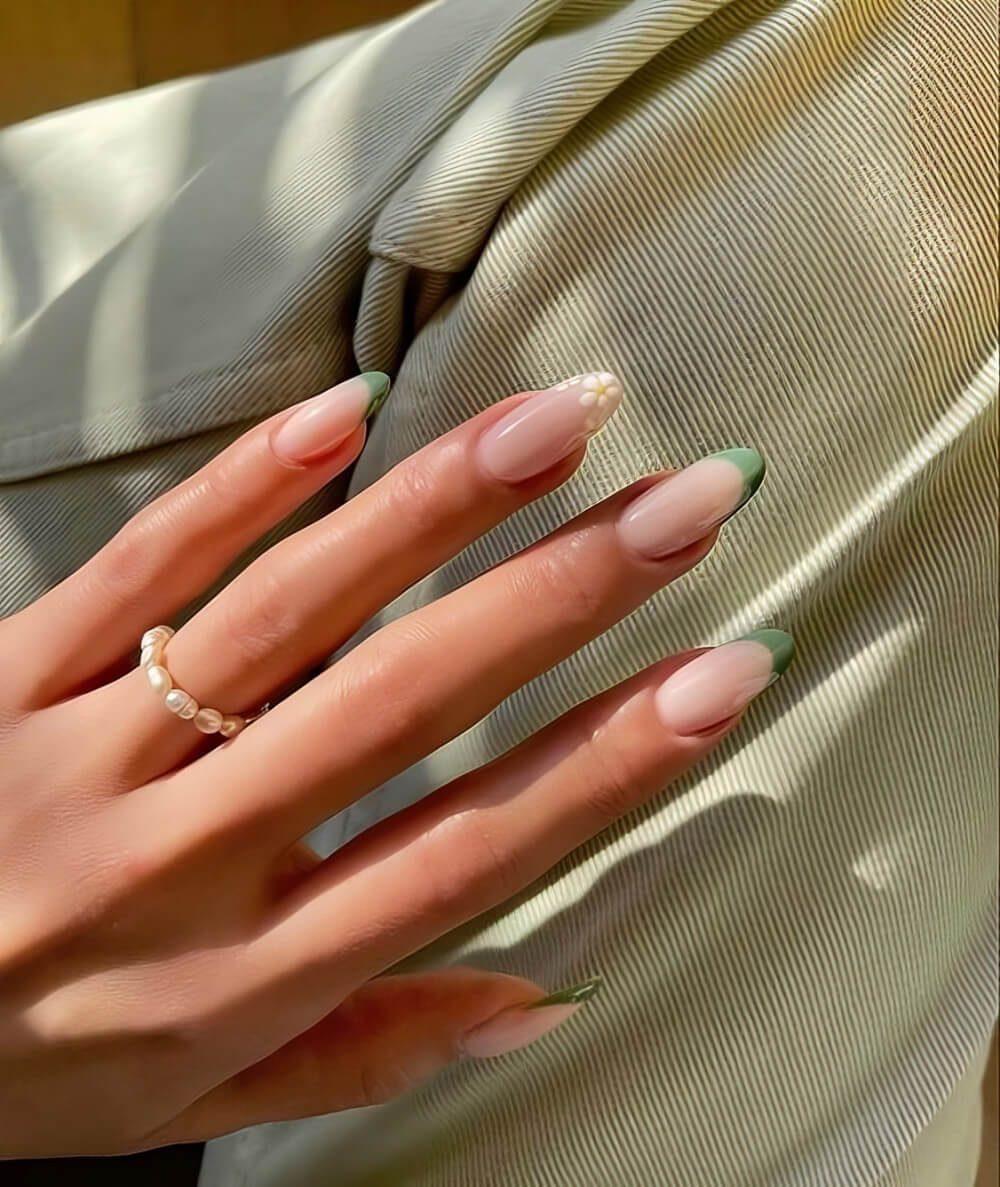
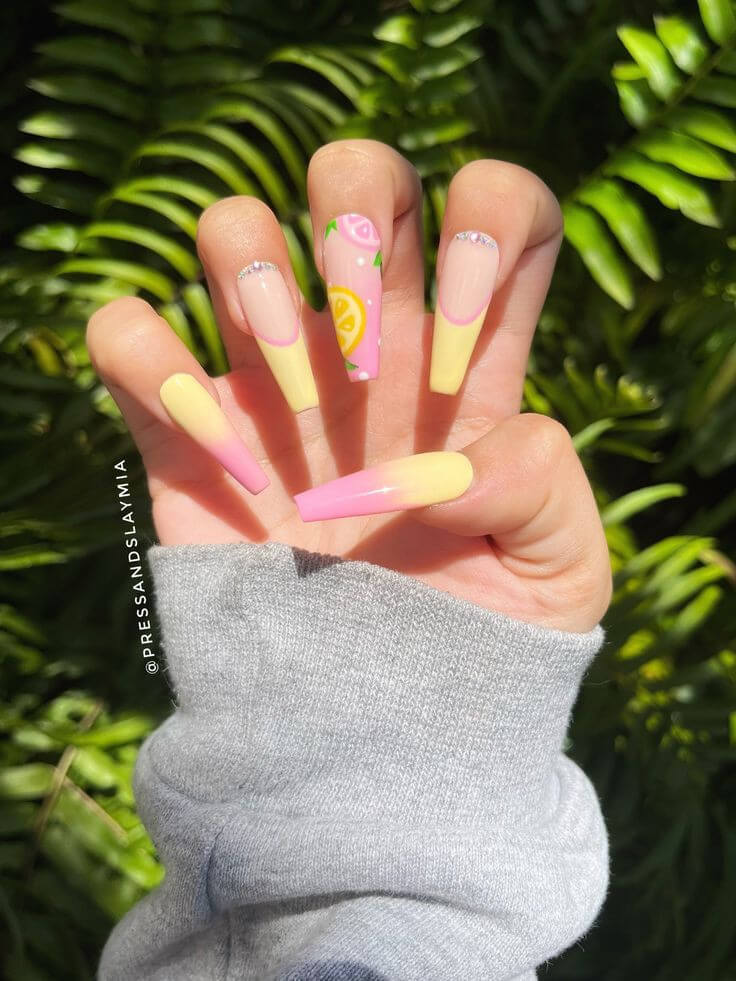
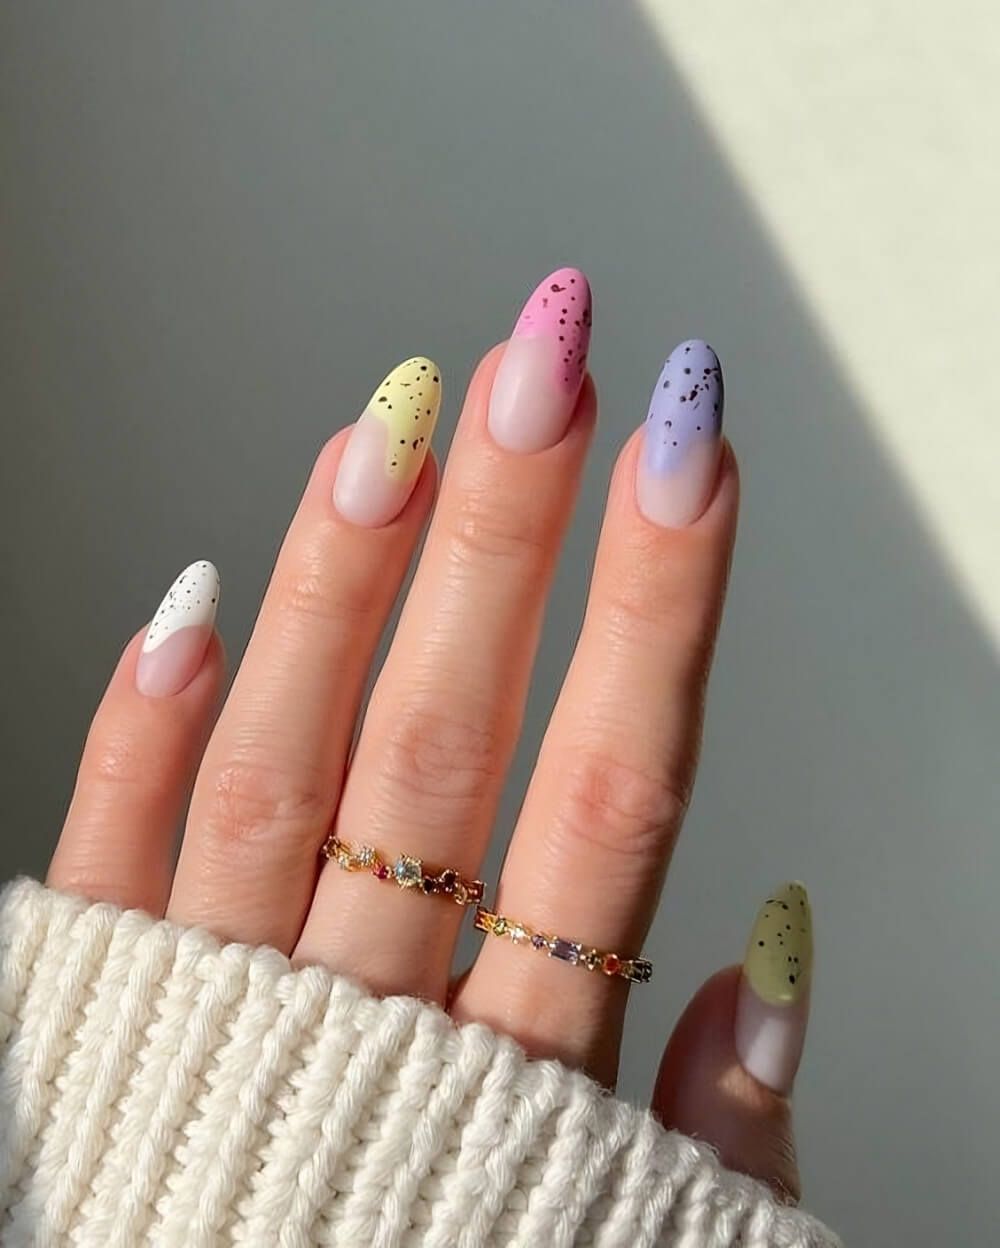
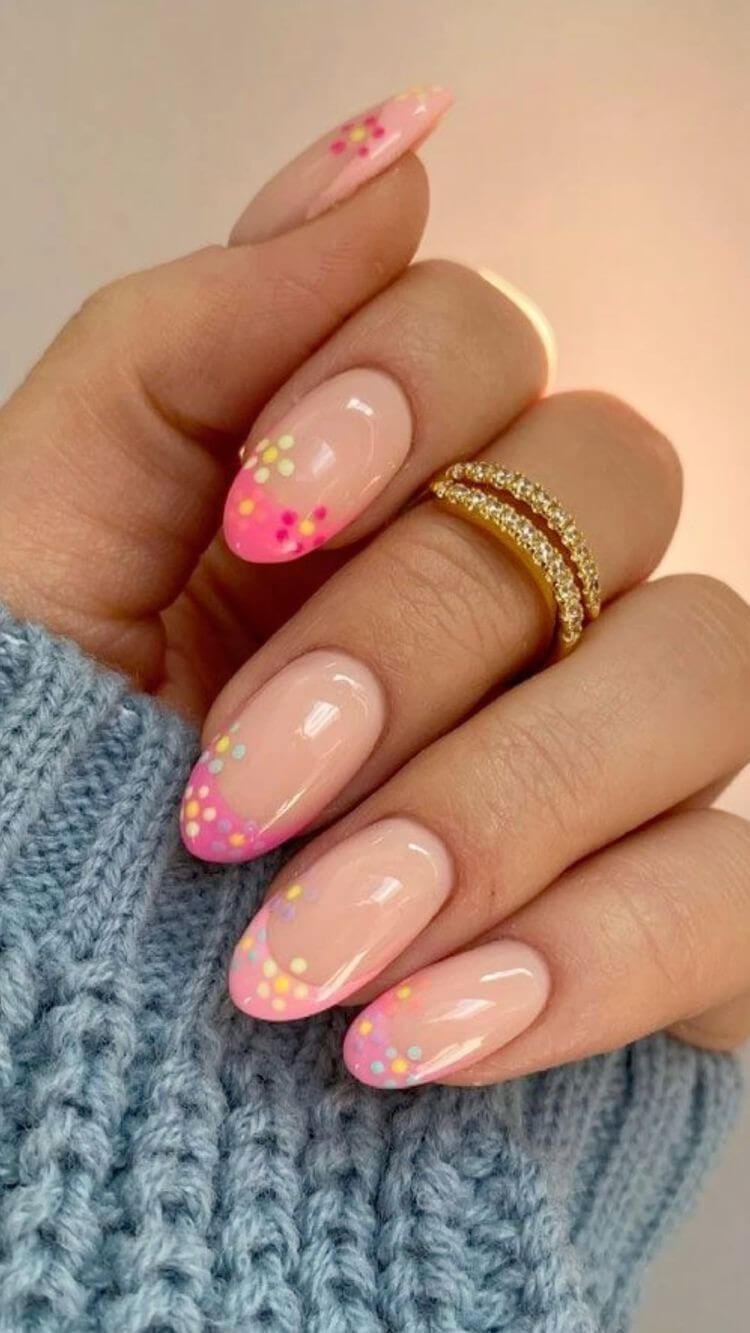
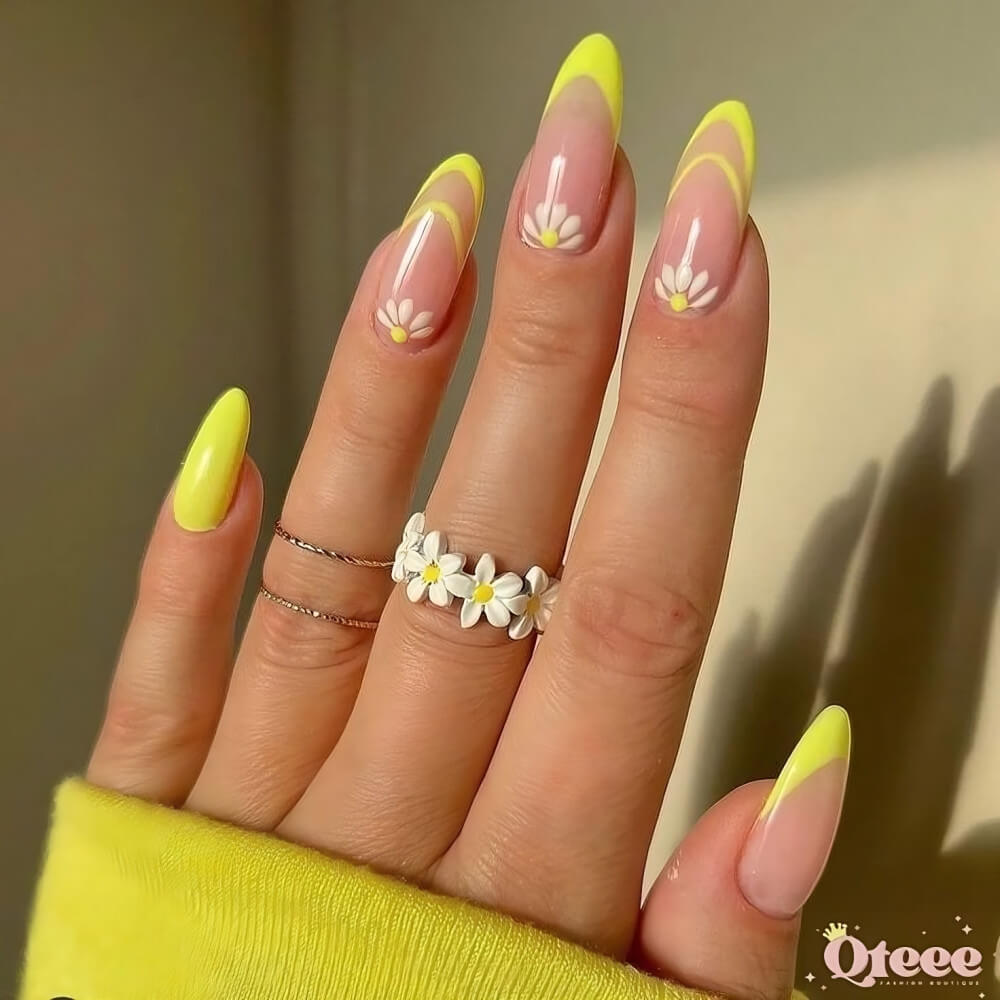
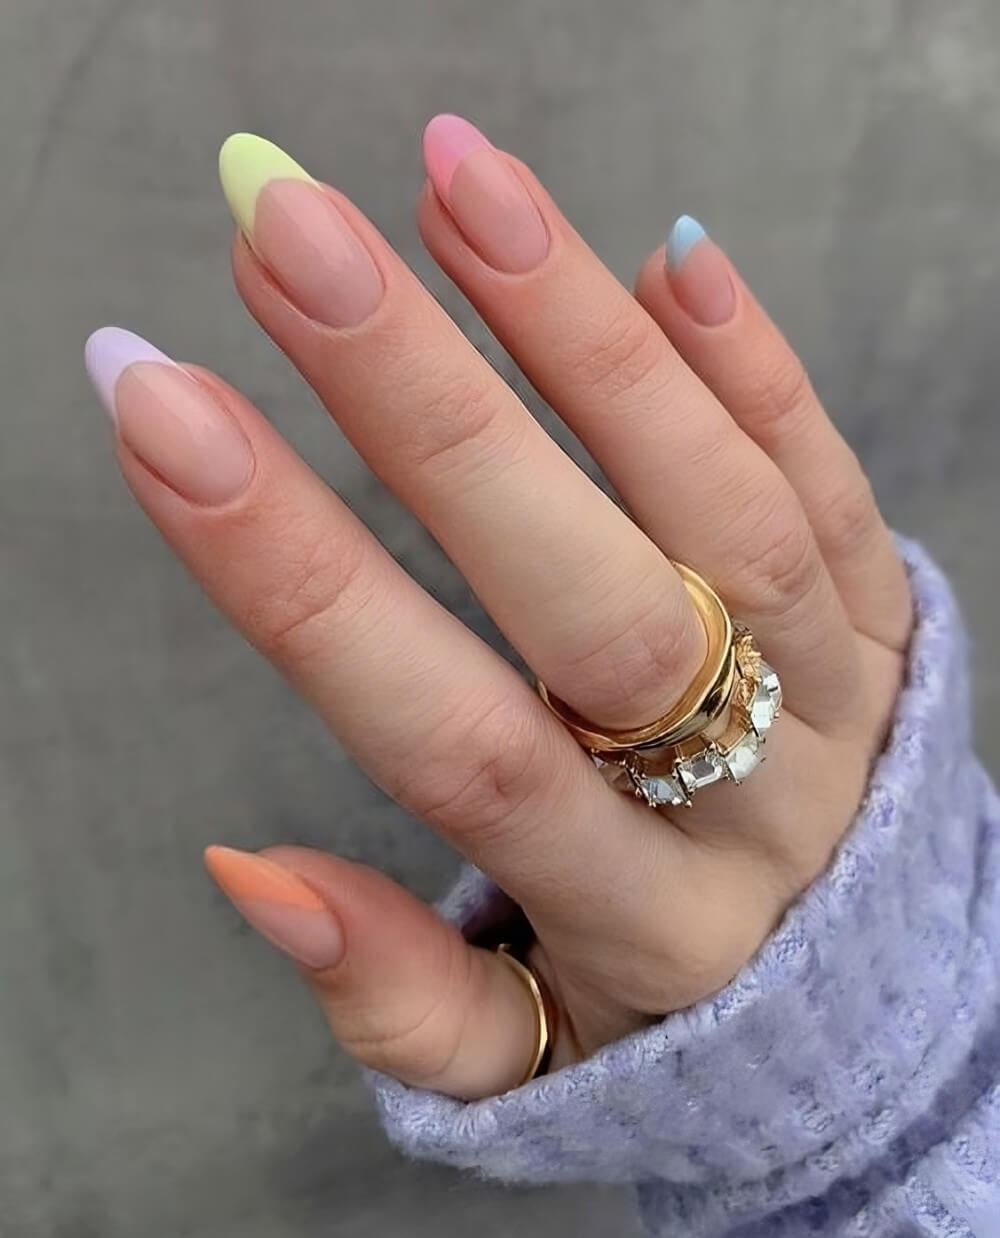
But if you’re looking for something extra sophisticated, try these pastel French manicure ideas. Pastels are the ultimate colors for chic style.
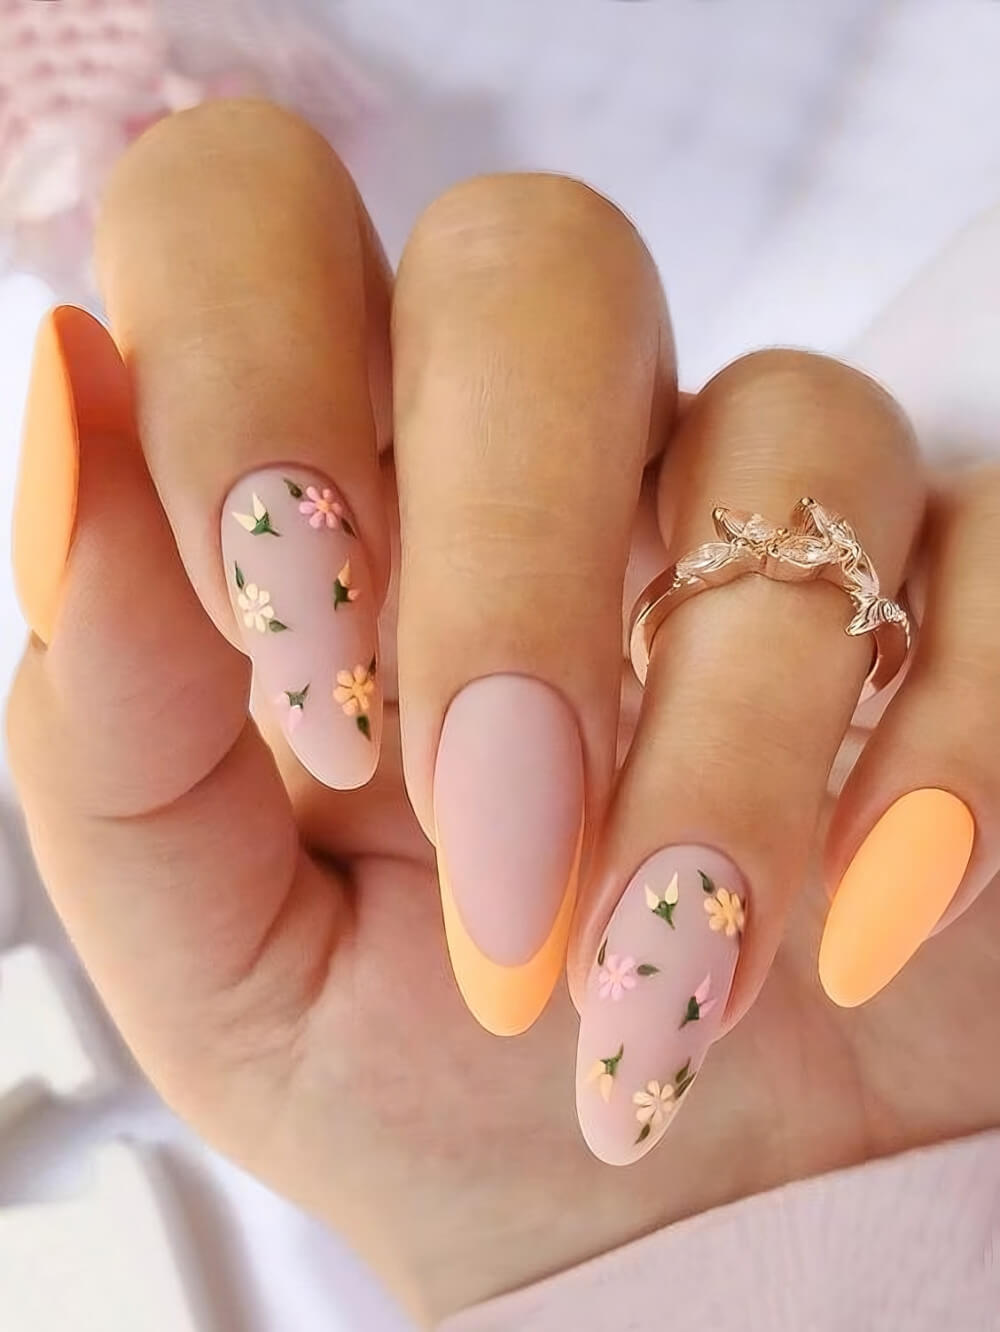
They are feminine, graceful, and eye-catching despite being soft. If you’re looking for a high-end look, pastel colors with French manicures are one of the best combos for you.
Scroll down to uncover the best pastel French manicure ideas. If you want to look like a classy lady but with a modern twist, this list is for you. Every girl deserves pretty nails, so don’t miss out.
1.
2.
3.
Your Expert Guide to Nailing the French Manicure at Home
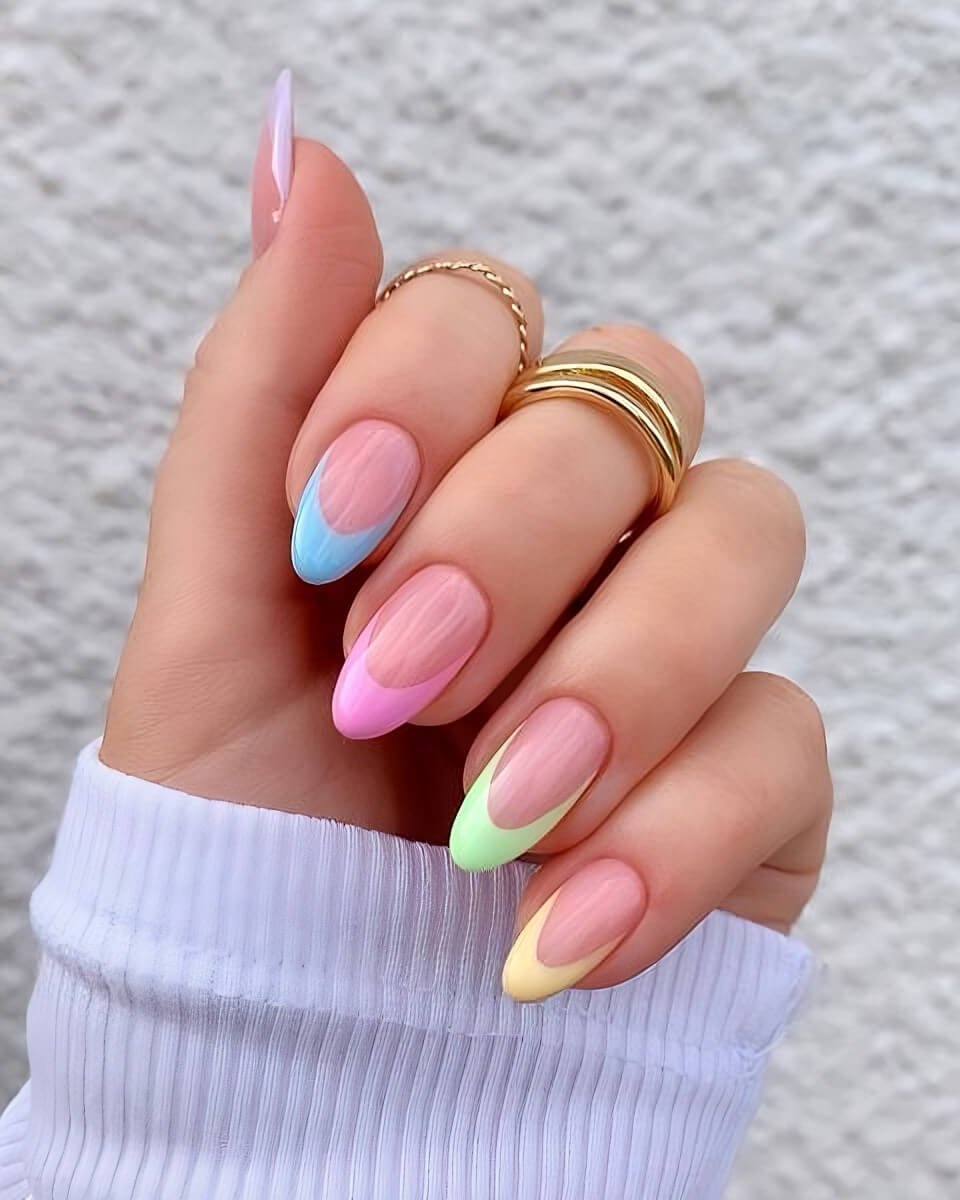
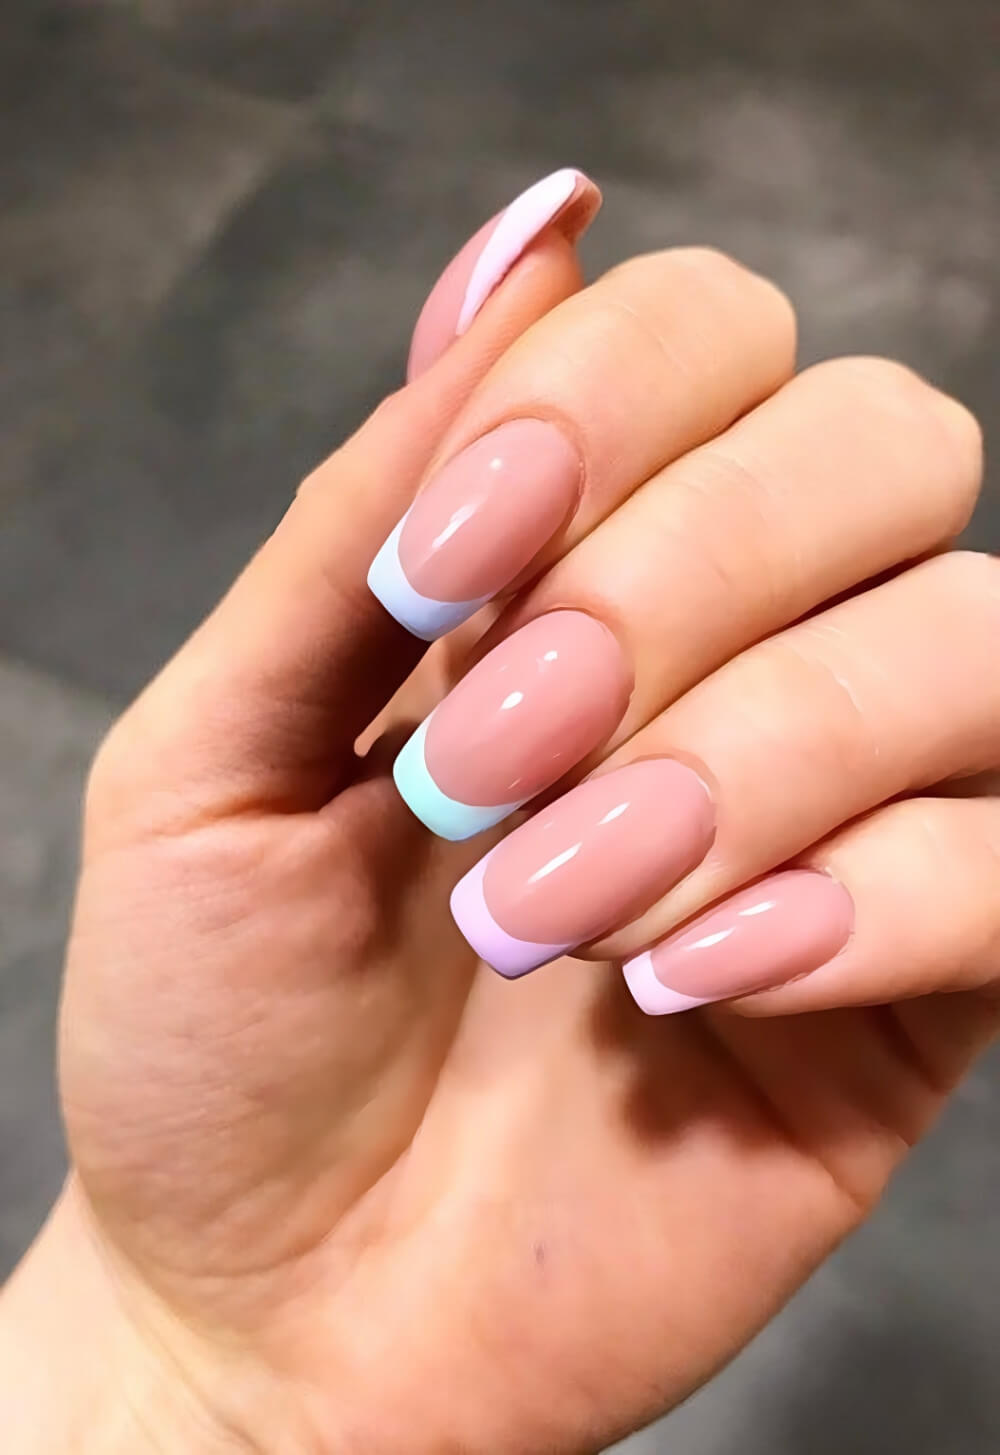
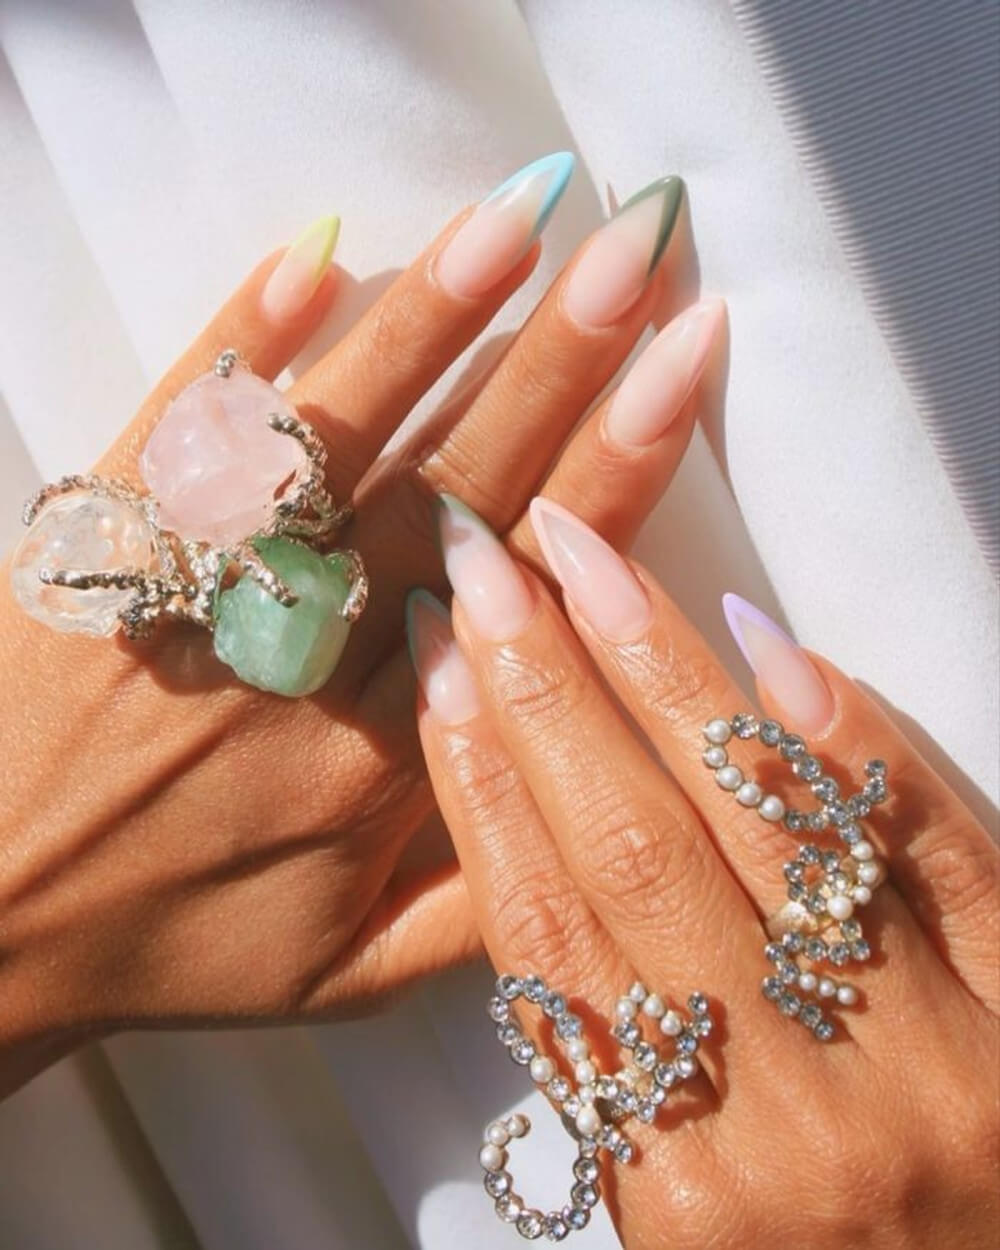
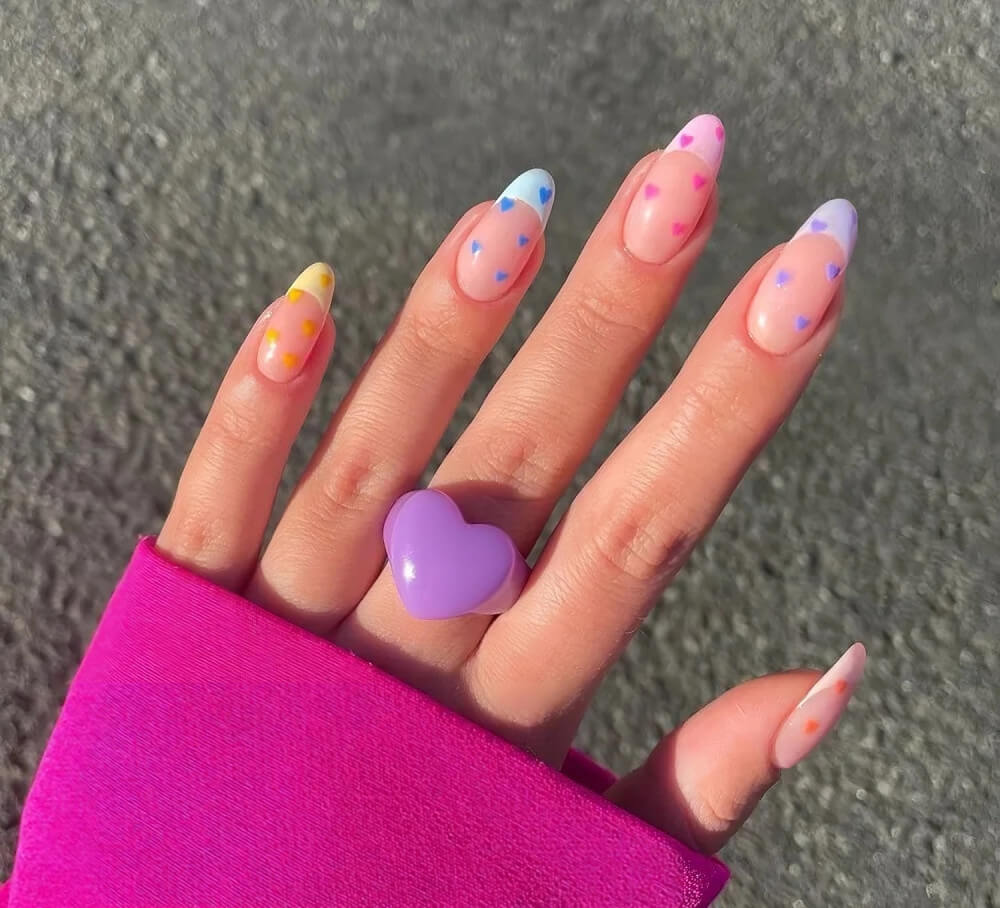
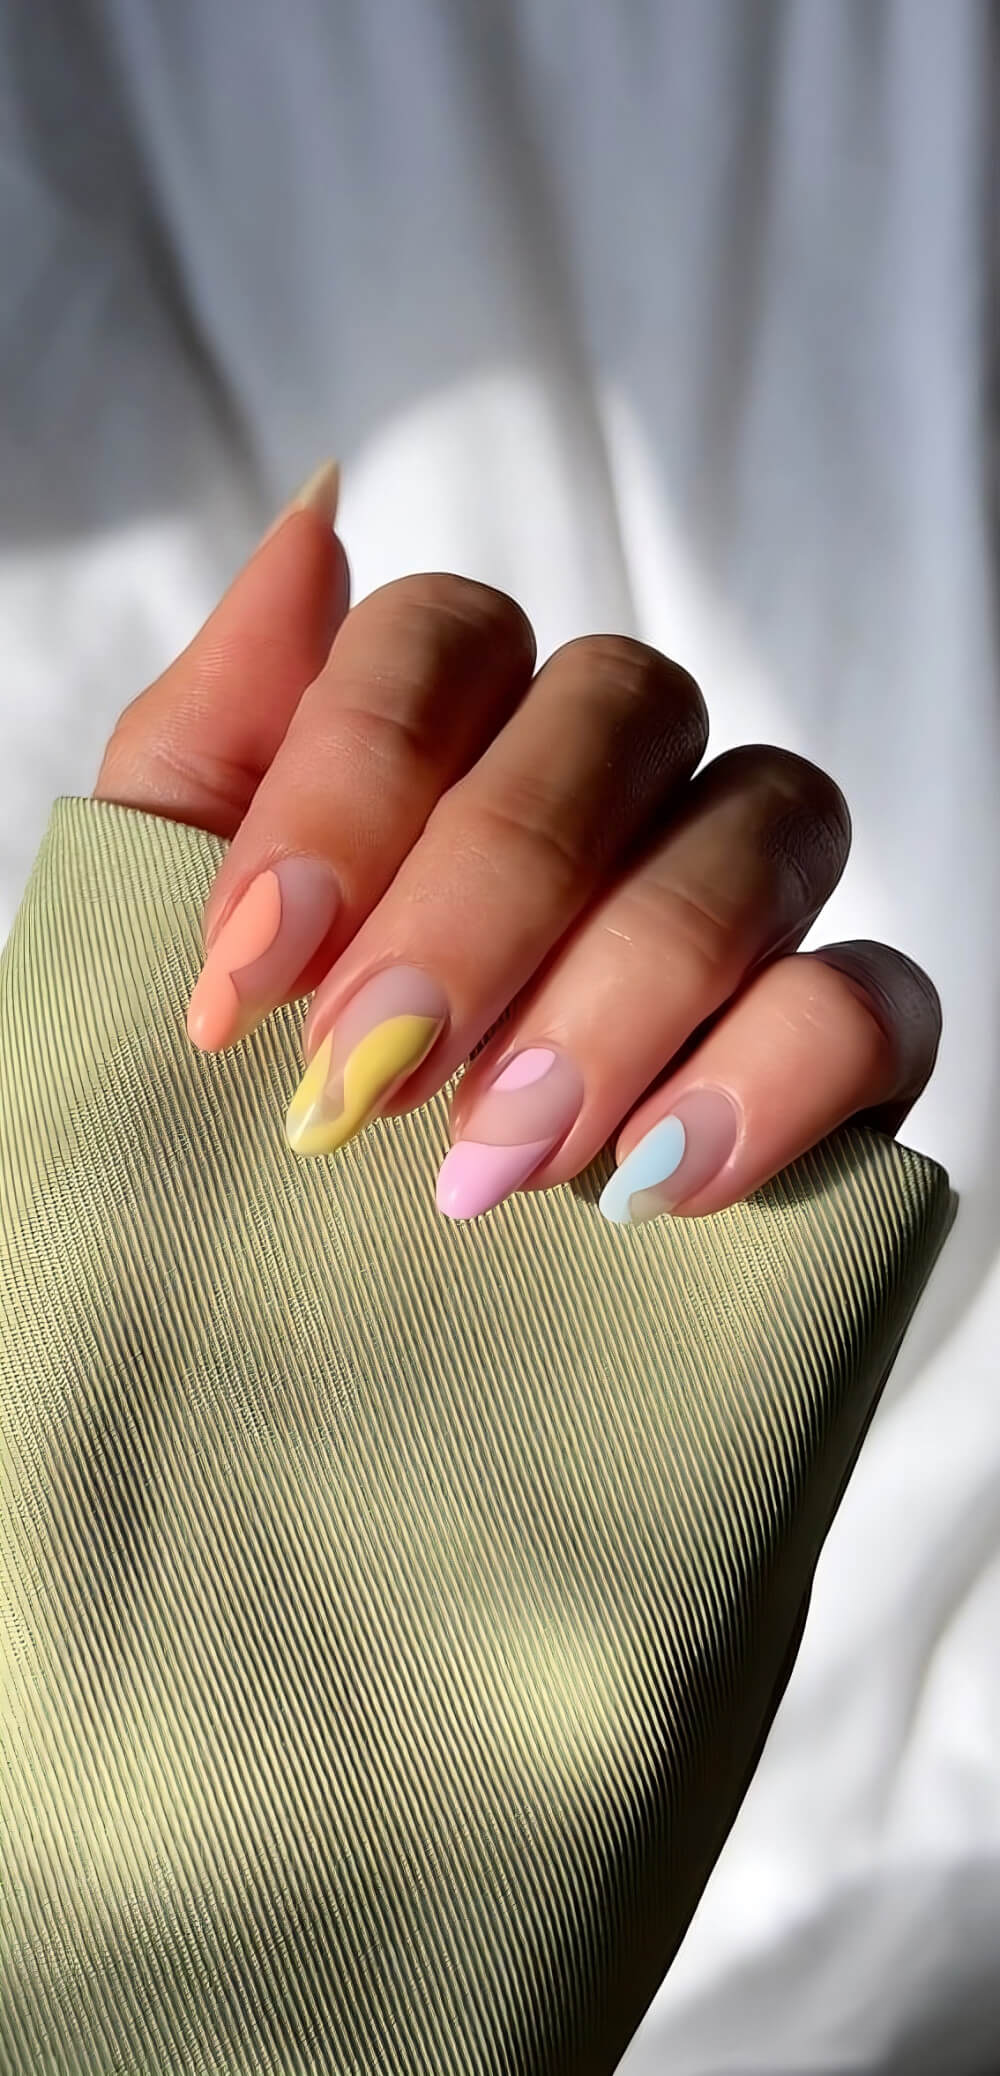
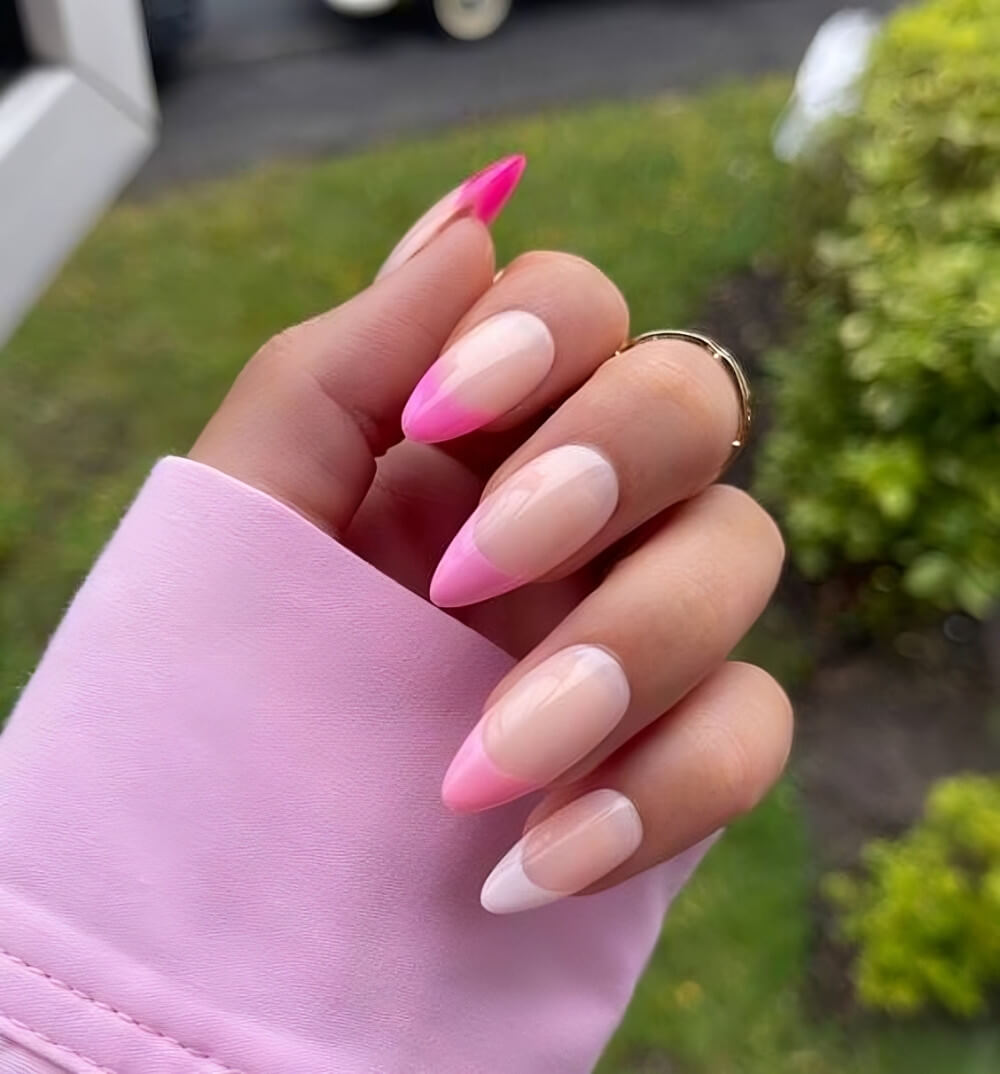
The French manicure is the undisputed champion of nail elegance, but the classic stark white tip has found a vibrant, modern counterpart: the pastel French manicure.
This contemporary twist replaces the traditional white with soft, creamy hues, transforming the look from classic bridal to fresh, stylish, and playful.
4.
5.
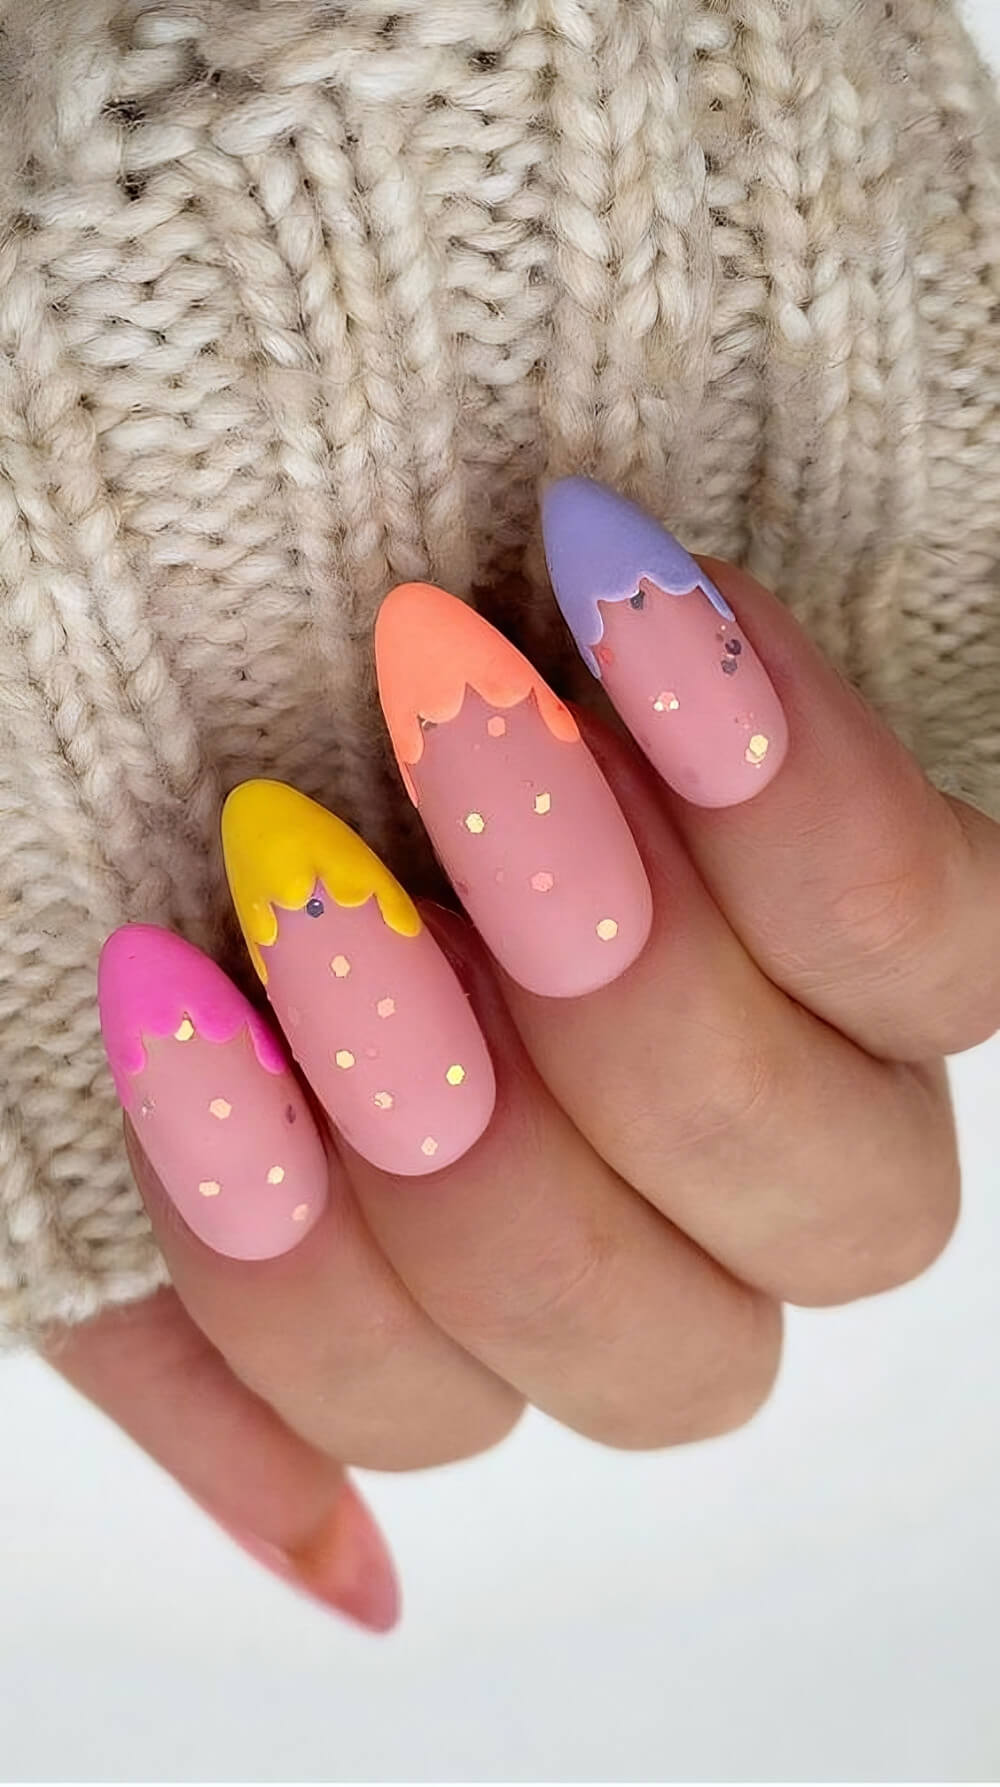
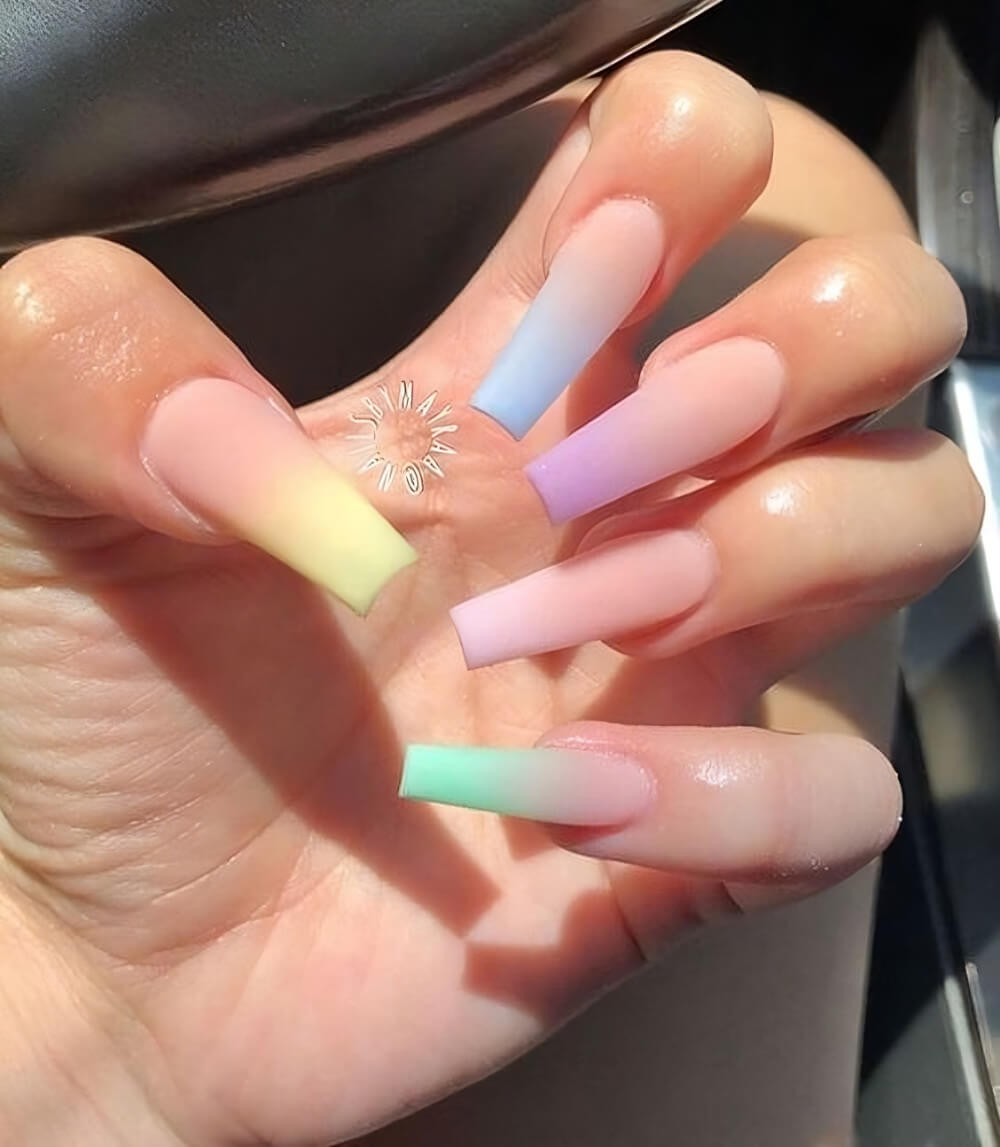
Mastering the pastel French at home is surprisingly achievable, provided you have the right tools and a foolproof technique.
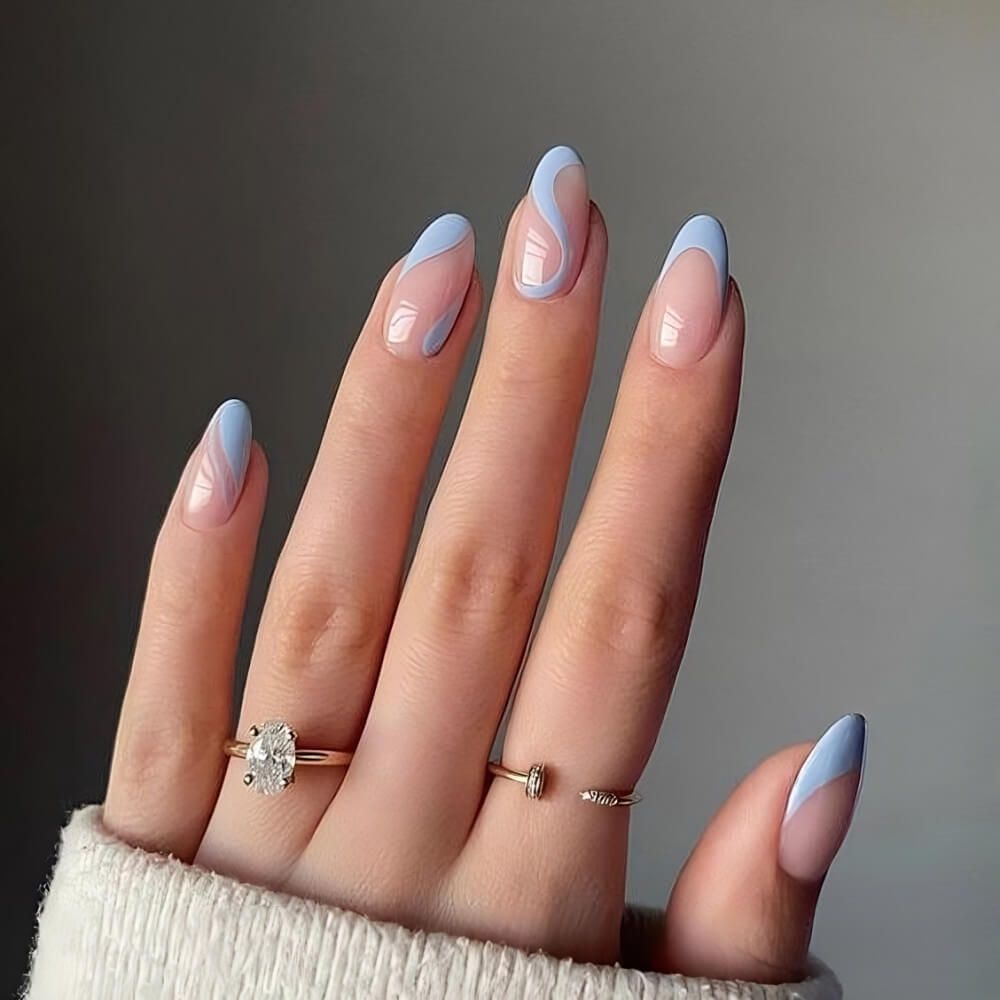
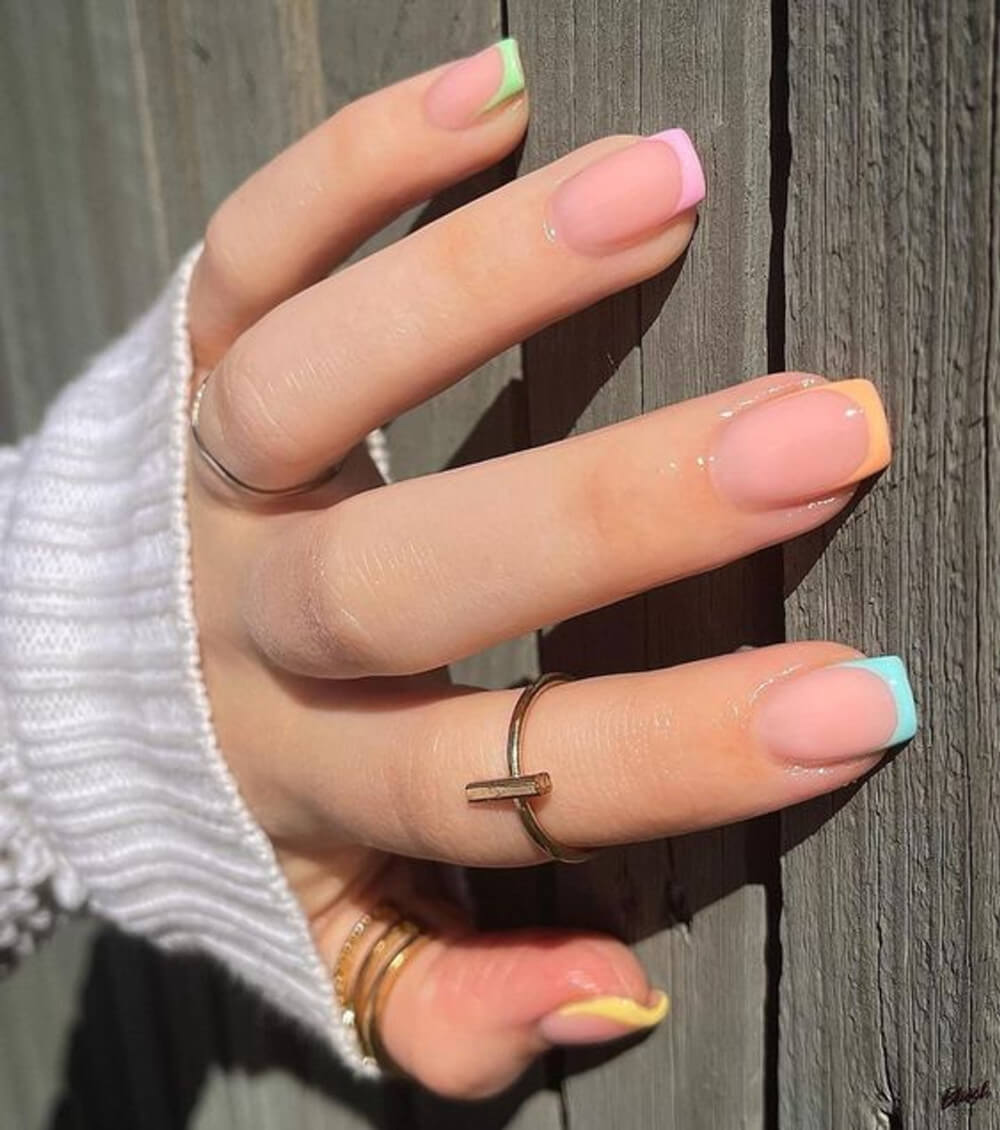
The secret to a professional-looking pastel tip lies in achieving a crisp, uniform “smile line” and choosing the perfect balance between the nude base and the colored tip.
This article will guide you through the preparation, the three most effective methods for painting the tip, and the chicest color pairings to ensure your DIY pastel French manicure looks flawless and salon-worthy.
6.
7.
8.
Nail Prep is Non-Negotiable
A crisp French tip requires a smooth, clean canvas. Do not skip these foundational steps, as they are essential for longevity and a sharp finish.
Shaping the Nail
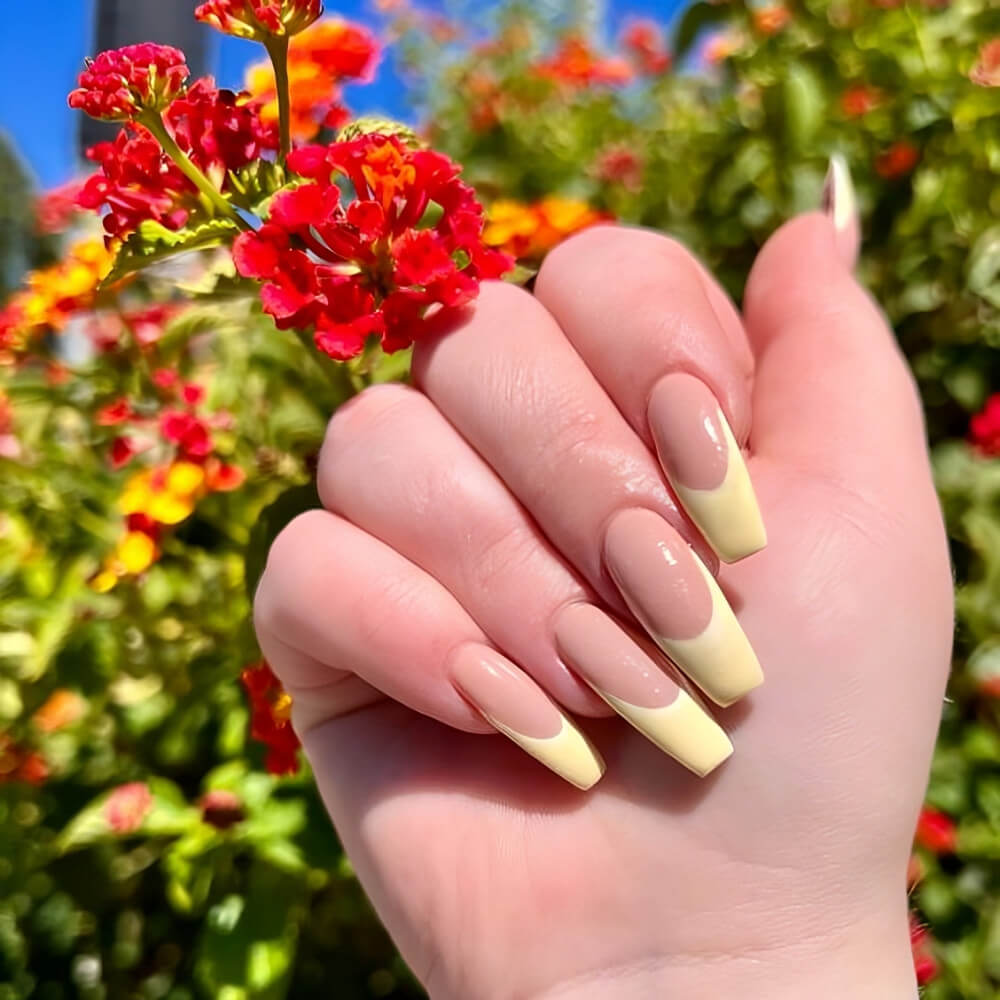
The optimal shape for a French manicure is the squoval or soft square. The straight edge provides the cleanest, most stable canvas for the tip line, which is why it is the traditional shape.
Technique: File the free edge straight across, then gently round the sharp corners. This maintains structure while preventing sharpness.
9.
10.
11.

Cuticle and Surface Prep
Cuticle Care: Gently push back the cuticles with an orangewood stick after soaking. Any polish that adheres to the cuticle skin will cause premature lifting.
Dehydration is Key: Before applying base coat, wipe each nail with a cotton pad soaked in rubbing alcohol or nail polish remover. This removes all oils and residue, ensuring the base coat adheres perfectly.
Base Coat
Always start with a clear base coat. This protects your natural nail from staining (especially important if using a vibrant pastel like teal) and provides the necessary grip for the next layers.
12.
13.
14.
The Nude Base Layer
The French manicure requires a translucent or sheer nude base.
- Choice: Select a sheer pink, milky white, or light beige polish that mimics the color of a healthy nail bed.
- Application: Apply one to two thin coats. The base should look clean and refined, but not fully opaque.
15.
16.
The Three Best DIY Methods
The “smile line” (the curved line where the tip meets the nail bed) is the most challenging part. Here are the three most effective, clean methods for doing it at home.
Method 1: The Silicone Pad/Stamping Method (Easiest for Beginners)
This is the fastest, most effective way to get a uniform, deep curve.
- Prep: Place a clear nail stamper pad or a firm silicone makeup sponge flat on your desk.
- Polish: Apply a generous line of your chosen pastel color across the edge of the stamper pad.
17.

18.
19.
- Dip: Gently push the tip of your nail straight down into the puddle of polish on the silicone pad. The curve of the pad transfers the polish onto your nail tip in a perfect, neat curve.
- Clean: If the line goes too far down the sides, use a small cleanup brush dipped in acetone to refine the shape before it dries.
20.

21.
Method 2: The Cleanup Brush Method (For Precision)
This technique relies on cleaning up a messy freehand application for a crisp edge.
- Apply Generously: Apply the pastel polish to the entire free edge of your nail, slightly sloppily, covering more area than you need.
- Define: Take a small, thin, flat or angled cleanup brush (often called a detail brush) and dip it into pure acetone or polish remover.
22.

23.
- Wipe and Define: Press the brush against the skin where you want the smile line to end. Use the edge of the brush to slowly wipe away the excess pastel polish, shaping the perfect curve. Wipe the brush on a paper towel after each pass to remove the polish residue.
24.
25.
Method 3: The Tape/Sticker Method (For Consistent Shape)
This classic method is great for a consistent shape across all fingers.
- Wait: Ensure the nude base coat is completely dry (wait 30 minutes or use quick-dry drops).
- Position: Place a curved strip of tape (like French tip guides or a rounded binder reinforcement sticker) over your nail, leaving only the desired tip area exposed. Adjust the height of the sticker to achieve the desired thickness of the tip.
26.
27.
- Paint: Apply the pastel color over the exposed tip. Wait 30 seconds.
- Peel: Carefully peel the sticker off while the polish is still slightly wet. Peeling too late can cause the line to crack and stick.
28.
29.

The Finishing Touch: Gloss and Longevity
The Final Seal: Once the tips are completely dry, apply a generous, high-shine top coat across the entire nail. This crucial step seals the smile line, prevents chipping, and adds that salon-quality glassy finish.
Longevity: To extend the life of your pastel French, re-apply a thin layer of top coat every 2-3 days, focusing on sealing the free edge.
30.
31.
32.
33.
34.
35.