Potatoes are well-known as a nutritious vegetable that can provide many health benefits. They are rich in carbohydrates, fiber, vitamin C, vitamin B6, potassium, and other minerals. They also contain some protein and very little fat.
You don’t have to own a large backyard garden to start growing potatoes. Surprisingly, this easy-to-grow vegetable does well in containers, making it a perfect choice for gardeners who have little space, such as balconies, patios or rooftops.
Below, we will walk you through this comprehensive step-by-step guide to help you grow a successful potato harvest in containers and enjoy its fresh and crispy flavor.
1. Choosing the Right Type
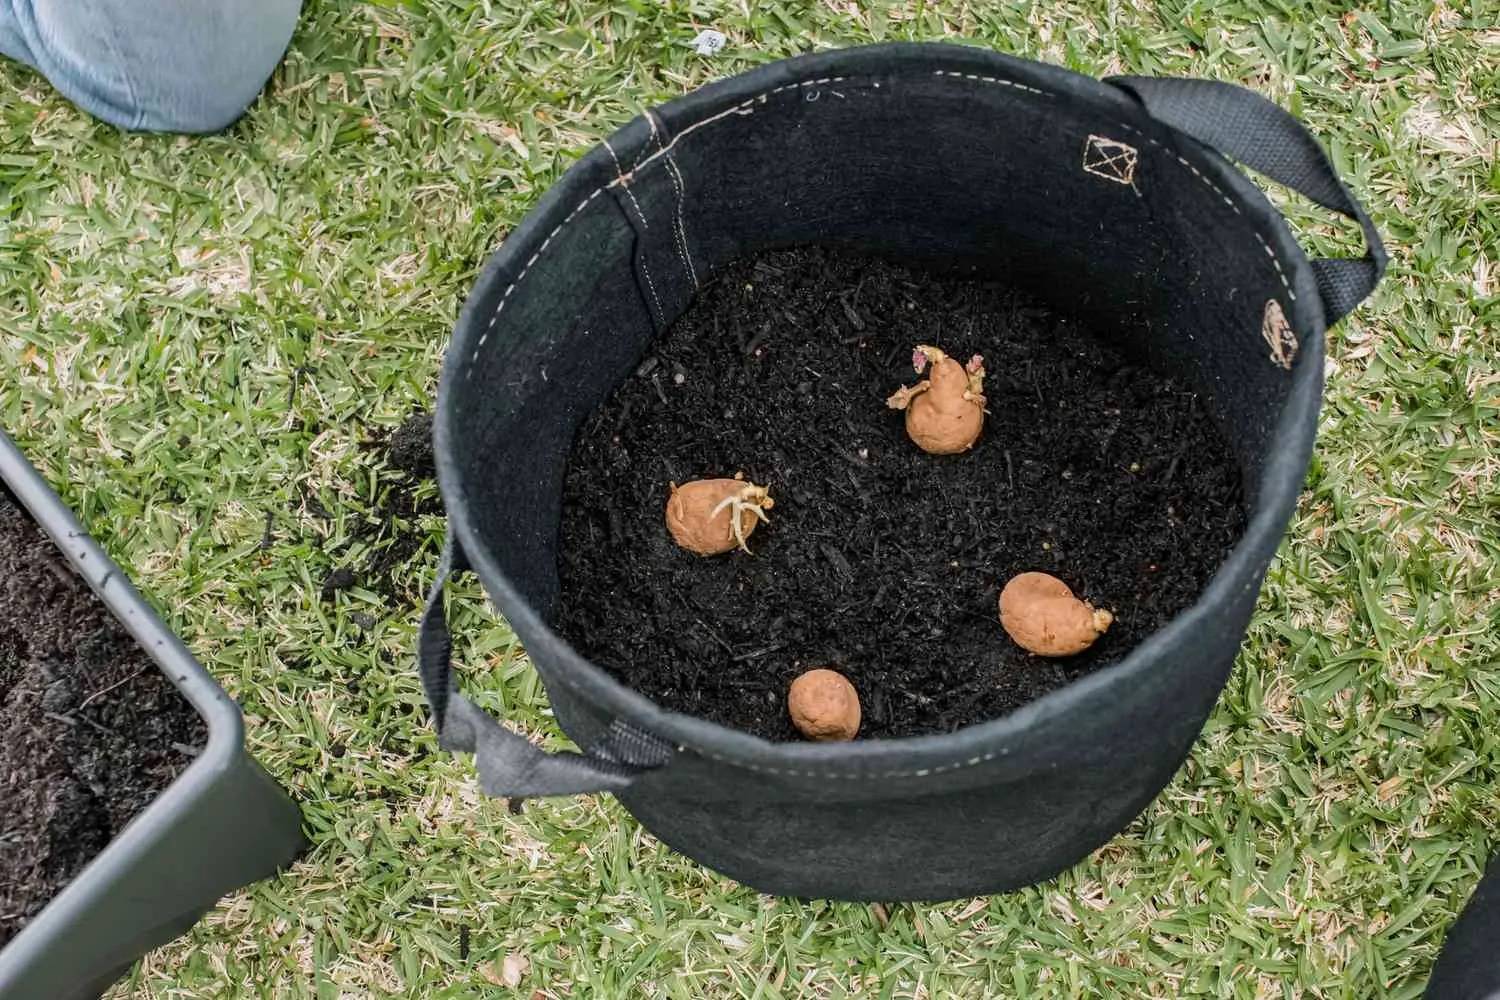
To get off to a good start, select a potato variety suitable for container gardening. Compact or bush-type varieties work best, such as Yukon Gold, Red Pontiac, and Russian Banana.
2. Time to Plant
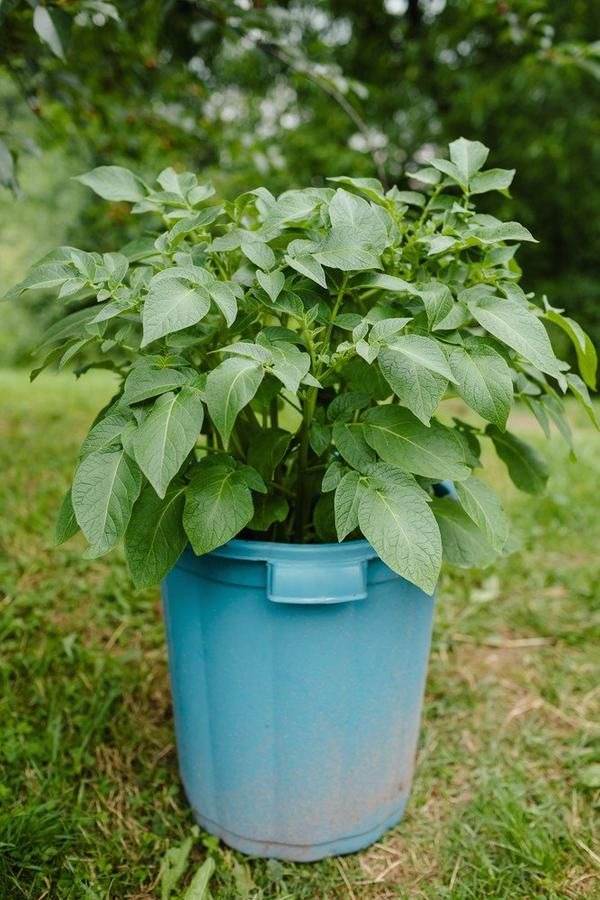
Spring is the ideal time for potatoes to grow. Plant potatoes about 2-4 weeks before your last frost date. This timing allows the plants to grow during the warmer months.
3. Preparing Seed Potatoes and Containers
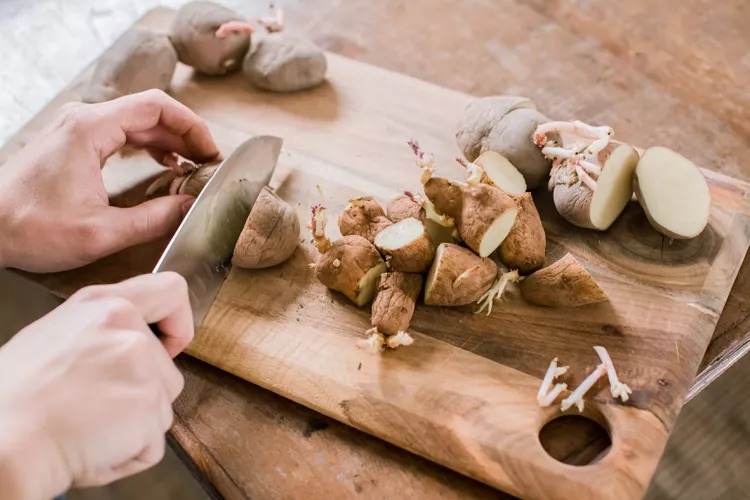
Purchase certified disease-free seed potatoes from a reputable source. Then, cut larger seed potatoes into pieces, each containing at least one or two “eyes” (small buds). Allow the cut pieces to air-dry for a day or two before planting.
The kind of container is not too important for potatoes. You have a wide range of choices, from trash cans, compost sacks, to burlap bags. If you have a large container, you can plant multiple layers of potatoes by adding more soil and seed potatoes as the plants grow. Fill the container with a well-draining potting mix. Leave about 4-6 inches of space at the top.
4. Planting
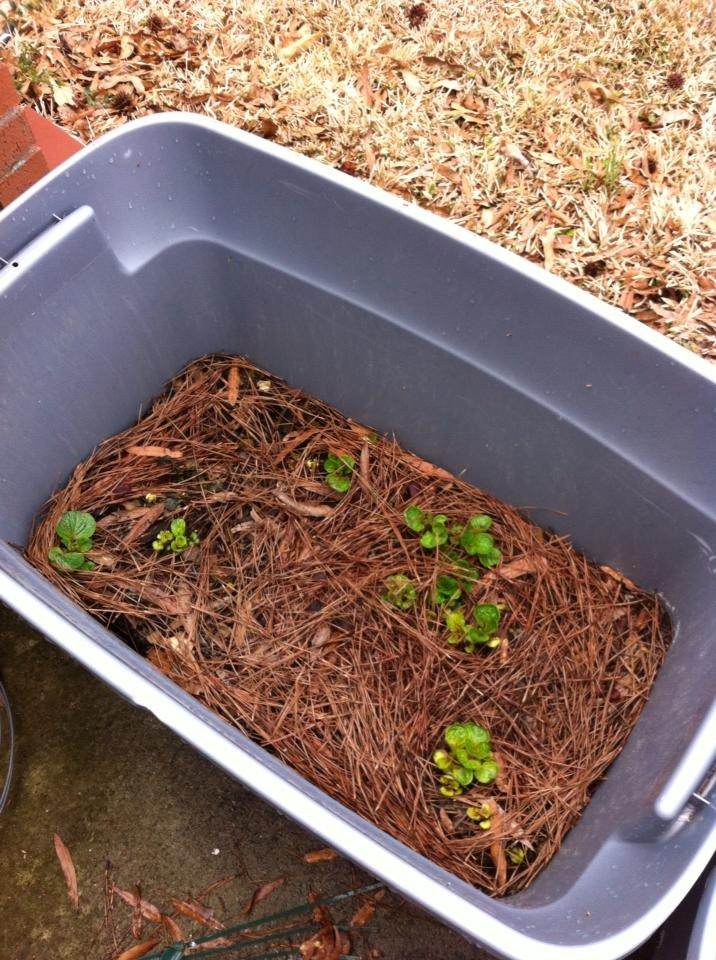
Potatoes prefer well-draining soil. You can mix in compost or well-rotted manure to improve soil fertility. Place the seed potato pieces on top of the soil, spaced a few inches apart. Cover them with about 3-4 inches of soil.
Potatoes require at least 6-8 hours of sunlight daily, so place your container in a sunny location that provides enough light for potatoes.
5. Watering and Fertilizing
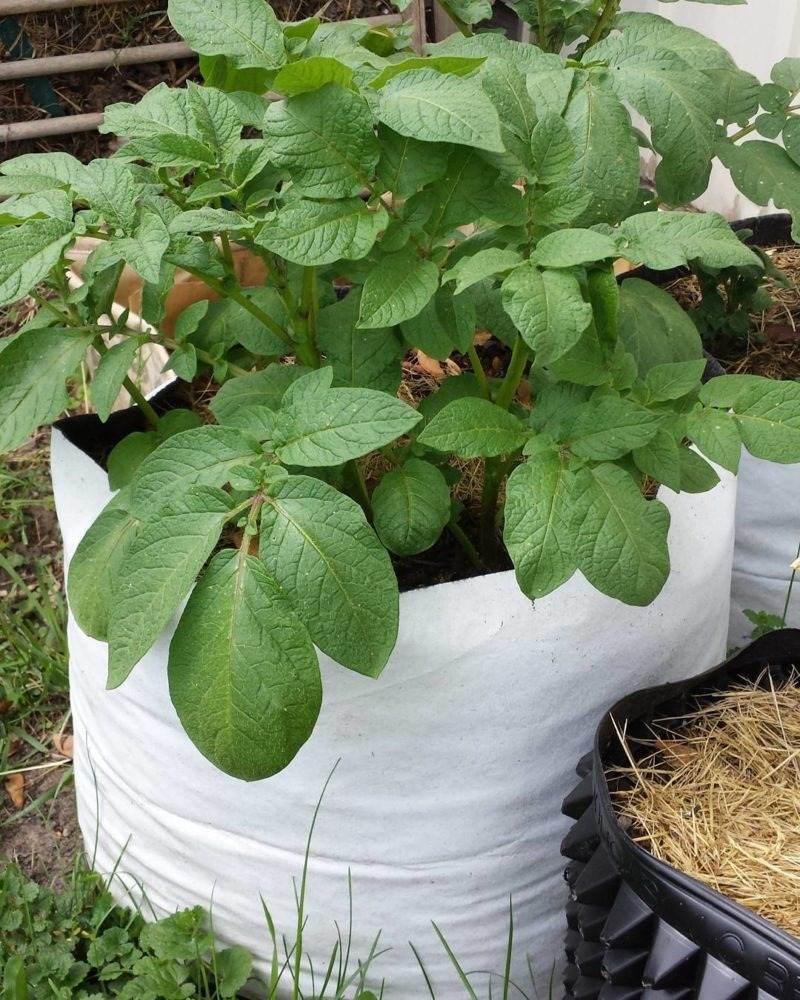
Potatoes prefer to have the soil kept consistently moist but not waterlogged. They should be watered whenever the top inch of soil feels dry.
About a month after planting, you can apply a balanced, slow-release fertilizer according to the package instructions.
6. Hilling
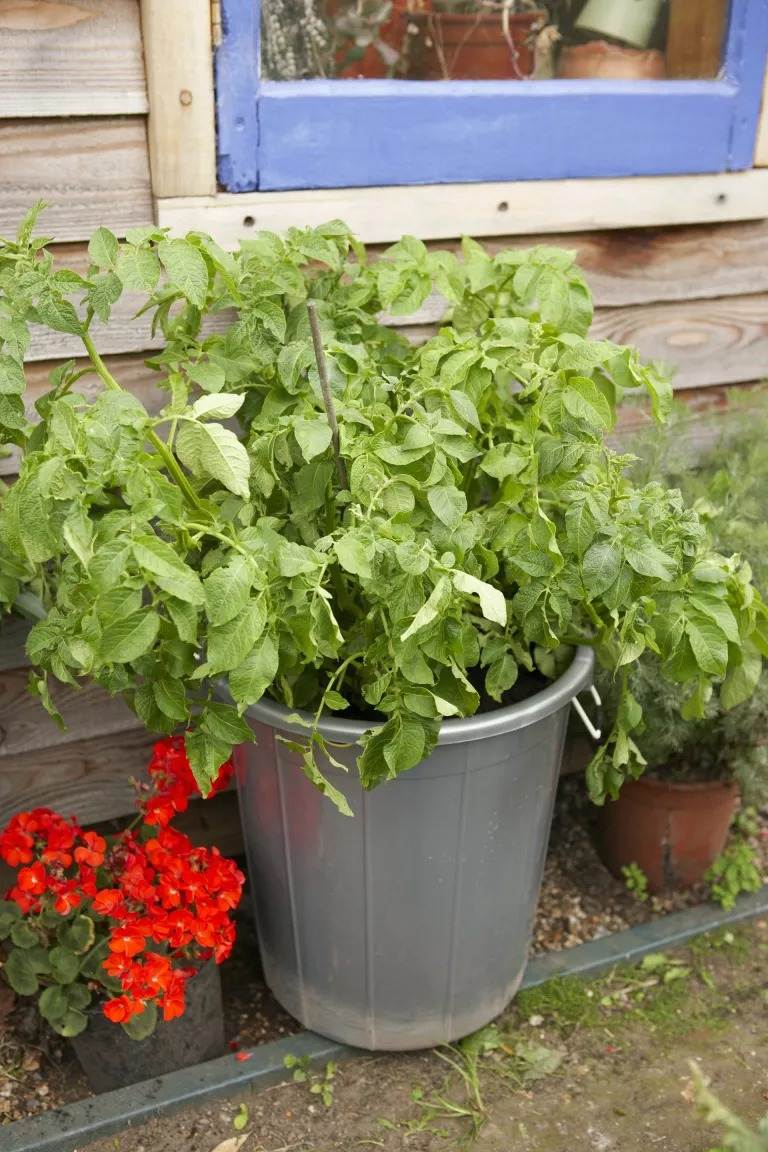
As the potato plants grow and reach a height of about 6 inches, mound more soil around the plants to cover the stems, leaving only the top leaves exposed. This encourages more tuber formation along the buried stems.
7. Pest and Disease Management
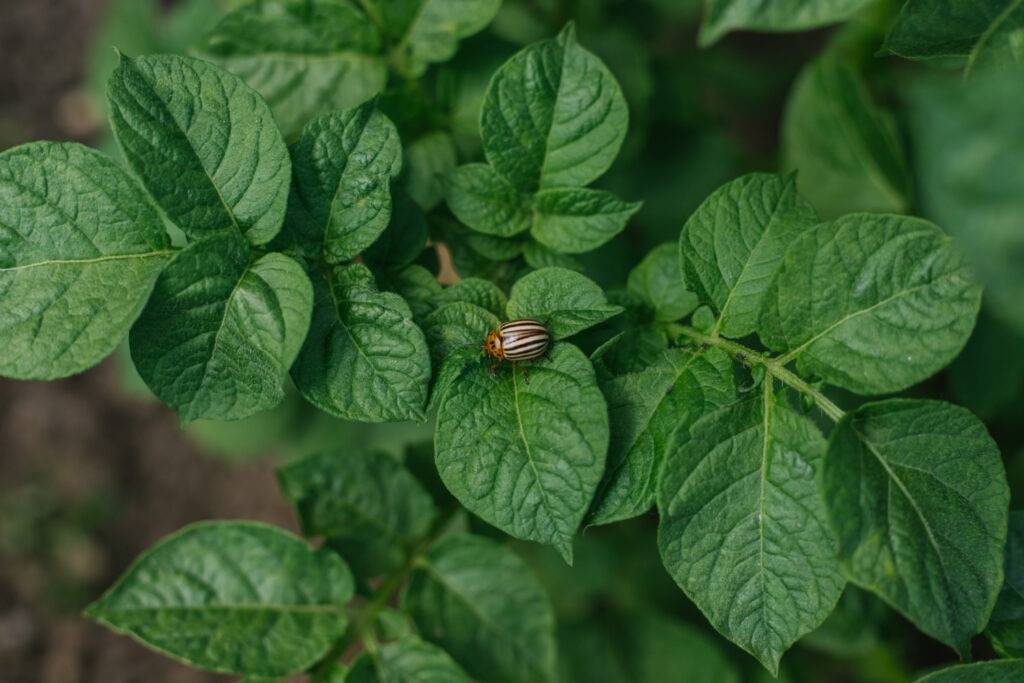
Potatoes can’t grow properly if they are attacked by some pests. To take care of them, keep an eye out for pests like potato beetles and diseases like blight. Remove affected leaves promptly and use organic pest controls if necessary.
8. Harvesting and Storage
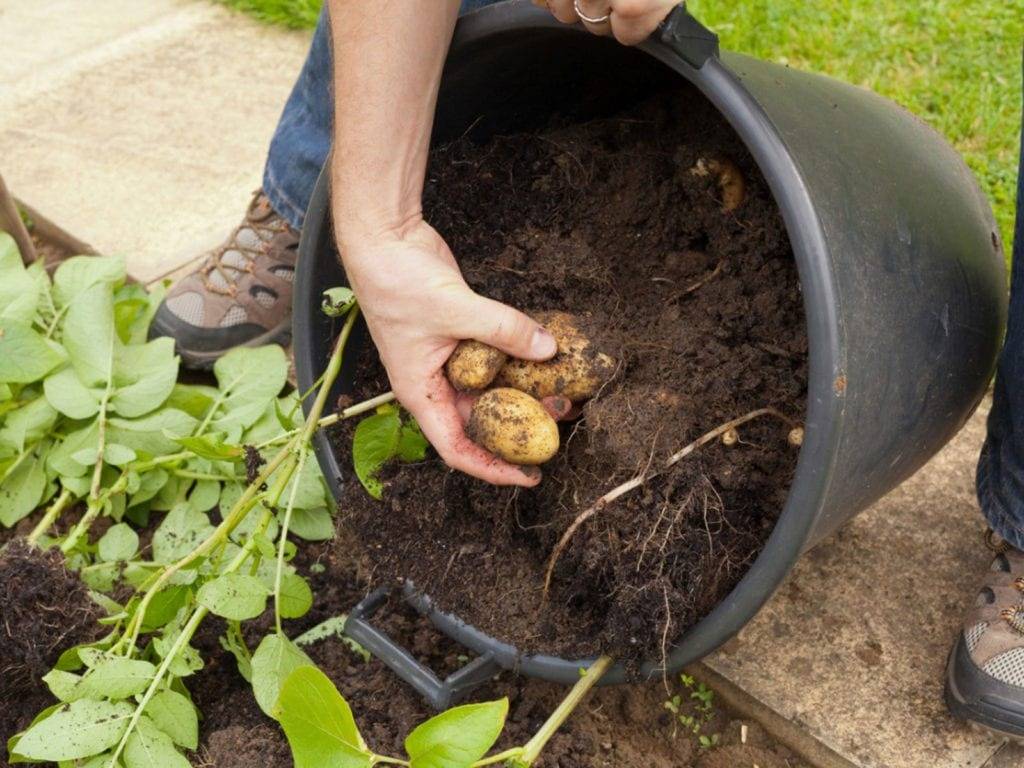
Harvesting
Harvesting time depends on the type of potatoes you’re growing:
- Early Potatoes: These can be harvested when the plants start flowering, usually around 60-75 days after planting.
- Main Crop Potatoes: Allow the plants to grow and flower, then wait until the foliage starts to die back and turn yellow. This indicates that the potatoes are mature. Carefully dig around the soil to unearth the potatoes. You can leave them in the ground for a few days to let the skins toughen up before harvesting.

Storage
After harvesting, allow the potatoes to dry for a few hours, then store them in a cool, dark, and dry place to prevent sprouting.
We hope that this guide has helped you grow potatoes successfully and enjoy them in countless ways. If you find this project interesting or challenging, please share it with us by leaving a comment below.
