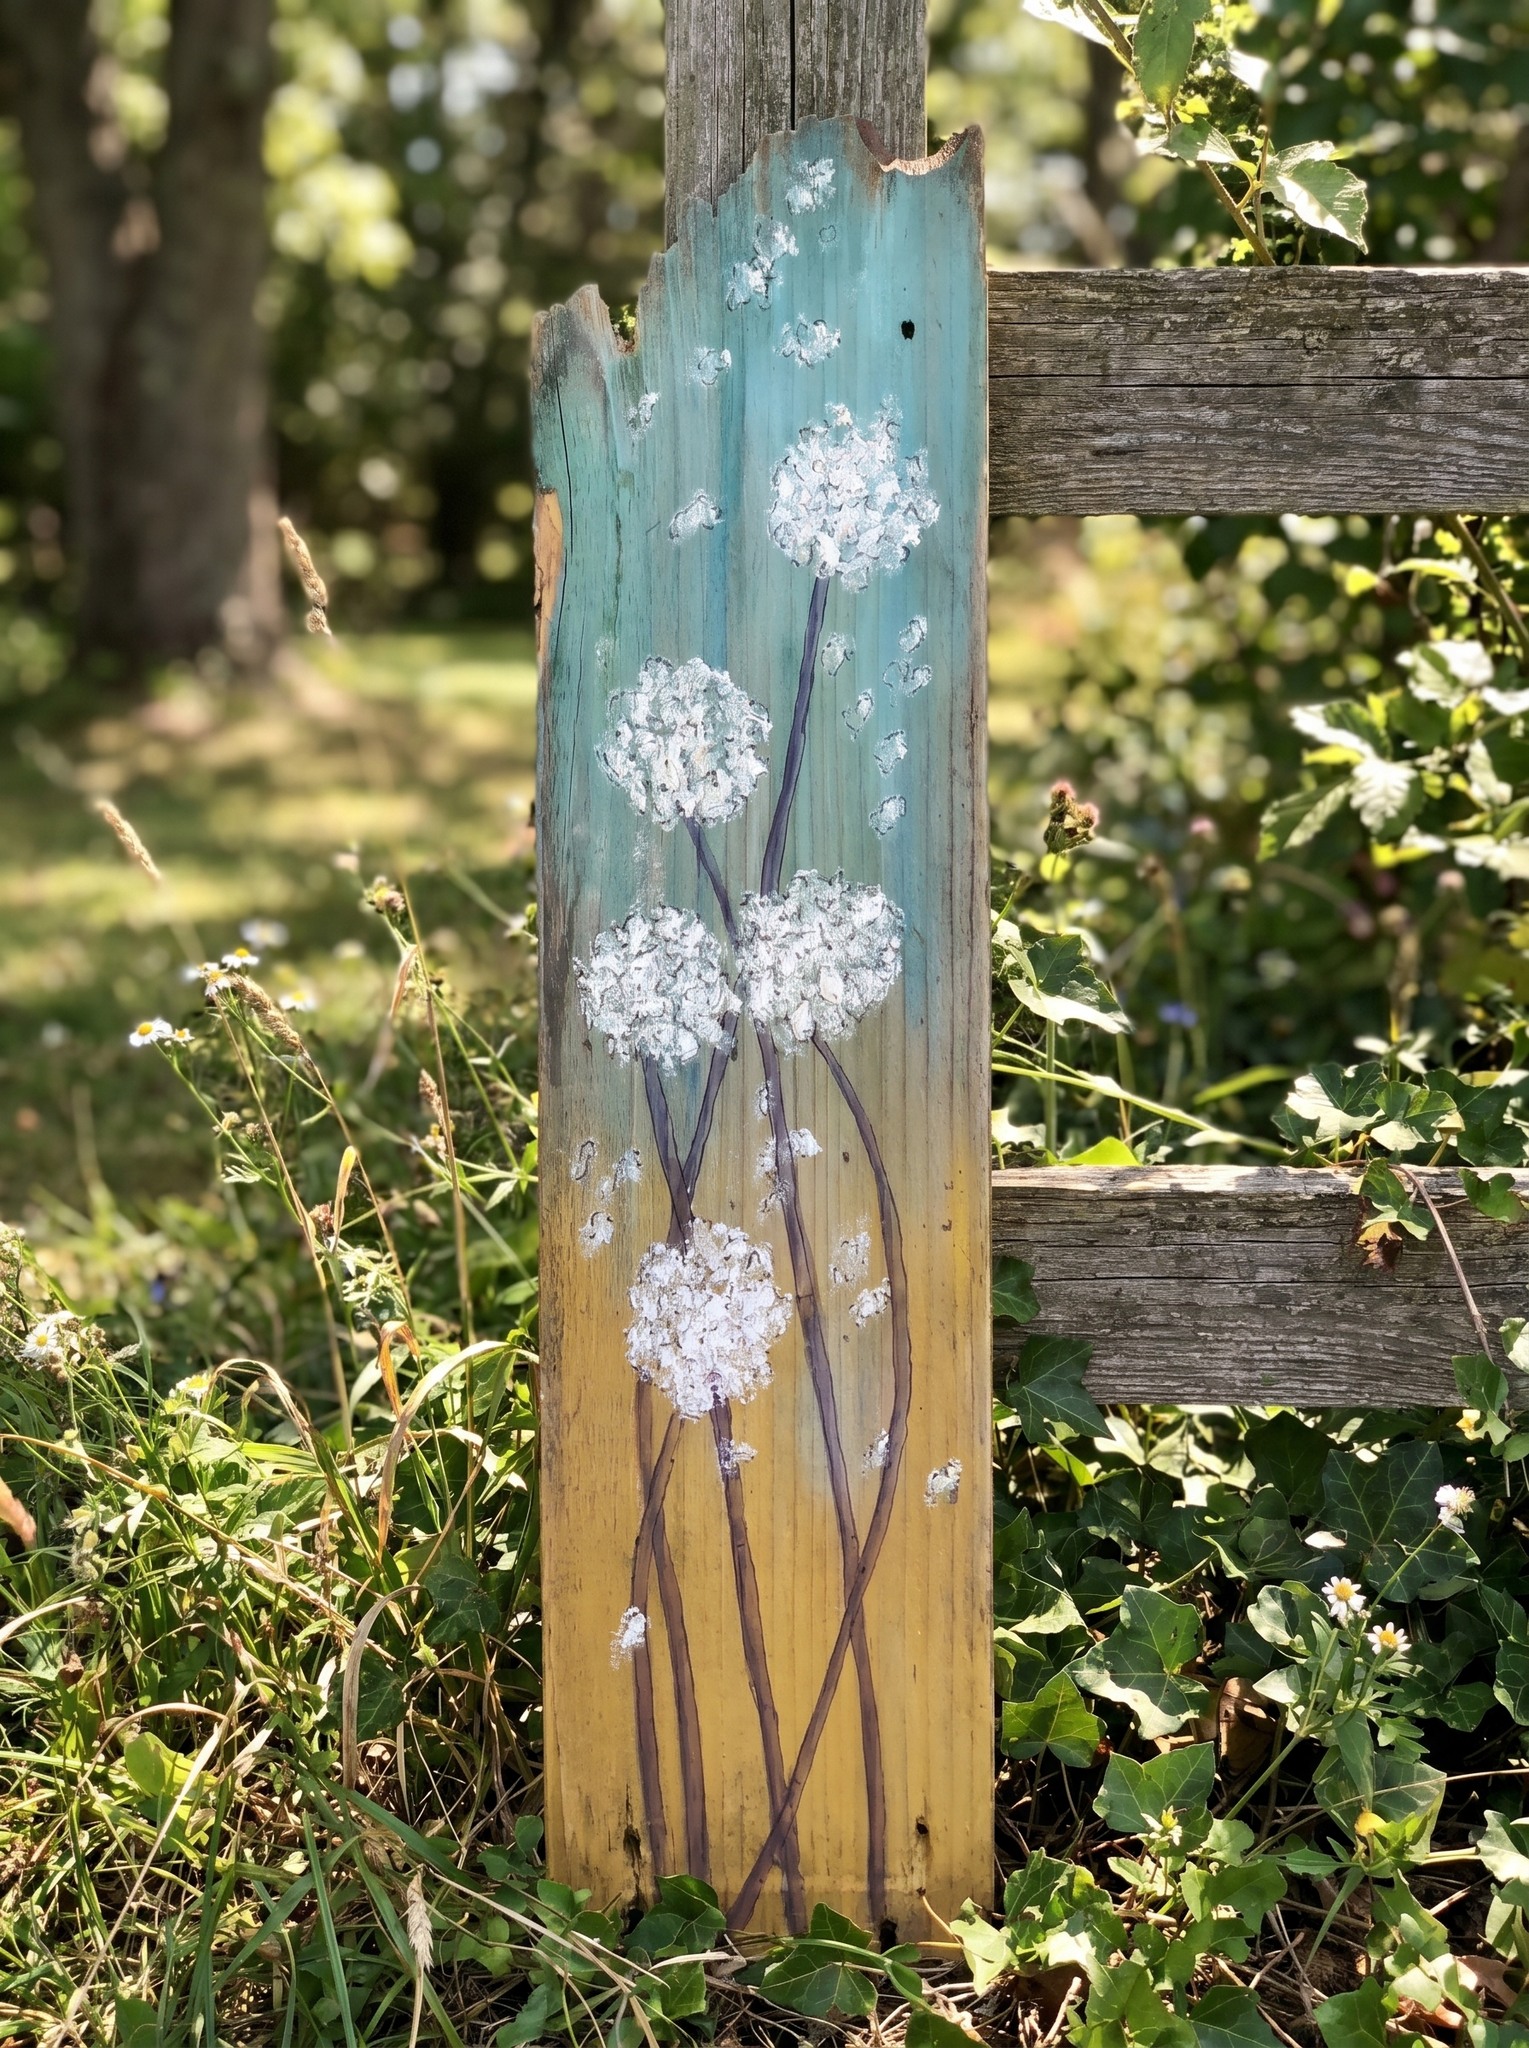
Old wood can turn into the sweetest garden accent with just a little paint and imagination. This project uses a weathered board, soft background colors, and simple raised white flowers to create a rustic handmade sign that feels calm, natural, and charming.
Step-by-Step Guide
Step 1: Choose a Weathered Wooden Board
Pick a scrap wood board with character. A rough top edge, visible grain, nail holes, or worn corners will make the finished piece look more rustic and artistic.
Brush off dirt and loose dust first. If the wood has splinters, lightly sand only the sharp areas. Try not to make it too smooth because the natural imperfections help create that aged garden look.
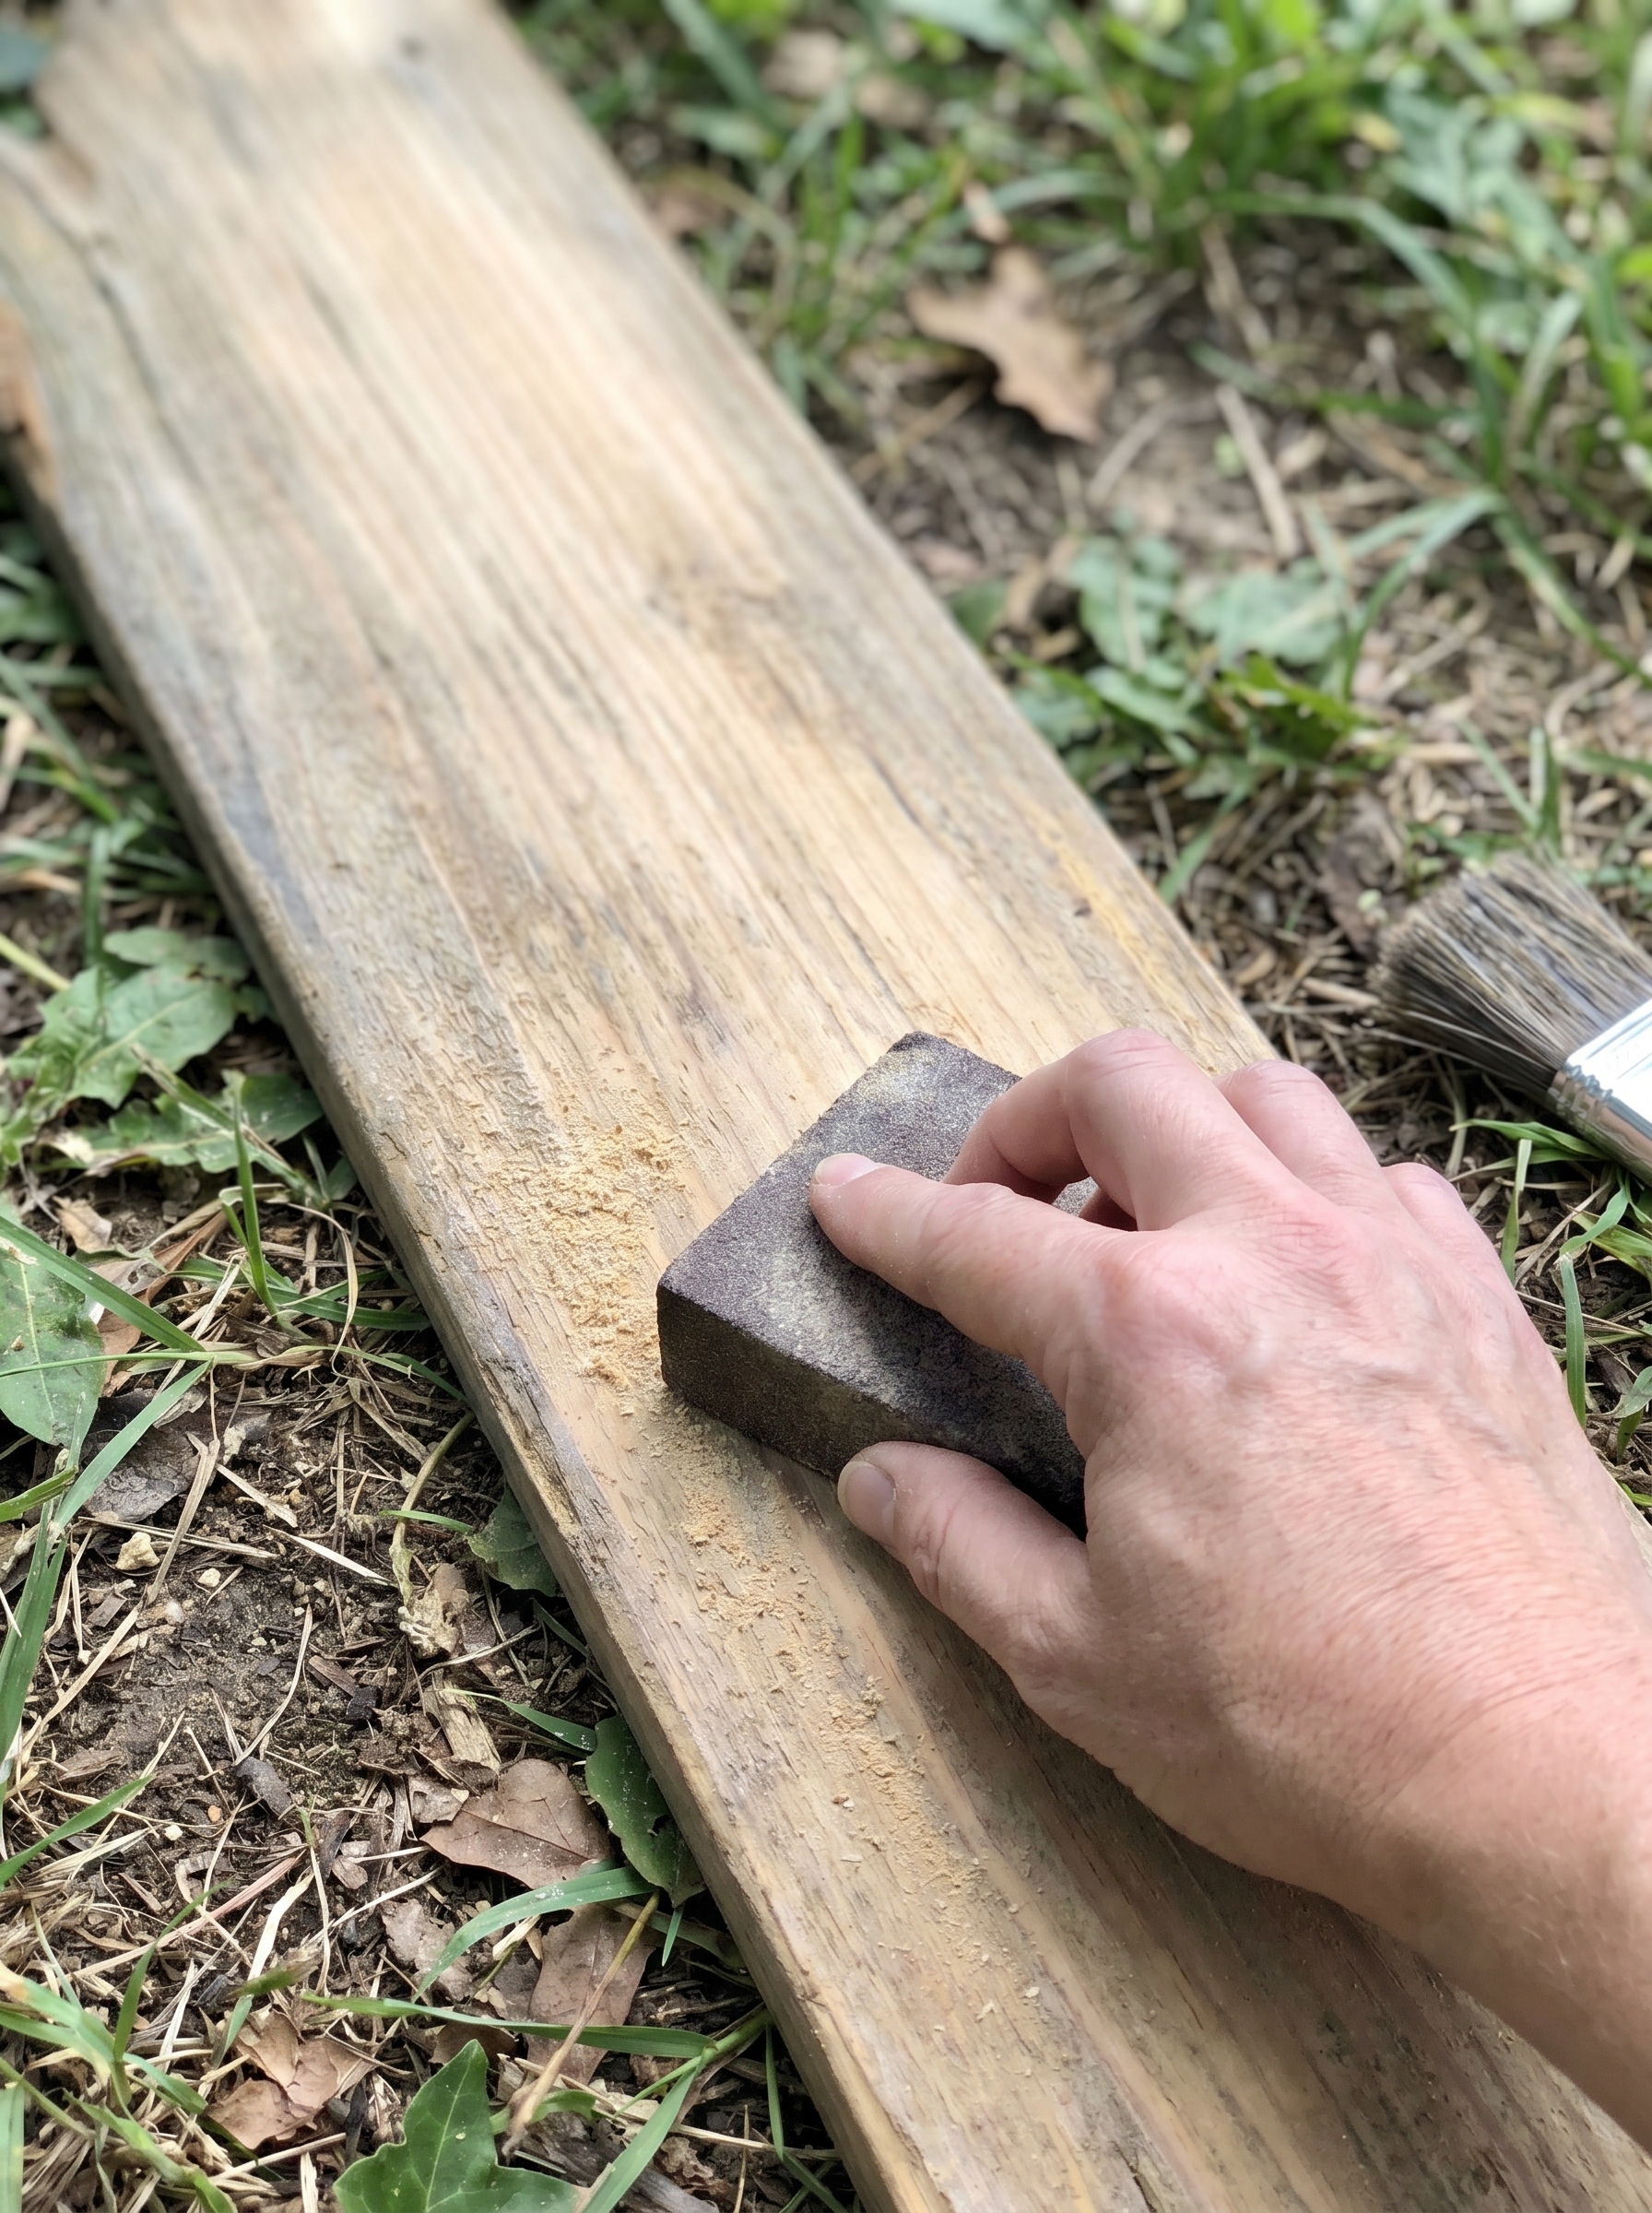
Step 2: Prepare the Surface
Wipe the board with a dry cloth after sanding. The surface should be clean enough for paint to stick, but it can still look weathered.
If the wood is very dry or porous, apply a thin layer of clear primer or watered-down white paint. Let it dry well. This helps the background colors blend softly without disappearing too much into the wood.
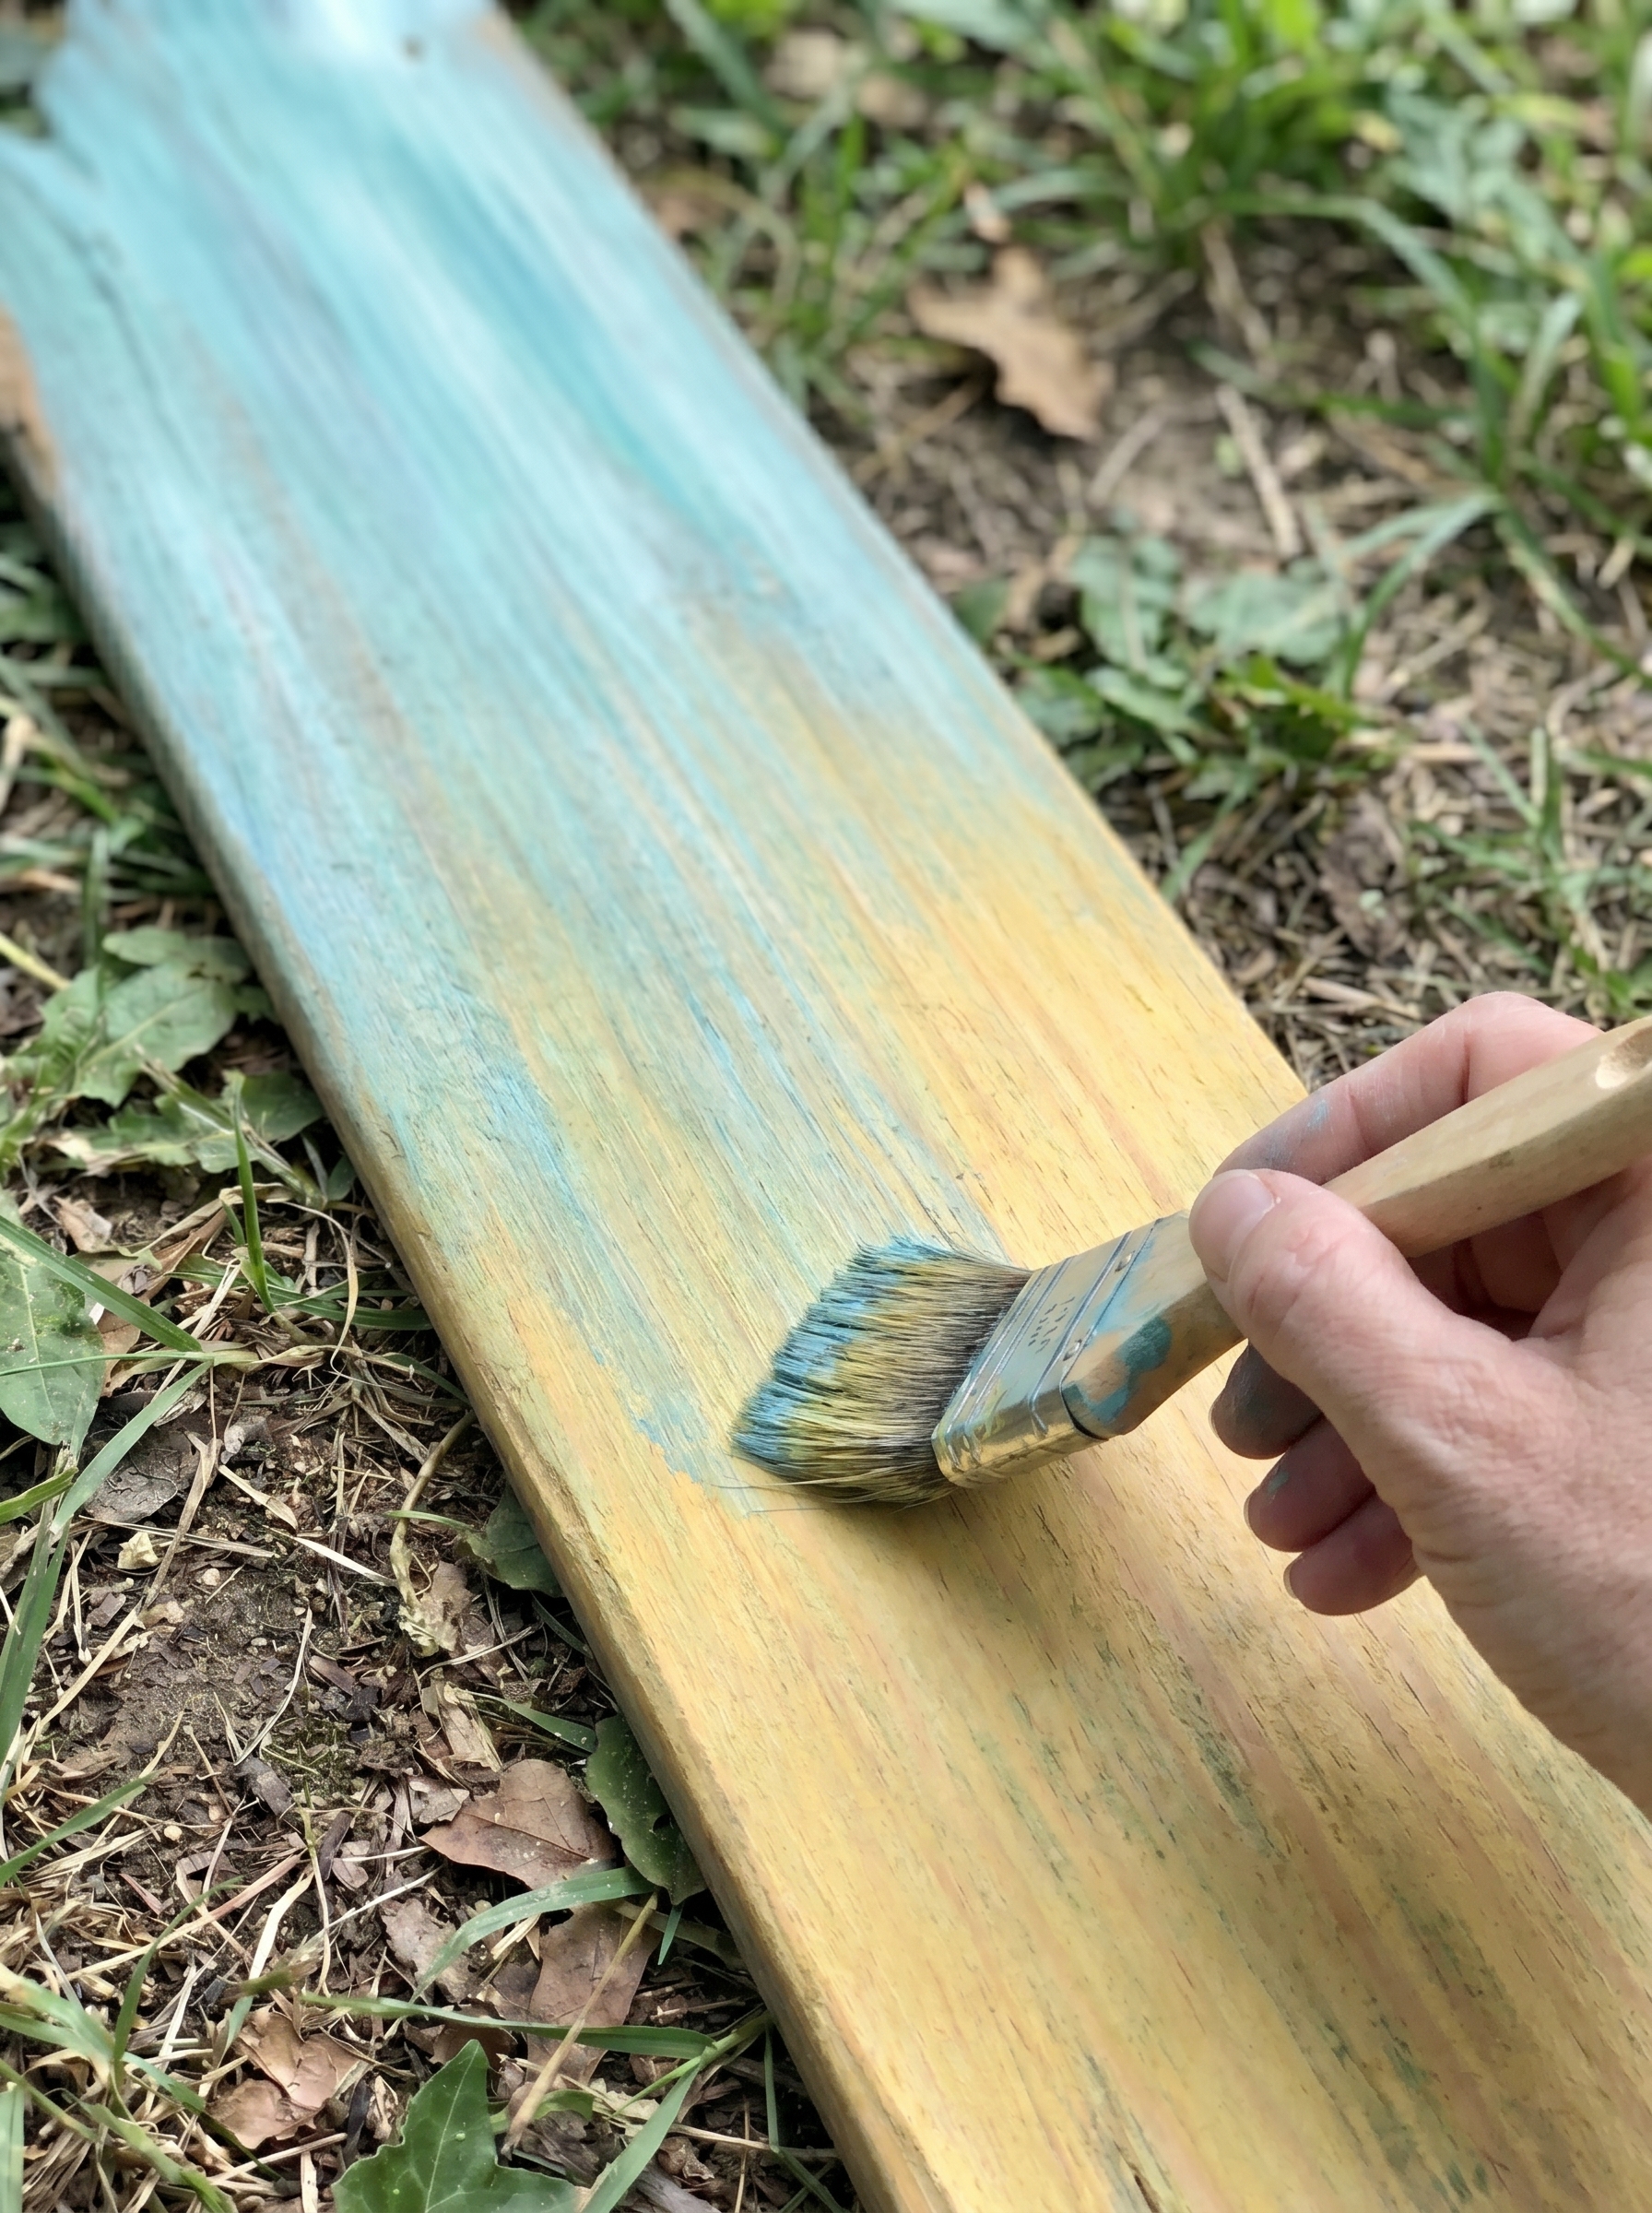
Step 3: Paint the Background
Use acrylic paint to create a faded two-tone background. Start with a soft blue or turquoise shade at the top of the board, then blend into a warm yellow near the bottom.
Do not worry about perfect coverage. Light brush strokes look better here. Let some of the wood grain show through so the board keeps its vintage, sun-washed feeling.
Step 4: Sketch the Flower Stems
Once the background is dry, lightly sketch several long flower stems with a pencil. Keep them thin, slightly curved, and uneven in height.
Use dark purple, brown, or charcoal paint to trace the stems. Add a few branches coming off the main lines where the flower heads will sit. This simple structure gives the design a delicate wildflower shape.
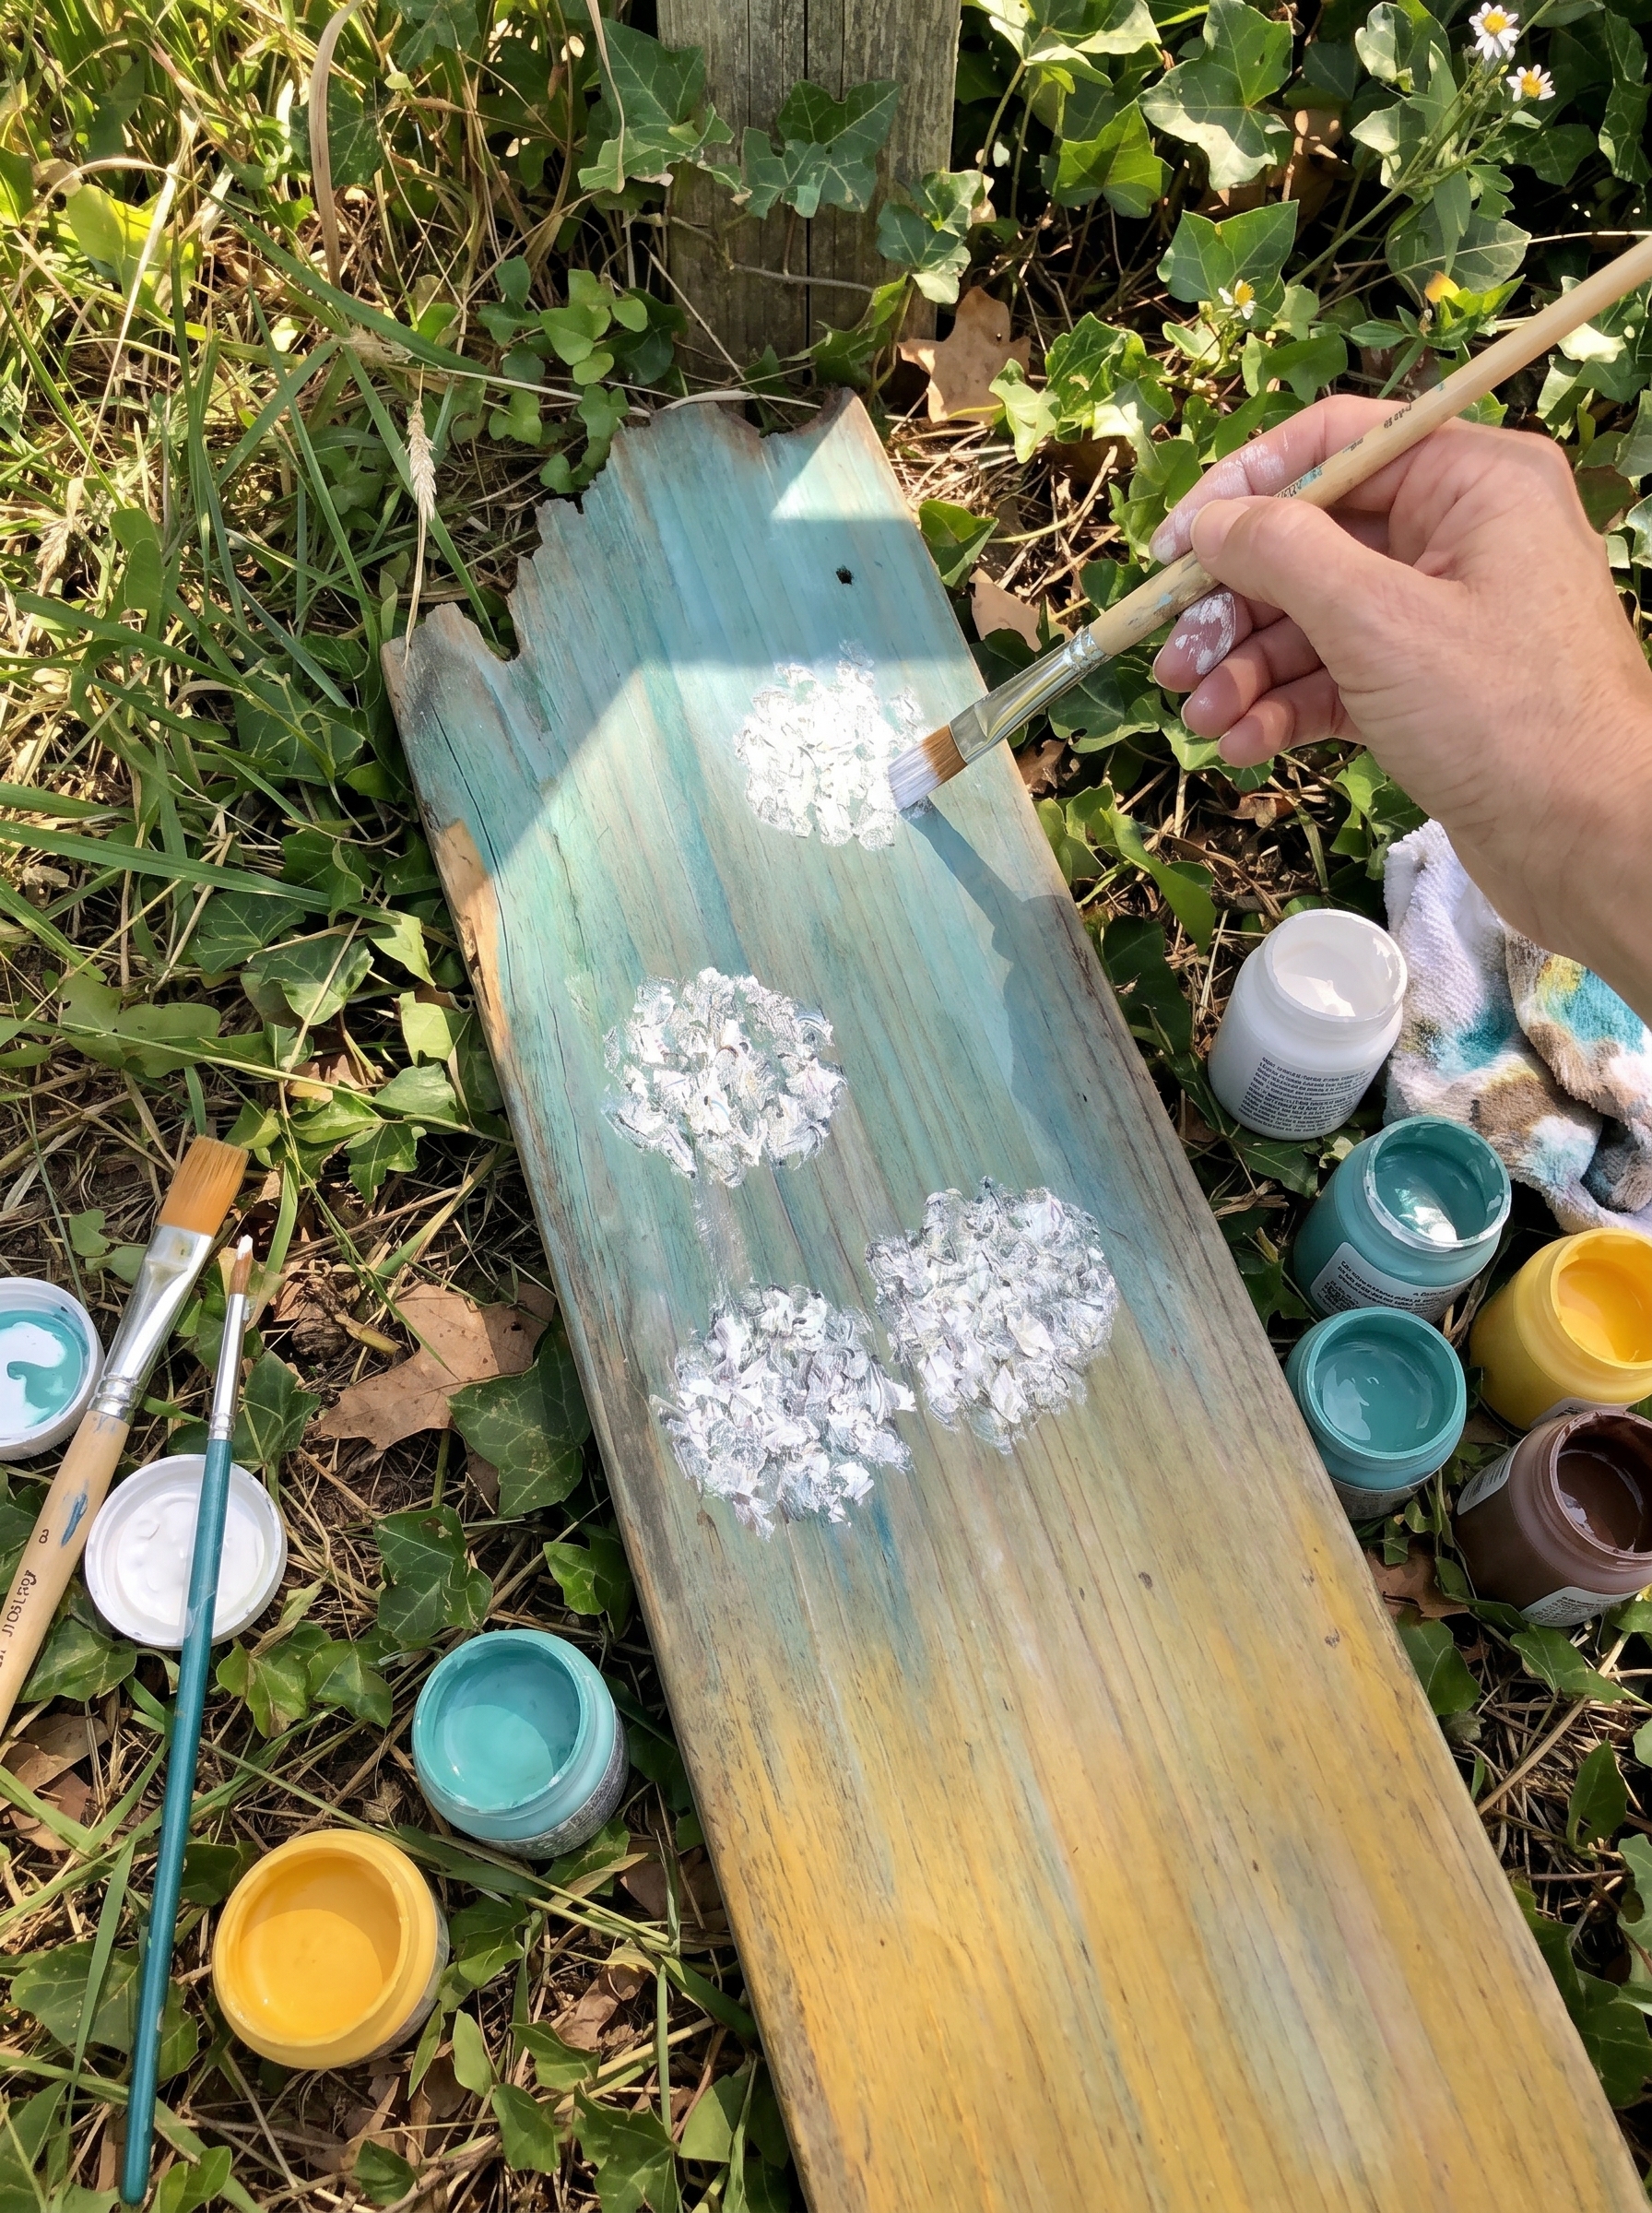
Step 5: Create the White Flower Heads
Use thick white acrylic paint, texture paste, or a mixture of white paint and a little baking soda to make raised flower clusters.
Dab the paint onto the board with a small round brush, sponge, cotton swab, or palette knife. Build each flower head from tiny dots and uneven patches. The texture should look fluffy, like small wild hydrangeas or Queen Anne’s lace.
Step 6: Add Smaller Floating Petals
Add a few tiny white dabs around the main flowers. These small marks make the design feel breezy, as though petals are drifting across the board.
Keep the placement loose and natural. Some dots can be brighter, while others can be faint. This small detail gives the artwork more movement and makes the flowers feel less flat.
Step 7: Age the Painted Board
For a softer antique effect, lightly sand a few painted areas after everything dries. Focus on the edges, the top of the board, and a few spots across the blue and yellow background.
You can also dry-brush a little brown or gray paint along the edges. Use a very light hand. The goal is to make the piece look gently weathered, not dirty.
Step 8: Seal and Display It
Apply a clear outdoor sealer if you plan to place the board in a garden, beside a fence, or near a porch. Use two thin coats and let each coat dry fully.
Once sealed, lean the board against a fence post, tuck it into a flower bed, or hang it with a small sawtooth hanger on the back. It brings a soft handmade touch to any garden corner without needing much space.