Almond nails remind one of the shape of an actual almond, and that is where this shape got its name.
When compared to stiletto nails, this shape has a softer point, but it is more acute when compared to the round shape. As a result, this is the most practical and convenient nail shape for ladies.
If you are looking for almond nail inspiration, we are here to help.
In case you also want to achieve this nail shape at home, we went the extra mile to bring you a step-by-step instruction on how to create this chic look and a whole archive of 32 inspirational almond nail designs.
How To Obtain Almond Nail Shape?
While you could go to a nail salon to have your almond-shaped tips carved, you can also achieve this look at home with a few simple steps:
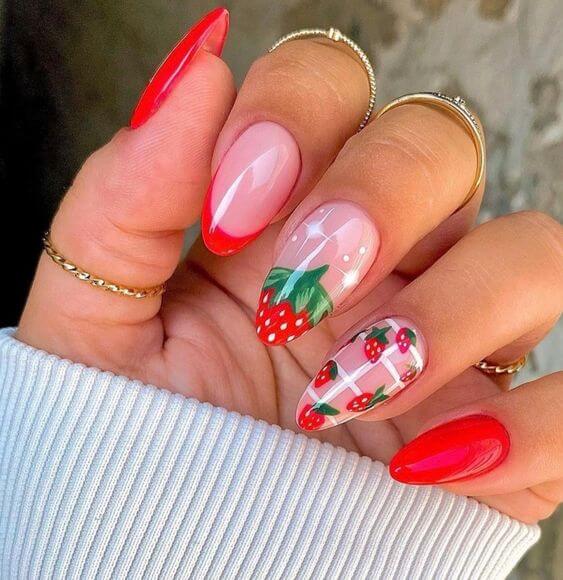
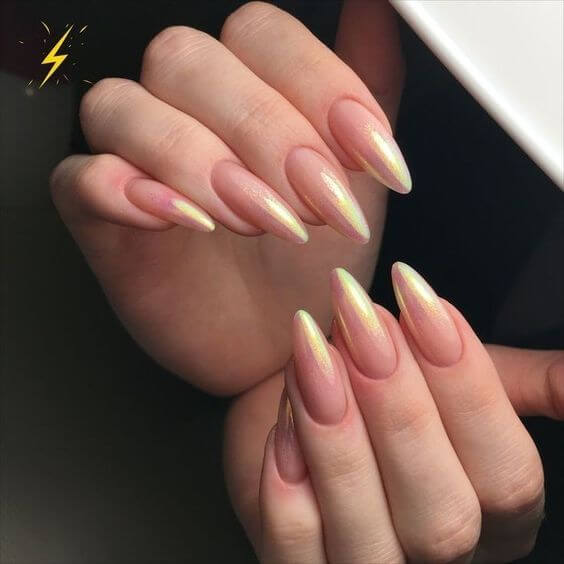
#1 Cherry Beige Nails
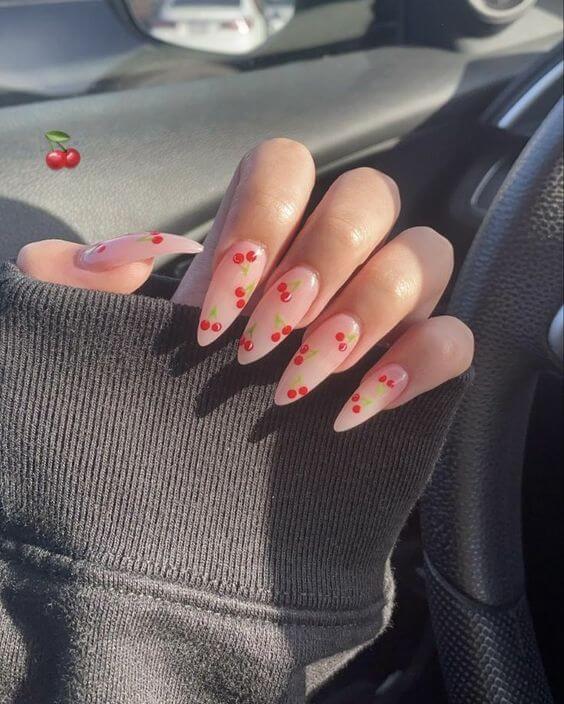 Source: unknown
Clean your nails
The very first step in any successful at-home manicure is to start with a clean slate. That means removing any old polish from your nails. Even if your nails haven’t been painted recently, it’s still a good idea to swipe them with a nail polish remover.
This ensures you’re working on a completely clean surface, free from natural oils or hidden residue, so your new polish adheres better and lasts longer.
#2 Whimsical Sky
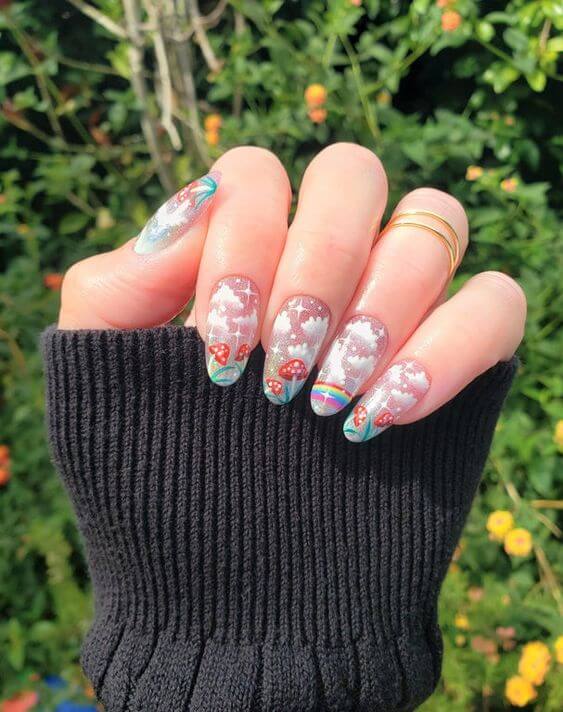 Source: unknown
#3 Cosmic Lover
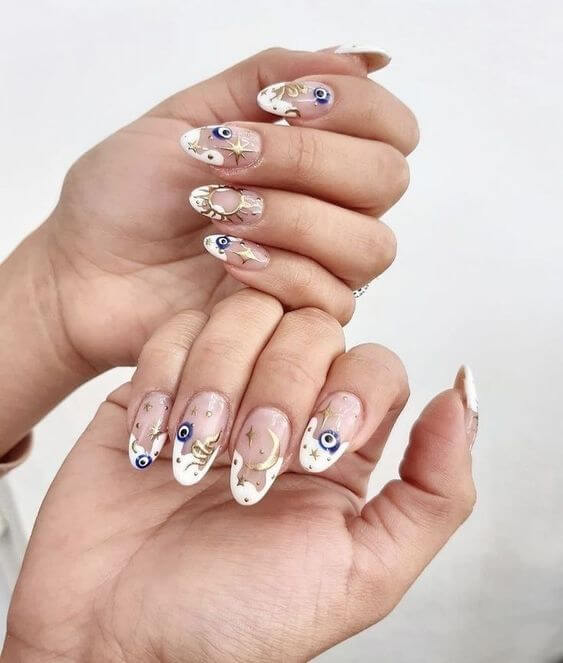 Source: unknown
#4 Strawberry Cake
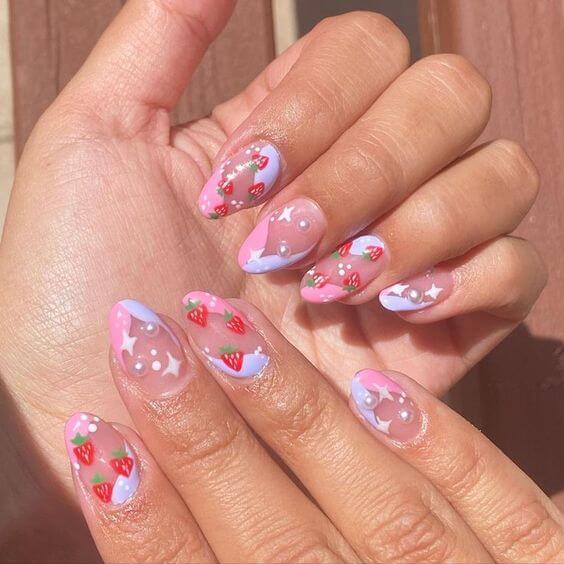 Source: unknown
Celebrity manicurist Deborah Lippmann recommends using a saturated reusable cotton pad for this step. Place the pad on your nail and let it sit for about five seconds, giving the remover time to dissolve the polish.
Then, instead of scrubbing, move the pad in an S-shaped motion from the cuticle down to the tip. This gentle method not only removes the polish efficiently but also reduces friction that could damage the nail surface.
#5 Cherry Magic
 Source: unknown
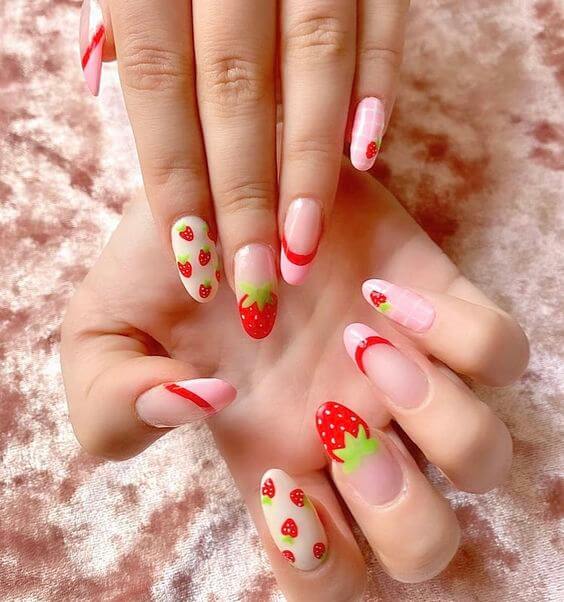
#6 Sweet Strawberry
 Source: unknown
If you have longer nails, Lippmann suggests being especially careful at the tips. Apply less pressure when wiping from cuticle to tip to avoid unnecessary stress or breakage.
Remember, this step is about protecting the health of your nails while preparing them for the layers to come.
#7 Lovely and Sweet
 Source: unknown
#8
 Source: unknown
Grab your file
Once your nails are clean and prepped, the next step is shaping them. According to celebrity manicurist Deborah Lippmann, the goal is to shape your nails in a way that mirrors your cuticles and gives the illusion of longer, more elegant fingers.
Gentle motions are key here: filing too aggressively can weaken your nails and lead to breakage.
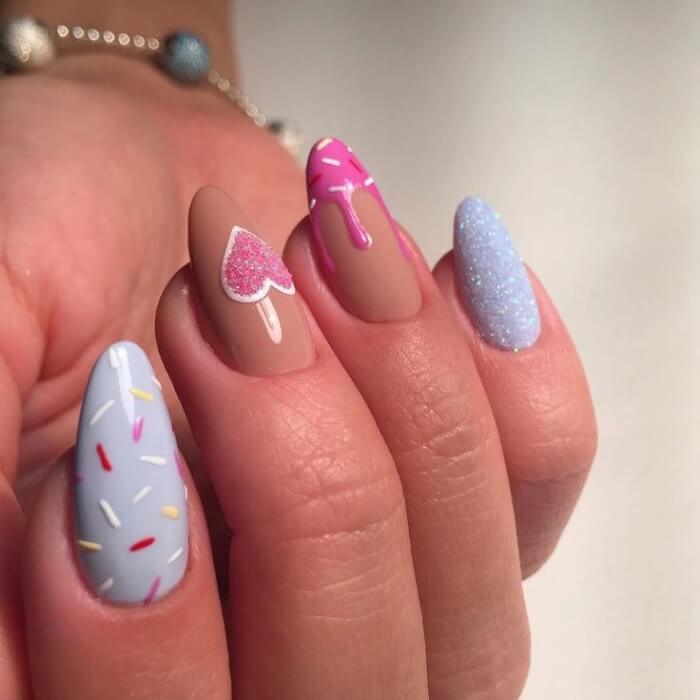
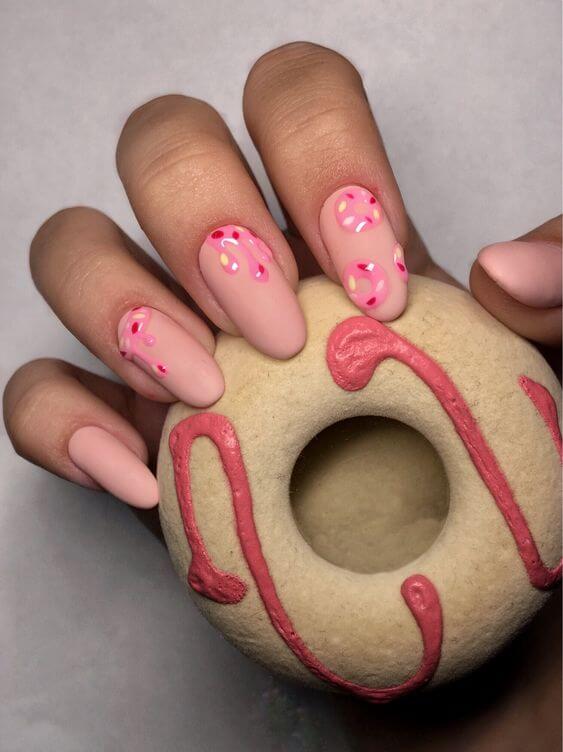
#9 Dripping Donut Vibe
 Source: unknown
#10 Sprinkle Love
 Source: unknown
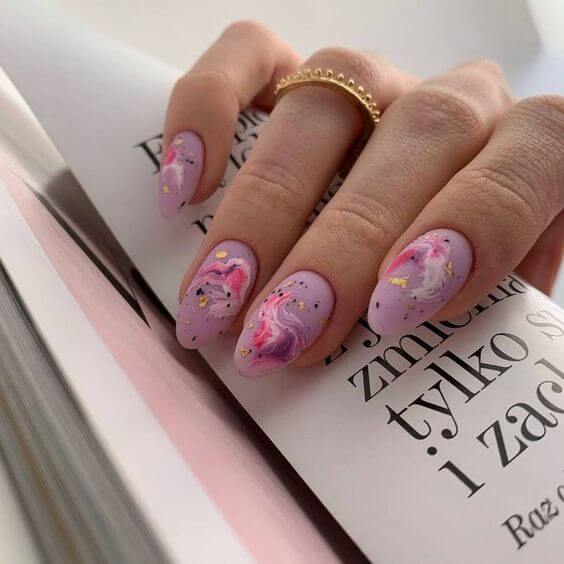
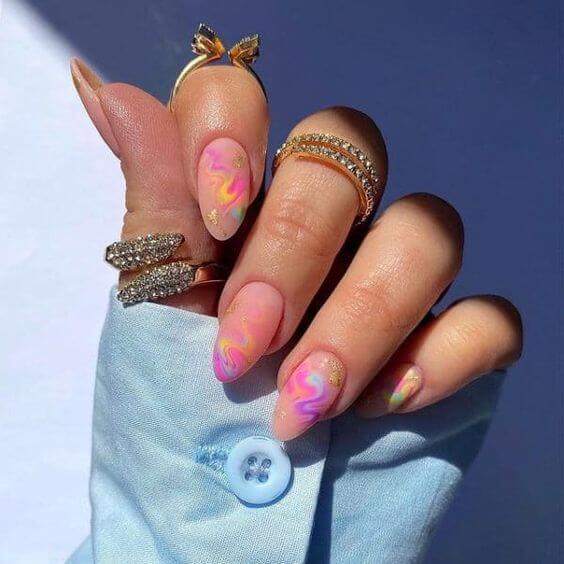
#11 Swirl Glaze
 Source: unknown
If you’re aiming for a classic almond shape, remember to keep the sides a little straighter before tapering into the tip. This creates the perfect elongated look without over-thinning the sides.
For that sleek, pointed finish, experts recommend filing at a diagonal angle. As Amy Lin, founder of the wellness-focused nail care brand sundays, points out: make sure you file both sides evenly. Filing too much on one side can throw off the balance, leaving your nails uneven.
#12
 Source: unknown
#13 Dainty Patterns
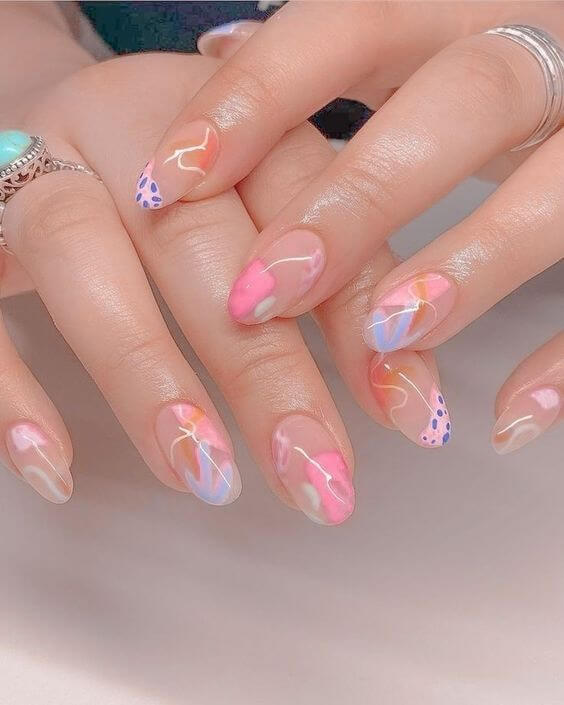 Source: unknown
#14
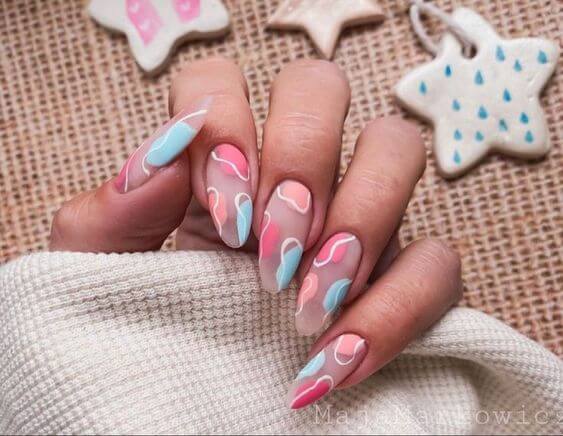 Source: Maja Markowic
For beginners, patience is everything. Take it slow, there’s no rush. Filing each nail carefully ensures consistency across all ten fingers, which can be surprisingly tricky if you hurry through the process.
Think of this step as more than just grooming: it’s a chance to shape your nails into the perfect base for whatever polish or design comes next.
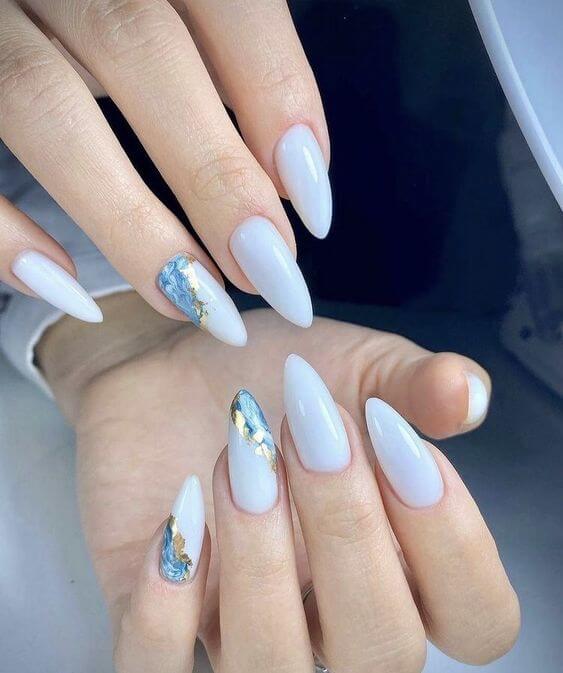
#15 Glaze Nails
 Source: unknown
#16
 Source: unknown
#17 Pink Ombre
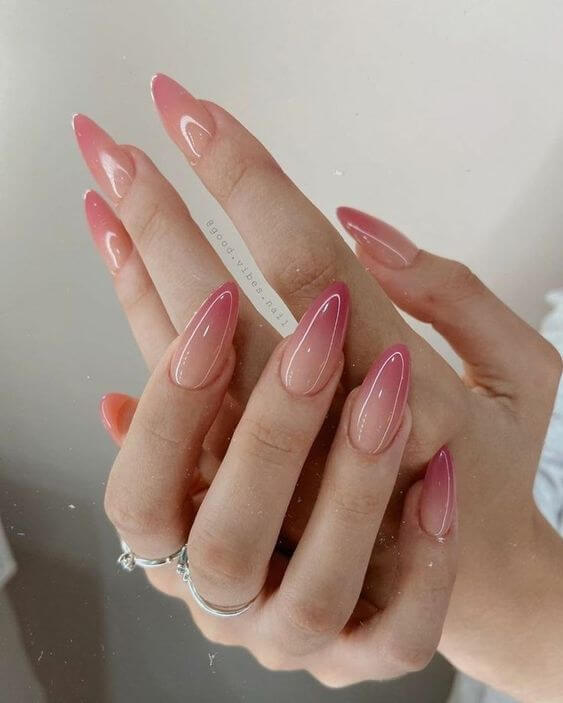 Source: unknown
#18 Simple Sky Color
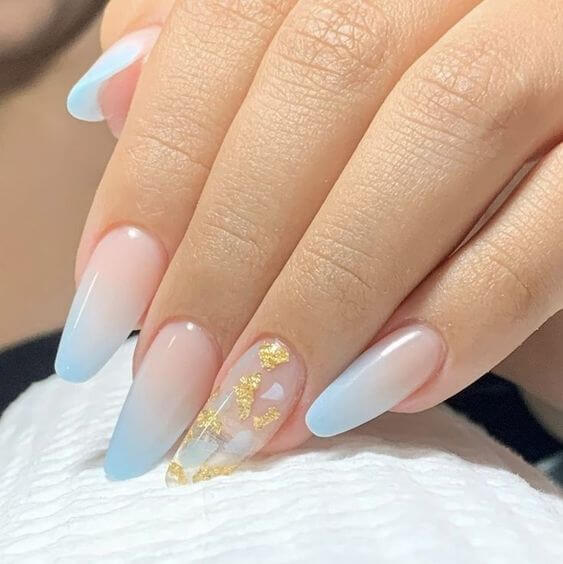 Source: unknown
Buffing
Now that your almond-shaped nails are perfectly filed, most of the hard work is behind you, but that doesn’t mean the pampering stops here. To achieve a salon-worthy finish, buffing is an essential step.
Celebrity manicurist Deborah Lippmann recommends creating a smooth, even surface on each nail before applying polish.
Buffing not only evens out ridges and imperfections but also enhances the natural shine of your nails, giving them a polished look even before color is added.
#19
 Source: unknown
#20 Cry Baby
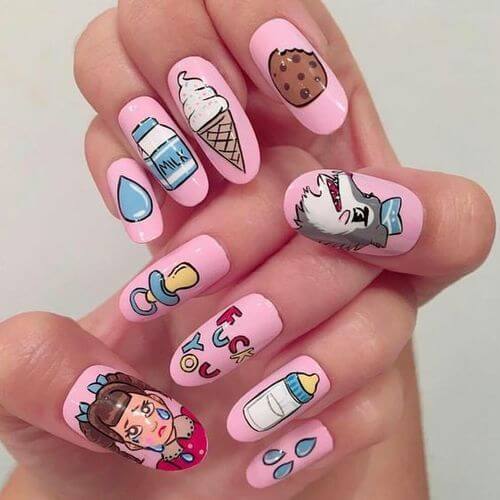 Source: unknown
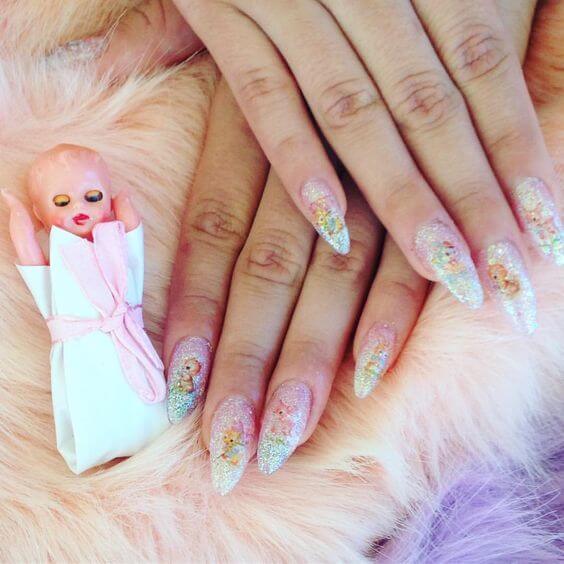
#21 Vintage Dolls
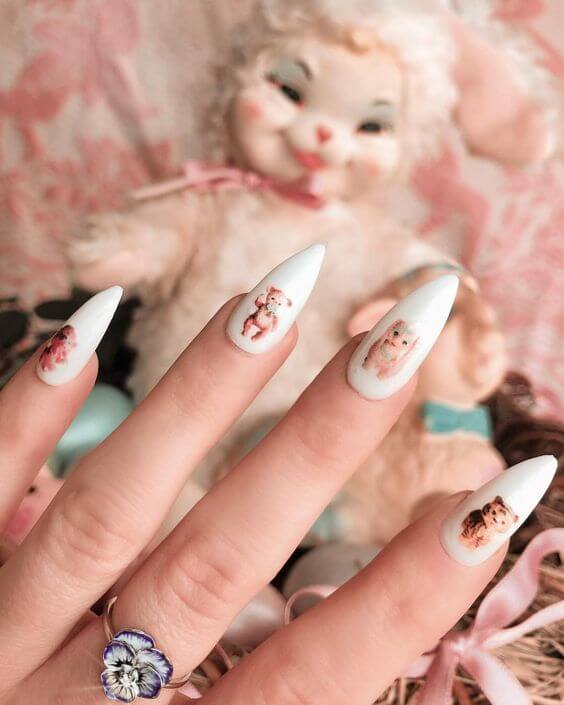 Source: unknown
Think of buffing as laying the foundation for your manicure. A well-prepped surface helps polish adhere more evenly and last longer, reducing the chances of chips or peeling.
However, be gentle with this step; over-buffing can thin the nail plate and make nails more fragile. A few light strokes with a soft buffer are all you need to bring out a healthy glow.
#22
 Source: unknown
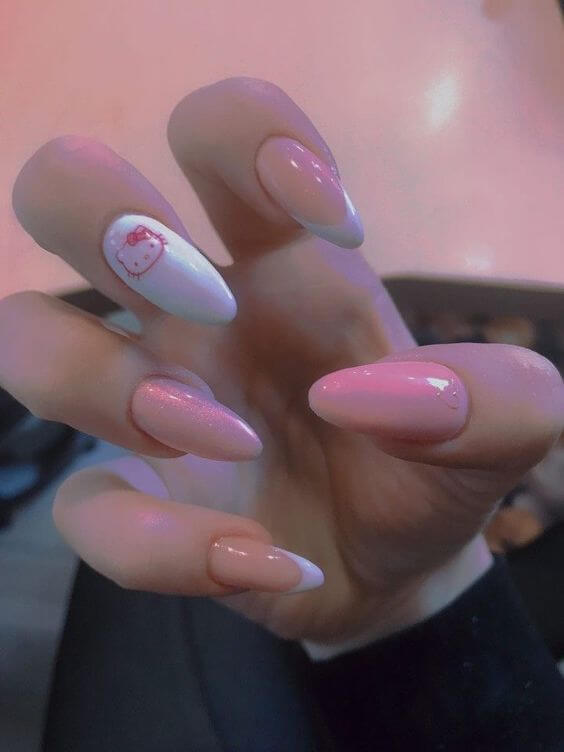
#23 Hello Kitty
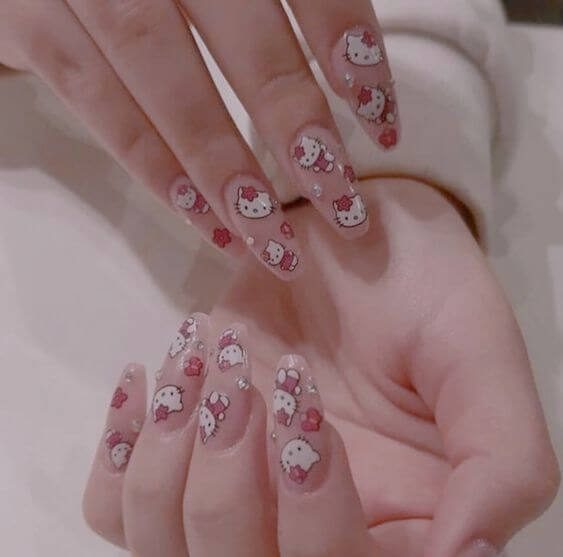 Source: unknown
Treat your cuticles
“This is one of the most important steps,” reminds celebrity manicurist Deborah Lippmann.
Healthy cuticles are the foundation of a beautiful manicure, so taking the time to soften, clean, and hydrate them makes all the difference.
#24
 Source: unknown
#25
 Source: unknown
Start by applying a cuticle remover to gently dissolve dead skin around the base of the nail. This helps create a cleaner surface and prevents ragged edges that can make your polish look messy.
Using a wooden cuticle pusher, gently push back the cuticles. Avoid cutting too much, since cuticles protect your nails from bacteria and infection. The goal is a tidy nail bed, not a completely erased cuticle.
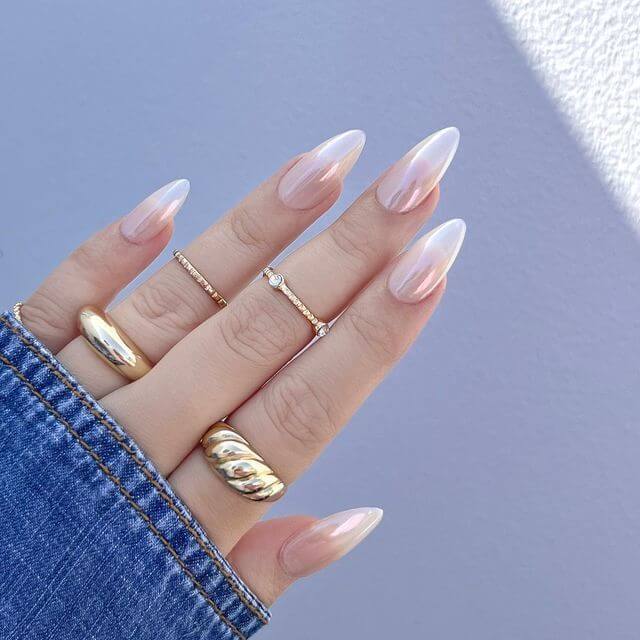
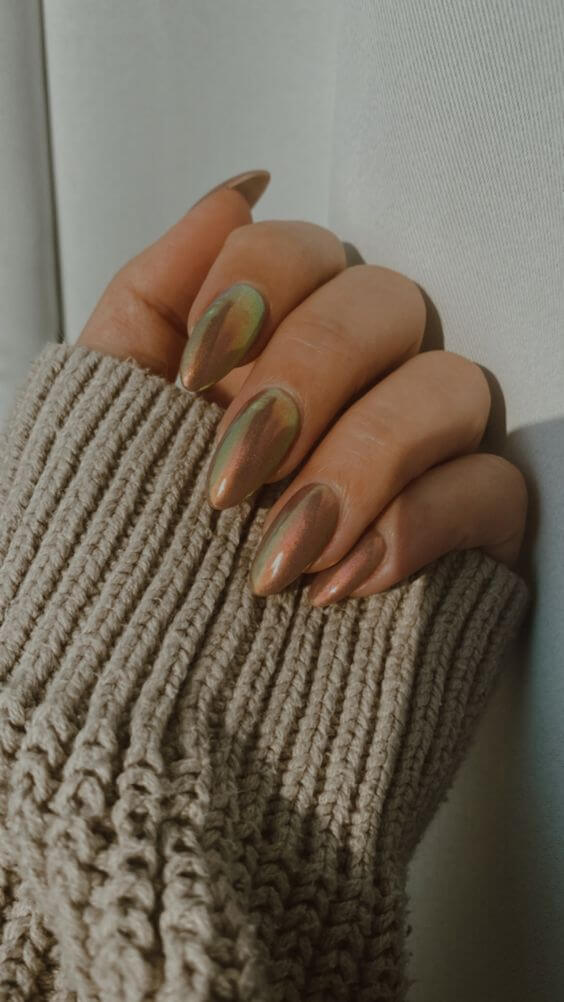
#26 Subtle Chrome Nails
 Source: unknown
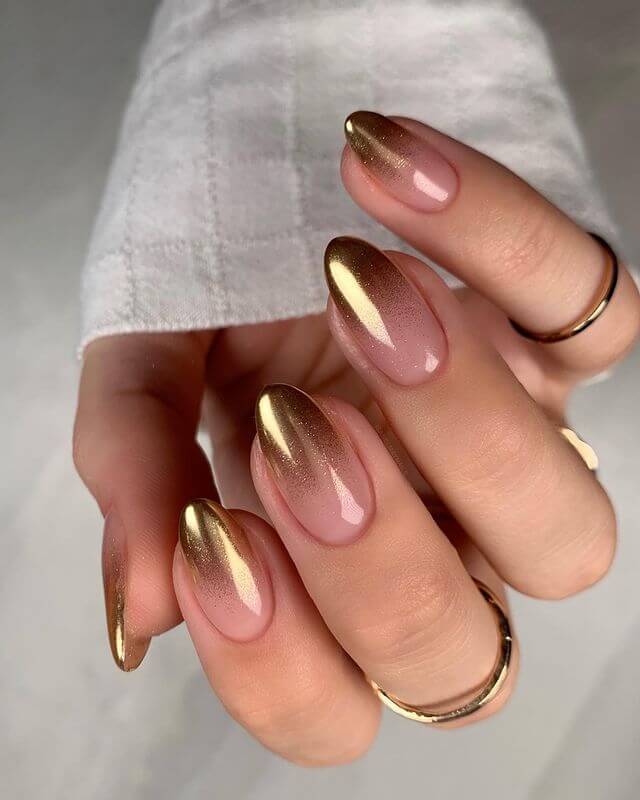
#27 Ombre Glaze Tips
 Source: unknown
Now you can start with the painting
Now that your nails are perfectly shaped, buffed, and hydrated, it’s time for the final step: polish application.
Of course, if you prefer a clean, natural nail, you can stop here and admire your healthy, groomed hands. But if you’re ready to add color, here’s how to do it the professional way.
#28
 Source: unknown
#29 Choco Desserts
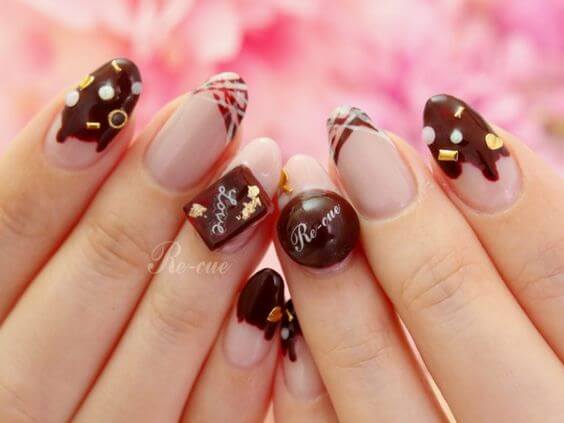 Source: Re-cue
Start with a base coat or primer. This invisible layer helps your polish adhere better, prevents staining from pigmented colors, and gives your manicure a smoother finish. Once it’s dry, apply your chosen shade in two thin coats rather than one thick coat.
This ensures an even color payoff and reduces the risk of bubbling or streaking. Allow each coat a minute or two to set before adding the next.
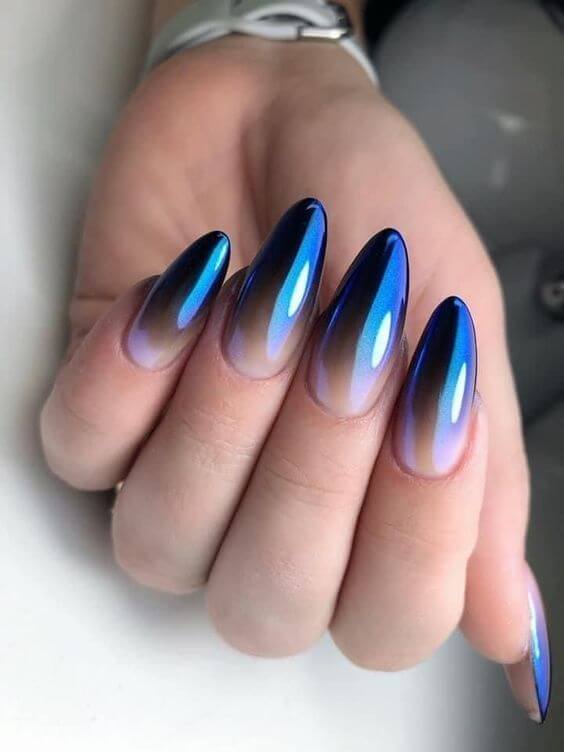
#30 Modern French Galaxy Tips
 Source: unknown
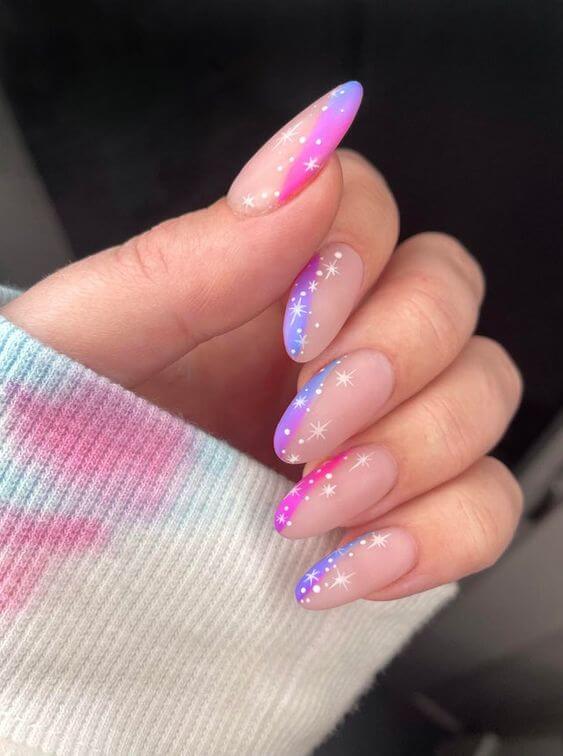
#31 Funfetti Time
 Source: unknown
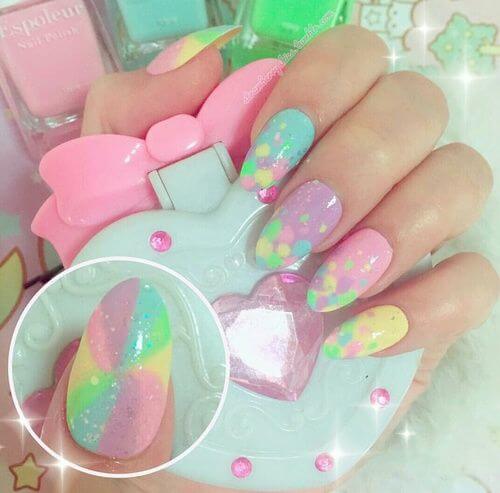
#32 Pastel Love
 Source: unknown
Finally, seal everything in with a glossy top coat. This step locks in your color, adds shine, and helps protect against chips, giving your manicure that salon-quality durability.