Our hands are an important part of our bodies, and they are the first thing that people notice when we greet them. As a result, we must take care of our hands, particularly our nails.
Consider how you’d feel if you met someone and they noticed your dirty or chipped nails. Isn’t that a sad sight? So, the easiest nail designs might just be what you need now.
While a professional manicure can take a significant amount of time and money, there are some things you can do at home to make your nails look healthy and respectable. So let’s get some pointers and master the art of nail polish application.
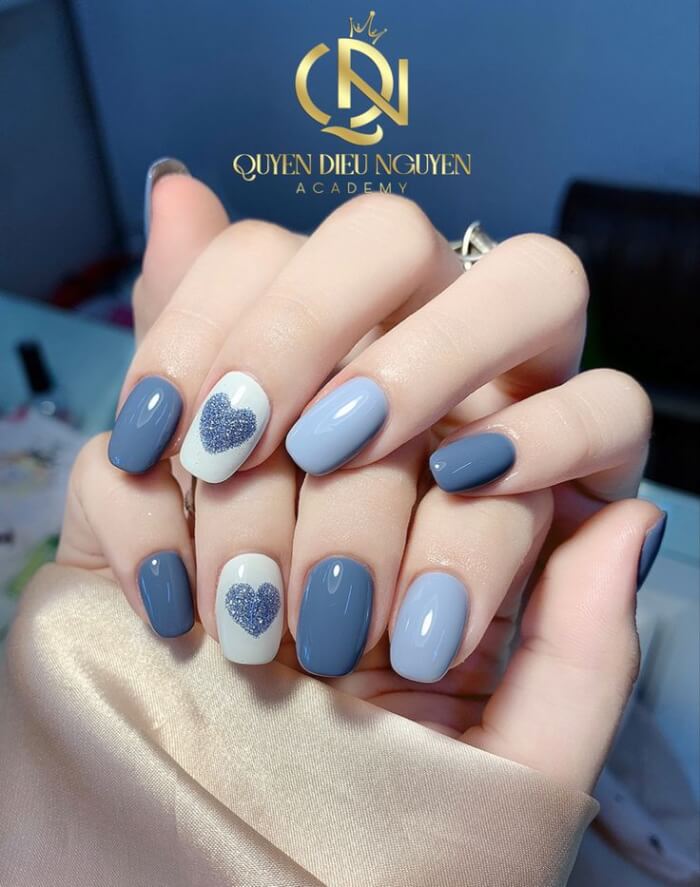
#1 Jelly Heart Nails
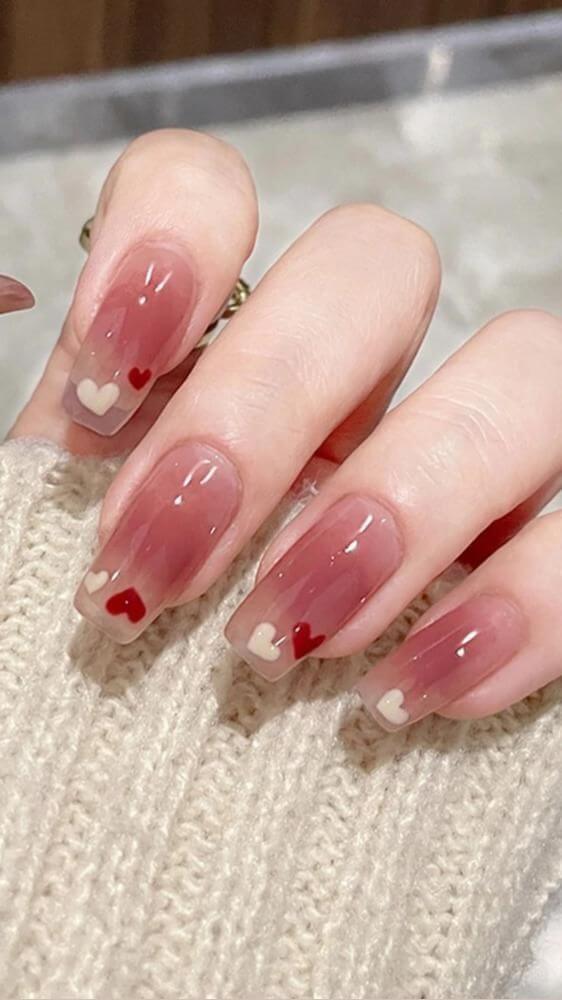 Source: unknown
What to Know
Here are some points to consider before painting your nails.
One of the simplest hacks to avoid a messy manicure is to use Vaseline or petroleum jelly as a barrier.
Before you start painting, just apply a thin layer along the skin around your nails: cuticles and the sides of your fingers. This protective coat keeps polish from sticking where it doesn’t belong.
#2 Basic Daisy
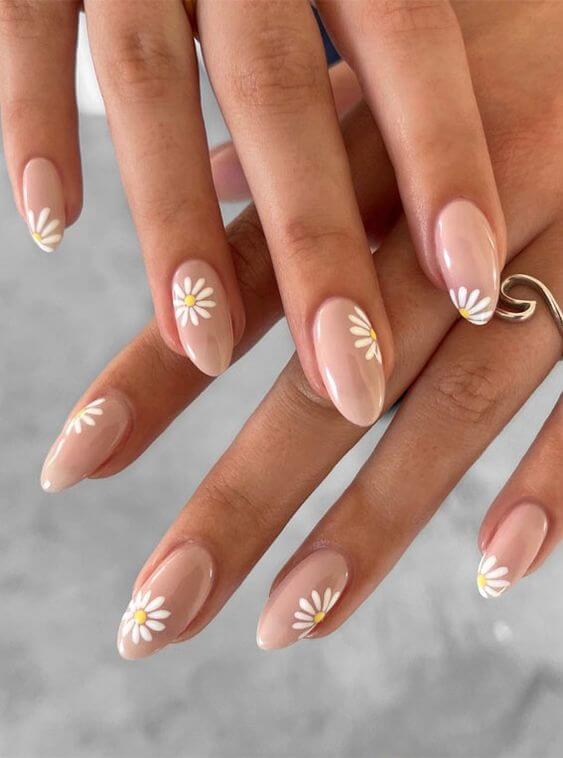 Source: unknown
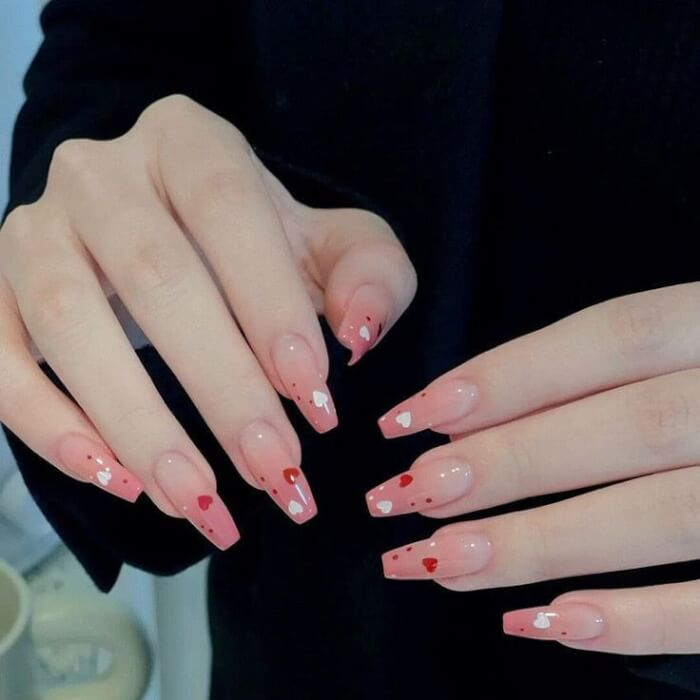
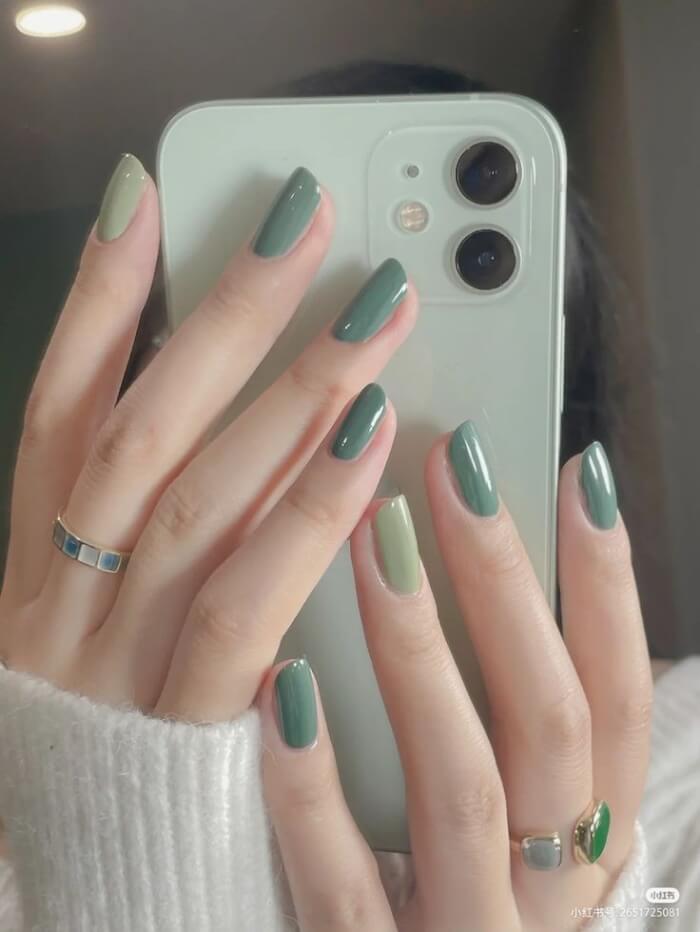
#3
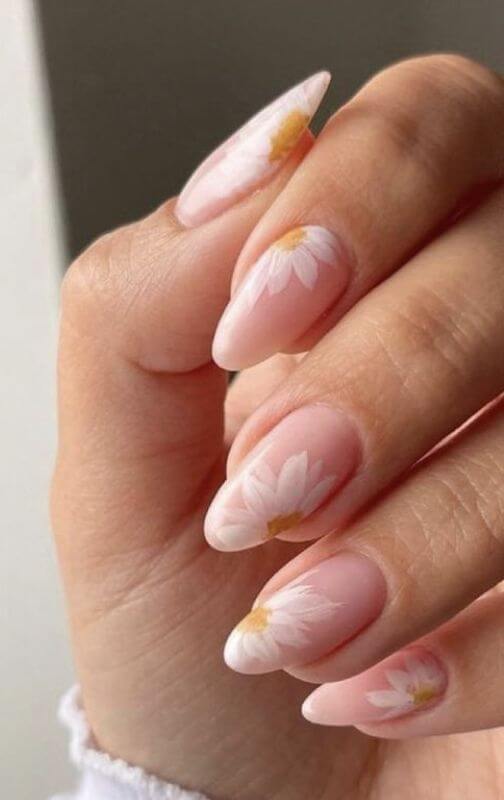 Source: unknown
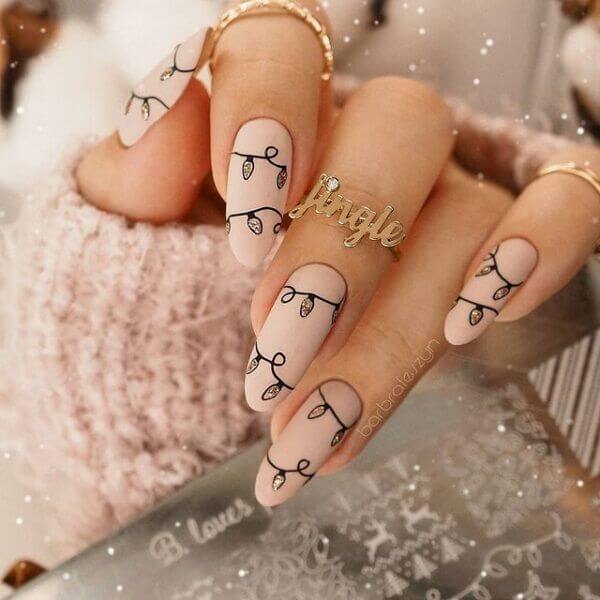
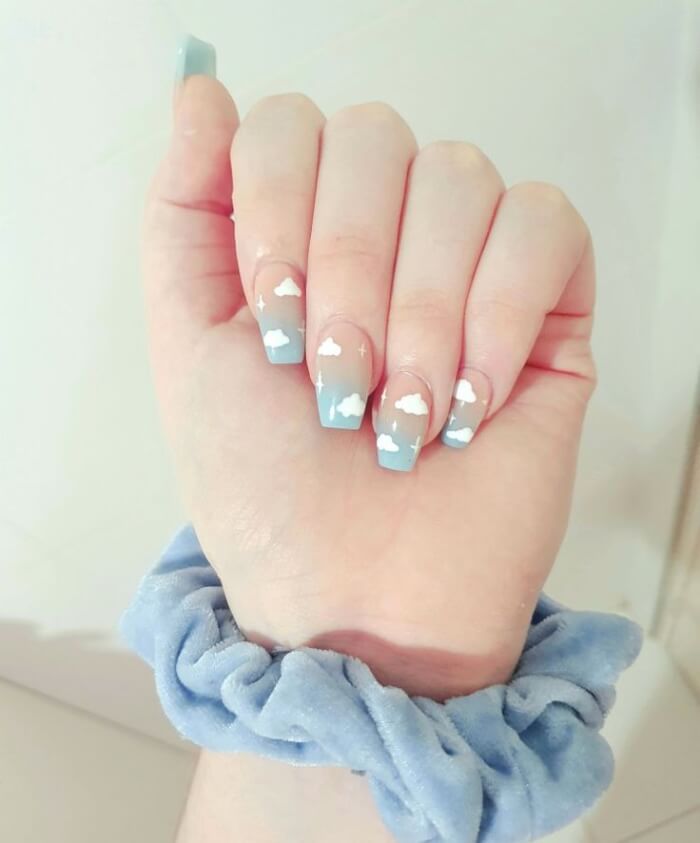
#4 Fairy Lights
 Source: unknown
#5 String Light Magic
 Source: barbralezyn
Once you’ve finished applying your color, simply wipe away the Vaseline with a cotton pad or tissue.
Along with it, any stray smudges or polish mistakes come right off, leaving you with clean, salon-worthy edges. It’s like having an eraser for your manicure. Super easy and stress-free!
#6 Lovely Tulips
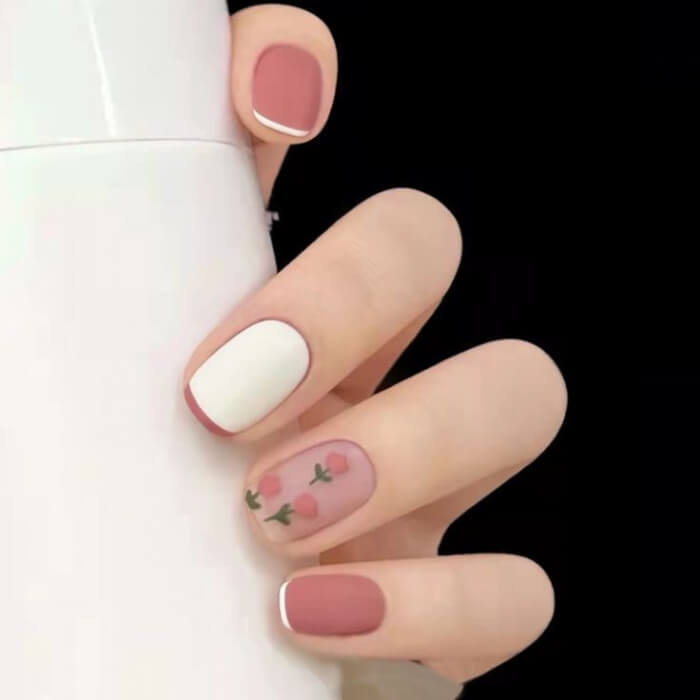 Source: unknown
#7 Bright Blue Tulip Nails
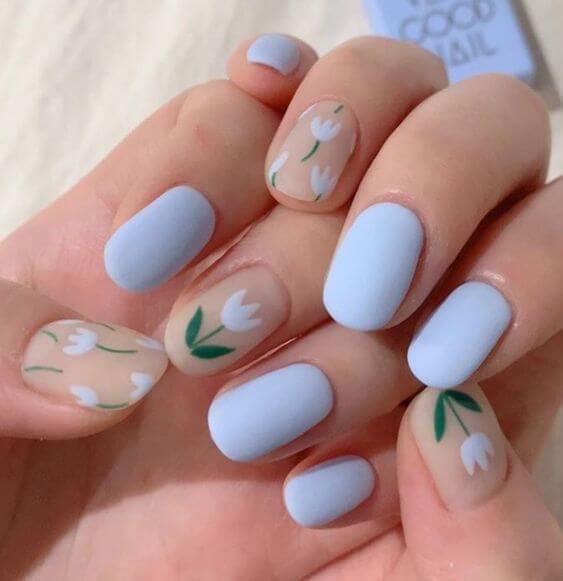 Source: unknown
#8 Lilac Butterflies
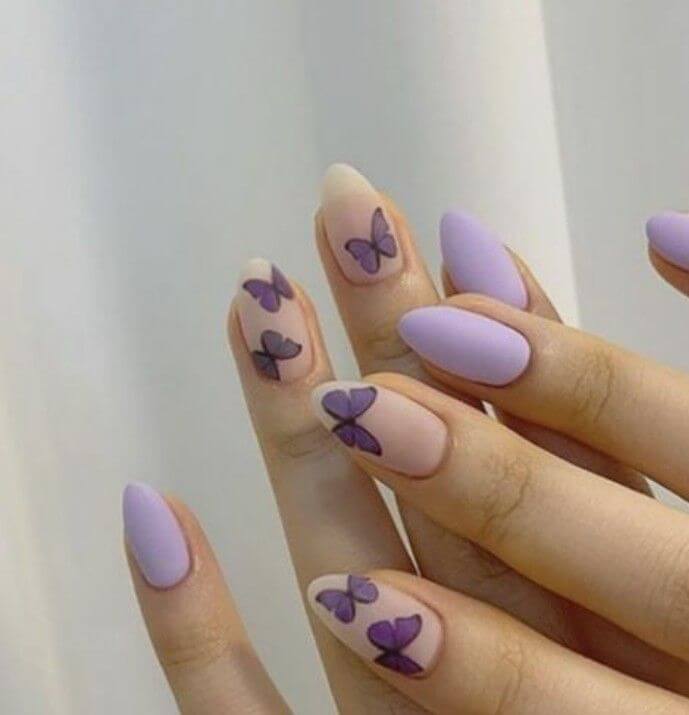 Source: unknown
Pro Tip: If you don’t have Vaseline on hand, a thick hand cream or even a lip balm can work in a pinch.
#9 Chanel Inspired
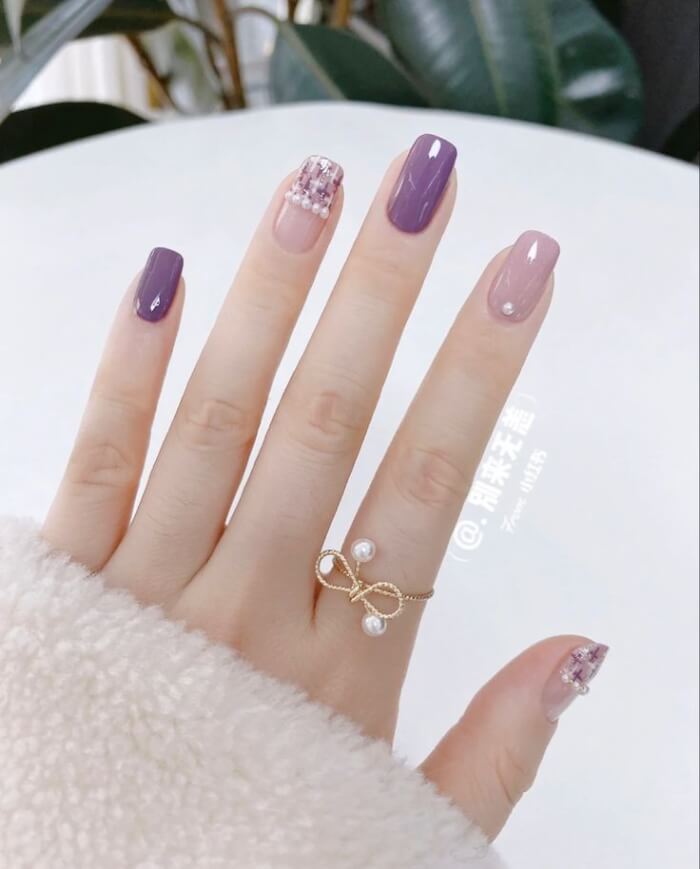 Source: unknown
Want to keep your manicure from chipping too soon?
The secret lies in how you apply your base coat. Instead of just one layer, try this clever two-step method that nail pros swear by.
#10 Shimmering Love
 Source: unknown
#11 Coral Ombre Set
 Source: unknown
#12 Simple Abstract Set
 Source: unknown
First, apply a thin coat of base polish only on the top half of your nail (from the middle to the tip).
This helps reinforce the area that’s most prone to chips. Let it dry for a minute, then go in with your second coat, this time covering the entire nail from cuticle to tip.
#13 French and Swirls
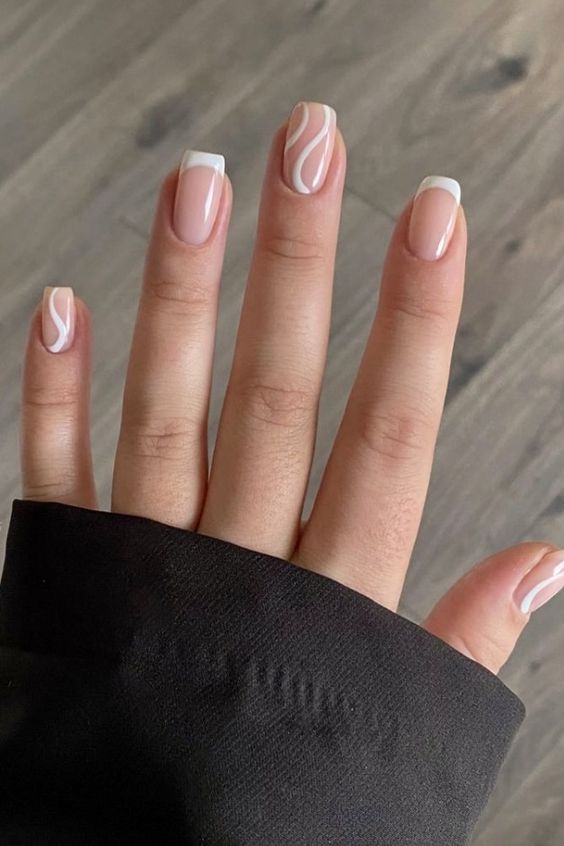 Source: unknown
#14 Mint Tips
 Source: unknown
#15 Cool For The Summer
 Source: unknown
By doubling up in this way, you’re building a stronger foundation that grips the color polish better and lasts longer. Think of it as giving your nails a little suit of armor.
Bonus Tip: Don’t rush the drying time between coats. A little patience now means your polish will stay perfect for days!
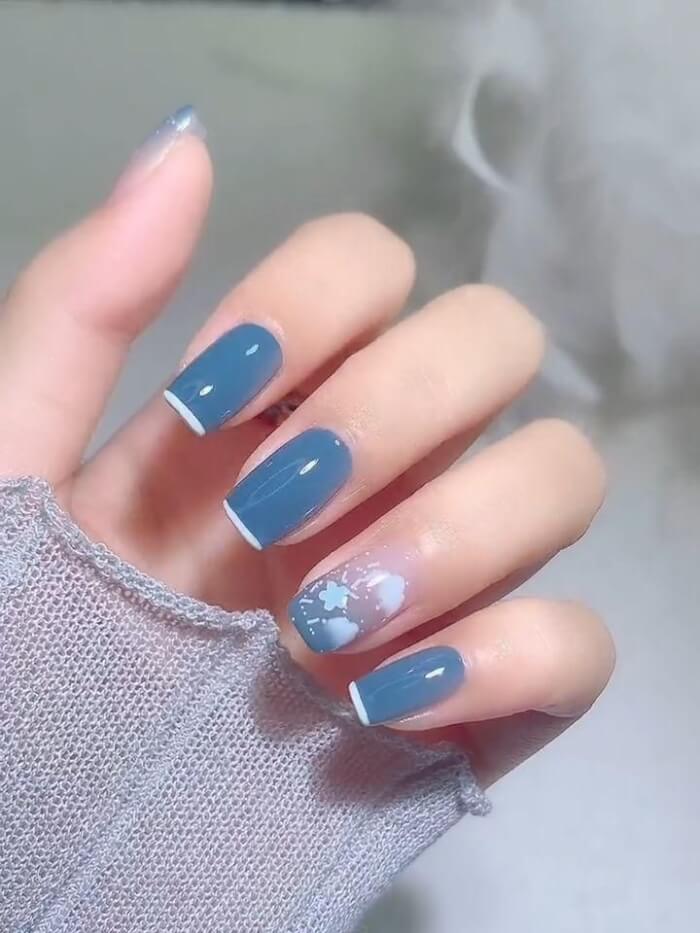
#16 Something Blue
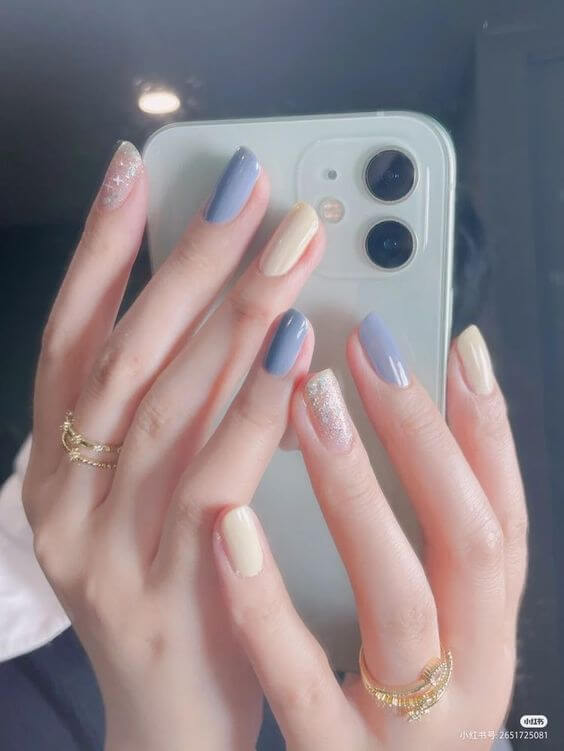 Source: unknown
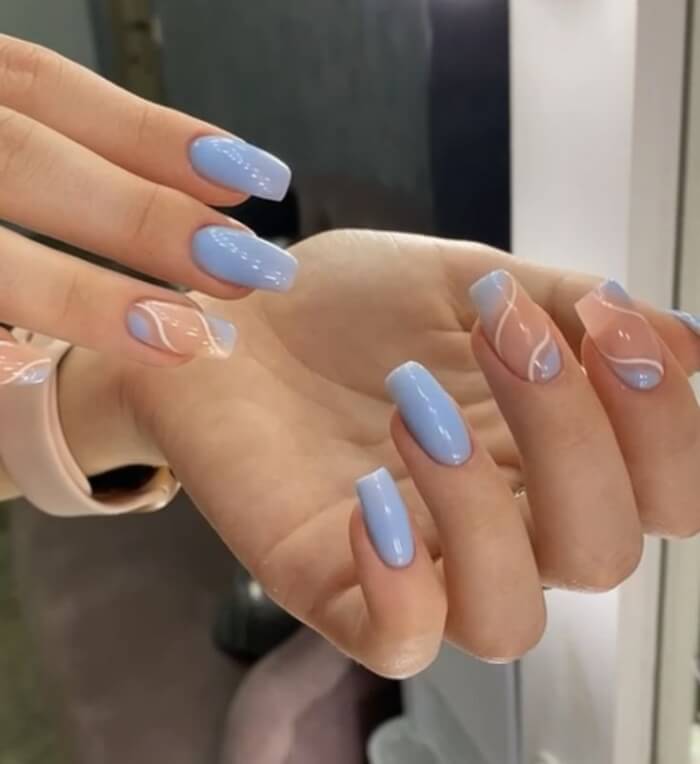
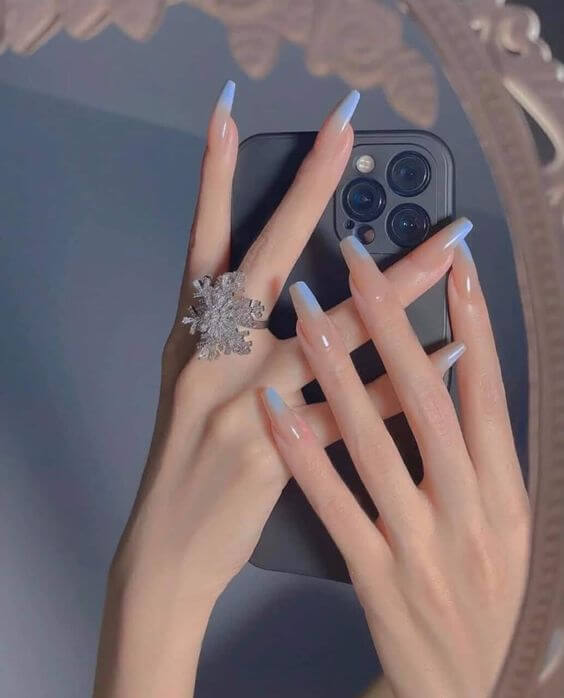
#17 Serene Blue
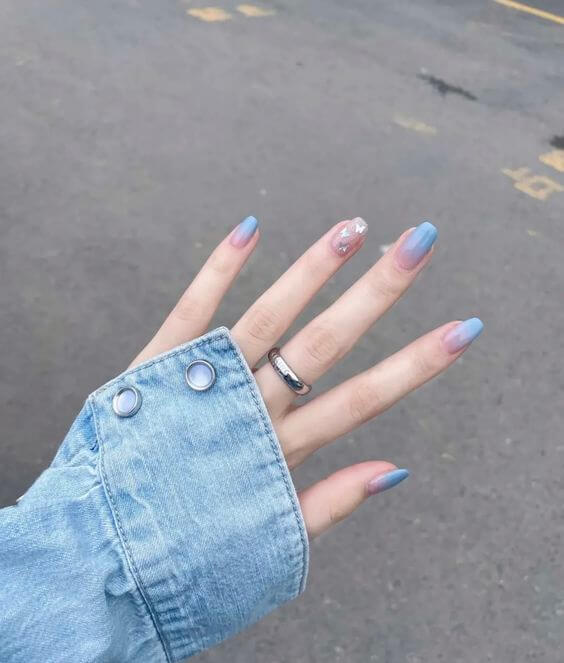 Source: unknown
When learning how to apply nail polish flawlessly, one clever trick is to start with a white polish as your base coat. Your natural nails usually have a pinkish tint, which can dull or change the final look of your polish color.
By applying a crisp white base, you create a clean canvas that makes any shade pop with its true pigment. It’s like priming a wall before painting: the smoother and lighter the base, the better the color payoff.
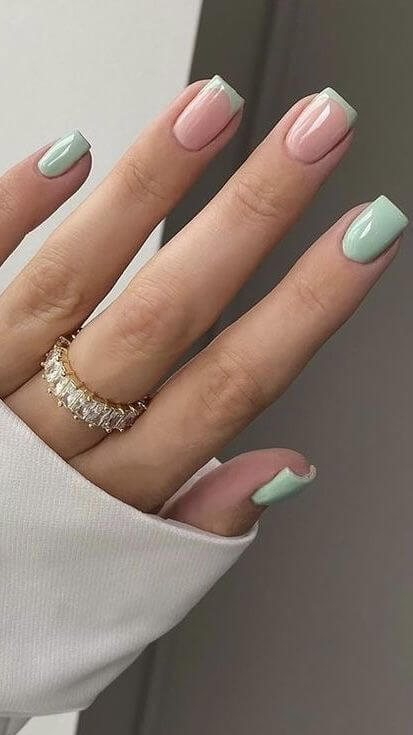
#18 Accent Pop
 Source: unknown
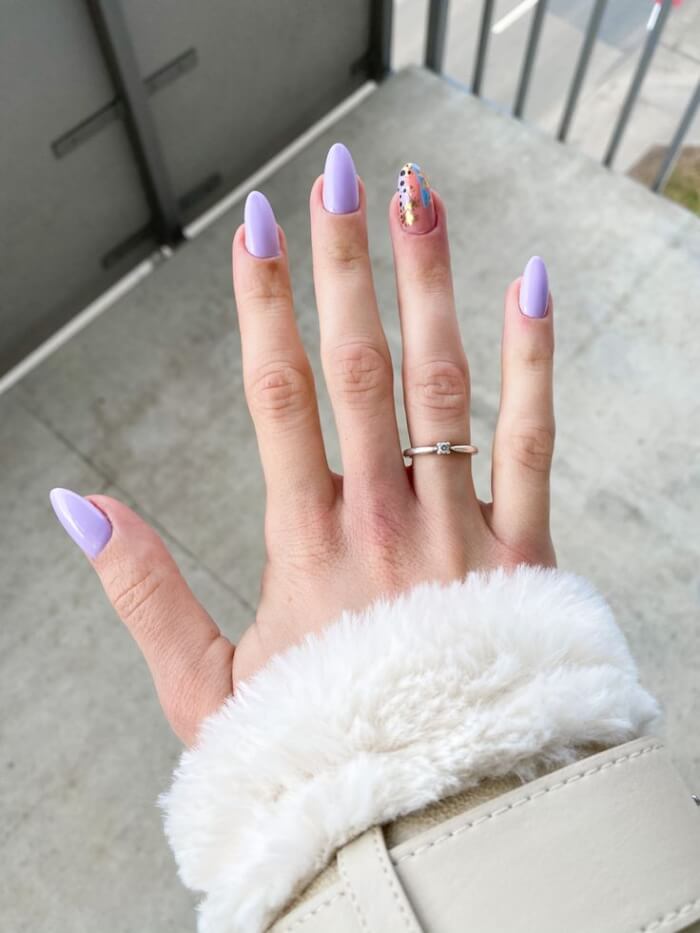
#19 For Pastel Lovers
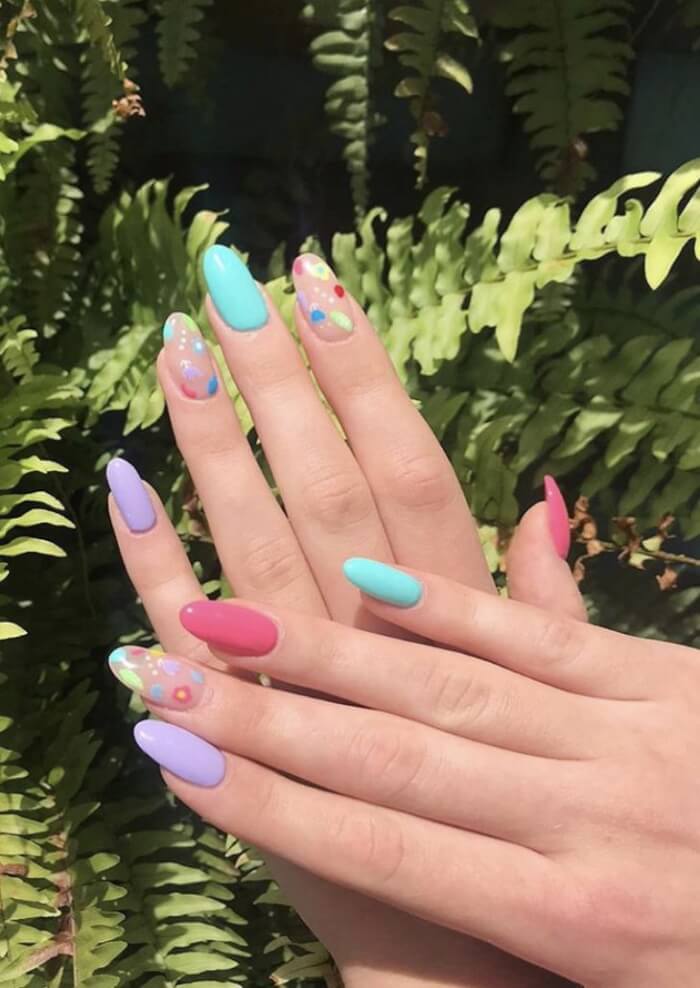 Source: unknown
#20 Deep Dive
 Source: unknown
If nail art feels intimidating or you’d rather skip the time and expense of a salon, there’s a simple solution: nail art stickers.
These little lifesavers come in endless shapes, patterns, and themes, making it easy to add flair without the hassle of freehand painting
. Just press them onto your polished nails, smooth out any bubbles, and finish with a protective top coat to lock them in place. The result? Instant nail art that looks like it took hours.
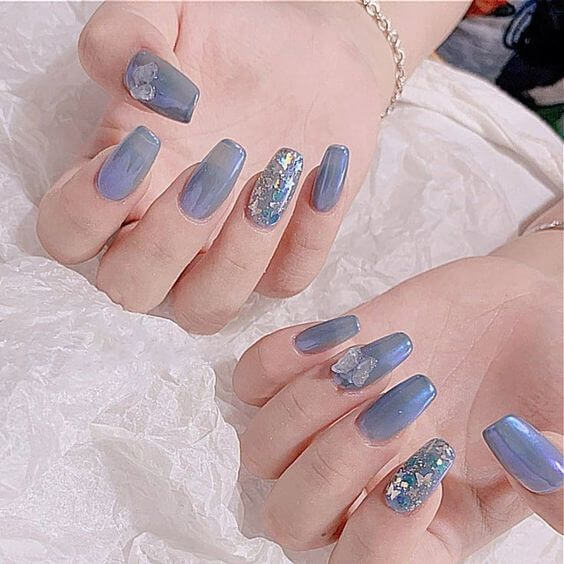
#21 Blueberry Milk
 Source: unknown
#22
 Source: unknown
Pro Tip: Mix the two tricks together! Use a white base coat to make your stickers pop even more, especially with bold or colorful designs.
#23 Sky of Hope
 Source: unknown
#24
 Source: unknown
#25 DIY Ombre Set
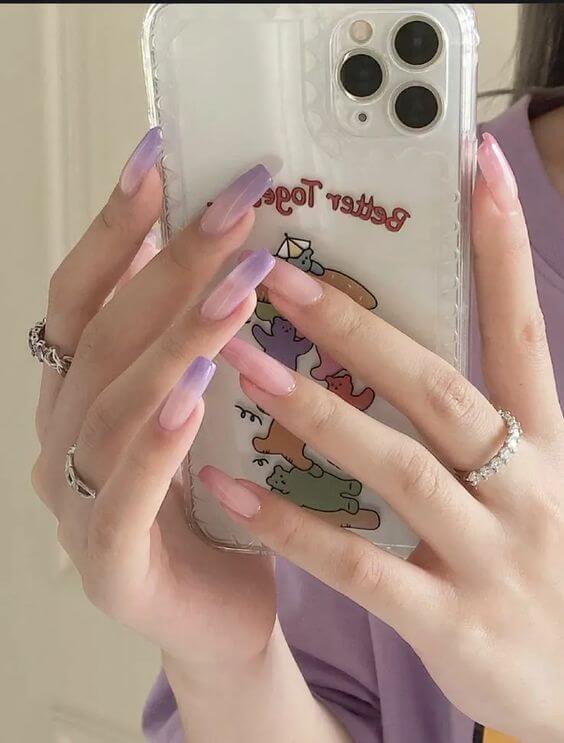 Source: unknown
Want to try a dual-tone manicure without fancy tools? Tape is your best friend. Simply cut strips into the shape you need.
Place the tape on your nail, paint the exposed area with your second polish color, then gently peel it off once dry. The result? A sharp, salon-worthy design that looks way more complicated than it really is.
#26 Checkered Board
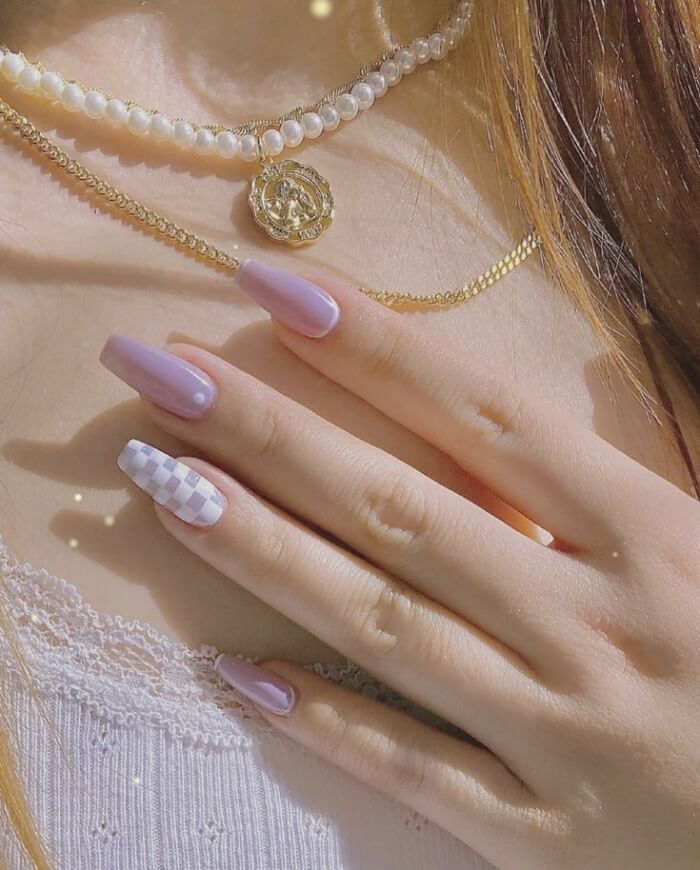 Source: unknown
#27
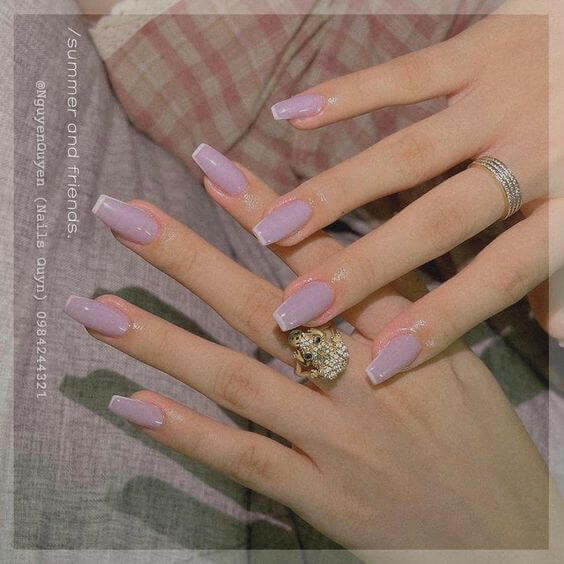 Source: nguyenquyen
#28 Mild Glam
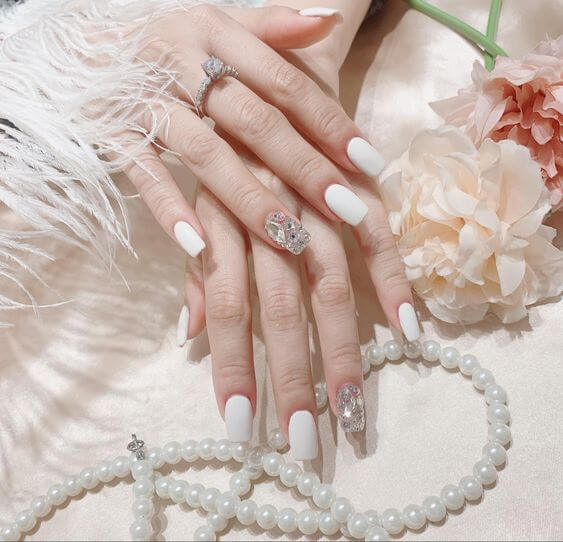 Source: unknown
But why stop there? You can even make your own nail polish color at home! Just mix crushed eyeshadow pigment into a bottle of clear polish, and you’ve got a brand-new shade that’s uniquely yours.
It’s a fun, budget-friendly way to experiment with colors you don’t already own, and you’ll end up with a polish that no one else has.
#29 Rhinestone Clusters
 Source: unknown
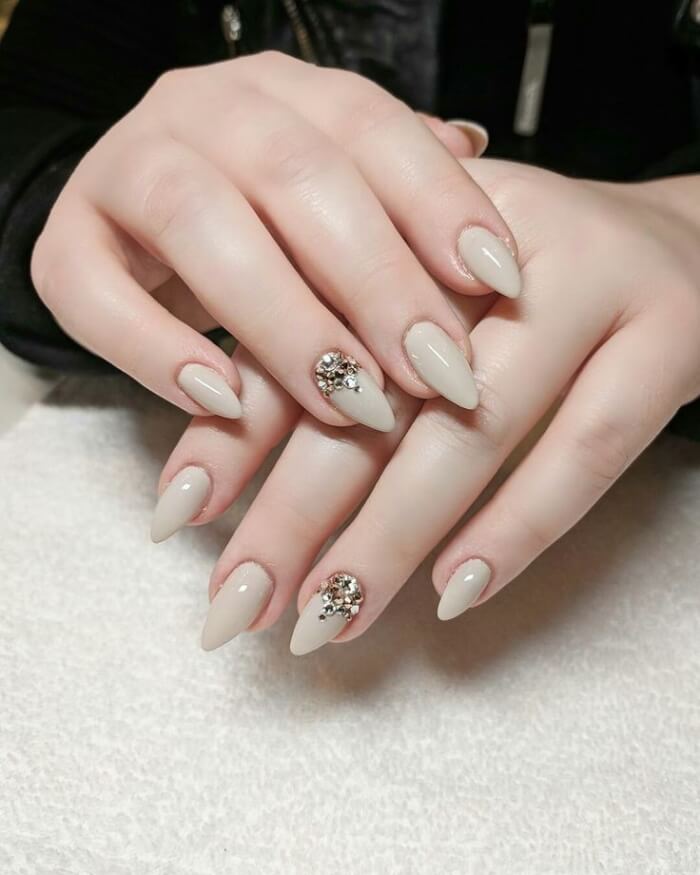
#30
 Source: unknown
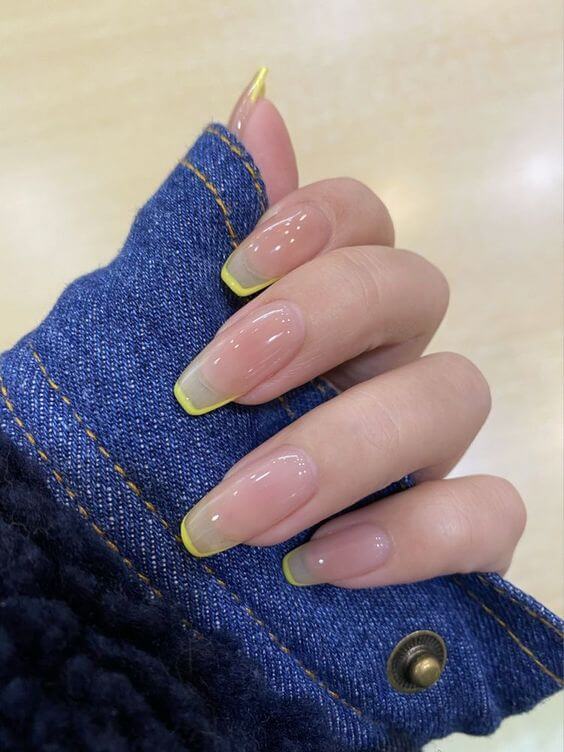
#31 Super Thin French Tips
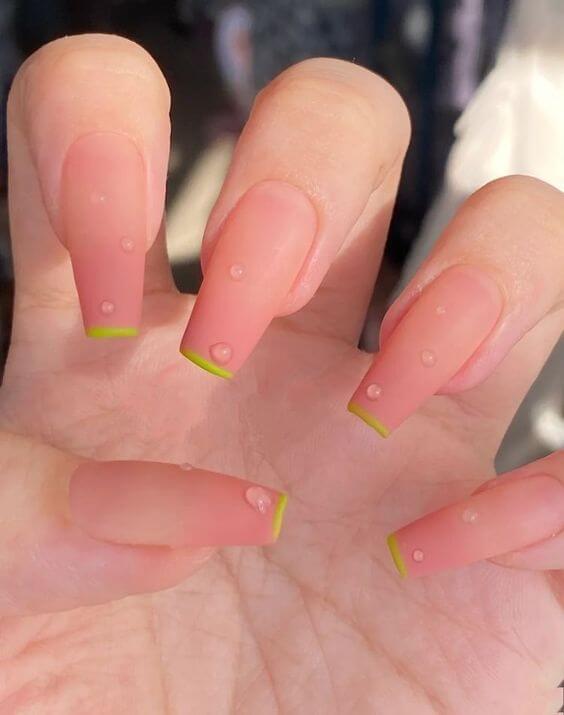 Source: unknown
Pro Tip: Try pairing your homemade polish with tape nail art for a look that’s not only customized but also full of personality.