You may have always believed that hands are important on your wedding day. Whether holding the bridal bouquet or exchanging wedding rings, they will draw the majority of the attention indirectly.
Because of this, you must remember to take care of your nails in the previous months and even to decorate them to show an extraordinary manicure that matches your wedding.
The question of what color to paint them at this point arises. Is it longer or shorter? Should I add jewels for decoration, or is it overkill?
We have created a guide to assist you and reduce the stress associated with wedding preparation in order to address all of these questions and keep you up to date on current bridal manicure trends.
Please share this article if you enjoyed it; it will be our greatest source of motivation.
#1
#2
Everything to Know About Your Wedding Nails
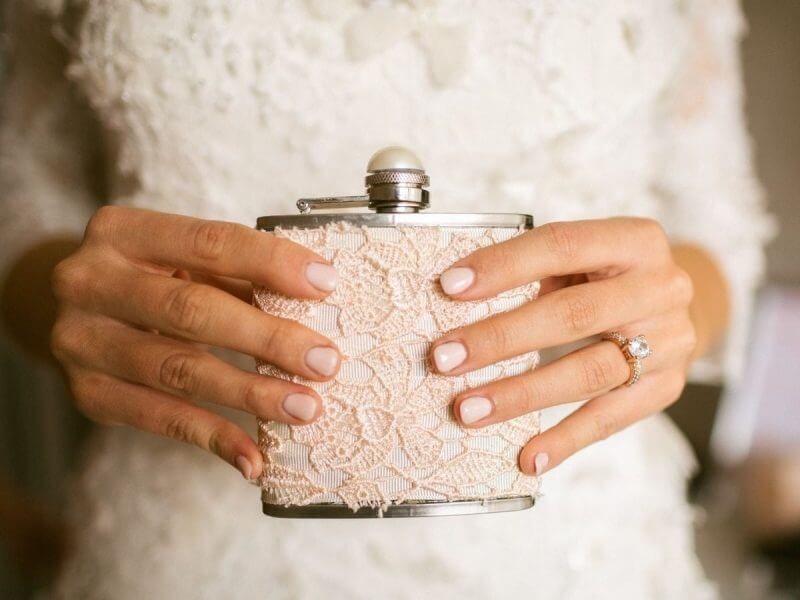
Your wedding day manicure is far more important than just a finishing touch; it’s a crucial detail that will be immortalized in countless photographs.
From the close-up shot of the ring exchange to the candid photos of your hands holding the bouquet, your nails will be under intense scrutiny.
#3
#4
#5
The perfect wedding manicure isn’t about following the latest trend; it’s about choosing a timeless, elegant look that complements your ring, your dress, and your personal style.
This guide covers everything a bride (or anyone in the wedding party!) needs to know, from choosing the right shape and color to timing your appointments for flawless results.
#6
#7

Phase I: Planning and Preparation (6 Months Out)
The secret to a beautiful wedding manicure starts months before the big day by ensuring your natural nails and skin are healthy.
Nail Health is Paramount
If your nails are brittle, weak, or prone to breaking, start a strengthening regimen immediately.
- Take Supplements: Incorporate biotin or prenatal vitamins into your routine. Consistent use over several months can dramatically improve nail strength and growth.
#8
#9
#10
- Moisturize Daily: Invest in a high-quality cuticle oil and use it twice a day, every day. Healthy cuticles are the foundation for a flawless manicure and make your fingers look more polished.
- Hands-Off Policy: Stop biting, picking, or using your nails as tools. This is a non-negotiable rule for the months leading up to the wedding.
#11
#12
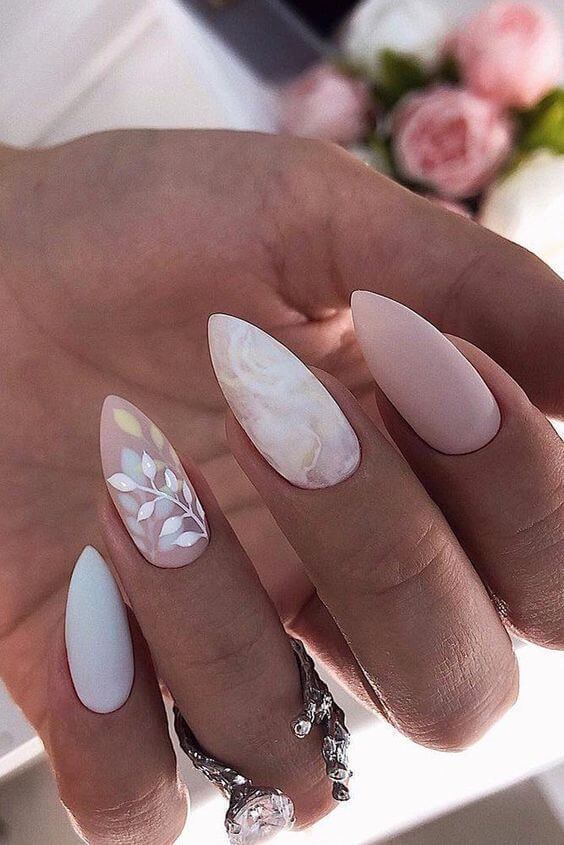
Decide on Length and Shape
Your nail shape should flatter your hands and your ring. Experiment with a few shapes during trial manicures.
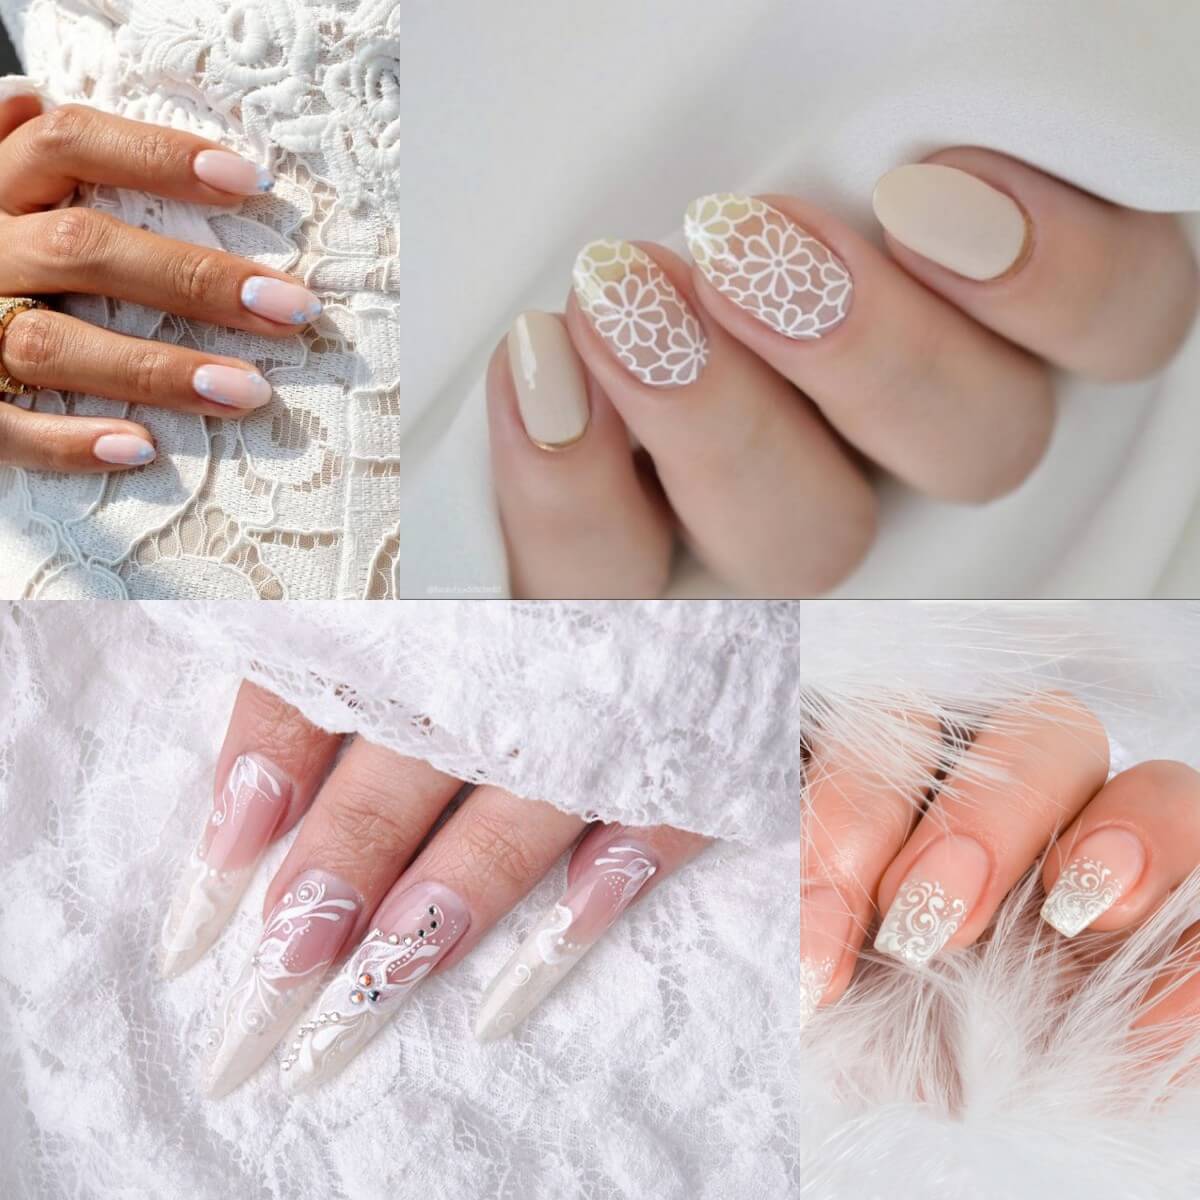
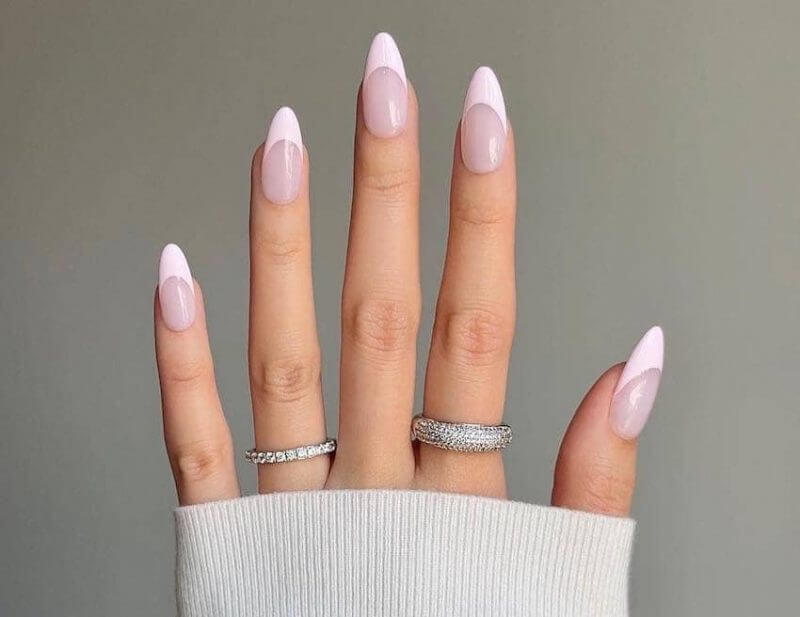
- Classic Shapes (Timeless): Oval and almond are universally flattering. They elongate the fingers and are less prone to breaking or snagging on lace and delicate fabrics. They offer a refined, feminine look.
#13
#14
#15
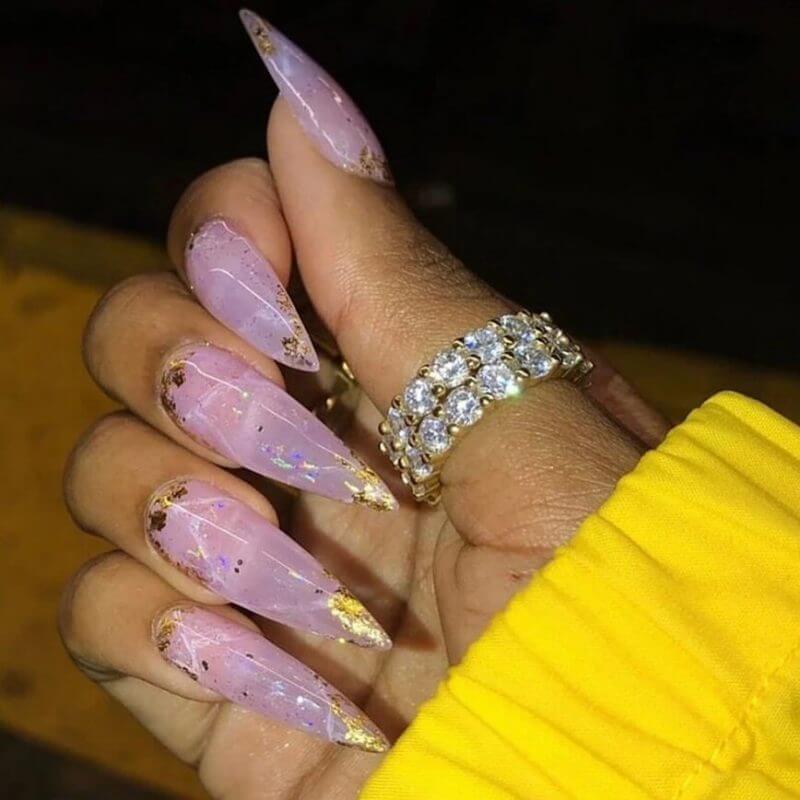
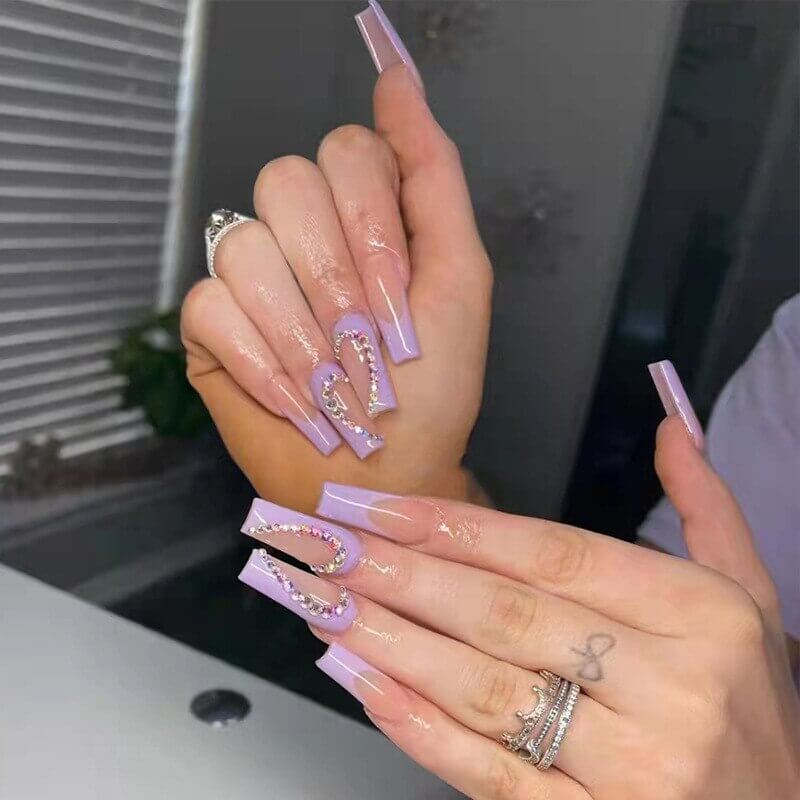
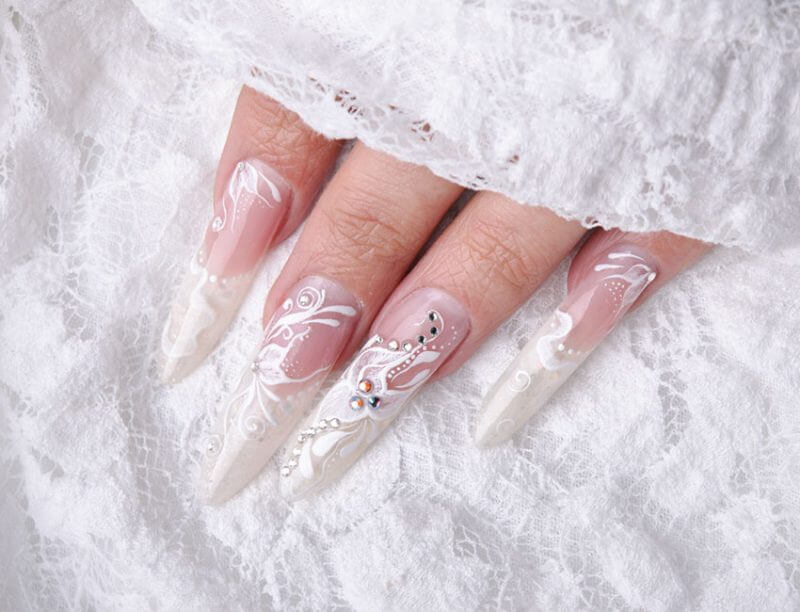
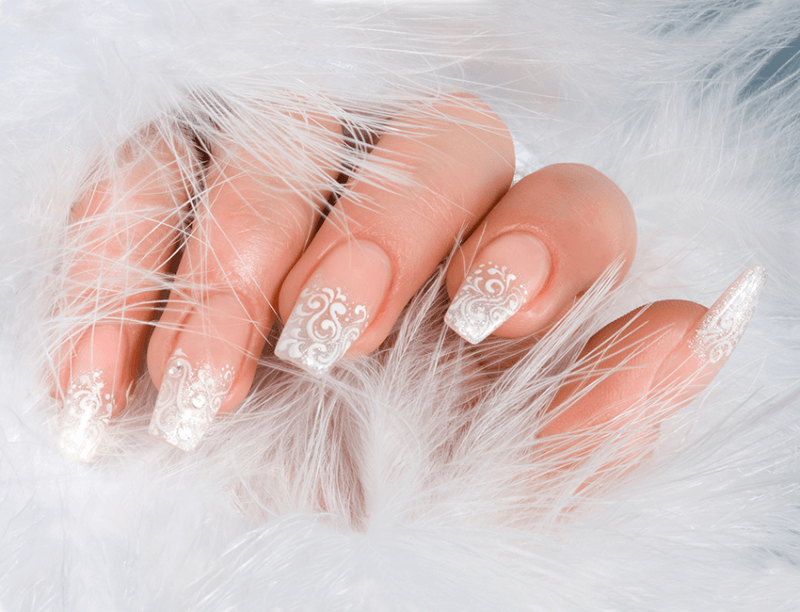
- Modern Shapes (Chic): Squoval (square but with rounded corners) is durable and looks clean. Avoid sharp, highly trendy shapes like stiletto or sharp square, as they can sometimes look dated in photos years later.
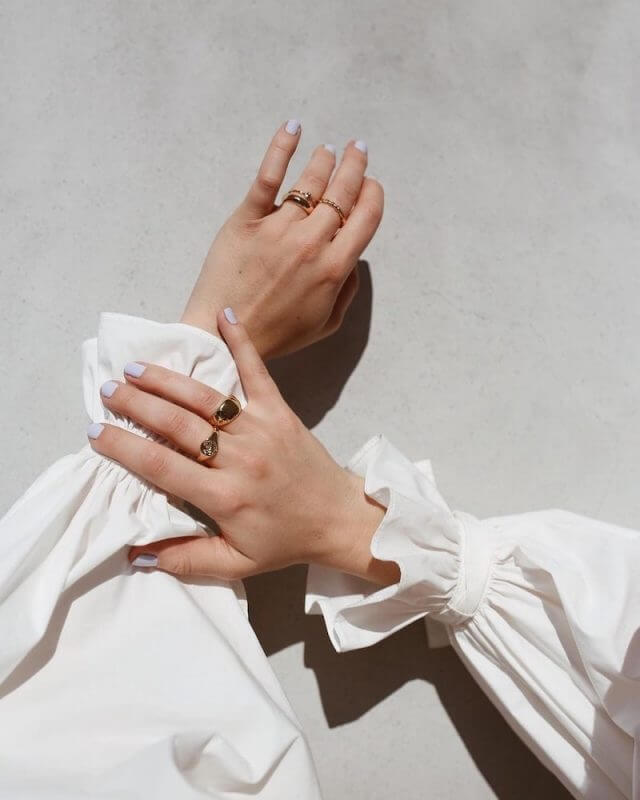
- Length: A medium length is generally the best choice. It feels elegant and provides enough surface area for color without being impractical.
#16
#17
Phase II: Choosing the Perfect Look
Your wedding nail color should harmonize with the overall aesthetic of your day. The goal is sophistication, not distraction.
The Classic Bridal Hues
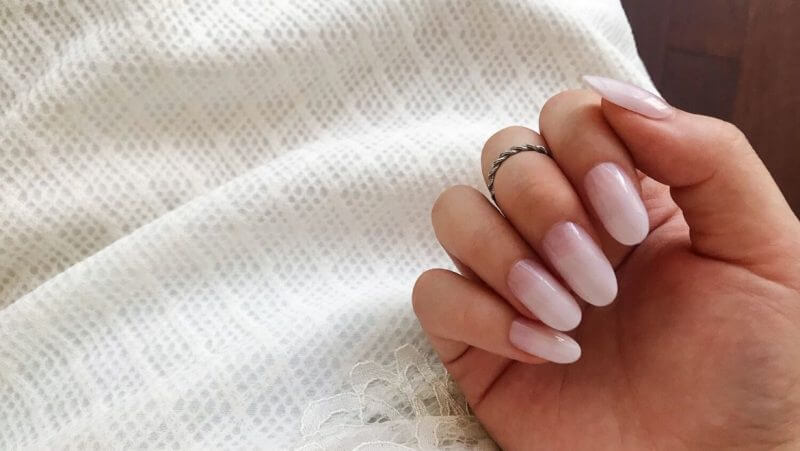
You can never go wrong with a neutral or sheer pink. These colors provide a clean, elegant backdrop for your rings.
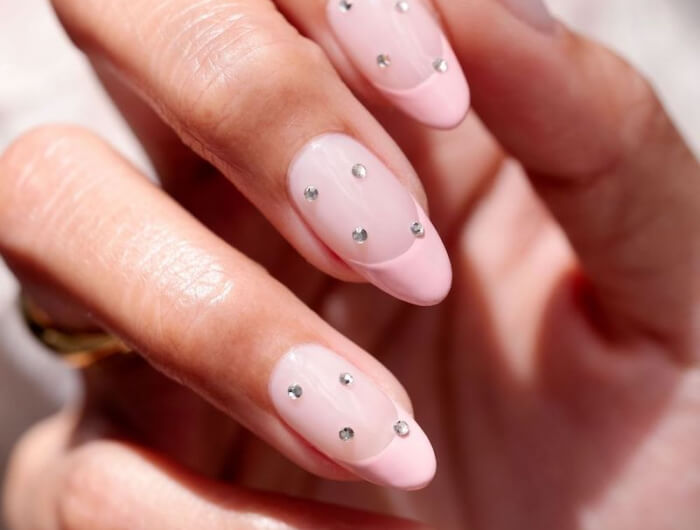
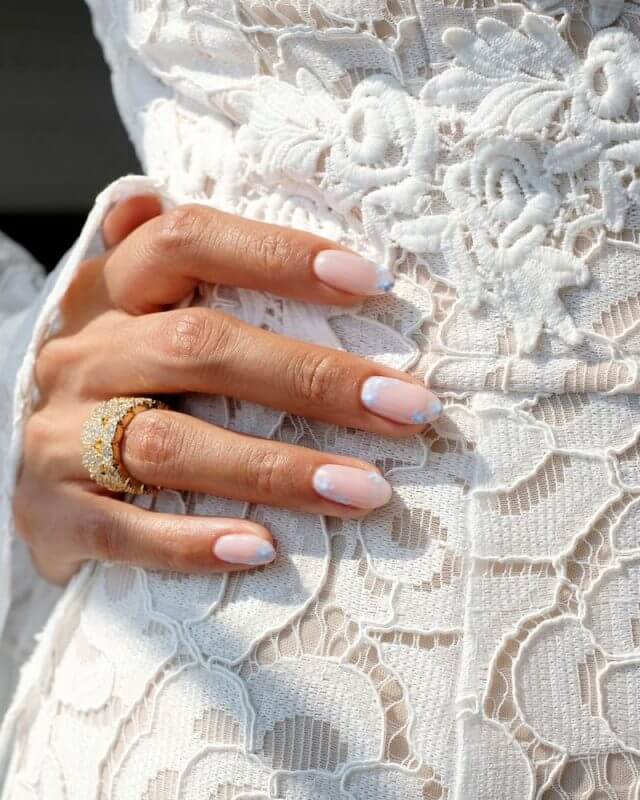
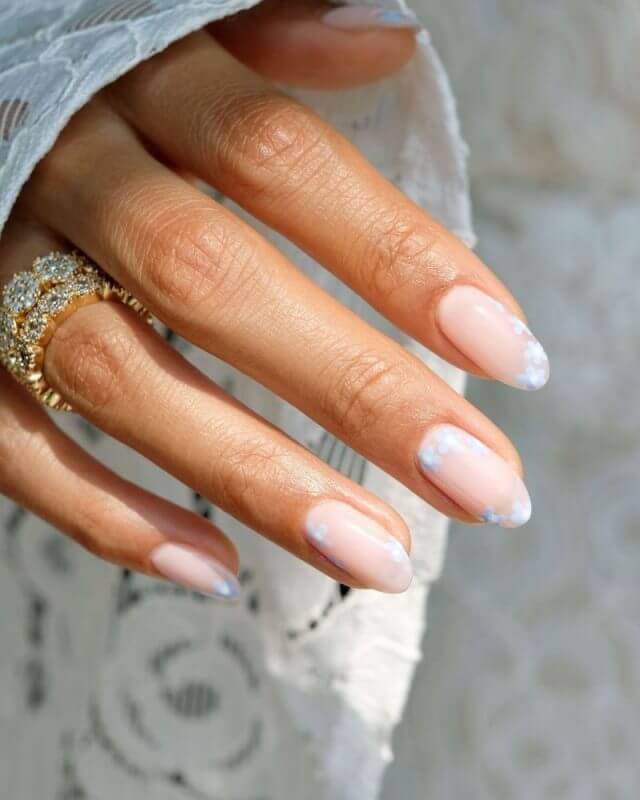
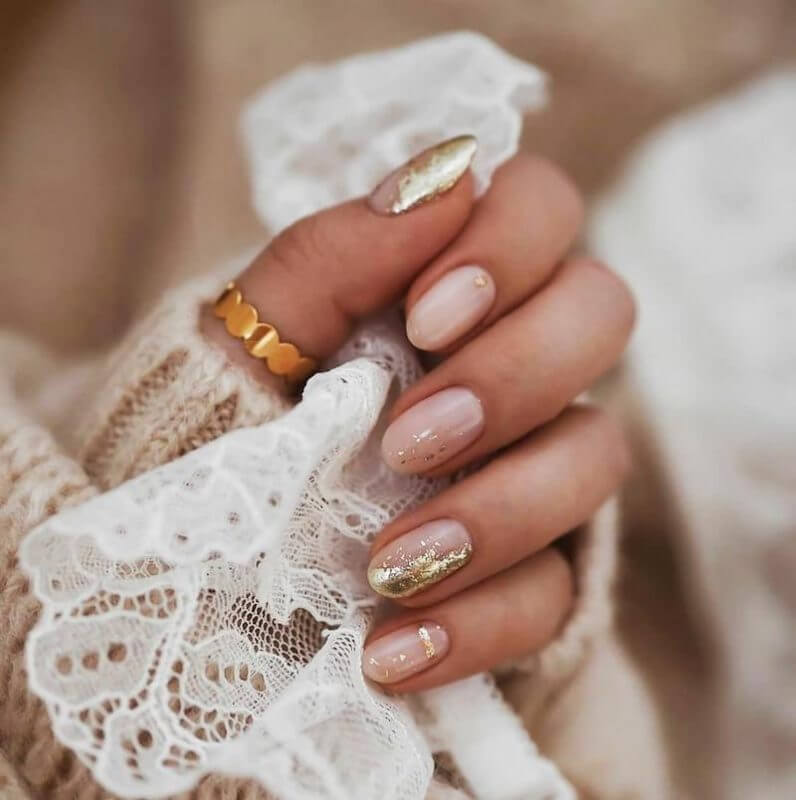
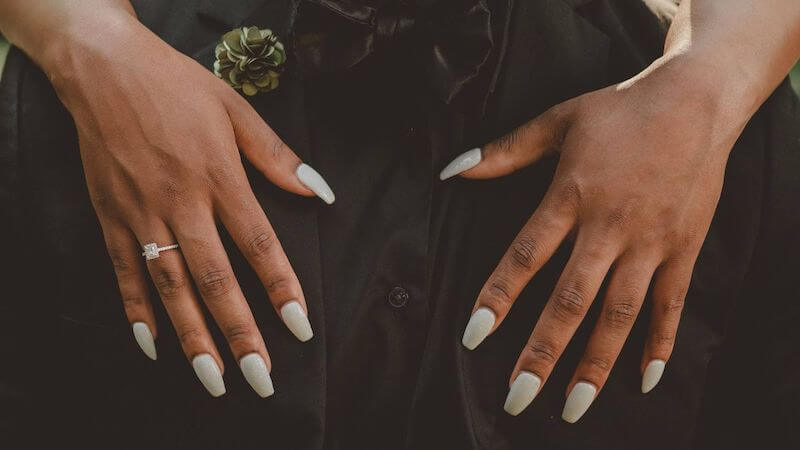
- The Sheer Nude: Look for colors that are slightly translucent and match the undertone of your skin. A milky pink or a sheer beige is subtle and keeps the focus entirely on your jewelry and bouquet.
#18
#19
#20
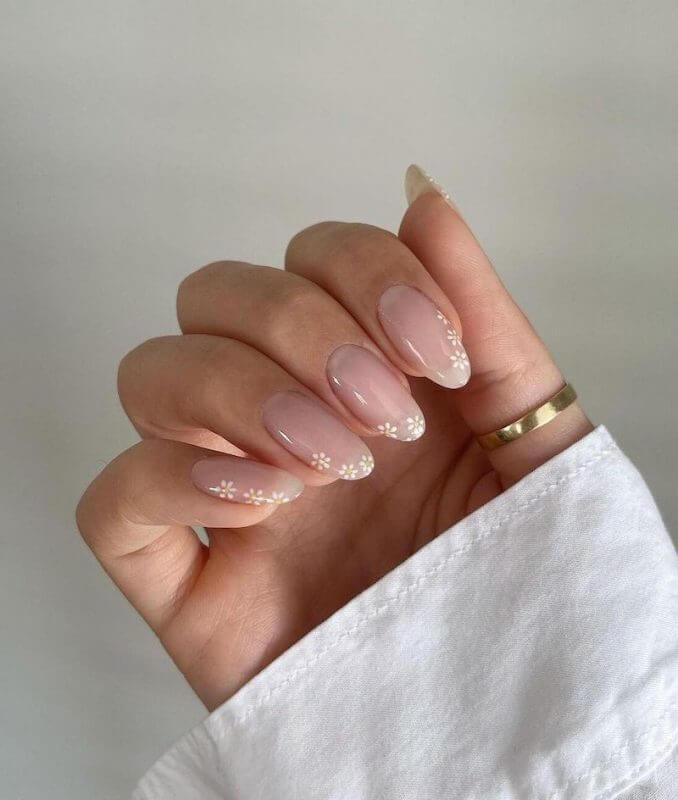
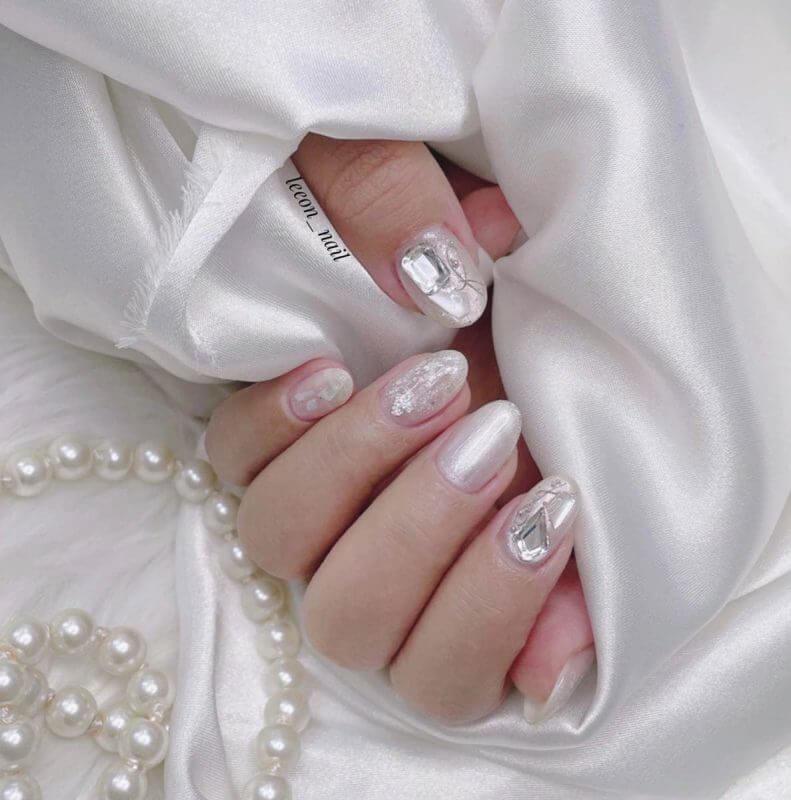
- The Milky White: A creamy, opaque white that isn’t blindingly stark. This color is crisp, modern, and looks incredible with gold jewelry.
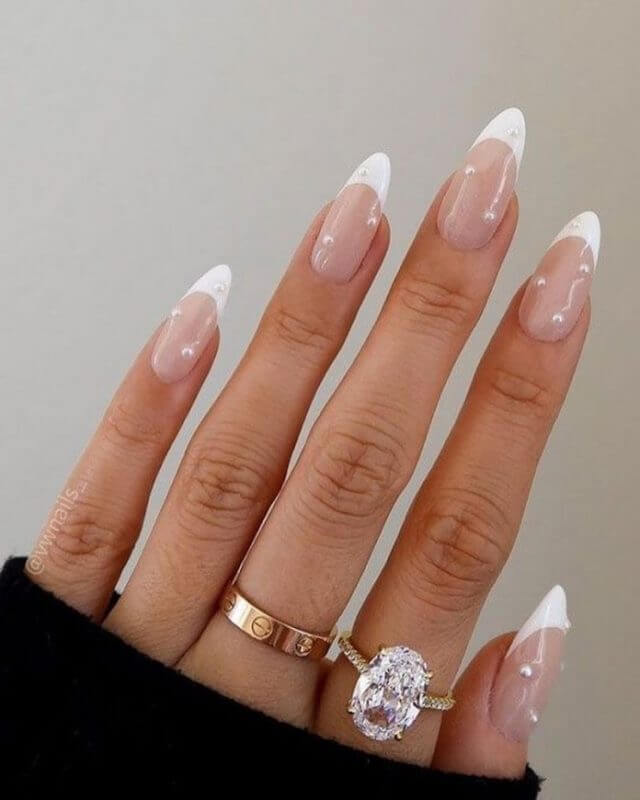
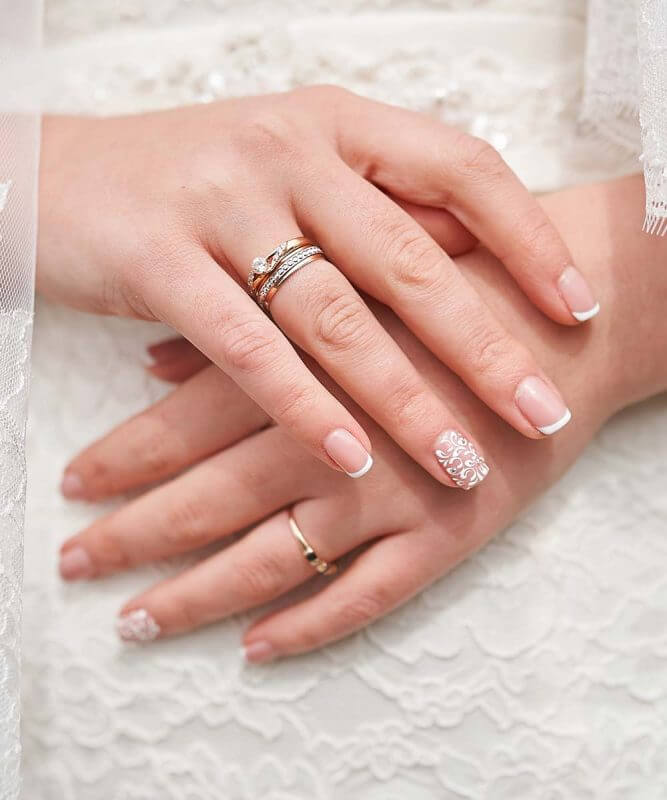
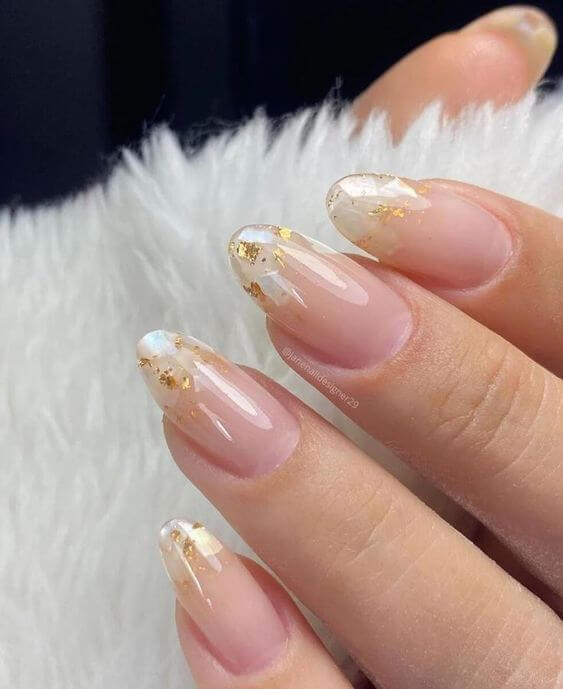
- The Timeless French: If you love a French manicure, keep the white tip ultra-thin (a micro-French). This updates the look, making it chic and less dated. For an interesting twist, use a pearlescent white or soft silver for the tip instead of plain stark white.
#21

#22
#23
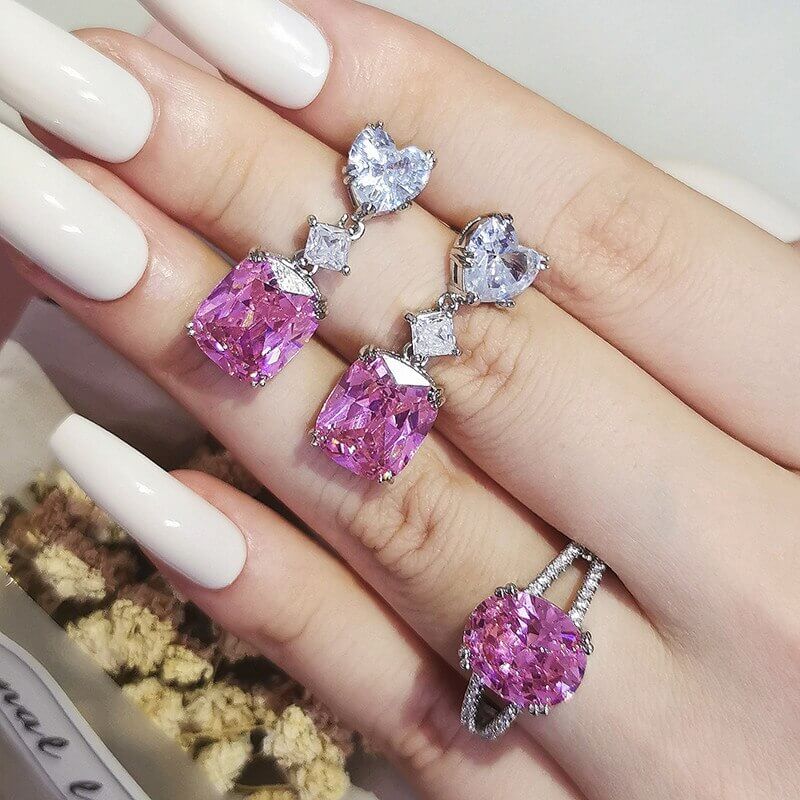
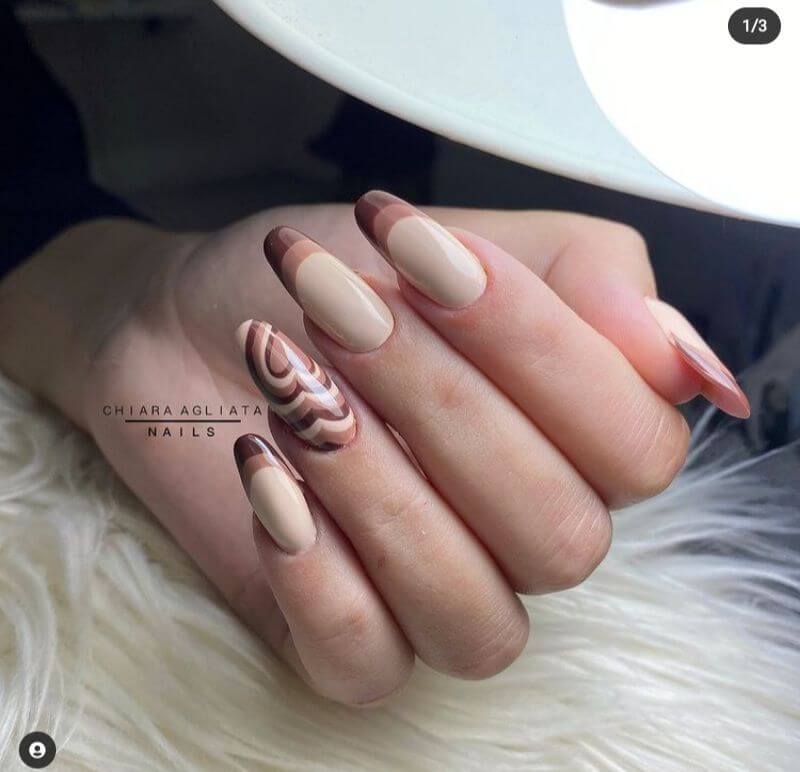
The Accent or Statement Hue
If your dress or theme incorporates color, you can subtly bring that into your manicure.
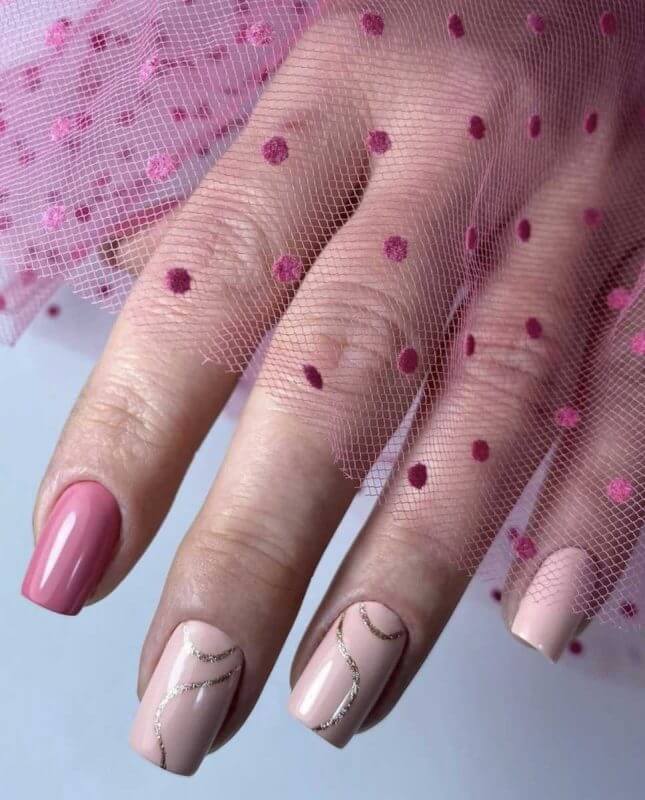
- Soft Pastels: For spring and summer weddings, a muted dusty rose, pale lavender, or light sage green is beautiful. Keep the color light enough so it doesn’t clash with your flowers.
#24
#25
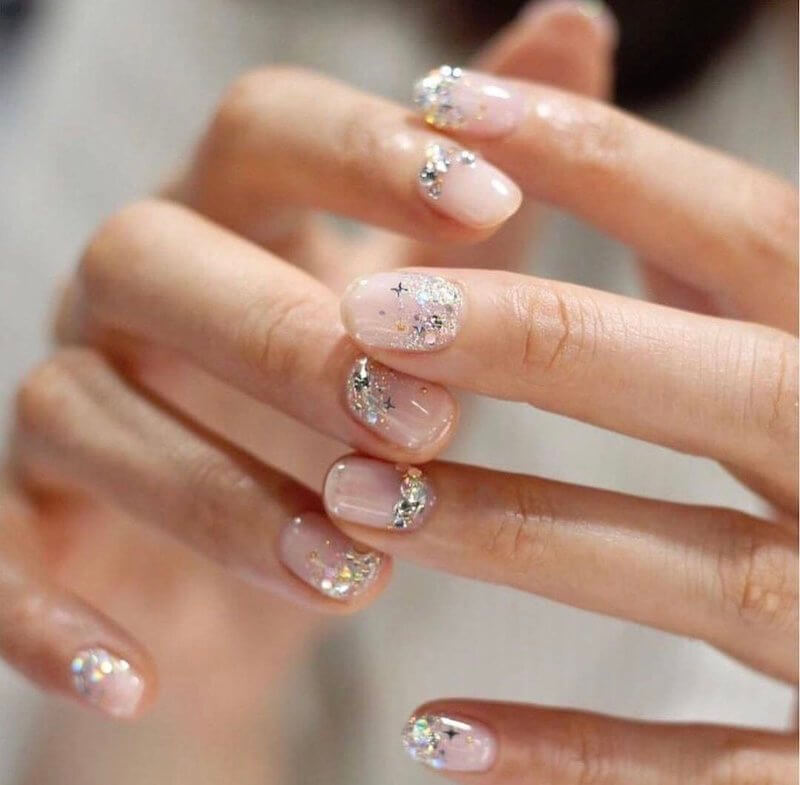
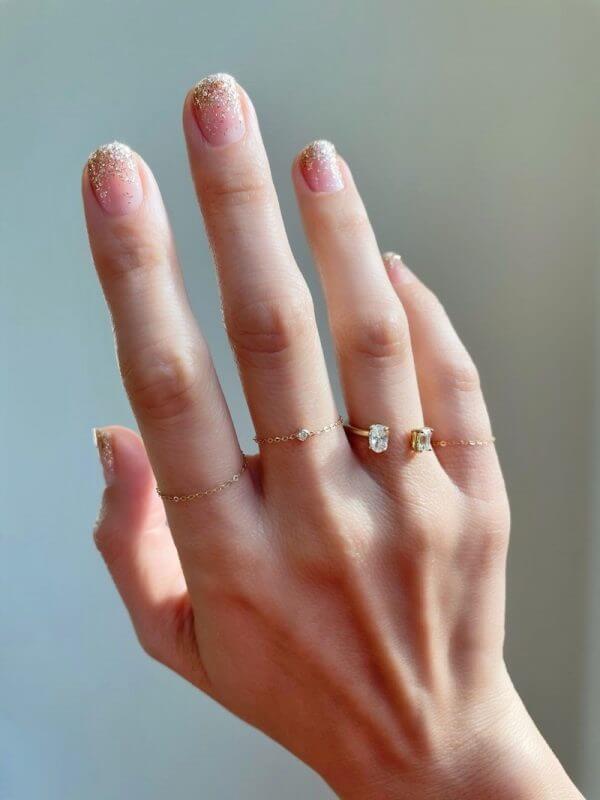
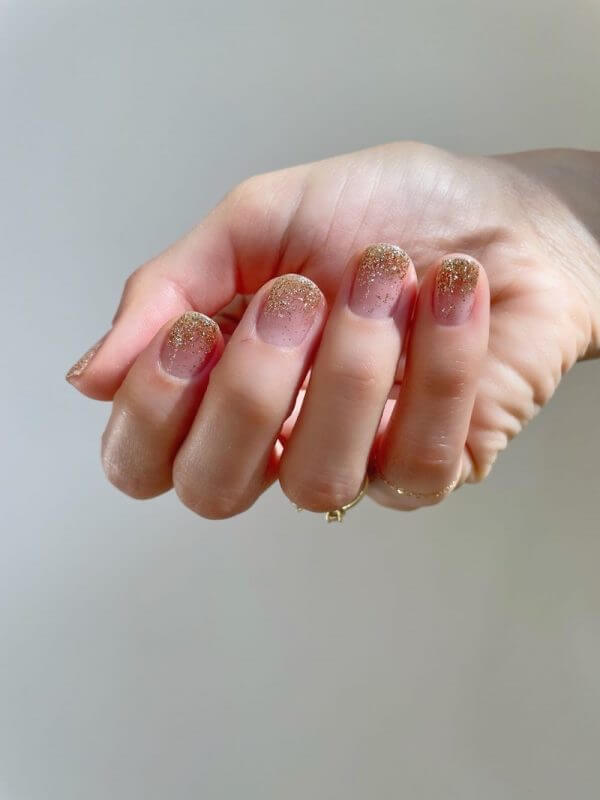
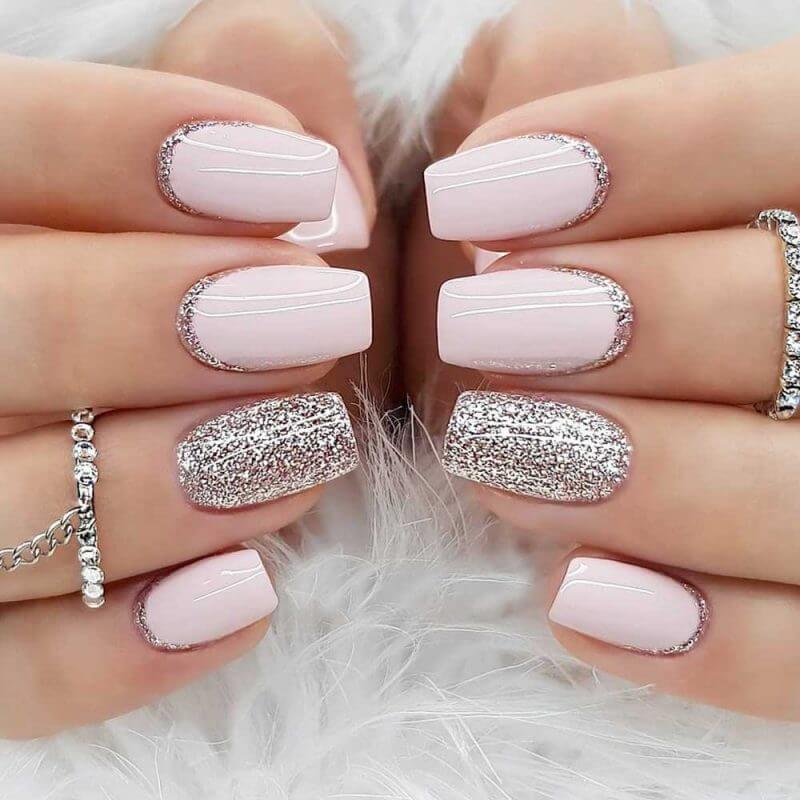
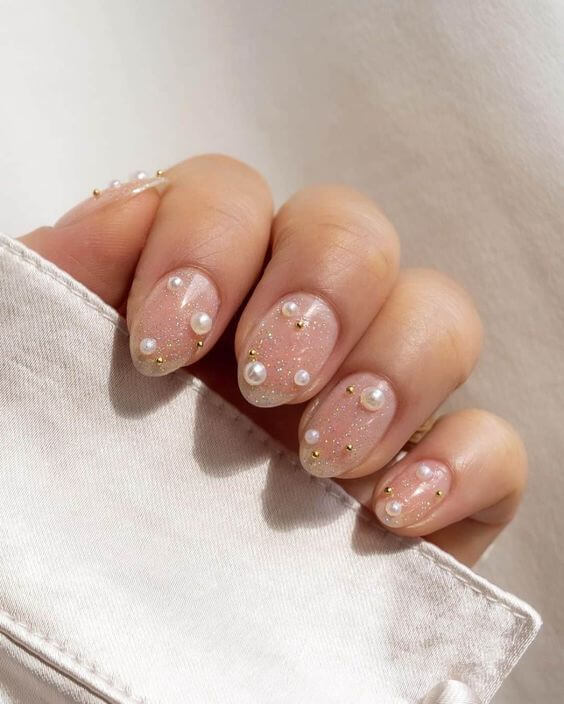
- Metallic Shimmer: For evening or winter weddings, a sheer polish infused with fine gold or silver shimmer adds dimension and catches the light beautifully without overpowering the look. This is a sophisticated way to add sparkle.
- The “Ring Finger” Rule: If you want a hint of glitter or a subtle design, restrict it to the accent nail (usually the ring finger) on both hands. This draws attention to the engagement ring without making the entire hand busy.
#26
#27
#28
Phase III: The Final Countdown (1 Week Before)
Timing is everything to ensure your manicure is fresh and flawless on the wedding day.
When to Schedule Your Manicure
The ideal window for a perfect manicure is 1 to 2 days before the wedding.
- Why Not Earlier? Even the most durable gel or dip powder can start to dull or chip by day five. Scheduling it just a day or two before ensures maximum shine and pristine edges.
- Avoid the Day Of: Do not schedule your nail appointment on the morning of the wedding. It adds unnecessary stress, and rushing could lead to smudges or mistakes.
#29

#30
#31

Choose Gel or Dip Powder
While traditional polish is beautiful, a bride should always opt for a service with lasting power.
- Gel Manicure: The most popular choice. It cures under a UV light, lasting up to two weeks without chipping and providing an incredible high-gloss finish.
- Dip Powder (SNS): Another durable option that offers a very strong finish, often used for extra length or for strengthening weak nails.
- Avoid Acrylics (Unless You Already Wear Them): If you don’t typically wear them, introducing acrylics right before the wedding can result in uncomfortable application, possible lifting, and a less natural look.
#32
#33
#34

Schedule Your Pedicure First
Your pedicure can be done slightly earlier than your manicure, 2 to 3 days before the wedding.
Since toes are less likely to chip than fingernails, the slight extra buffer time helps streamline your final beauty schedule.