Welcome to Freesia Care 101, your comprehensive guide to nurturing and cultivating vibrant freesia plants. Whether you’re a seasoned gardener or just starting out, this guide will equip you with the knowledge and techniques necessary for successful freesia care.
In this edition, we will focus on three vital aspects: watering, fertilizing, and mulching, all of which play key roles in promoting healthy growth and blooming of these exquisite flowers. With their stunning array of colors and enchanting fragrance, freesias are a delightful addition to any garden or floral arrangement.
Whether you’re a seasoned gardener or just starting out, this guide will equip you with the knowledge and techniques necessary for successful freesia care.
In this edition, we will focus on three vital aspects: watering, fertilizing, and mulching, all of which play key roles in promoting healthy growth and blooming of these exquisite flowers. Understanding and implementing proper practices in these areas will ensure that your freesias thrive and reward you with abundant and long-lasting blooms.
So, let’s dive in and unlock the secrets to successful freesia care, ensuring your plants thrive and grace your garden with their vibrant colors and enchanting aroma.
1. Choosing Freesia Bulbs
 Source: Longfield Gardens
- Select healthy freesia bulbs from a reputable source. Look for bulbs that are plump and firm without any signs of damage or rot.
- Choose a variety that suits your preferences regarding color, size, and fragrance.
2. Planting Freesia Bulbs
 Source: Sarah Raven
- Find a well-draining location with full sunlight or light shade.
- Prepare the soil by adding compost or well-rotted organic matter to improve fertility and drainage.
- Dig holes that are 2-3 inches (5-7.5 cm) deep and space them 3-4 inches (7.5-10 cm) apart.
- Place the bulbs in the holes, pointed end up, and cover them with soil. Gently firm the soil around the bulbs.
3. Watering Freesias
 Source: The Spruce
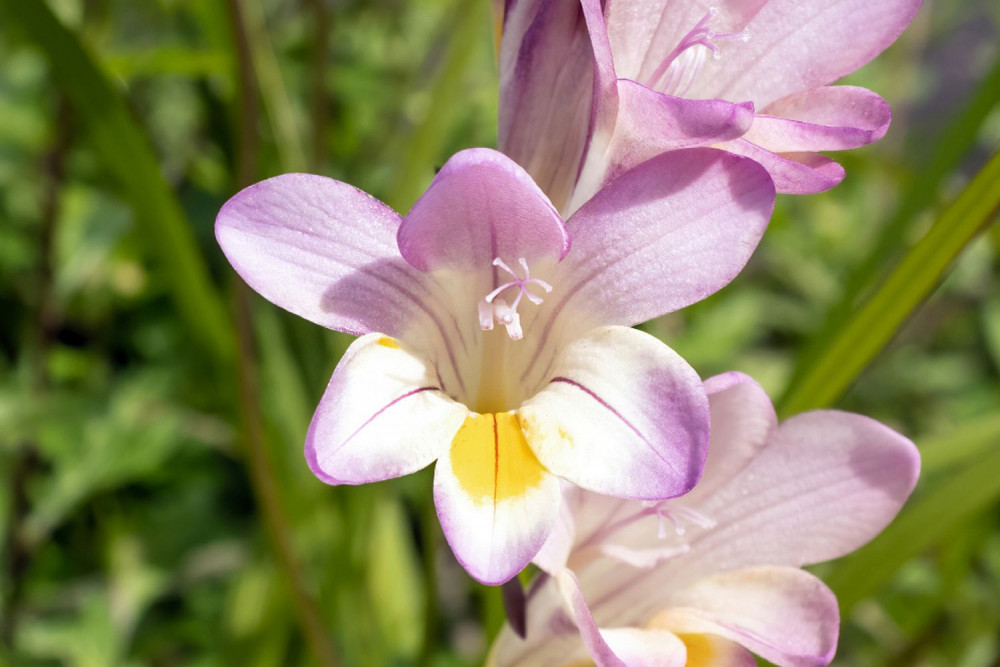
- After planting, water the bulbs thoroughly to settle the soil and promote root establishment.
- Water the freesias deeply when the top inch of soil feels dry, aiming to keep the soil slightly moist but not waterlogged.
- Adjust the watering frequency based on weather conditions and the moisture needs of the plants.
4. Providing Support
 Source: Garden Design
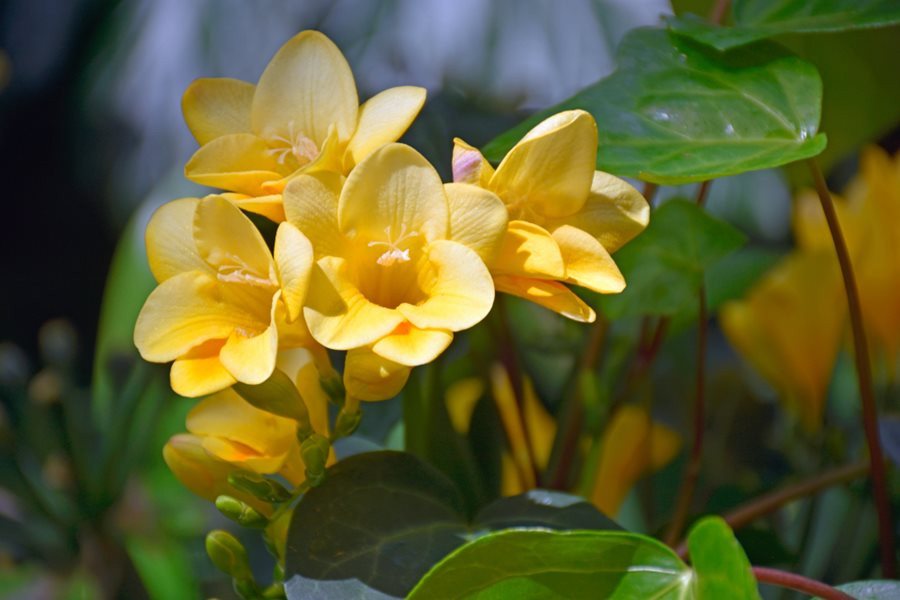
- Freesia stems can become top-heavy when they bloom. Consider providing support by placing stakes or using a flower grid to prevent them from flopping over.
5. Fertilizing Freesias
 Source: Freeplants.com
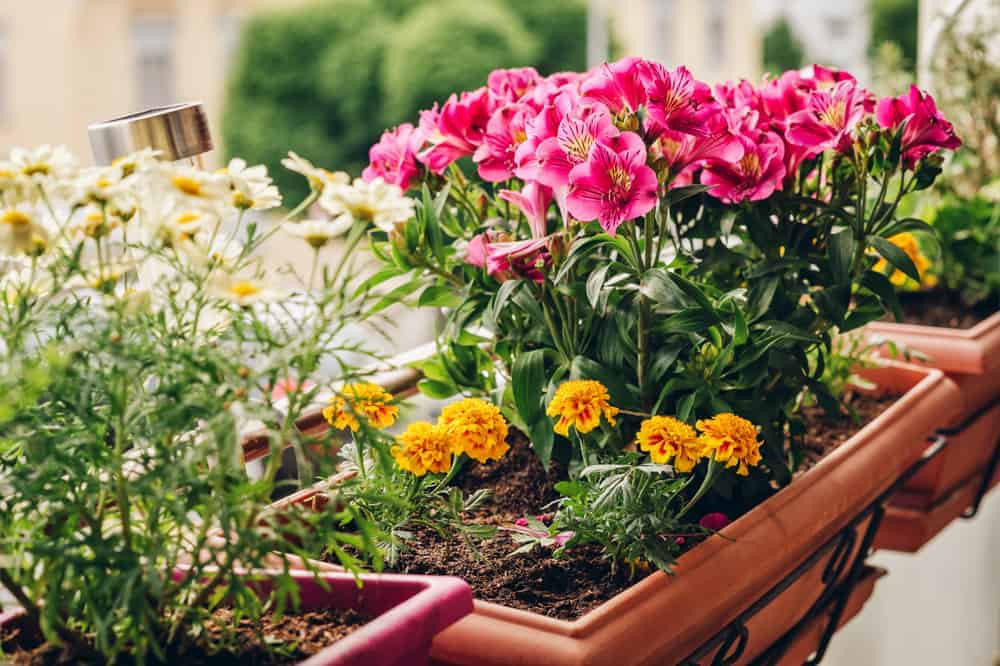
- Apply a balanced bulb fertilizer (such as a 5-10-10 or 10-10-10) at the time of planting to provide initial nutrients for the bulbs.
- Once the plants start growing, feed them with a balanced liquid fertilizer every two to three weeks during the growing season.
- Follow the instructions on the fertilizer package for proper application rates.
6. Mulching and Weed Control
 Source: Garden Seeds Market
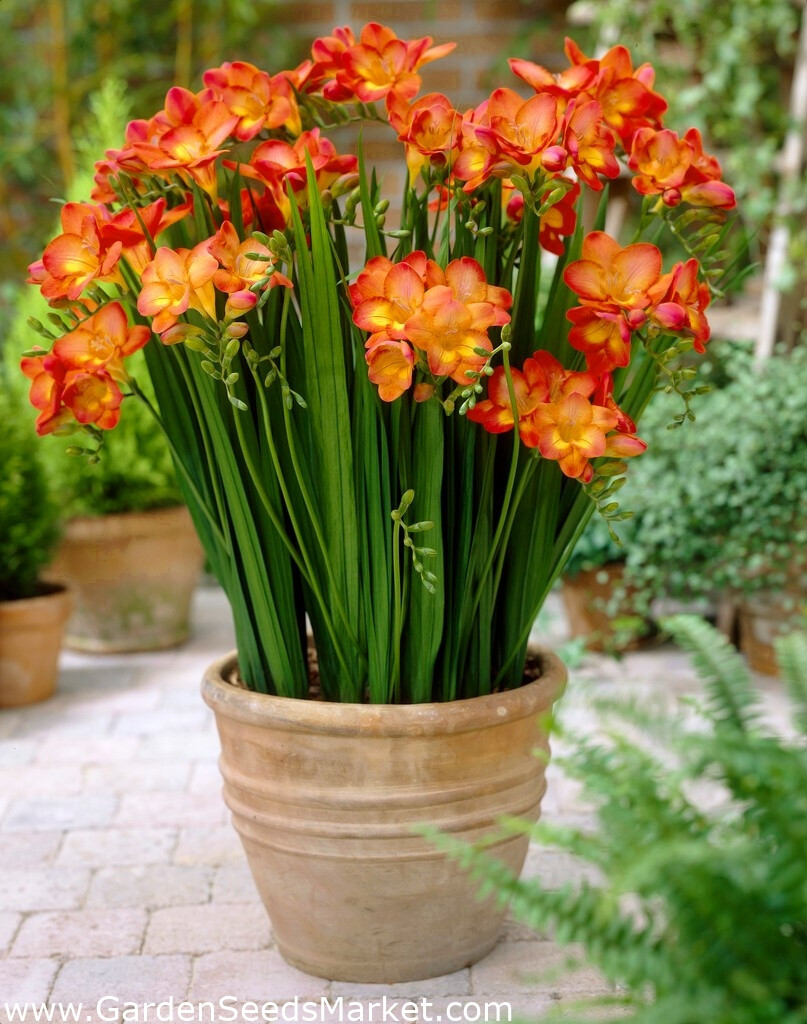
- Apply a layer of organic mulch, such as straw or wood chips, around the base of the plants to help retain moisture, suppress weed growth, and regulate soil temperature.
- Ensure the mulch is 2-3 inches (5-7.5 cm) deep, keeping it away from direct contact with the stems.
7. Deadheading and Pruning
 Source: Sarah Raven
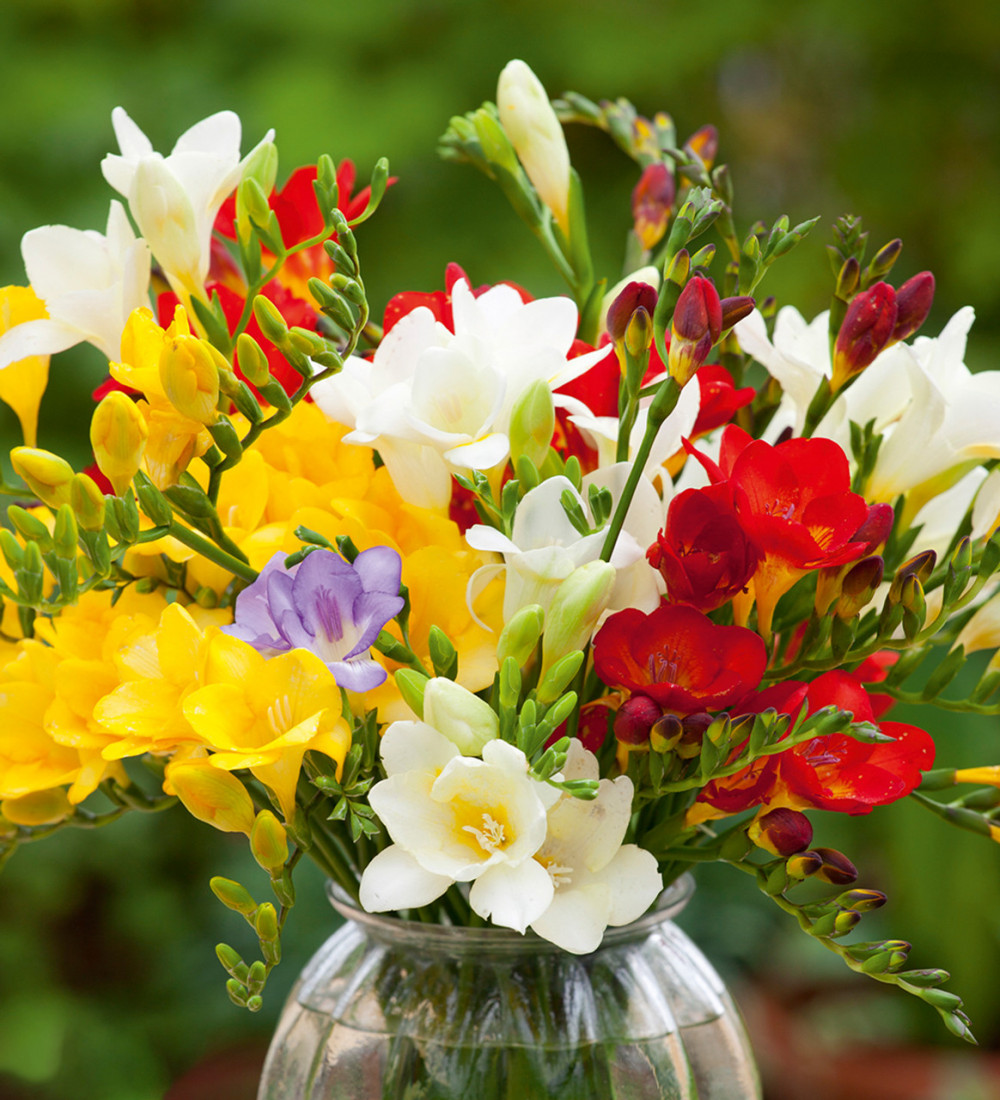
- Remove faded flowers regularly (a process called deadheading) to encourage continuous blooming and prevent seed production.
- Once the foliage turns yellow or dies back in late summer or autumn, you can cut it back to ground level.
8. Winter Care (in colder climates)
 Source: Flores bonitas
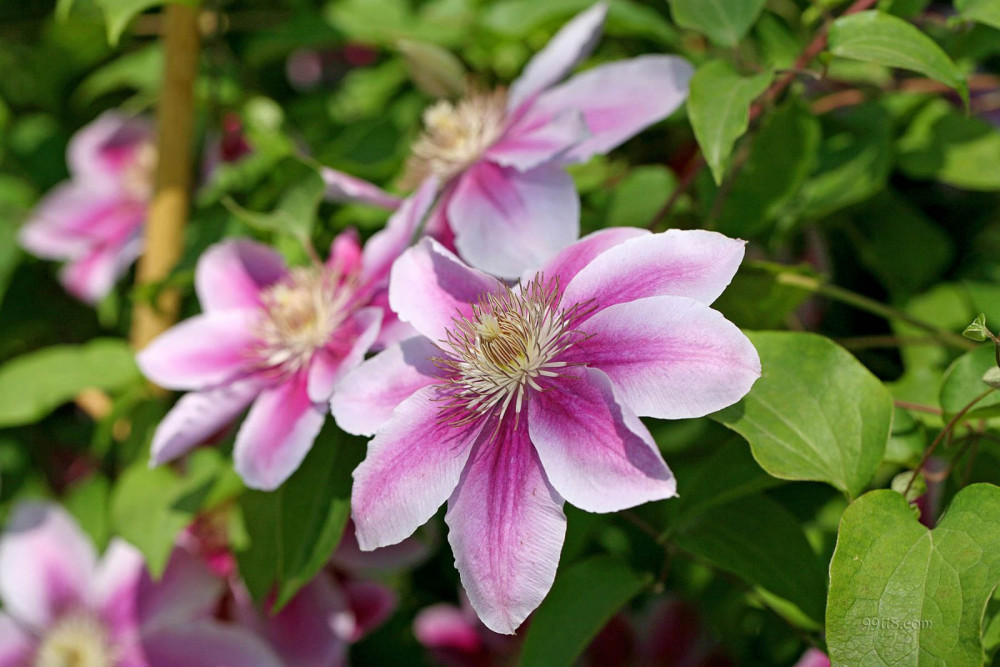
- In regions with cold winters, freesias are typically not hardy.
- After the foliage dies back, lift the bulbs carefully, brush off excess soil, and allow them to dry in a cool, dry place for a few weeks.
- Store the bulbs in a well-ventilated container with dry peat moss, vermiculite, or wood shavings, in a cool (40-50°F or 4-10°C), dark place until the following spring.
By following these steps, you can enjoy beautiful freesia blooms throughout the spring and into early summer.
