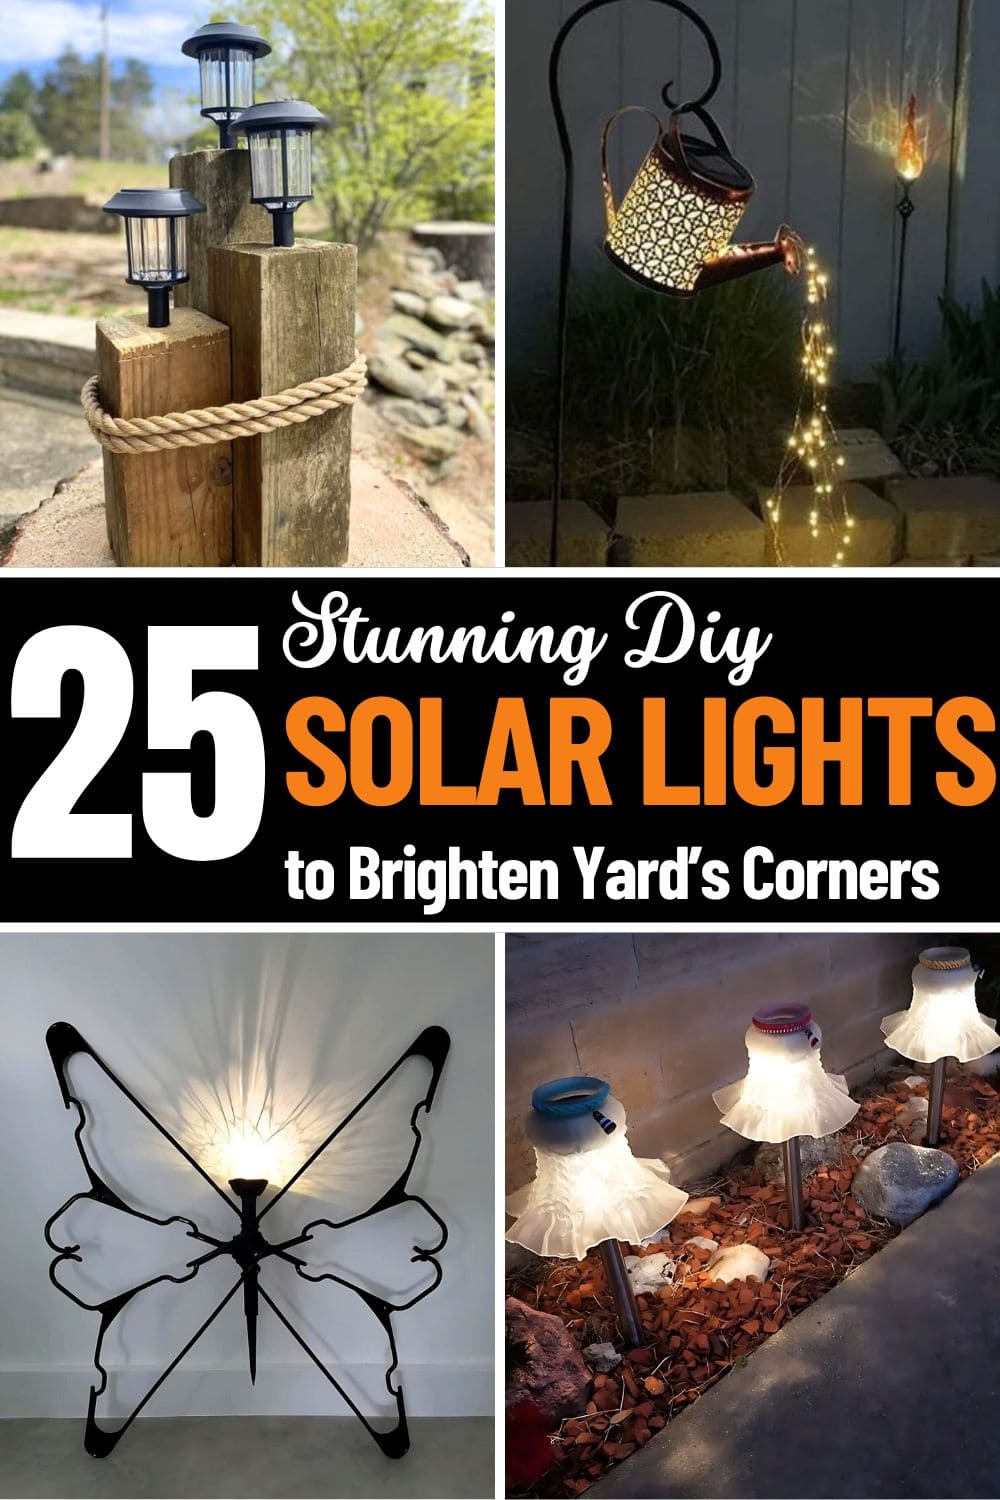
Tired of dull corners in your yard once the sun sets? Solar lights are the easiest, most affordable way to breathe life into your outdoor space, no wiring, no fuss, and definitely no electric bill surprises. These lights soak up sunshine during the day and glow beautifully at night, all while being eco-friendly and energy-efficient.
Whether you’re after cozy ambiance, stylish curb appeal, or functional pathway lighting, solar-powered decor delivers with charm and ease.
This list of 25 stunning DIY solar light ideas is packed with personality, creativity, and practical flair. You’ll find everything from whimsical to modern designs, ready to brighten every nook of your garden or patio.
This article contains affiliate links. If you purchase through them, I may earn a small commission at no extra cost to you. Thank you for your support!
#1. Butterfly-Inspired Shadow Casting Solar Light
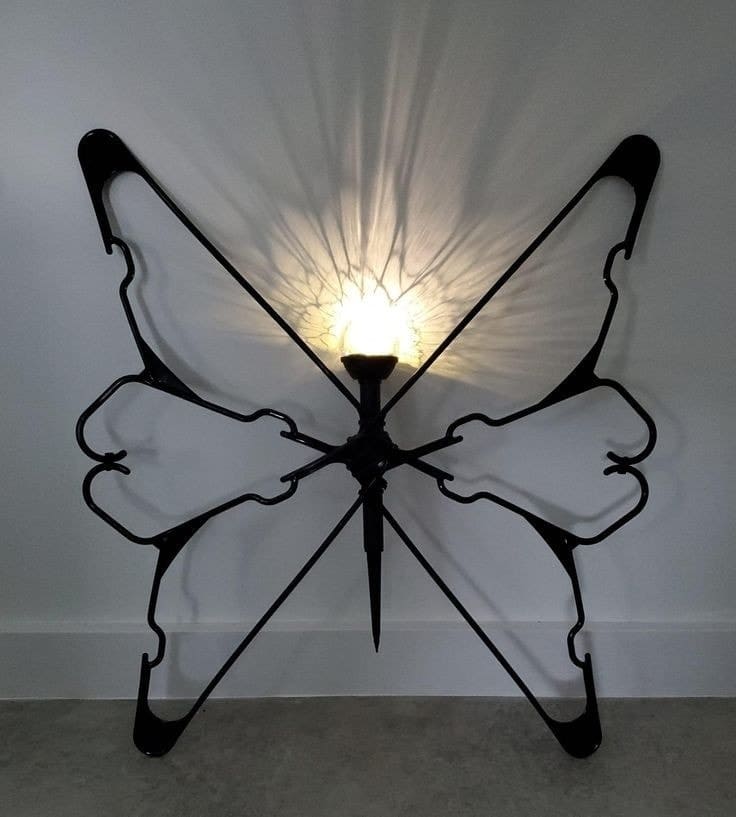
Inspired by elegance and form, this breathtaking solar light transforms basic materials into a glowing butterfly that casts winged shadows across your wall.

Materials Needed
- 4 black plastic coat hangers
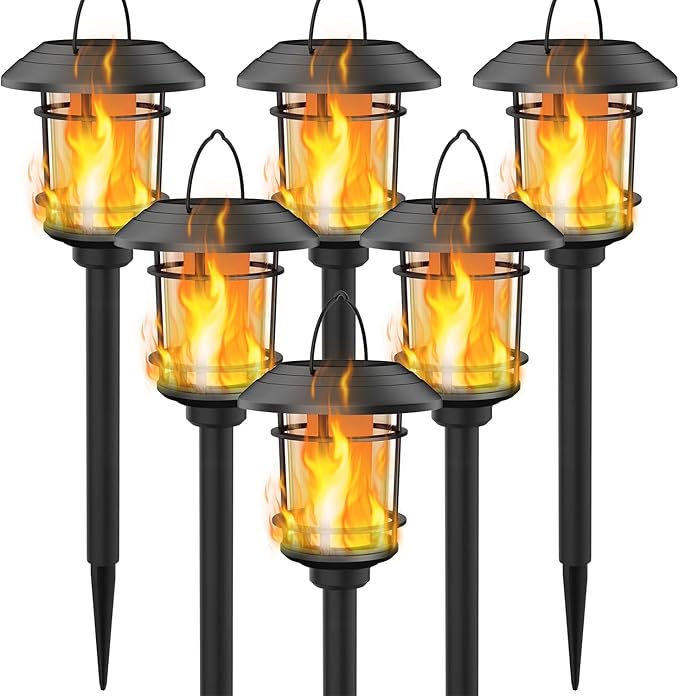
- 1 black garden solar torch light
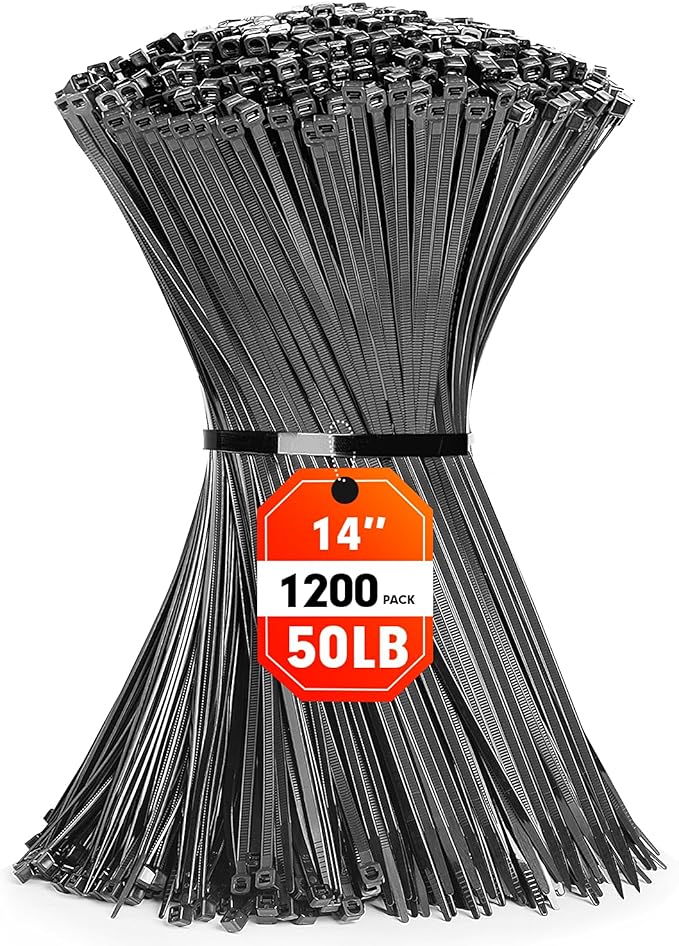
- Zip ties
- Super glue
- Optional: Spray paint in black or metallic
Step-by-step Guide
Step 1: Arrange four hangers into a symmetrical butterfly shape with two for the top wings and two for the bottom. Overlap the curved sides slightly and secure tightly with zip ties.
Step 2: Attach the solar torch in the center as the butterfly’s body using strong adhesive or zip ties. Make sure the light is pointed outward and sits upright.
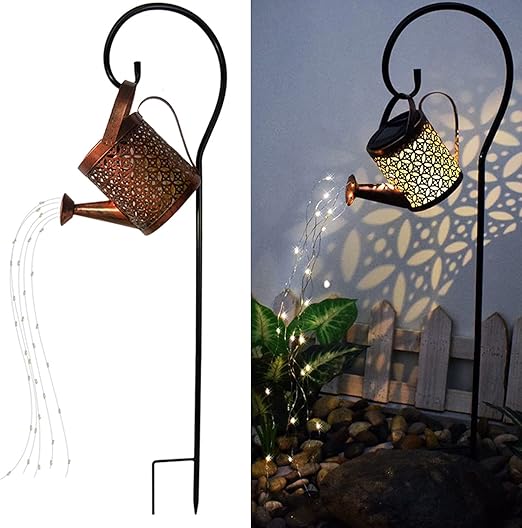
#2. Whimsical Watering Can Fairy Light Magic
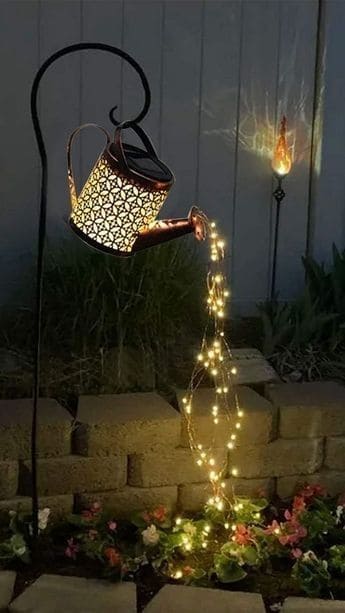
To turn your garden into a dreamy nighttime escape, this solar watering can with cascading string lights is simply perfect.
 SHOP METAL WATERING CAN
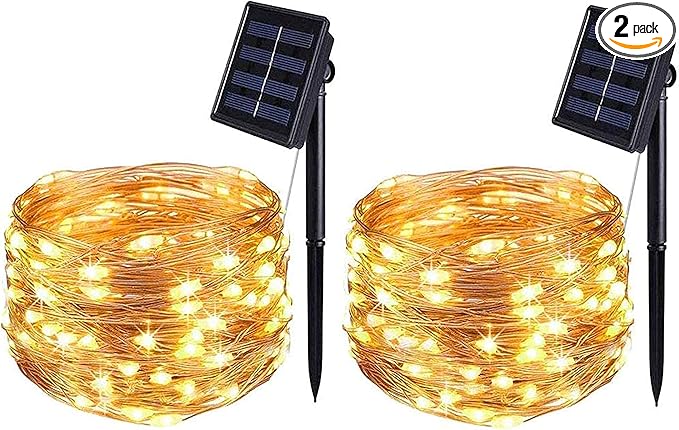 SHOP SOLAR-POWERED FAIRY STRING LIGHTS
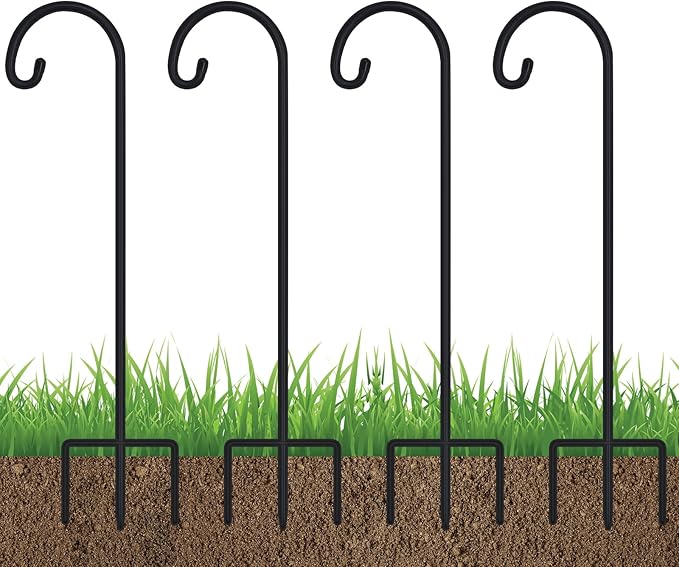 SHOP SHEPHERD HOOK GARDEN STAKE
Materials Needed
- Metal watering can
- Solar-powered fairy string lights (20–30 ft)
- Shepherd’s hook garden stake
- Clear fishing line
- Zip ties
Step-by-step Guide
Step 1: Attach the watering can securely to the shepherd’s hook so it tilts downward as if pouring.
Step 2: Feed the fairy lights through the spout, letting the wire hang down in a soft spiral to mimic a flow of water. Use fishing line to shape and support the “stream.”
Step 3: Anchor the light strands at several ground points among your plants or flowerbed. Distribute them evenly to simulate splashing.
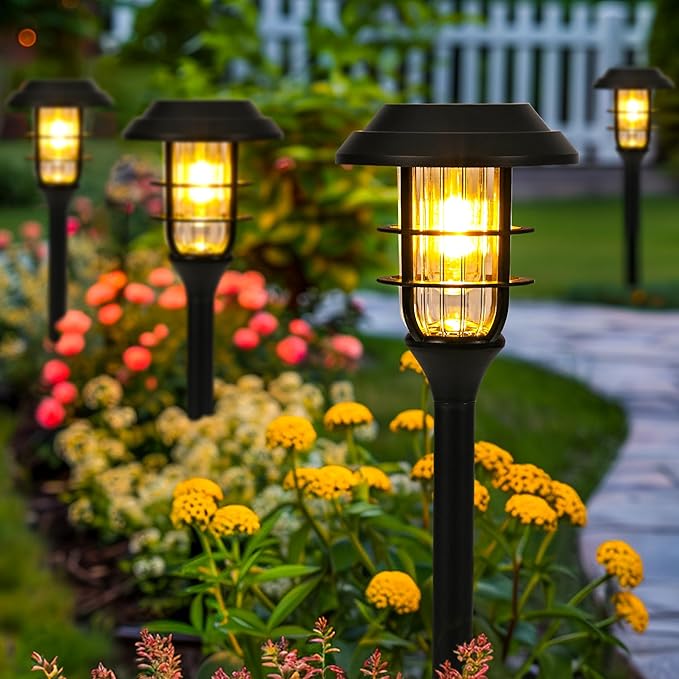
#3. Rustic Dock-Inspired Post Light Cluster
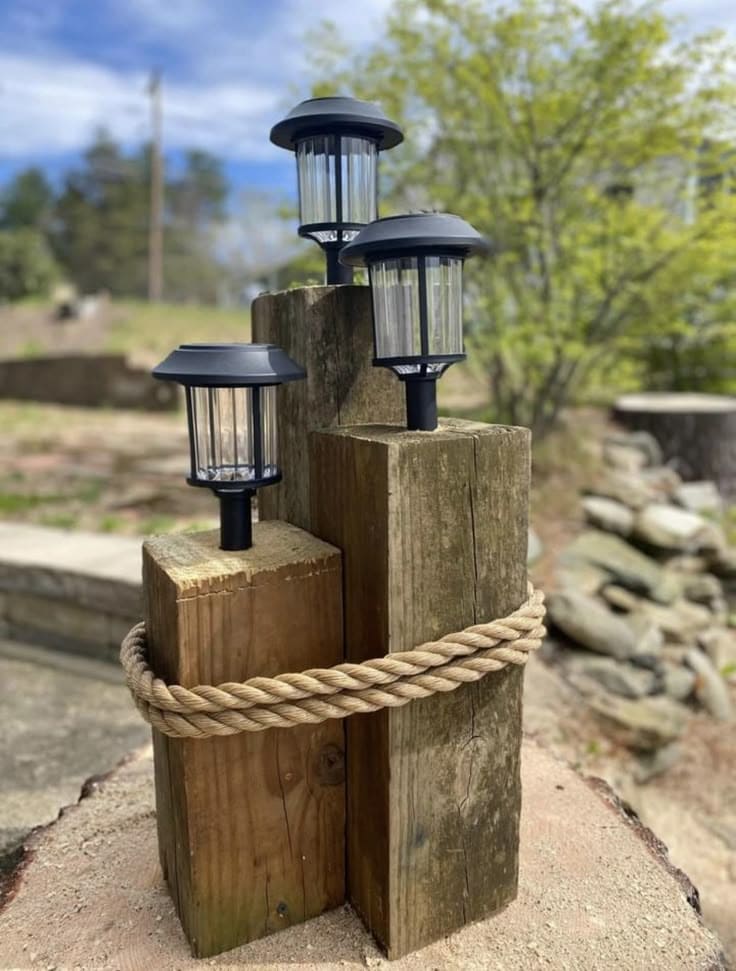
For a cozy coastal vibe, this trio of solar lights mounted on reclaimed wood posts brings texture and warmth to any outdoor space.
Materials Needed
- 3 wood posts (heights: 12″, 18″, and 24″)
- 3 solar path lights
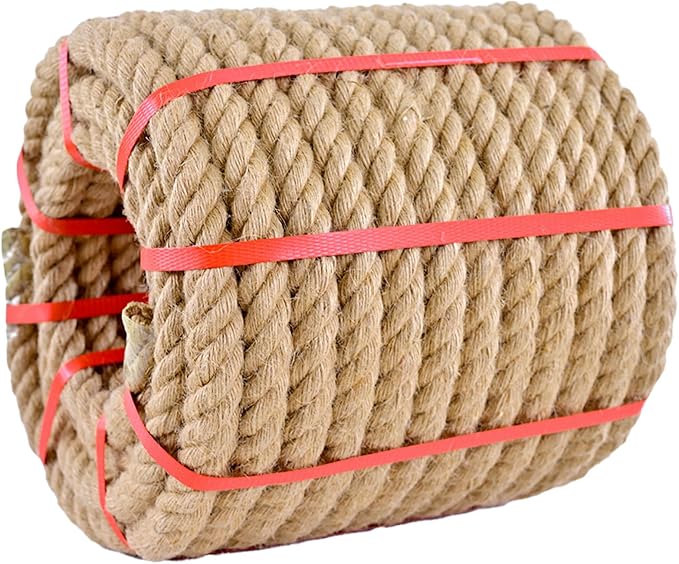
- 1 roll of thick natural jute rope (3/4″ to 1″)
- Outdoor wood screws
- Drill and wood bit set
- Optional: Wood stain
Step-by-step Guide
Step 1: Cut or gather your wood posts at three staggered lengths. Sand the tops if rough. Optionally, apply sealant or stain for a weathered finish.
Step 2: Drill holes into the center of each post top to snugly fit the base of your solar lights. Insert and secure each light in place.
Step 3: Wrap the thick rope around all three posts about 1–2 times, tying a loose knot in front or securing the ends at the back with staples or nails.
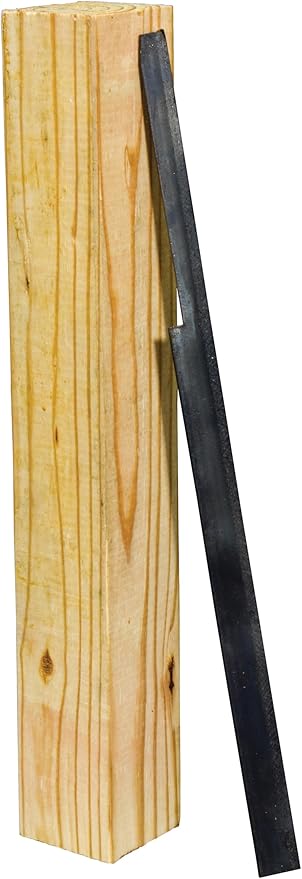
#4. Welcoming Milk Can Solar Lantern Post
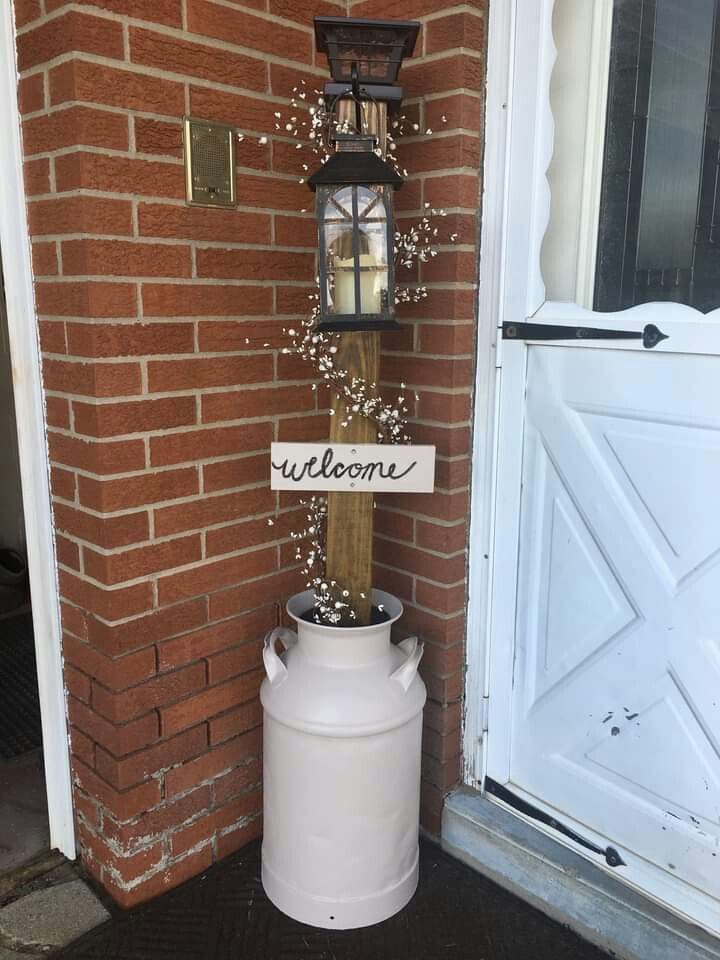
Right in the entrance, this cozy solar lantern idea combines farmhouse warmth with practical lighting. A vintage milk can anchors the design, while a wood post holds the lantern and a rustic welcome sign.


Materials Needed
- 1 replica milk can (about 12-18” tall)
- 1 wooden post (2×2″ approx. 3–4 ft tall)
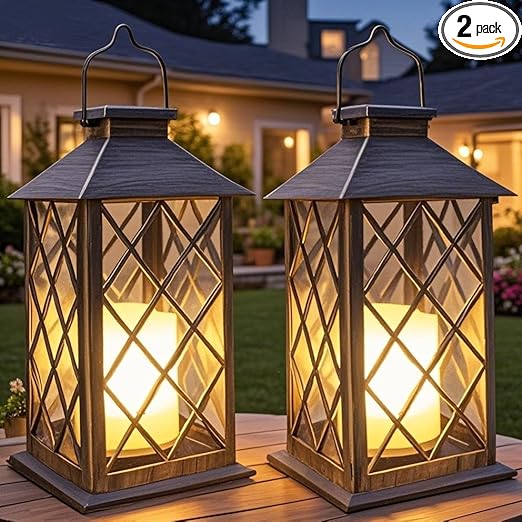
- Solar lantern light
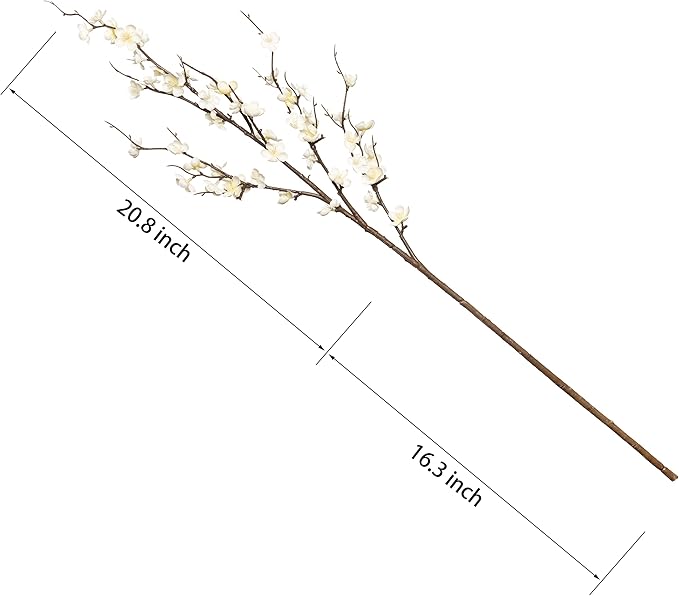
- Artificial floral string
- Small welcome sign
- Gravel block
- Outdoor wood sealant (optional)
Step-by-step Guide
Step 1: Place a weighty filler (like gravel) inside the milk can. Insert the wooden post vertically and secure it snugly.
Step 2: Attach your solar lantern to the top of the post using the built-in hook or bracket. Make sure the solar panel has access to sunlight during the day.
Step 3: Wrap faux floral garland around the post, winding it loosely from top to base for a natural, cascading look.
Step 4: Add your welcome sign at eye level by screwing or gluing it to the post.
#5. Vintage Teacup Skirt Solar Fairy Lights
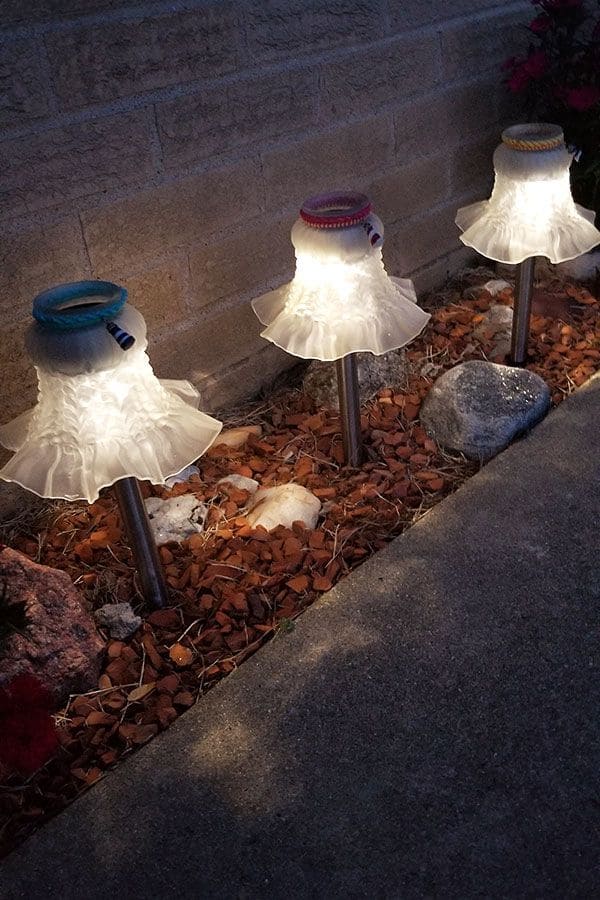
What about using thrifted teacups as solar lamp shades? These charming teacup lights look like little glowing dresses, softening any pathway or flowerbed.
Materials Needed
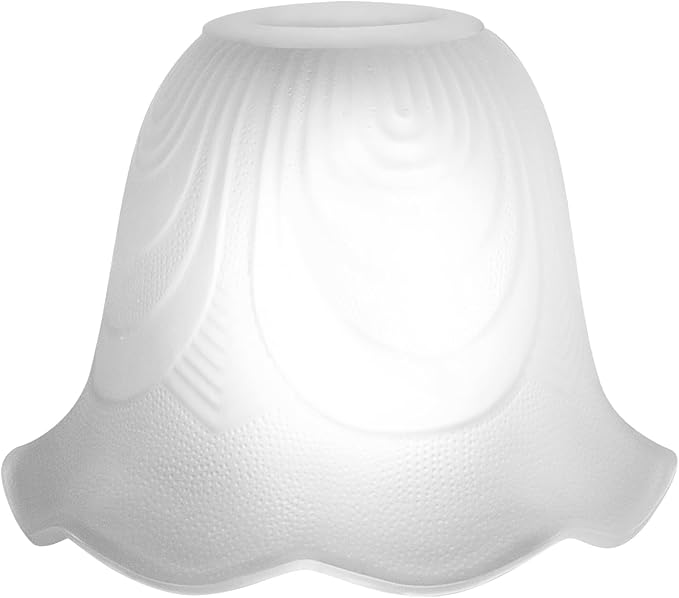
- 3 vintage ruffled glass lamp shades
- 3 solar garden path lights
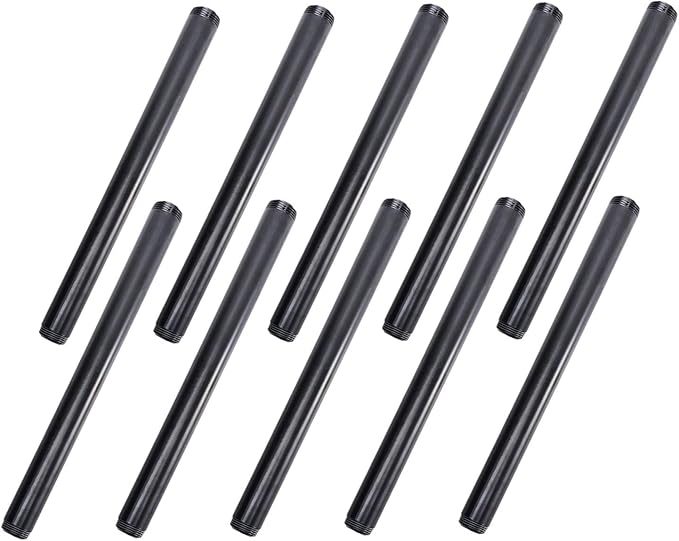
- 3 metal pipes (12–18″ tall)
- Strong outdoor adhesive
- Optional: Colored trim, yarn, or ribbon
Step-by-step Guide
Step 1: Remove the top light component from each solar garden light. Discard the original plastic housing if needed, leaving only the light unit and solar panel.
Step 2: Secure the solar light inside the opening of the glass lamp shade using strong outdoor adhesive. Make sure the light is centered and snug.
Step 3: Mount each glass shade over a metal stake firmly placed in the soil, then add decorative trim, ribbon, or yarn around the neck of the glass if desired to personalize the look.
#6. Elegant Lantern Terrarium Solar Cluster
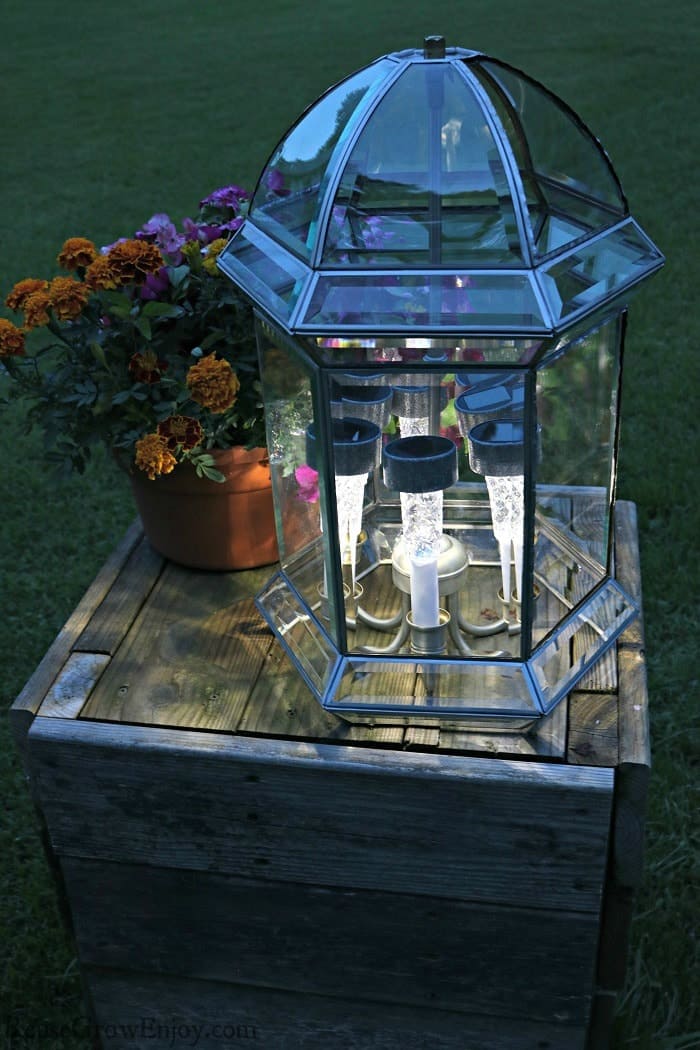
The elegance of this mirrored lantern terrarium turns a simple solar cluster into a statement piece. By grouping solar lights inside a glass lantern frame, you multiply their glow through reflection.

Materials Needed
- Glass greenhouse-style lantern
- 6 solar path lights
- Small chandelier frame (optional)
- Outdoor adhesive
Step-by-step Guide
Step 1: Remove the bottom stakes from each solar path light, leaving only the illuminated tops.
Step 2: Arrange the solar lights inside the lantern frame, either standing upright or mounted to a central candleholder or mini chandelier base for a dramatic clustered look.
Step 3: Place the entire piece in a sunny location where the solar panels can charge through the glass.
#7. Playful Bee and Ladybug Flowerpot Lights
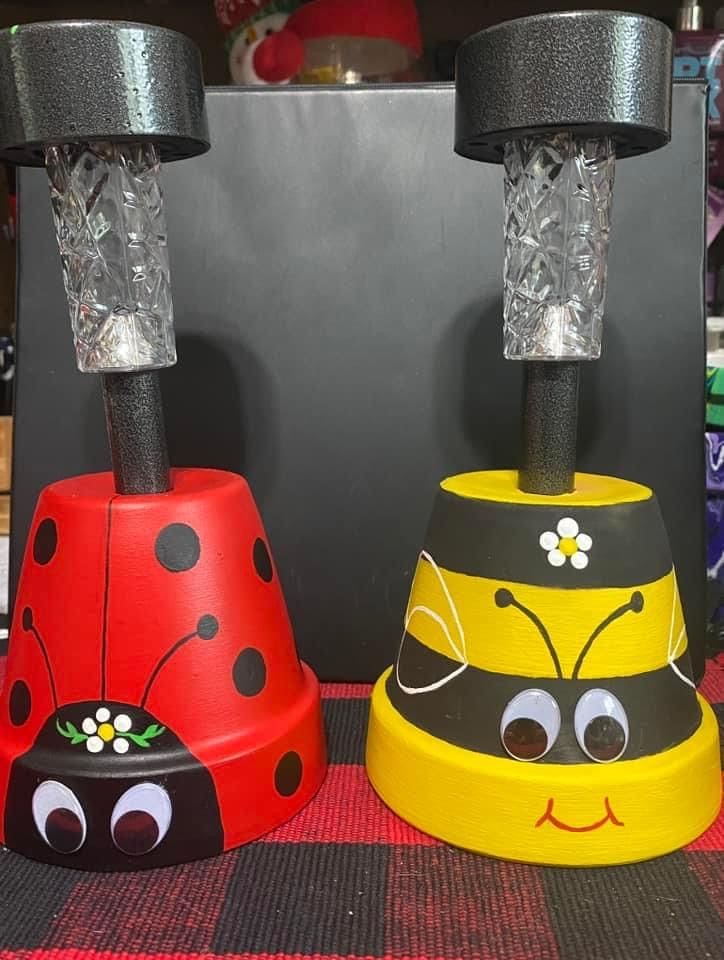
Designed like a smiling bee and a cheerful ladybug, they’re perfect for kids’ gardens or playful patios.


Materials Needed
- 2 clay flower pots (6 inch)
- 2 solar stake lights
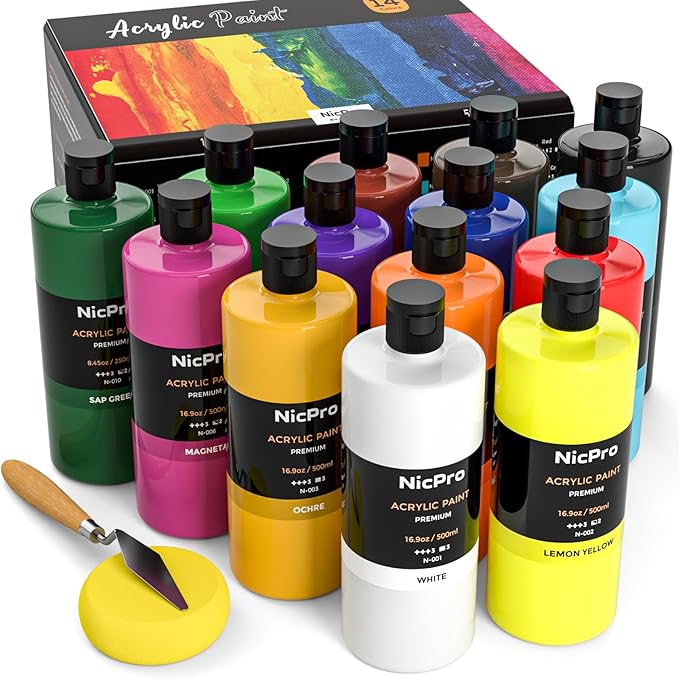
- Acrylic paint set
- Paintbrush set + dotting tools
- Googly eyes (1″ size)
- Outdoor sealant spray (optional)
- Strong glue
Step-by-step Guide
Step 1: Paint the outside of each clay pot with a base color – red for the ladybug, yellow and black stripes for the bee. Let dry completely.
Step 2: Add details like spots, wings, eyes, and antennae using fine brushes or dotting tools. Glue on googly eyes for an extra playful touch.
Step 3: Insert each solar light into the hole at the bottom of the pot so it stands upright. Use glue around the base if needed to hold it steady.
#8. Vintage Faucet Floating Light Illusion
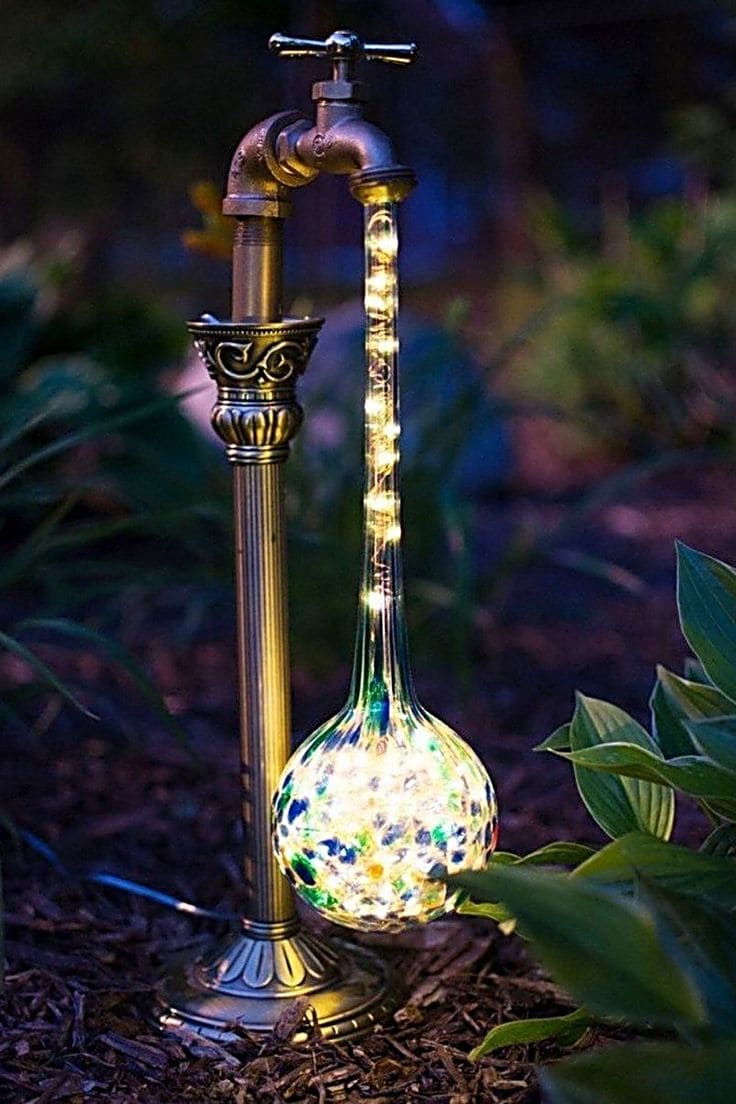
I am sure you’ll be mesmerized by this floating faucet design. A vintage spigot paired with a stream of fairy lights mimics a glowing pour of water into a glass globe.


Materials Needed
- 1 vintage-style decorative garden faucet
- 1 tall glass vase with narrow neck
- 1 strand solar fairy lights (100 LEDs)
- 1 sturdy garden stake
- Hot glue gun
- Optional: glass marbles
Step-by-step Guide
Step 1: Attach your faucet to a metal pole or decorative garden stake.
Step 2: Carefully feed the fairy lights up through the vase, leaving a trail to resemble flowing water. Secure the top of the string to the faucet tip with glue.
Step 3: Let the lights dangle down into the vase. Add glass marbles for texture and color inside the base.
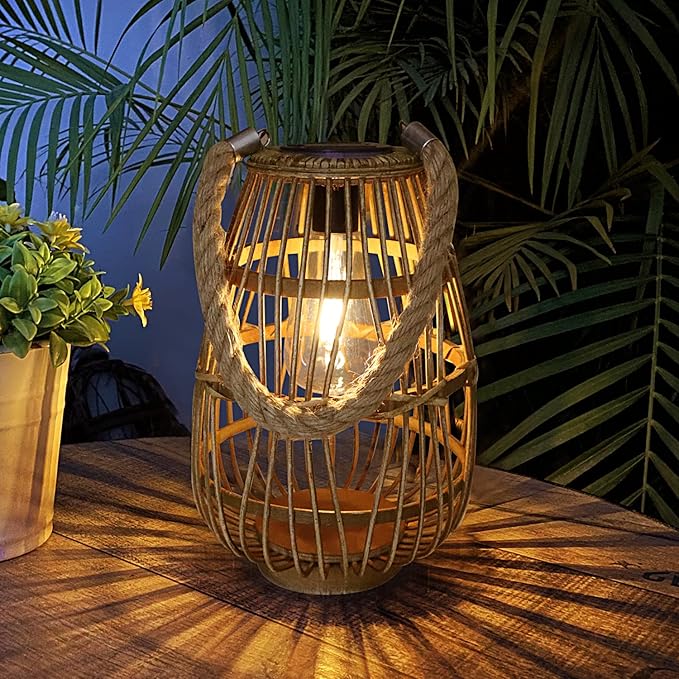
#9. Boho-Inspired Rattan Solar Lanterns

To bring a touch of boho elegance outdoors, these solar lanterns in woven rattan casings are a stylish favorite. As the candles glow inside, the light plays through the lattice like dancing shadows.
Materials Needed
- 2 rattan lantern baskets
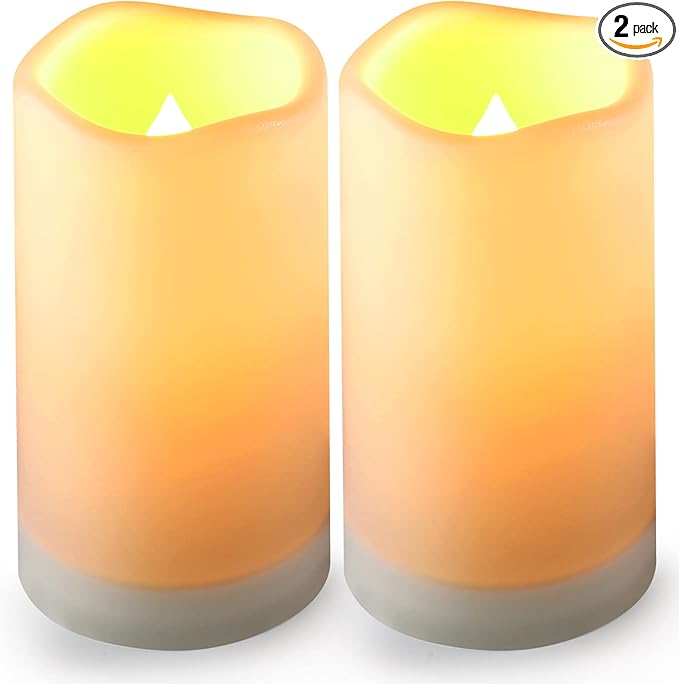
- 2 flickering LED solar candles
Step-by-step Guide
Step 1: Place a solar LED candle inside each rattan lantern. Make sure the solar panel sits under good sunlight during the day.
Step 2: Position the lanterns on a railing, patio edge, or hang them using twine or hooks around your outdoor area.
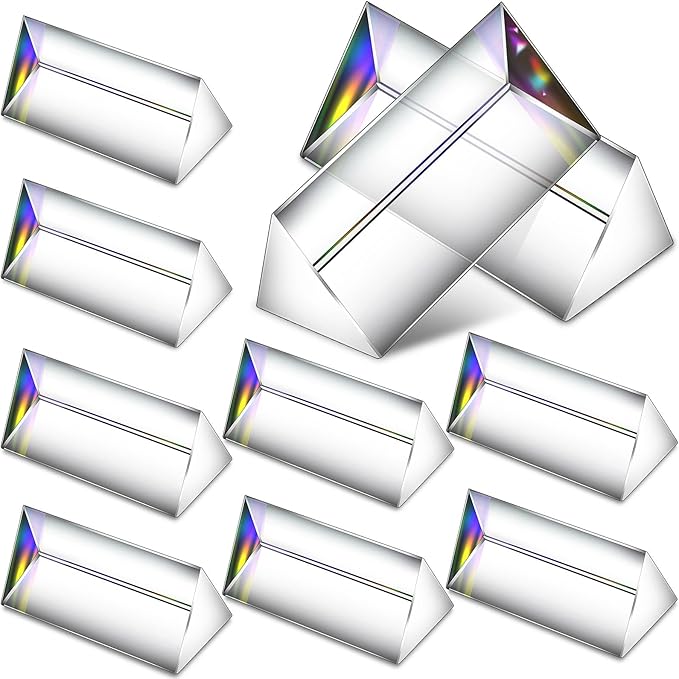
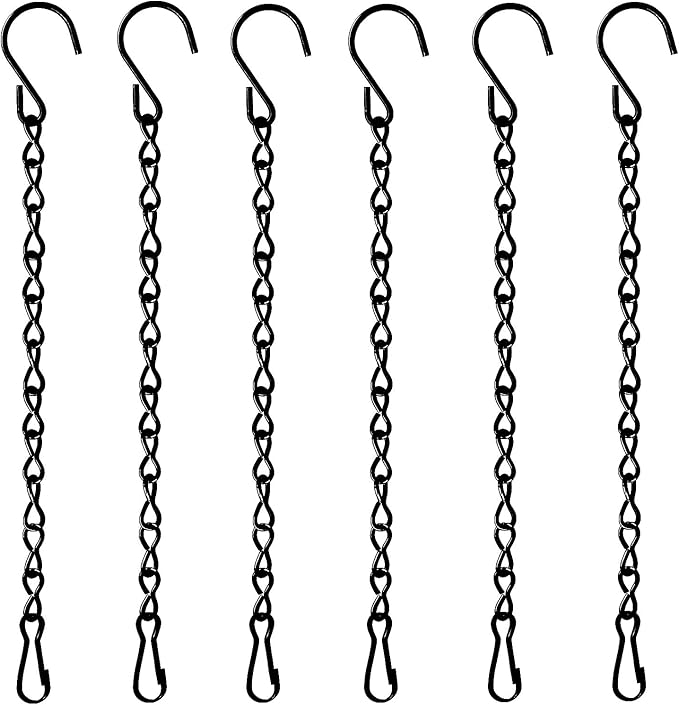
#10. DIY Crystal-Style Solar Garden Chandelier
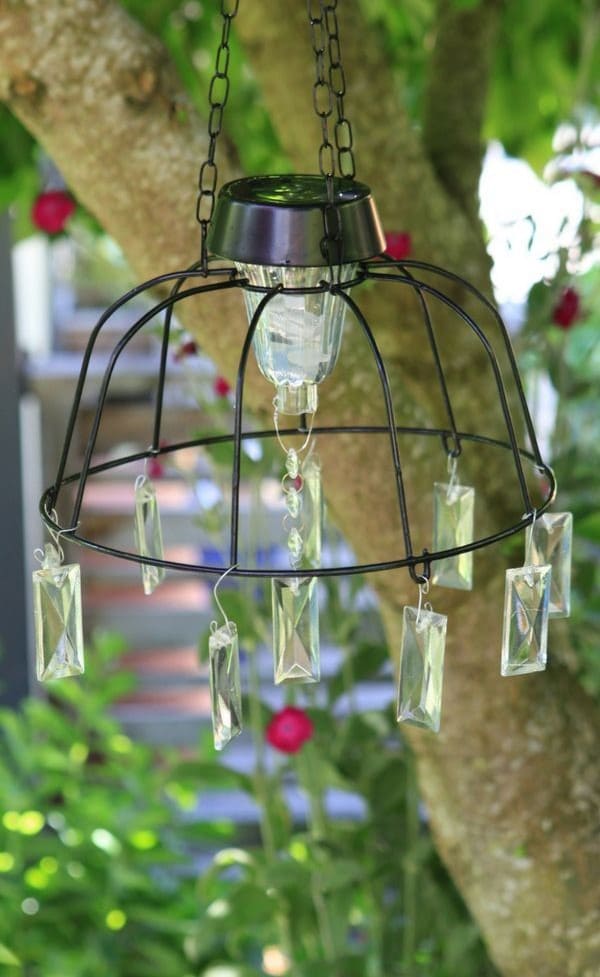
This charming chandelier turns solar lighting into an enchanting garden centerpiece. Hanging from a chain and dressed with crystal-like drops, it dances with sparkle in the breeze.

Materials Needed
- 1 metal hanging basket frame
- 1 small solar path light
- 8–12 acrylic crystal prisms
- 2 feet black chain
- Small pliers and jump rings
Step-by-step Guide
Step 1: Remove the solar light top from its stake and attach it upside down to the top of the wire basket using wire or strong glue.
Step 2: Using jump rings, hook the crystal prisms around the lower ring of the basket for a chandelier effect.
Step 3: Attach three equal lengths of chain to the top of the basket and connect them at the center to form a hanging point.
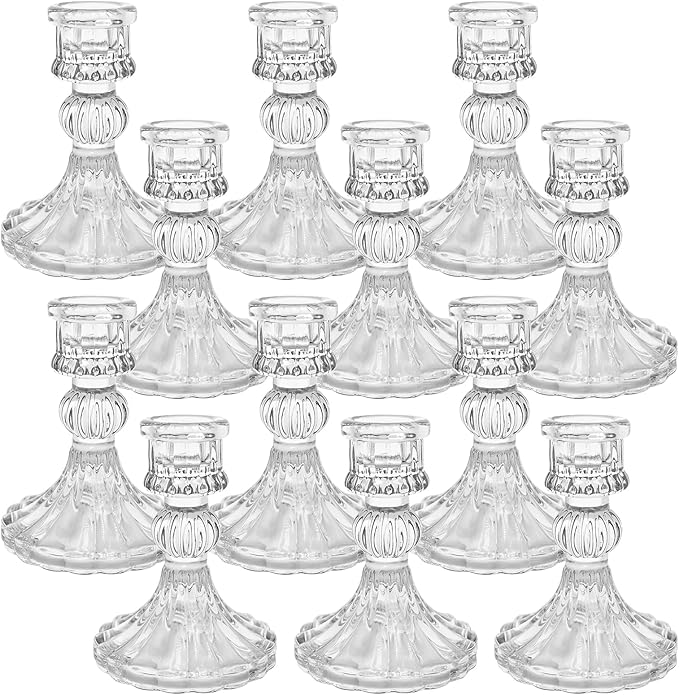
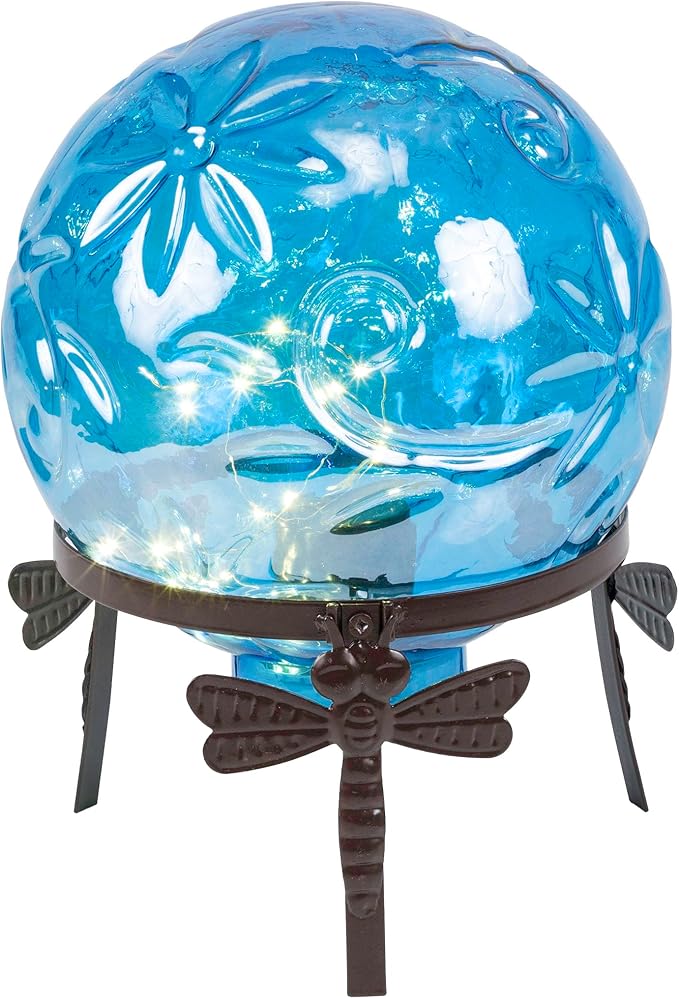
#11. Elegant Crystal Bowl Mushroom Solar Lights
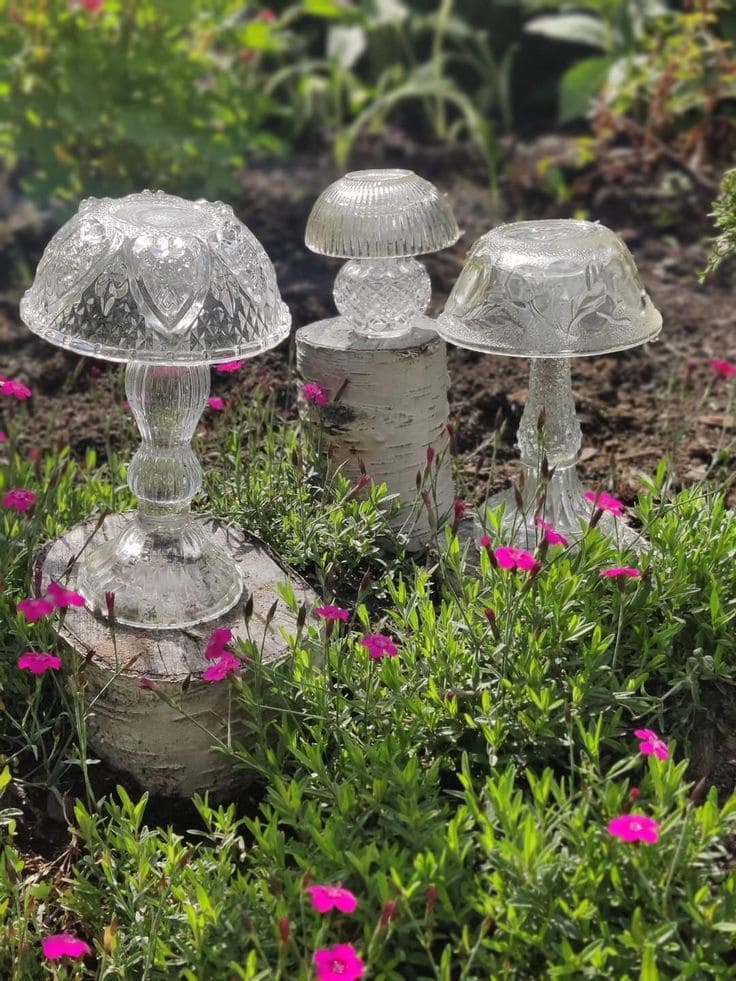
Like small mushrooms catching moonlight, these crystal bowl solar lights bring elegance to flower beds or shady spots. The vintage glass glows softly, creating a stunning contrast against lush greens.

Materials Needed
- 3 glass candlesticks (5–7″ tall)
- 3 glass bowls with etched or pressed design (6–8″ wide)
- 3 mini solar puck lights
- Optional: wood stumps, E6000 glue
Step-by-step Guide
Step 1: Wash and dry all glassware thoroughly. Glue each bowl upside down onto the top of a candlestick or goblet base.
Step 2: Place a solar puck light underneath each glass bowl. You can secure it with adhesive dots if needed.
Step 3: Set each glass mushroom on a tree stump or directly in your garden among flowers and let the sunlight charge them throughout the day.
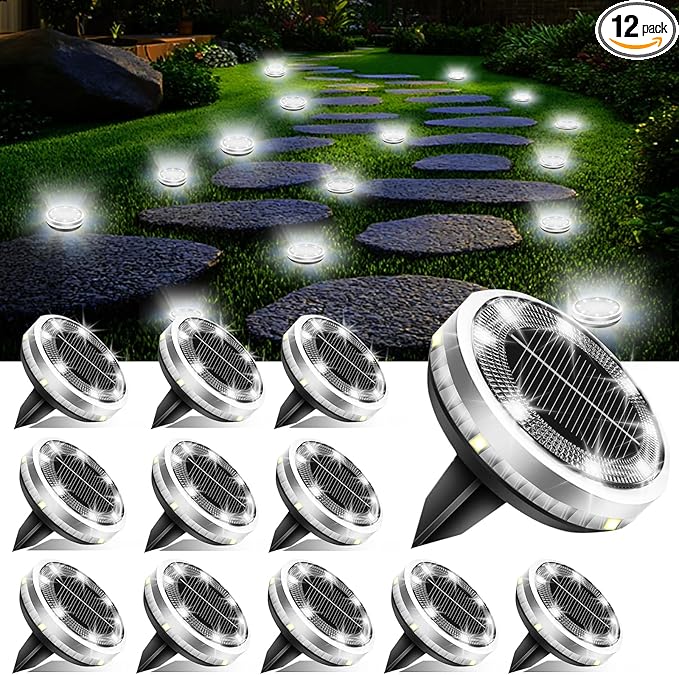
#12. Ocean Blue Glass Orb Garden Light
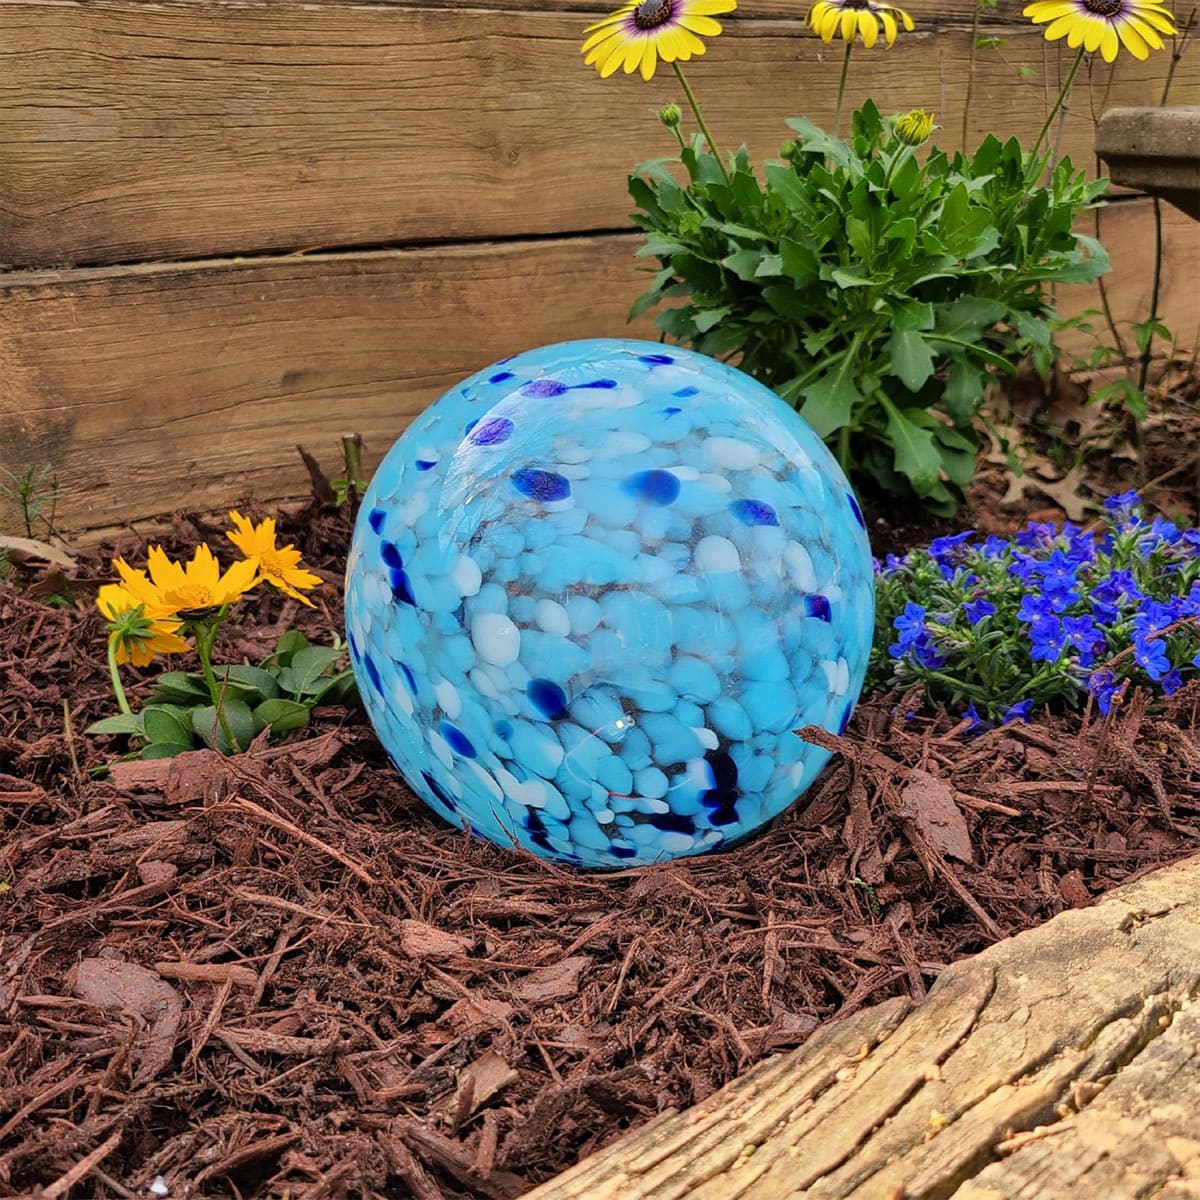
Who can resist the magical color swirls in this blue glass orb? It adds a dreamy, watery element to your garden bed, and once the sun sets, it glows like a soft moonbeam among the flowers.
Materials Needed
- 1 blue speckled glass globe (6–10″ diameter)
- 1 solar LED puck light
- Optional: clear waterproof adhesive
Step-by-step Guide
Step 1: Insert the solar puck light into the globe’s base or opening. Make sure the solar panel is exposed to sunlight.
Step 3: Use waterproof adhesive if needed to fix the light in place.
Step 4: Nestle the globe gently in your garden bed, surrounding it with mulch or flowers for a magical finishing touch.
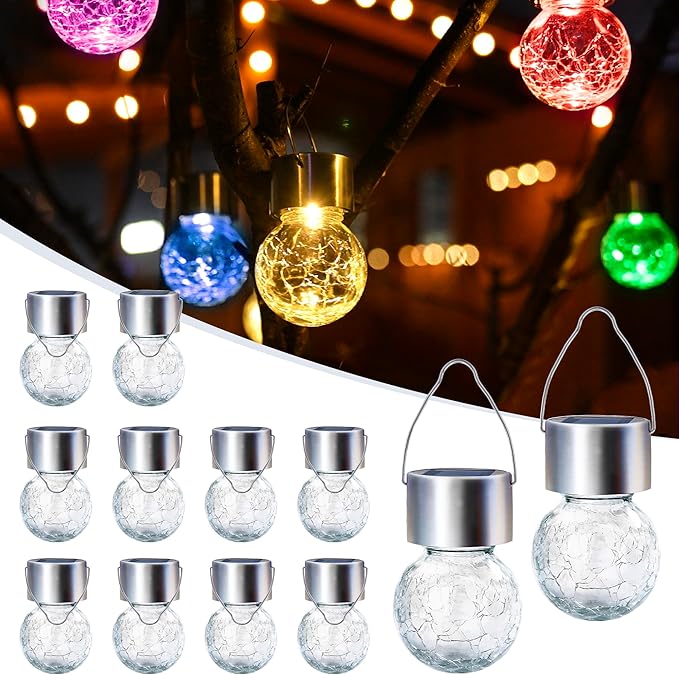
#13. Curved Hook Garden Jar Lights
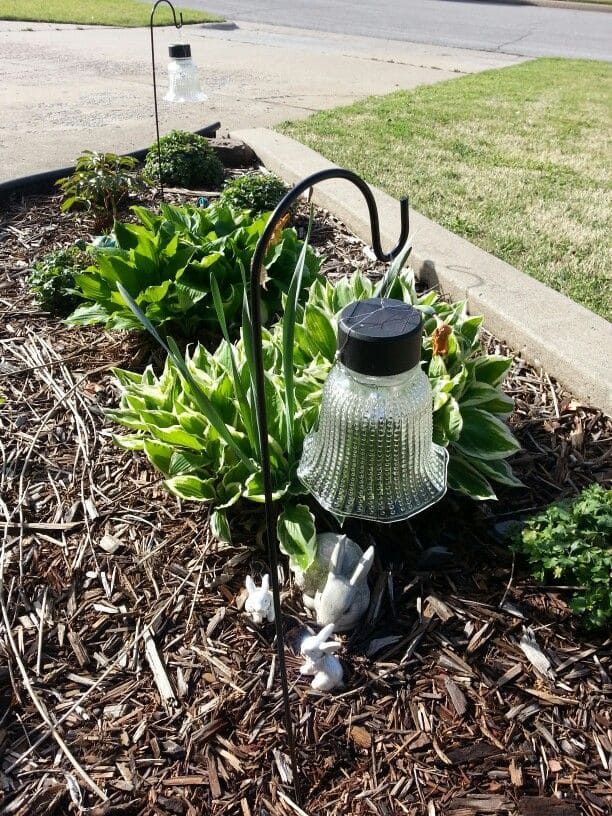
Just a few steps into the garden and you’re greeted by these clever solar jar lights. They hang gracefully from curved hooks, casting a warm downward glow across the plants.
Materials Needed
- 1 vintage-style glass light cover
- 1 solar puck light
- 1 shepherd’s hook stake (approx. 36–48 inches tall)
- Optional: clear adhesive
Step-by-step Guide
Step 1: Remove the solar puck from a cheap garden stake or purchase one separately. Check that it fits or rests snugly on top of the glass shade.
Step 3: Apply waterproof adhesive to secure the puck onto the shade, if needed.
Step 4: Hang the finished piece on the shepherd’s hook, place it along a path or flower bed, and let the sun do its job.
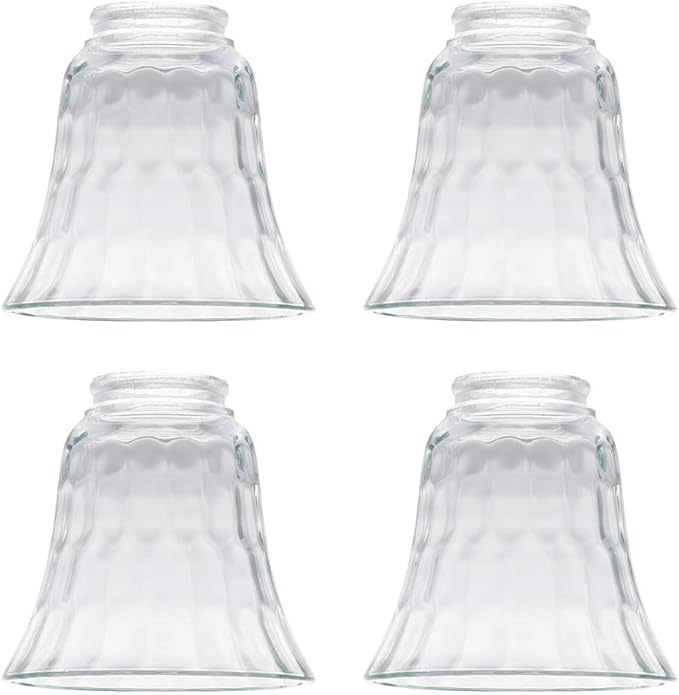
#14. Rustic Wooden Lantern Pillars with Heart Charm
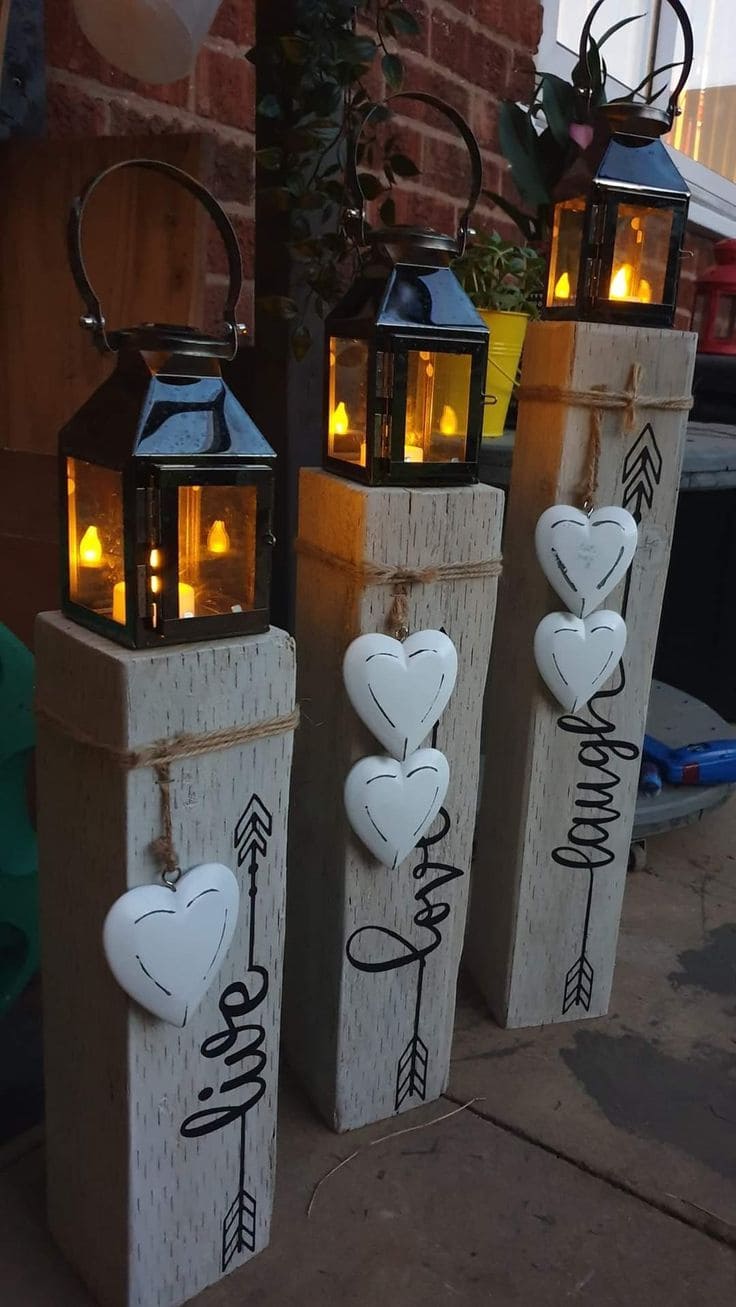
Wow, these tall wooden lantern posts bring cozy farmhouse vibes to your entry or patio. With heart embellishments, rope twine, and soft glowing lanterns, they look like they belong in a romantic fairytale.

Materials Needed
- 3 4×4 wood posts, cut to 18″, 24″, and 30″
- 3 solar lanterns
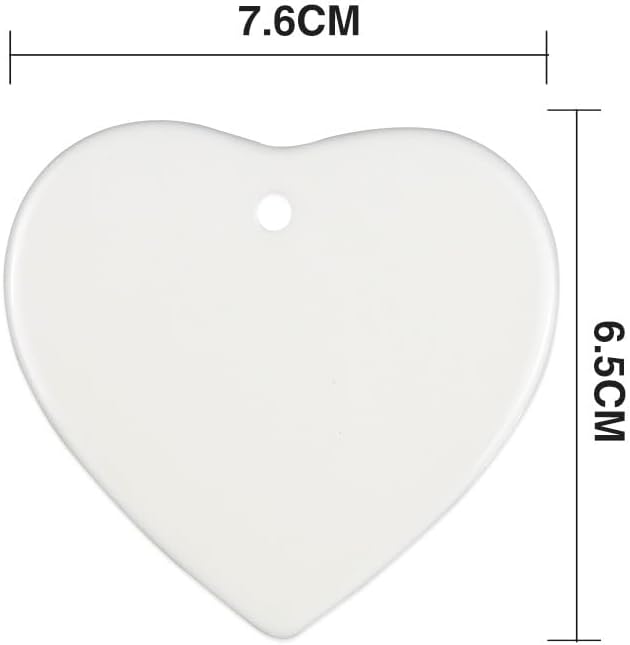
- 5 white heart ornaments
- Vinyl decals or black paint pens
- Twine rope
- Wood stain (optional)
Step-by-step Guide
Step 1: Cut and lightly sand your 4×4 wood posts to your desired lengths. Paint or stain if desired.
Step 2: Use glue or screws to attach the solar lanterns securely on top.
Step 3: Wrap twine near the top and halfway down each post, tying off in a knot or bow.
Step 4: Add heart ornaments with small hooks or tacks, and finish by applying vinyl decals or hand-lettering the words vertically along each pillar.
#15. Painted Pedestal Solar Lamp Garden Set
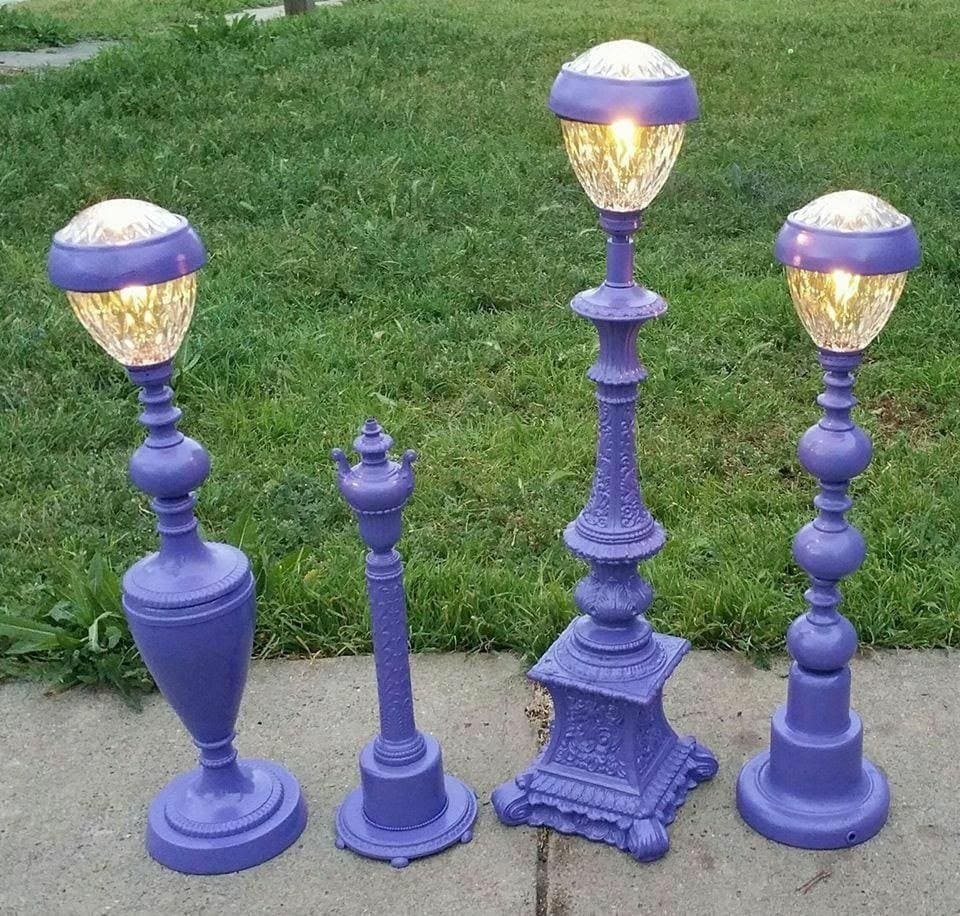
Have you ever wanted to turn vintage finds into vibrant garden gems? These painted pedestal lamps are solar-powered and full of character.

Materials Needed
- 3–5 Old lamp bases
- 3–5 crackled glass solar lights
- 1 can of outdoor spray paint in royal purple
- Strong adhesive
- Optional: clear sealant spray
Step-by-step Guide
Step 1: Remove all electrical wiring from lamp bases, and clean the surfaces thoroughly.
Step 2: Spray each base evenly with purple paint. Let dry and apply a second coat. For durability, finish with a clear outdoor sealant.
Step 3: Remove stakes from the solar light bases and attach the lights to the tops of each pedestal using epoxy. Make sure they’re centered and stable.
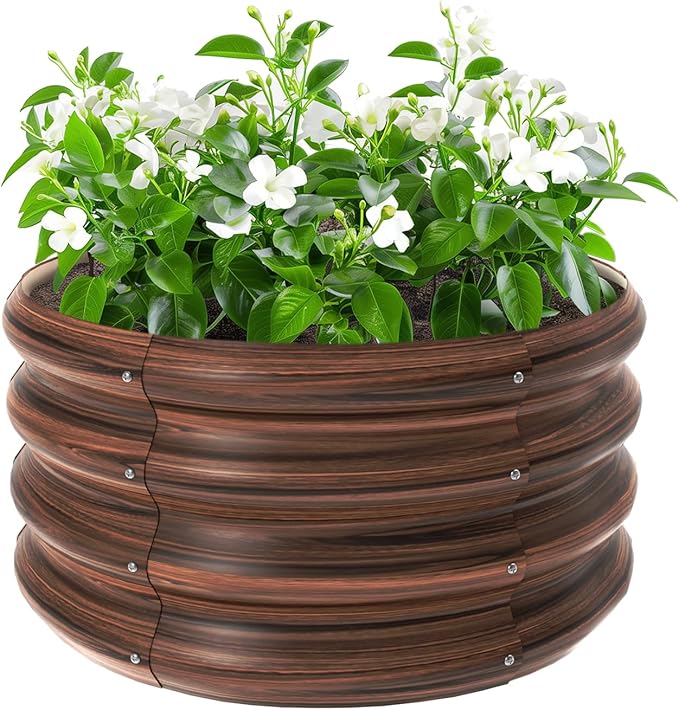
#16. Vintage Lantern Planter Solar Light Feature
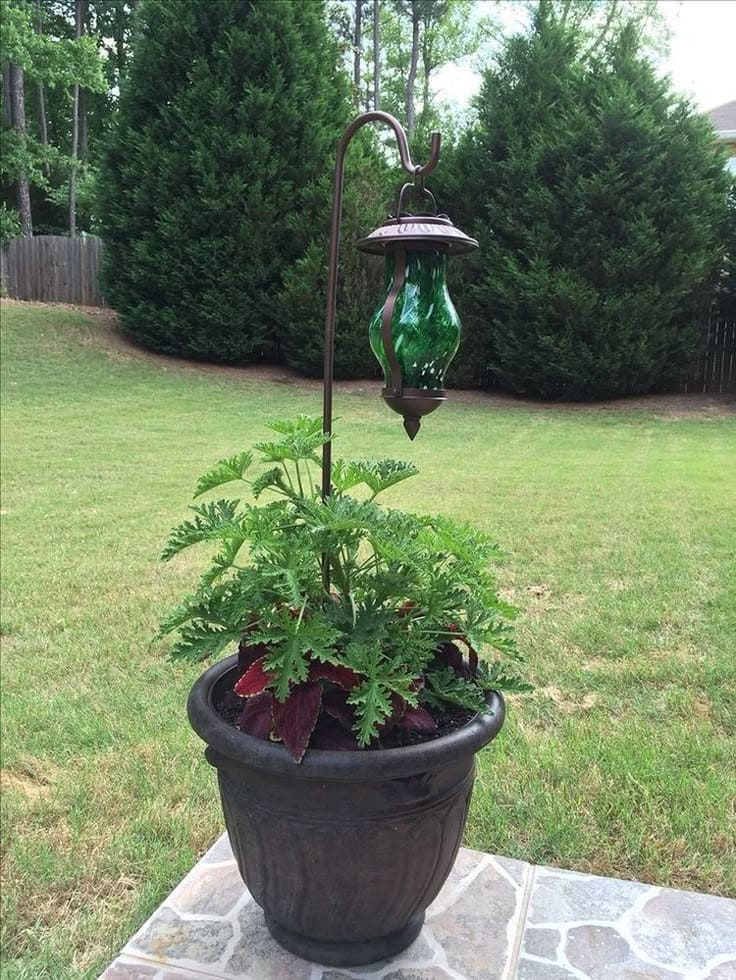
The blend of rustic charm and leafy freshness makes this planter-light combo such a unique delight. Nestled among green foliage, the lantern creates a soft, vintage-style glow that draws attention without being flashy.
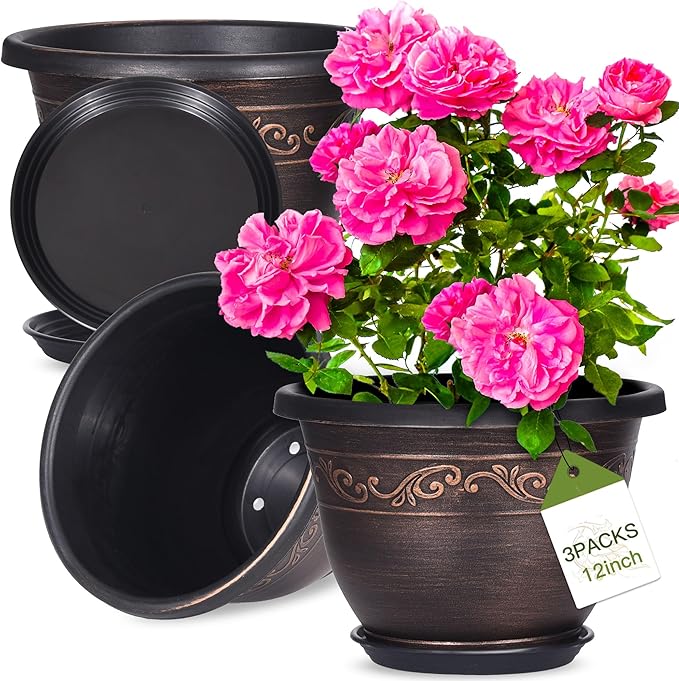

Materials Needed
- 1 large outdoor planter pot (at least 12–14” wide)
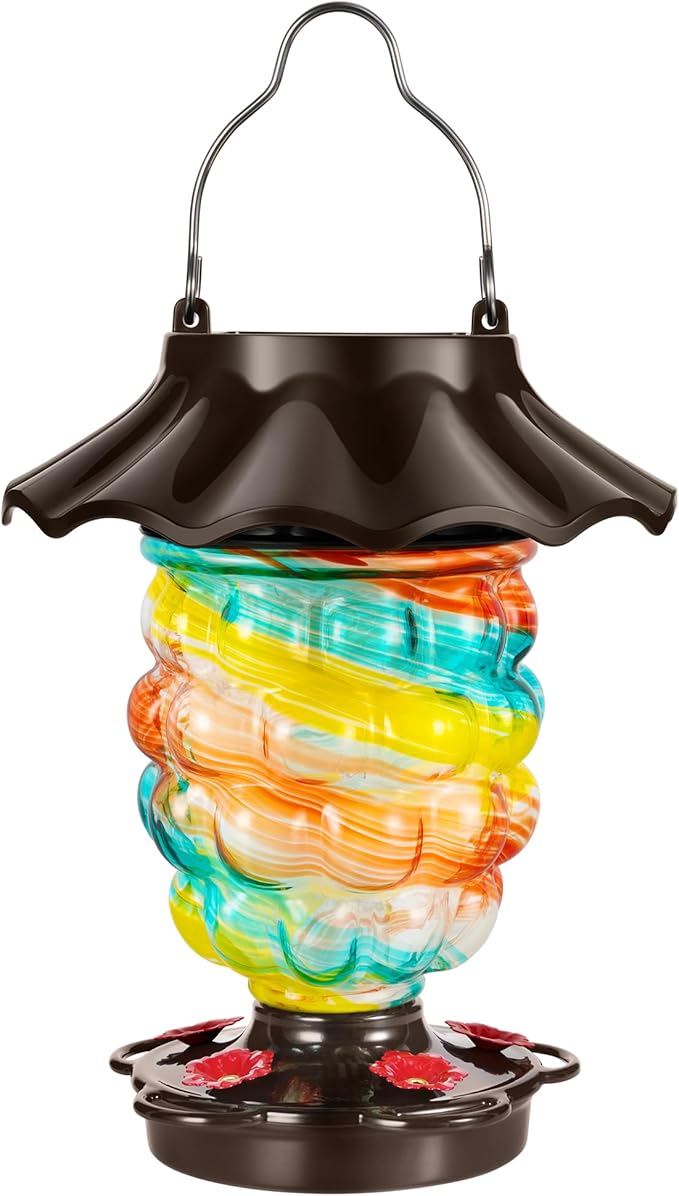
- 1 shepherd’s hook
- 1 solar hanging lantern
- Potting soil
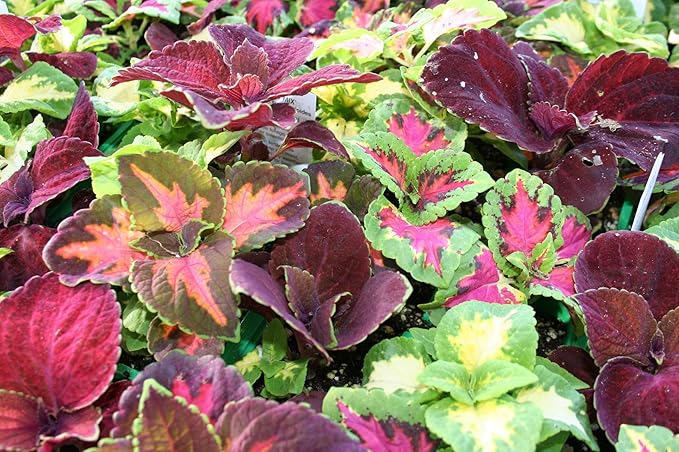
- Mixed plants (like coleus, geraniums, or ferns)
- Optional: landscape adhesive
Step-by-step Guide
Step 1: Fill your planter about ¾ full with quality potting soil or you can grow your own seeds!
Step 2: Insert the shepherd’s hook into the center, making sure it’s deeply embedded. Add adhesive for stability if your planter is shallow.
Step 3: Plant your chosen greenery around the hook base, then hang the solar lantern and place the planter in a sunny spot to charge during the day.
#17. Glowing Hanging Orb Wire Light Spheres
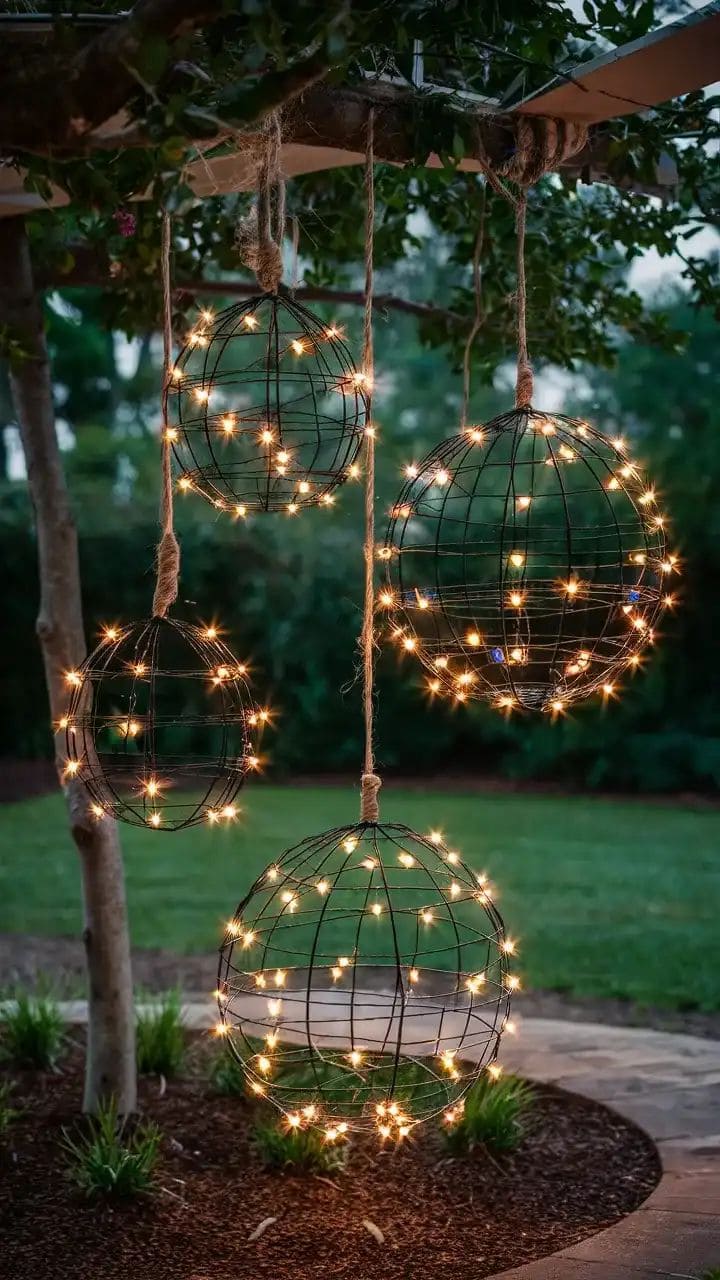
Even a bare tree or pergola can shine with a little help from these glowing wire spheres. Wrapped in twinkling solar string lights and suspended at different heights, they create a floating starry effect.
Materials Needed
- 4 wire hanging baskets (size: 10″–14″)
- 1 pack of solar fairy string lights per orb (minimum 30–50 LEDs each)
- Small zip ties
- Jute rope
- Optional: spray paint
Step-by-step Guide
Step 1: Take two matching baskets and secure them together to form a sphere using zip ties at multiple points around the edges.
Step 2: Wrap the solar string lights evenly around the orb, weaving them through the wires. Tuck the solar panel out of sight or hang it slightly above the orb.
Step 3: Attach jute rope or chain to the top and hang the orb securely from a tree branch or beam in a sunny location.
#18. Boho Plastic Bottle Solar Path Lights
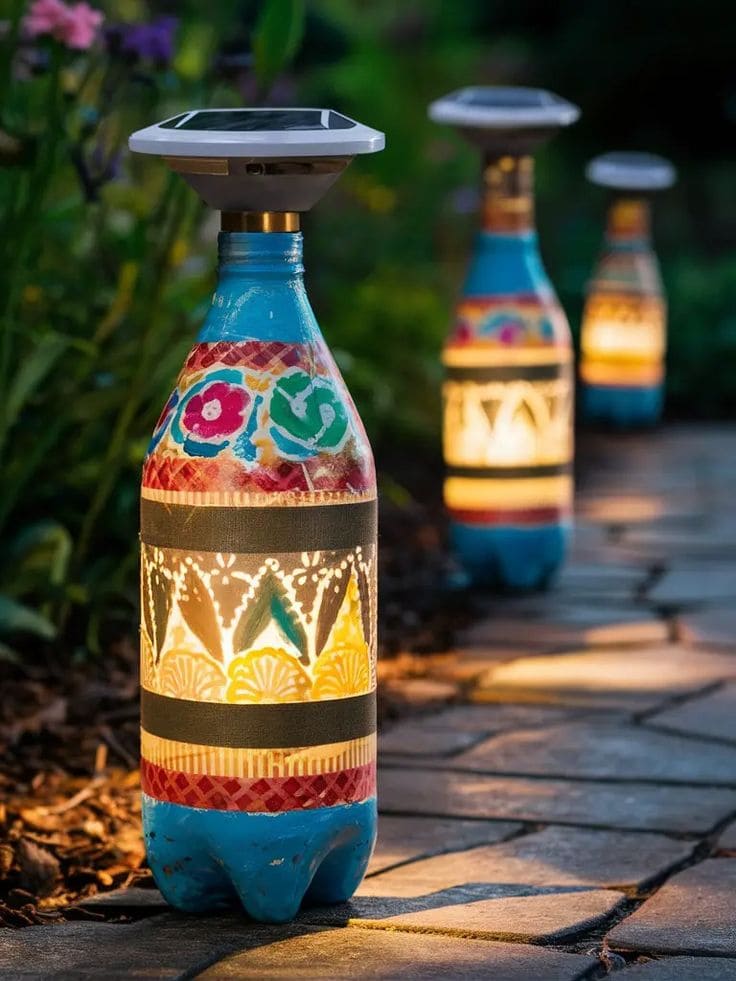
By combining upcycled plastic bottles with solar tops and colorful painted patterns, you can craft your own boho-inspired path lights.
Materials Needed
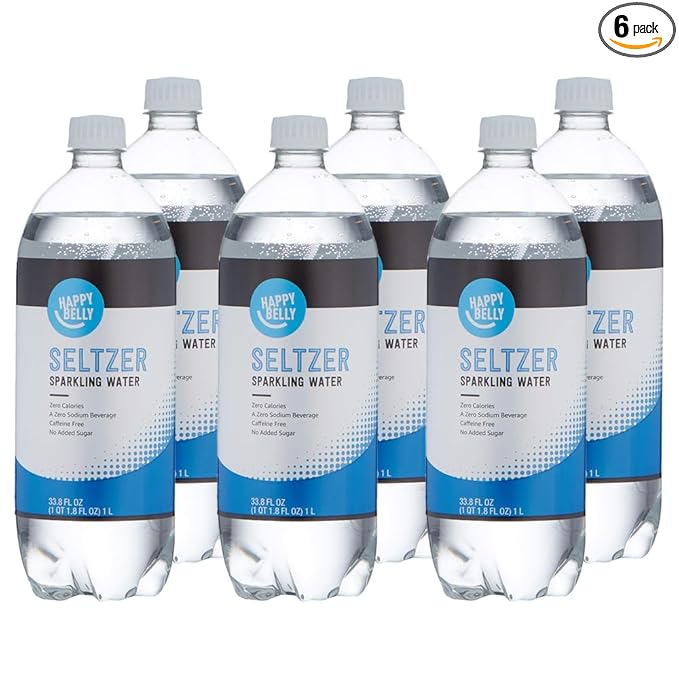
- Plastic soda bottles (1-liter)
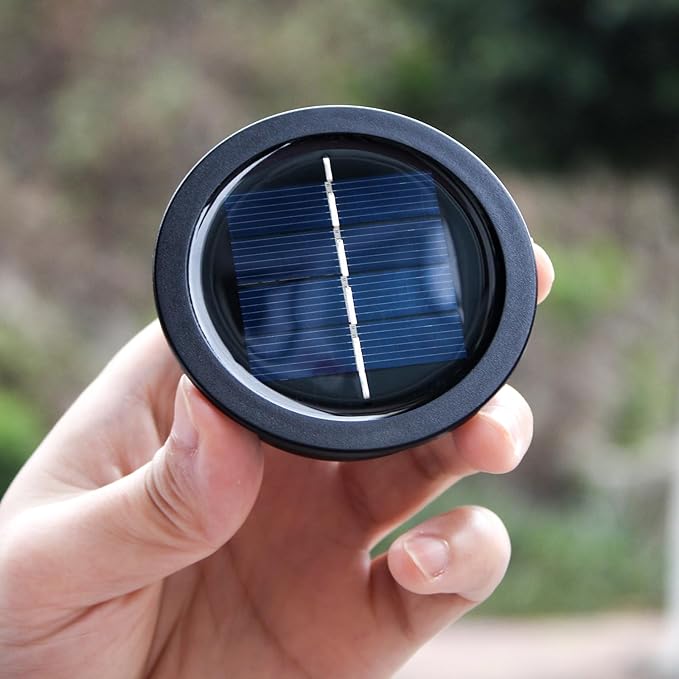
- 1 solar garden light top per bottle
- Acrylic paint set
- X-Acto knife
- Clear sealer spray
Step-by-step Guide
Step 1: Clean the plastic bottles thoroughly and remove all labels. Let dry.
Step 2: Use acrylic paint to create floral or geometric boho patterns. Let dry fully between colors to avoid smudging.
Step 3: Once dry, carefully cut a hole in the bottle top just wide enough to snugly fit the solar light.
Step 4: Insert the solar light top into the bottle’s opening. Spray the entire bottle with a clear sealer to protect the paint.
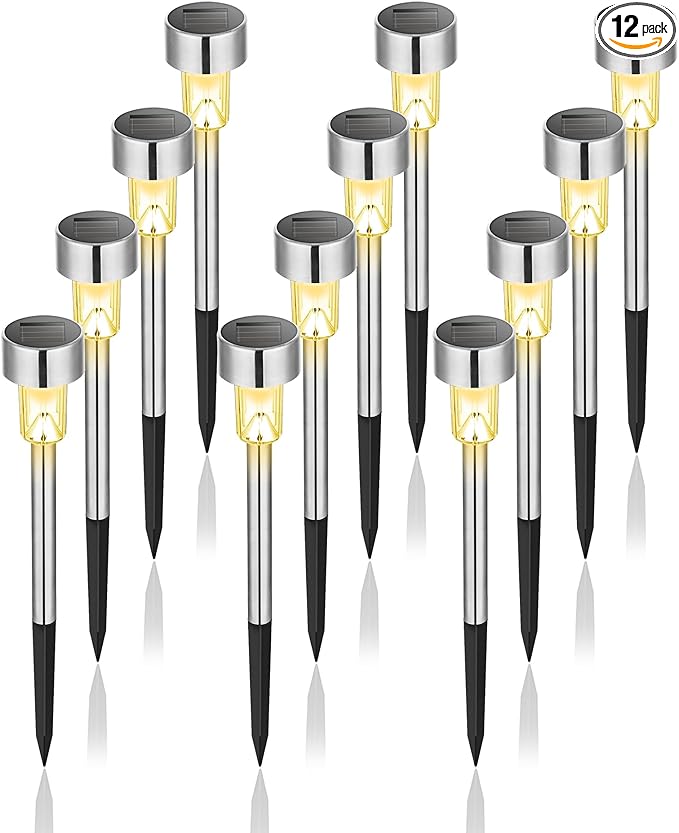
#19. Radiant Solar Path with Starburst Shadows
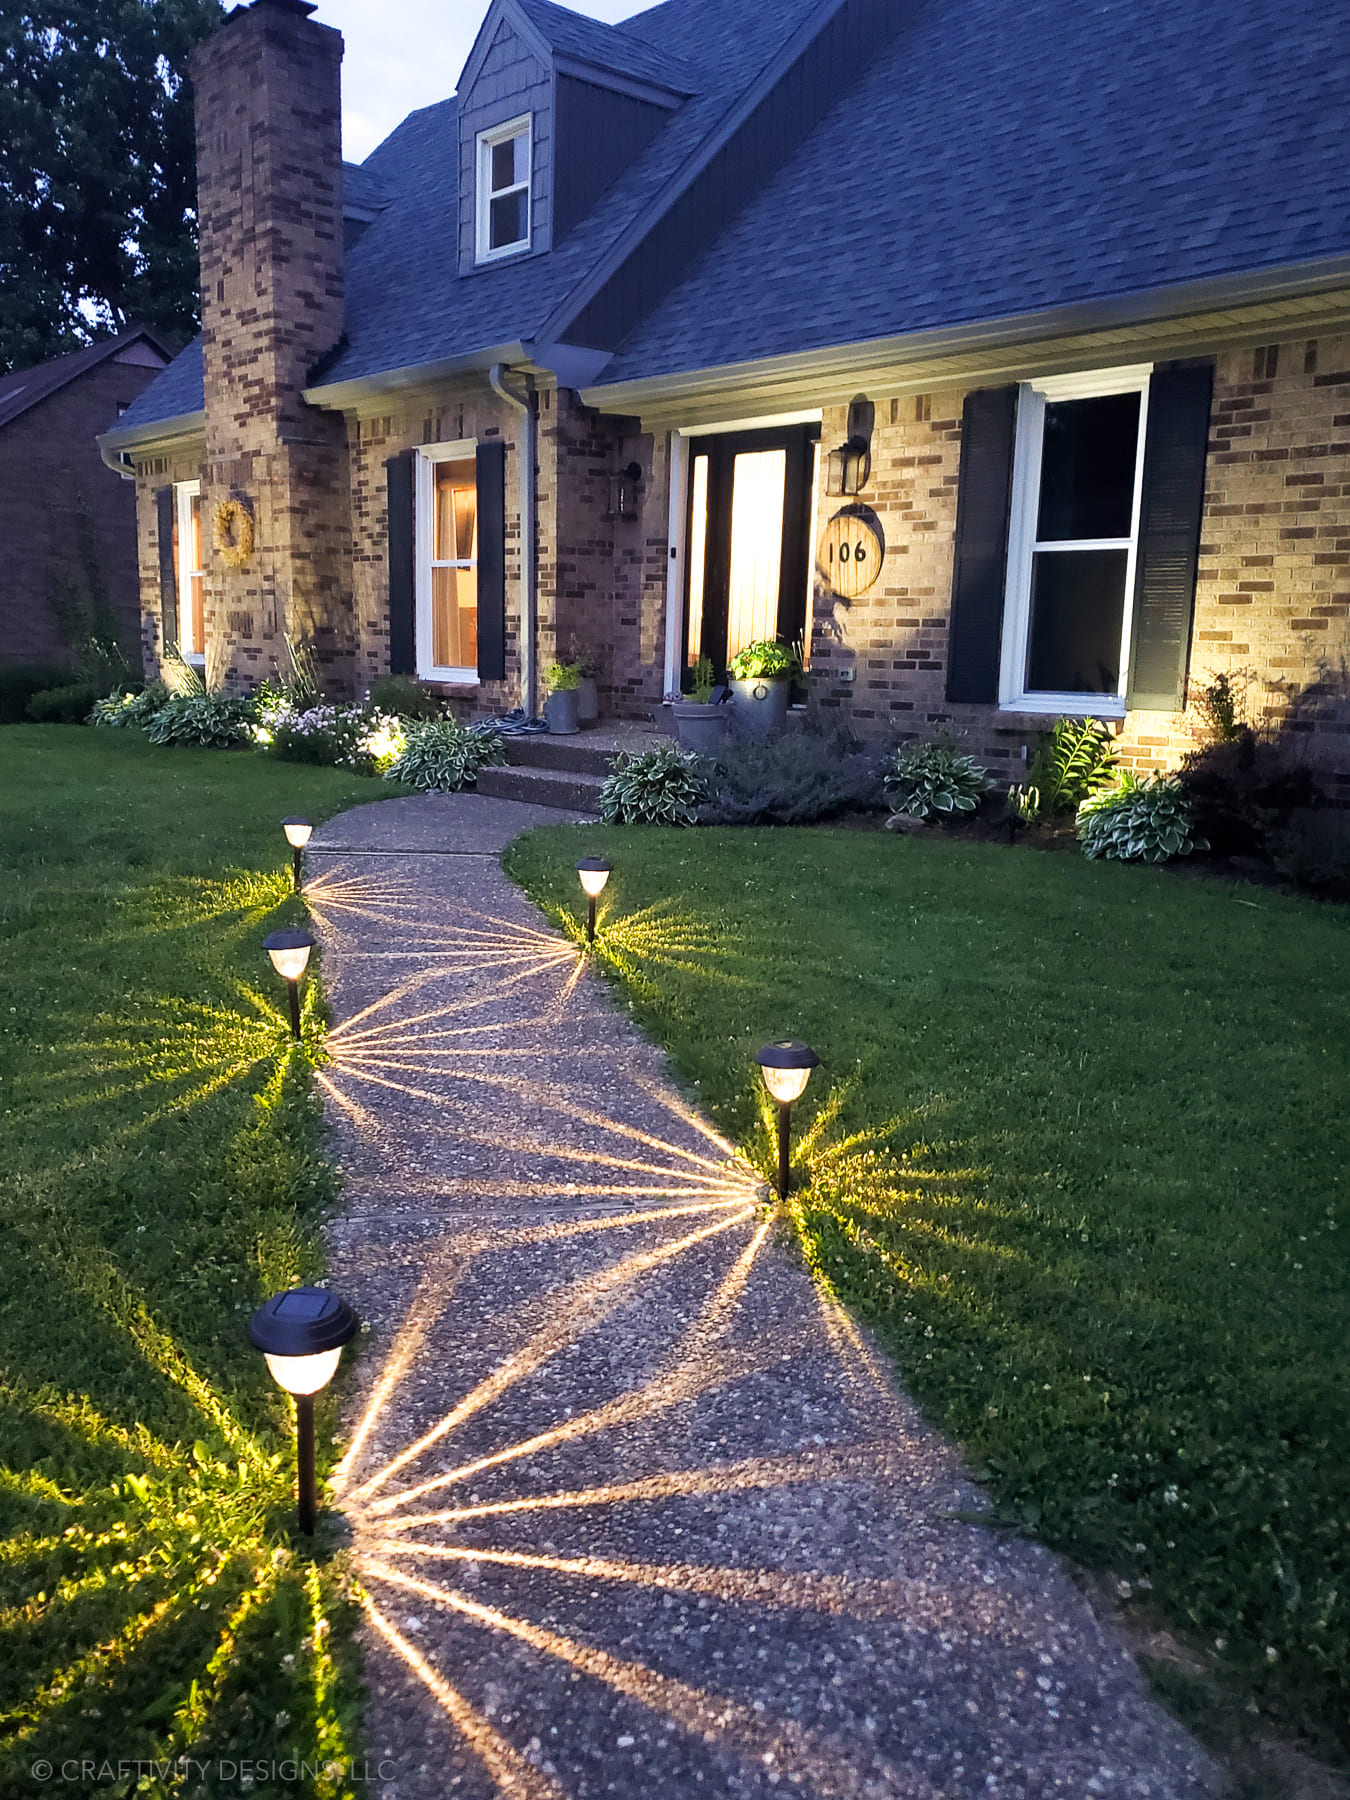
With just a few solar lights, your ordinary walkway can become a magical trail. These lights cast dramatic sunburst patterns onto the path, guiding each step with beauty and safety.
Materials Needed
- 6–8 patterned solar pathway lights
- Measuring tape
- Optional: Glow-in-the-dark edging tape
Step-by-step Guide
Step 1: Measure your walkway and divide evenly to determine how far apart to place each solar light. Around 3–4 feet apart works best for full coverage.
Step 2: Push each solar stake securely into the ground along the path, angling slightly outward if you want the rays to expand more.
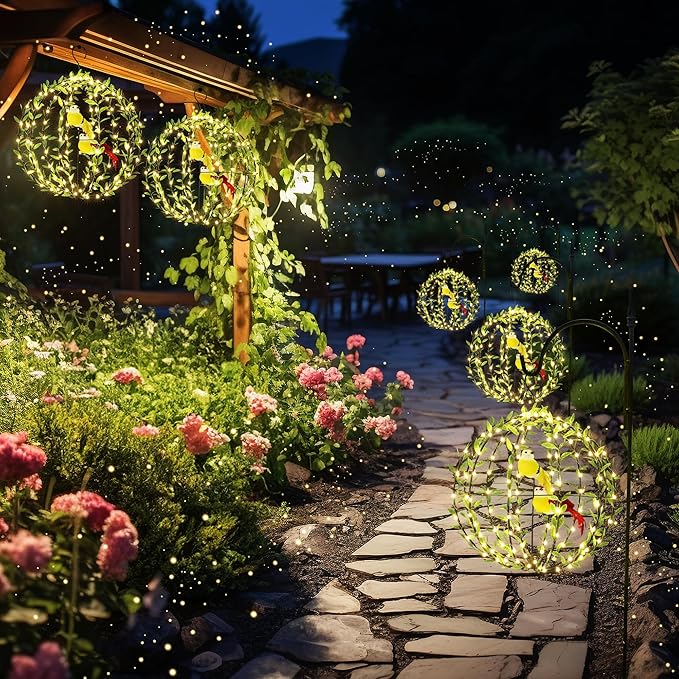
#20. String-Lit Garden Oasis with Hanging Lights
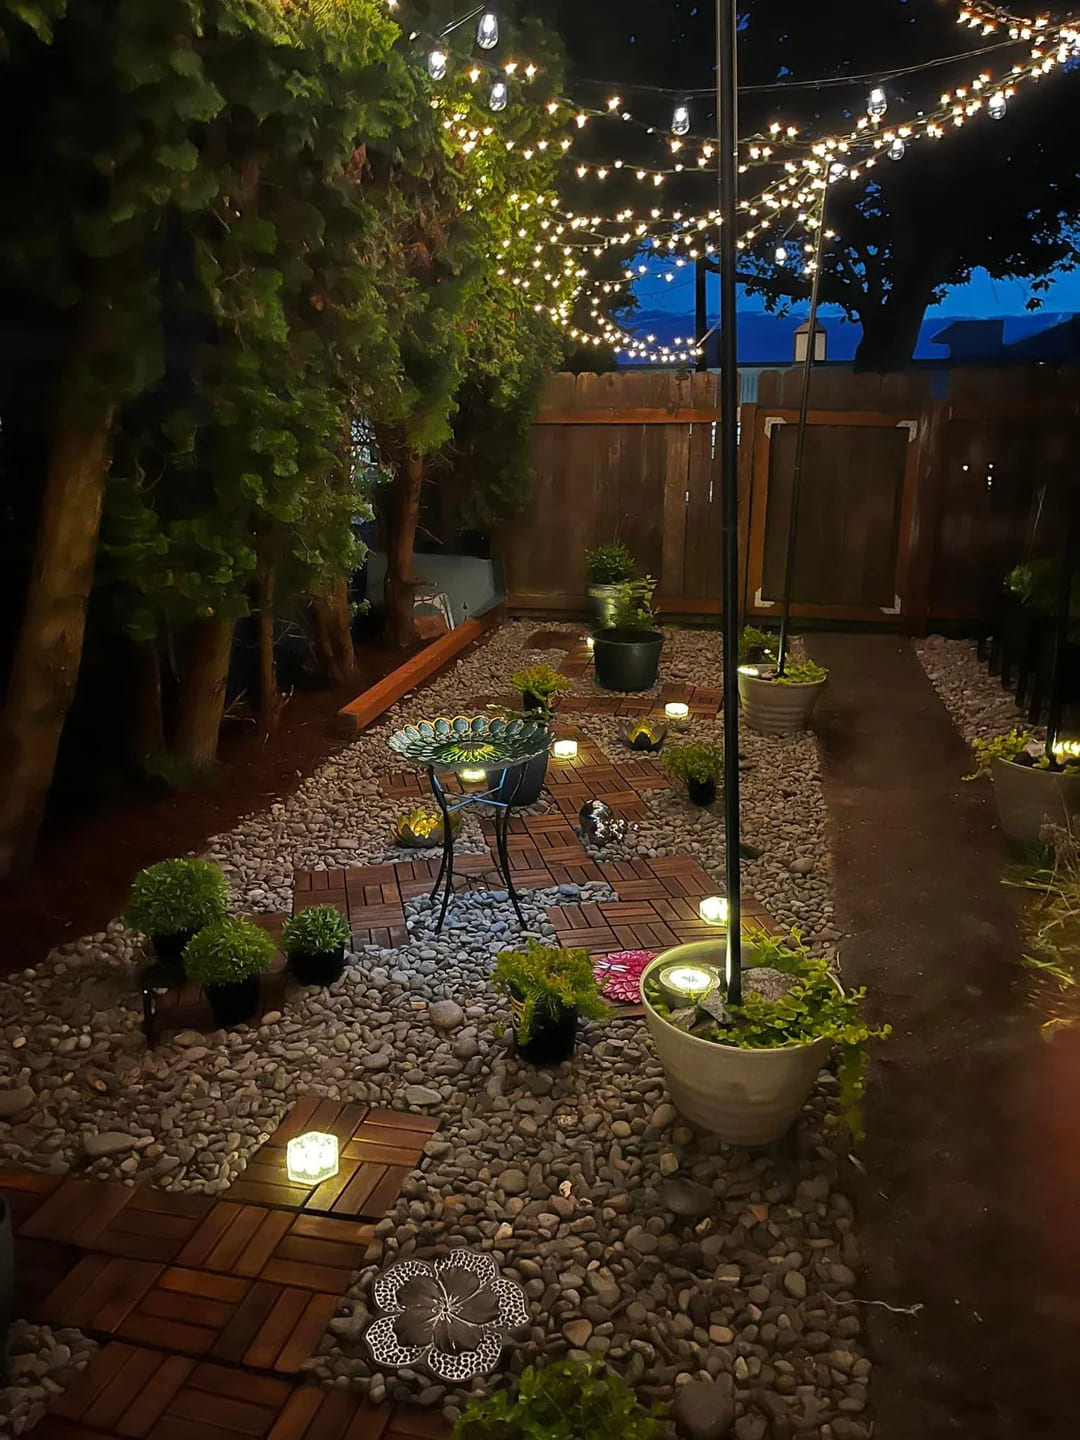
Don’t worry about outdoor outlets or bulky fixtures, this cozy corner proves how magical string lights can be. Draped above the garden like a soft canopy, they cast a golden ambiance over potted plants and paths.
Materials Needed
- 2–3 strands of warm solar string lights (100–200 LEDs)
- Solar garden puck lights (8–10 pieces)
- Snap-together wood tiles (optional
Step-by-step Guide
Step 1: Map your area and lay down pebbles as a base layer. Leave spots open for tile squares or potted plants.
Step 2: Install deck tiles in a zigzag or pattern across the pebbles to form a path or seating section.
Step 3: Place solar puck lights throughout the layout for ground glow. Nestle some in between tiles or beside plants.
#21. Cheerful Tin Can Lantern Trail Lights
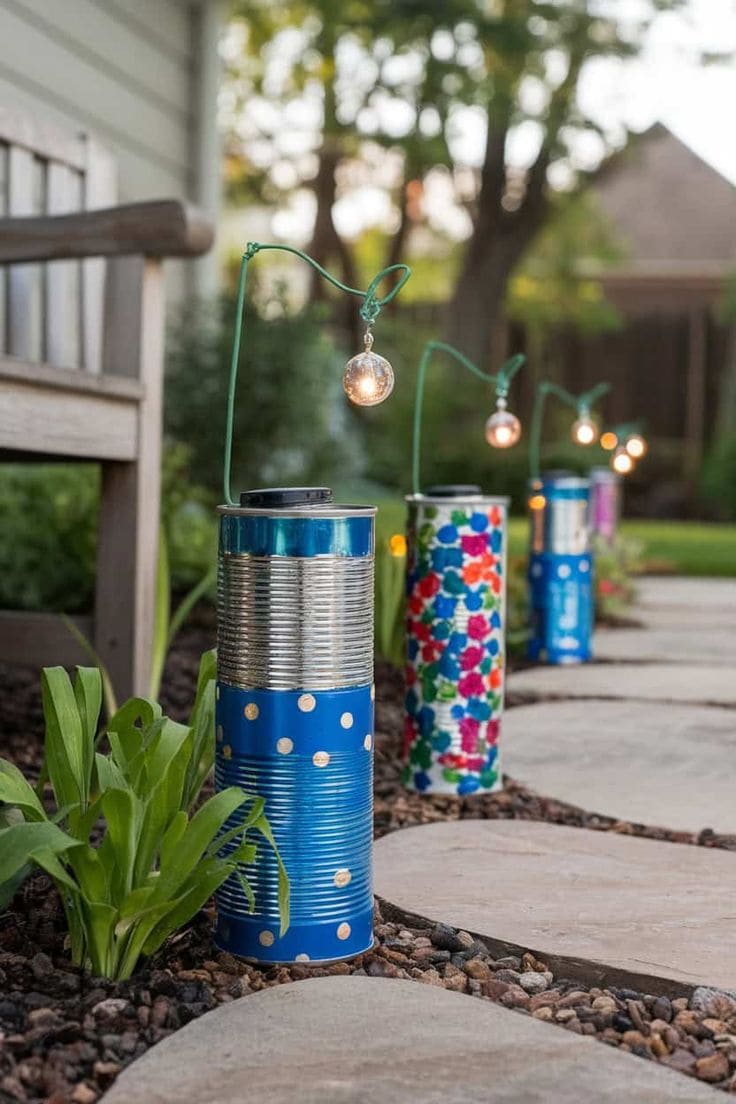
The charming pathway created by these colorful tin can lanterns is both playful and eco-conscious. Painted in cheerful hues and dotted with LED fairy lights, they bring life to your walkway at dusk.

Materials Needed
- 3 empty tin cans
- Solar hanging bulb lights (1 per can)
- Outdoor acrylic paint set + clear sealant spray
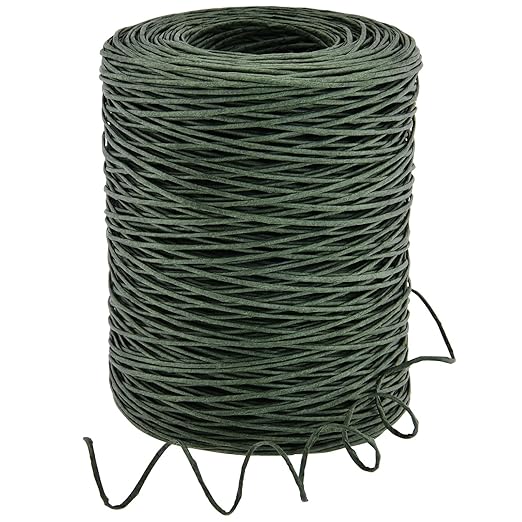
- Heavy-duty floral wire
- Drill
Step-by-step Guide
Step 1: Paint and decorate the tin cans however you like – polka dots, florals, stripes. Let dry and seal with spray.
Step 2: Drill a small hole in the top to insert the solar bulb and another hole on the side for threading the wire arm.
Step 3: Twist floral wire into a shepherd’s hook shape and secure it inside or around the can for hanging the bulb.
#22. Rustic Wire Basket Flower Light Centerpiece
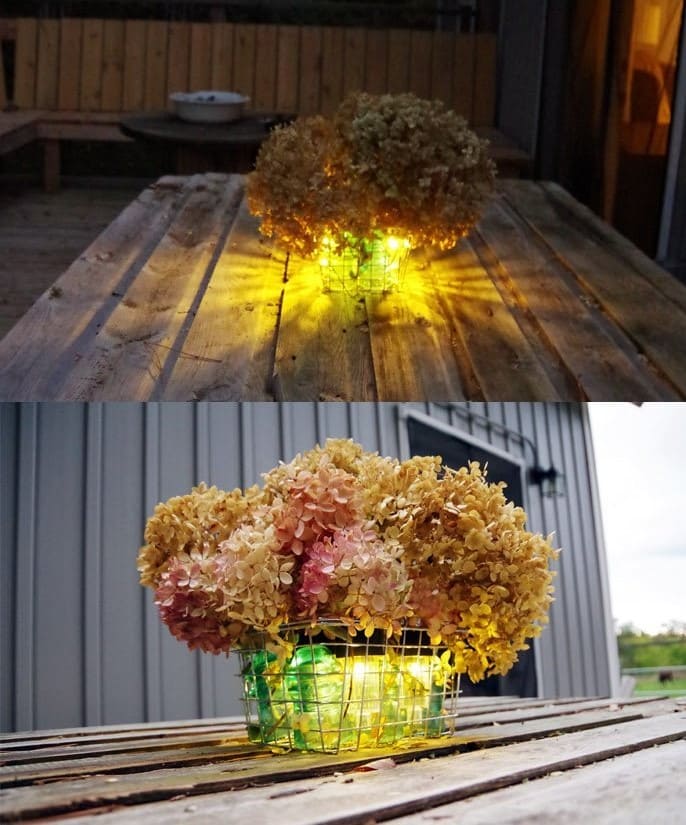
You can also light up your patio table with a rustic wire basket filled with dried blooms and solar lights. This clever DIY makes the whole arrangement glow from within, perfect for cozy dinners or fall evenings.

Materials Needed
- Small wire basket, about 6–8 inches wide
- Dried hydrangeas
- Mini solar fairy lights with thin wire
- Glass bottles (optional)
Step-by-step Guide
Step 1: Place a couple of colored or clear jars at the bottom of the wire basket to reflect and spread light.
Step 2: Coil the solar fairy lights gently around the jars and tuck the panel end toward the sun-facing edge.
Step 3: Insert dried hydrangea blooms over the top, letting them overflow a bit naturally.
#23. Charming Blue Jar Planter Solar Light
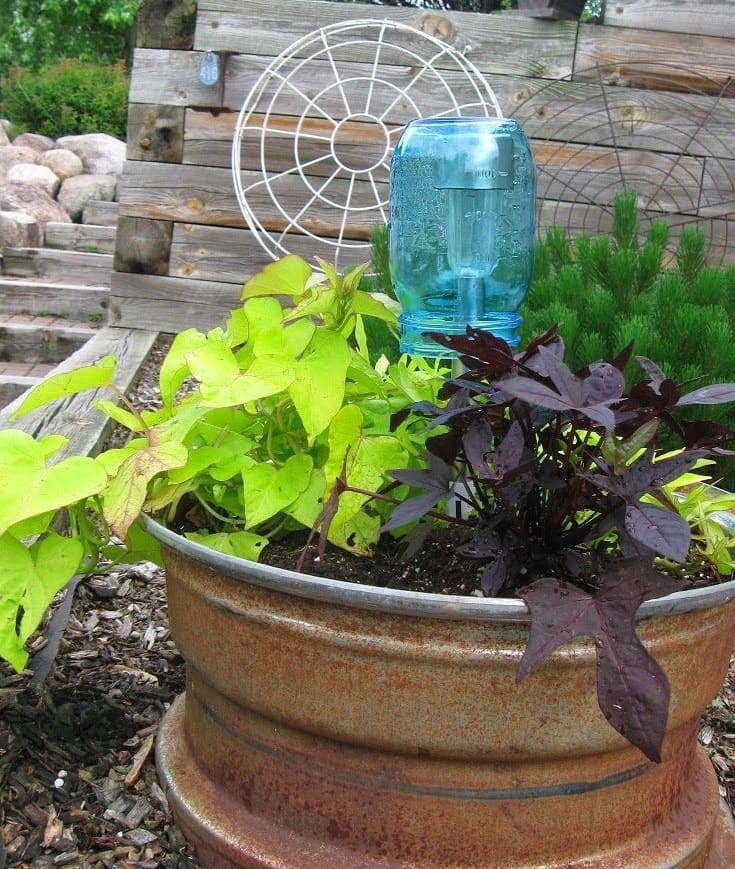
This creative planter mixes greenery with a soft glow using a repurposed blue glass jar atop a stake.
Materials Needed
- Blue glass water bottle (1-liter size)
- Small stake solar light
- Rebar stake
- Rusty planter
Step-by-step Guide
Step 1: Fill your planter with soil and arrange your plants around the outer rim, leaving space in the middle.
Step 2: Insert a sturdy stake or rod into the soil where you want the bottle to sit.
Step 3: Place the solar light upside down inside the bottle, then position the bottle upside down over the stake, hiding the solar light.
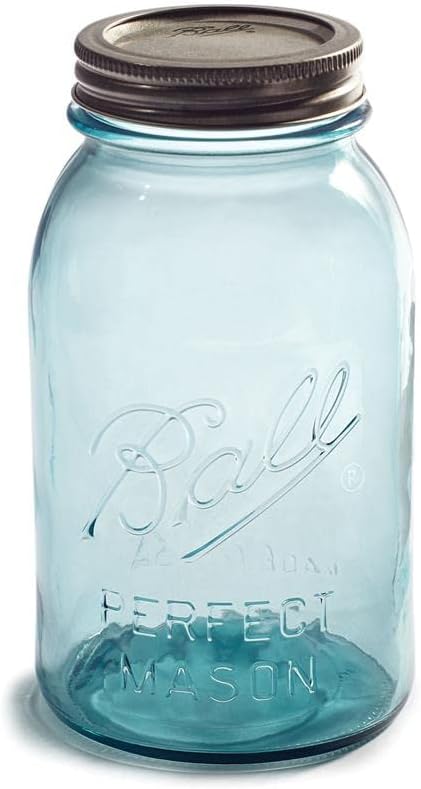
#24. Vintage Jar Lanterns Hanging from Trees
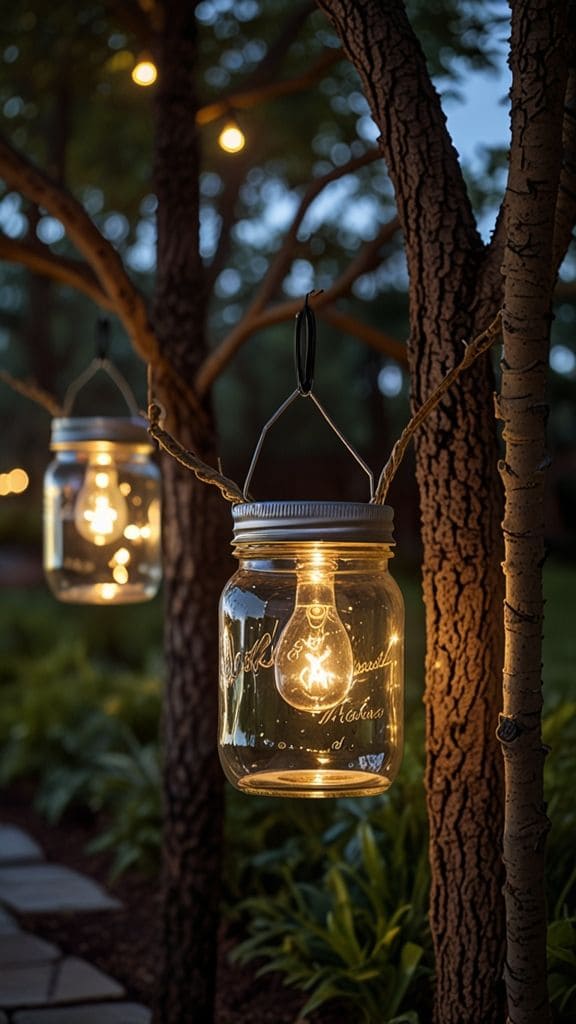
These charming mason jars turned solar lanterns add a cozy sparkle to tree branches or hooks. As the sun fades, they flicker on with an old-fashioned glow that’s peaceful and romantic. You just need clear jars, solar lids, and a little wire.
Materials Needed
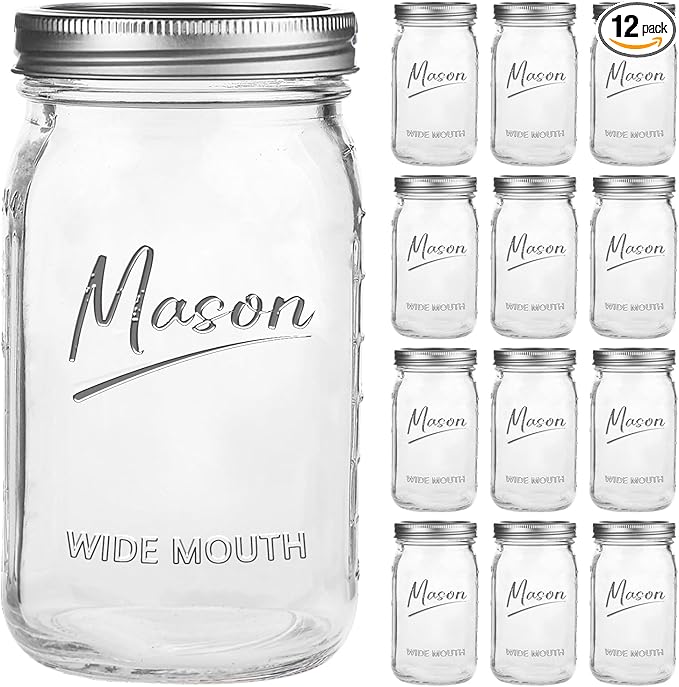
- Wide-mouth mason jars (16–32 oz, 2–3 per tree)
- Solar jar lid lights with built-in LEDs
- Metal wire hangers
- Optional: Clear glue dots
Step-by-step Guide
Step 1: Choose jars with wide mouths to easily fit your solar light lids, then insert the solar light into the jar, making sure the LED bulb hangs just inside.
Step 2: Wrap wire or twine around the jar lid’s neck to create a secure hanging handle.
Step 3: Hang the jars on tree branches, fence hooks, or shepherd’s poles in areas with 6–8 hours of sun exposure.
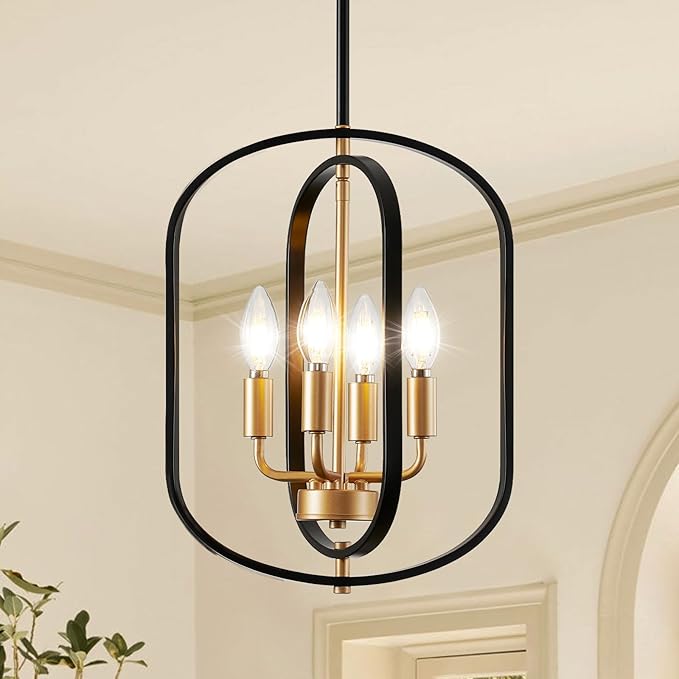
#25. Whimsical Chandelier of Glowing Solar Cups
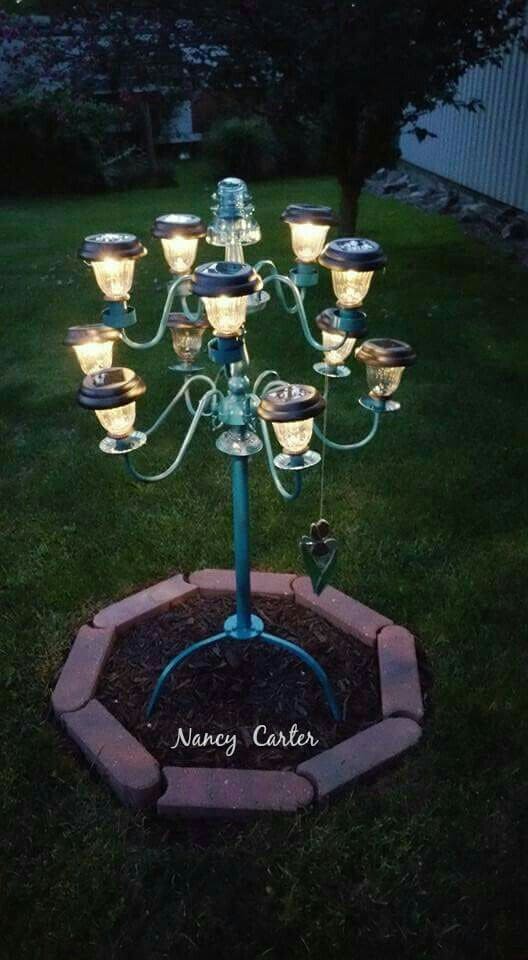
Instead of tossing out an old chandelier, repurpose it with a whimsical solar twist. This piece uses multiple solar light heads attached to an ornate frame, turning your garden into a glowing showpiece.
Materials Needed
- Old chandelier base
- 12 Small solar pathway lights
- Heavy-duty epoxy
- Optional: Outdoor paint
Step-by-step Guide
Step 1: Remove any wiring, bulbs, and glass parts from the old chandelier. Clean it thoroughly to prep for painting and assembly.
Step 2: Paint the chandelier with your chosen color (optional but highly recommended for personality and rust protection). Let it dry completely.
Step 3: Use waterproof adhesive or epoxy to attach each solar light to the spot where a bulb used to be. Align the solar panels so they get full sun exposure.