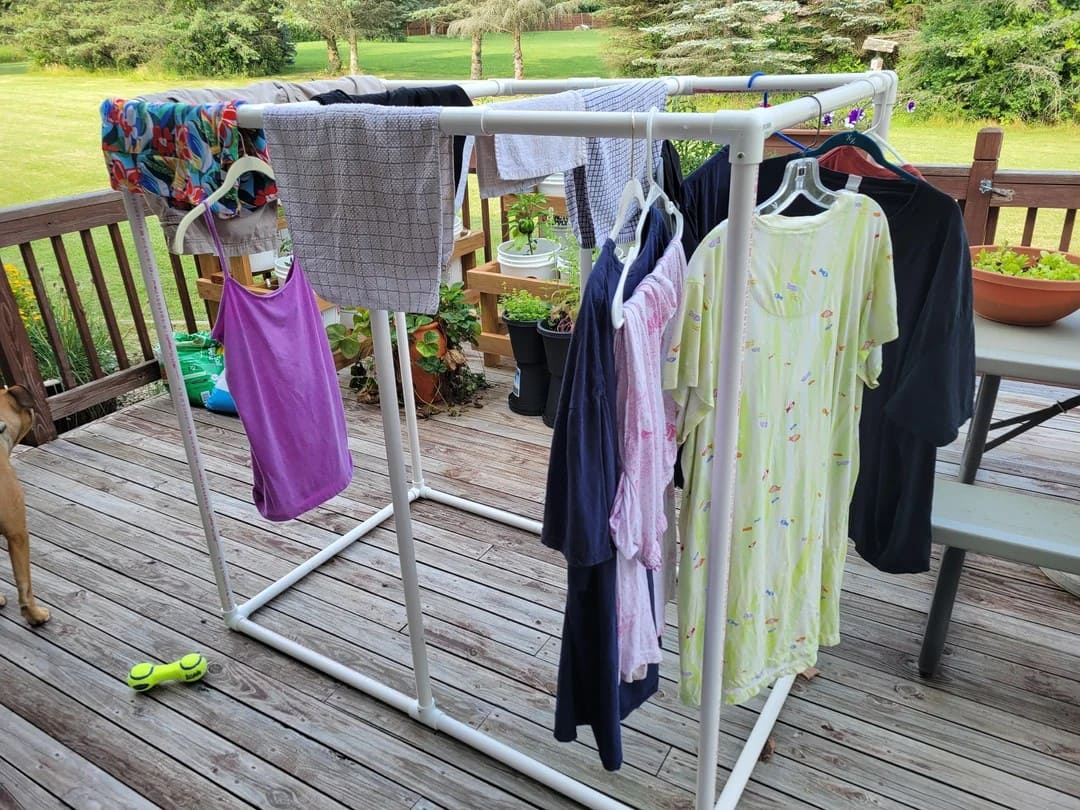
There’s something satisfying about building a laundry rack with your own hands. With PVC pipes clicked together like giant building blocks, this rack feels playful yet practical.
It’s the kind of project you can finish in one sitting and immediately put to work, watching the breeze catch your shirts and dresses, you’ll be glad you took the time to make it.
Materials Needed
- PVC pipes, 1” diameter (4 pieces at 5 ft, 4 pieces at 3 ft, 4 pieces at 2 ft)
- PVC elbow connectors (8 pieces, 90°)
- 4 PVC T-joints
- PVC pipe cutter or hacksaw
- Measuring tape and marker
- Optional: PVC cement for permanent joints
Step-by-step Guide
Step 1: Cut your PVC pipes to the desired lengths using a cutter or hacksaw. Then sand the edges if needed.
Step 2: Assemble the base using the 3 ft and 2 ft pipes connected with T-joints and elbows to form a rectangle frame.
Step 3: Insert the 5 ft pipes vertically at each corner to act as upright supports.
Step 4: Connect the top frame in the same rectangle layout as the base, using elbows to secure it in place.
Step 5: Double-check stability. If you want it permanent, secure the joints with PVC cement. Otherwise, leave them unglued so you can take it apart when needed.
Tips:
I’ve seen clever variations where people added extra PVC bars across the middle for more hanging space. You could even paint the pipes with outdoor spray paint to match your deck or garden vibe.