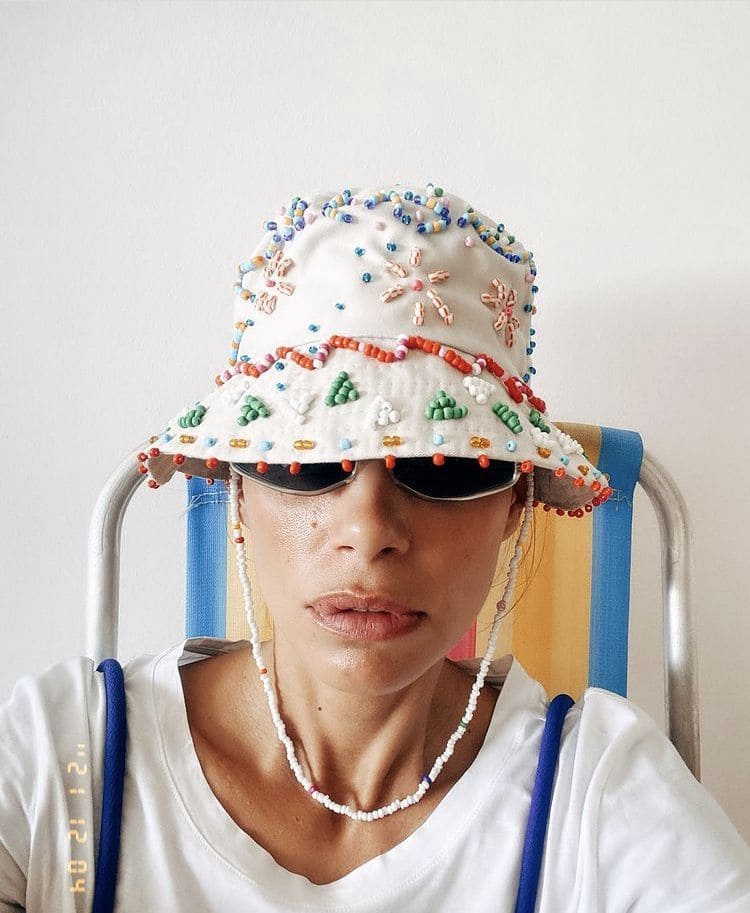
Wearing this hat feels like carrying a celebration on your head. The beads catch sunlight like confetti, while the stitched patterns tell stories of joy and color.
Each little cluster becomes a symbol such as flowers for growth, trees for grounding, and waves of beads along the brim like laughter circling around.
It’s not just a hat anymore, it’s a piece of wearable joy, stitched bead by bead into something unforgettable.
Materials Needed
- Plain fabric bucket hat (cotton or canvas works best)
- Seed beads in assorted colors (10-15 grams per color)
- 30 bugle beads for edging
- Beading needle and strong thread
- Embroidery hoop (optional)
- Scissors
Step-by-step Guide
Step 1: Choose the areas of the hat you want to decorate. You can sketch small flowers, trees, or abstract shapes with chalk to guide your beading.
Step 2: Thread your needle and begin attaching beads one cluster at a time. Then secure each stitch firmly since hats are handled and worn often.
Step 3: Outline shapes with seed beads, then fill them in with matching or contrasting colors. You can also add bugle beads along the brim for a bold border.
Step 4: Work around the hat in sections, making sure beads sit flat without puckering the fabric. Take your time so the designs look balanced.
Step 5: Once finished, tie off all threads on the inside of the hat. Give it a gentle press to smooth the fabric, and your one-of-a-kind accessory is ready to wear.
Notes:
If you want a more secure finish, back your stitches with a thin fabric lining inside the hat. This not only hides knots but also protects your beadwork for longer wear.