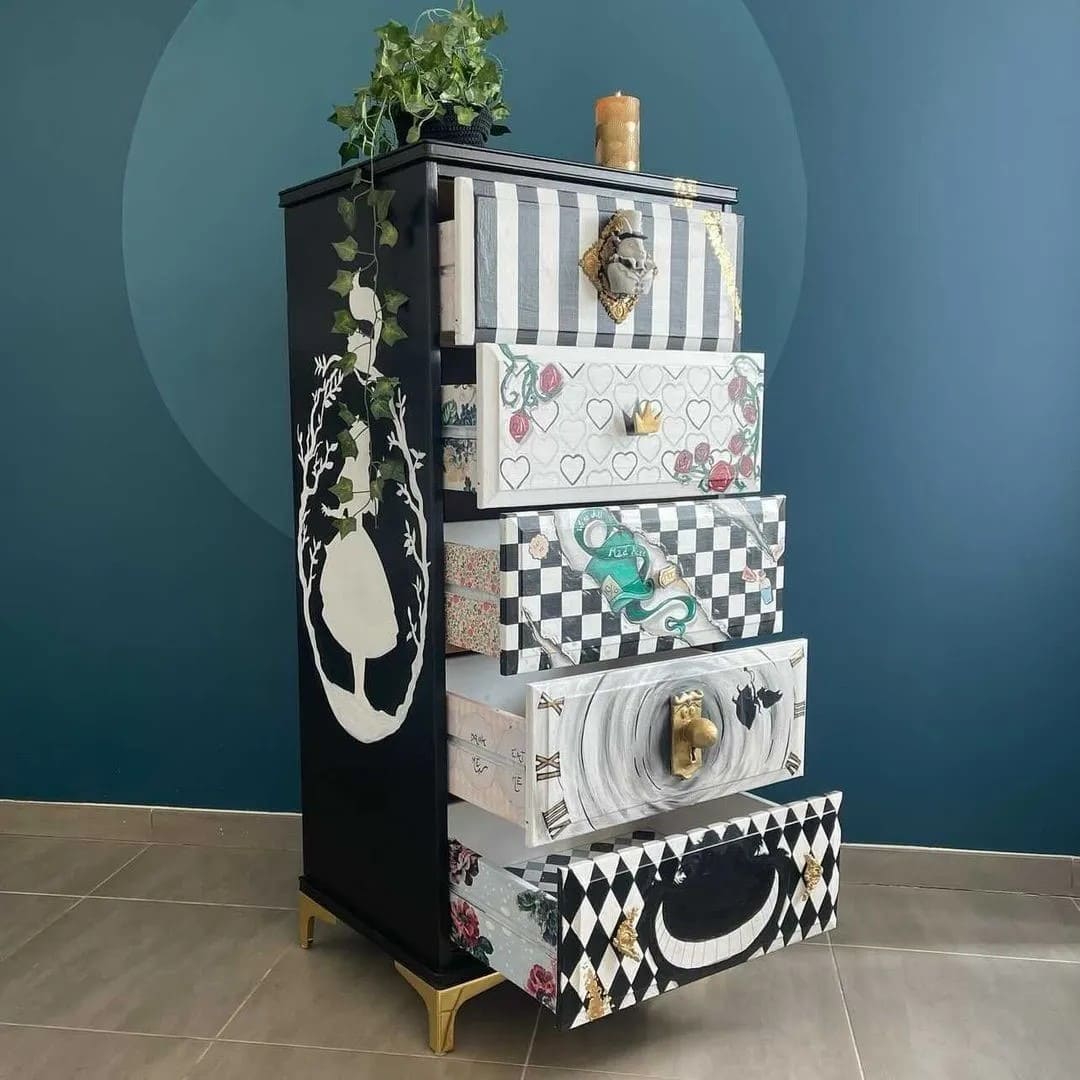
Using paint, stencils, decoupage, and unique drawer pulls, the piece blends multiple design techniques into a single, cohesive statement. Black-and-white contrasts give it sophistication, while playful imagery adds character.
This is a fantastic example of how you can use one dresser to experiment with different finishes like stripes on one drawer, hearts on another, and decoupage motifs on the rest.
The result is a dresser that’s equal parts bold and functional, durable enough for daily use but imaginative enough to steal attention in any room.
Materials Needed
- 1 tall dresser, approx. 48-52″ with 5-6 drawers
- 2 sheets of 120-grit sandpaper and 1 sheet of 220-grit sandpaper
- 1 quart black chalk paint
- 1 quart white chalk paint
- Painter’s tape (1″ wide)
- Assorted decoupage papers (checkerboards, stripes, hearts, clock faces, floral patterns), approx. 10 sheets A3
- 1 bottle decoupage glue (e.g., Mod Podge 8-12 oz)
- 2 foam brushes (2″) and 2 detail brushes (1″)
- Gold metallic paint (2-4 oz)
- 5-6 novelty knobs or pulls (gold crown, animal head, heart-shaped, etc.)
- Clear matte or satin sealer (12 oz spray or brush-on)
- Drop cloth & gloves
Step-by-step Guide
Step 1: Remove all drawer handles. Place your dresser on a drop cloth and sand lightly with 120-grit paper to remove sheen. Smooth with 220-grit, then wipe clean.
Step 2: Paint the dresser frame and sides in black chalk paint. Then apply 2 thin coats, drying between each, to create a dramatic base.
Step 3: Paint drawer fronts with white chalk paint to create a crisp foundation for your designs. Two coats usually give full coverage.
Step 4: For striped and checkerboard drawers, use painter’s tape to create clean sections. You want to alternate black and white, removing tape while the paint is still tacky to prevent peeling.
Step 5: Cut your decoupage papers to size and dry-fit them before gluing. Next, apply a thin coat of decoupage glue to the drawer surface, press the paper gently, and smooth bubbles with a clean cloth. Allow 20-30 minutes drying between layers.
Step 6: Hand-paint additional designs like clock swirls or vines using detail brushes. Metallic gold paint can highlight edges or drawer corners for a royal finish.
Step 7: Seal decoupage images and hand-painted details with another thin coat of glue. Let dry overnight for durability.
Step 8: Spray or brush on a clear protective sealer over the entire dresser. Satin gives a polished look, while matte feels more vintage.
Step 9: Attach whimsical knobs such as crowns, hearts, or animal heads to reinforce the Wonderland theme.
Step 10: Step back and admire your dresser that doesn’t just hold clothes but transforms the room into a scene from a magical storybook.