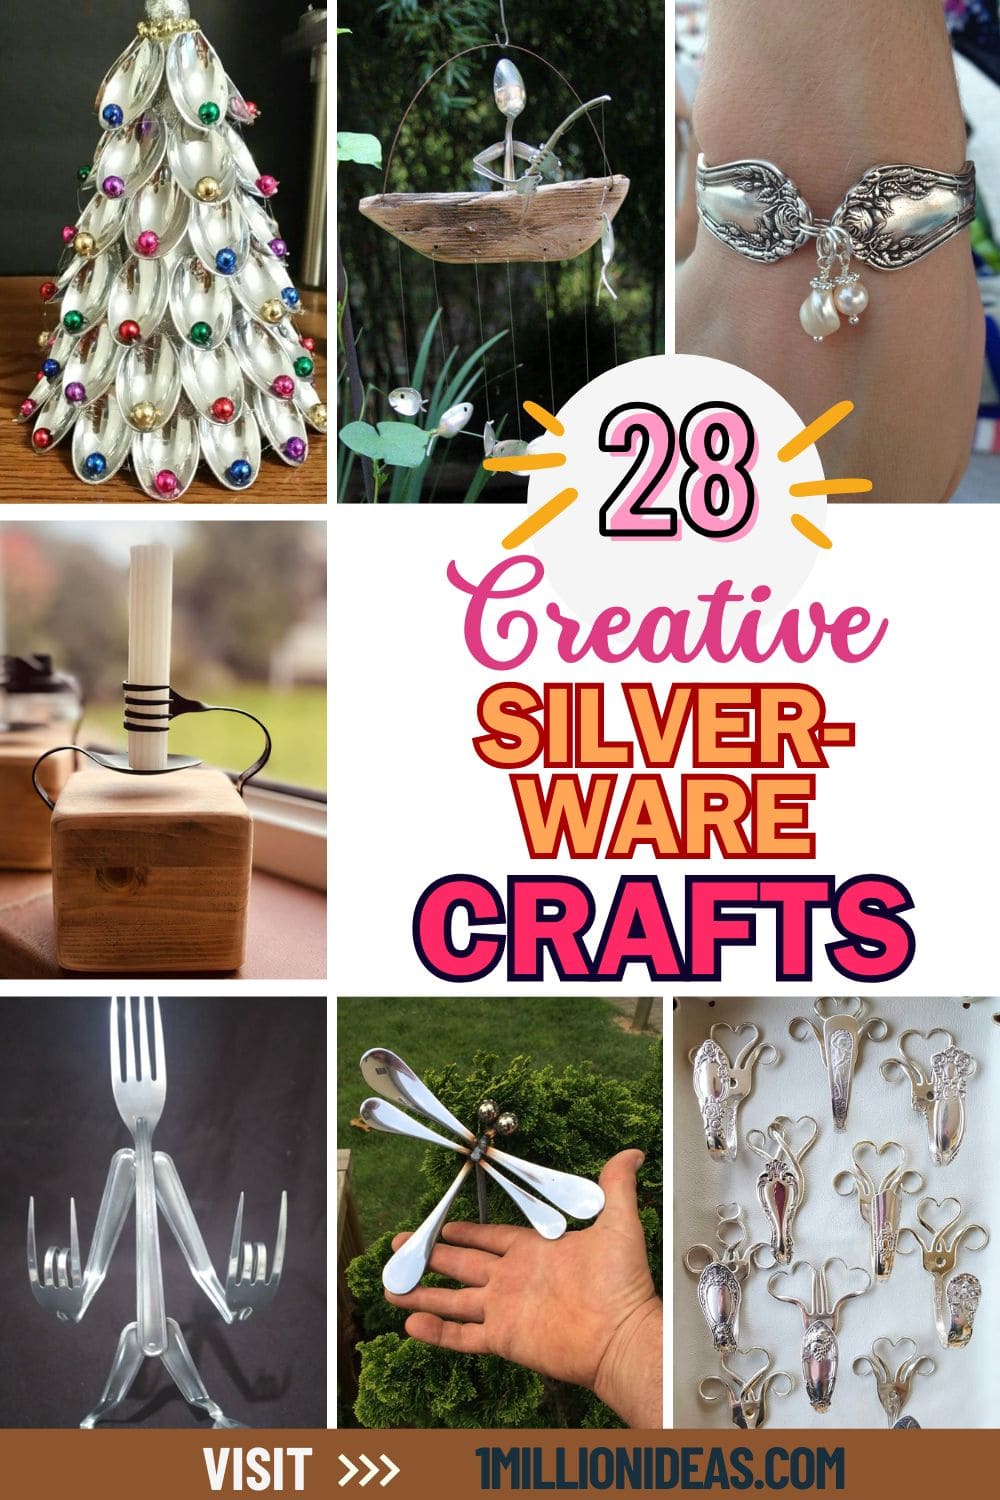
Ever looked at an old spoon or fork and thought, this could be something beautiful?
That’s exactly where these 28 silverware craft ideas come in. With a little creativity and a dash of nostalgia, everyday utensils are transformed into keepsakes, home decor, jewelry, and meaningful gifts.
Whether it’s a bracelet made from Grandma’s teaspoon or a wind chime that dances in the breeze, these projects go far beyond recycling, they honor memories while sparking imagination.
This article contains affiliate links. If you purchase through them, I may earn a small commission at no extra cost to you. Thank you for your support!
#1. Silverware Horse Sculpture
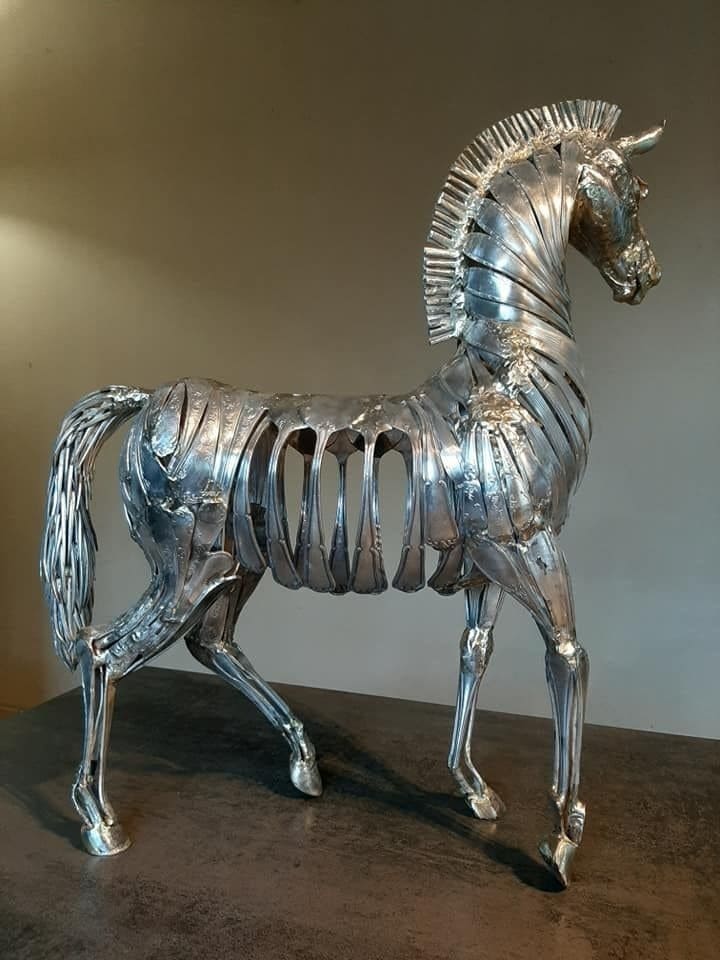
There’s something magnetic about how the curves of old forks form its ribs and the knives trace the legs. It’s not just scrap turned sculpture, it’s strength, grace, and ingenuity cast in steel.
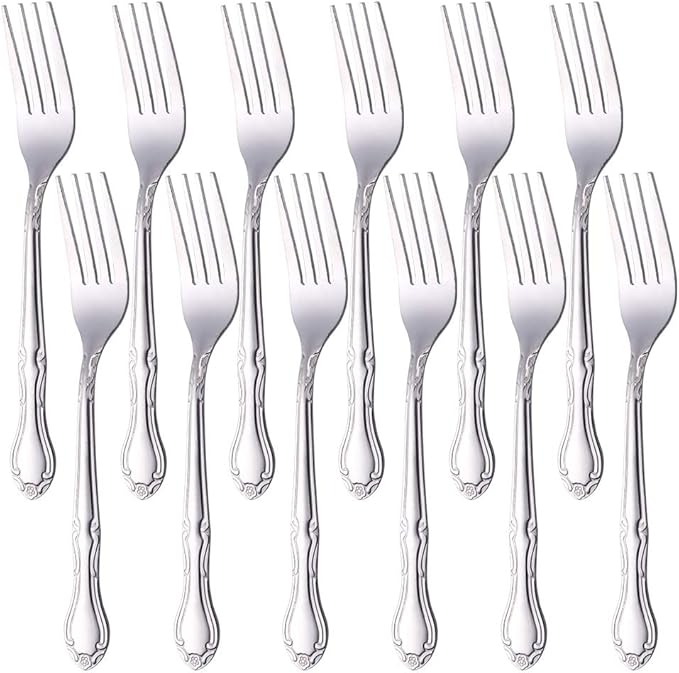 SHOP VINTAGE DINNER FORKS
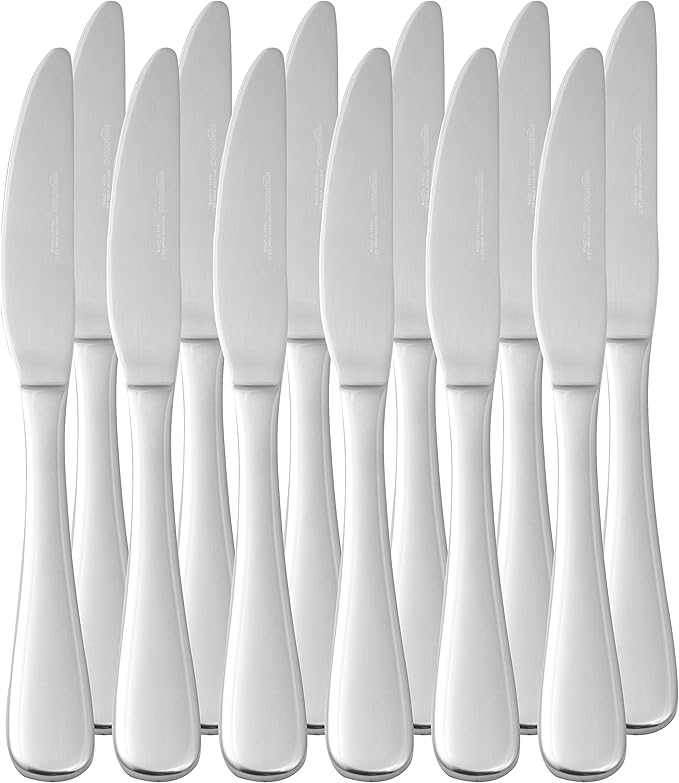 SHOP TABLE KNIVES
 SHOP SILVER SOLDERING WIRE
 SHOP PROPANE TORCH KIT
 SHOP STEEL ROD BASE SUPPORT
 SHOP BENCH VISE
Materials Needed
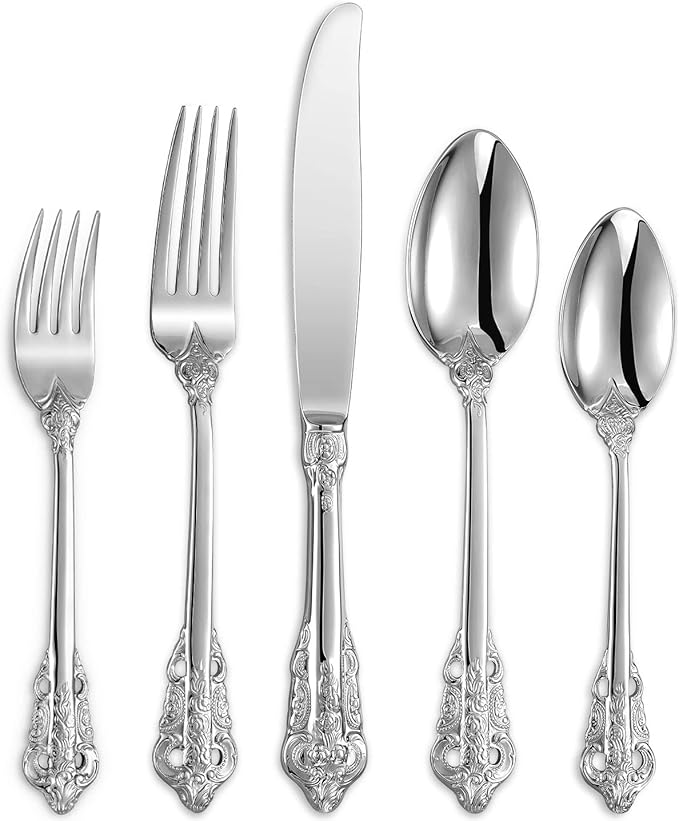
- 30–35 vintage dinner forks (6.5″ to 7″)
- 20–25 table knives (8″)
- 10–15 soup spoons (standard 6″)
- 1 lb silver soldering wire
- Propane torch kit
- Steel rod base support (1/4”)
- Bench vise
- Protective gloves, mask, and safety goggles
Step-by-step Guide
Step 1: Use a bench vise to bend the dinner forks into arched rib shapes. Space them evenly to create the horse’s midsection and ribcage.
Step 2: Form the legs using straightened table knives and spoons, then attach steel rod supports inside to stabilize the structure.
Step 3: For the mane, trim the tines of extra forks, flare them slightly, and solder them along a curved spine to give a sharp, upright look.
Step 4: Solder all the parts together carefully using a propane torch and silver solder. After cooling, polish with steel wool and metal polish until it gleams.
#2. Fork-Grip Candle Holder on Wood Block
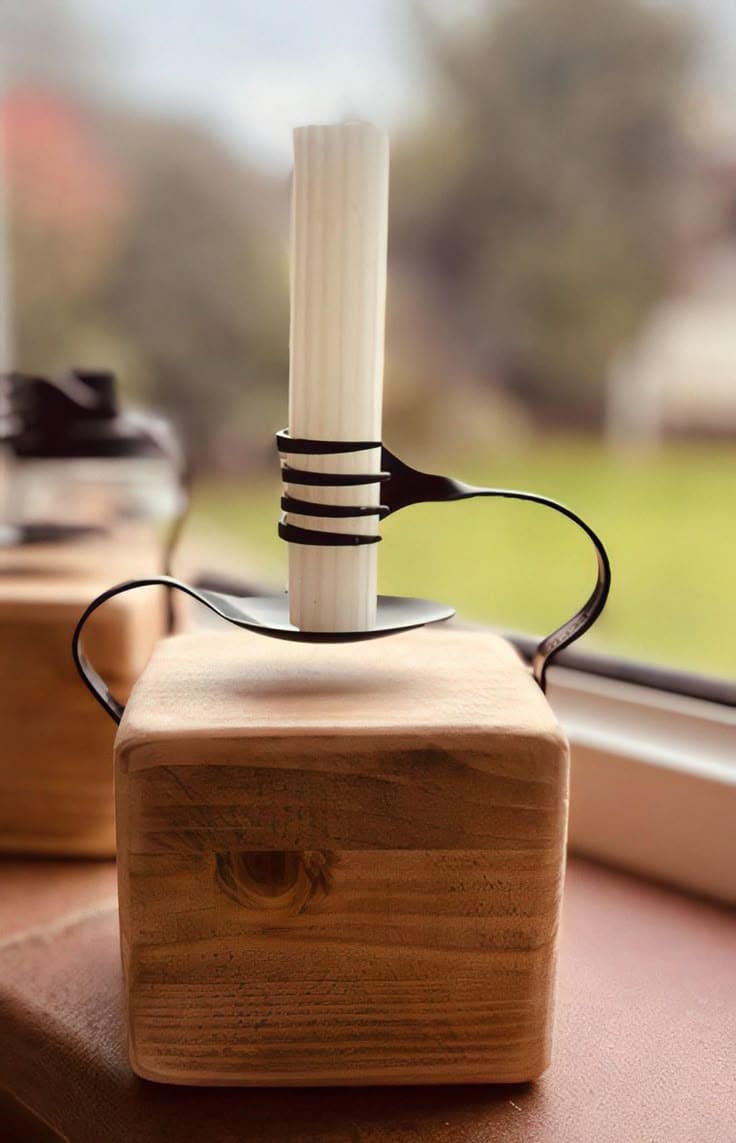
The twisted fork wrap looks so clever, as if it’s hugging the candle to keep it upright.
Materials Needed
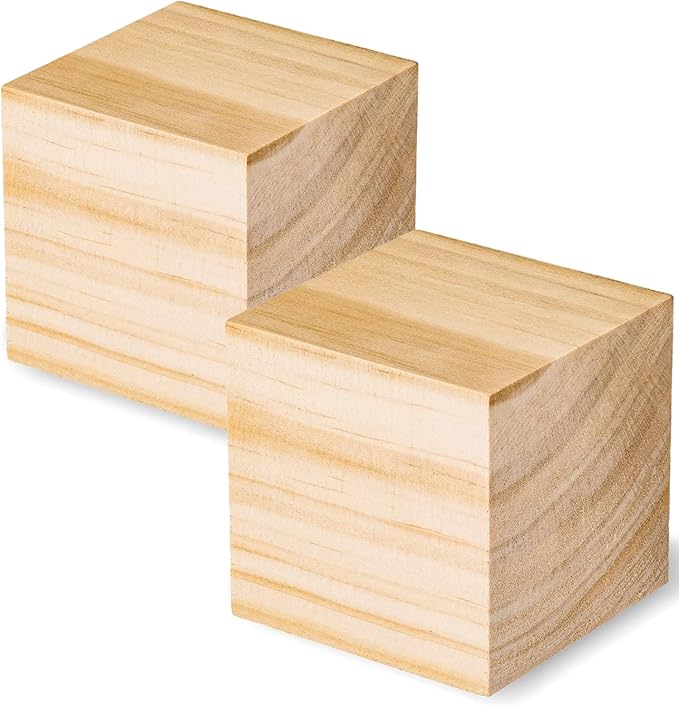
- 1 wooden block (3″ x 3″ x 3″, sanded smooth)
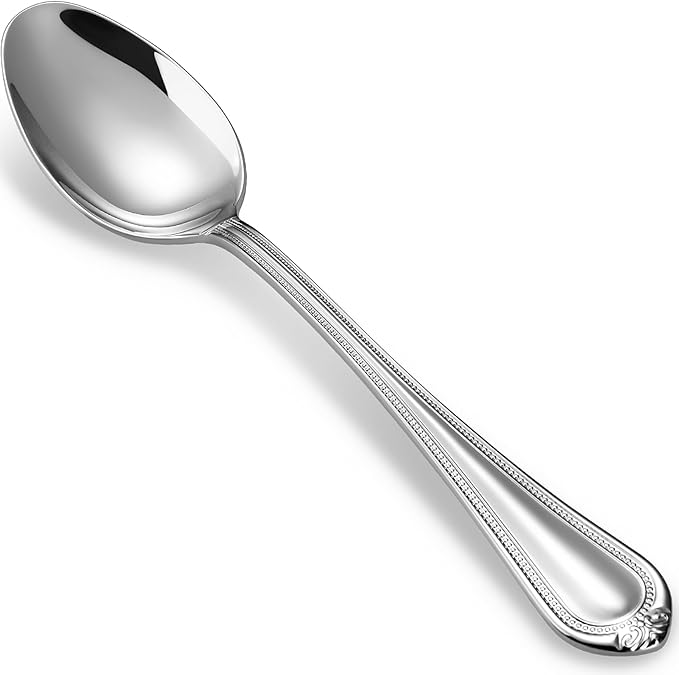
- 1 stainless steel dinner fork (8″), 1 spoon (6”)
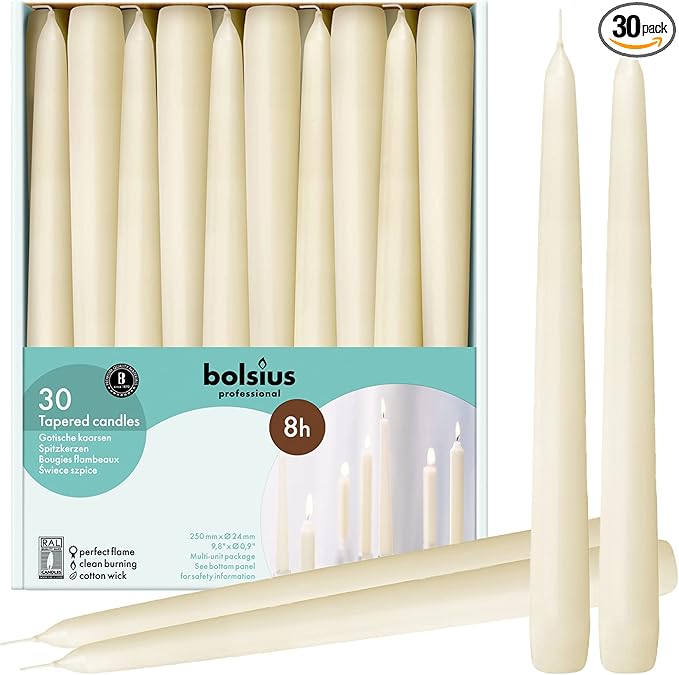
- 1 taper candle (7″ to 10″)
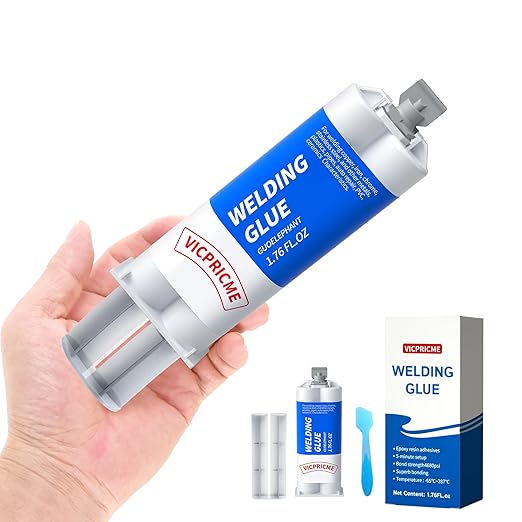
- Super strong epoxy
- Bench vise
- Hand drill
- Sandpaper (optional)
Step-by-step Guide
Step 1: Use a vise to bend the fork and spoon inward to form a tight candle grip. Curve the handle ends outward to create decorative side arms.
Step 2: Drill a shallow hole into the center of the wood block, just deep enough to anchor the fork base securely.
Step 3: Apply metal glue to the bottom of the fork and insert it into the drilled hole. Let it dry fully for a strong bond.
Step 4: Slide in the taper candle, adjust the grip slightly if needed, and optionally finish the wood with stain or polish to match your decor.
#3. Silverware Robot Sculpture

There’s something bold and hilarious about this little guy. His pose, his balance, the tiny spoon feet, it’s all wonderfully weird.
Materials Needed
- 3 dinner forks (7″–8″)
- 2 teaspoons (6″)
- Strong silver solder wire
- Mini propane torch kit
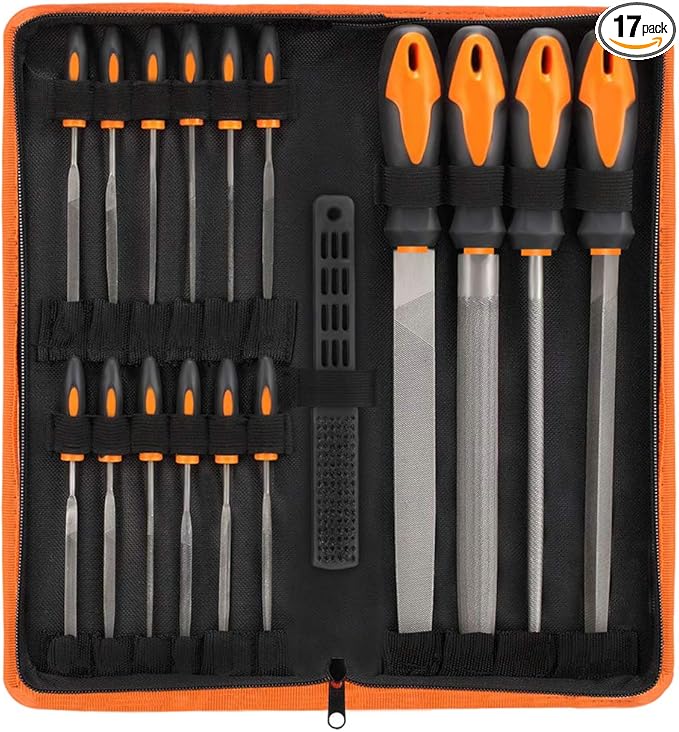
- Metal file set
- Bench vise
- Heat-resistant gloves and eye protection
Step-by-step Guide
Step 1: Use the vise to slightly bend the handles of two forks to form arms. Leave the other straight for the torso and head. Trim spoon handles to size for the legs.
Step 2: Attach two spoon bowls as feet by soldering them to the ends of the spoon legs. Fix the legs to the lower part of the torso fork for balance.
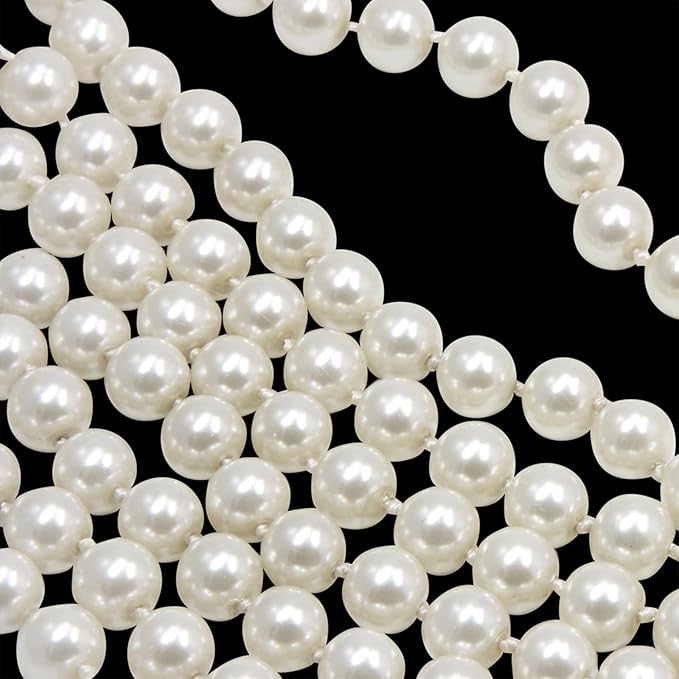
#4. Vintage Spoon Bracelet with Pearl Charms
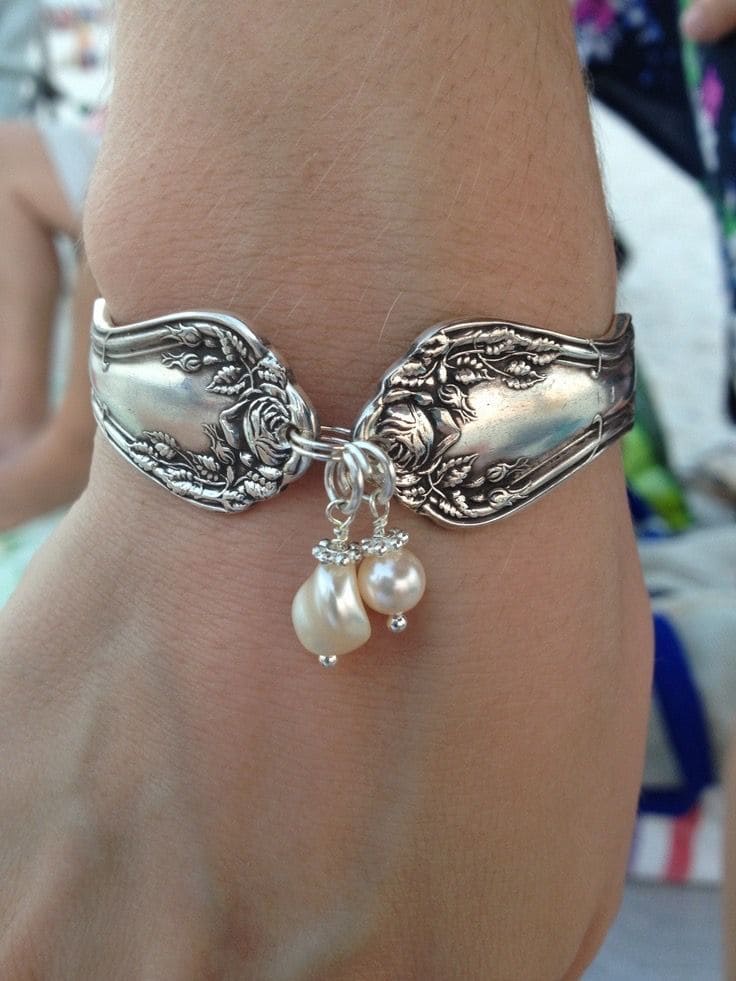
The intricate floral design, the cool weight of silver on your wrist, it’s wearable nostalgia.
Materials Needed
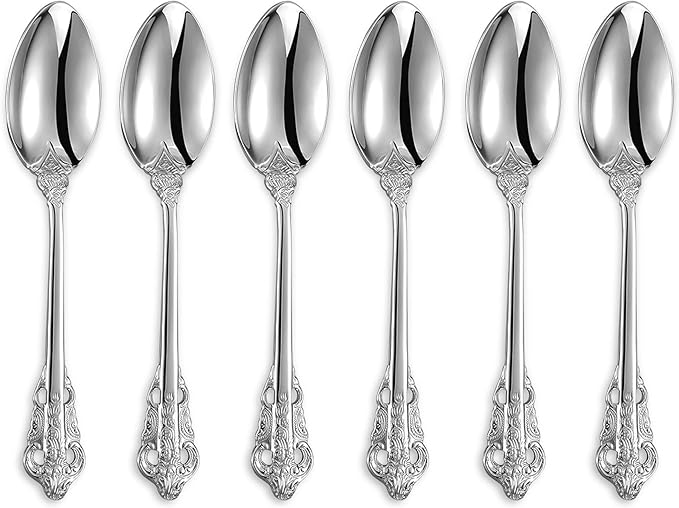
- 2 vintage silver-plated spoon handles
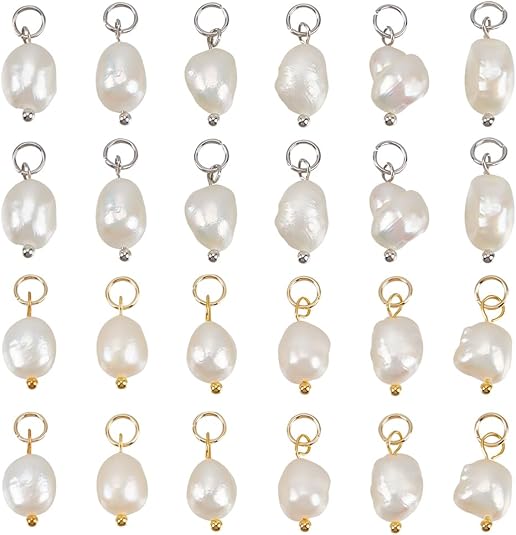
- 2 freshwater pearl charms
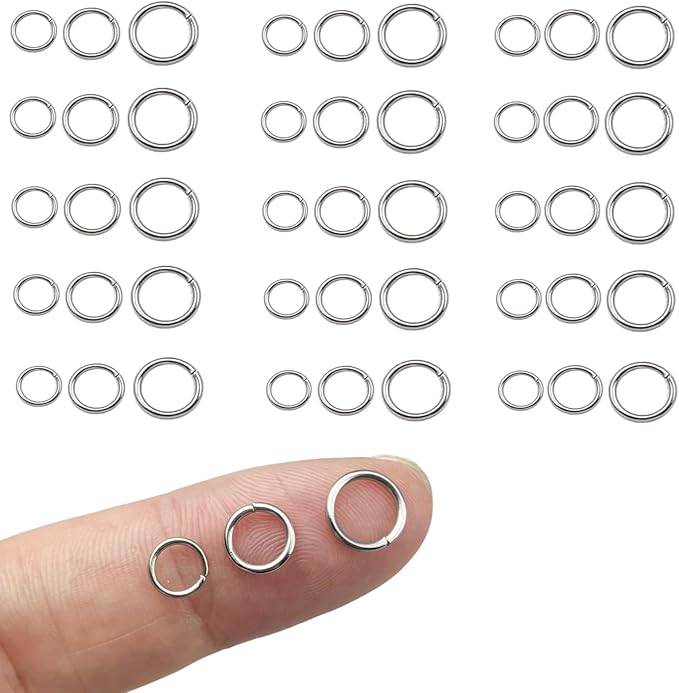
- 4-6 jump rings (6mm to 8mm)
- 1 toggle clasp
- Jewelry drill
- Jewelry pliers set
- Metal file
Step-by-step Guide
Step 1: Cut off the spoon bowls, leaving only the handles. Use a metal file to smooth the cut edges and slightly round the corners.
Step 2: Drill a small hole at the wide end of each handle for jump rings. Carefully bend the handles into a soft curve to fit around the wrist.
Step 3: Use pliers to attach a jump ring to each end, then connect the toggle or lobster clasp.
Step 4: Add a few pearl charms to the center jump ring between both spoon halves. Close all rings securely and polish the bracelet before wearing or gifting.
#5. Fork Hand Keychains
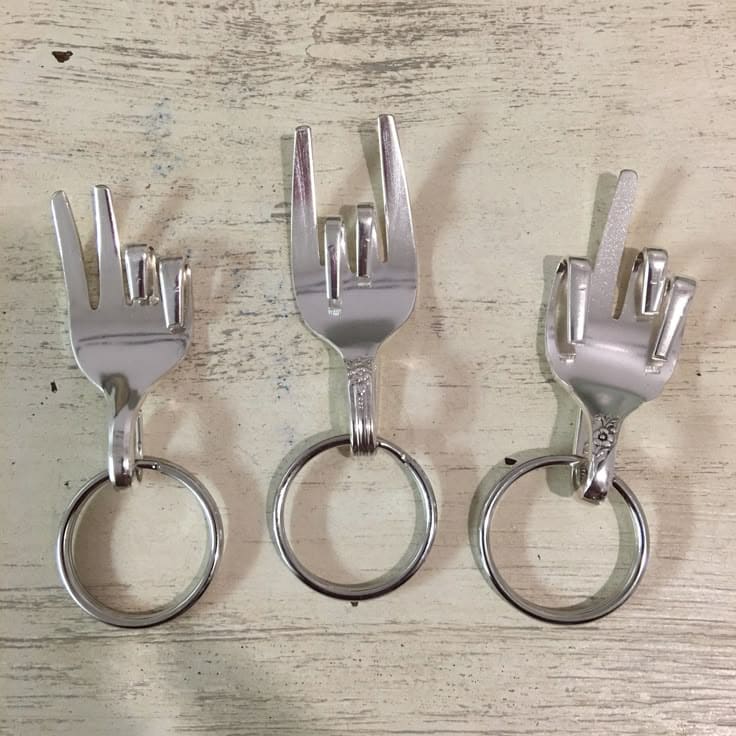
I bent the first fork into a hand gesture just for laughs, but it turned into everyone’s favorite keychain.
Materials Needed
- 3 Vintage stainless steel dinner forks
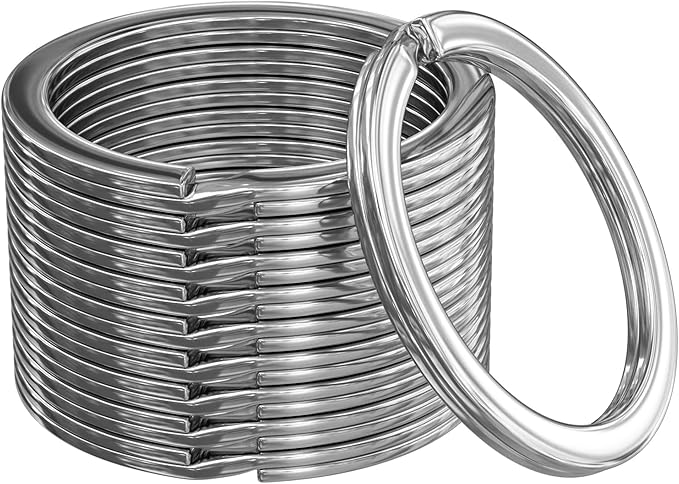
- Metal key rings
- Metal snips
- Jeweler’s pliers set
- Metal file
- Optional: Small torch
Step-by-step Guide
Step 1: Cut the fork down to just the head and a bit of the neck for strength. Smooth out all edges using a file.
Step 2: Heat the fork head slightly if needed, then bend the tines into hand gestures (peace sign, rock horns, or “OK” fingers). Use pliers and go slow to avoid snapping.
Step 3: Drill or punch a hole near the base of the fork neck. Attach a jump ring and connect to a metal keyring.
#6. Victorian Charm Fork Stands for Photos or Jewelry
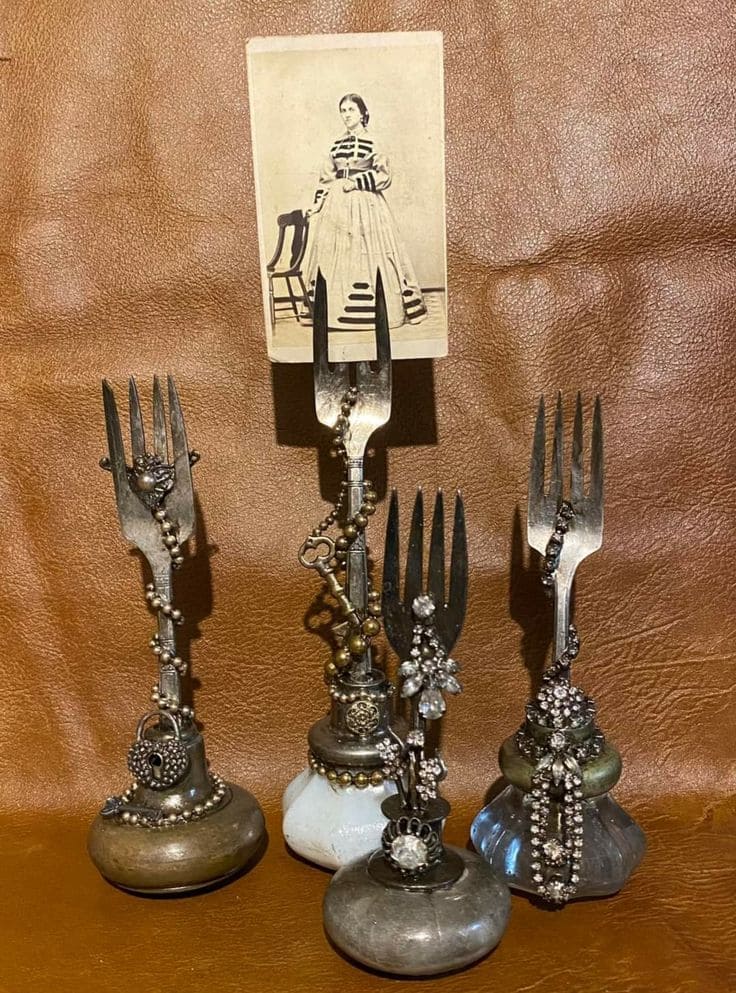
Each fork becomes a tiny, romantic shrine, perfect for holding an old photograph, a necklace, or just a little whimsy in your space.
Materials Needed
- 4 vintage silver forks
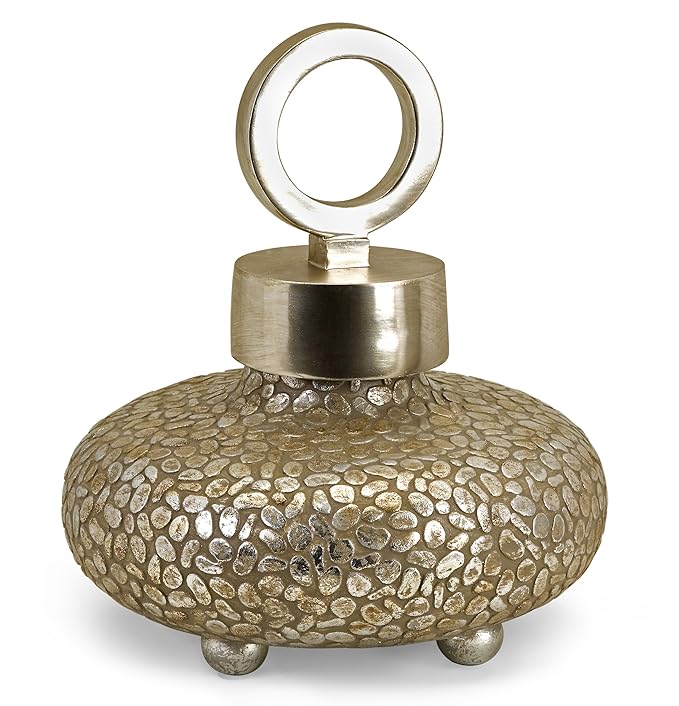
- 4 antique bases
- Epoxy glue
- Assorted charms or beads
- Photo clips or small photos
- Decorative chain
Step-by-step Guide
Step 1: Carefully bend the fork tines forward to create a photo or note clip. Shape gently using pliers so the metal doesn’t snap.
Step 2: Attach the base of the fork into the neck of the bottle or glue it securely on top of the knob. Let dry fully if using adhesive.
Step 3: Drape or wrap beaded chains, vintage jewelry, or small charms around the base and up the stem of each fork for an ornate, layered look.
Step 4: Slip in an old photograph or hang jewelry like rings or bracelets for display.
#7. Heart-Shaped Silverware Wall Hooks
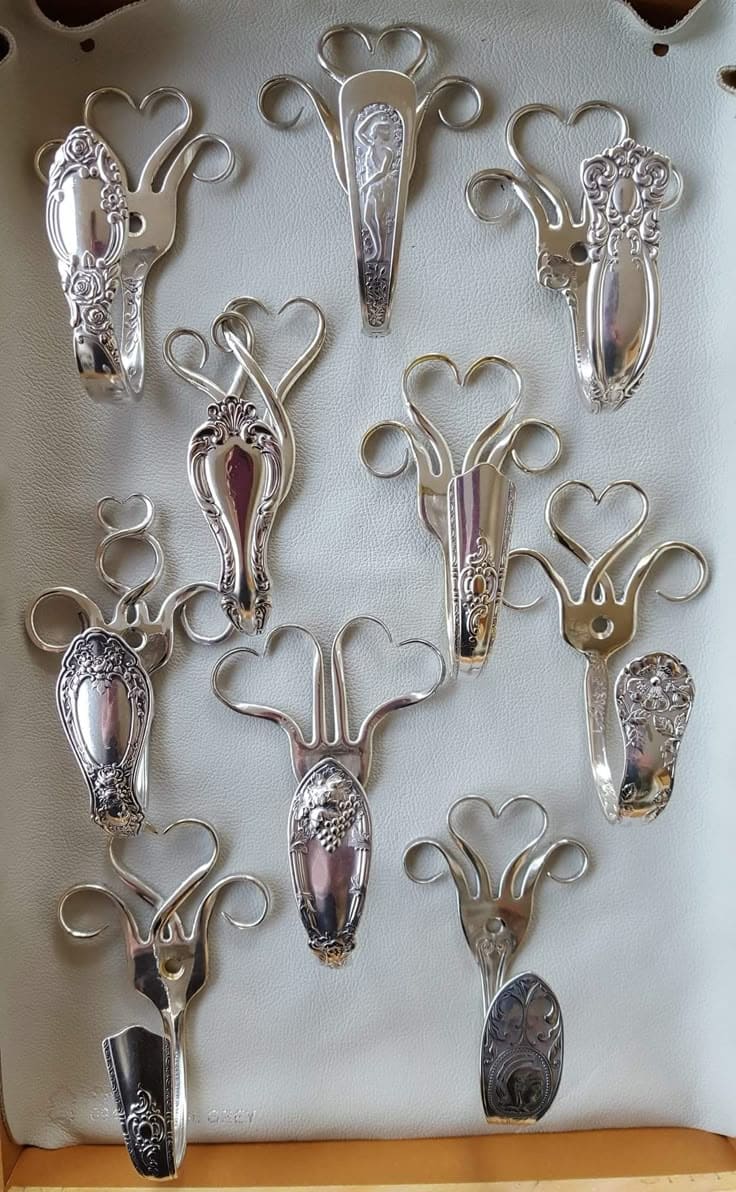
These beautiful wall hooks made from vintage silverware handles feel like sculpted love letters from another time.
Materials Needed
- 10 silver-plated forks
- Heavy-duty pliers and wire-bending tools
- Bench vise
- Small drill and bit
- Wall screws
- Clear coat sealant spray
Step-by-step Guide
Step 1: First, use pliers or a vise to gently bend the handle into a heart shape or swirl.
Step 2: Flatten the fork tines slightly so it rests flush against the wall, then seal the surface with a protective spray to prevent tarnish and keep the silverware glossy.
Step 3: Mount your finished hook using screws or wall-safe adhesive hooks.
#8. Silver Spoon Christmas Tree
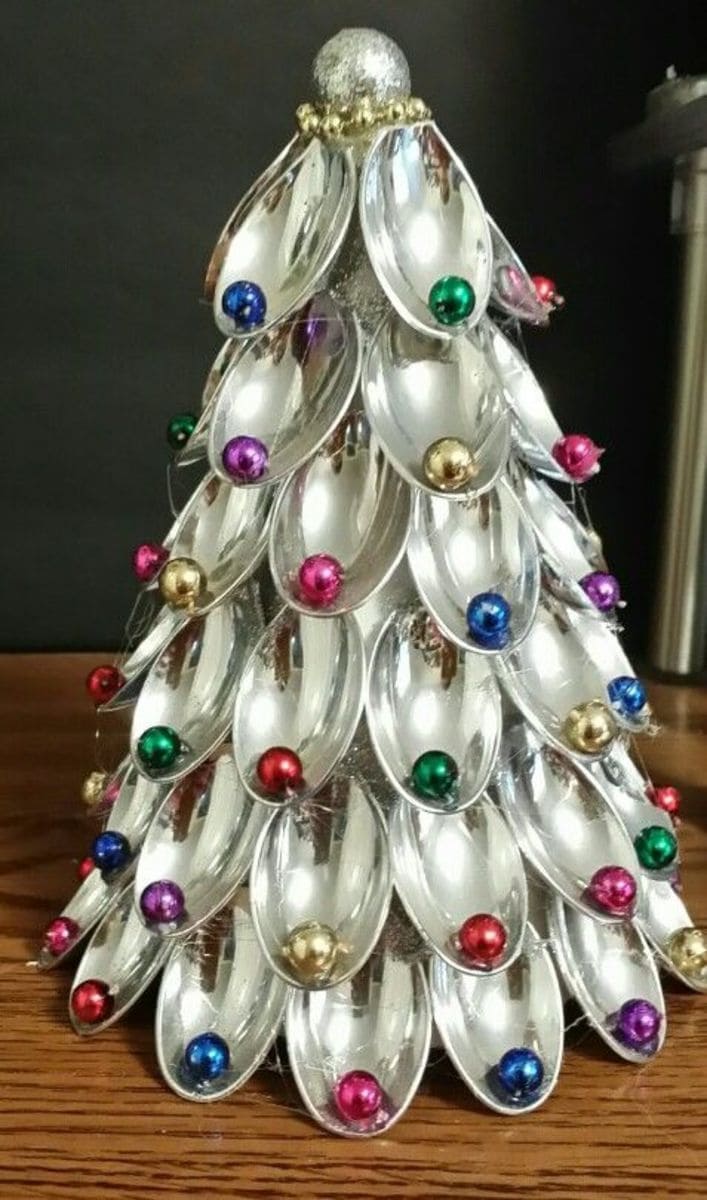
Each shiny spoon bowl stacked like glimmering pine needles, topped with a glittering bauble, and dressed in tiny festive beads.
Materials Needed
- 50 metal spoons (cut handles off)
- 1 foam cone (8–10 inches tall)
- Miniature craft baubles
- Hot glue gun and glue sticks
- 1 glittery bead
- Metallic spray paint (optional)
Step-by-step Guide
Step 1: Cut the spoon handles off, leaving just the bowls. Sand edges if sharp. Optionally, spray-paint them silver for uniform shine.
Step 2: Begin gluing spoon bowls starting from the bottom edge of your cone, overlapping each like scales or pine needles.
Step 3: Continue layering upwards until the cone is fully covered, then hot glue a colorful mini bauble into each spoon and finish with a sparkly topper.
#9. Vintage Spoon Bird Sculpture
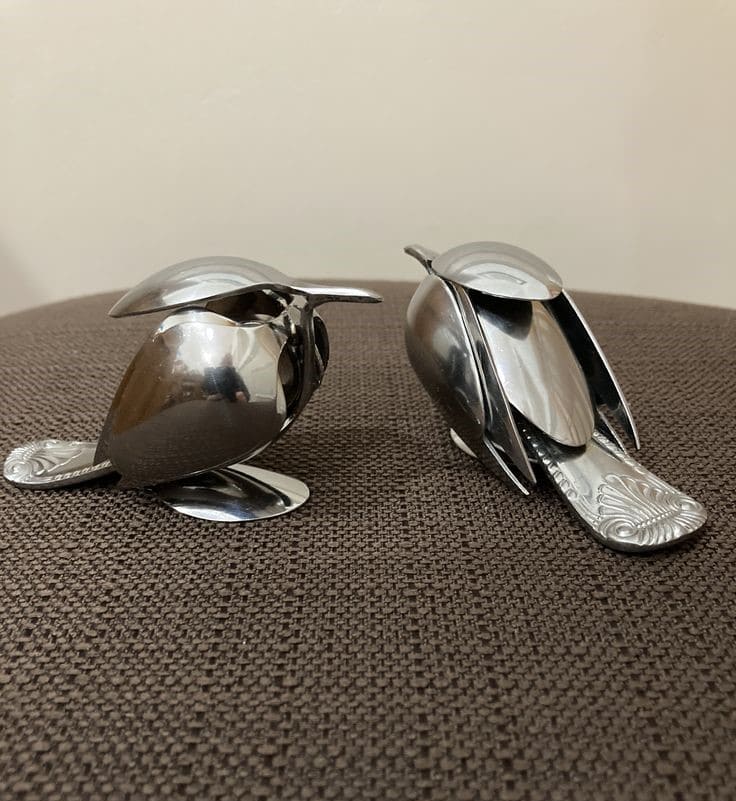
These charming little birds are handcrafted entirely from vintage silverware, each one sculpted from carefully bent spoons and forks.
Materials Needed
- 4 large vintage silver spoons
- 1 fork
- Small metal epoxy
- Metal snips
- Fine sandpaper
Step-by-step Guide
Step 1: Use metal snips to cut spoon handles as needed. Curve two spoons to form the bird’s body and one flattened spoon for the base (feet). Use the bowl side for the chest.
Step 2: Attach the body pieces with metal glue. Once secure, glue the spoon “wings” on either side, slightly flared outward. Use a patterned spoon handle for the tail.
Step 3: Cut a fork in half and bend the tines to form a beak or detailed feet. Attach securely with glue and let cure overnight.
#10. Upcycled Silverware Garden Flowers
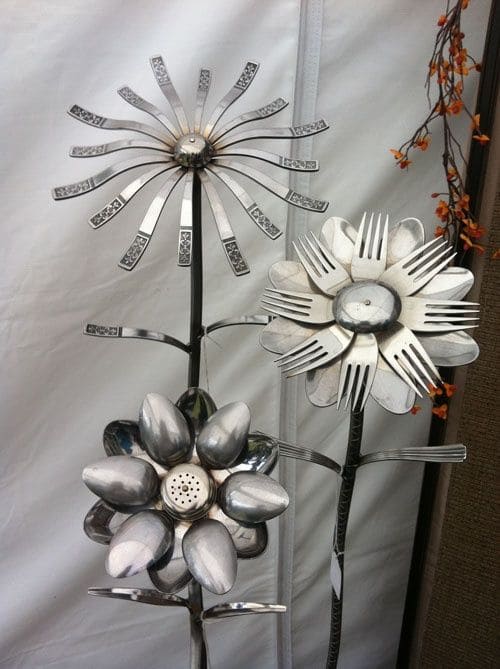
They stand tall like industrial sunflowers, turning forgotten utensils into blooming garden sculptures that shimmer with memories.
Materials Needed
- 20 vintage spoons and 8 forks
- 1 small round metal lid
- 1 metal rod
- Metal adhesive
- Pliers, vise, and gloves
- Optional: Clear sealant spray
Step-by-step Guide
Step 1: Choose your silverware. Bend spoons into petals using a vise and pliers. Forks can be spread or curled for variation. Keep symmetry in mind.
Step 2: Arrange petals in a circular formation around the center piece (shaker top, washer, or a metal button). Glue or weld each petal in place carefully, one at a time.
Step 3: Attach the assembled bloom to a metal rod or thick garden stake. You can glue, clamp, or weld depending on tools available.
Step 4: Add fork handles as leaves if desired, slightly bent outward from the stem. Let everything cure or cool fully.
#11. DIY Silver Spoon Handle Wall Vases
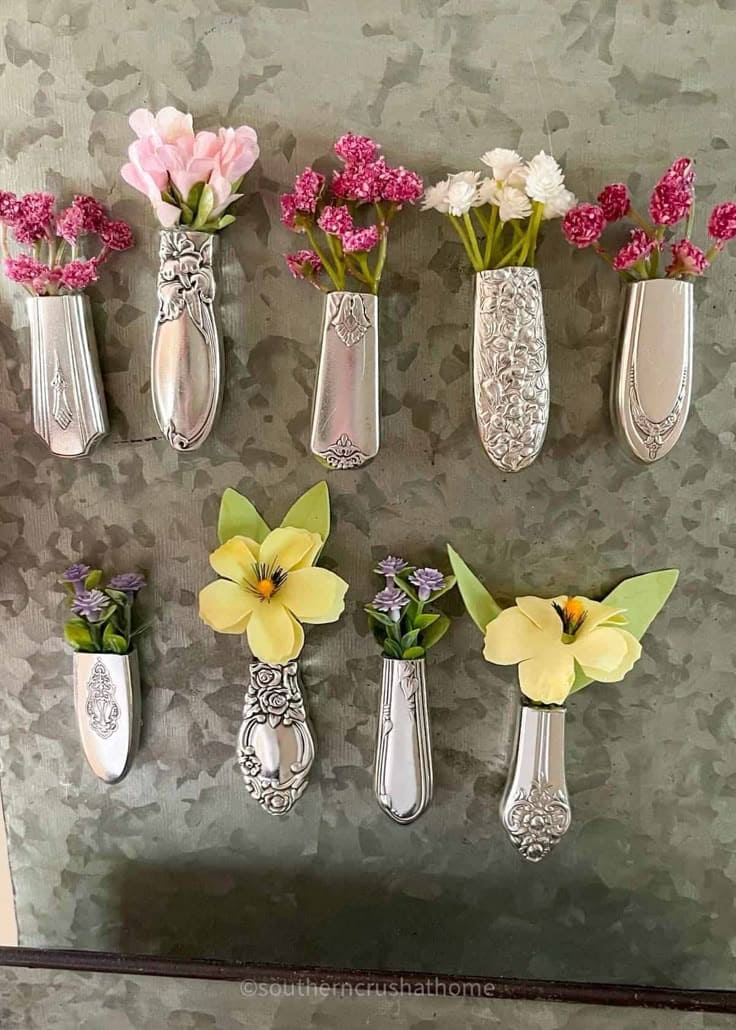
Mounted on a metal board, they turn forgotten flatware into sweet vertical gardens.
Materials Needed
- 8–10 vintage silver-plated spoon handles
- Metal snips
- Jeweler’s file
- E6000 adhesive
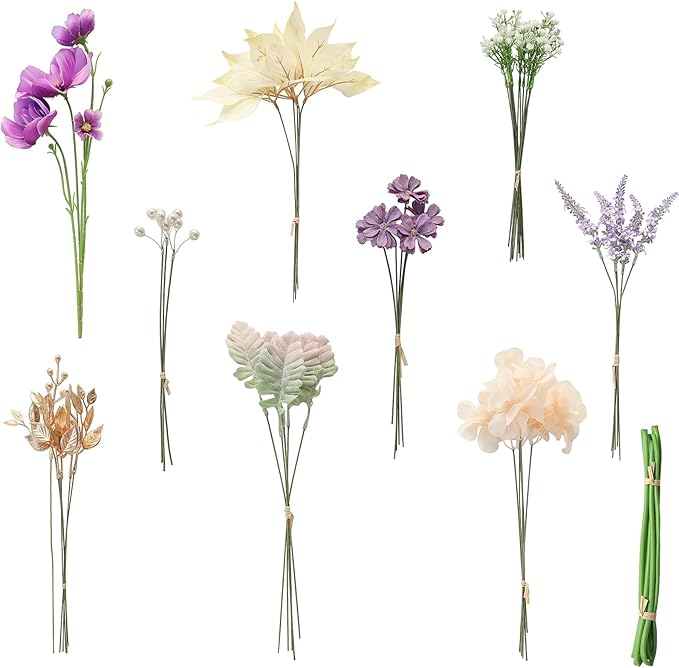
- Small faux flowers
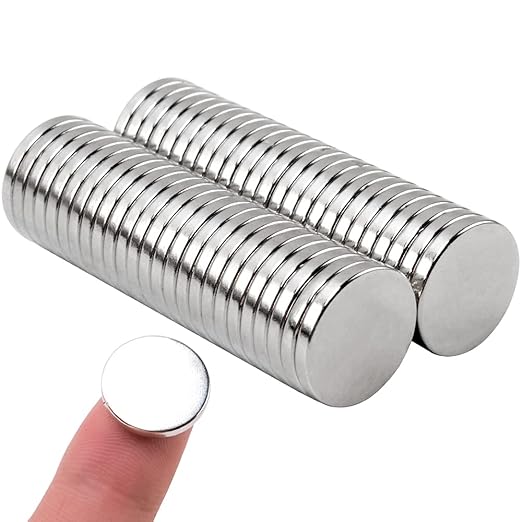
- Magnets
- Optional: Clear coat spray
Step-by-step Guide
Step 1: Cut the handles from old spoons, about 3–4 inches long. File down sharp edges with a jeweler’s file until smooth.
Step 2: Bend each handle gently into a slight U-shape using a vise or round-nose pliers., then attach a magnet or a small screw hook to the back using strong adhesive.
Step 3: Fill the curved vases with miniature faux blooms. Add ribbon or beads for extra charm if desired.
#12. Fork Octopus Necklaces
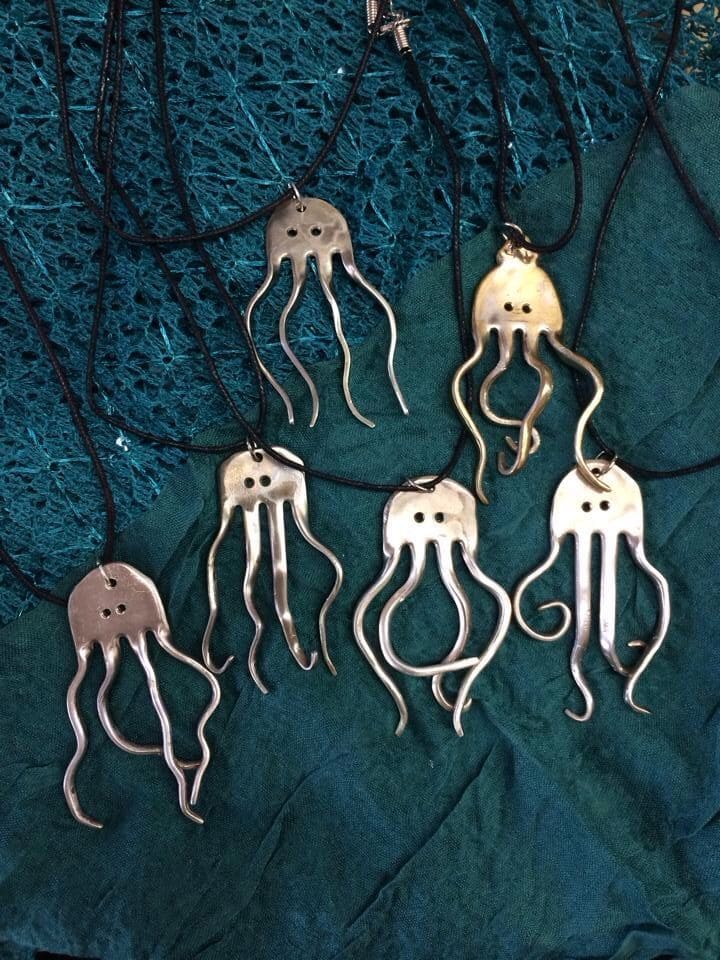
These octopus necklaces are playful, oddly elegant, and full of handmade charm.
Materials Needed
- 1 stainless steel dinner fork per necklace
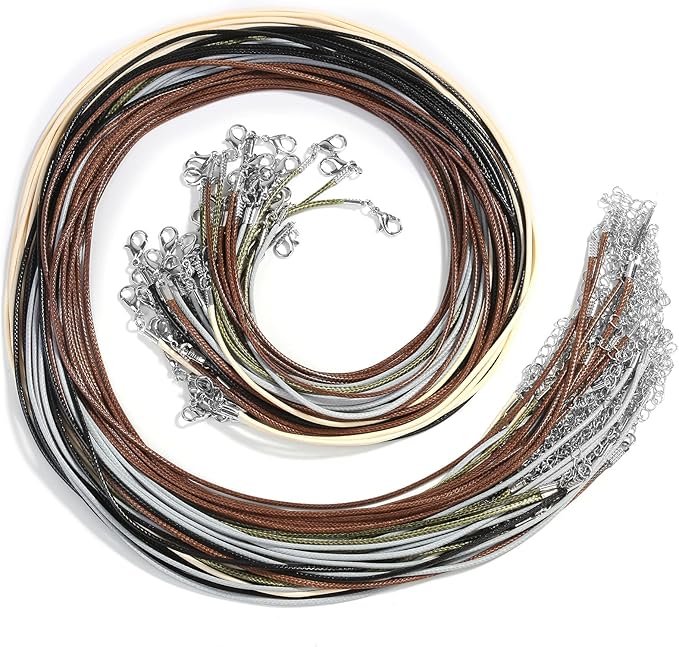
- 1 leather cord necklace with clasp
- Mini rotary tool
- Jewelry pliers set
- Metal file
- Jump ring connectors
- Optional: Metal stamps
Step-by-step Guide
Step 1: Use a rotary tool to create two holes near the base of the fork (for eyes). Sand the edges smooth with a file.
Step 2: Cut off the fork handle if needed, then use pliers to bend each tine into curvy, tentacle-like shapes.
Step 3: Add a jump ring through one eye-hole and loop it onto a leather cord. Finish with a clasp, and your little sea creature is ready to wear.
#13. DIY Vintage Spoon And Fork Earrings
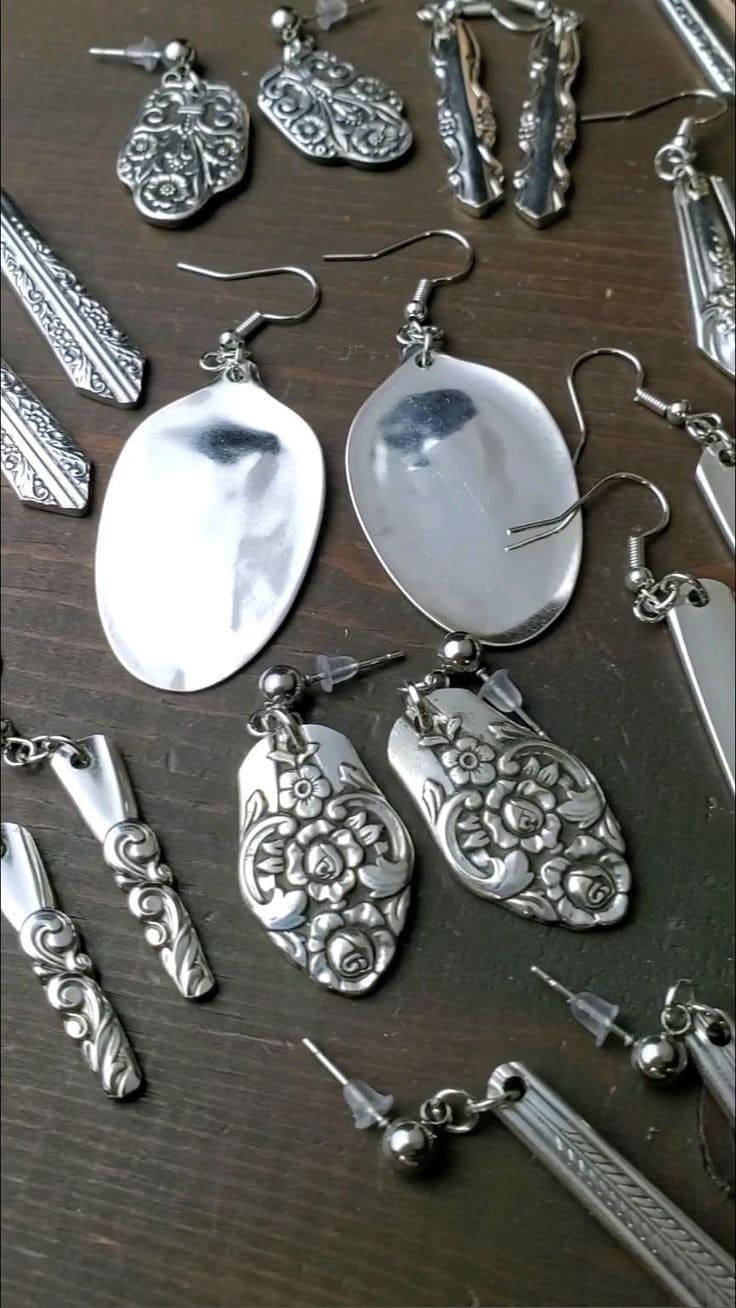
Whether they’re long and lean, floral and embossed, or bold with polished bowl backs, each pair is a wearable piece of art echoing the past with every swing.
Materials Needed
-
- 3-4 vintage silver-plated forks and spoons
- Jewelry drill
- Metal snips
- Bench vise
- Jeweler’s files
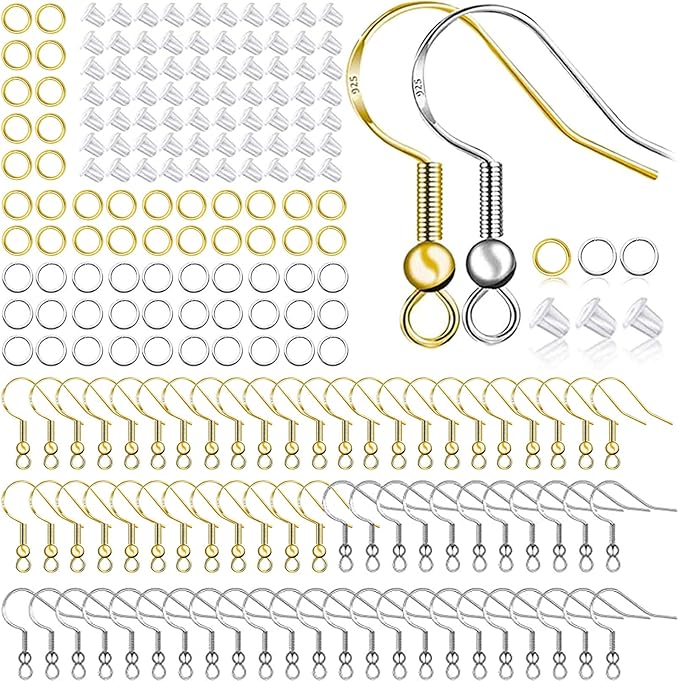
- Earring hooks and jump rings
- Optional: Steel stamps
Step-by-step Guide
Step 1: Cut spoon bowls or fork handles to your desired earring length (1.5″–2.5″ works well). Use a file to round and smooth the edges.
Step 2: Flatten the pieces using a bench vise or mallet for a more even look, then drill a small hole at the top of each piece, just large enough to fit a jump ring.
Step 3: Polish the metal, attach jump rings, and hook them onto your earring wires.
#14. Garden Dragonfly from Silver Spoons
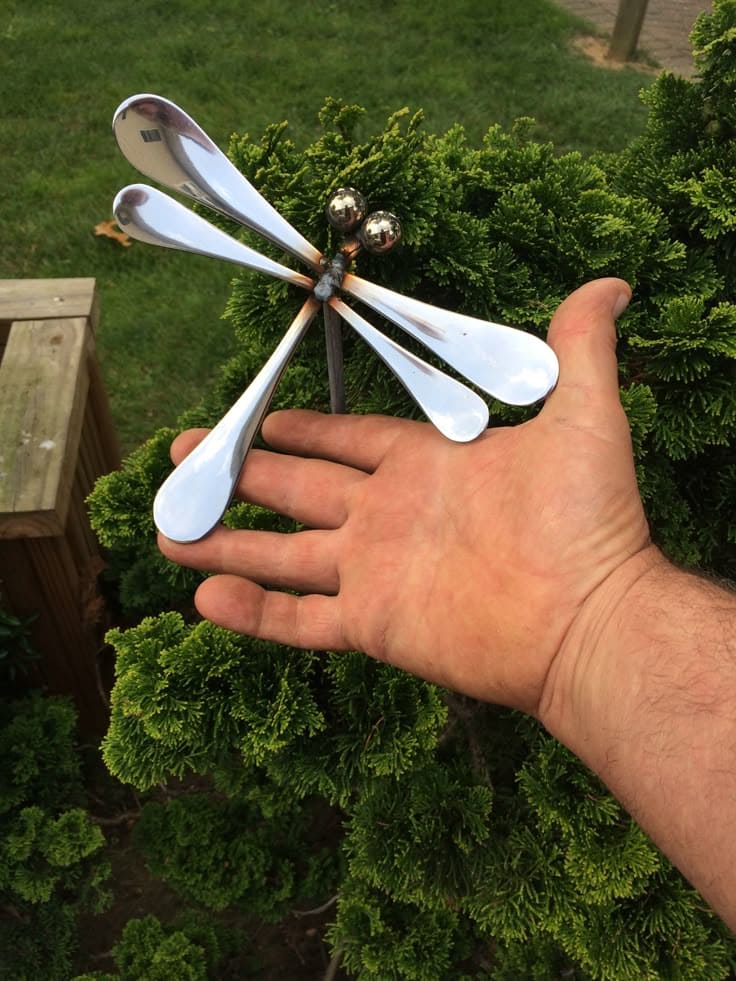
I made one for my herb garden, and it always catches the morning light just right.
Materials Needed
- 5 stainless steel tablespoons (5″ and 8″)
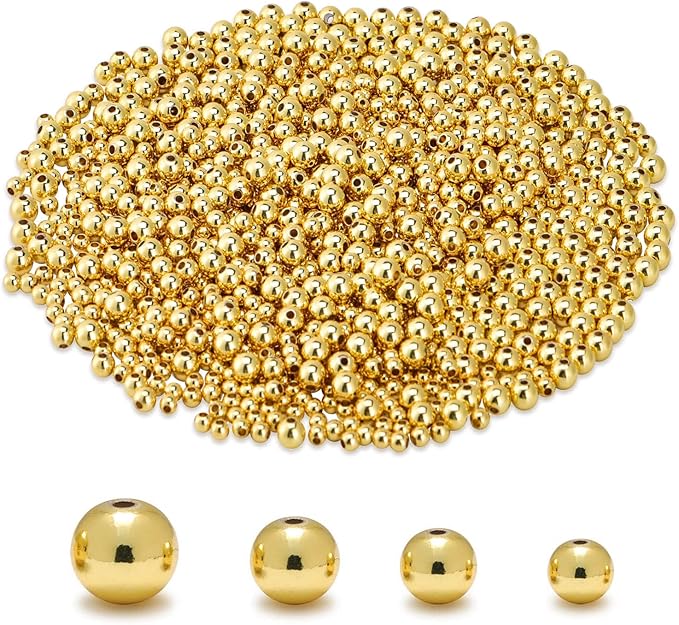
- 2 metal beads
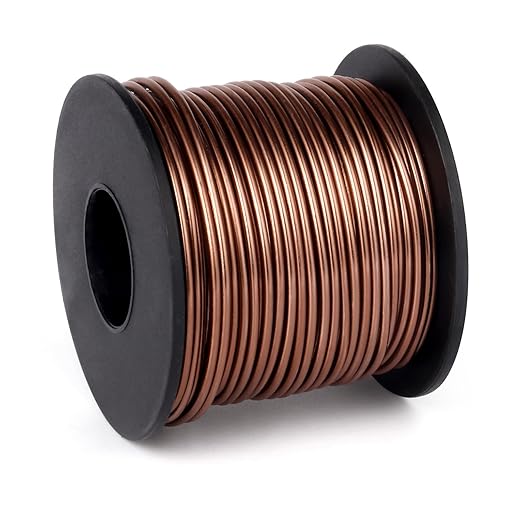
- Silver solder wire
- Small propane torch kit
- Bench vise
- Metal polish and gloves
Step-by-step Guide
Step 1: Clamp the tablespoons in a vise and slightly flatten the bowls if needed.
Step 2: Arrange the spoons in an “X” shape, with each pair forming a wing set. Solder them together at the center where they meet.
Step 3: Attach the metal beads or bearings to the top of the steel rod to form the dragonfly’s eyes. Solder or glue them securely in place.
#15. Silverware Mobile with Driftwood Boat
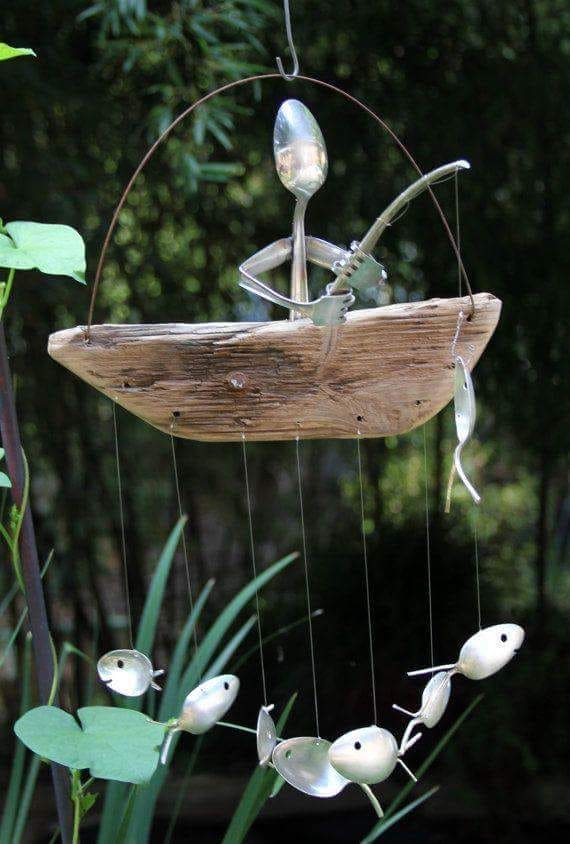
With a spoon-figure peacefully fishing from a driftwood boat, surrounded by dangling fish made from cutlery, it’s a whimsical tribute to nature, stillness, and repurposing forgotten things into joy.
Materials Needed
- 1 piece of driftwood (10″–12″ long, flat-bottomed)
- 9 old teaspoons, 1 fork and 1 butter knife
- 20″–24″ of nylon fishing line
- 1 sturdy metal wire
- Mini drill with metal bit
- Soldering kit
- Super glue
- Safety gloves and goggles
Step-by-step Guide
Step 1: Drill small holes in the driftwood including two at the ends for the metal arch, and one in the center to attach the fisherman. Shape the metal wire into an arch and secure it tightly.
Step 2: Form the fisherman using a spoon for the head, a fork for arms and legs, and solder the parts together. Curve the butter knife into a rod and attach it to the figure’s hand.
Step 3: Drill tiny holes in the ends of the spoons to create fish, then add dot eyes with a metal marker. Tie nylon fishing line to each fish and space them evenly across the arch.
Step 4: Hang the fisherman in the center of the driftwood with line or wire. Glue or solder the fishing line to his rod and attach one spoon-fish to it for a playful finishing touch.
#16. Vintage Spoon Handle Heart Necklace DIY
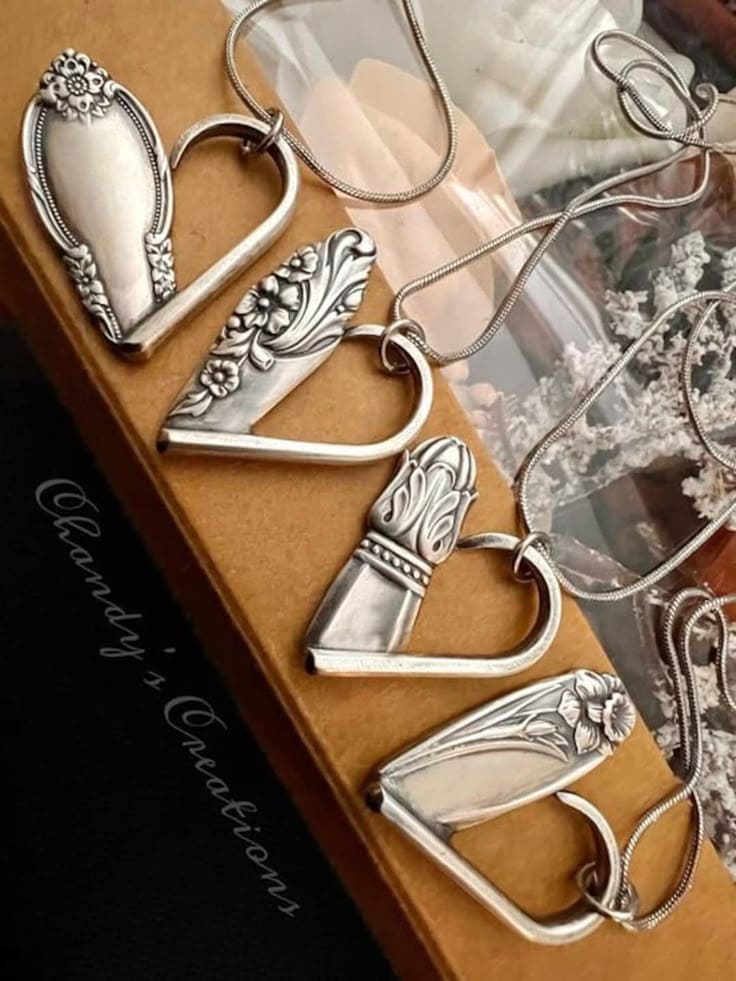
The engraved floral patterns feel timeless, like they’ve held generations of stories in a single piece of metal now worn close to the heart.
Materials Needed
- 4 vintage silver-plated spoon handles
- Metal cutter
- Bench vise
- Jeweler’s file
- Silver jump rings
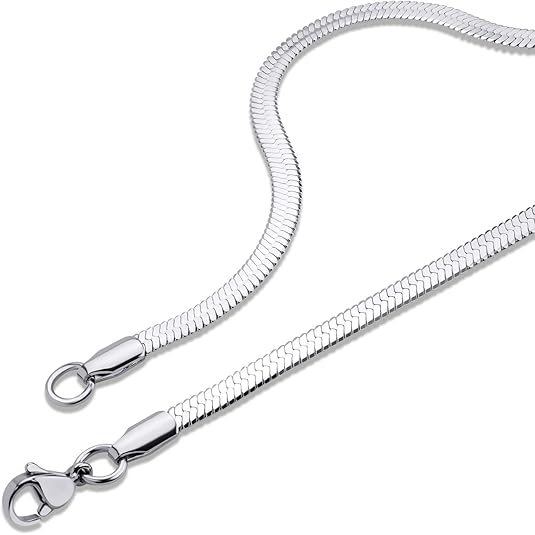
- Snake chains
- Optional: Polishing cloth
Step-by-step Guide
Step 1: Use metal snips to cut the handle to about 2.5–3 inches in length. Smooth the edges with a jeweler’s file to remove any burrs.
Step 2: Carefully bend each handle into a half-heart shape using a vise or pliers. Repeat with a second handle or matching length of wire for the opposite side, and connect them into a full heart.
Step 3: Join both ends with a strong silver jump ring through a pre-drilled hole, then slip the jump ring onto your chain or cord.
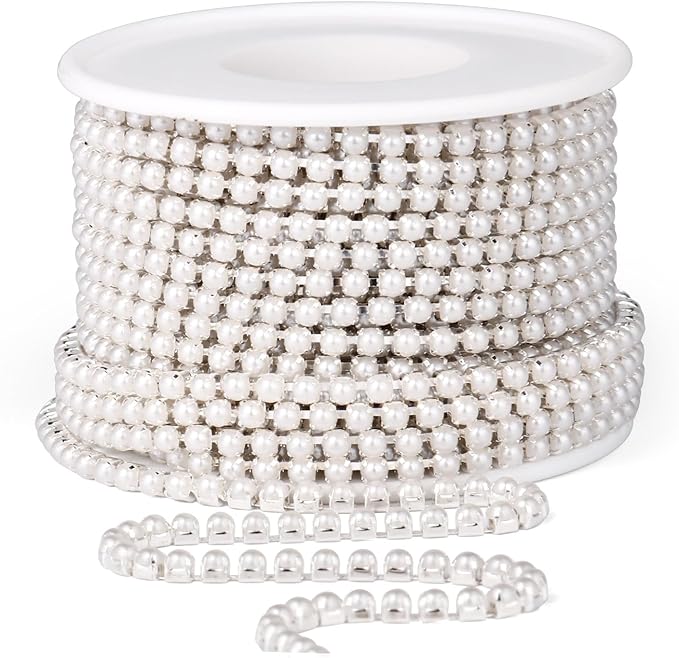
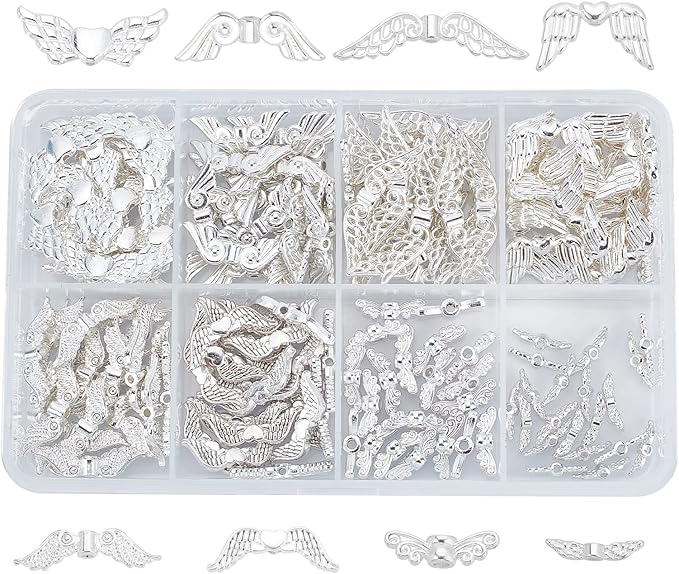
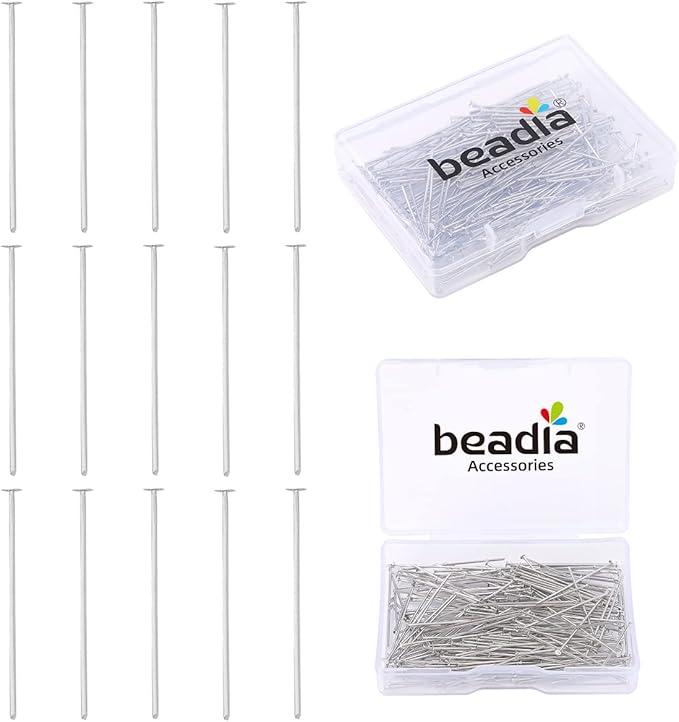
#17. Upcycled Silver Spoon Angel Necklaces
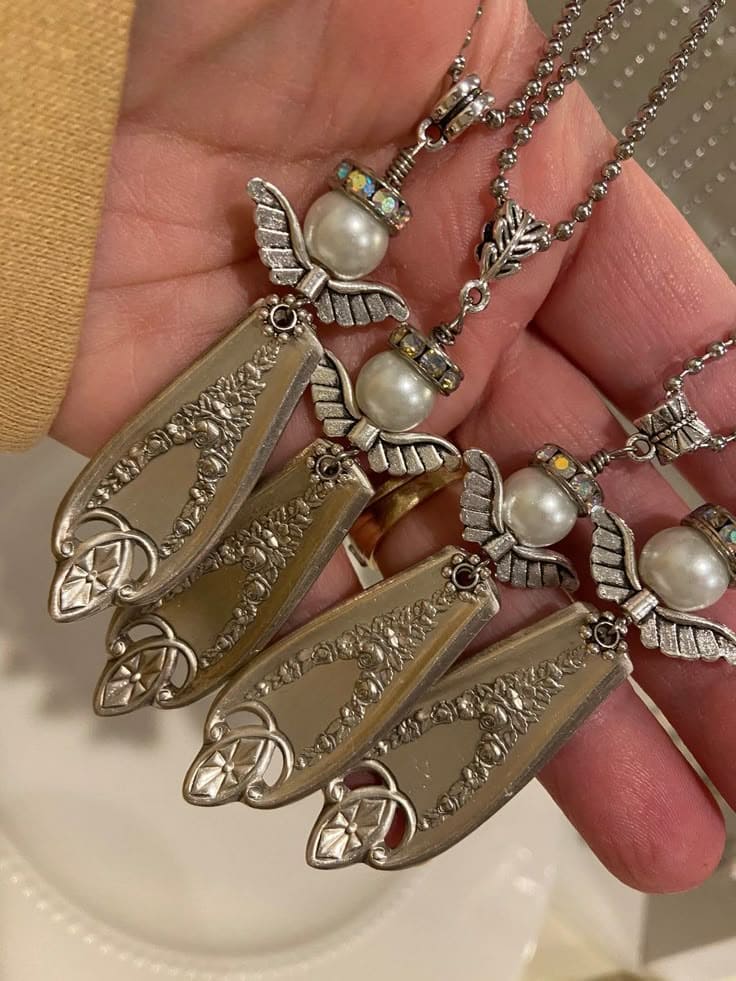
I’ve made one from my great-aunt’s spoon and wore it to her memorial, it still gives me comfort. The shape is simple, but the meaning hits deep.
Materials Needed
- 4 Vintage silver-plated spoon handles
- 4 Round pearl beads (8–10mm)
- Metal angel wing charms
- Spacer rhinestone halos
- Headpins (2 inches)
- Small drill
- Ball chain
- Jewelry pliers, jump rings, adhesive
Step-by-step Guide
Step 1: Cut and file the spoon handle to the desired pendant length (about 2.5–3 inches). Smooth edges thoroughly.
Step 2: Drill a tiny hole at the top of each handle for the headpin or jump ring to pass through.
Step 3: Stack a pearl bead, angel wings, and halo spacer on a headpin. Loop the end securely and attach to the spoon top with a jump ring.
#18. Vintage Spoon Garden Markers
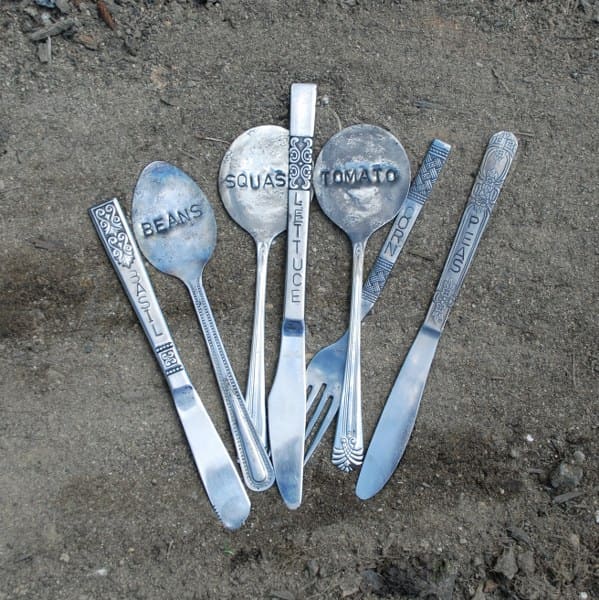
I made a set like this and every time I water the beans or check the basil, I smile.
Materials Needed
- Old silverware (spoons, forks, knives)
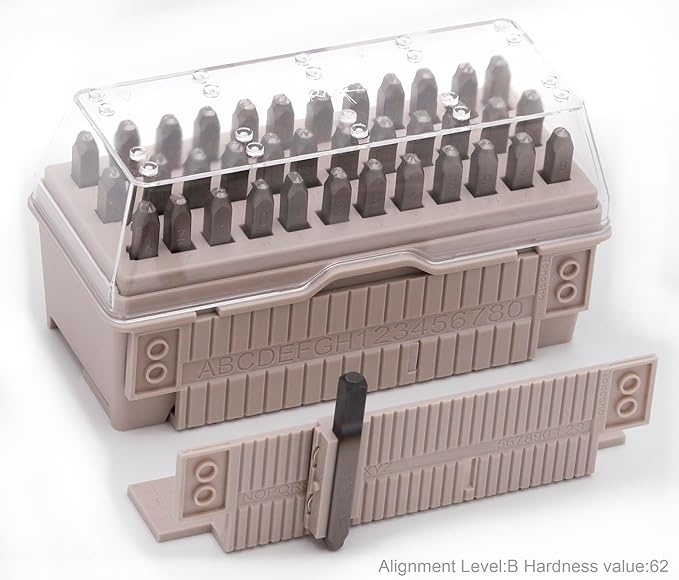
- Metal letter stamp set (A–Z, 1/8” or 3mm)
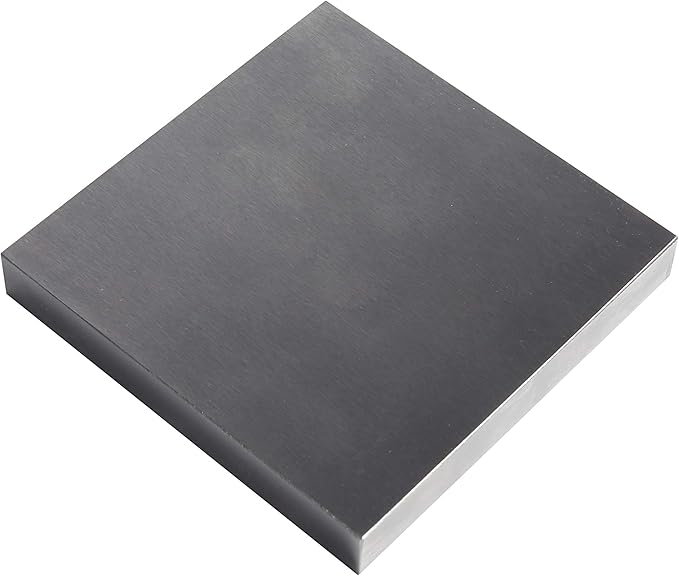
- Steel bench block
- Hammer (16 oz)
- Black enamel marker
- Polishing cloth
Step-by-step Guide
Step 1: Flatten the utensil head using a hammer and steel block, especially for spoons and forks.
Step 2: Secure the flattened silverware on your bench block. Use letter stamps to imprint each plant name – one letter at a time with firm hammer strikes.
Step 3: Fill in the stamped letters with black enamel or marker. Let it dry, then wipe off the excess to reveal bold, legible labels.
#19. Fork and Spoon Stands
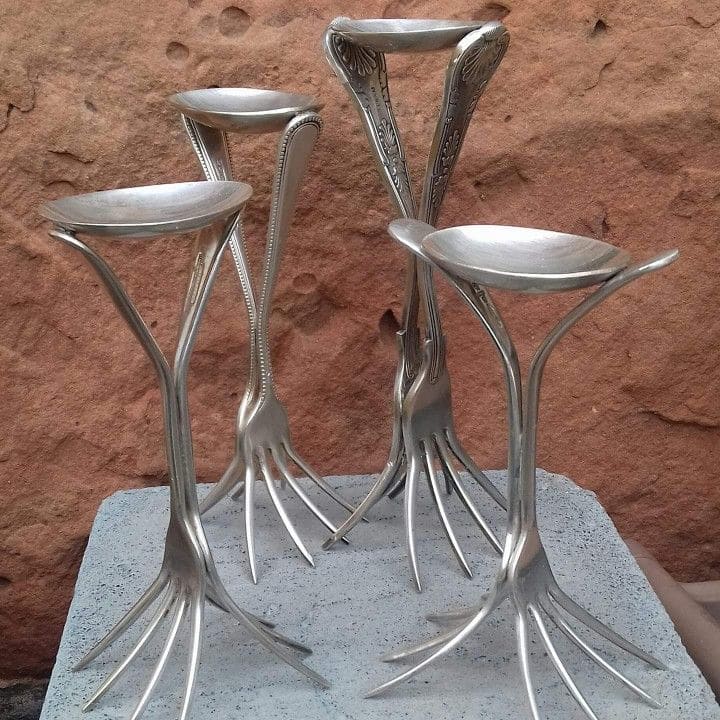
Each piece rises like a silver tree, delicate, spindly, and strong enough to hold a votive candle or display a tiny item.
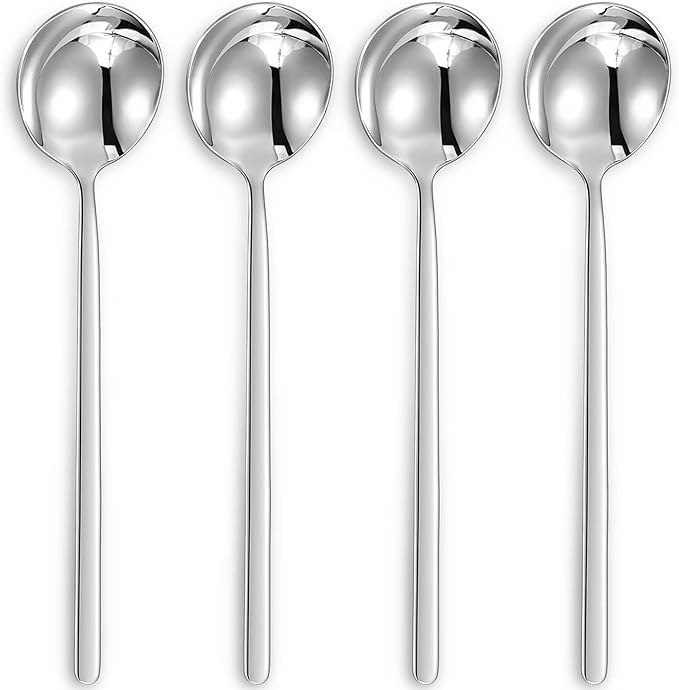
Materials Needed
- 2 matching stainless steel forks (7″–8″) per project
- 1 large stainless steel soup spoon per stand
- Silver solder wire
- Mini propane torch kit
- Bench vise
- Metal file set
- Heat-resistant gloves and eye protection
Step-by-step Guide
Step 1: Use the vise to curve the fork handles upward while flaring the tines outward like roots. Slightly bend the spoon handle if needed to match the design.
Step 2: Solder two forks together lengthwise to form one leg. Repeat for the second pair. Then, solder the two legs together at the top, forming a tripod-like base.
Step 3: Flatten the bottom of the spoon bowl if necessary and solder it to the top of the joined forks as the tray or surface, then file off any rough joints and polish the stand thoroughly.
#20. Stamped Silverware Keychains
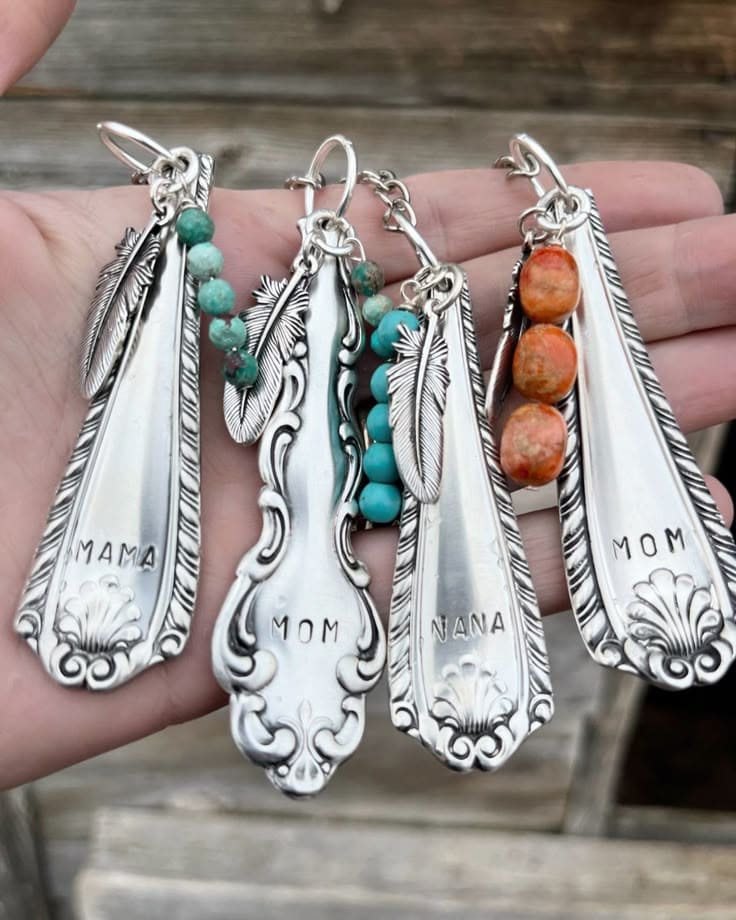
These are full of soul. Each keychain is personal, meaningful, and surprisingly easy to make from an old silver spoon handle.
Materials Needed
- 1 vintage silver spoon handle
- Alphabet metal stamping set
- Jump rings
- Keyring hardware
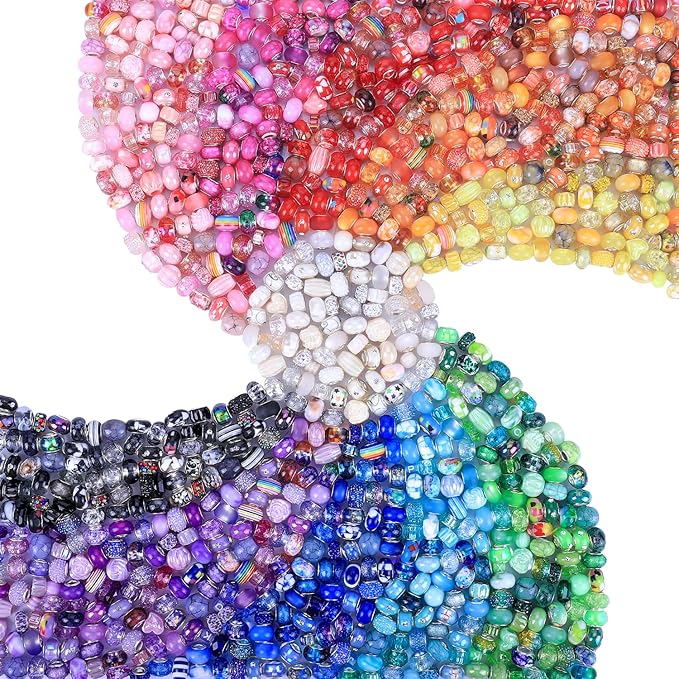
- Bead charms
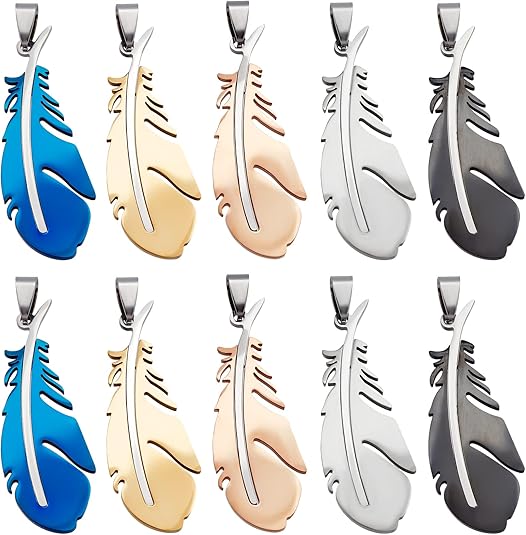
- Feather charm set
- Metal hole punch
- Rubber mallet and stamping block
Step-by-step Guide
Step 1: Cut and file down the handle of a vintage spoon. Flatten it with a rubber mallet if needed, then punch a hole at the top for the key ring.
Step 2: Use letter stamps to press the name or word of your choice (like “MOM,” “NANA,” or “MAMA”) onto the handle. Fill the letters with black ink or polish for contrast.
Step 3: Add beads and feather charms to a jump ring, then attach everything to the key ring loop. Layer textures for a boho-style charm set.
#21. Silver Spoon Wind Chime from Vintage Tray
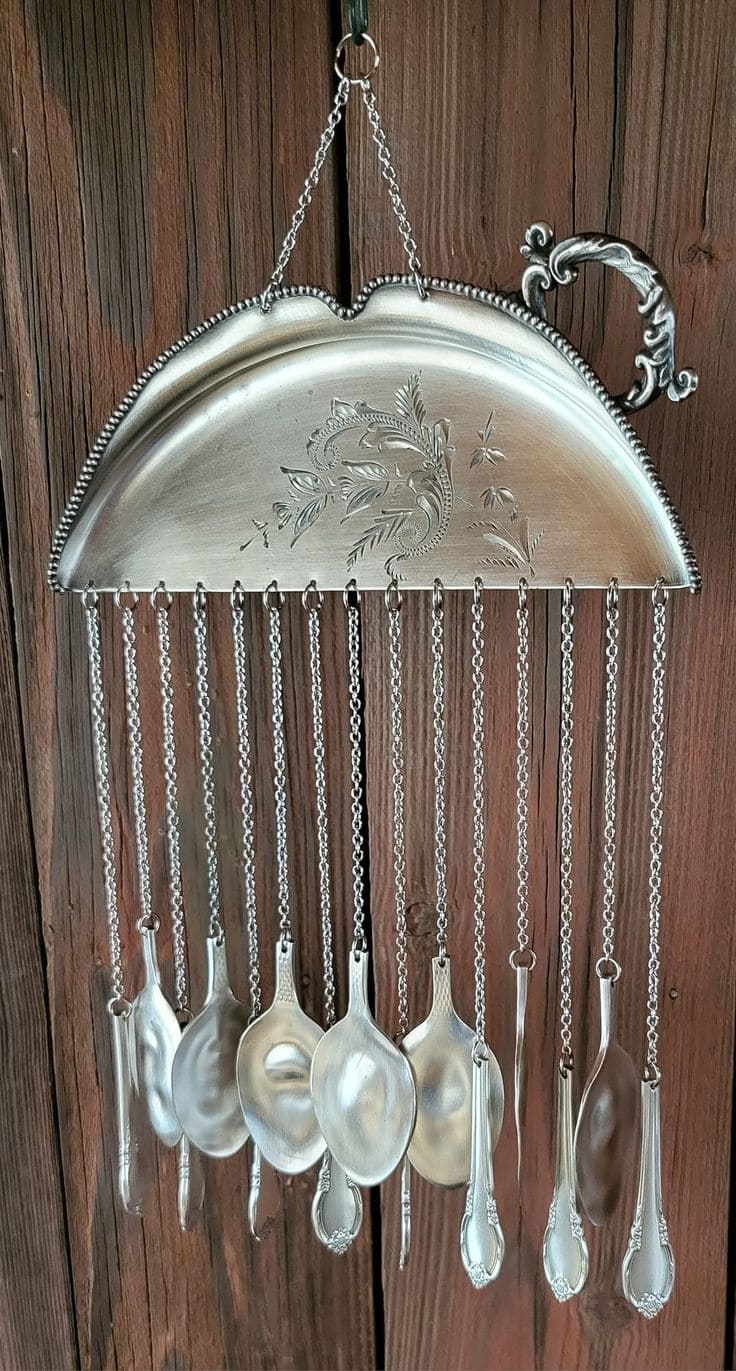
I made one with my grandmother’s old serving tray and mismatched spoons, and the sound it makes in the breeze is like memory turned to music.
Materials Needed
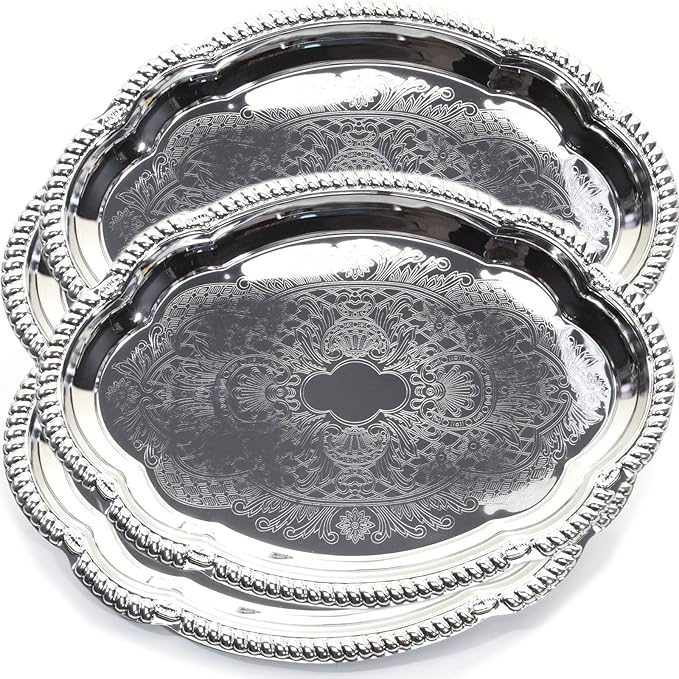
- 1 vintage silver serving tray
- 8 vintage silver teaspoons
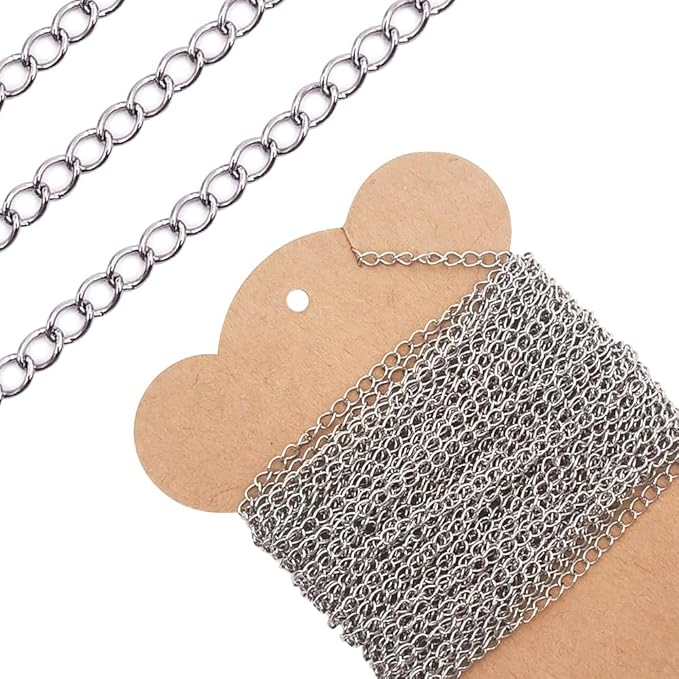
- 18 small metal chains (8″–10″)
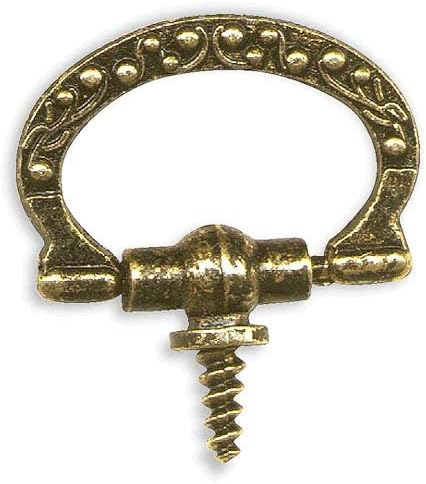
- 1 decorative hanging ring
- Jump rings and small drill bits
- Rotary tool
- Metal file and polish
Step-by-step Guide
Step 1: Cut the silver tray in half and file the cut edge smooth. Drill evenly spaced holes along the flat edge for chain attachment.
Step 2: Drill a small hole in the handle of each spoon. Use jump rings to attach each spoon to the end of a chain.
Step 3: Finally, secure the top of each chain into the holes along the tray using jump rings.
#22. Horseshoe Cow Face Wall Art
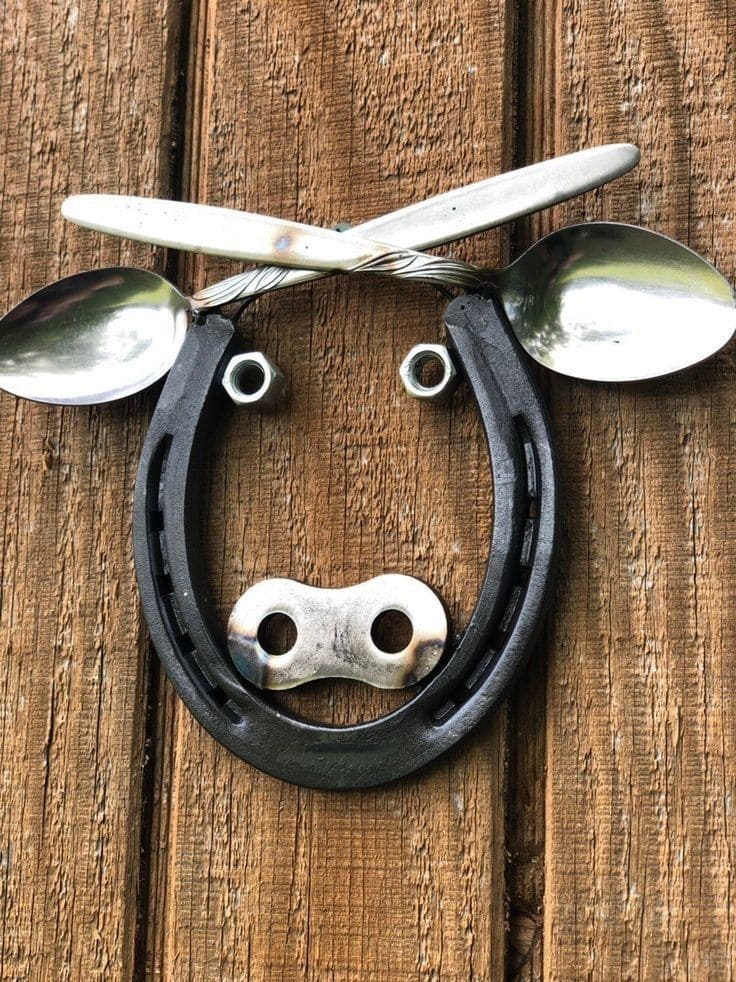
This quirky little cow face is rough, rustic, and full of character, the kind of piece that makes guests stop and ask, “Did you make that?” (Yes, proudly.)
Materials Needed
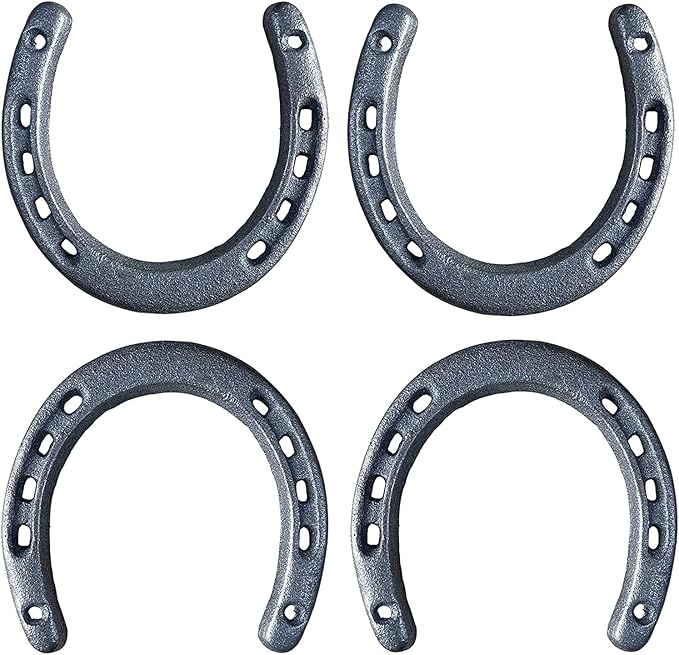
- 1 metal horseshoe
- 2 stainless steel teaspoons
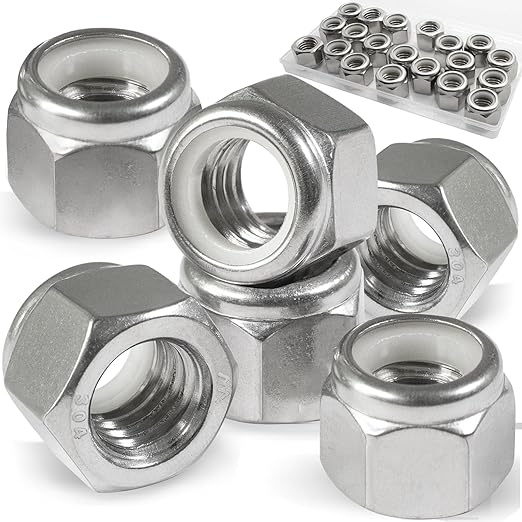
- 2 hex nuts (1/2″)
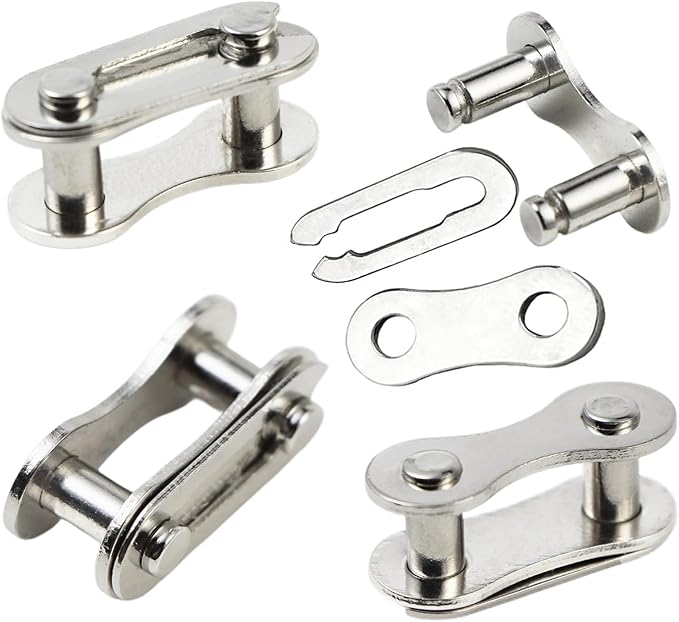
- 1 metal bike chain link plate
- 2 butter knives
- Metal epoxy glue
- Wire brush
- Drill and screws
Step-by-step Guide
Step 1: Clean all metal parts thoroughly using a wire brush or sandpaper. Arrange the horseshoe open-side-down to form the cow’s face.
Step 2: Position the two spoons outward for ears and secure them to the top curve of the horseshoe using metal glue or by spot welding.
Step 3: Cross the butter knives above the horseshoe to form a brow or horn line. Fix it with glue or tack-weld it lightly in place.
Step 4: Attach the hex nuts inside the horseshoe as eyes and center the bike chain plate toward the bottom as the nostrils. Mount the piece using screws through the horseshoe holes or attach a hook for hanging.
#23. Silverware Peacock Display
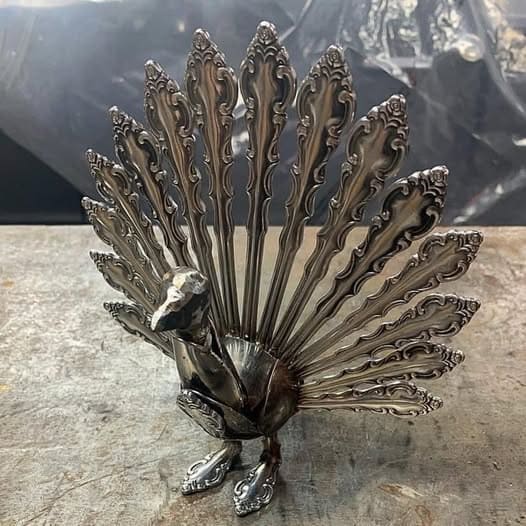
This little peacock feels like it strutted straight out of a forgotten drawer and into the spotlight.
Materials Needed
- 18 vintage dinner forks (7″)
- 2 large serving spoons (8″ to 9″)
- 1 butter knife
- Silver solder wire (at least 0.5 lb)
- Small propane torch
- Bench vise
- Metal file set
- Safety gear: gloves, goggles, and mask
Step-by-step Guide
Step 1: Clamp each fork into the bench vise and gently curve the tines back to create an arched feather shape. Repeat for all forks.
Step 2: Arrange the forks in a fan layout and solder them together at the base, overlapping slightly for a natural spread.
Step 3: Use a large serving spoon for the body. Trim a butter knife into shape for the neck and beak, then solder it to the spoon bowl.
Step 4: Shape the remaining spoon into tail support and feet. Attach all parts securely, then file any sharp edges and polish to a shine.
#24. Silver Spoon Ant Sculpture
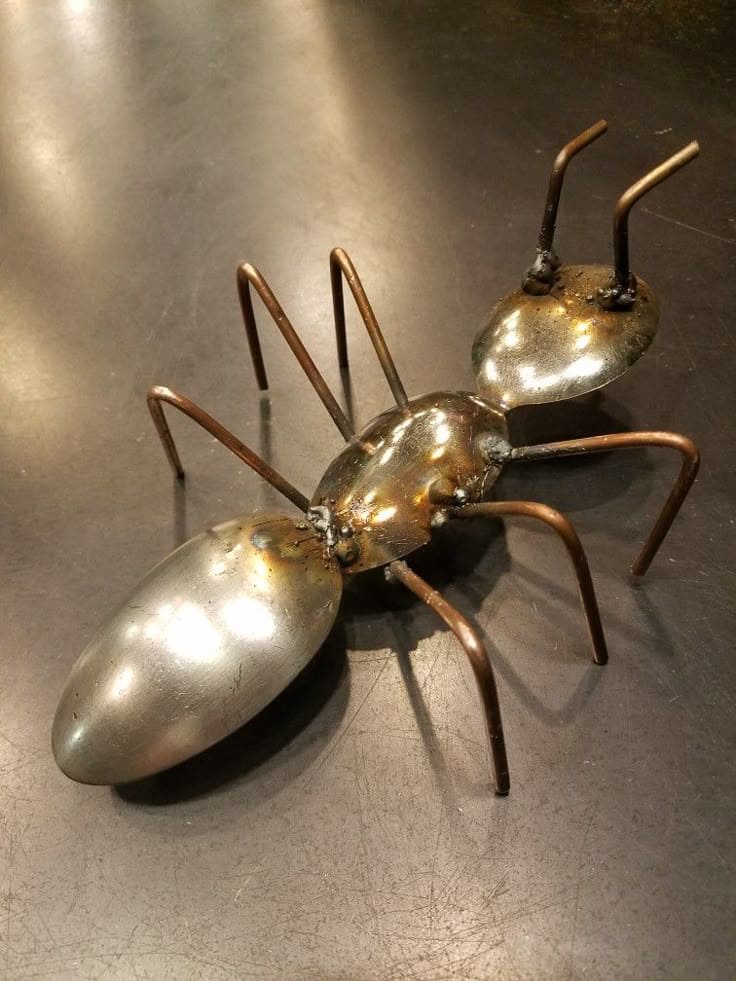
I never thought an ant could look this bold and stylish. The way the metal catches light on its back feels like armor.
Materials Needed
- 3 large stainless steel serving spoons (8″ to 9″)
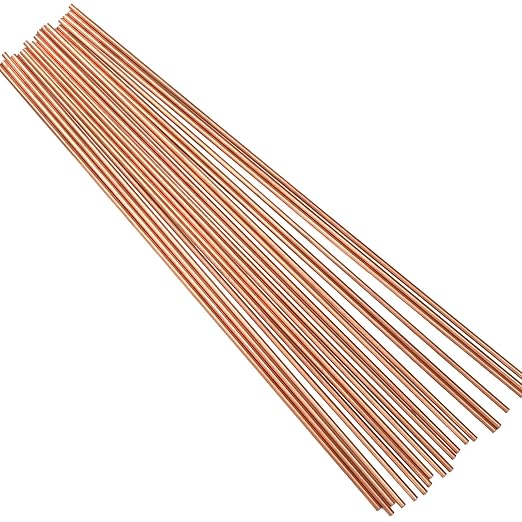
- 6 short copper rods (5″ each, 1/4″ thick)
- 2 thin metal rods (3″ each)
- Soldering torch kit
- Silver solder wire
- Bench vise
- Sandpaper
- Safety goggles and gloves
Step-by-step Guide
Step 1: Clean and slightly flatten the spoon bowls using a vise if needed. Arrange them in a line from smallest to largest for the ant’s head, thorax, and abdomen.
Step 2: Solder the spoon bowls together at their narrow points to form the body. Let the joints cool fully before continuing.
Step 3: Cut and bend six rods into slight curves for legs. Attach three on each side of the middle spoon, spaced evenly.
Step 4: Attach two thinner rods at the front of the head spoon for antennae. Use sandpaper or a wire brush to smooth any joints and polish the full sculpture for a clean, metallic finish.
#25. Spoon Bloom Garden Decor
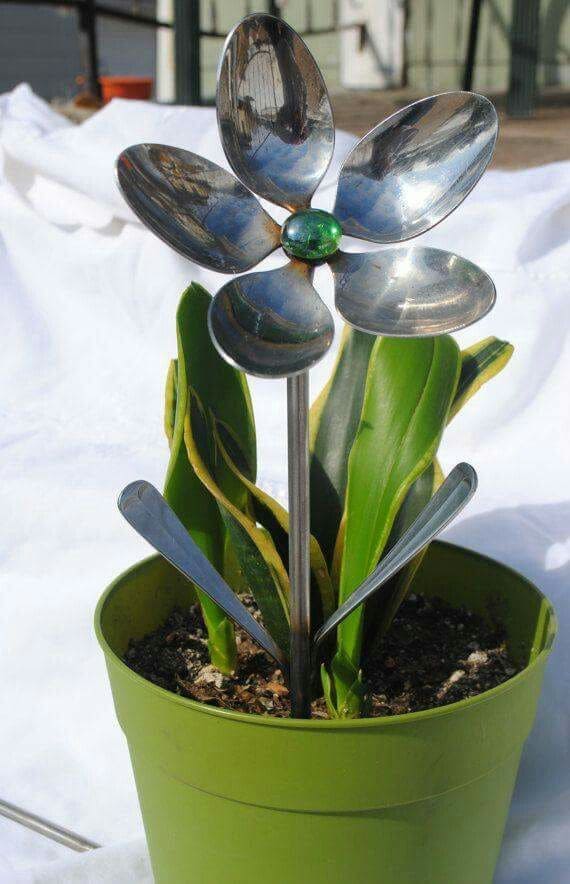
This flower never wilts. I made one just like this on a spring afternoon with a handful of old spoons and a little green glass bead I couldn’t throw away.
Materials Needed
- 5 stainless steel teaspoons (6″)
- 1 decorative glass marble
- 1 stainless steel rod (12″ to 16″, 1/4″ thick)
- 2 additional teaspoons
- Strong metal adhesive
- Bench vise
- Metal polish
Step-by-step Guide
Step 1: Use a vise to gently bend the spoons so the bowls curve outward like petals. Shape two additional spoons slightly downward to resemble leaves.
Step 2: Arrange the five petal spoons in a circular flower shape, slightly overlapping the sides, and attach them securely using metal glue or soldering.
Step 3: Glue the glass bead to the center where all five petals meet. Hold in place until it’s firmly set.
Step 4: Affix the flower head to the top of the steel rod. Attach the bent spoons as leaves along the stem, polish the entire piece, and plant it proudly.
#26. Vintage Spoon Handle Cross Wall Decor
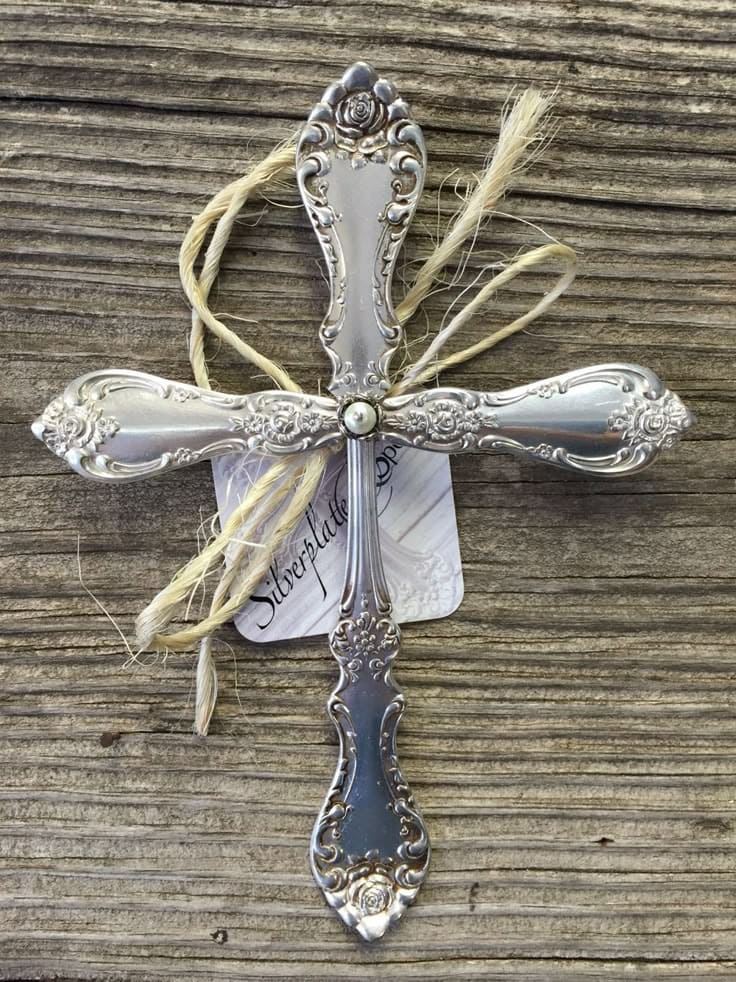
The details on each handle feel like lacework, and with just a bit of twine, it becomes rustic, reverent art.
Materials Needed
- 4 vintage spoon handles
- Strong adhesive
- Pearl embellishment
- Twine
- Optional: Hanging hook
- Metal snips and file
Step-by-step Guide
Step 1: Cut off the handles of four matching silver spoons. File down the edges to avoid sharp spots.
Step 2: Arrange the handles into a cross shape, with the side arms meeting the vertical piece in the center. Secure everything using epoxy and let it cure fully.
Step 3: Add a small pearl or bead at the intersection for a delicate centerpiece.
Step 4: Tie a raffia or twine bow around the center or at the top, then add a hanging loop if you’d like to display it on the wall.
#27. Golden Spoon Jellyfish Wind Chime
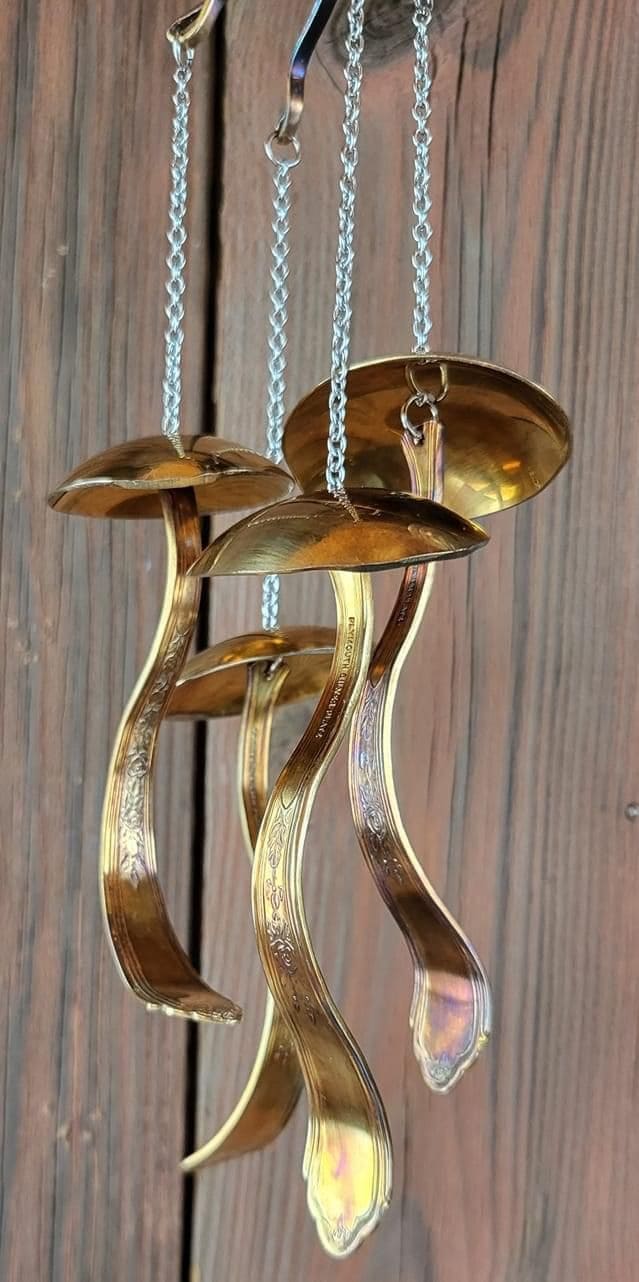
I made one once and hung it on our garden arch, every time it dances, I smile.
Materials Needed
- 4 gold-plated vintage soup spoons
- Thin silver chains (8–10 inches each)
- Small steel jump rings
- Hand drill
- Flat-nose pliers
- Swivel hook
Step-by-step Guide
Step 1: Clean the spoons thoroughly and polish them for that golden shine. Gently bend the handles into loose flowing curves to mimic jellyfish tentacles.
Step 2: Use the hand drill to make a small hole near the top of each spoon bowl for the chain.
Step 3: Attach jump rings through each drilled hole, then connect to chains of varied lengths. Secure all chains to a top ring or hook for hanging.
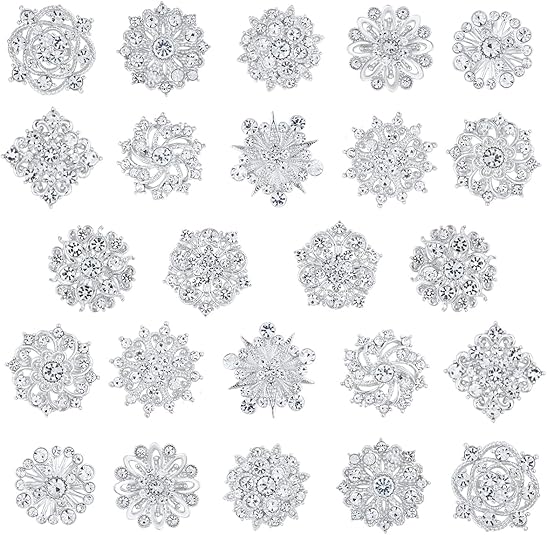
#28. Glittered Rhinestone Spoon Ornaments
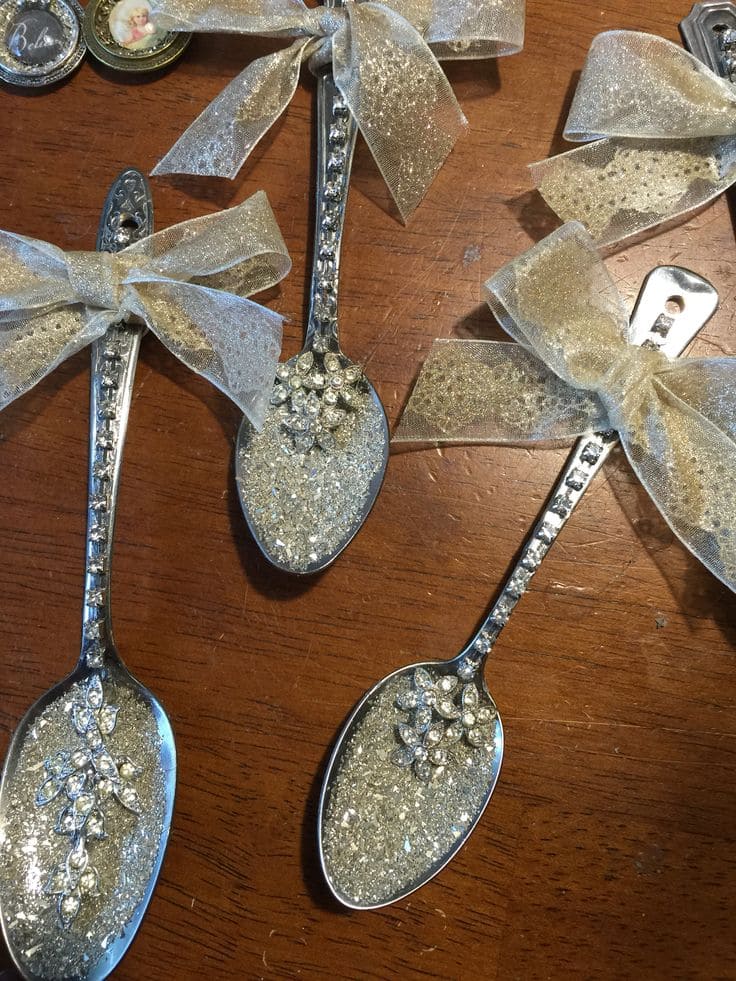
With glistening glitter, vintage rhinestones, and elegant ribbon bows, they turn ordinary flatware into shimmering holiday treasures.

Materials Needed
- 3 vintage silver-plated spoons
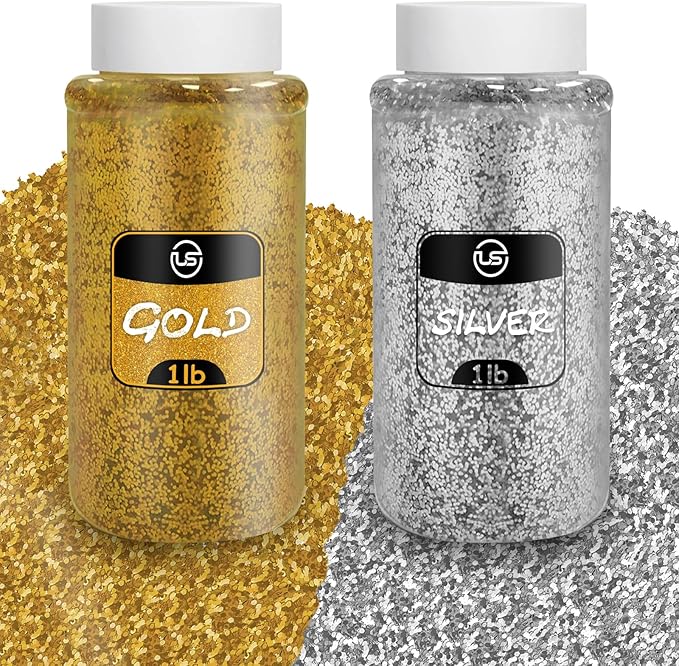
- Gold and silver glitter
- Mod Podge
- Rhinestone appliques
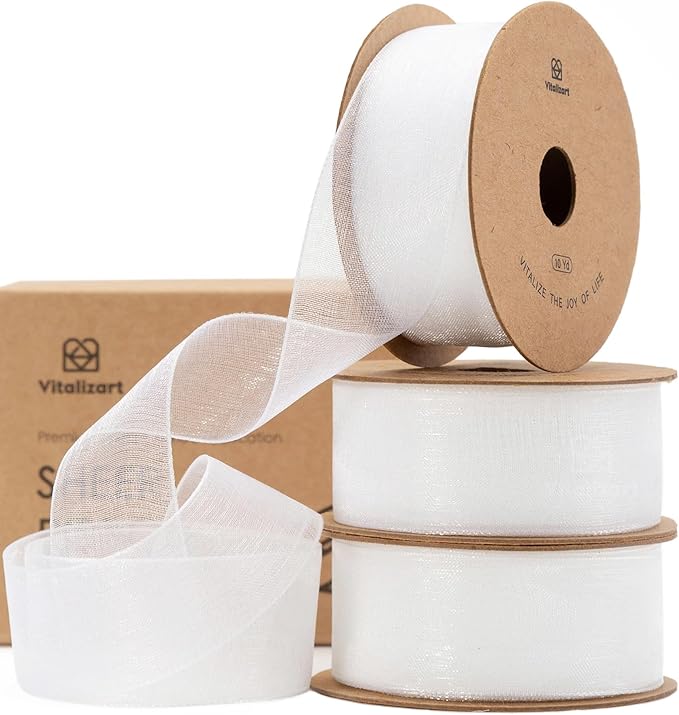
- Sheer ribbon
- Hot glue gun + glue sticks
Step-by-step Guide
Step 1: Clean and dry your spoons. Apply Mod Podge inside each bowl and sprinkle glitter evenly over it. Let dry fully.
Step 2: Hot glue a rhinestone design into the center of the glittered spoon for a touch of vintage glam.
Step 3: Tie a bow around the handle and secure it with hot glue. You can also thread a loop of ribbon behind the bow for hanging.