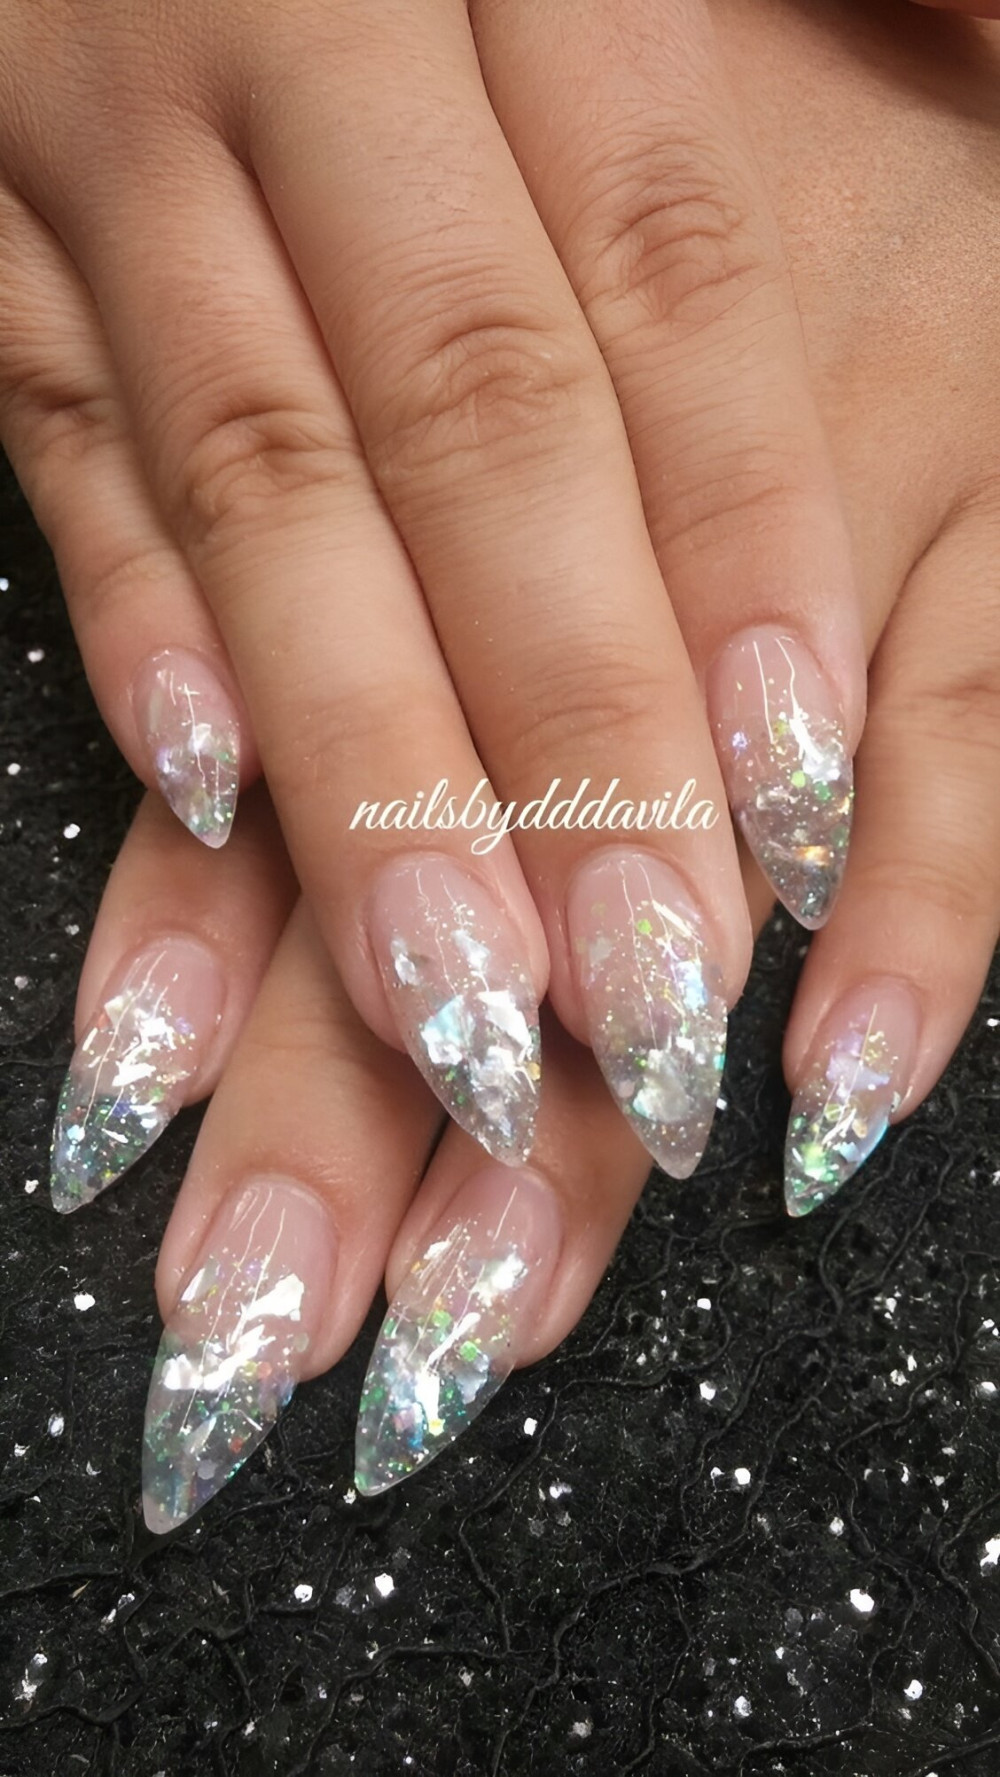
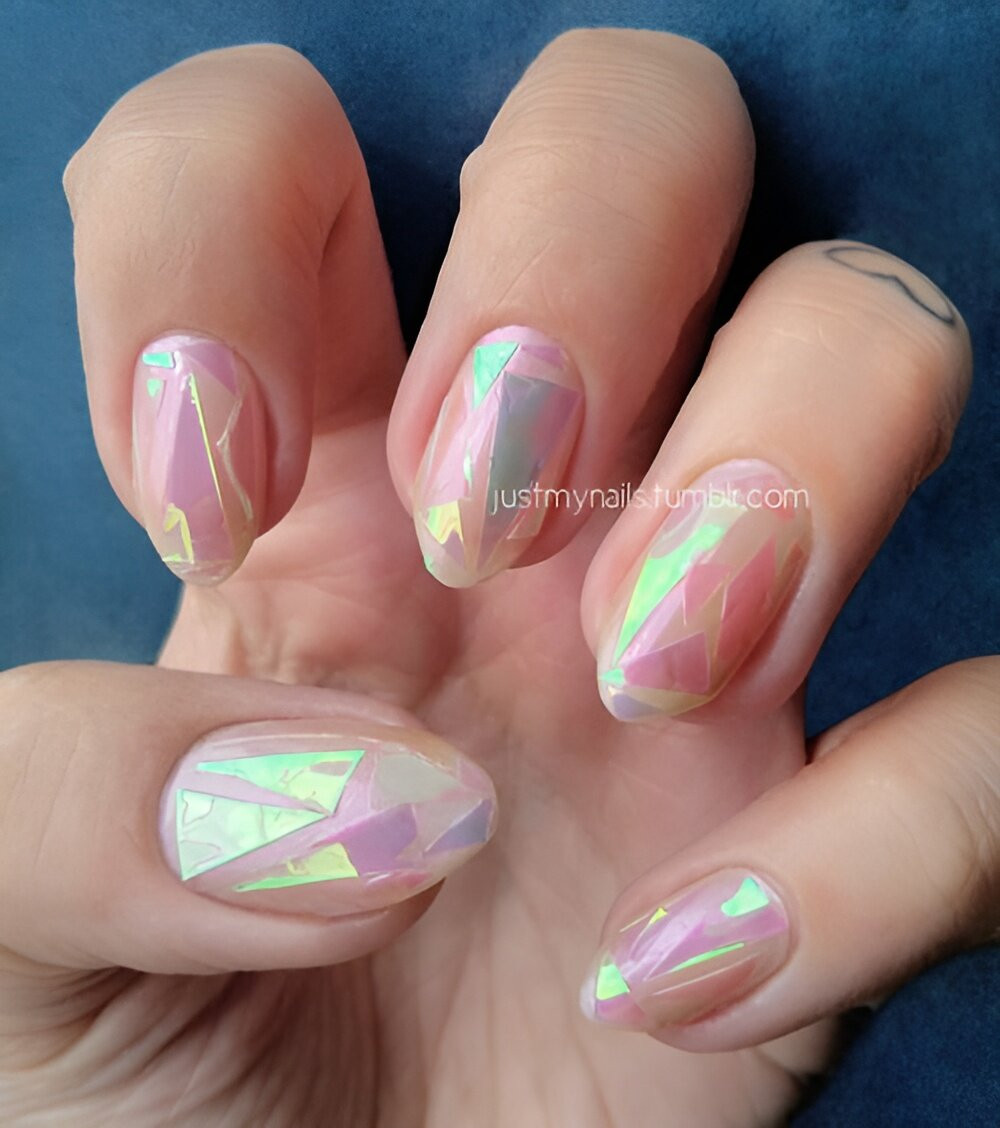
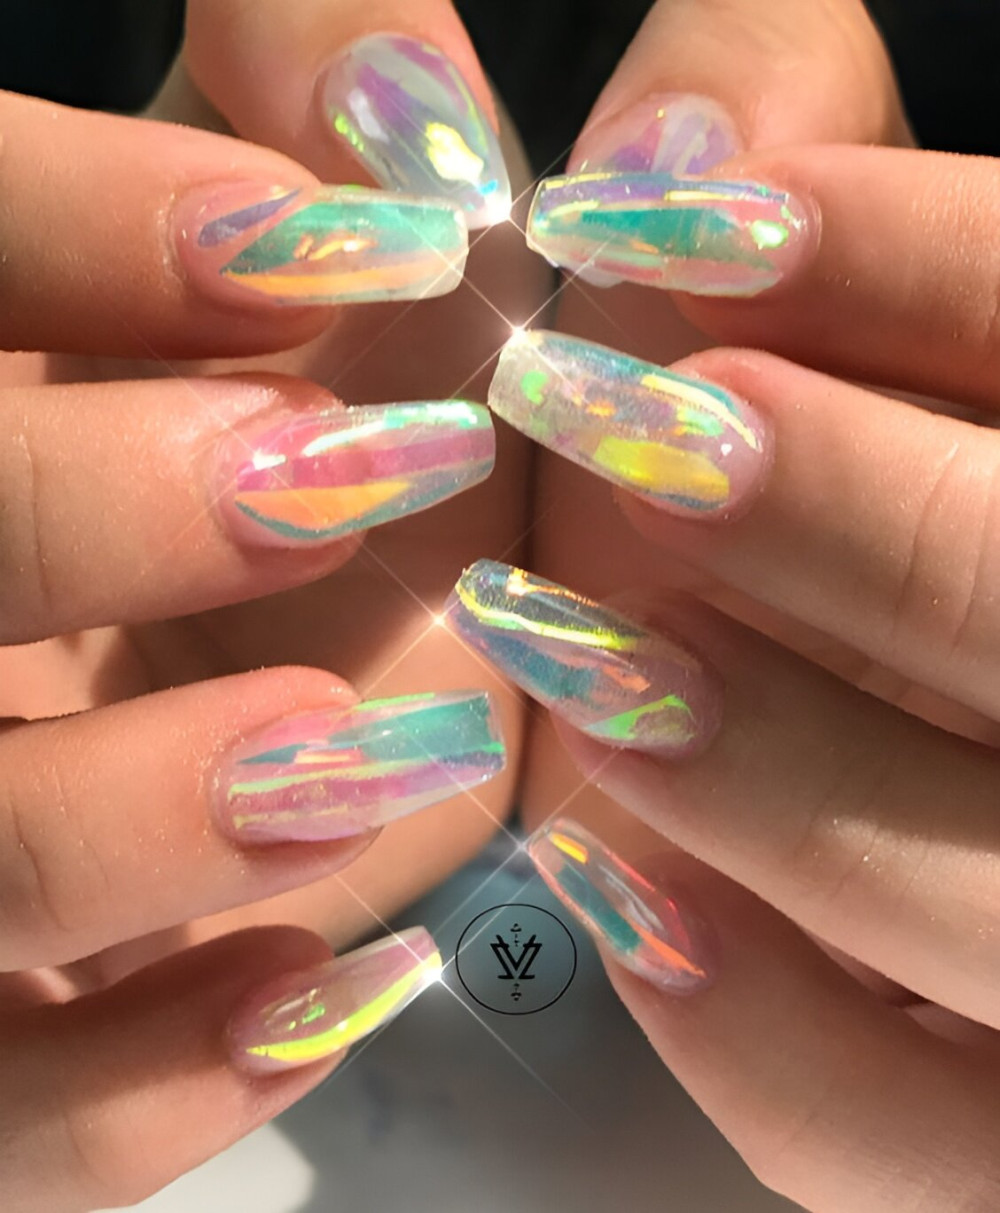
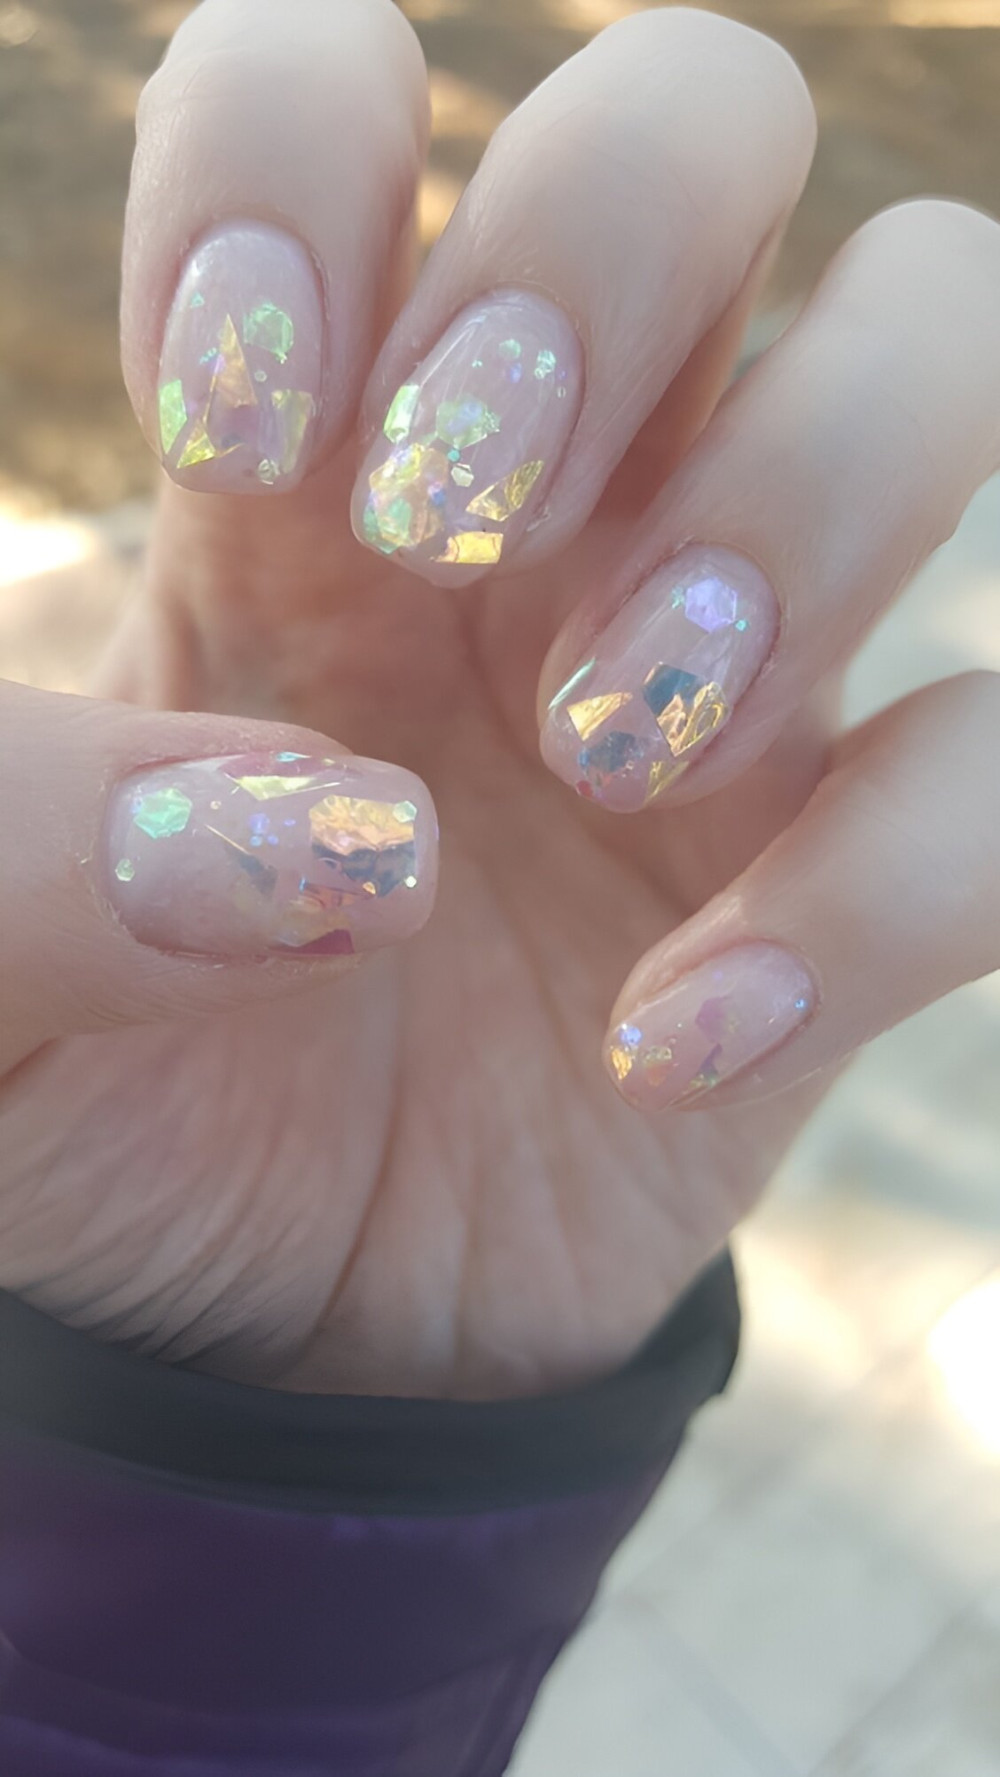
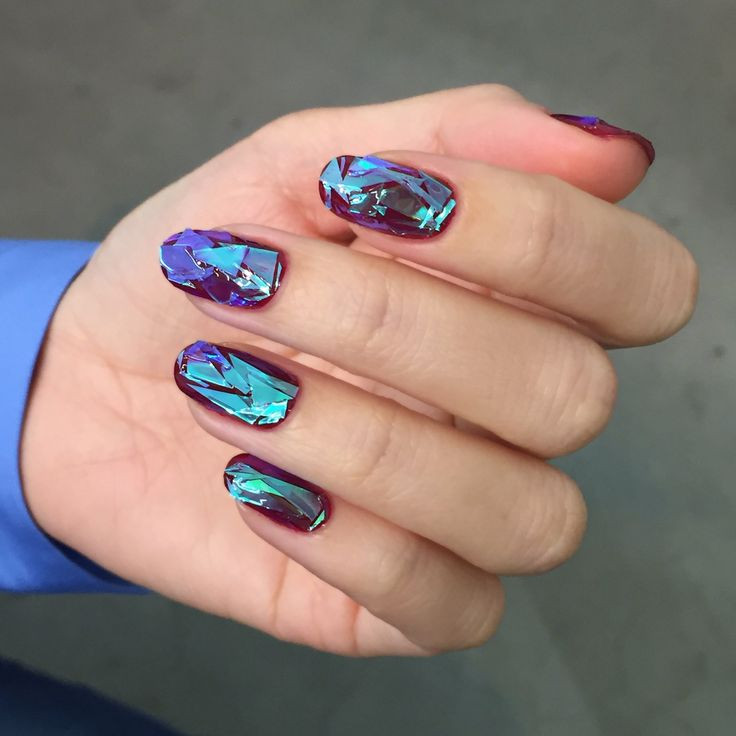
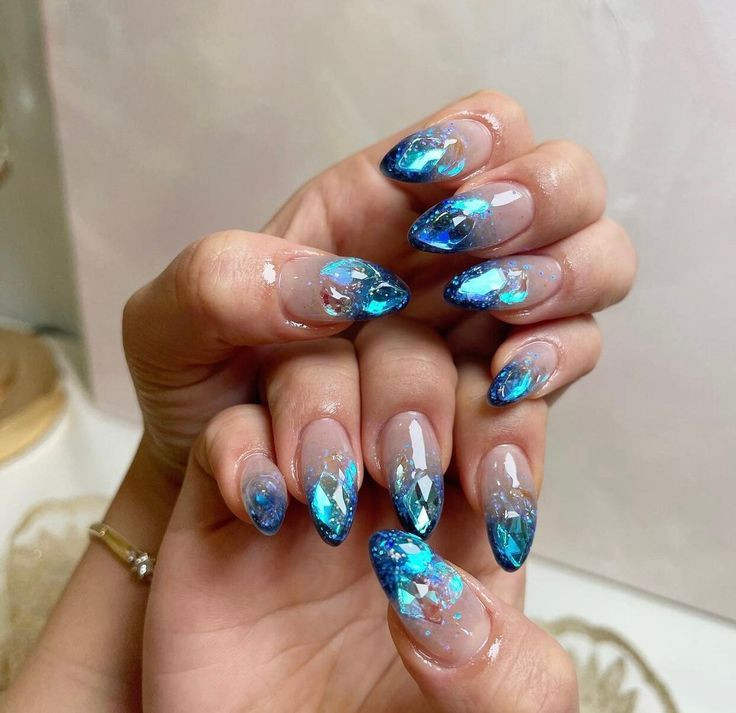
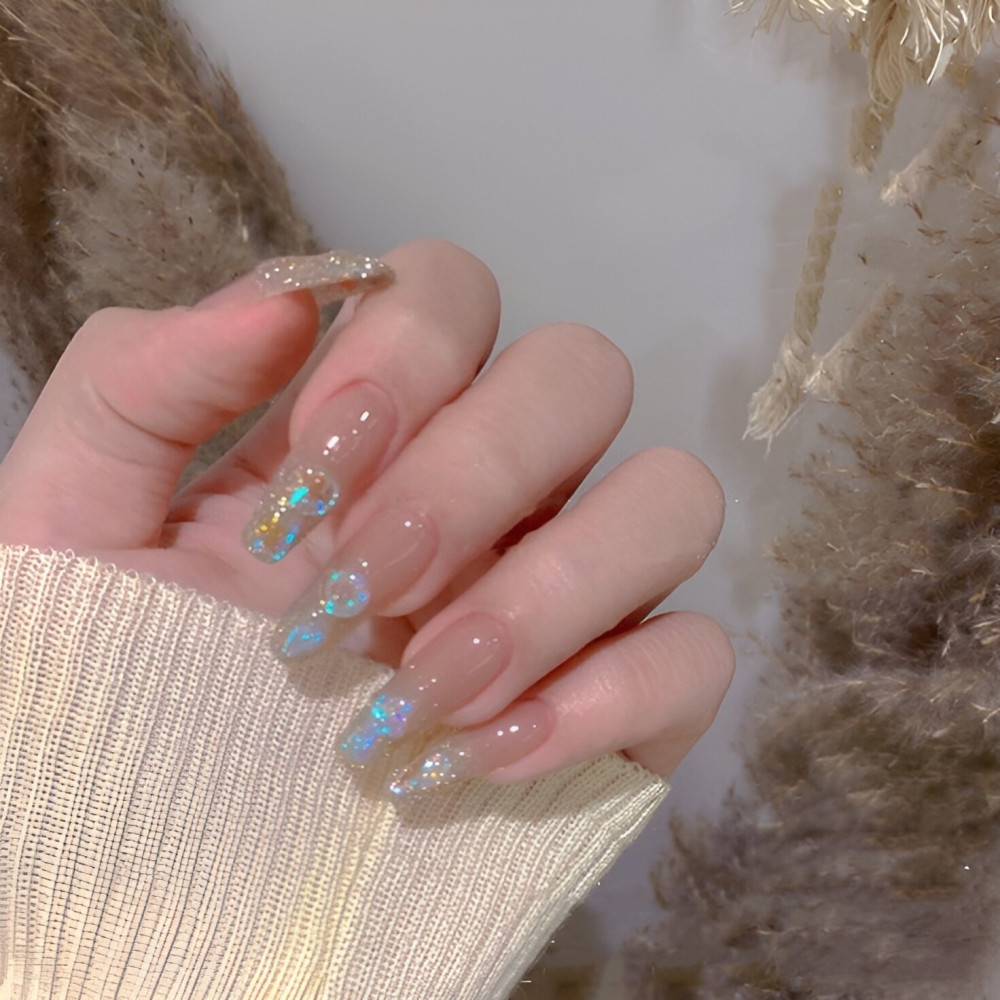
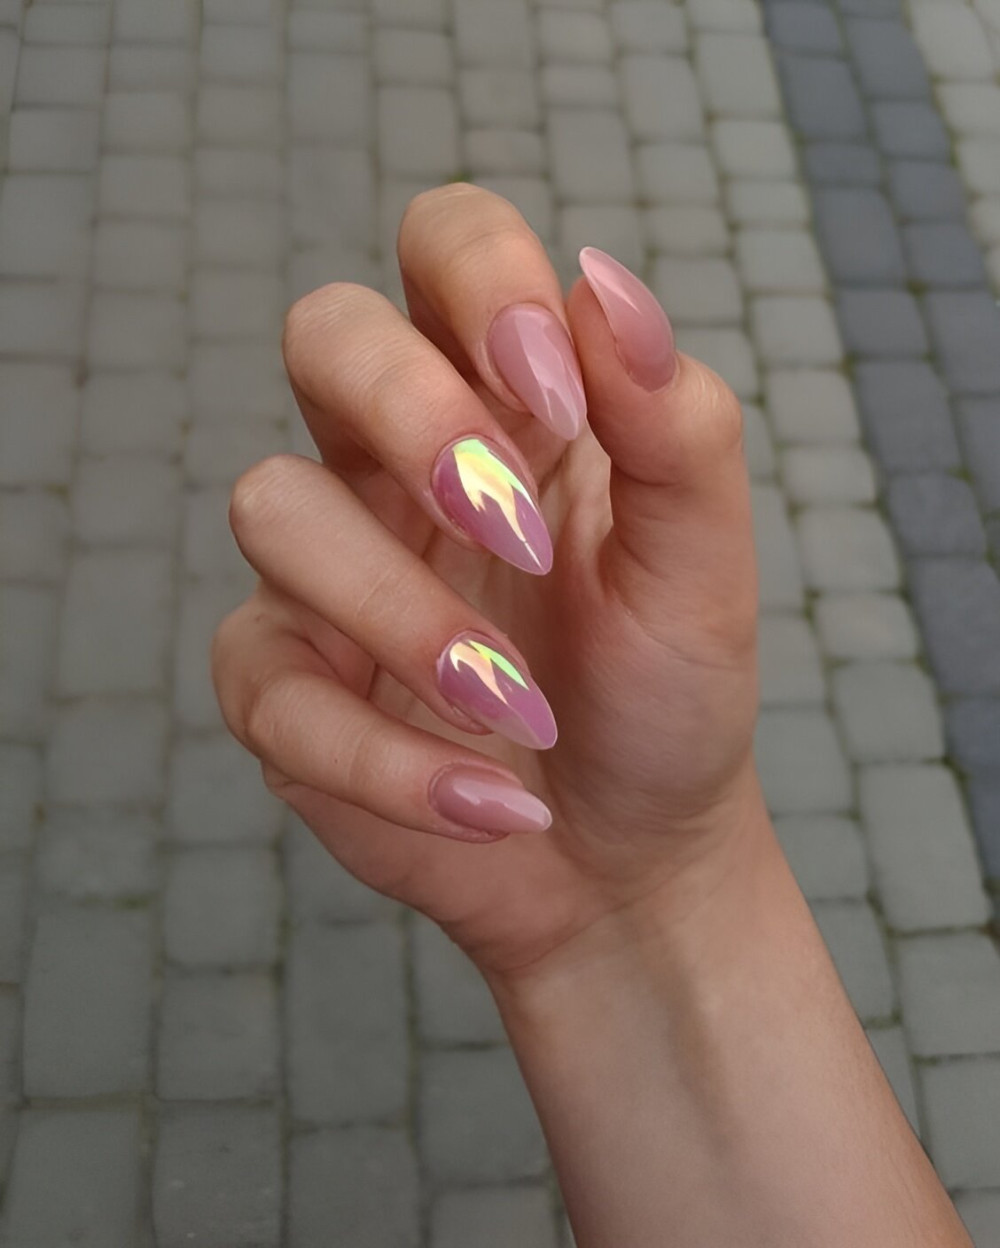
Bored of all the current trends and classy manicure styles? Well, if that is your case, try this new idea! The glass nail is a manicure design brought directly from Korea by artist Park Eunkyung.
To recreate the look, use small cellophane pieces to create texture and shine on the nails. This technique will create a 3D effect that looks like the surface of a diamond. The results are stunning nails that we can’t take our eyes off.
Don’t believe us? Then check out these irresistible glass nail designs and see how gorgeous they are! These ideas are just too beautiful to ignore. Some are sophisticated and intricate, while others are simple yet glamorous.
They share one thing in common, though: they’re all gorgeous. These nail designs will guarantee to turn you into the center of attention everywhere you show up.
Ahead are some of the prettiest glass nail designs for stylish girls. Surprise your nail technician the next time you see them with these ideas, or recreate them yourself if you’re confident about your skills. Let this be your inspo, and get yourself pretty nails!
1.
2.
3.
How to Achieve the DIY Glass Nail Design at Home
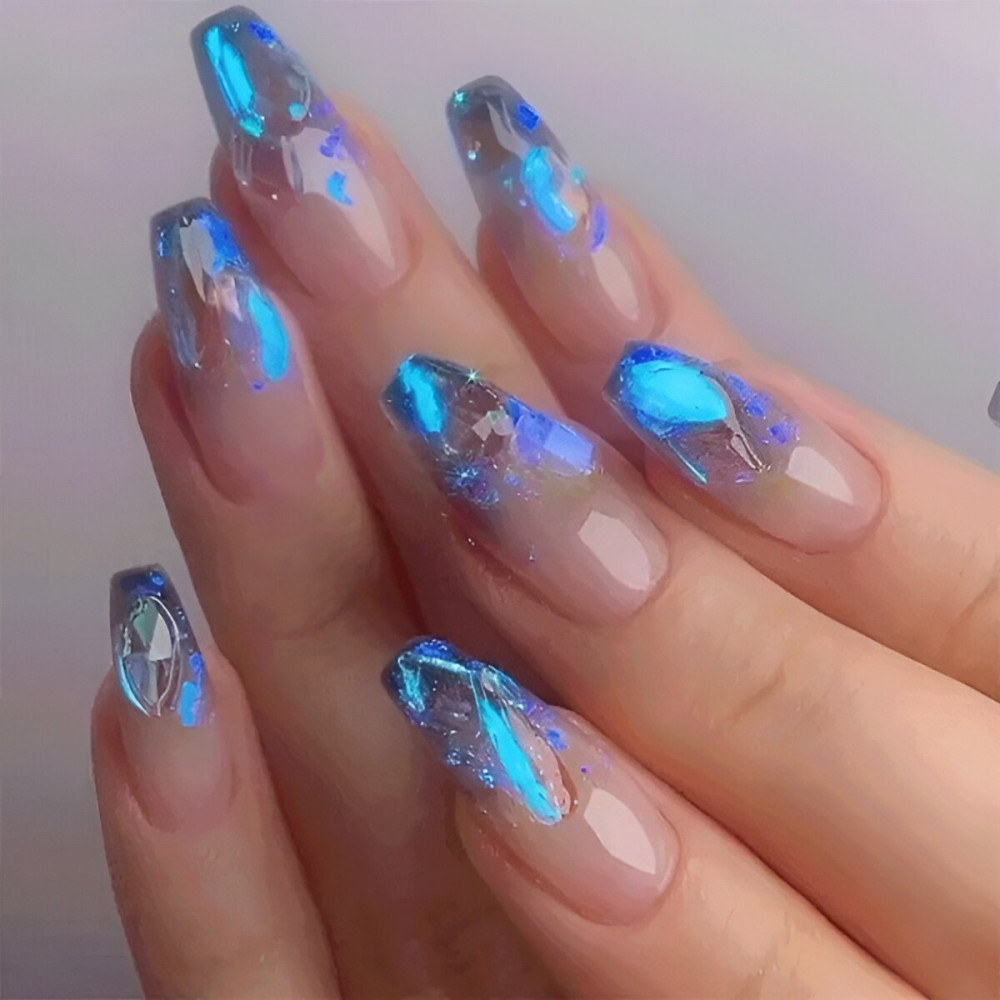
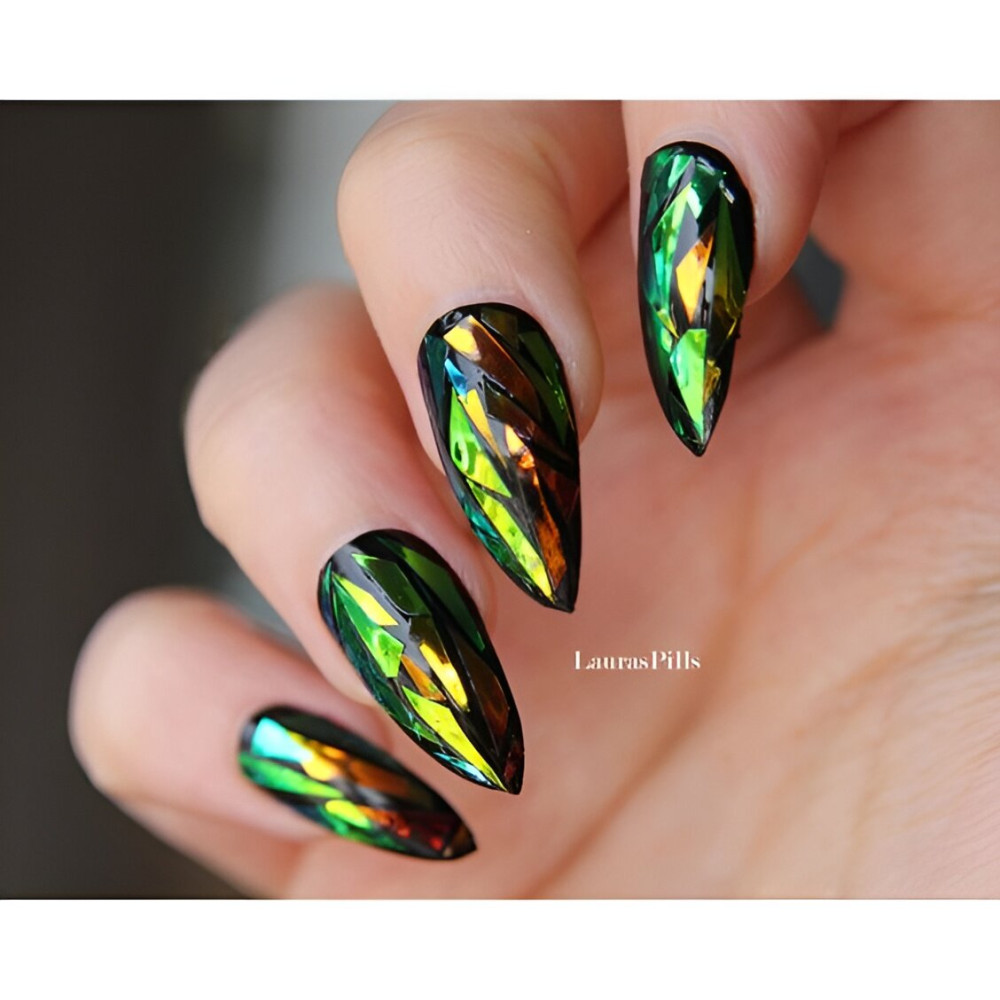
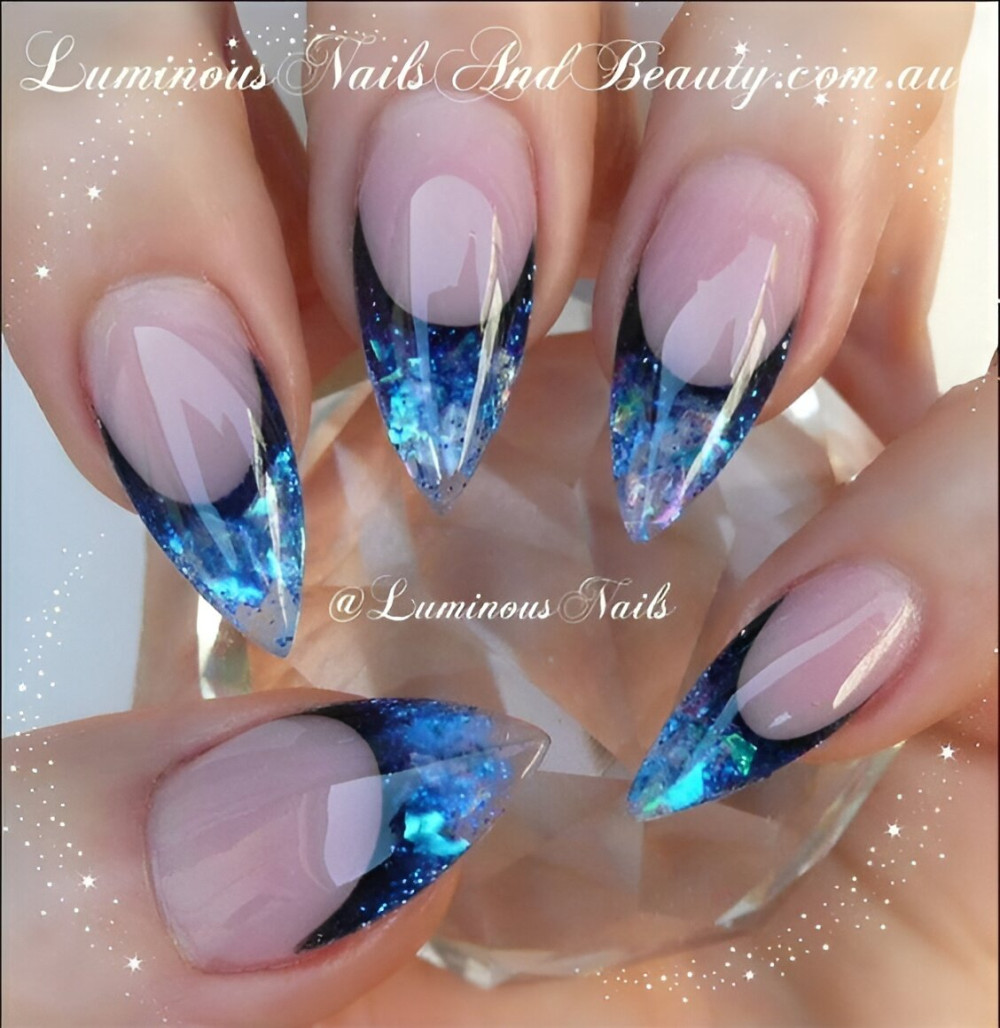
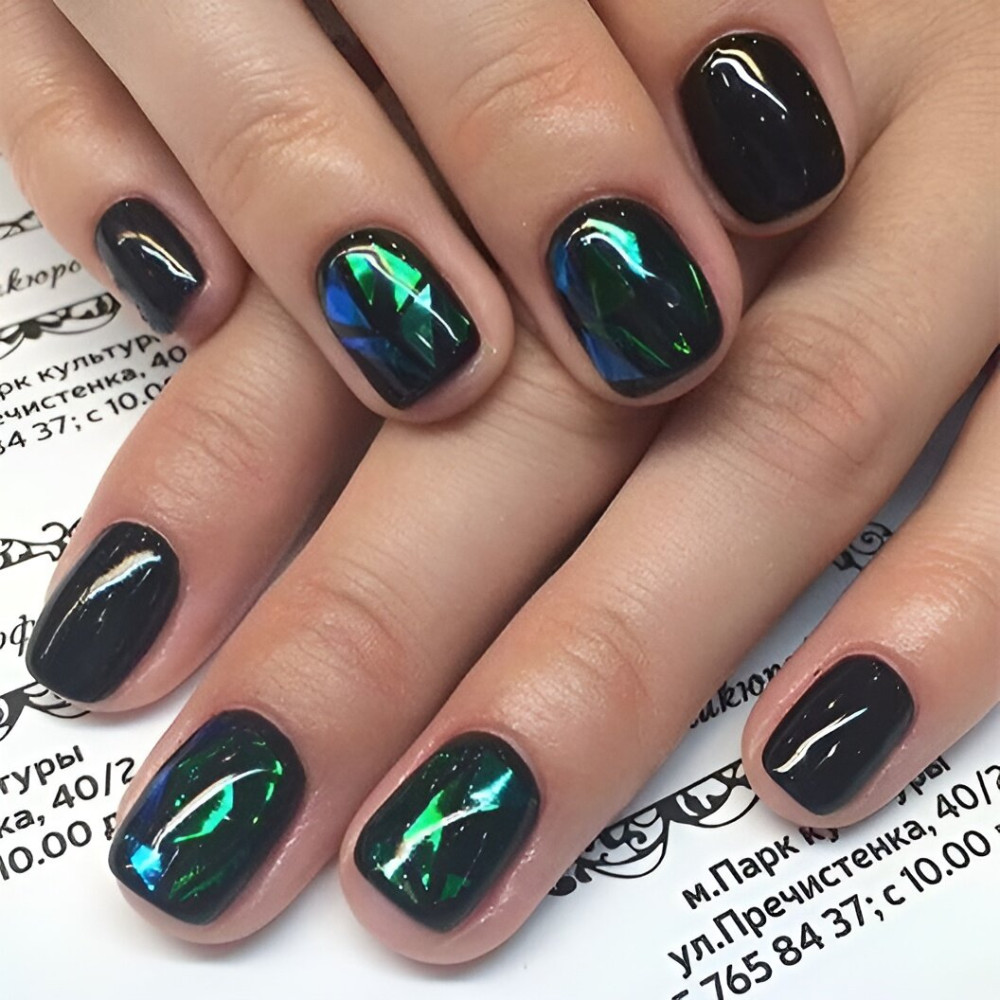
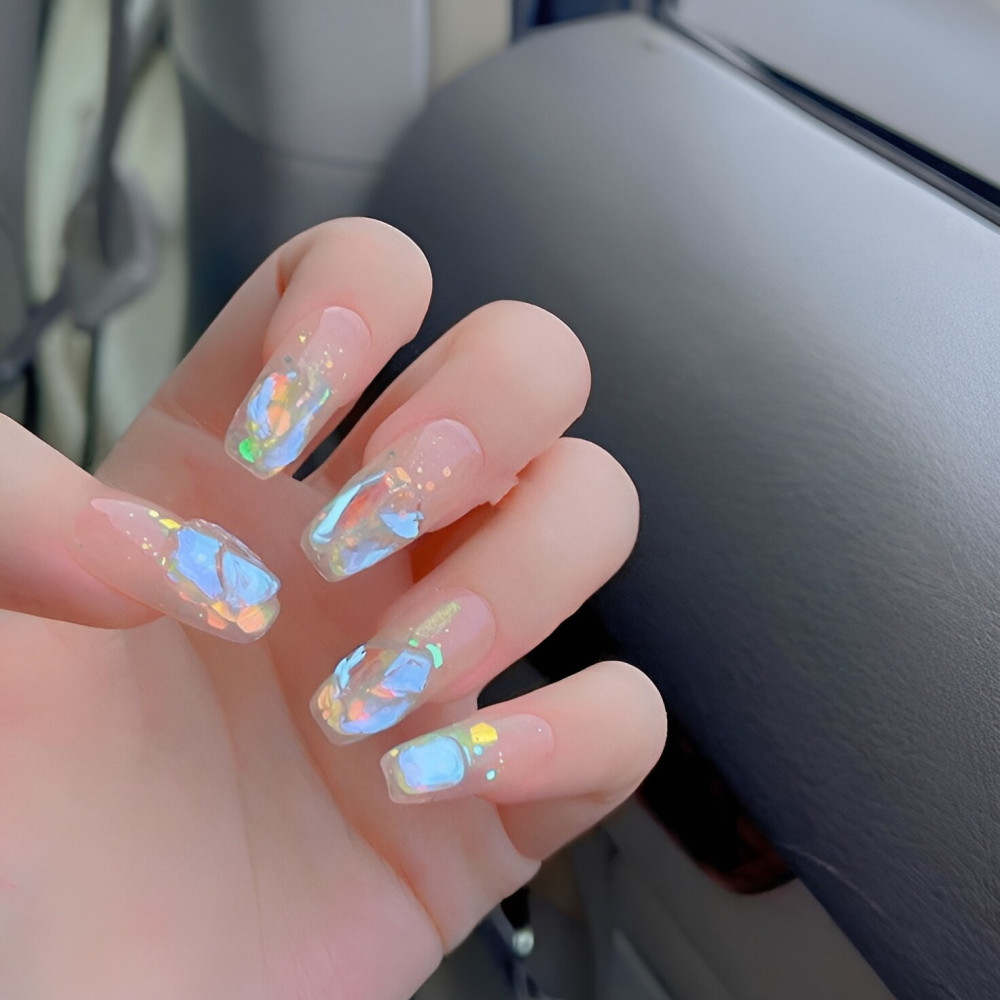
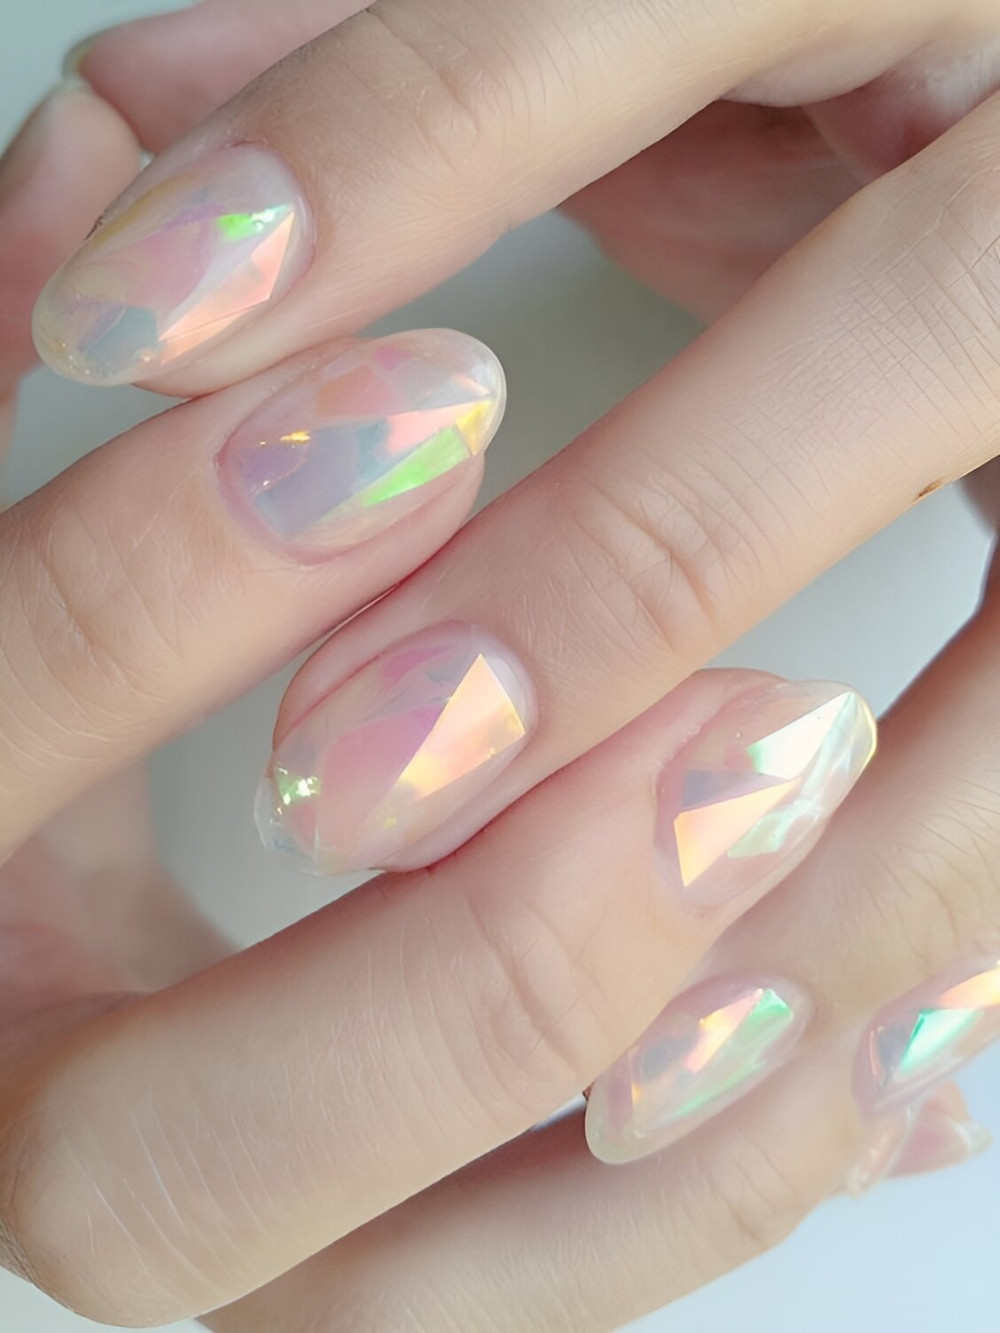
The glass nail design, often called the “shattered glass” manicure, is a captivating trend that originated in South Korea.
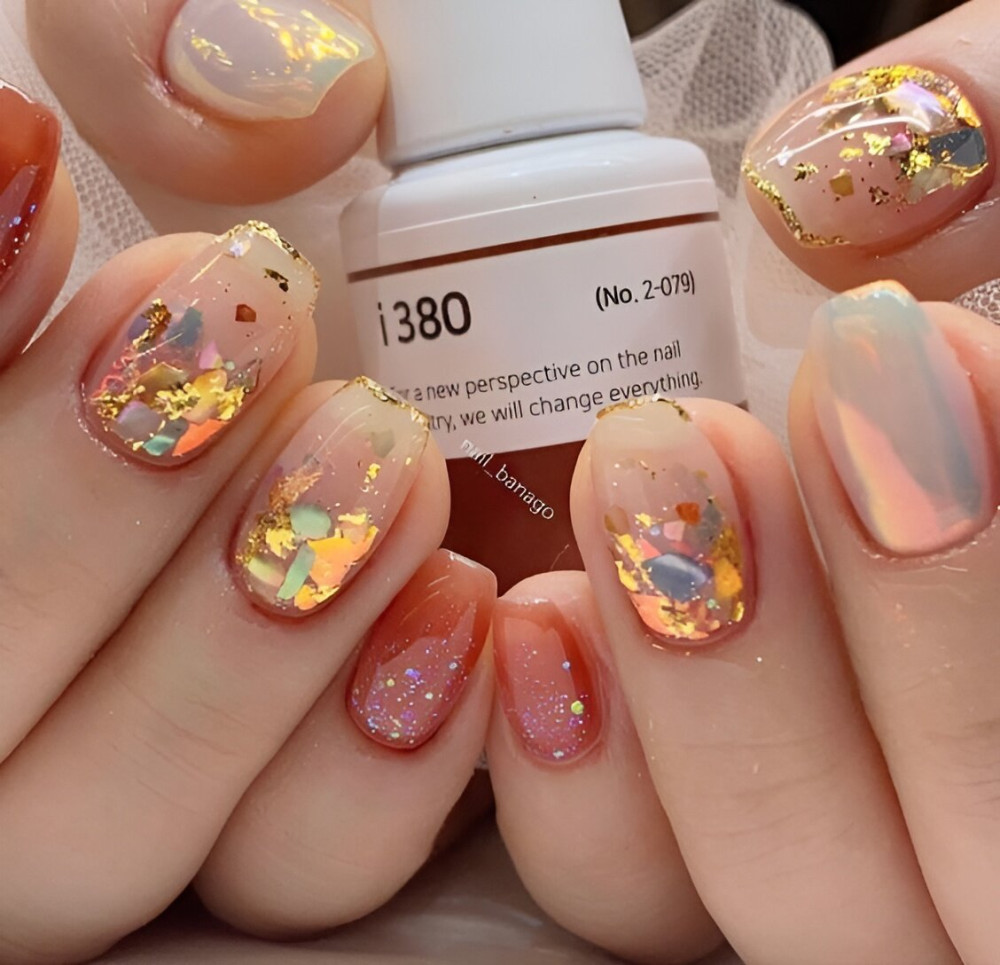
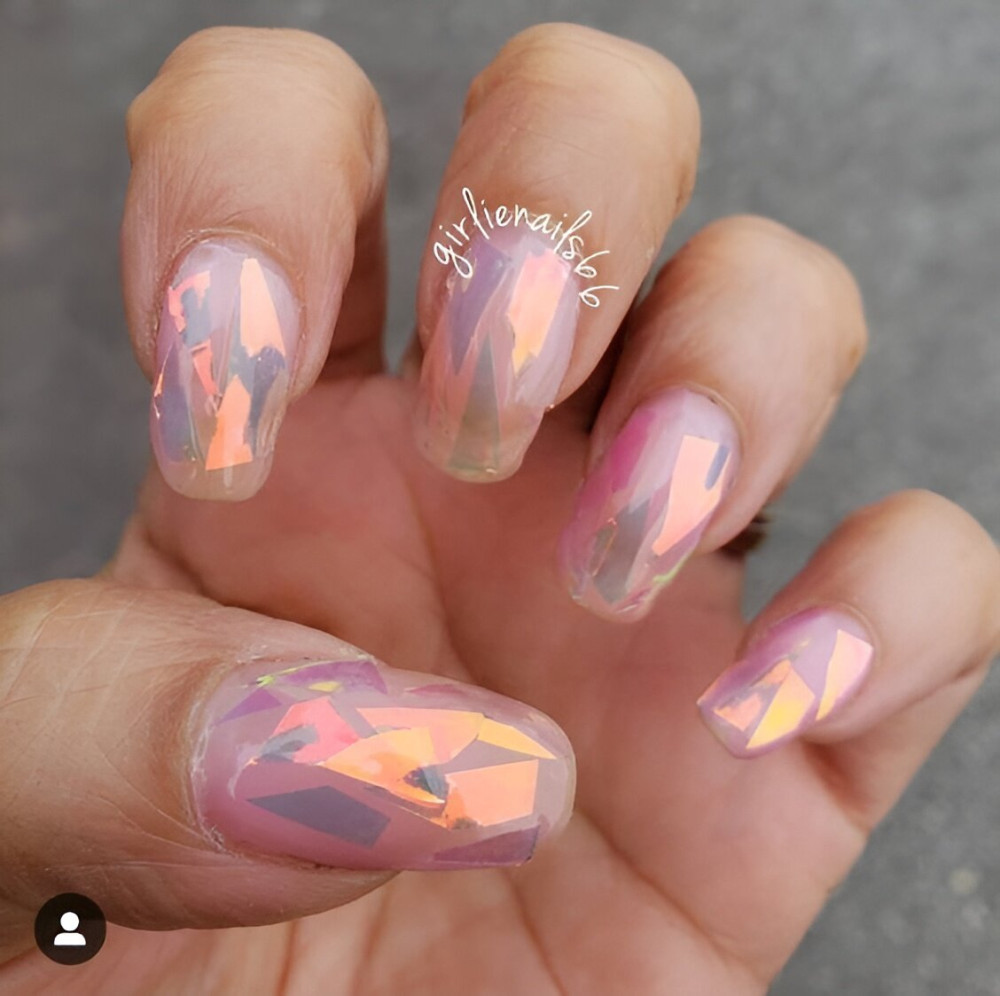
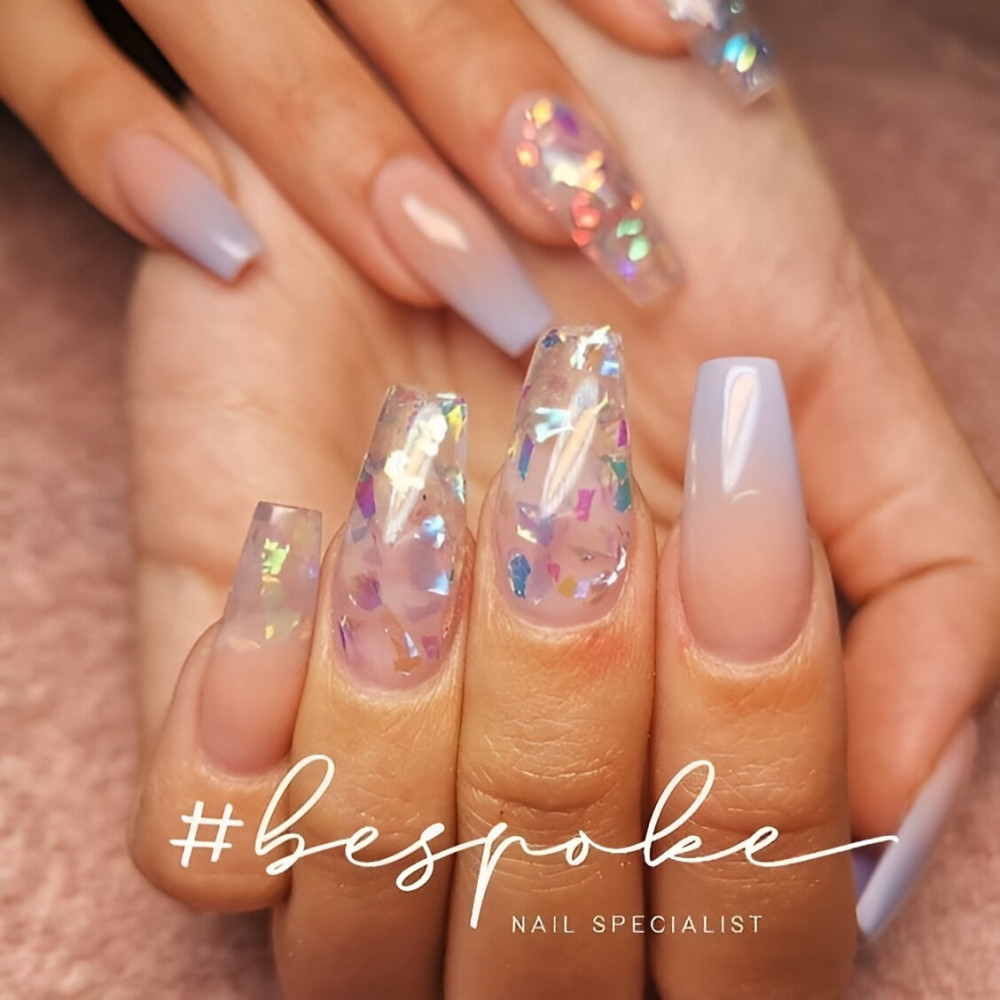
It doesn’t use actual glass but relies on light-reflecting, holographic foil to mimic the appearance of shattered glass, stained glass, or pieces of gemstone embedded into the nail.
The result is a mesmerizing, three-dimensional effect where the nail surface catches light from every angle, creating a prismatic, multi-colored sparkle.
4.
5.
6.
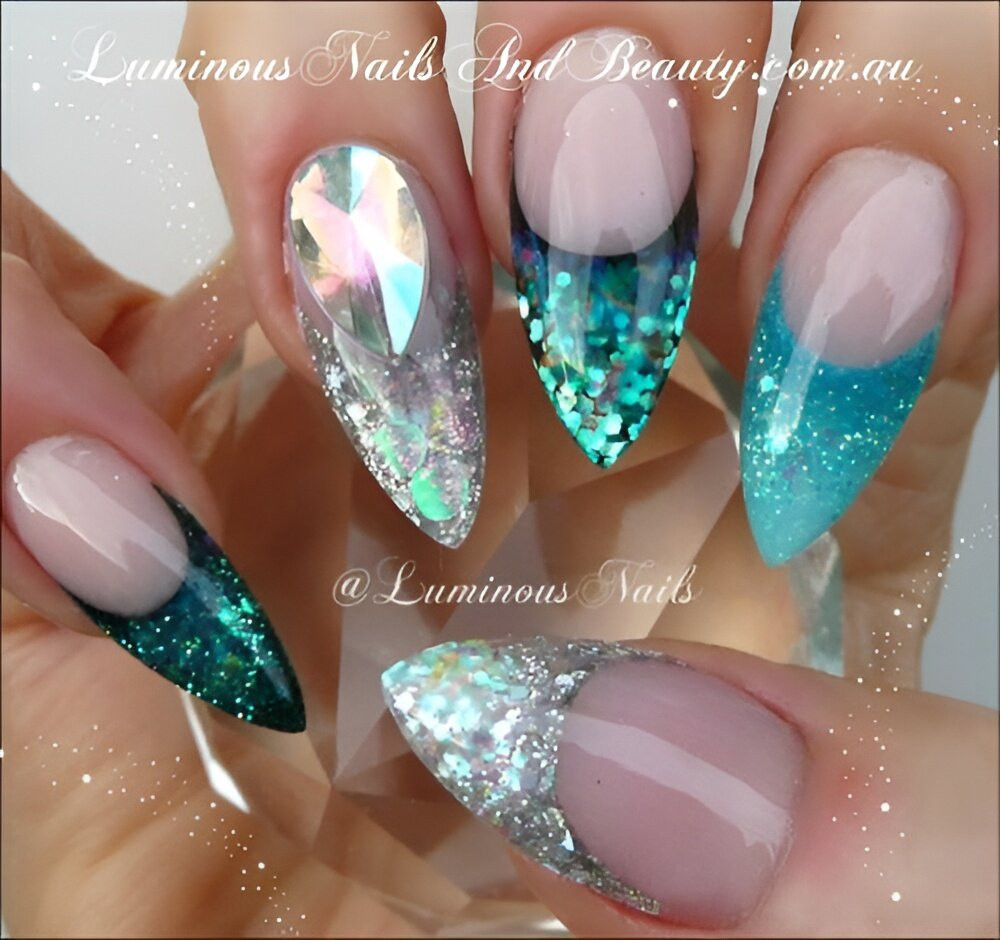
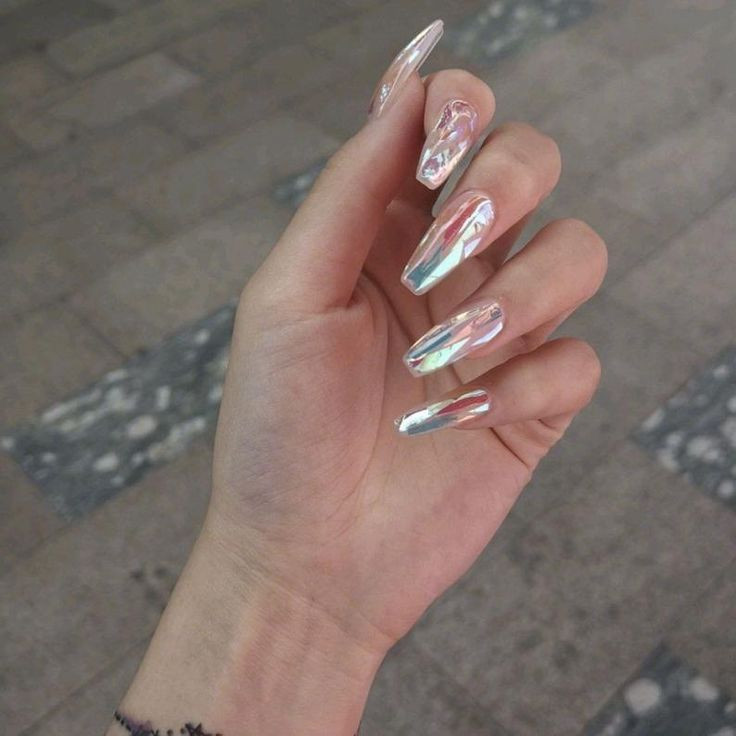
While this look seems complex, it is surprisingly achievable at home using specific, inexpensive materials and a precise application technique.
The key to a flawless glass nail design is patience, meticulous placement of the foil, and sealing it all under a smooth, thick top coat.
This guide breaks down the process, focusing on the essential steps needed to turn your nails into glittering, jewel-toned mosaics.
7.
8.
9.
Essential Tools and Materials
Unlike a standard manicure, the glass nail design requires specific, non-traditional materials to create the signature light-reflecting effect.
The Core Materials (The Glass Effect)
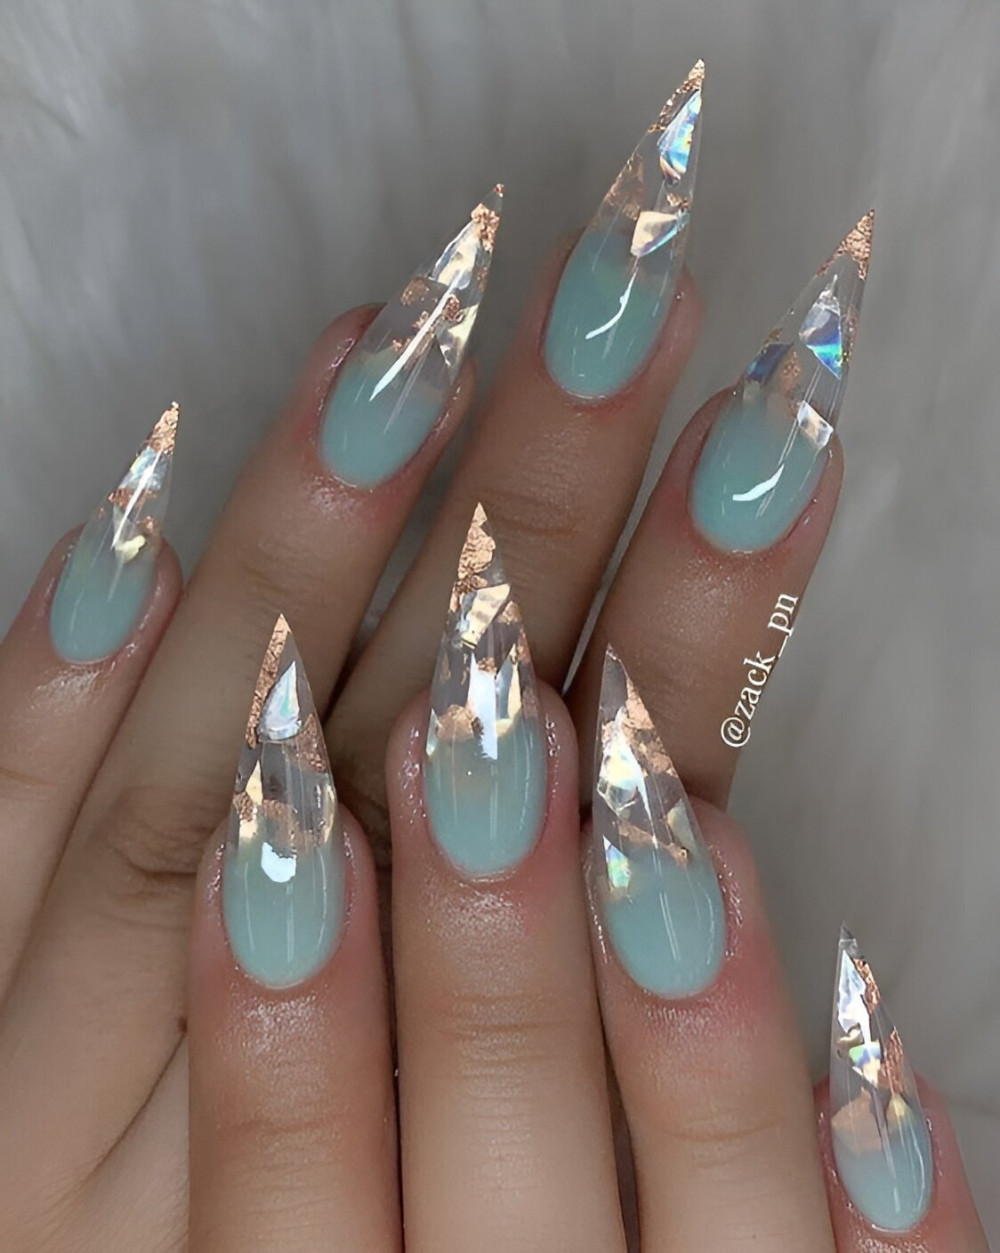
- Holographic Film/Foil: This is the non-negotiable component. It must be thin, cellophane-like, and highly iridescent or prismatic. Look for foils marketed as “shattered glass” or “ice crack” nail art foil. The foil is usually sold in sheets that flash multiple colors when light hits them.
- Small, Sharp Scissors: Standard scissors won’t work well on the delicate film. You need very small, sharp manicure or embroidery scissors for precise cutting of the tiny geometric pieces.
10.
11.
12.
Polish System (Gel is Highly Recommended)
While traditional lacquer can work, the superior adhesion, curing, and sealing properties of gel polish are highly recommended for this design.
- Base Coat: Standard gel base coat.
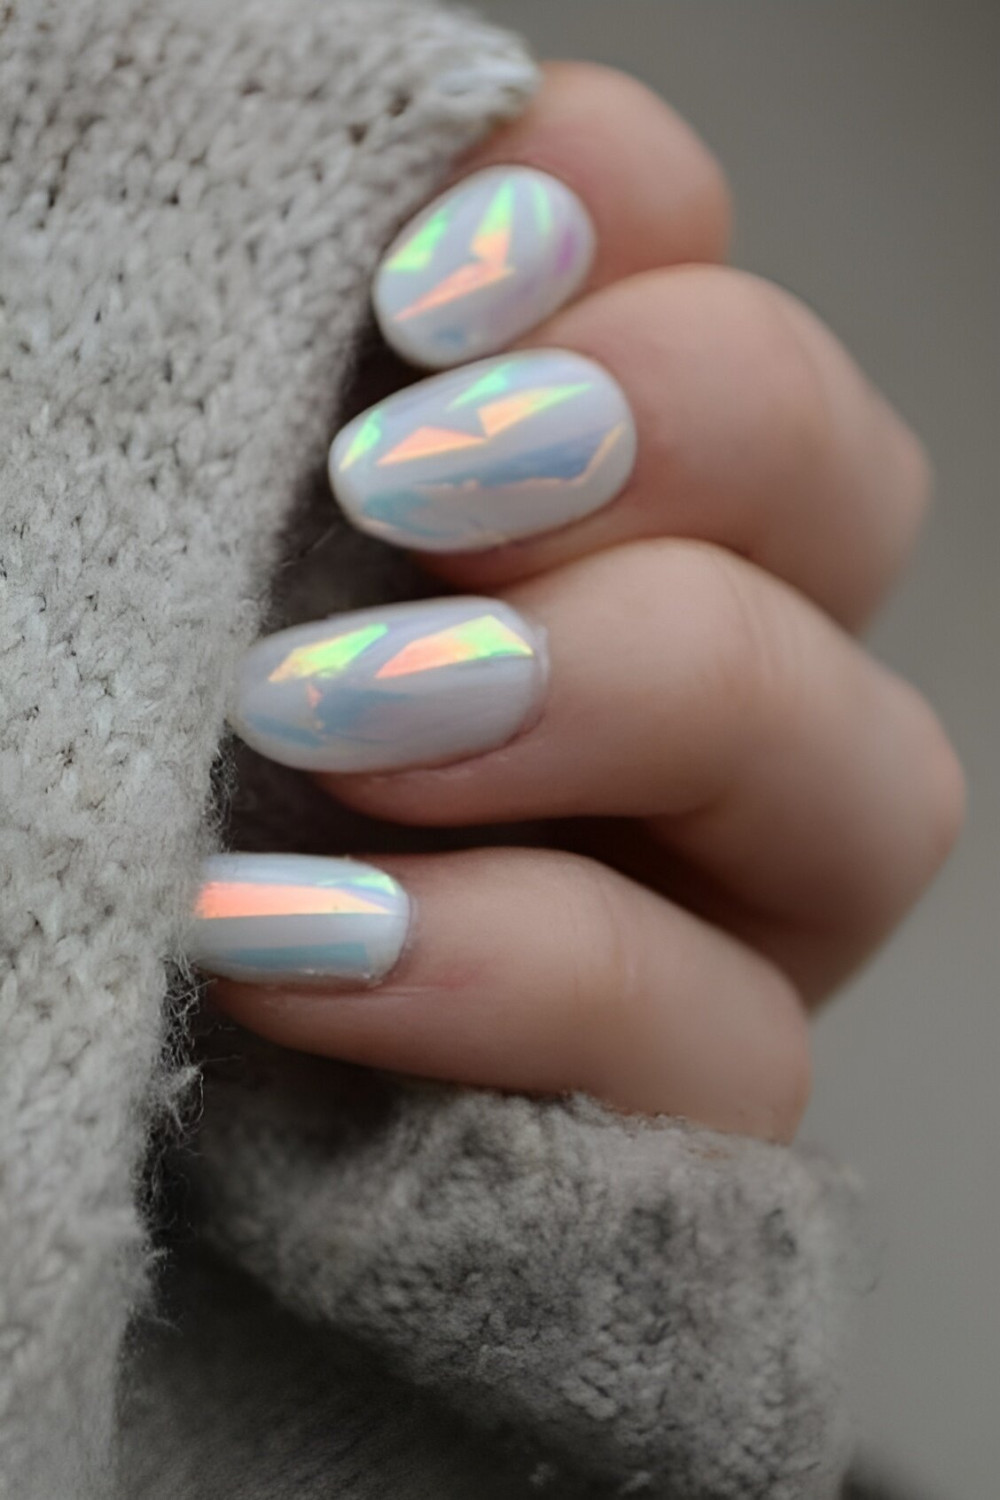
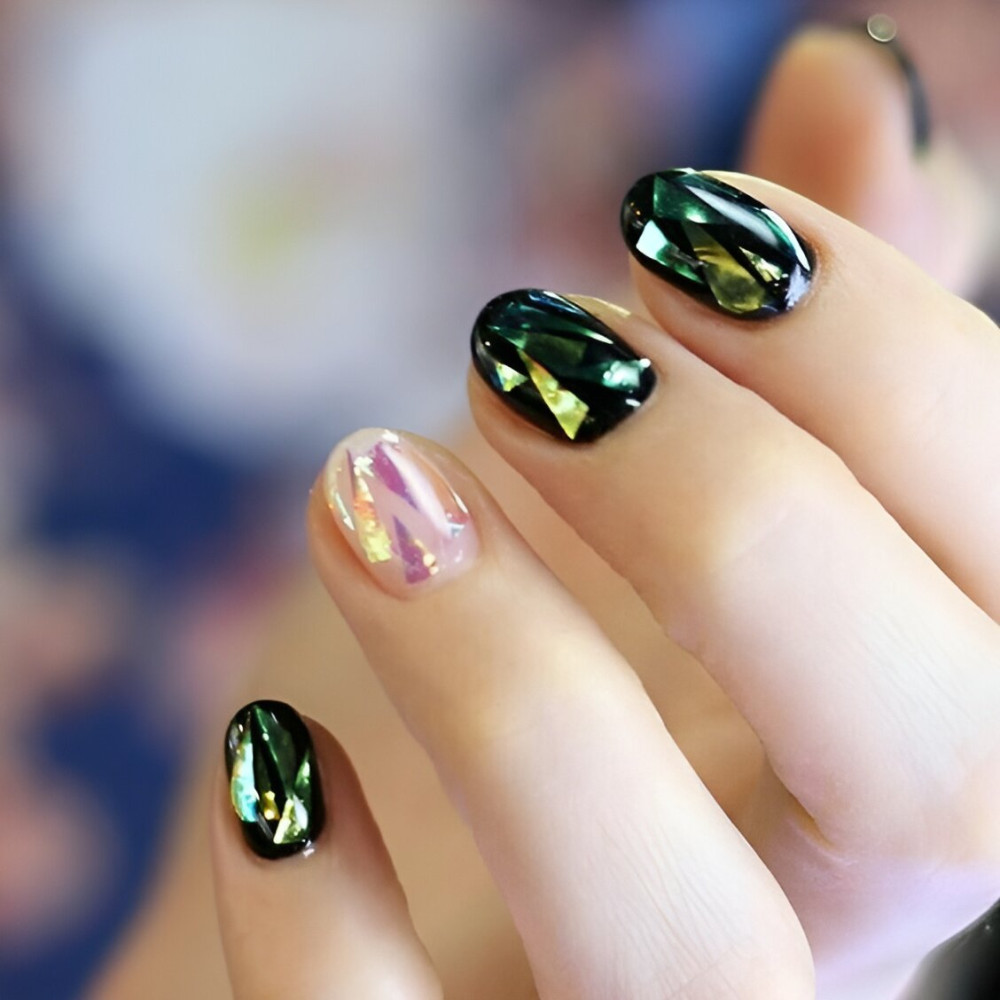
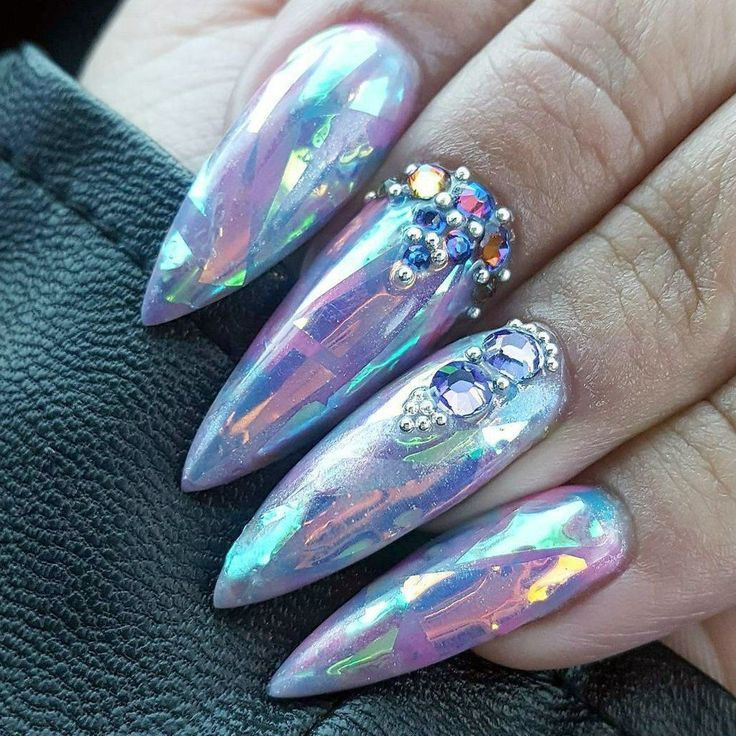
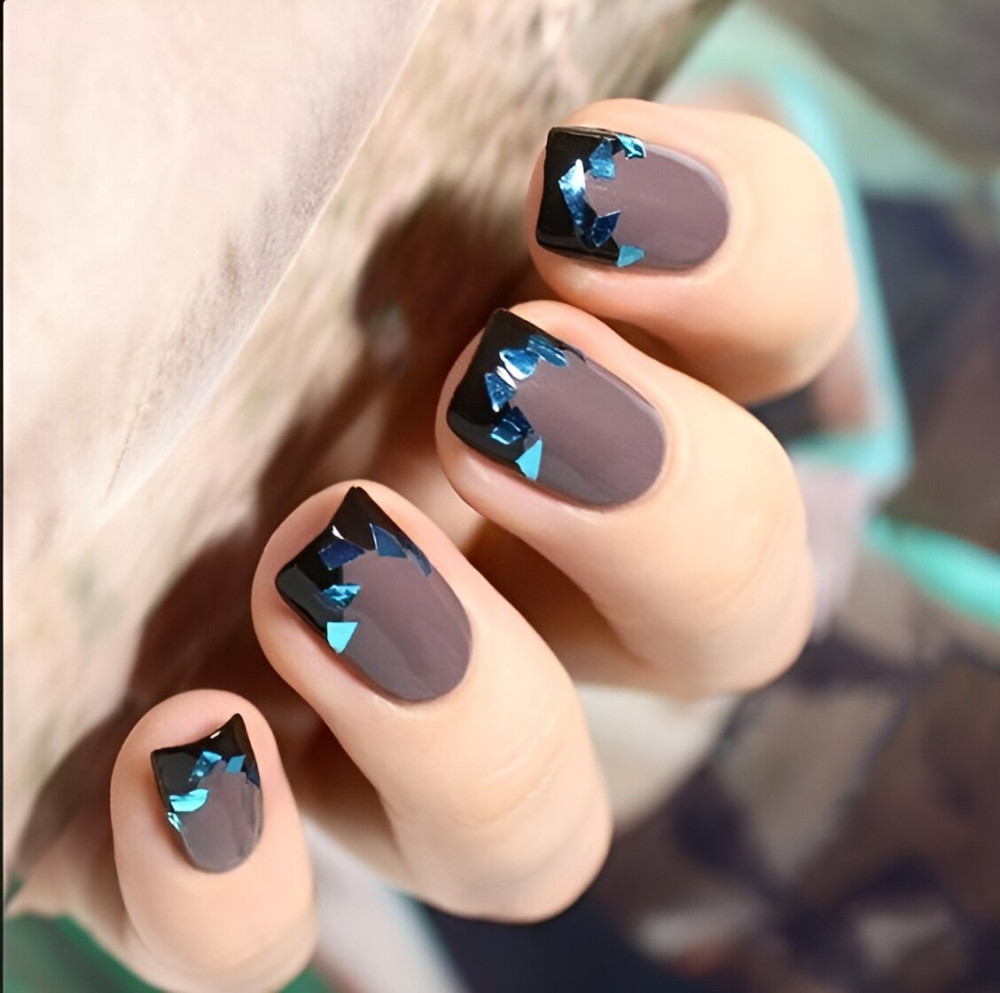
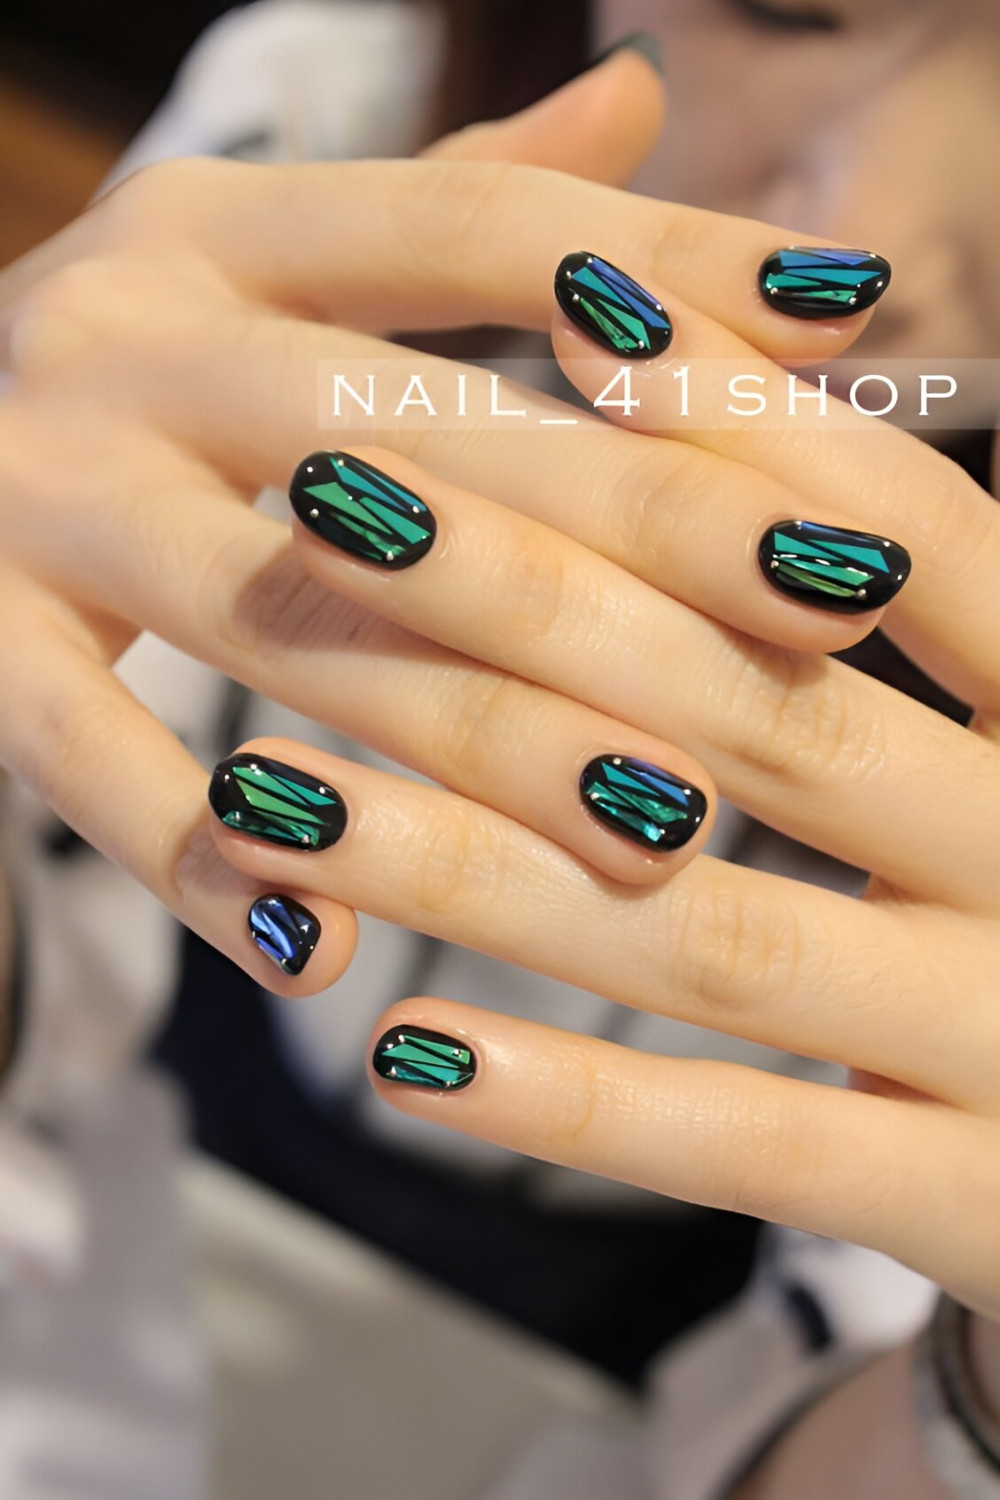
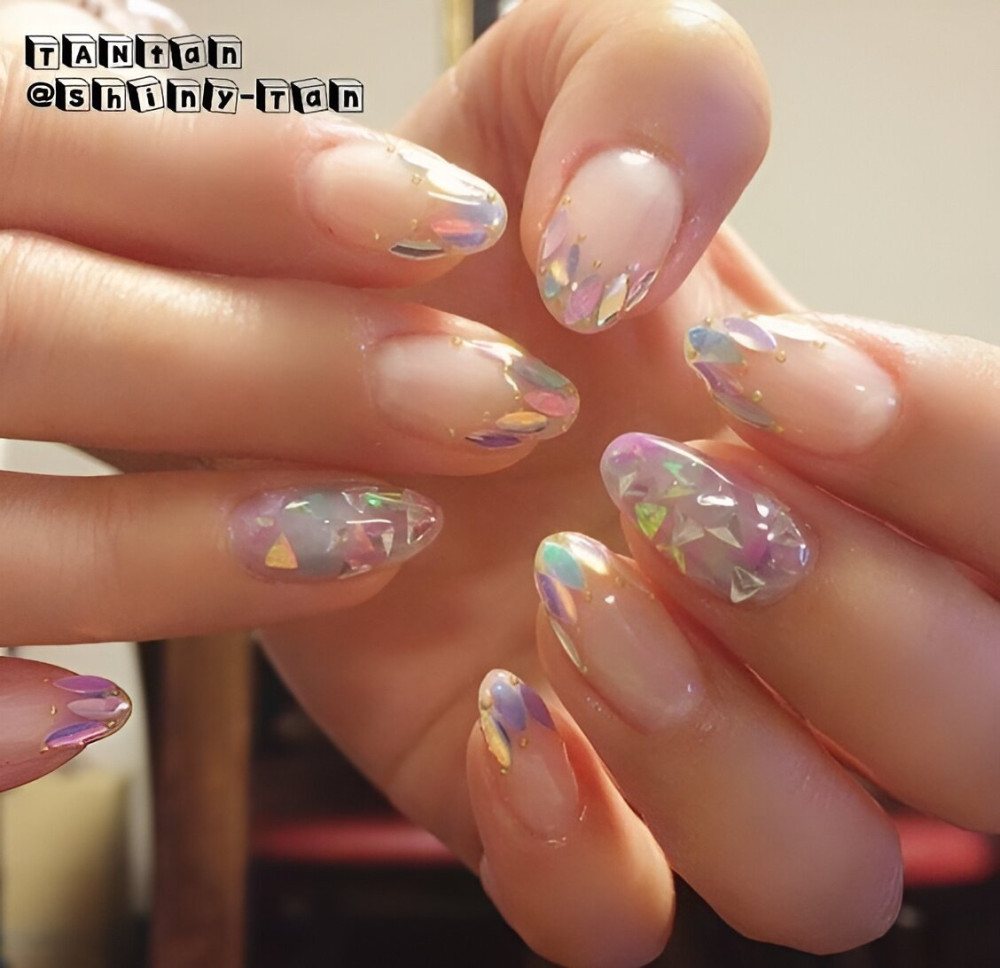
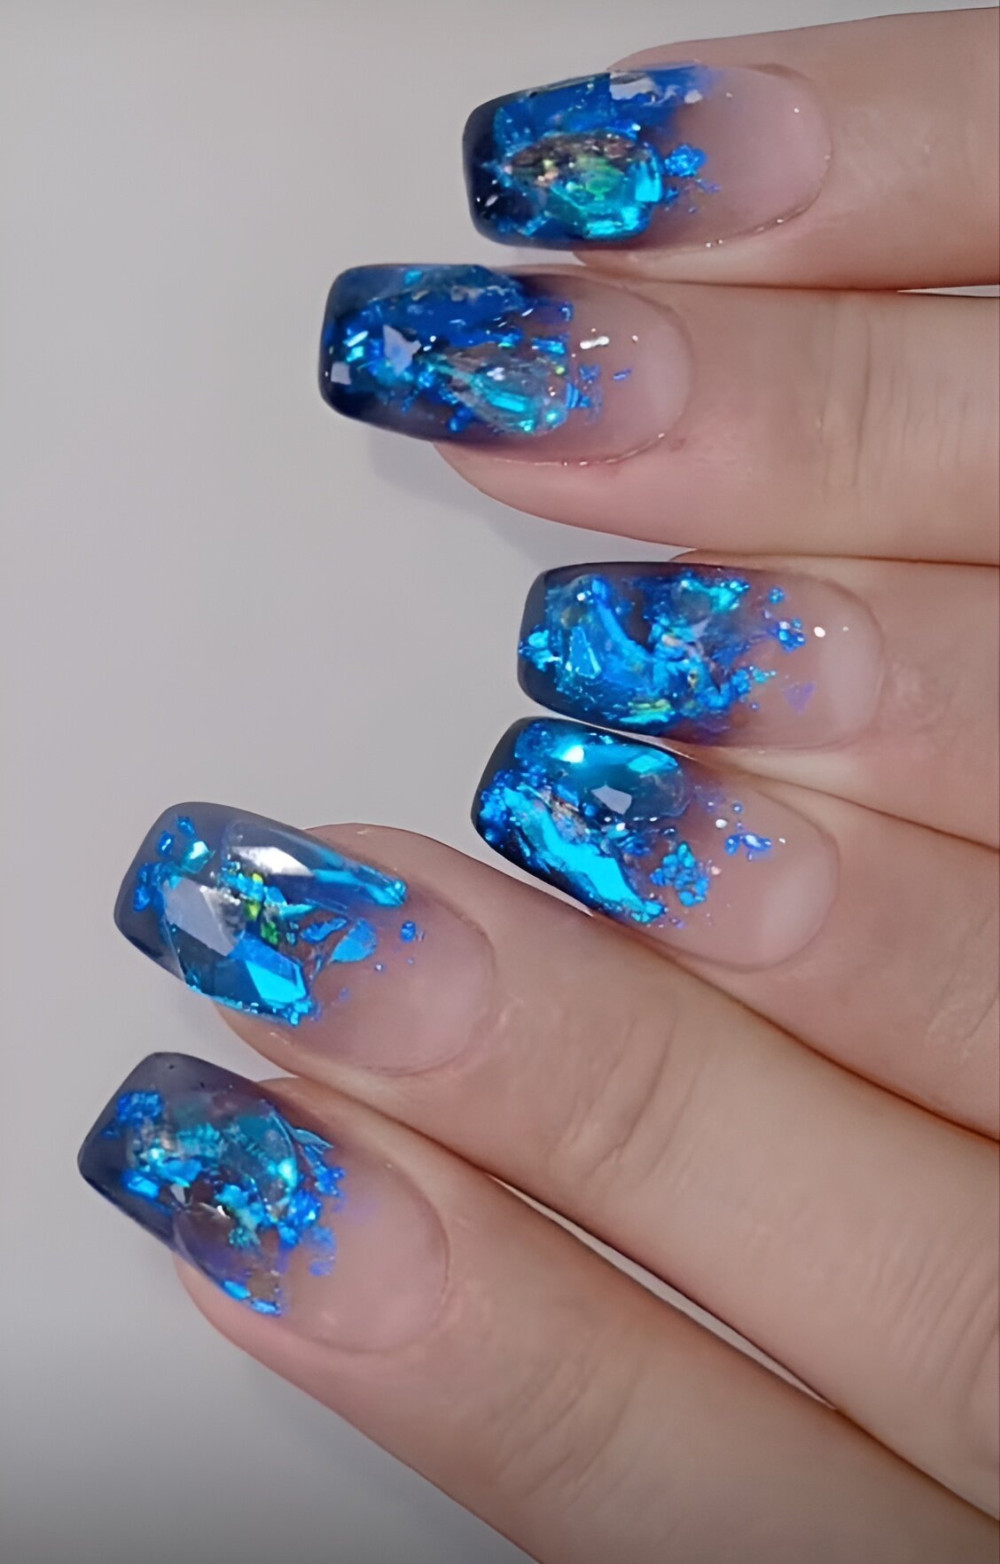
- Background Color: A highly opaque color (typically black, white, or a deep navy) for the base. Dark colors make the foil pop, while light colors create a softer, opal-like effect.
- No-Wipe Gel Top Coat: Absolutely crucial. You need a thick, self-leveling, no-wipe top coat to fully encapsulate the foil and create that smooth, glassy surface.
- UV/LED Lamp: Required to cure the gel polishes.
13.
14.
15.
Application Tools
- Tweezers or Silicone Tool: Essential for picking up and precisely placing the tiny, cut foil pieces.
- Detail Brush: Used to clean up any stray foil pieces before the final top coat.
16.
17.
Creating the Shattered Effect
This process is broken down into preparation, cutting, and meticulous placement.
Step 1: Base Application and Curing
- Prep Nails: Shape, buff, and clean the nails with rubbing alcohol or nail cleanser.
- Base Coat: Apply a thin layer of gel base coat and cure according to your lamp’s instructions (usually 30-60 seconds).
- Color Coat: Apply 1-2 thin coats of your chosen background color (e.g., black or navy), curing each coat fully. This deep, opaque layer makes the iridescent foil truly “shatter” and shine.
18.
19.
20.
Step 2: Preparing the Glass Shards
- Cut the Foil: Take a small piece of the holographic foil. Using your small, sharp scissors, cut the foil into many tiny, uneven geometric pieces like small squares, triangles, and irregular shards. The key is irregularity; avoid cutting long strips.
- Organize: Place the cut pieces on a piece of paper or a small silicone mat for easy access.
21.
22.
Step 3: Foil Placement (The Critical Step)
This is where the magic happens. You need a tacky surface for the foil to stick to.
- Apply Tacky Layer: Apply a thin layer of clear gel polish (or a special “transfer gel”) over the cured color layer, but DO NOT CURE IT YET. This layer acts as the glue.
- Place the Shards: Using your fine tweezers or silicone tool, carefully pick up the tiny foil pieces and begin placing them onto the tacky clear gel.
23.
24.
25.
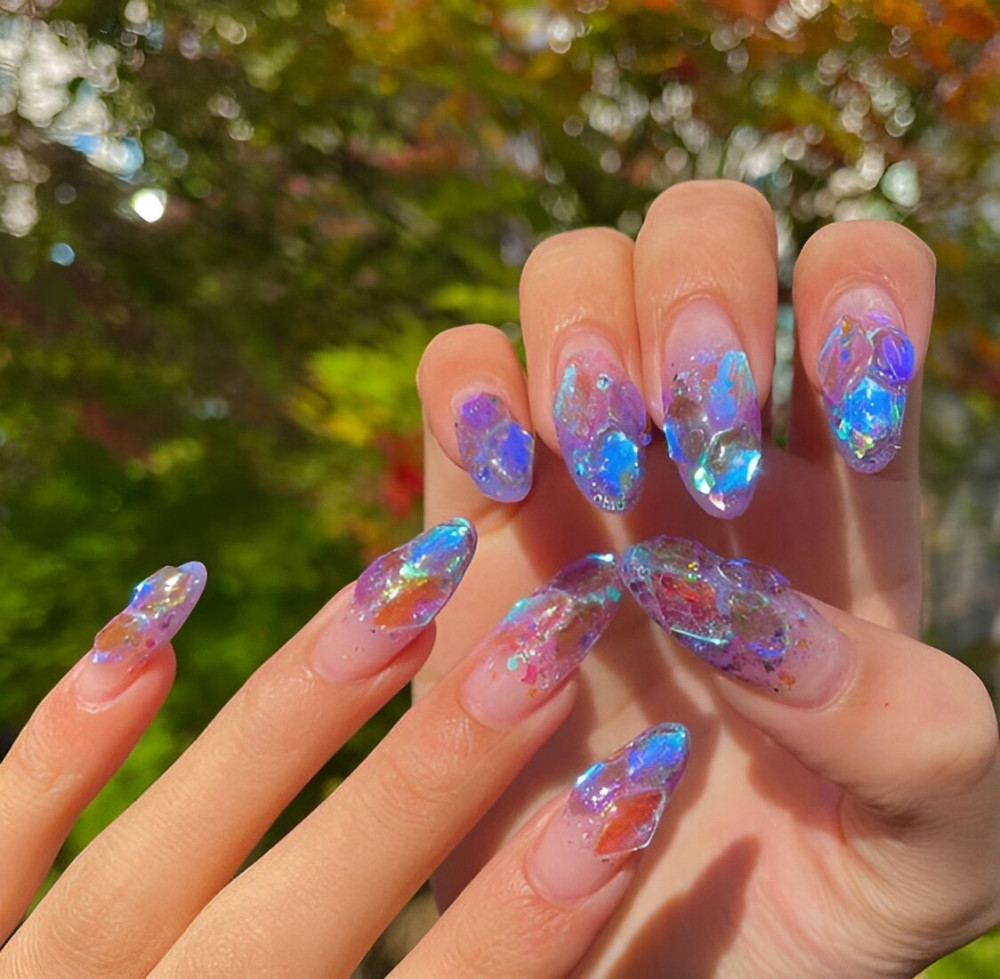
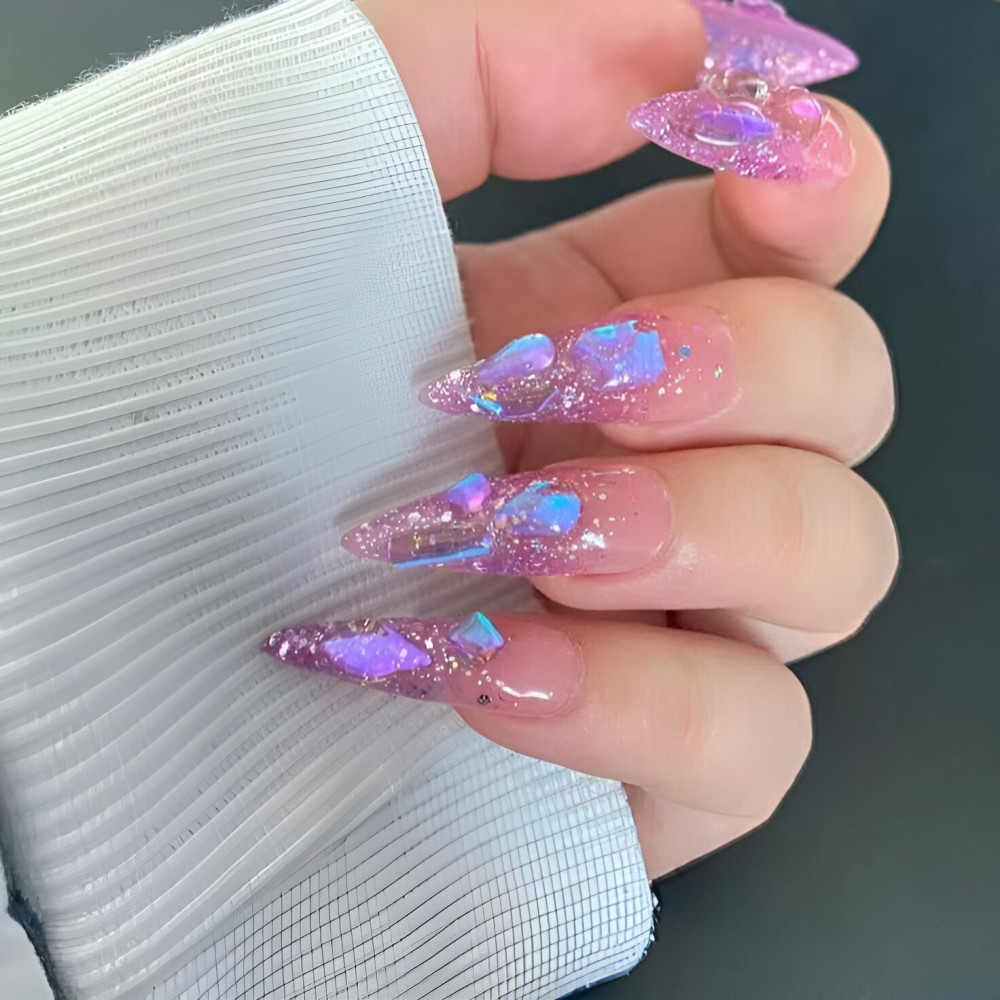
- Spacing: Place the pieces close together, but ensure they do not overlap. Leave a tiny amount of space between each piece to create the “shattered” or “cracked” glass effect.
- Angle: Rotate the pieces so the facets of the “glass” catch the light differently. This irregular angling is what creates the dazzling, multi-dimensional sparkle.
- Cure: Once satisfied with the placement, cure the tacky layer with the foil embedded inside.
26.
27.
28.
29.
30.