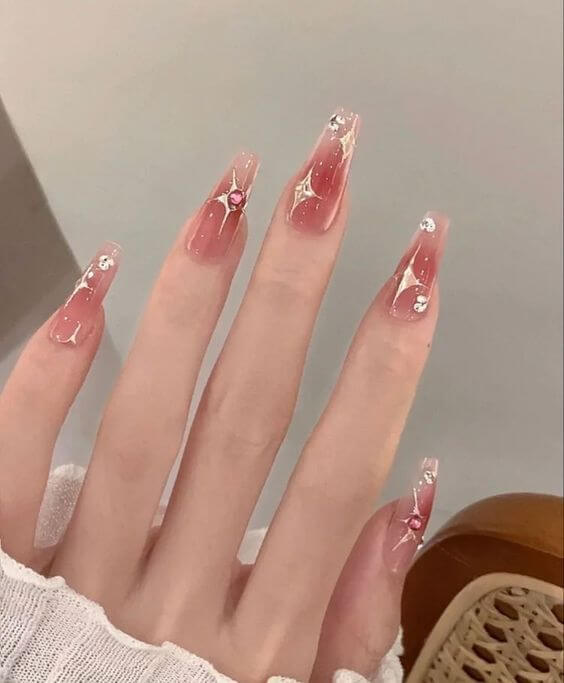
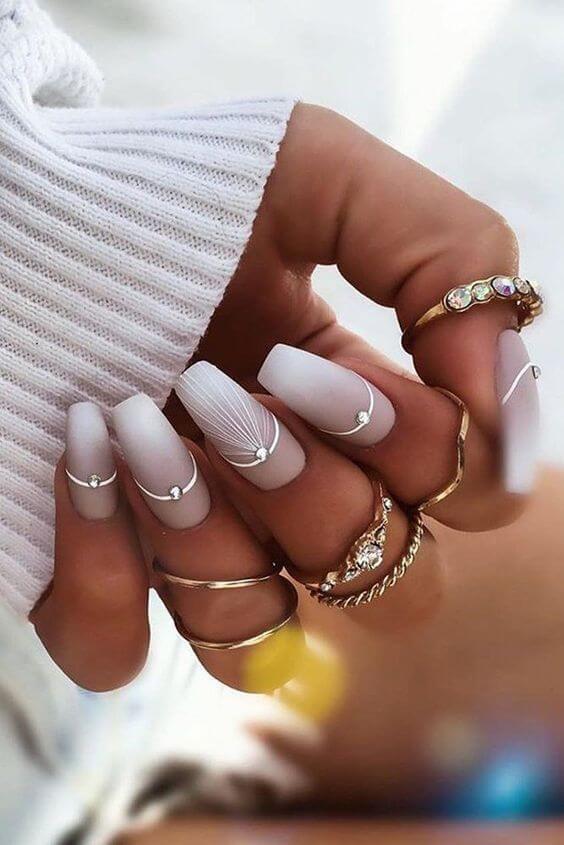
Ombre nails have been popular for several years and don’t appear to be going anywhere anytime soon! Conversely, ombre nail designs are becoming more popular.
I adore ombre nails because there are so many different styles to choose from. You can get an over-the-top ombre manicure (bright colors, coffin nails, etc.), or you can get a super natural, subtle ombre manicure.
Everyone will find something they enjoy! As a result, what could be better than creating your own ombre manicure at home? Today, in addition to sharing some of my favorite ombre manicure inspiration photos, I’ll also show you how to create a gradient effect on your nails.
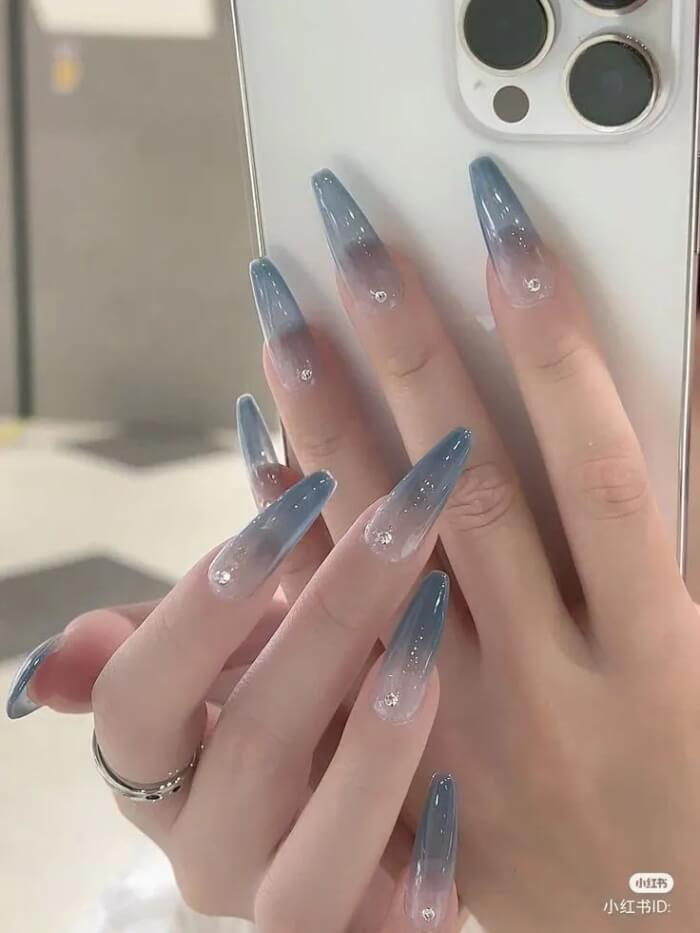
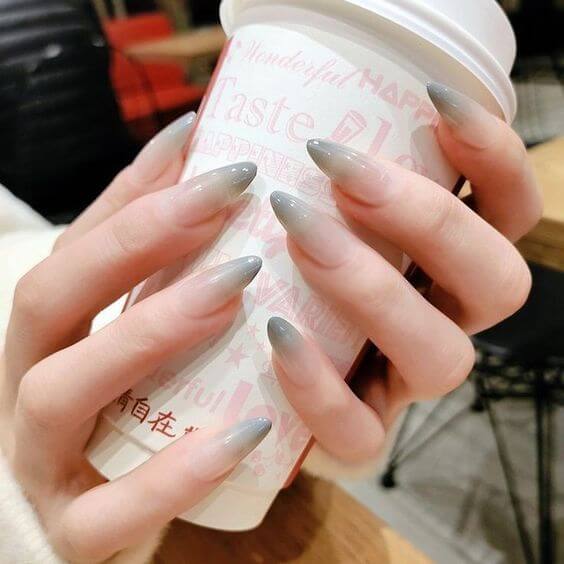
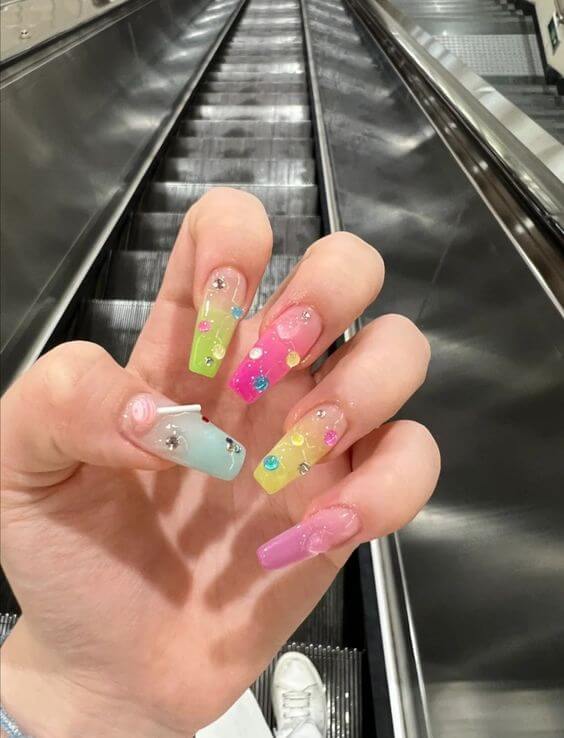
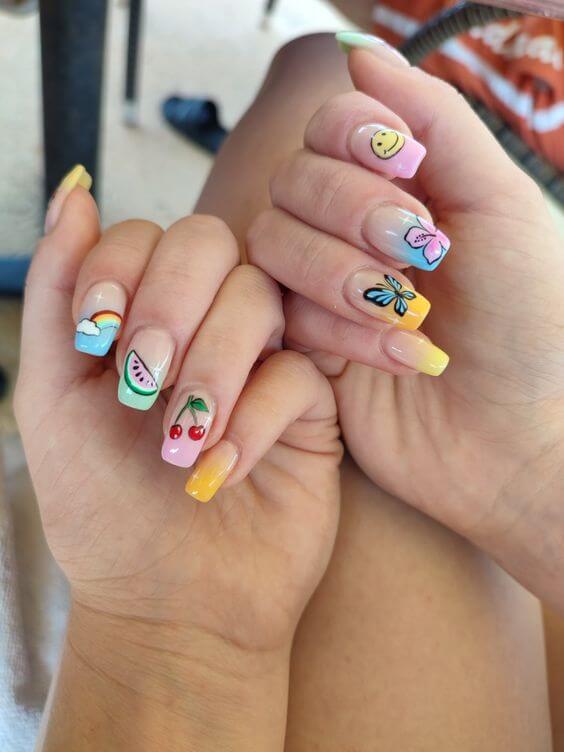
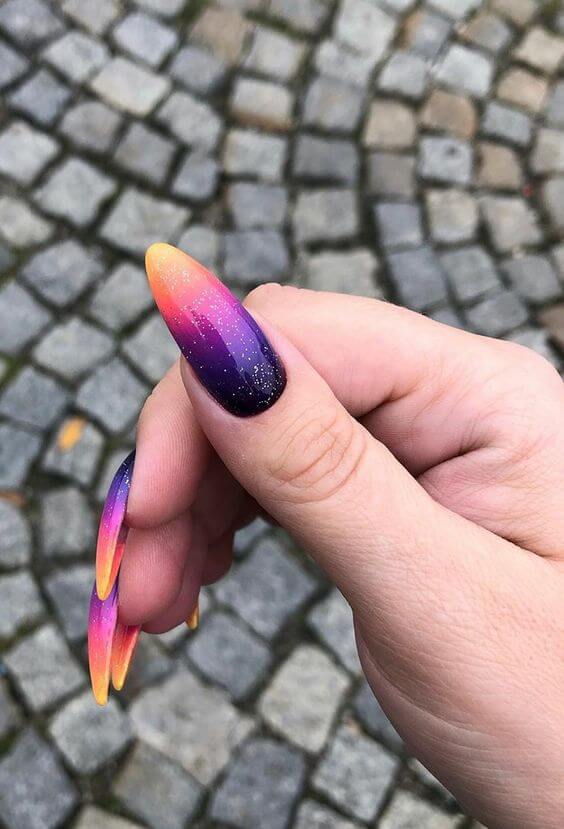
#1
 Source: unknown
How to Make Ombré Nails at Home
You’ll need:
- Basecoat
- Topcoat
- Nail polish remover
- Three shades of the same color family (light to dark)
- Clean up brush
- Wedge makeup sponge
- Scissors
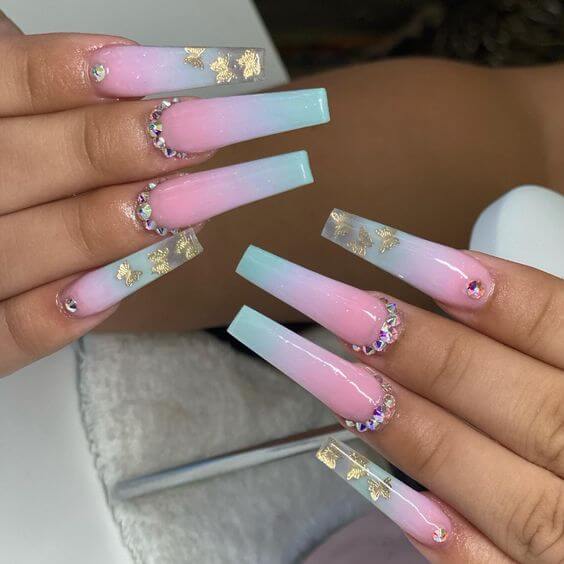
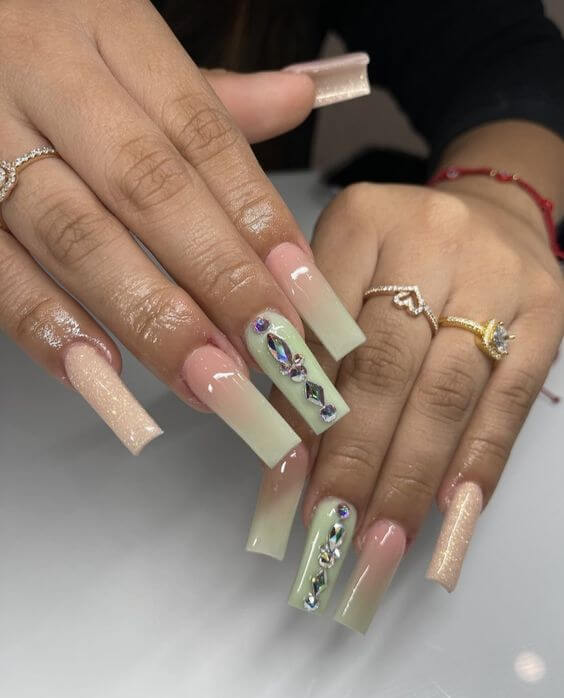
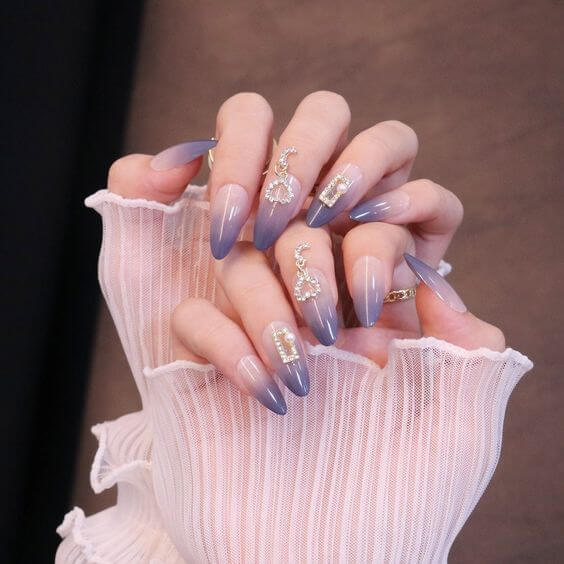
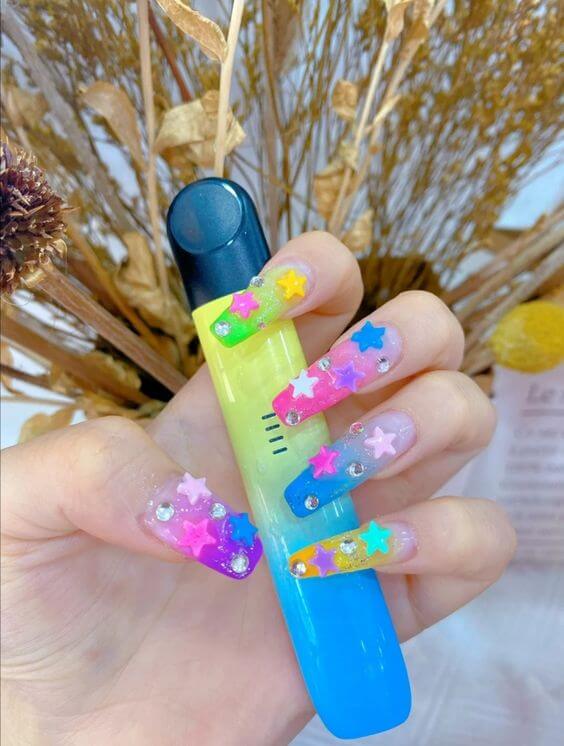
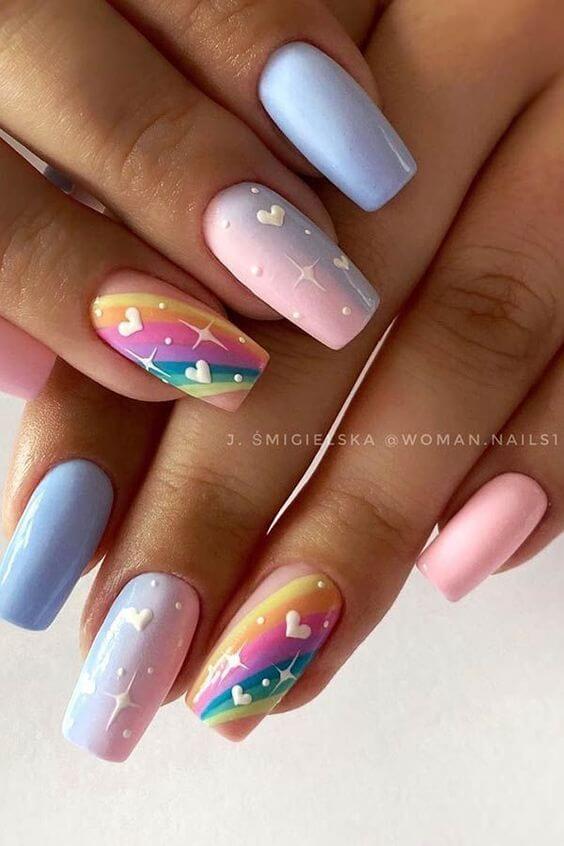
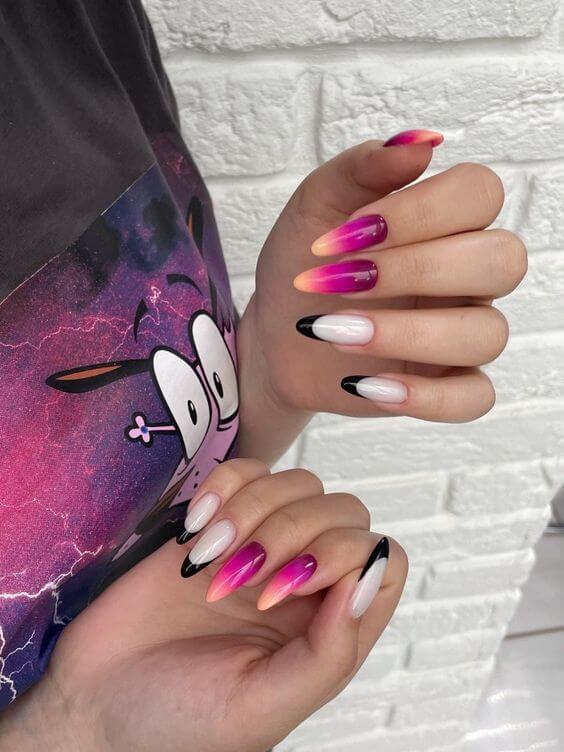
#2
 Source: unknown
Make Your Own Sponge
“Cut the wedge makeup sponge to make the flat edge more narrow, adjusting it to the size of your nail,” instructs Dunne, co-founder and CEO of Varnish Lane.
The idea is to create a tool that fits your nail shape perfectly. “The goal is to have the wedge only be as wide as your nail,” she explains.
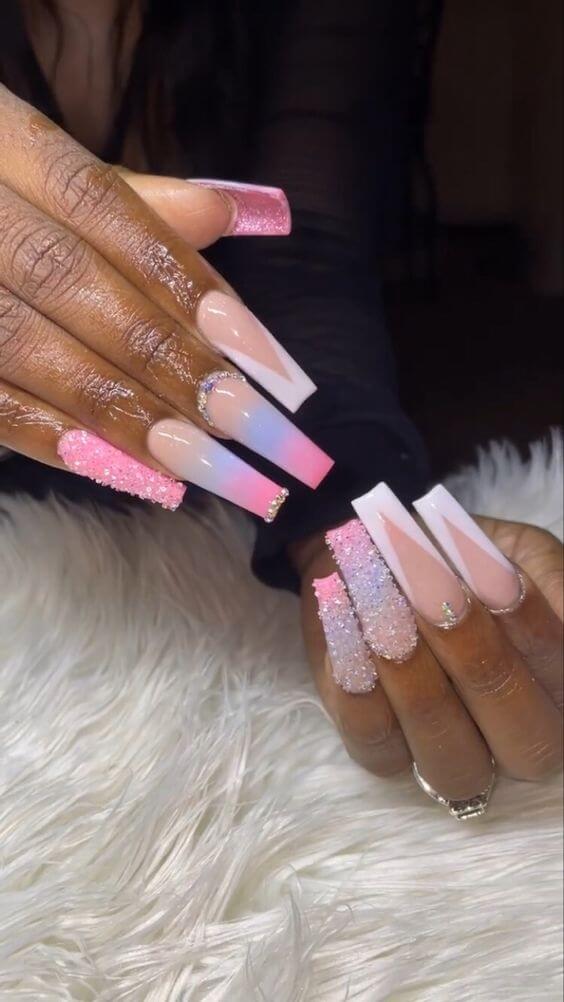
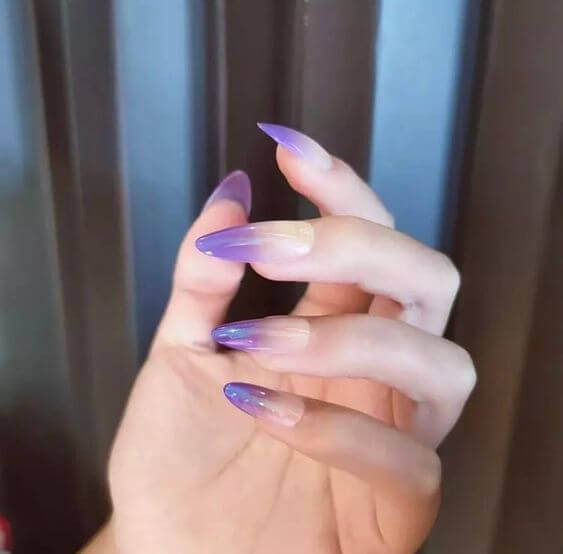
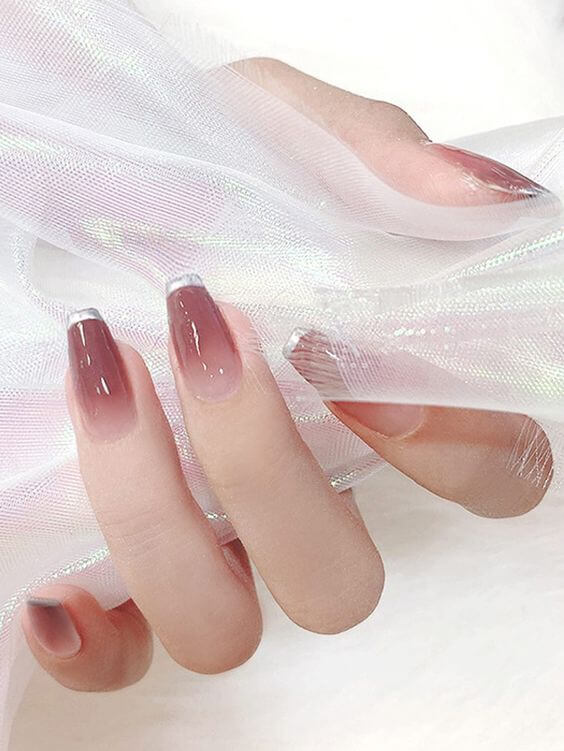
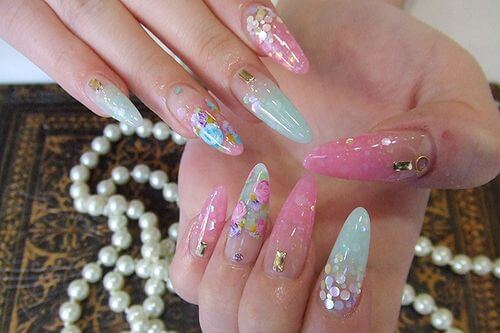
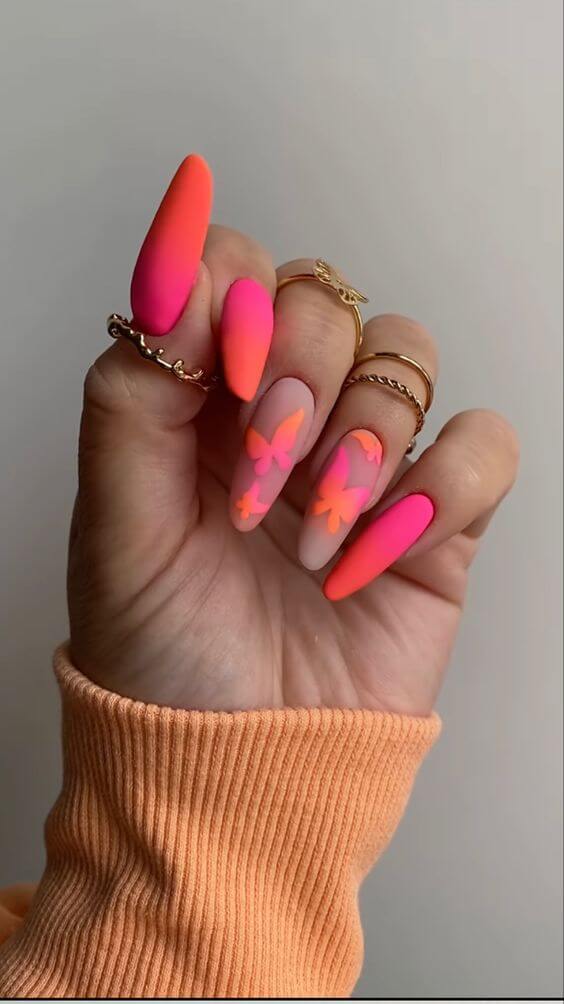
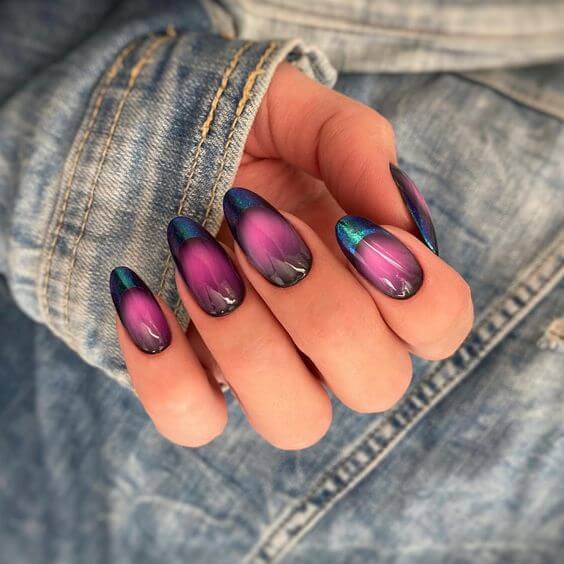
#3
 Source: unknown
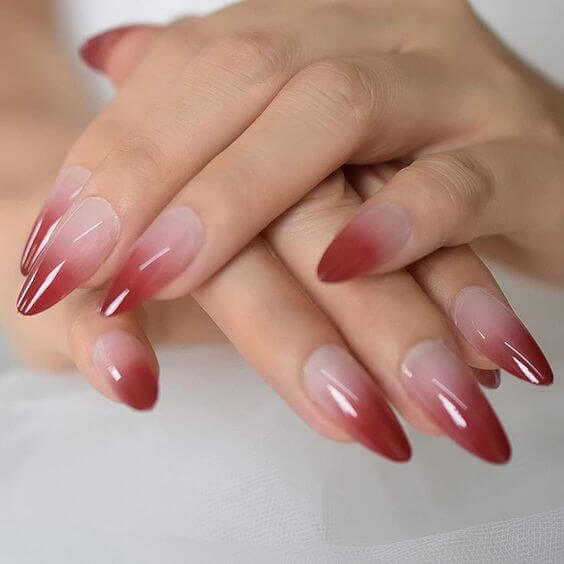
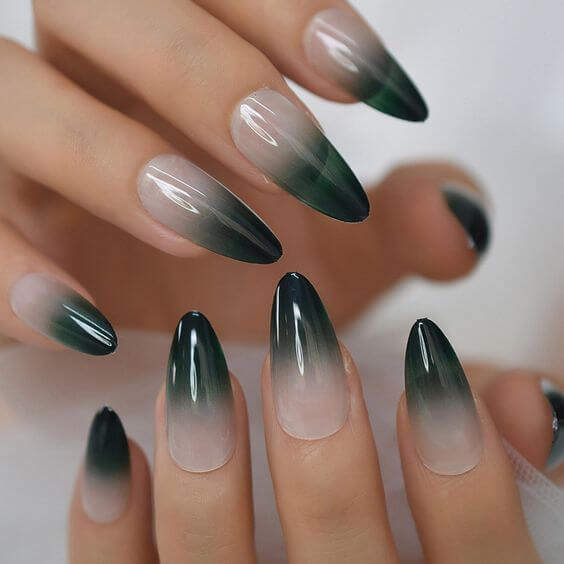
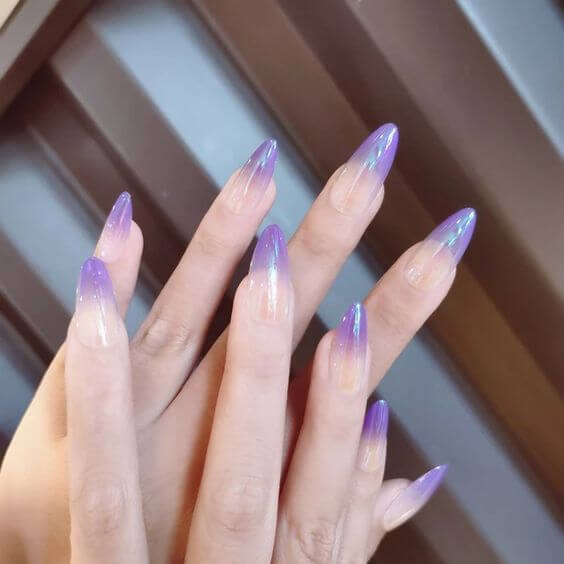
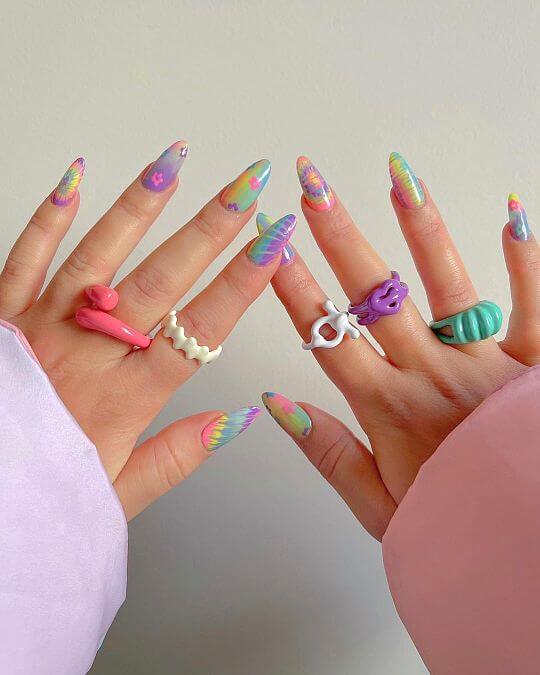
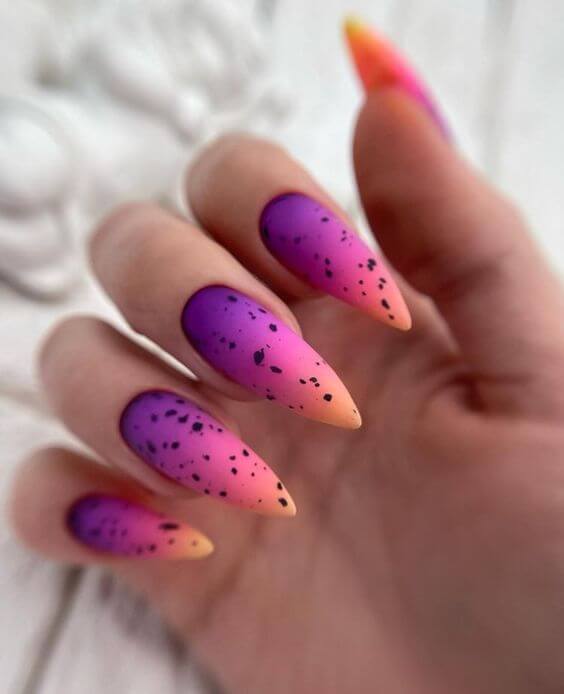
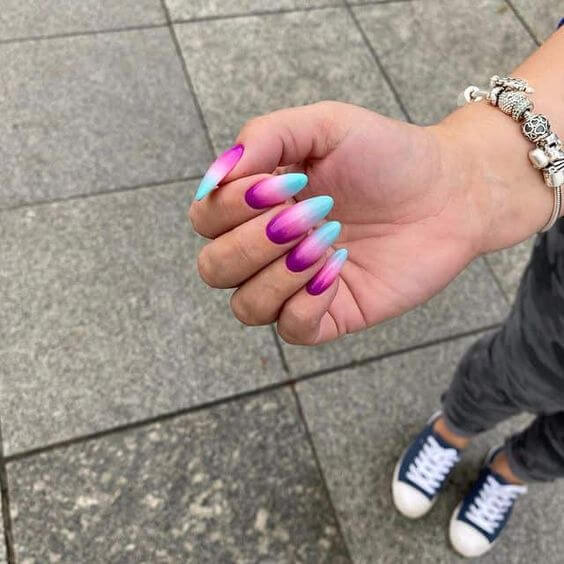
#4
 Source: unknown
#5
 Source: unknown
This small adjustment helps control the application process and minimizes the amount of polish that ends up on the skin around your nails, giving you a cleaner, more professional-looking finish.
#6
 Source: unknown
#7
 Source: unknown
Apply A Base Coat Layer
“Apply a base coat to your nails,” advises Dunne. “Make sure the coat is fully dried before proceeding to the next step.”
A proper base coat does more than just prep the nail. It creates a smooth foundation, helps polish adhere better, and protects your natural nails from staining.
#8
 Source: unknown
#9
 Source: unknown
#10
 Source: unknown
Even if your nail polish claims to include a built-in base, it never hurts to go the extra mile. Using a classic base coat is one of the simplest ways to ensure your manicure lasts longer and maintains that fresh, salon-quality look.
For anyone aiming to create a flawless, durable mani, this step is worth the extra effort.
#11
 Source: unknown
Choose Your Ombré Colors
“Brush the three colors in straight lines onto the wedge makeup sponge,” explains Dunne. “Start with the lightest shade at the base of the wedge.
It’s okay if the colors overlap slightly as you apply them. That blending will help create a seamless fade once the polish transfers onto your nail.” This technique is what gives ombré nails their dreamy, gradient effect.
#12
 Source: unknown
#13
 Source: unknown
#14
 Source: unknown
If you’re working with dip powder instead of liquid polish, the process is slightly different. Begin by dipping the tip of your nail into the lightest color and gently patting away any excess.
Then, with a small fluffy brush, apply the remaining color strips across the nail to build the gradient. Once your fade is complete, lock in the look by applying a topcoat or sealing layer to smooth the surface and protect your design.
#15
 Source: unknown
#16
 Source: unknown
#17
 Source: unknown
Bring Your Ombré to Life
“Gently blot the sponge onto your nail to transfer the polish,” says Dunne. “Make sure all three colors are visible on the nail.” Work slowly and carefully, pressing the sponge down just enough to release the polish without smudging the design.
Once your first nail is finished, repeat the same process on the rest of your nails or just the accent nails you want to feature with the ombré effect.
#18
 Source: unknown
#19
 Source: unknown
#20
 Source: unknown
Depending on the coverage, you may need to blot the sponge several times to build up the intensity of the colors. Each layer will help the gradient look more even and blended.
Continue dabbing until you’re happy with the smoothness and depth of the fade. Patience is key here, and the extra effort ensures your ombré nails look polished and professional.
#21
 Source: unknown
#22
 Source: unknown
Apply Topcoat
According to Dunne, the final step is just as important as the gradient itself. Applying a top coat right after sponging helps prevent chips and enhances the seamless fade of your design.
While you may hesitate to add yet another layer of polish to your freshly created look, rest assured it won’t ruin your work. In fact, it will do the opposite.
#23
 Source: unknown
#24
 Source: unknown
#25
 Source: unknown
“The top coat can help to blur the polishes together,” Dunne explains. By sealing the colors under a glossy layer, the gradient appears softer, smoother, and more professional.
Plus, the protective finish ensures your DIY ombré manicure lasts longer while maintaining its vibrant, dreamy fade.
#26
 Source: unknown
#27
 Source: unknown
Touch Up Around Each Nail
“Use a clean-up brush and nail polish remover to wipe away any polish that may have gotten onto the skin around your nails,” advises Dunne.
A small, tapered brush works best because it can easily reach under the nail edges and trace neatly along the nail bed. This precision tool gives your manicure that crisp, salon-quality finish.
#28
 Source: unknown
#29
 Source: unknown
#30
 Source: unknown
When doing touch-ups, take your time and move slowly around each nail. Rushing increases the risk of accidentally removing polish you actually want to keep, especially along the edges or tips.
With patience and a steady hand, the clean-up step transforms your ombré manicure from DIY to flawless, ensuring that the colors stand out beautifully without messy streaks or smudges.
#31
 Source: unknown
Take Care Of Your Cuticles
“Apply cuticle oil around the nails to re-moisturize your skin,” Dunne says. This is especially important because acetone can severely dry out the skin around your nails.
Finally, I included all different kinds of ombre manicures, from nail shape to nail color. Please save these photos to your phone (by pressing down on the photo and selecting save to camera roll) so that you can show your nail technician exactly what you want.
#32
 Source: unknown