Nail art is a fun way to make your cute fingers prettier. Plus, they can be great accessories to go with your outfits. Not all manicure ideas are complicated and require hours of skill to complete. Some of the best chic manicures are actually very simple.
Some designs are so easy that any girl with steady hands can recreate them at home. And if you don’t have steady hands, you can always ask your friends to do it for you!
So if you’re itching to try out some DIY nail art, this list is for you. We have everything from bold to chic, from simple to advanced.
Challenge yourself with this list and see what gorgeous nail design you can remake at home. Feel free to add your own twists and make new looks from these ideas. Let this be your inspiration for your next manicure.
Here are 35 easy nail art ideas to try at home. Save yourself some money and have fun with the DIY. These nail art are pretty and can be recreated effortlessly. We promise that they will be worth your time!
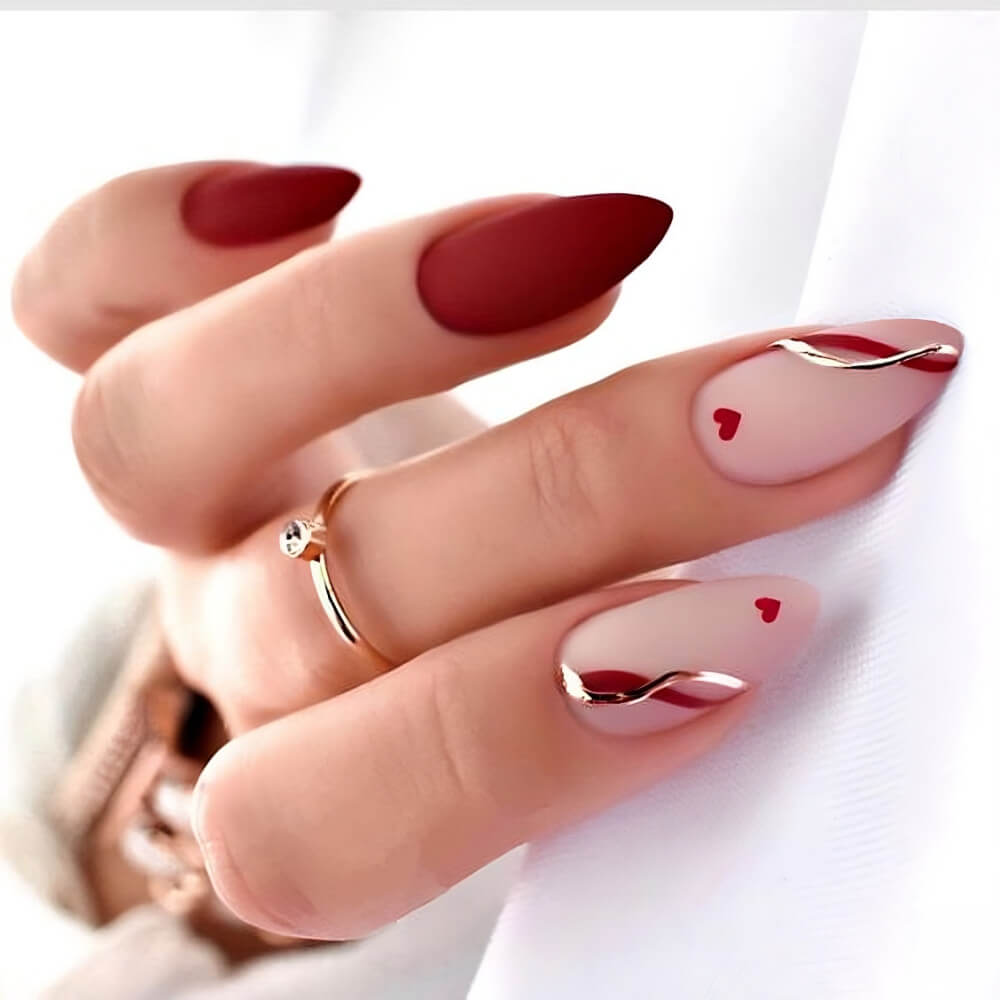
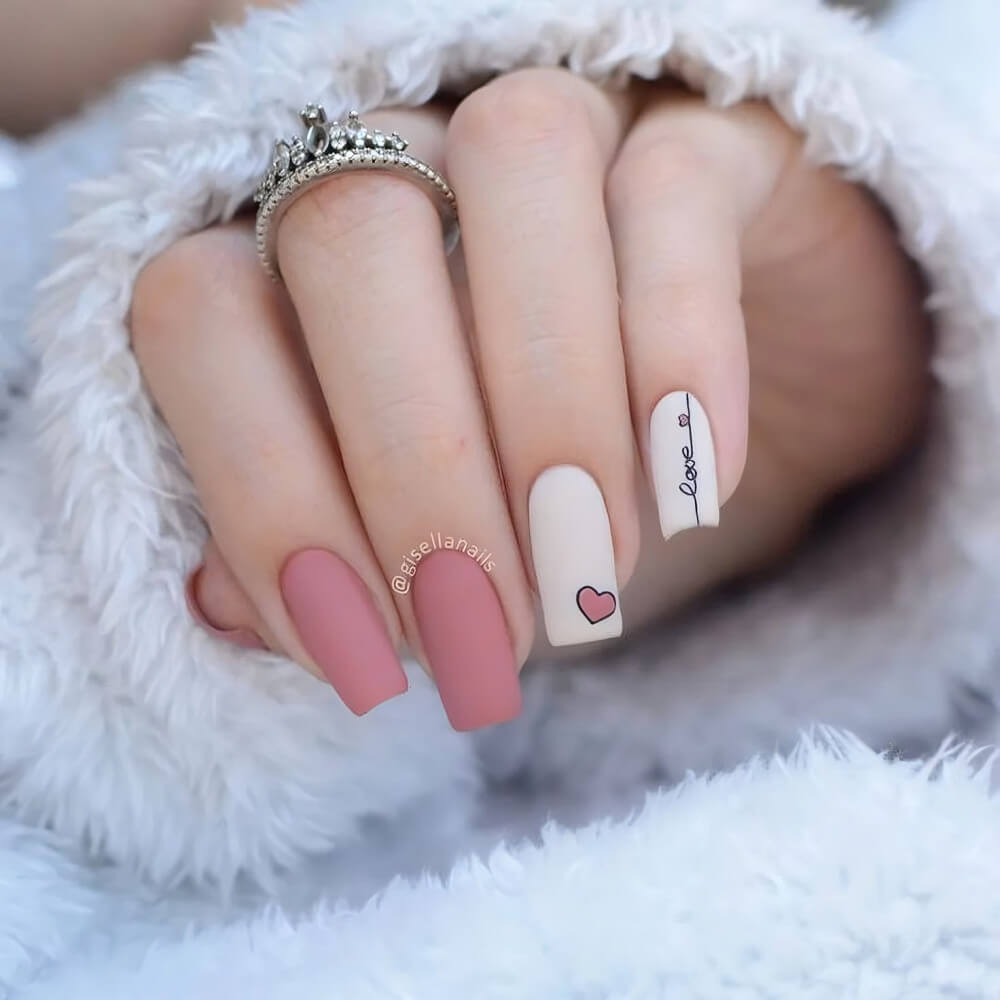
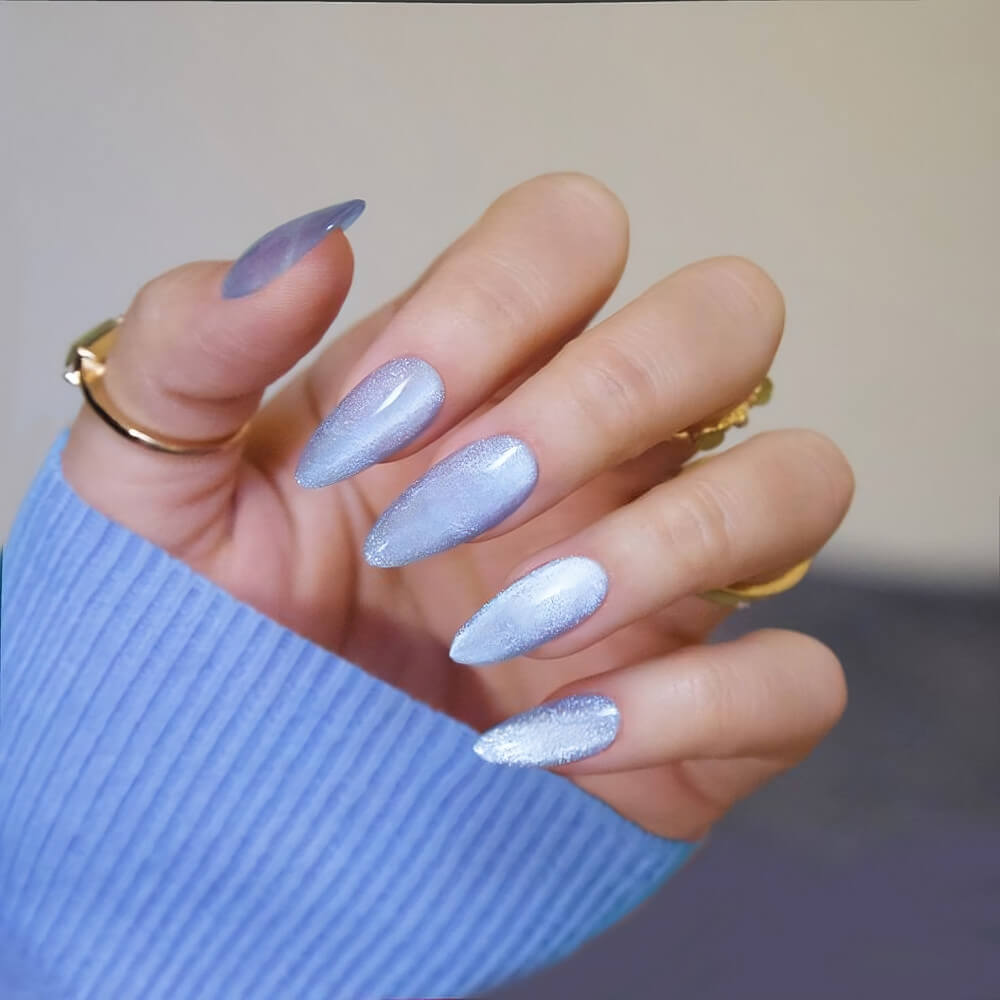
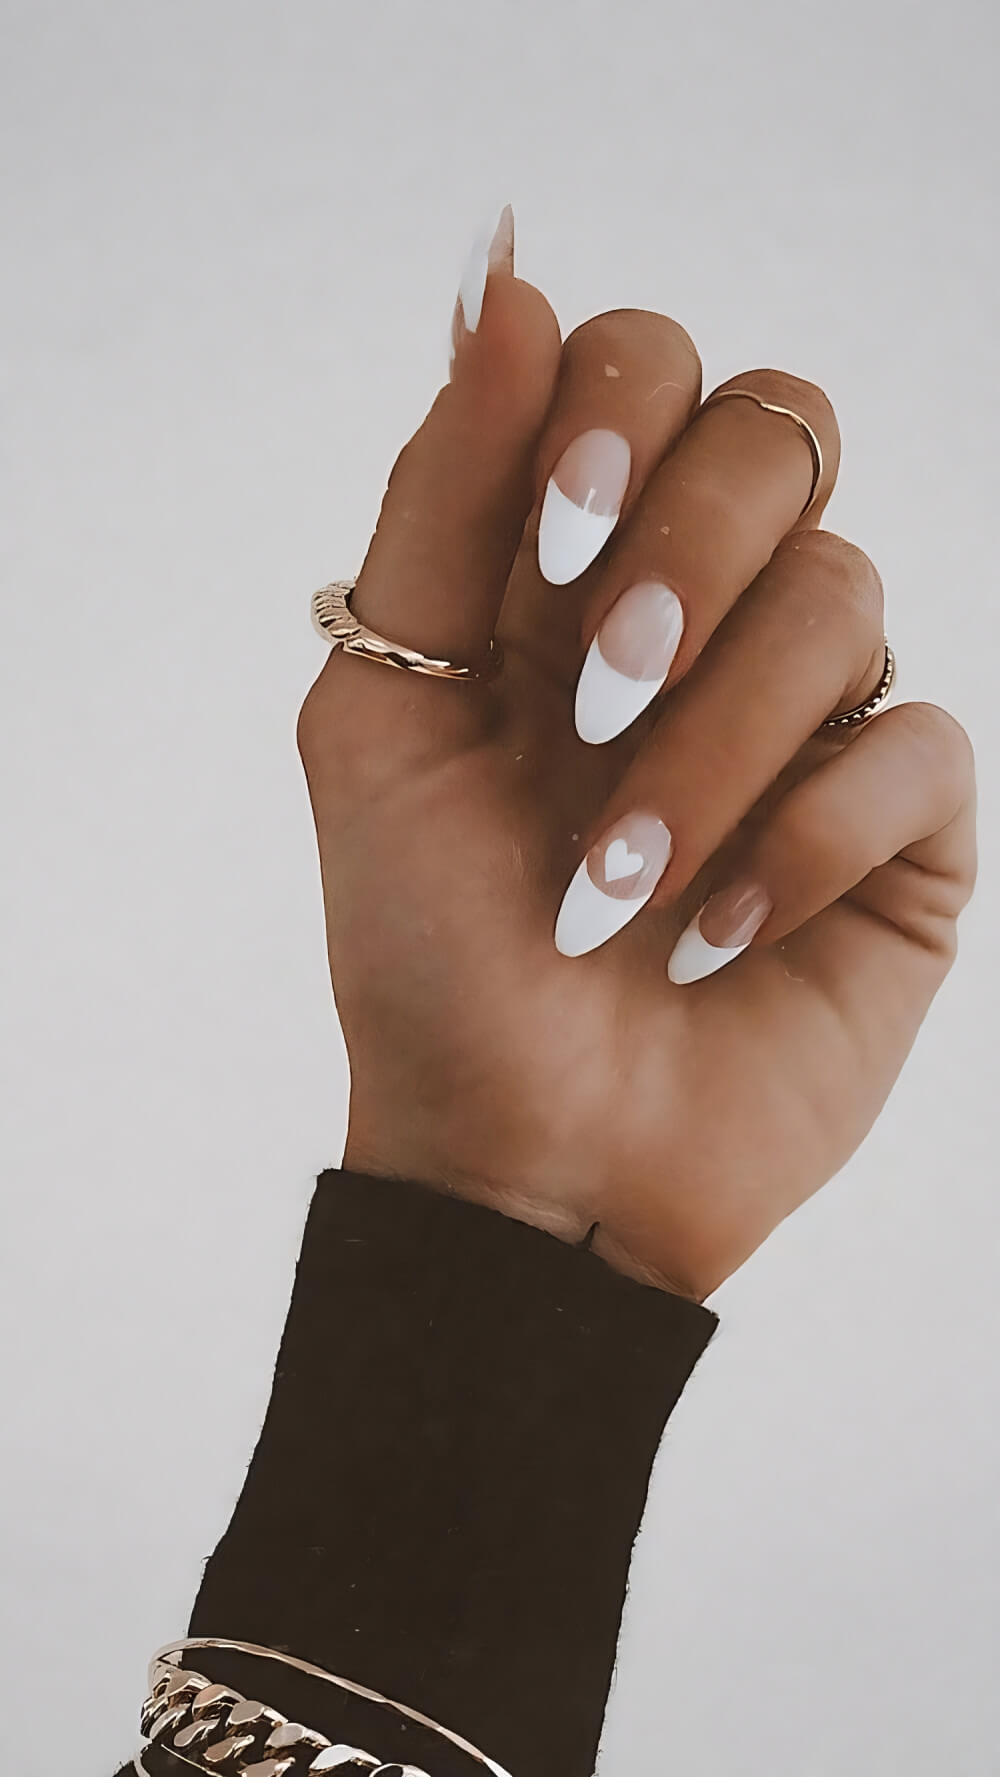
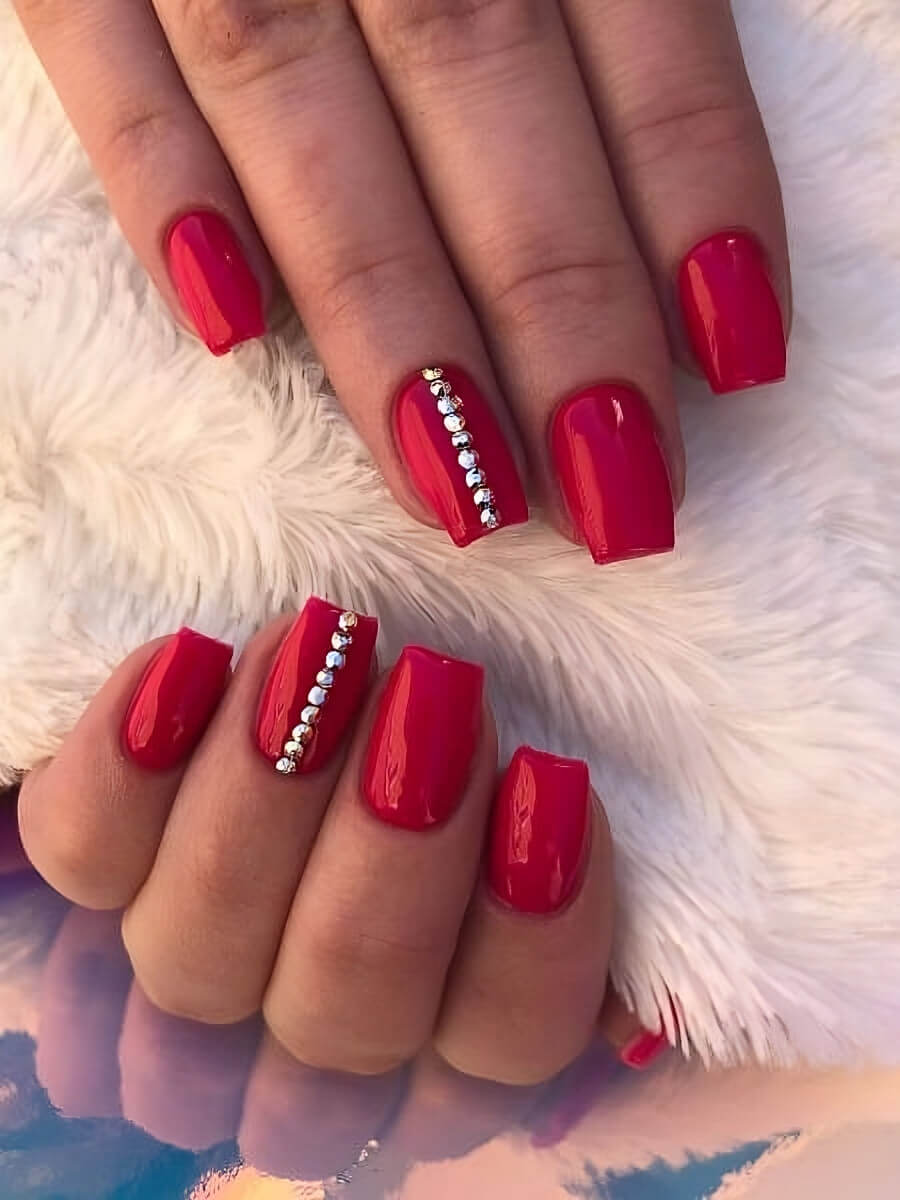
1.
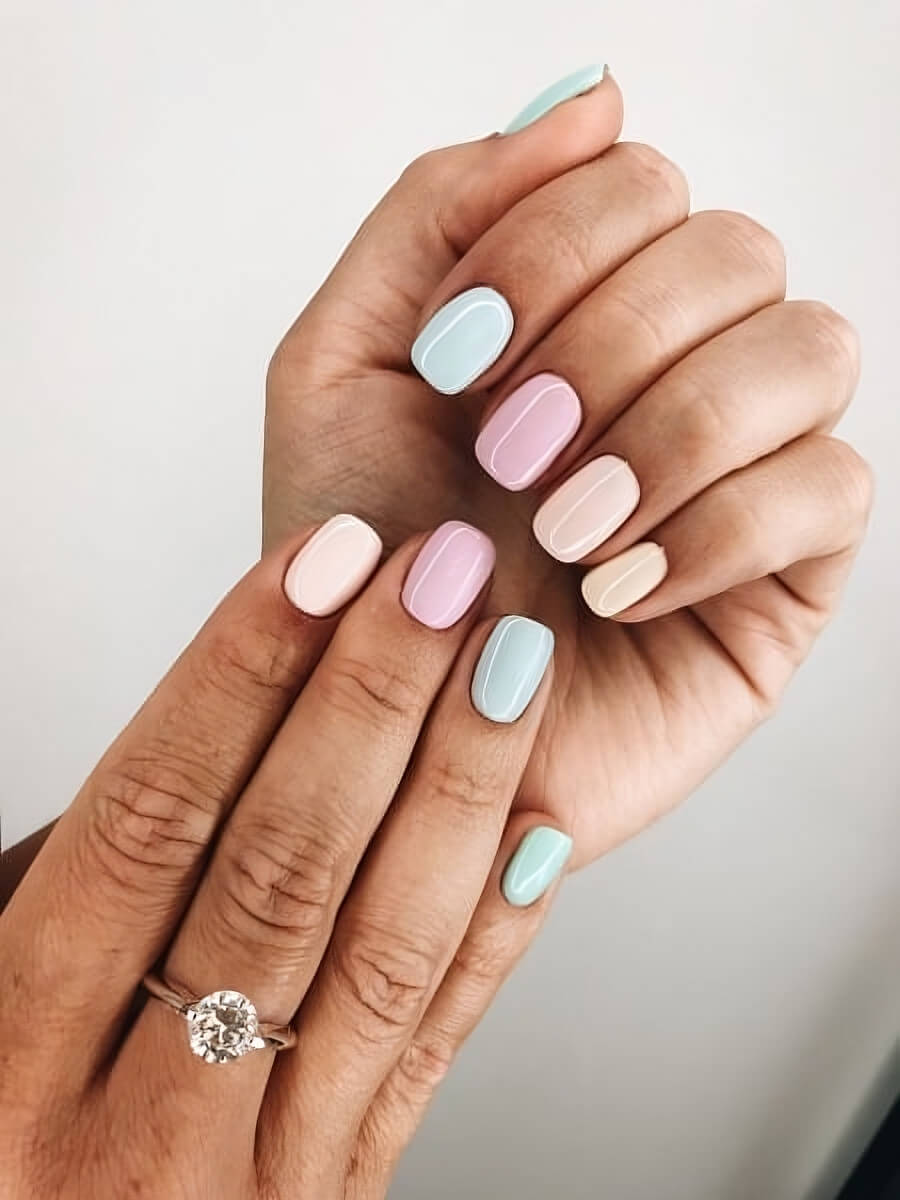
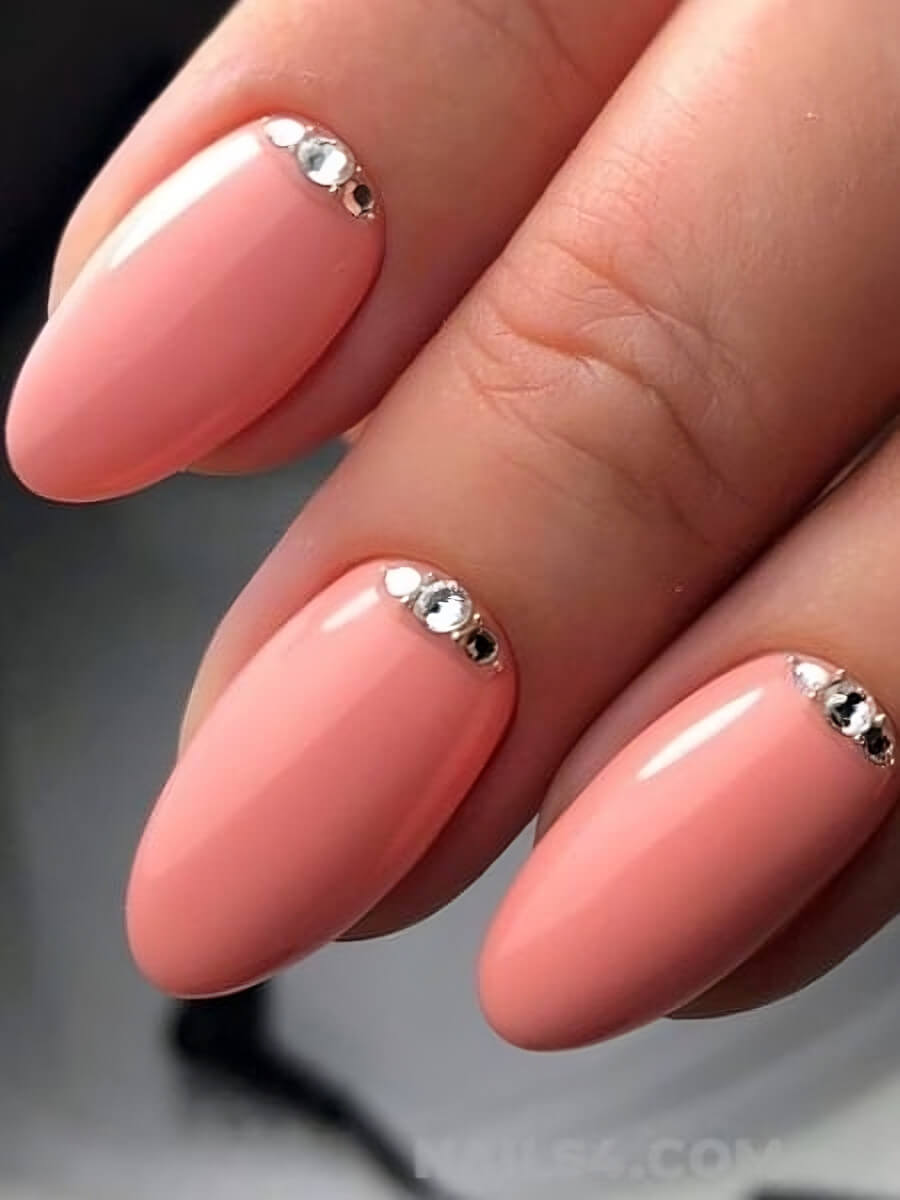
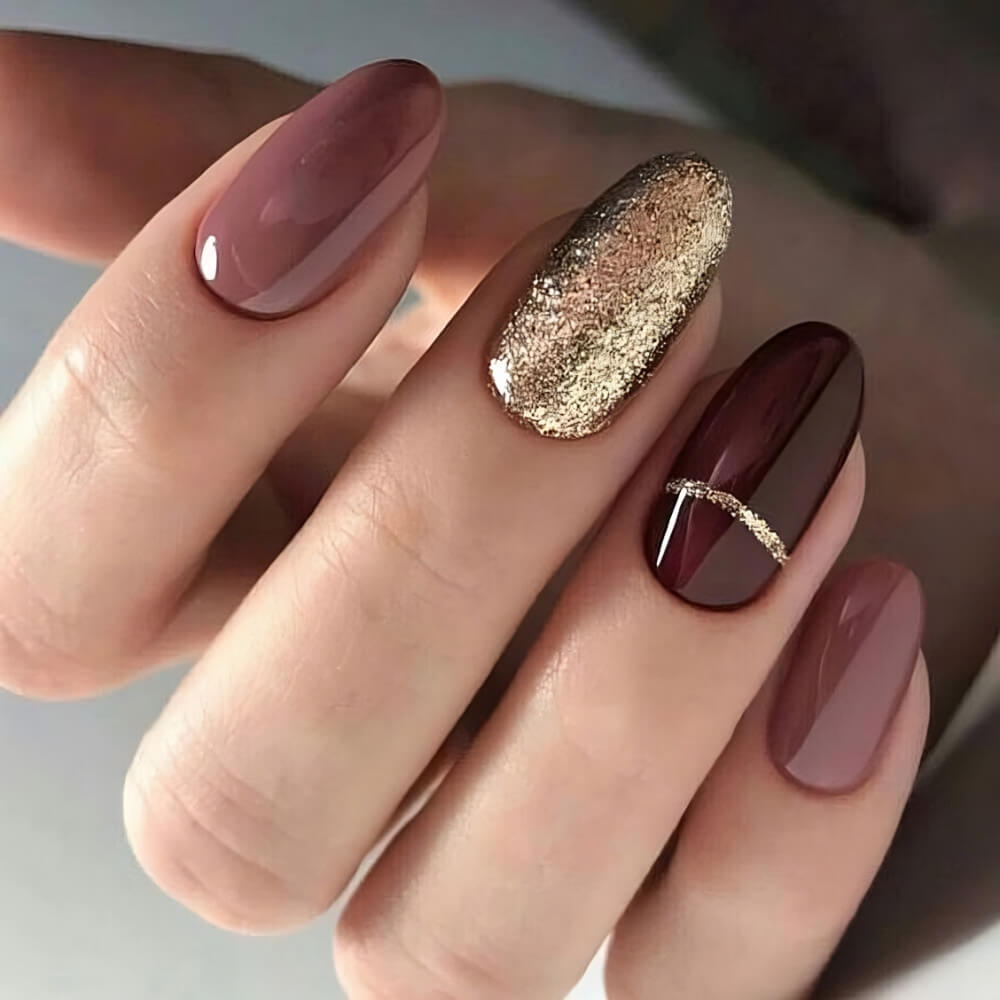
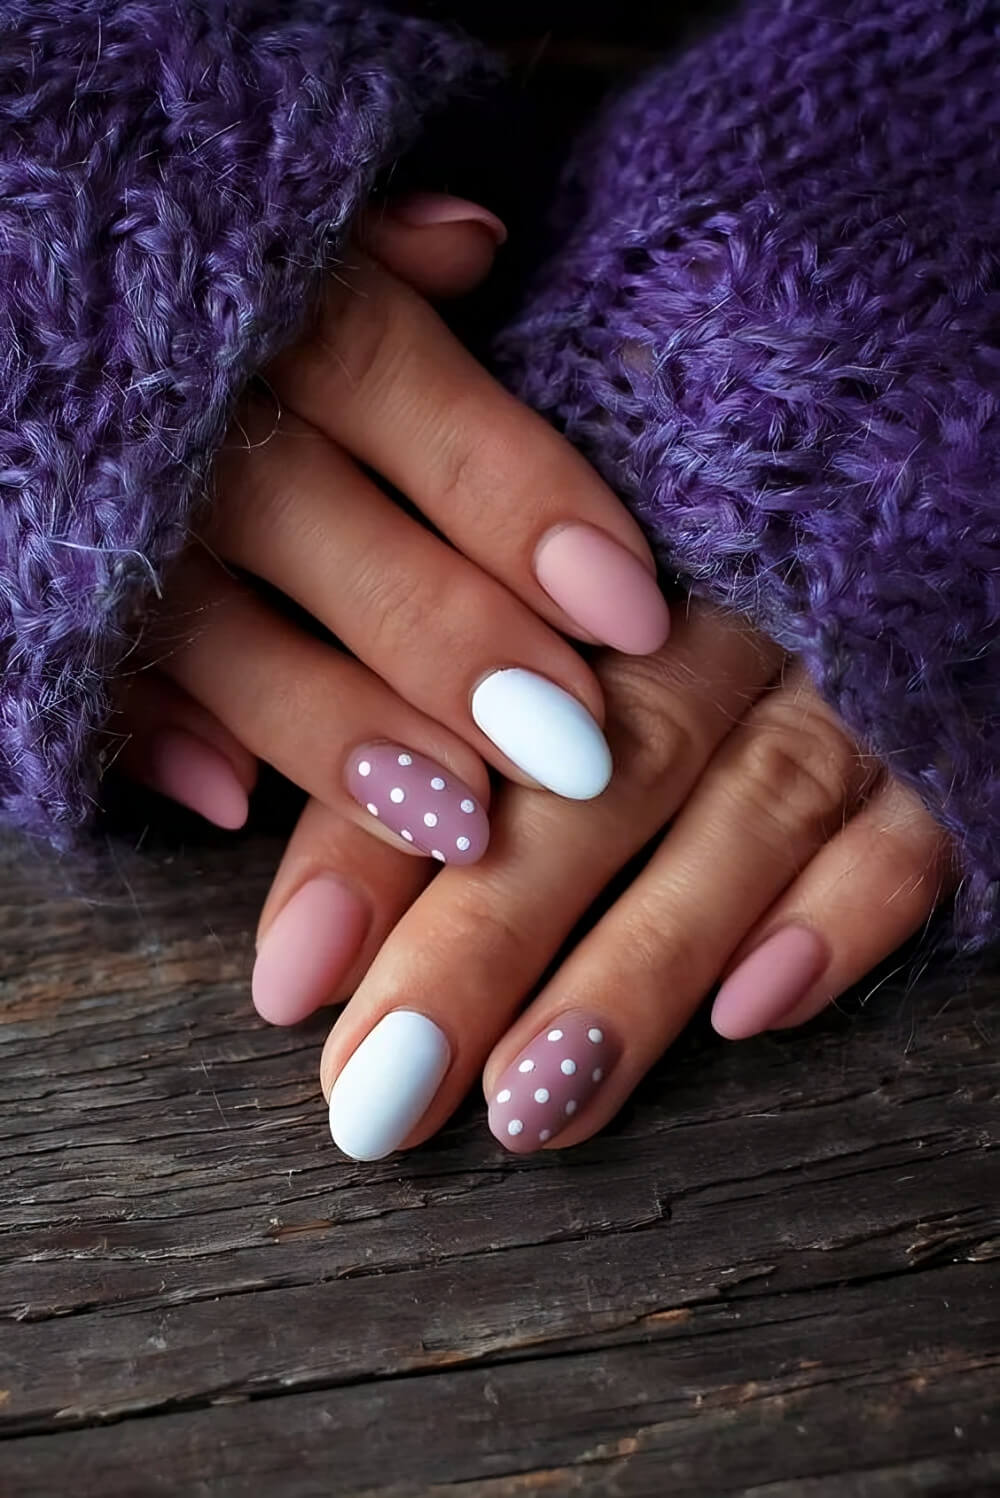
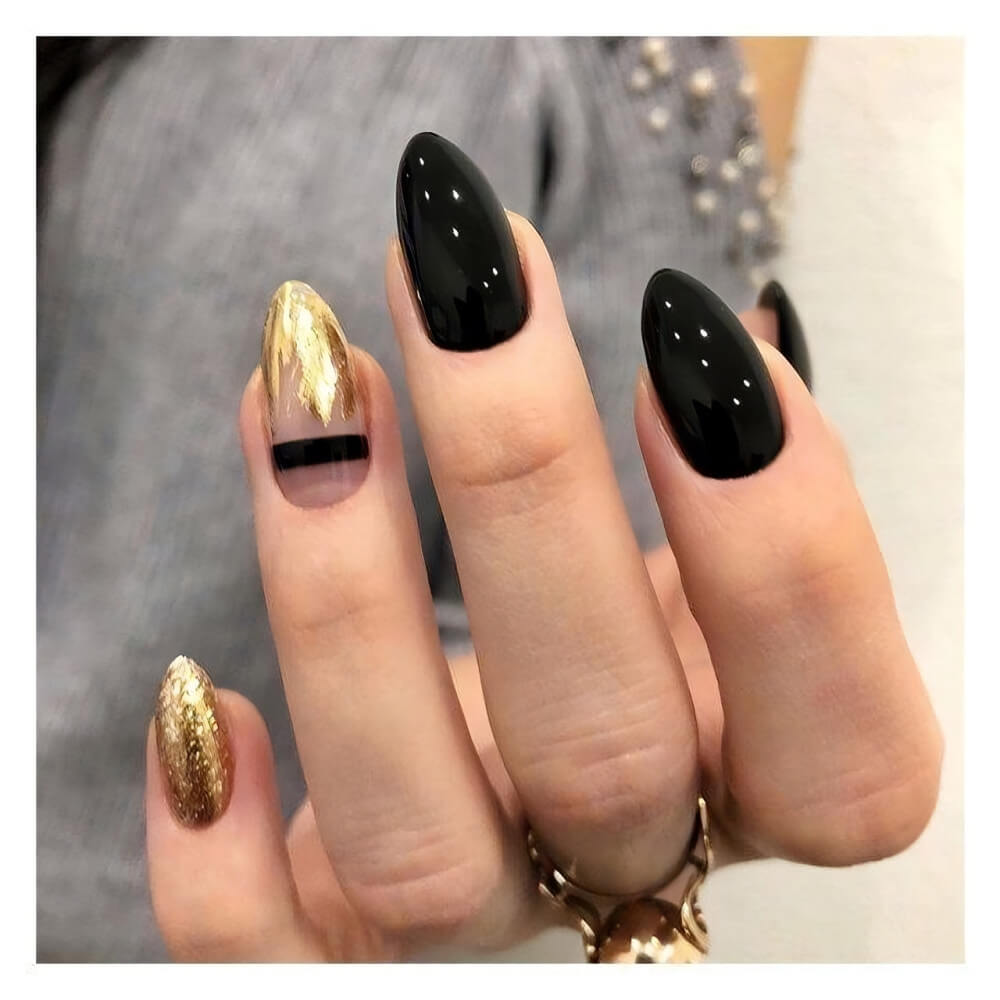
2.

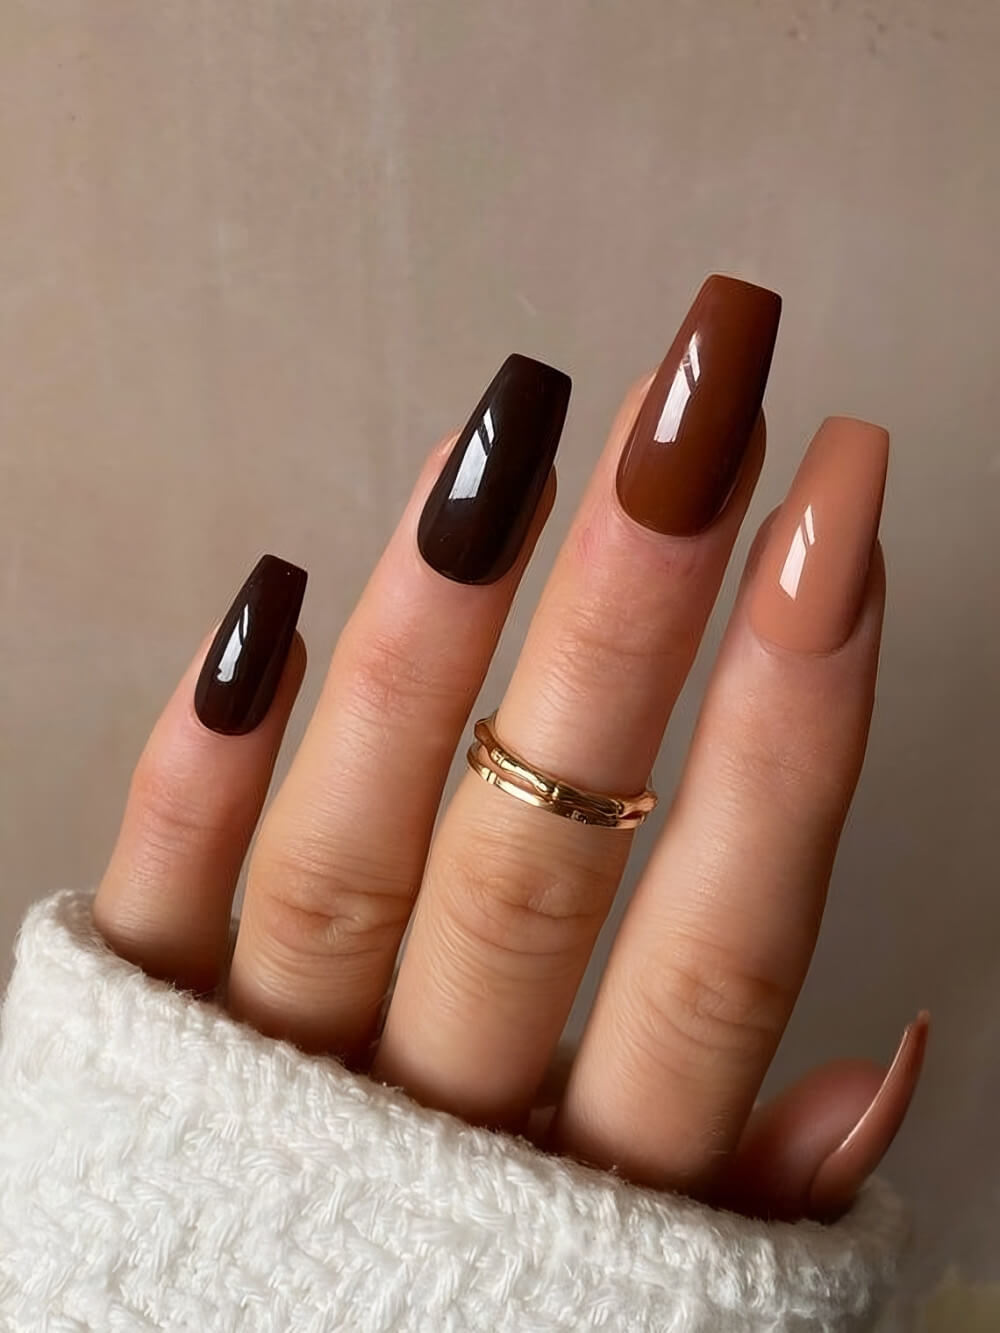
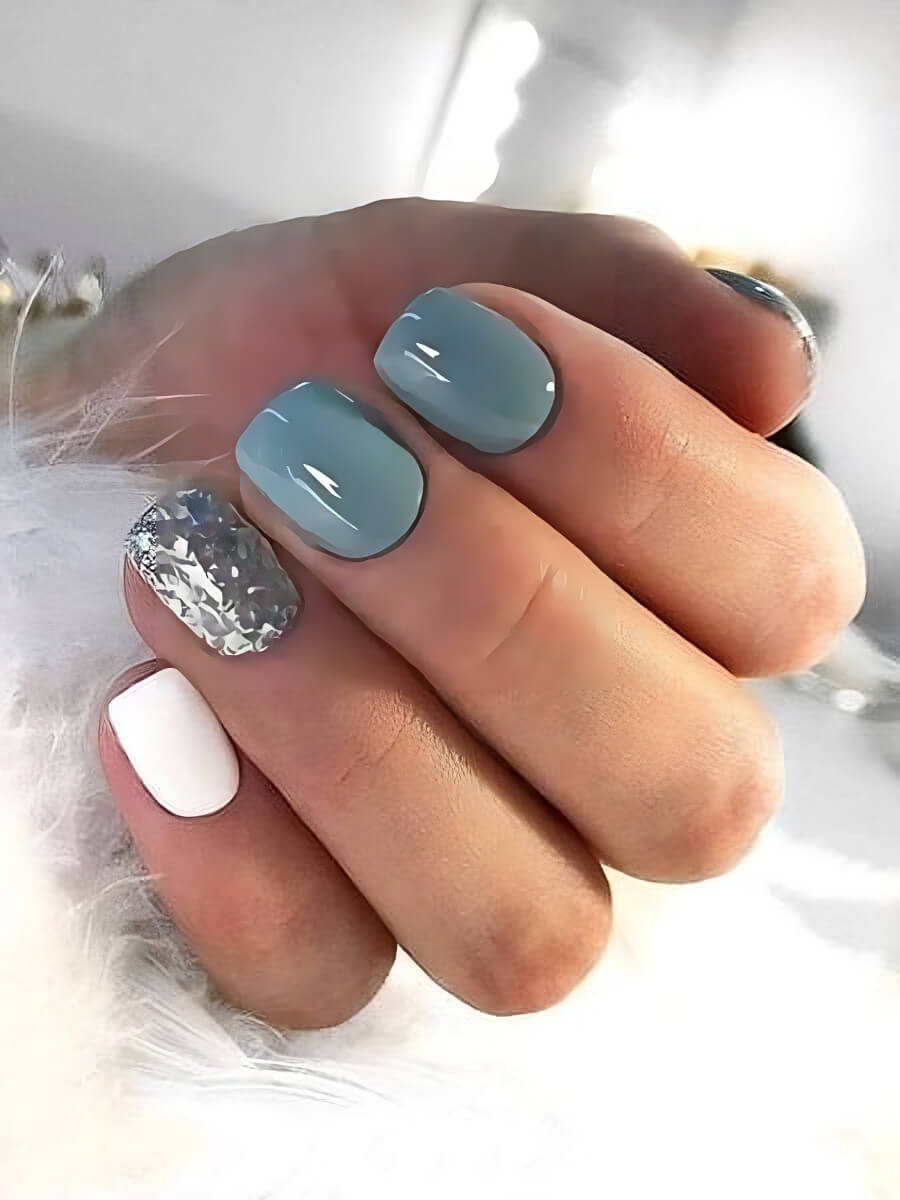
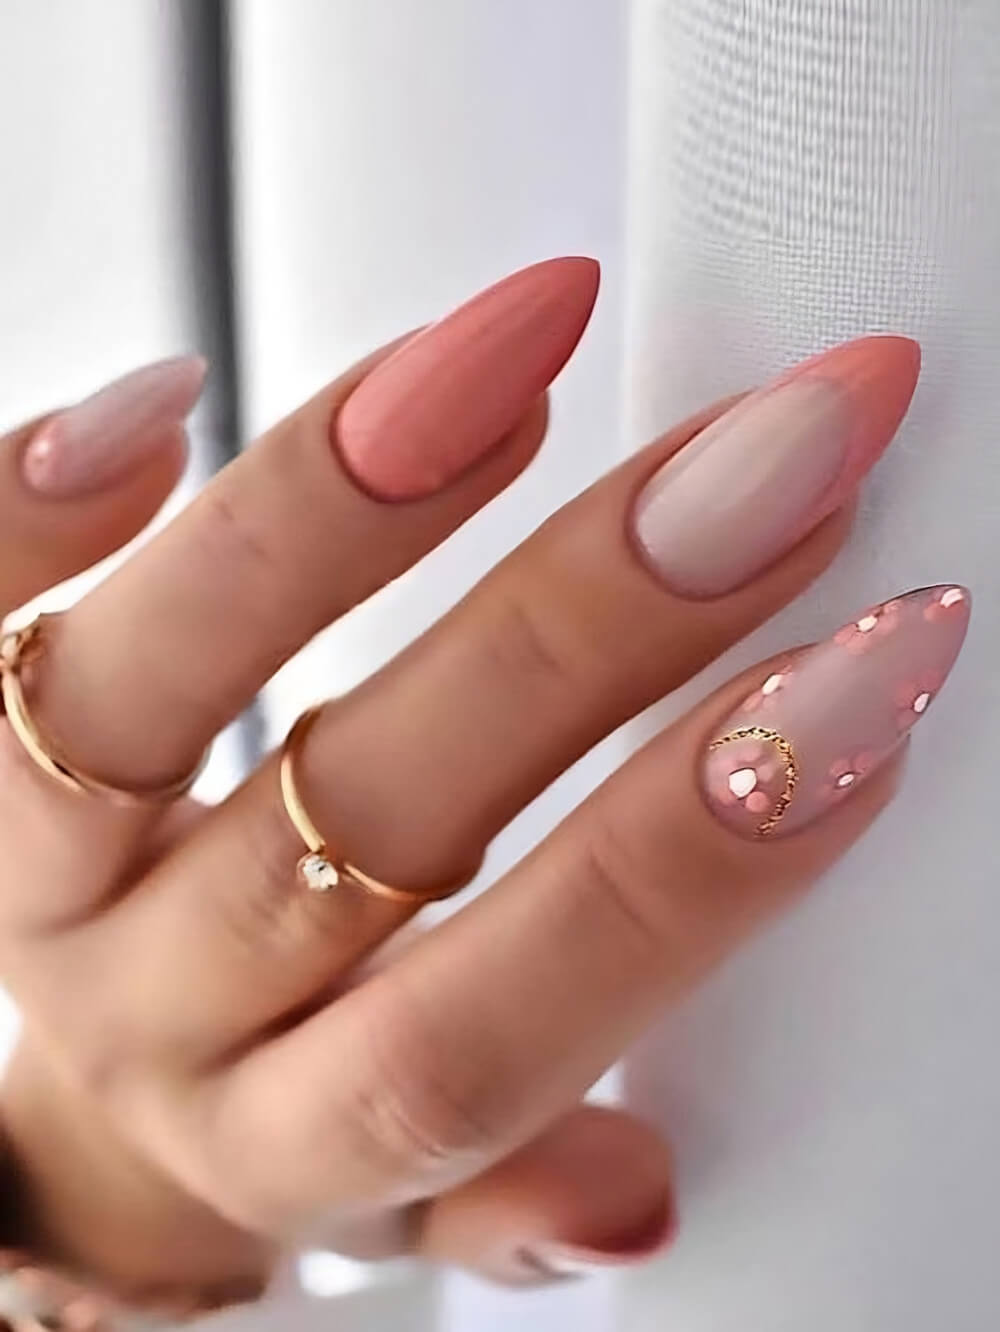
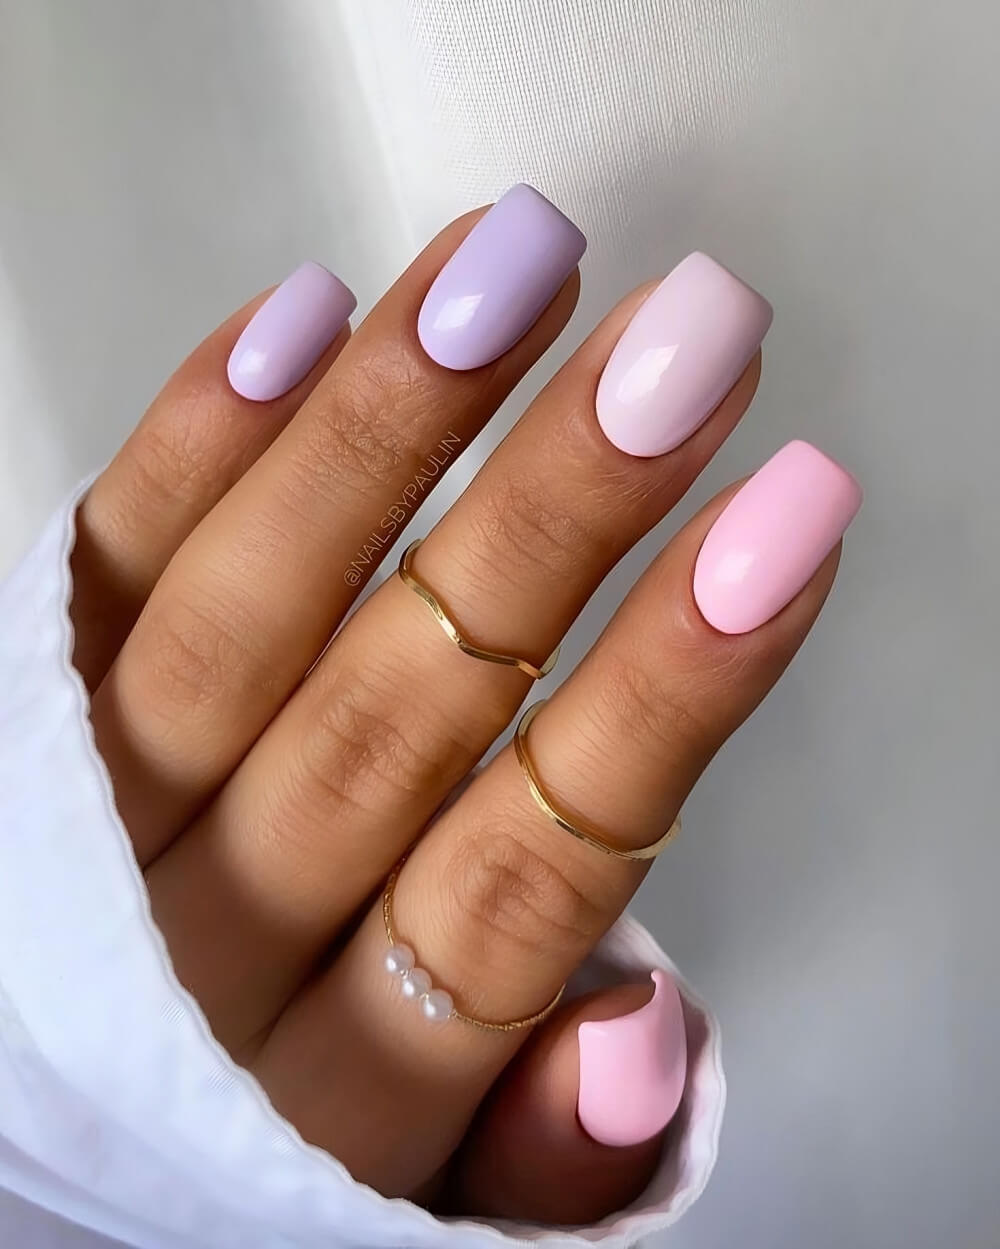
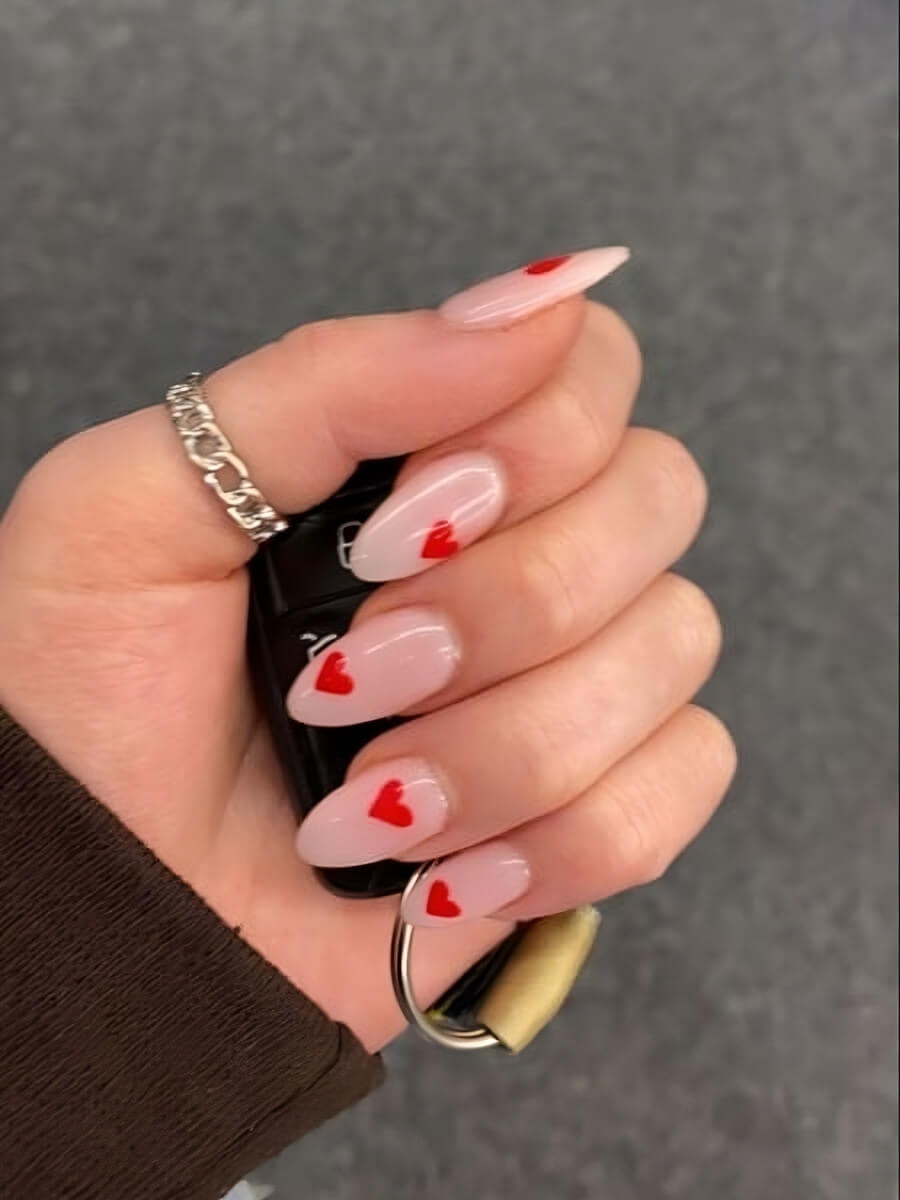
3.
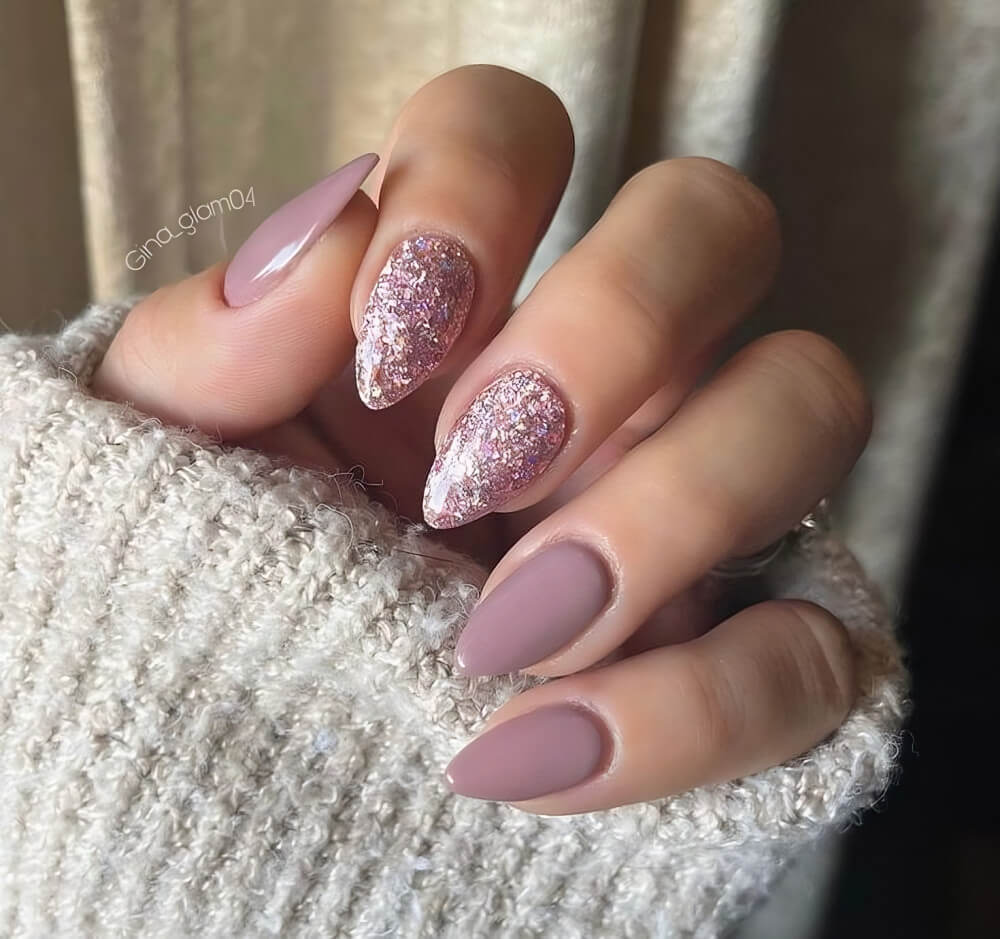
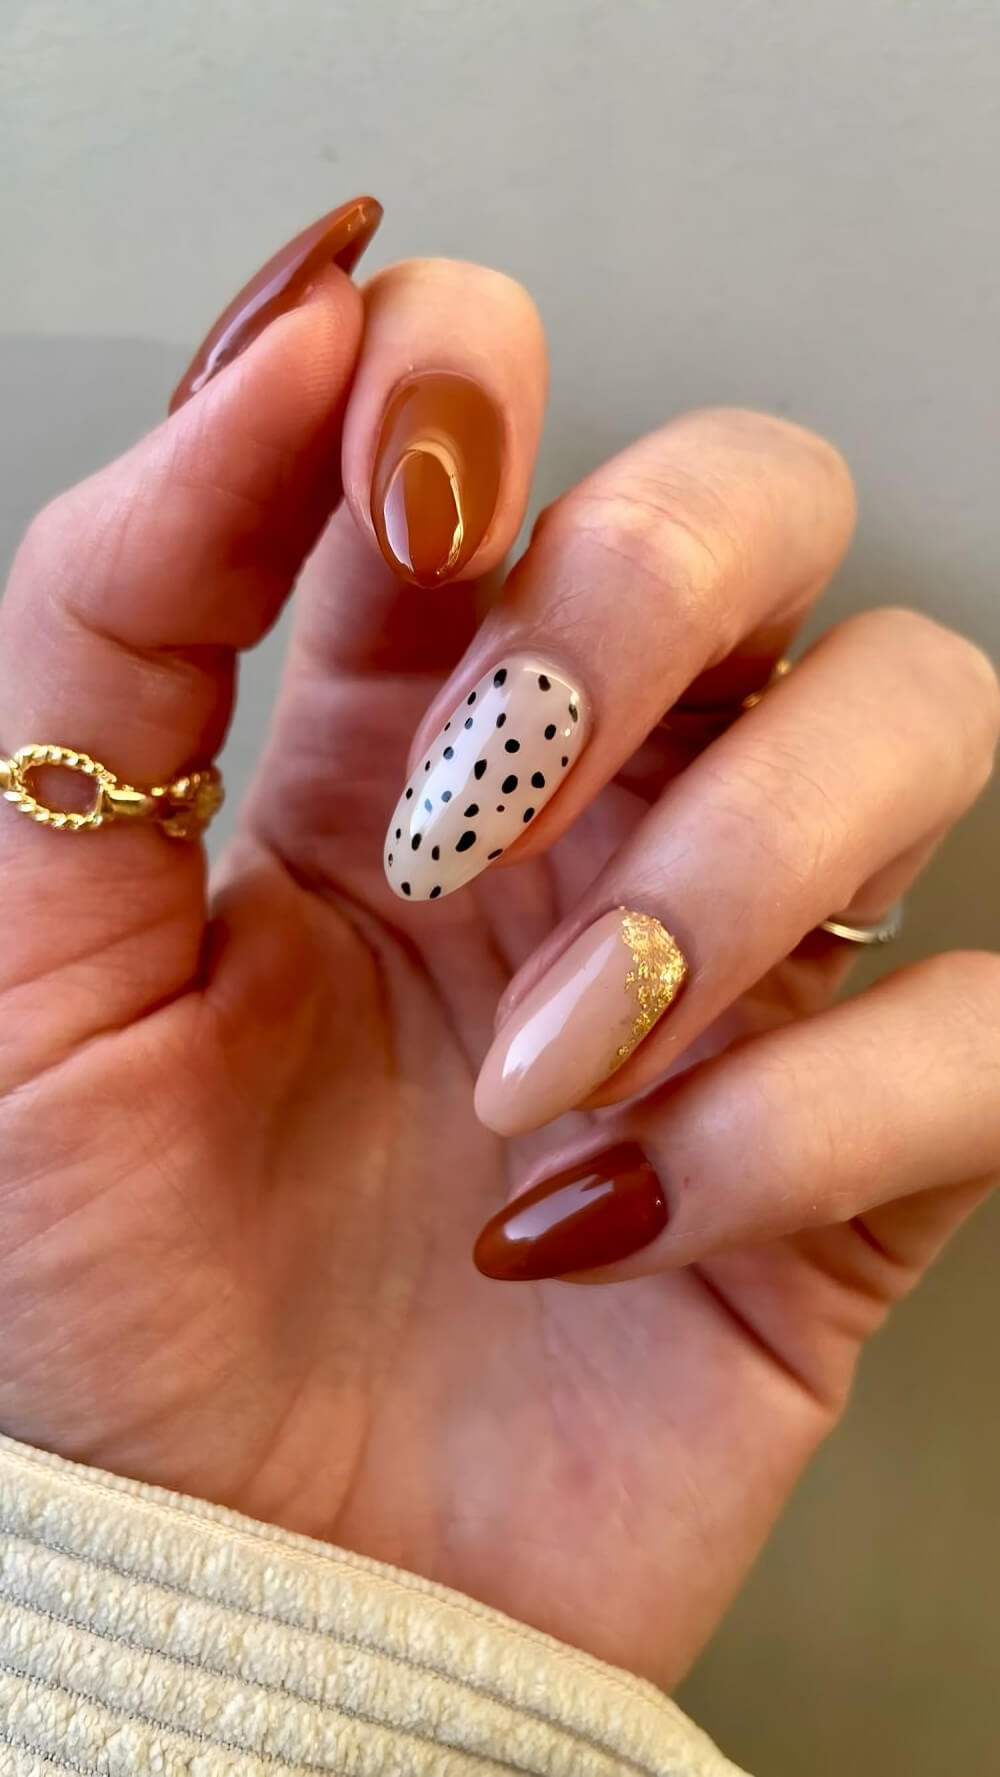
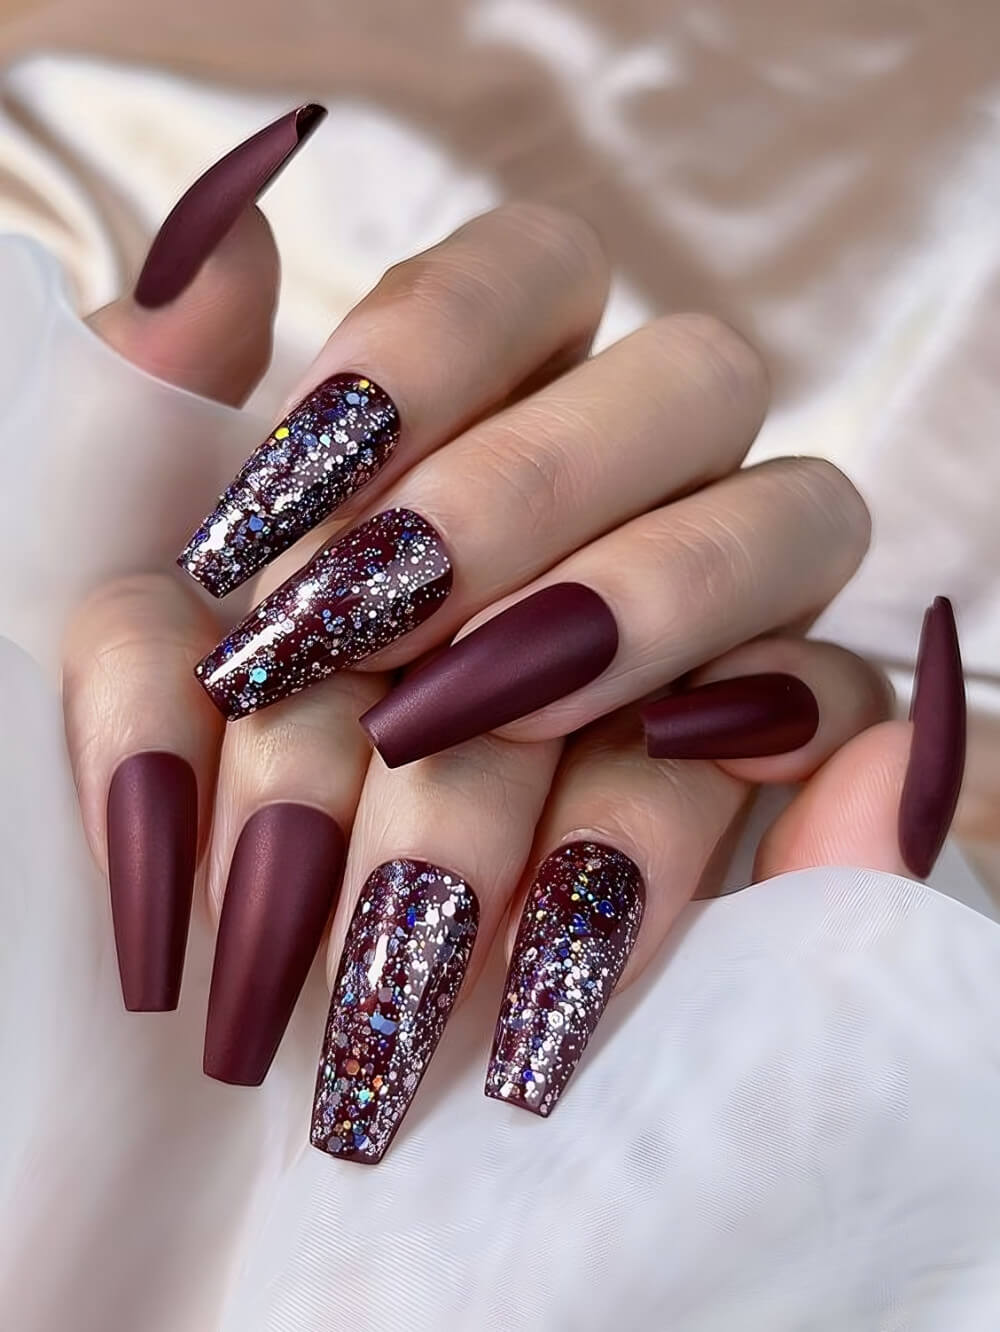
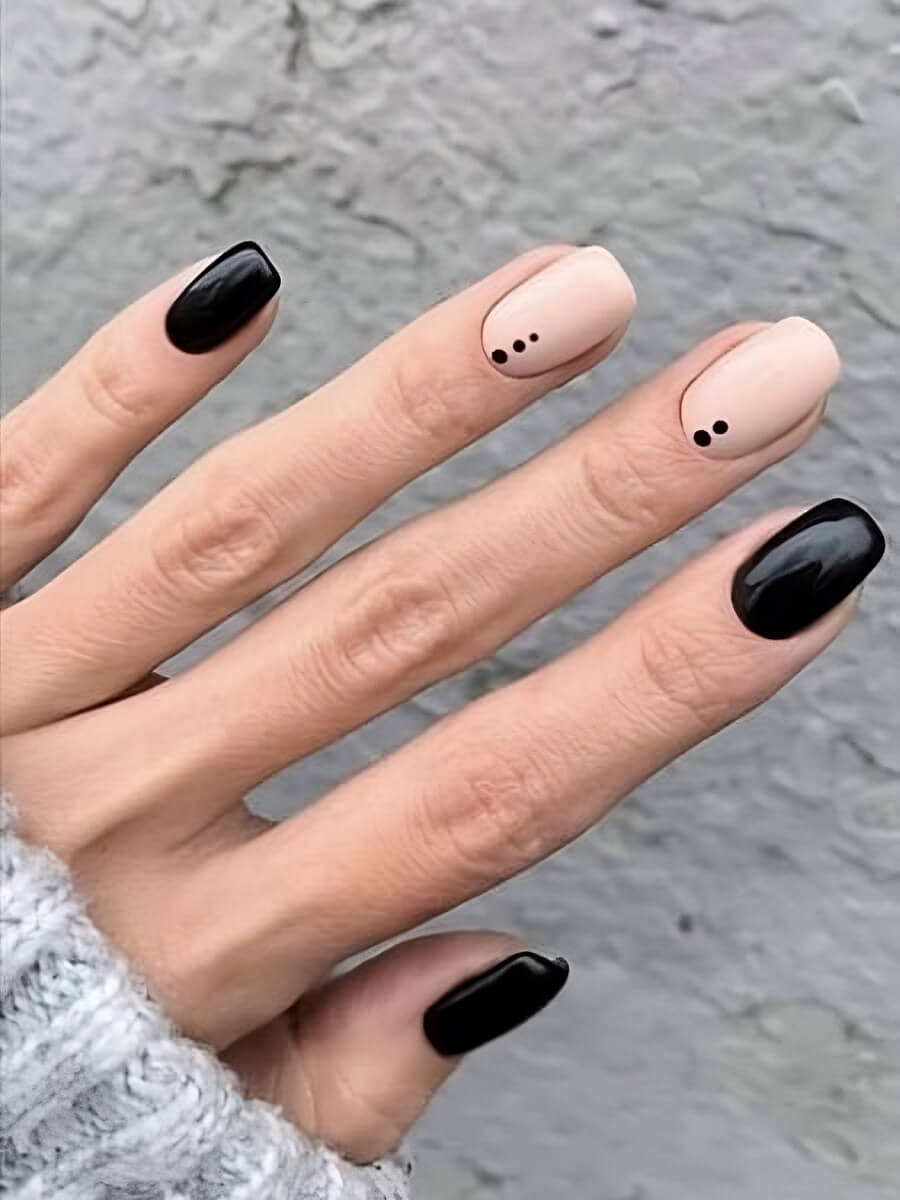
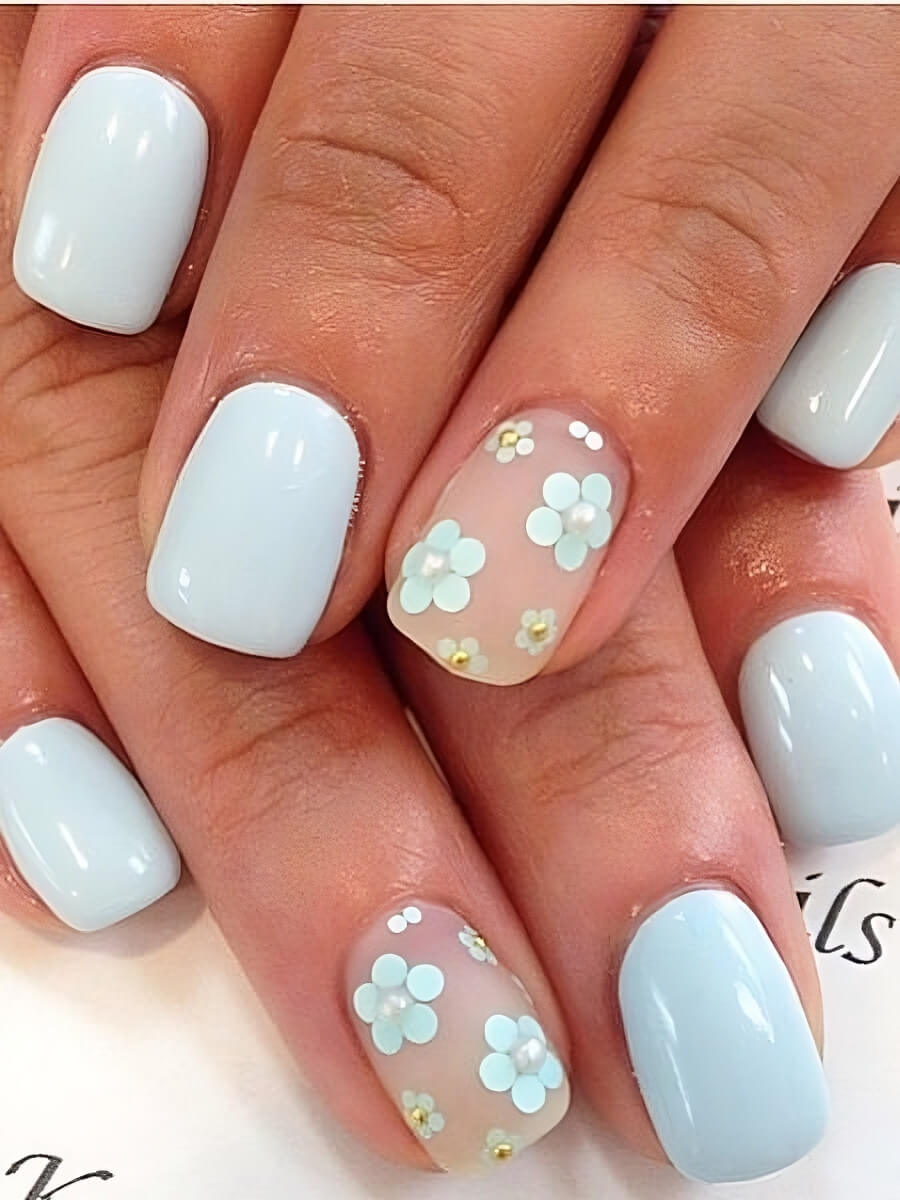
4.
The Perks of the DIY Manicure and Mastering Easy Nail Designs
In the bustling world of beauty, the professional salon manicure often reigns supreme.
Yet, a growing number of enthusiasts are discovering that the most rewarding, creative, and sustainable nail care happens right at home.
The trend of the DIY manicure offers a wealth of benefits that extend far beyond simple aesthetics, providing a unique blend of financial savings, personal relaxation, and unlimited creative freedom.
5.

6.
7.

The core perk of doing your own manicure is the empowerment of control.
You control the products, the hygiene, the schedule, and the artistic direction.
Coupled with the modern ease of simple, impressive nail designs, the at-home routine transforms from a chore into a therapeutic, highly rewarding hobby.
This transition not only saves significant time and money but also opens the door to endless self-expression right at your fingertips.
8.
9.
10.
The Practical and Financial Perks of Going DIY
The most immediate and tangible benefits of the at-home manicure are related to your wallet and your schedule.
Significant Financial Savings
The cost of regular salon manicures (even basic ones) accumulates rapidly. A weekly or bi-weekly salon visit can total hundreds, if not thousands, of dollars per year.
The Investment vs. Expense: Investing in high-quality tools (clippers, files, a good base and top coat) and a few polish bottles represents a small fraction of that annual cost.
The DIY approach transforms a recurring, high expense into a one-time capital investment in equipment that lasts for years.
11.
12.
13.
Ultimate Schedule Flexibility
Salon appointments require coordination, travel time, and often waiting. The at-home manicure allows you to seize control of your schedule.
Seizing the Moment: Whether it’s a quick polish change while watching TV, a full detail during a quiet Sunday afternoon, or a last-minute repair before an event, the ability to perform nail care on demand is an unmatched perk of the DIY route.
14.
15.
16.
Guaranteed Hygiene and Safety
When you control the tools, you control the cleanliness. This is a critical, often-overlooked health benefit.
Personalized Tools: Using your own sterilized instruments eliminates the risk of cross-contamination. You ensure that every tool is impeccably clean, providing a crucial peace of mind that no salon can definitively guarantee.
17.
18.
The Therapeutic and Creative Perks
Beyond the practical, the DIY manicure is a powerful tool for self-care and artistic growth.
Mindfulness and Relaxation
The ritual of a detailed manicure is an excellent form of mindfulness and focused self-care.
The Flow State: It forces a pause, requires concentration, and demands that the hands remain still. This focused attention on a small, pleasant task is incredibly stress-reducing, offering a therapeutic break from digital screens and daily pressures.
19.

20.
21.
Unlimited Creative Freedom
In a salon, complex nail art can be costly, time-consuming, and limited by the technician’s available materials. At home, the canvas is yours.
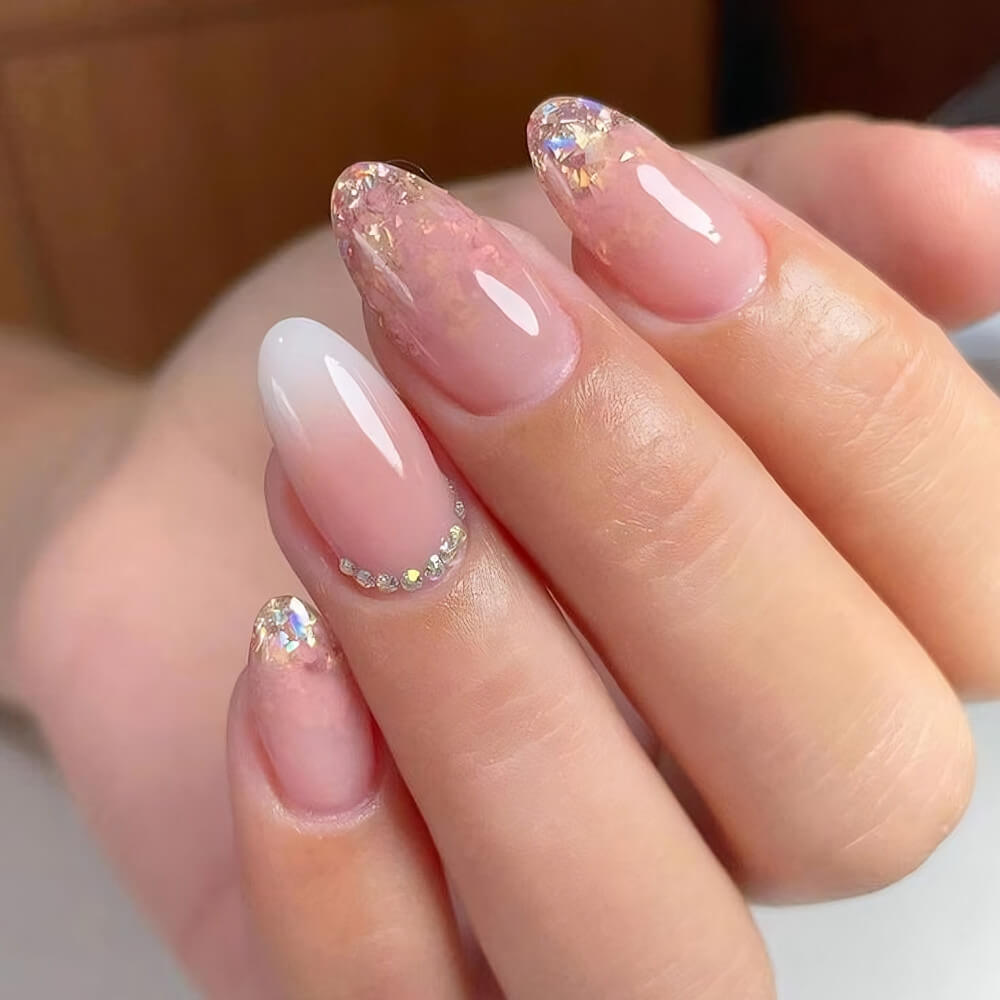
Experimentation Without Penalty: You are free to experiment with bold color pairings, different textures (matte, glossy, shimmer), and design motifs without the fear of wasting money if the result isn’t perfect.
If you hate it, you simply wipe it off and start fresh. This freedom is the ultimate spur for creative growth.
22.
23.
24.

Product Mastery and Health
Doing your own nails provides direct insight into how your nails react to different formulas.
Customized Care: You can choose non-toxic, “free” formulas (like 5-Free or 10-Free) and tailor base and top coats specifically to address your nail needs.
25.
26.
Impressive Results, Minimal Effort
The most common hurdle for the DIY manicurist is nail art. Fortunately, many high-impact designs require surprisingly few tools or technical skills.
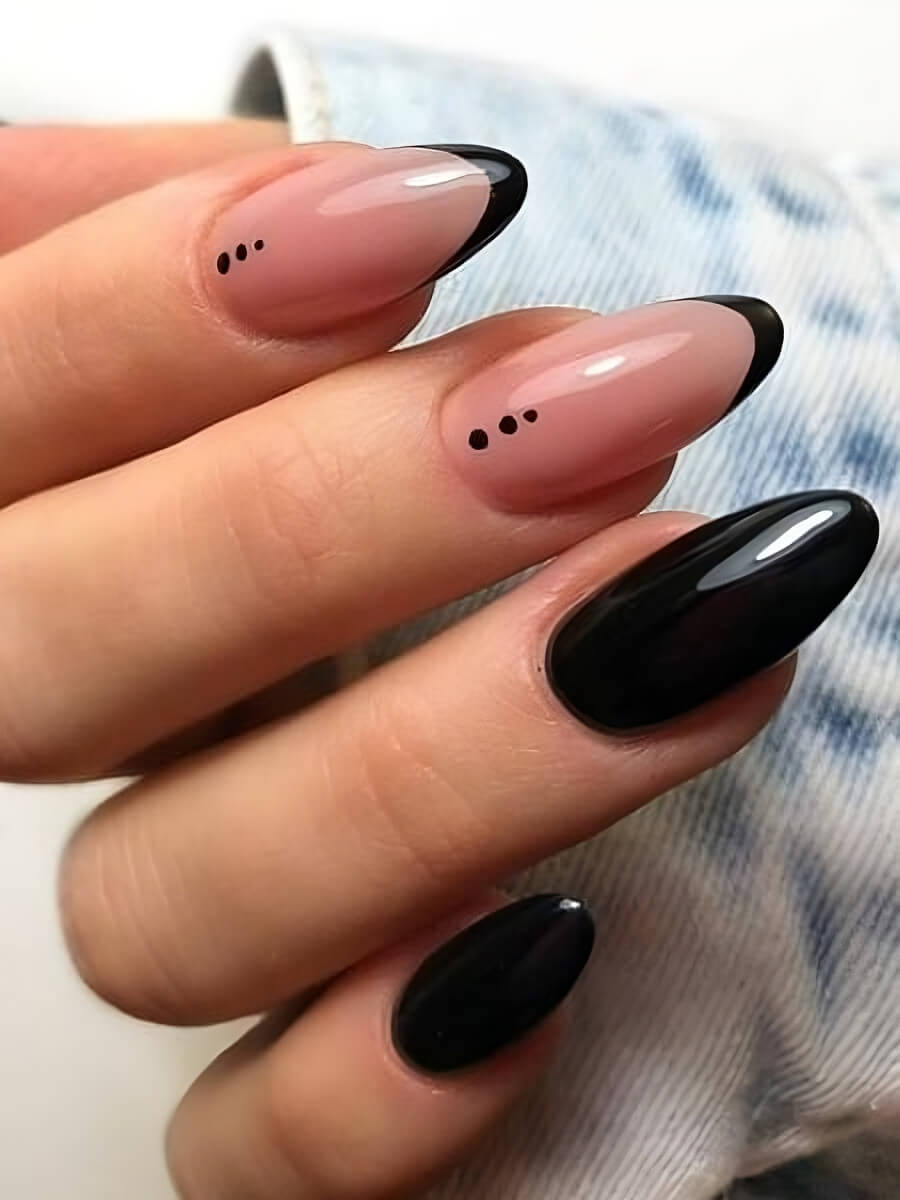
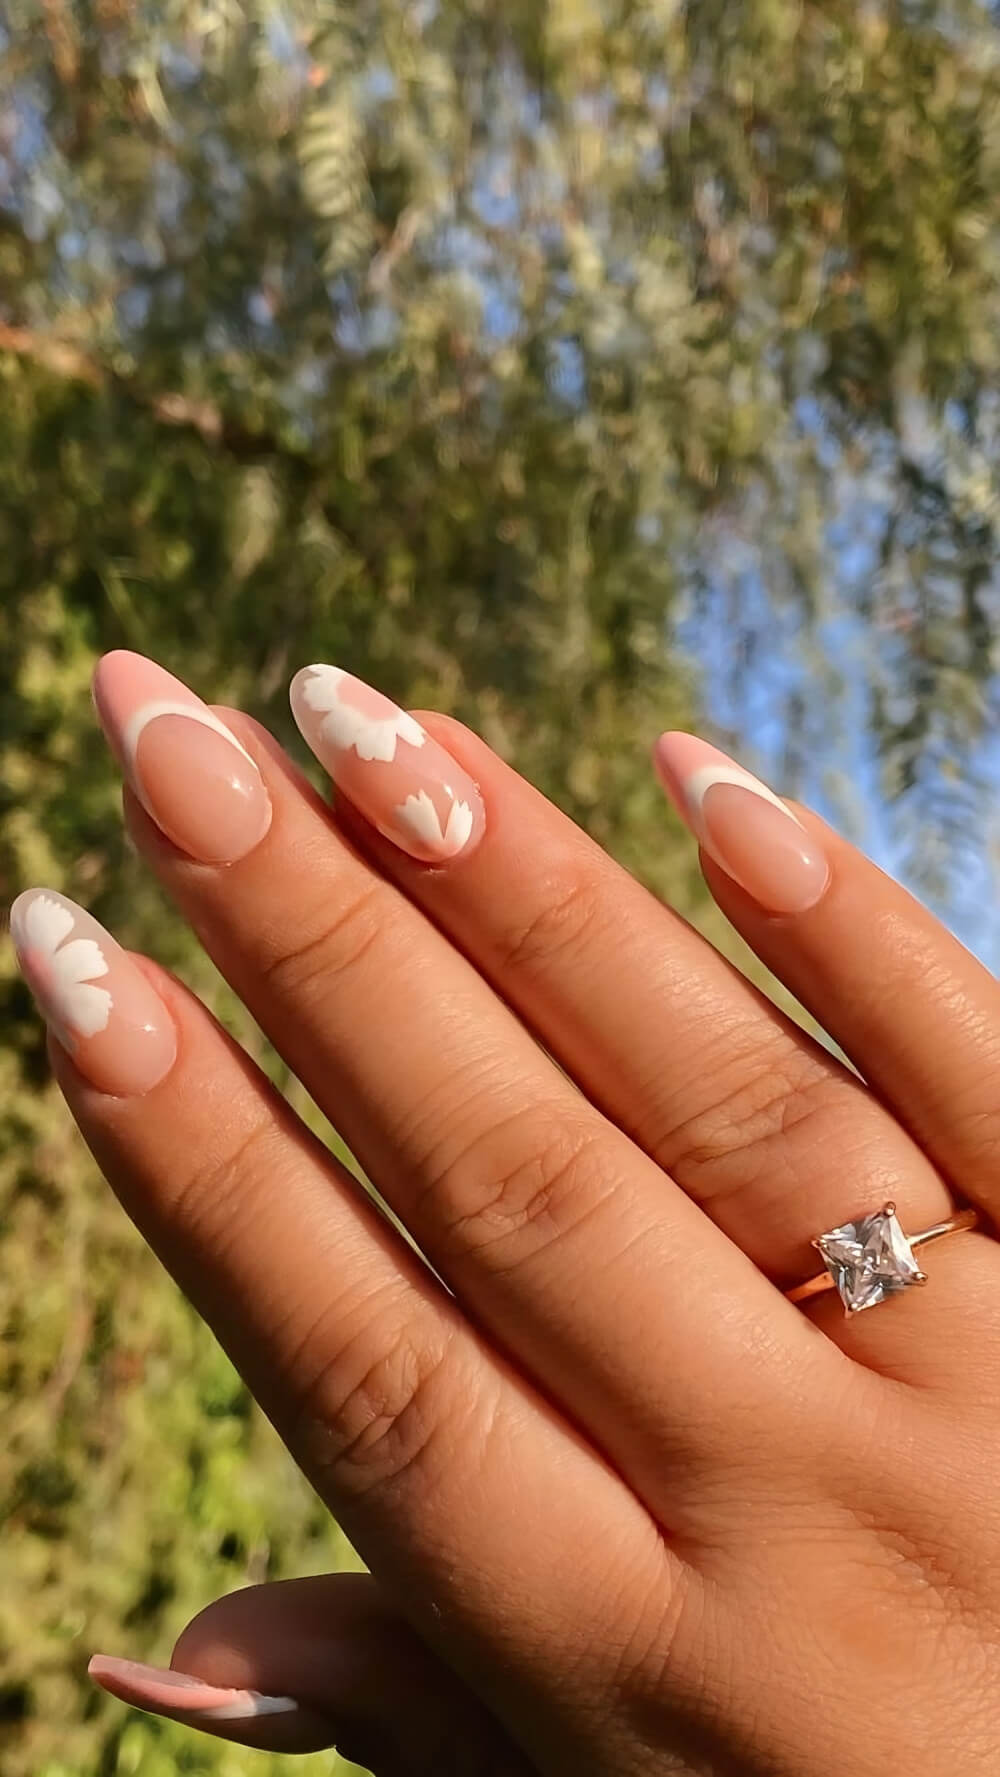
The Power of the Dotting Tool (Polka Dots and Florals)
A simple dotting tool (or even the head of a bobby pin or the end of a pencil) is the easiest way to create professional-looking art.
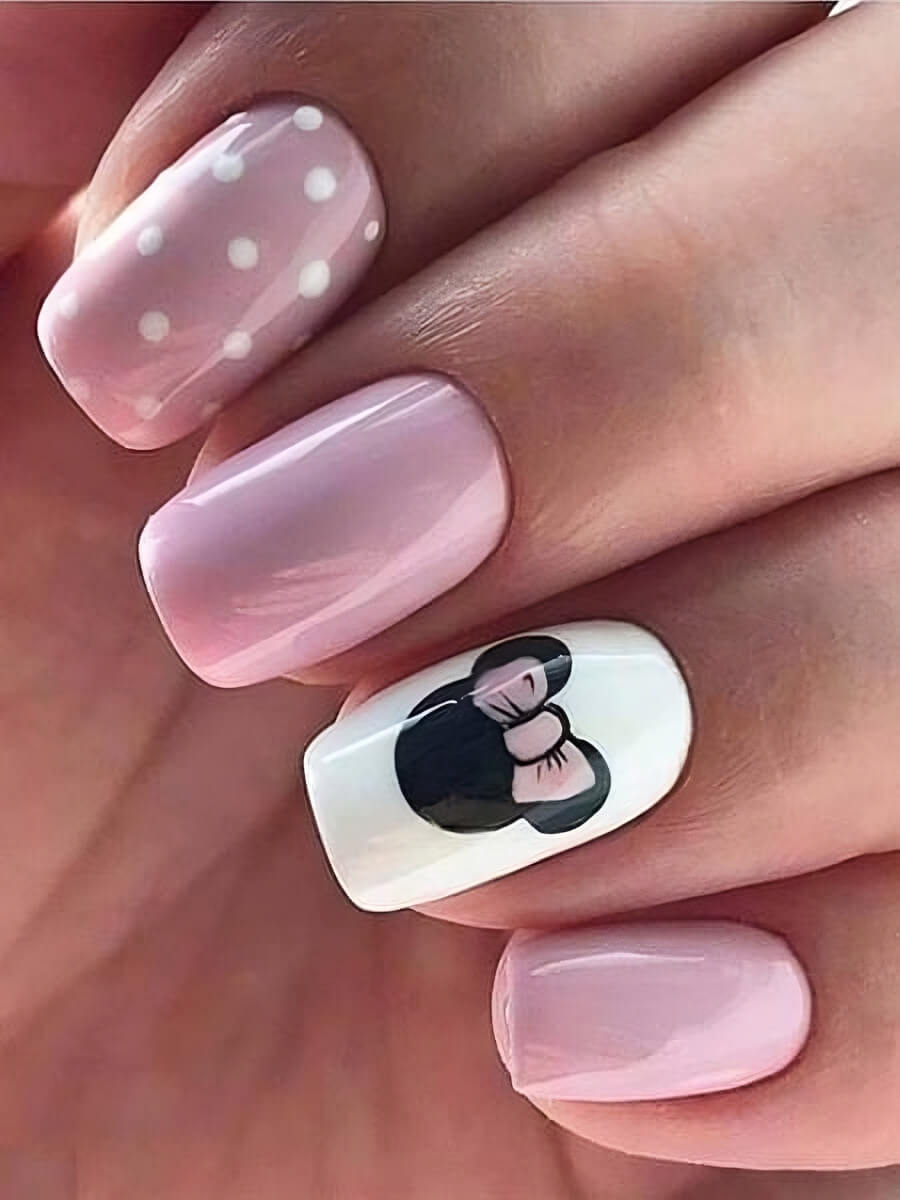
- Polka Dots: Apply a base color, dip the tool in a contrasting color, and press firmly. Clean, simple, and instantly cheerful.
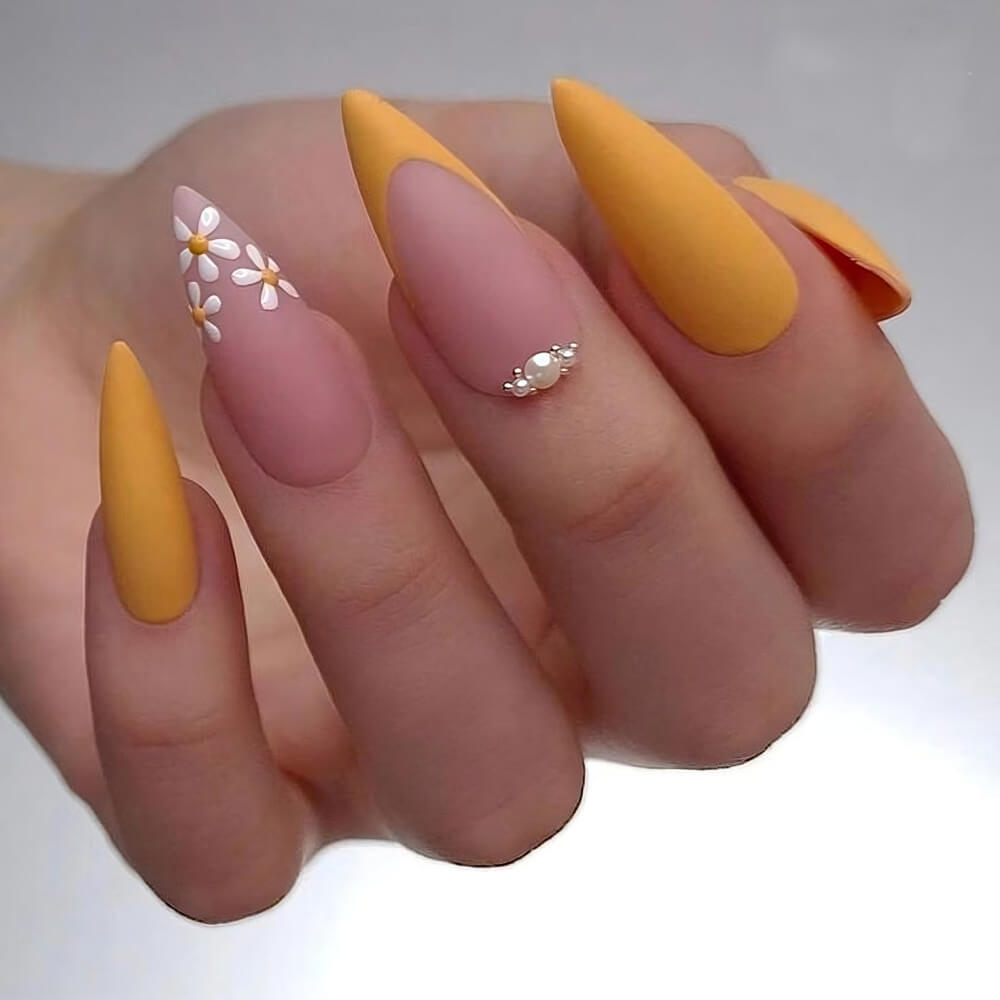
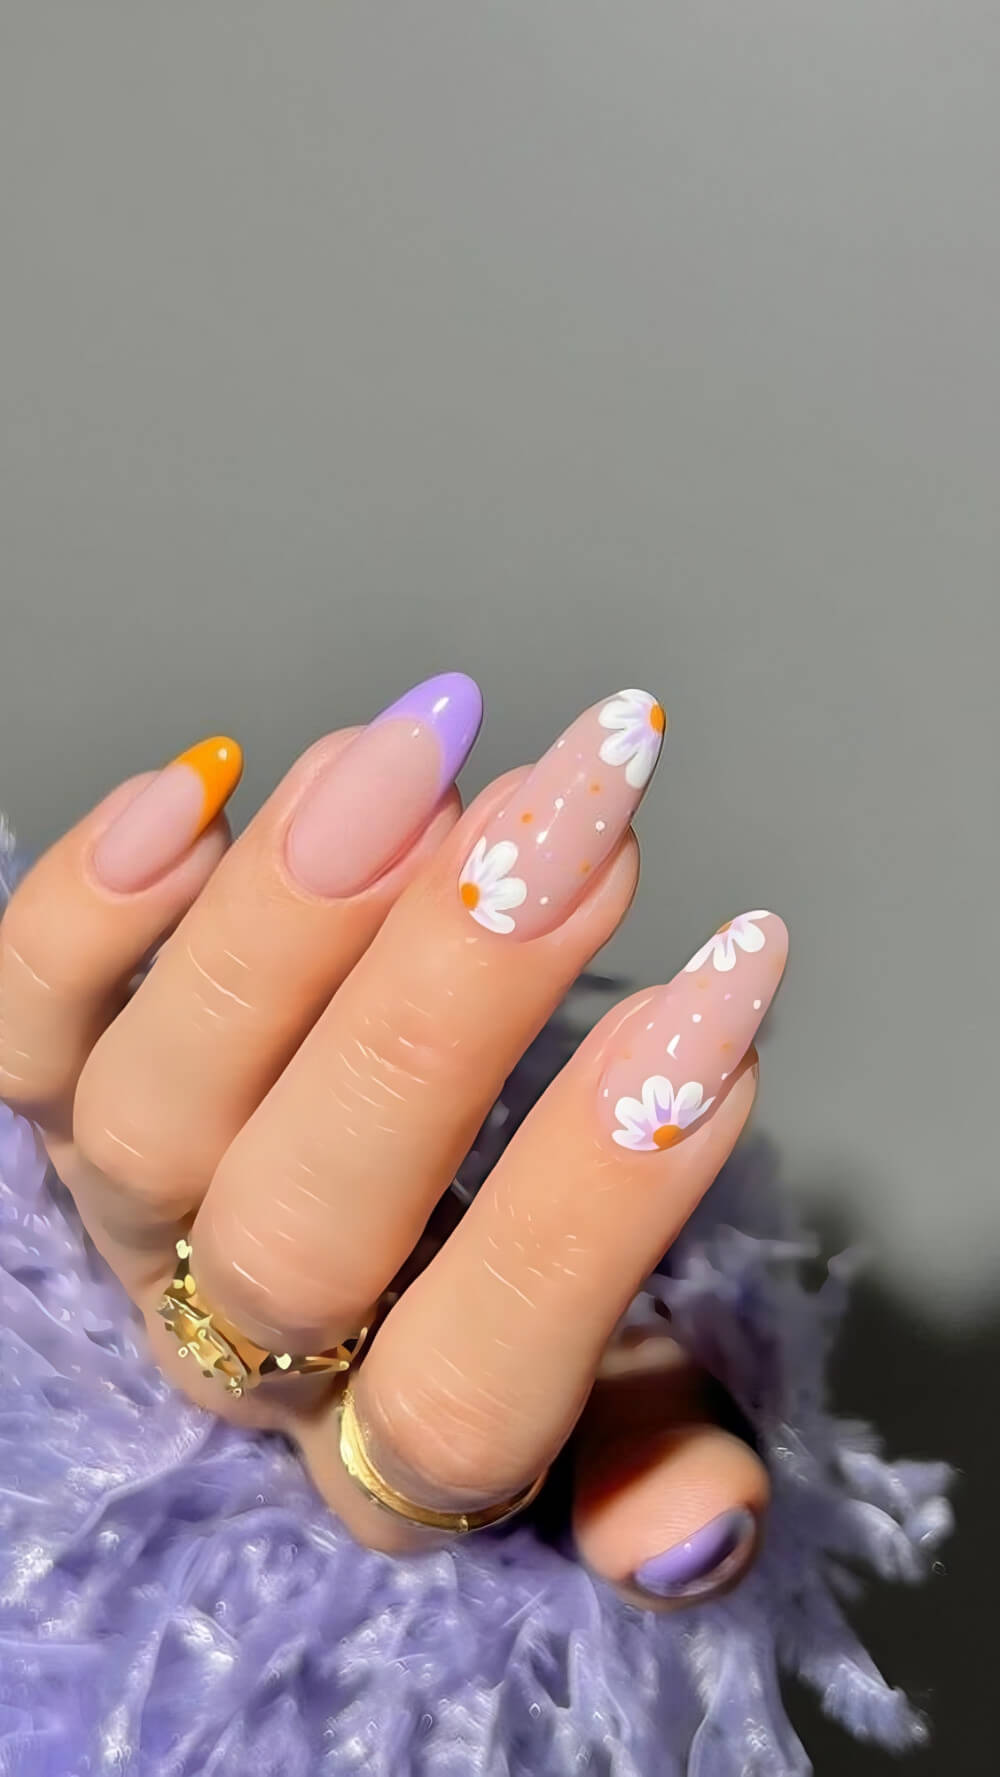
- Micro-Florals: Use the dotting tool to place four or five tiny dots in a circle (the petals) and a contrasting color in the center. This creates an abstract, ditsy floral look that is impossibly cute and incredibly easy.
27.
28.
29.
The Graphic Magic of the Striping Brush
A very thin, long-bristled brush allows for clean, sharp linear designs.
- The French Tip Upgrade: Use the brush to draw a thin, straight line of contrasting color across the tip of the nail. This takes practice but elevates the entire look immediately.
- Negative Space Lines: Paint two parallel lines down the nail, leaving the nude polish visible in between. This graphic, minimalist look is high-fashion and requires only a steady hand.
30.
31.

32.
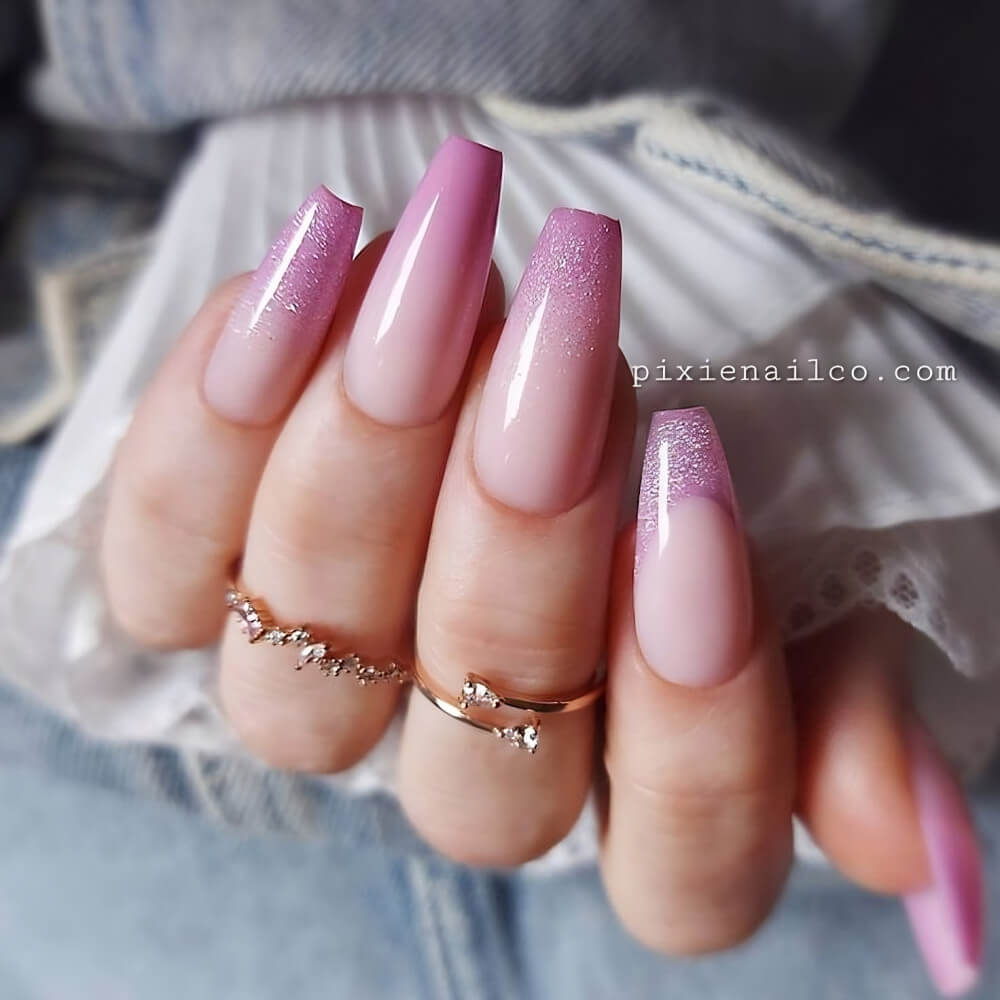
The Sponge Gradient (Ombré Made Easy)
Creating a soft, blended ombré effect is surprisingly simple with a makeup sponge.
The Technique: Paint two or three coordinating colors directly onto the sponge, ensuring the lines touch. Gently dab the sponge repeatedly onto the nail. The sponge’s porous texture naturally blends the harsh lines, creating a soft, professional-looking gradient.
33.
34.
35.