As gardeners, it’s inherently delightful to watch your vegetables grow and flourish. Yet, the daily chore of watering can be a bit of a hurdle, especially during hot summer months or when life gets hectic.
That’s where a homemade automatic vegetable waterer comes in to help your garden receive a consistent, gentle shower of water while you sip lemonade on the porch. Now, we’re about to show you how to turn this dream into a reality using something as simple as a plastic bottle.
Step-by-Step Guide
1. Gather Your Materials
- Empty plastic bottle (choose the size based on your garden’s needs)
- A drill or a nail and hammer
- A knife or scissors
2. Prepare A Plastic Bottle
Take a plastic bottle. The ideal size bottle is two liters, while a smaller one may do for a smaller plant. After giving the bottle a good cleaning with water, take off the label.
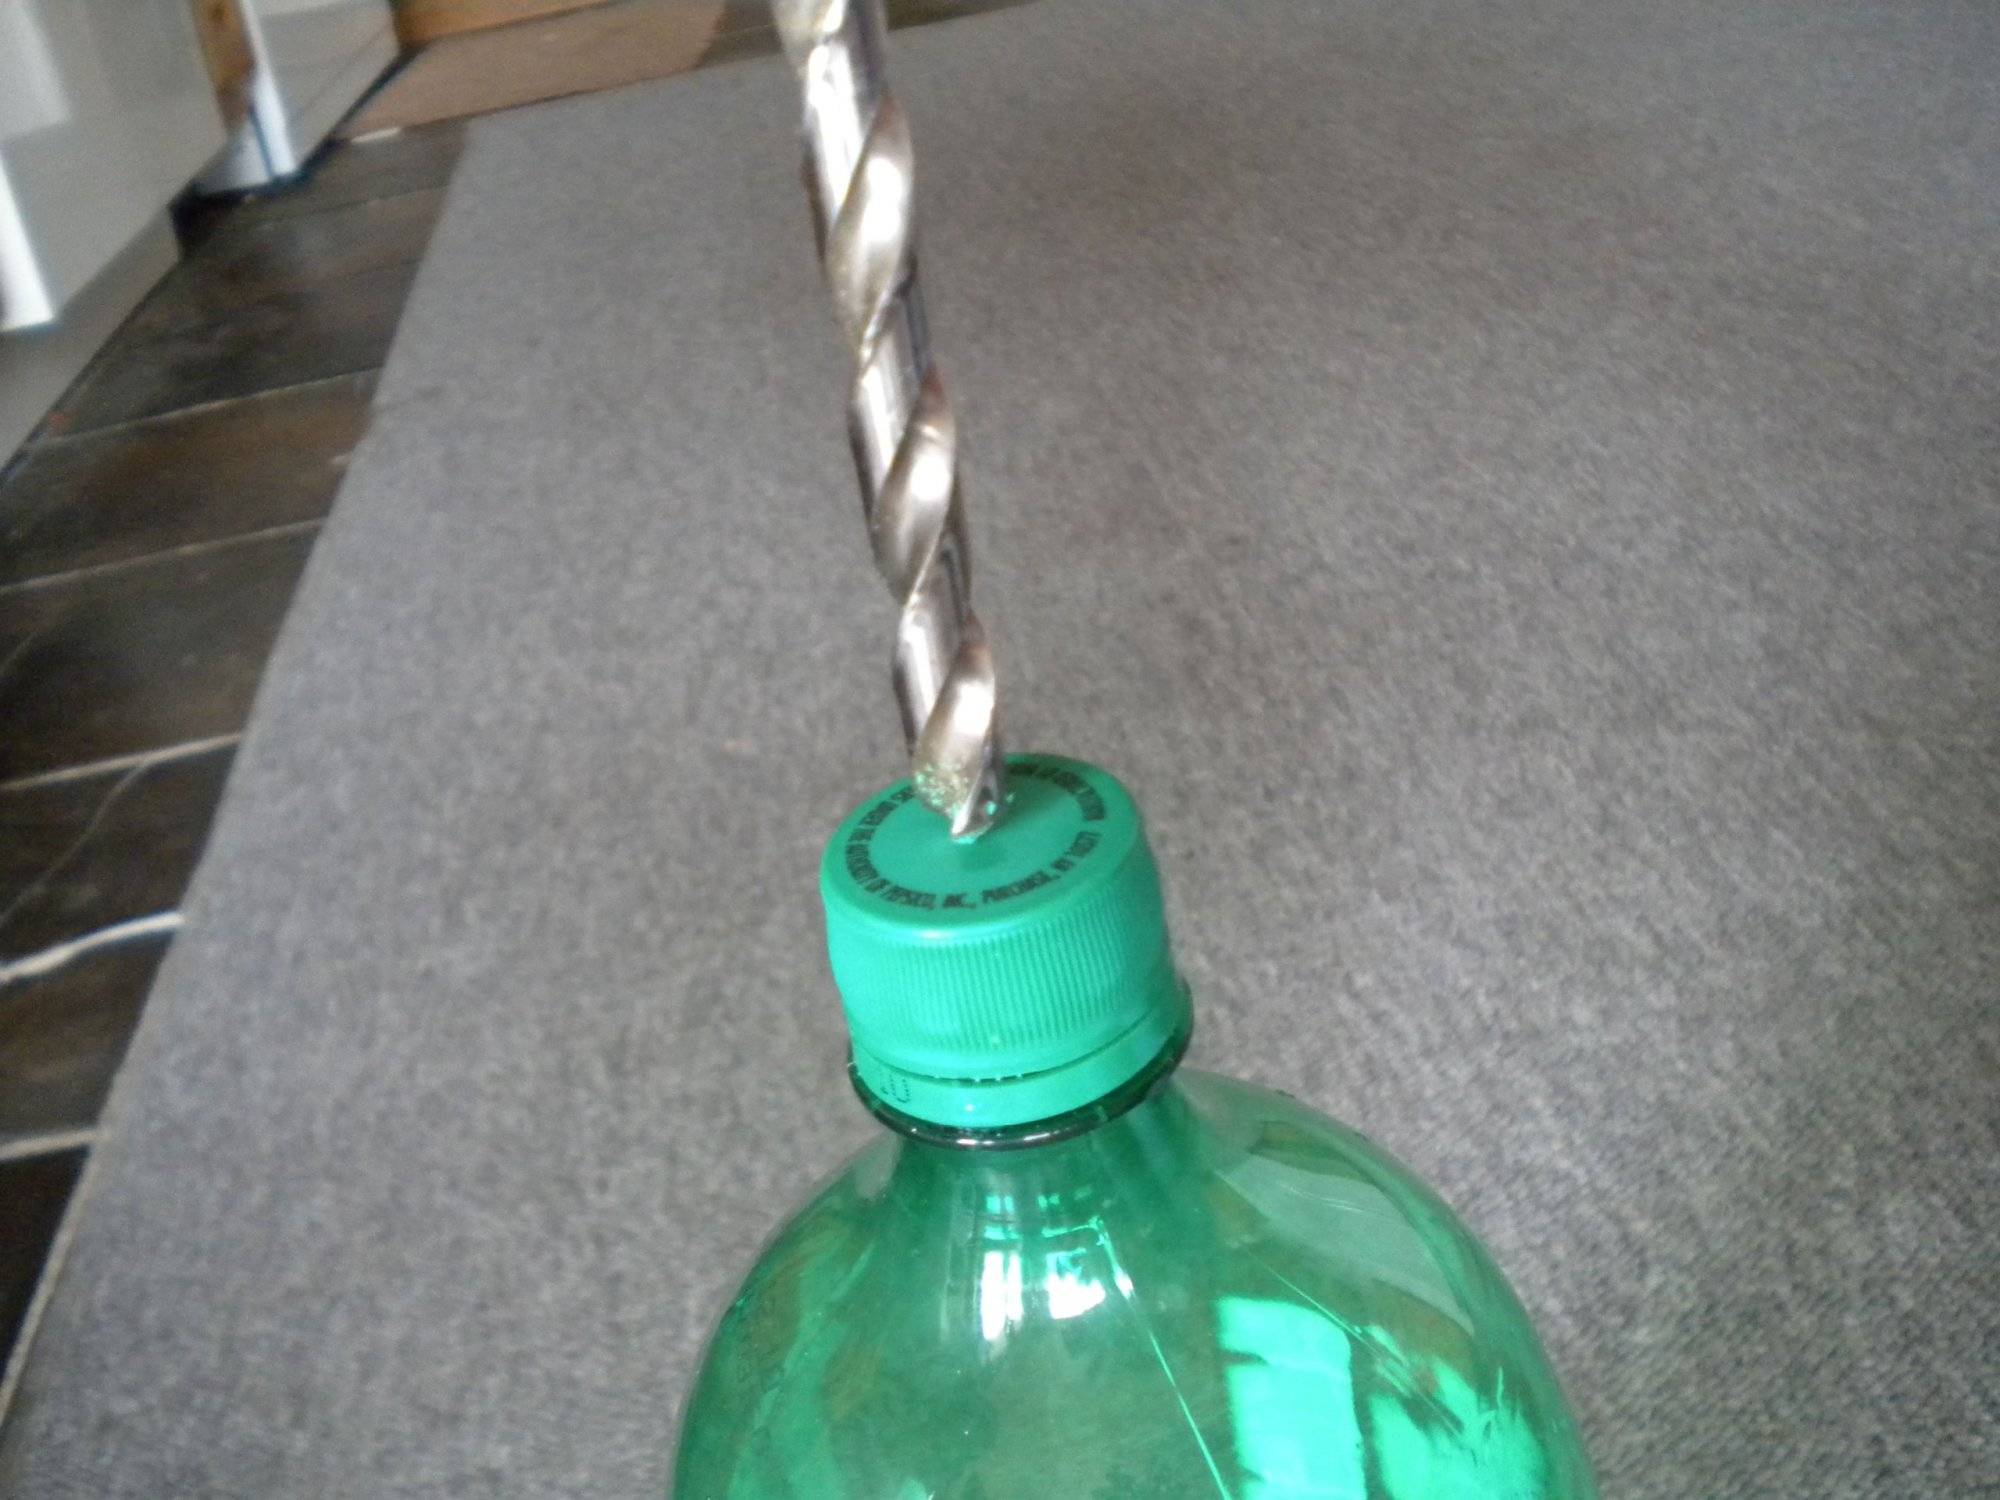
Drill four to five holes in the cap. Take off the cap and place it on a piece of leftover wood. Make a few holes in it using a drill or a nail and hammer. The more holes you poke, the more quickly the water will drain. When you’re done, replace the bottle’s cap. Don’t drill holes that are too small, otherwise, the dirt could plug them up.
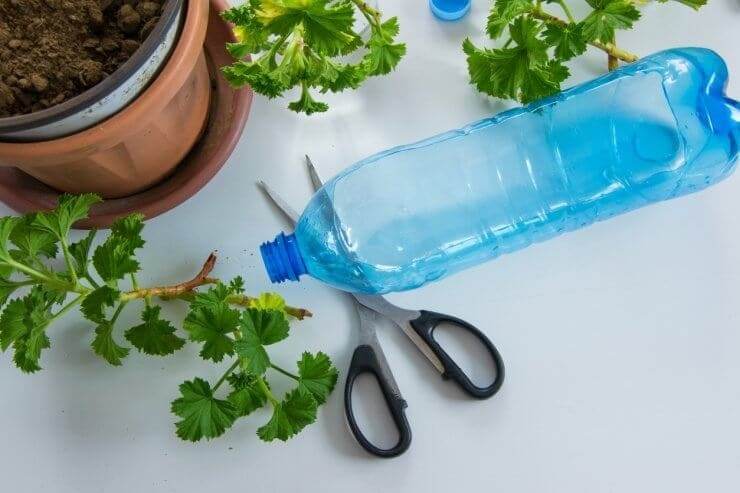
3. Cut The Bottle’s Bottom
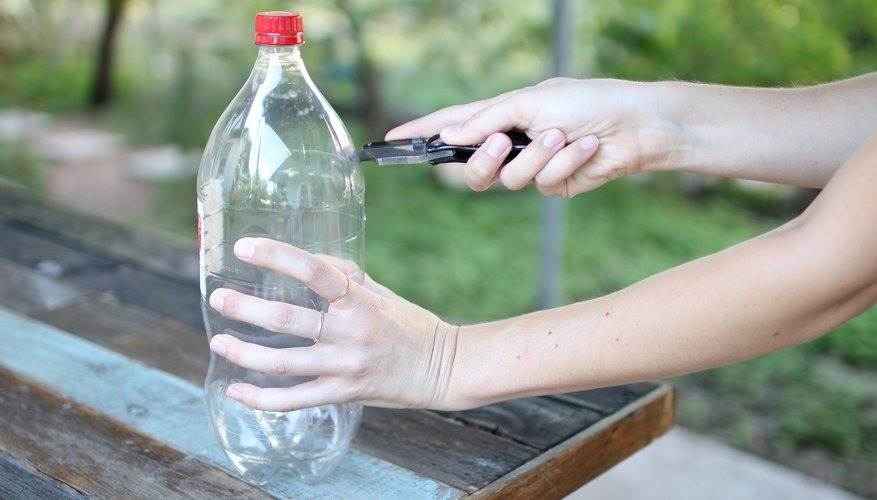
A pair of sharp scissors or a serrated knife will work well for this. Make sure to take off the bottom inch (2.54 cm) of the bottle. Alternatively, you can utilize the molded line around the bottom of your beverage bottle as a reference.
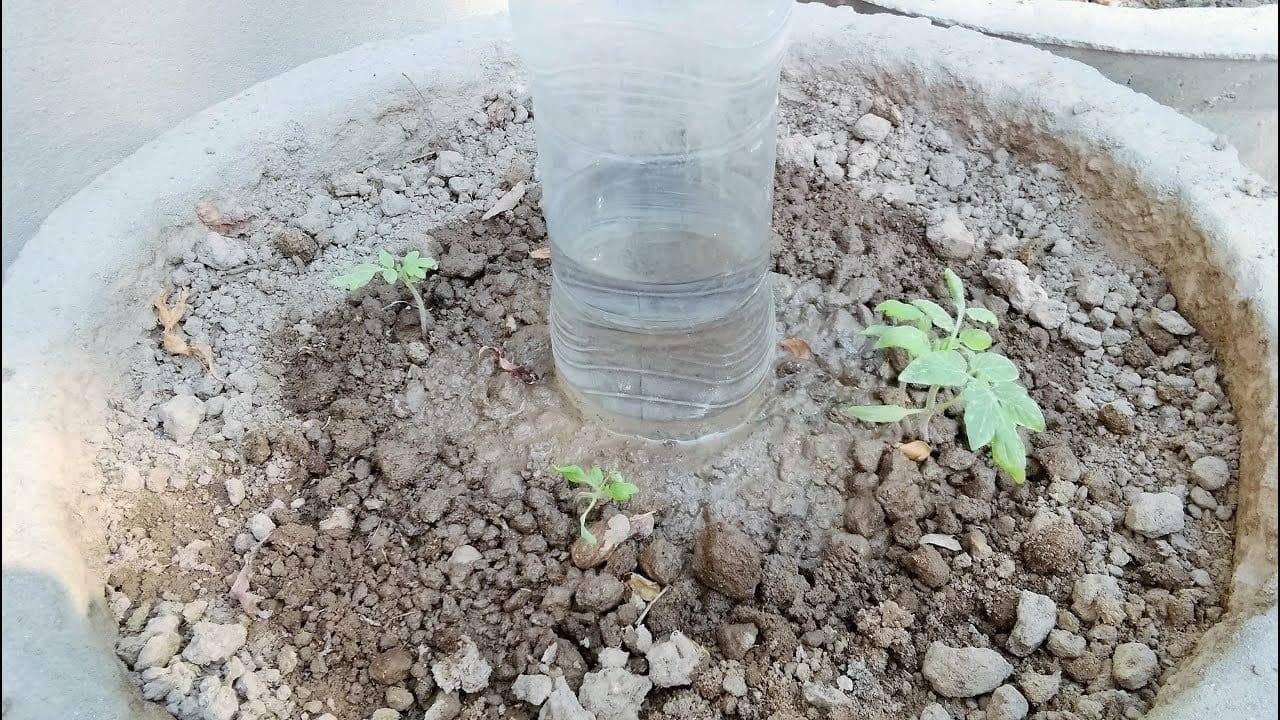
4. Dig A Hole In The Ground
The hole must be sufficiently deep to allow your bottle to fit halfway inside. Ideally, the hole should be 4 to 6 inches (10.16 to 15.24 centimeters) from the stem of the plant. Be careful to not cut through the roots of any established plants.
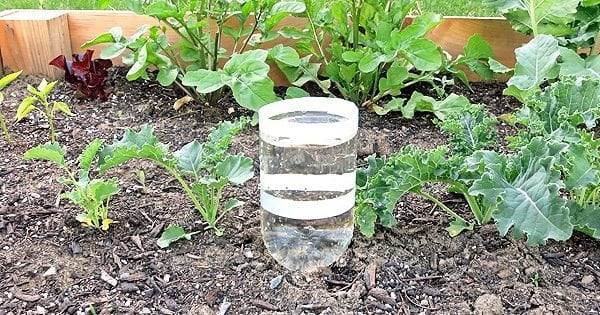
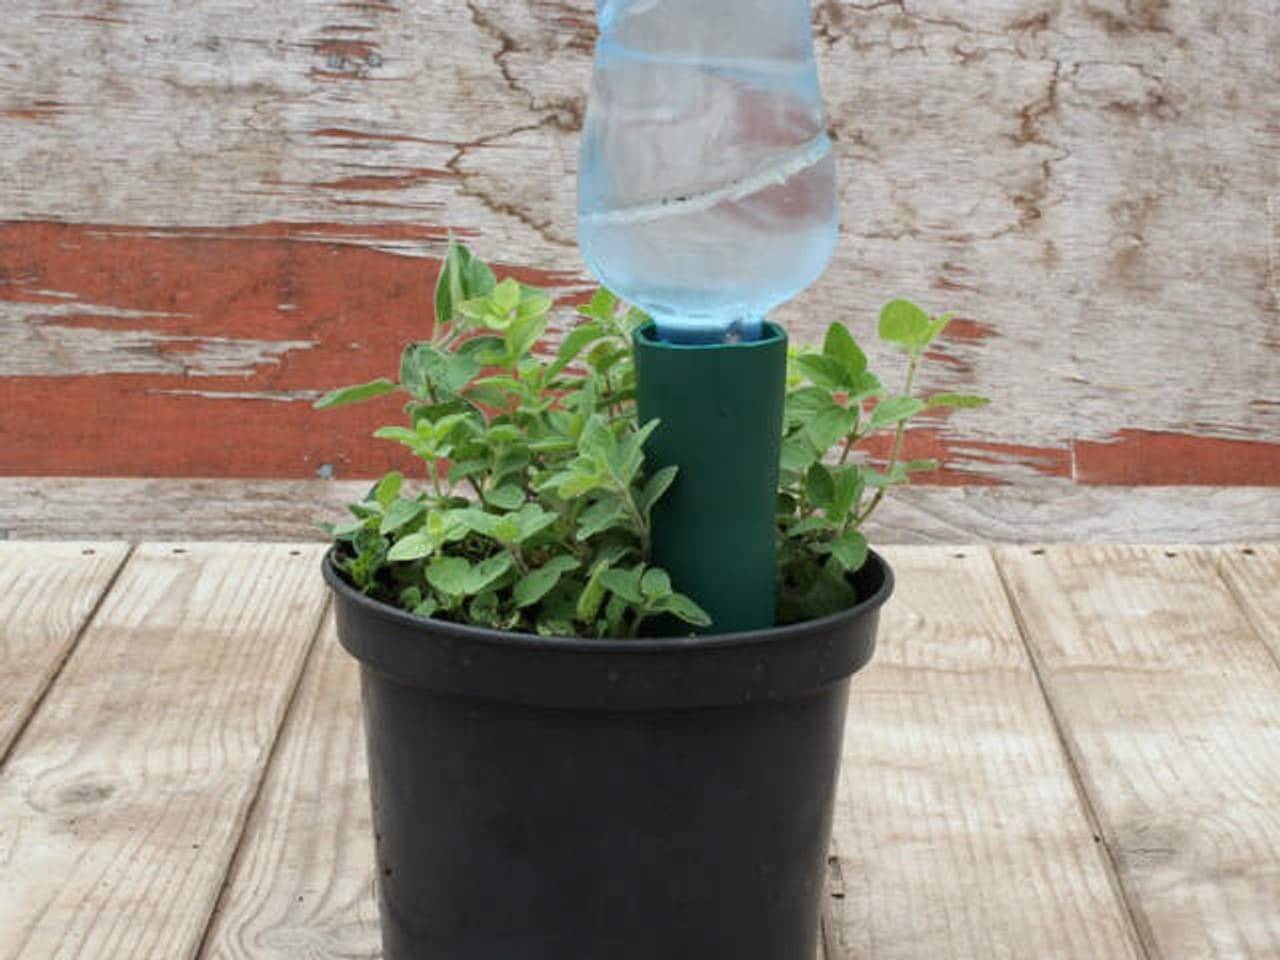
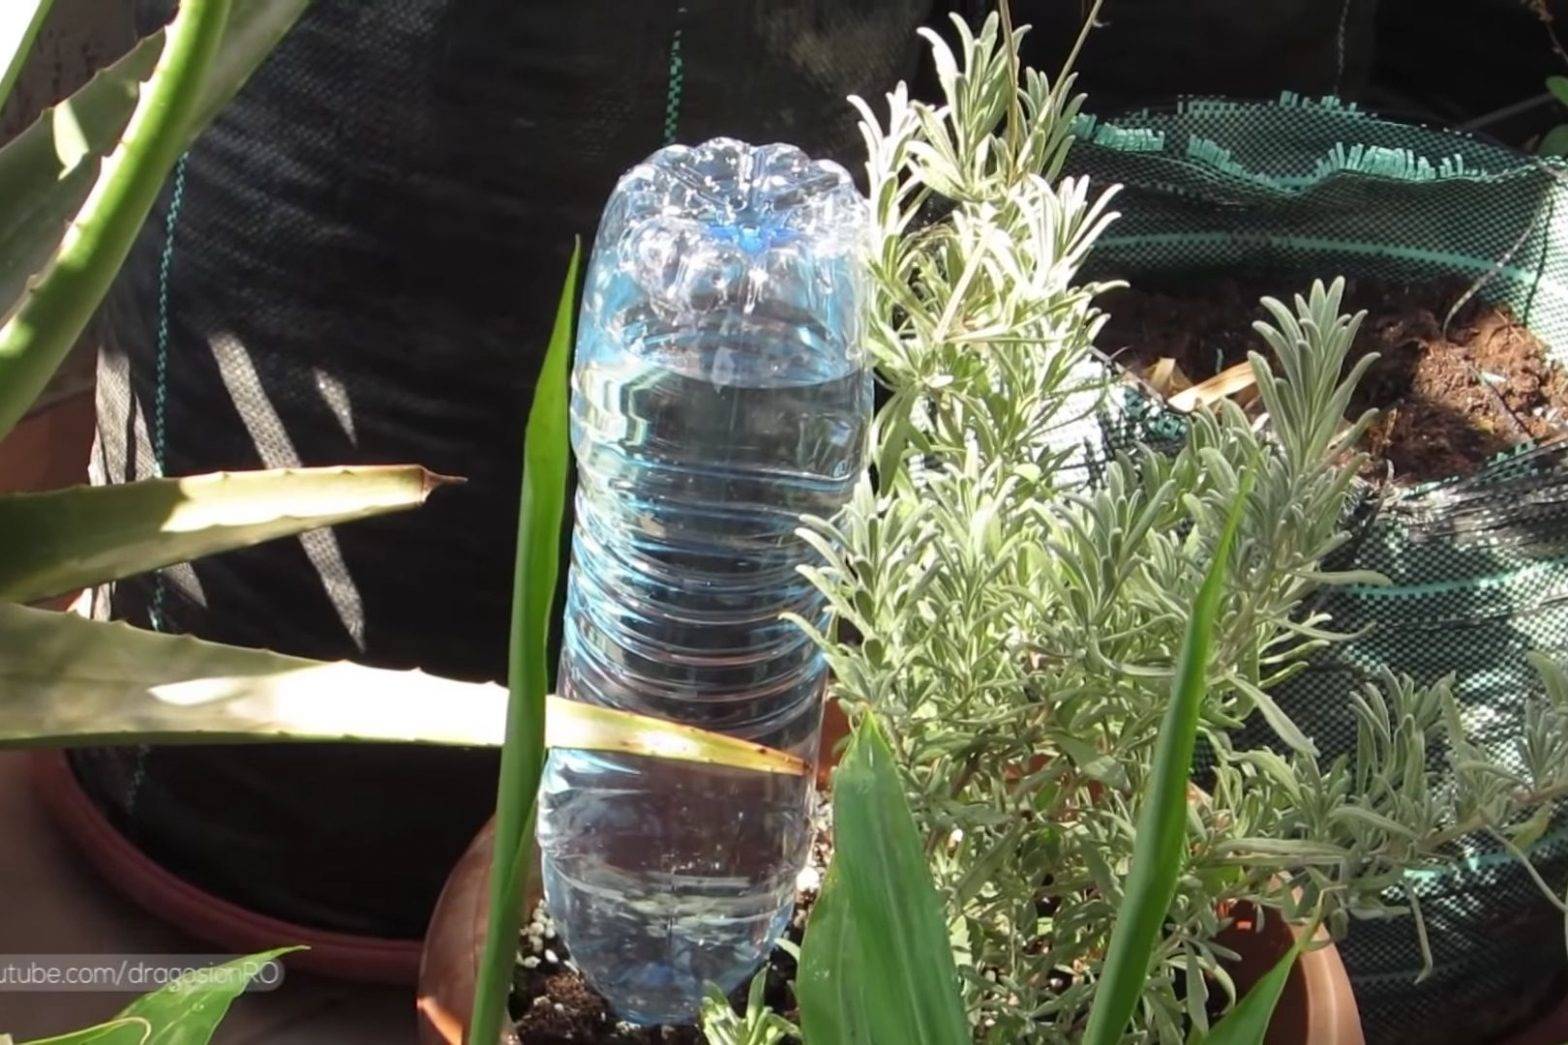
5. Put The Bottle Into The Hole
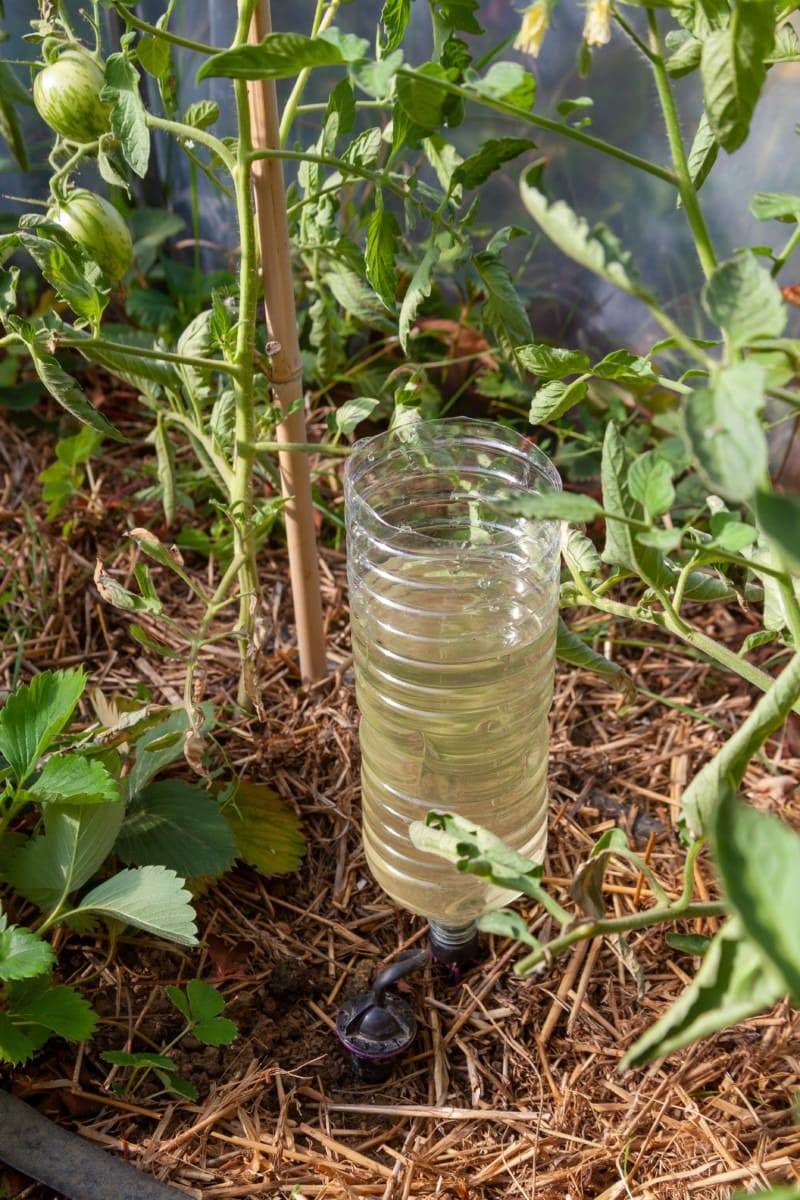
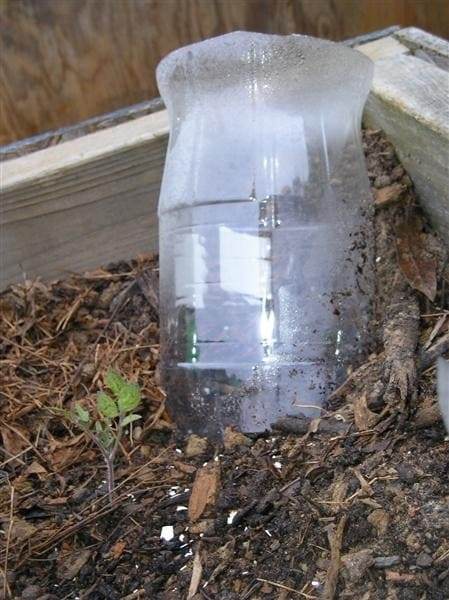
simply put it in the hole with the cap-side-down. If you haven’t done it yet, screw the cap back onto the bottle. Turn the bottle upside down and insert it into the hole, making sure the cap is facing downwards. Carefully pat the soil around the bottle.
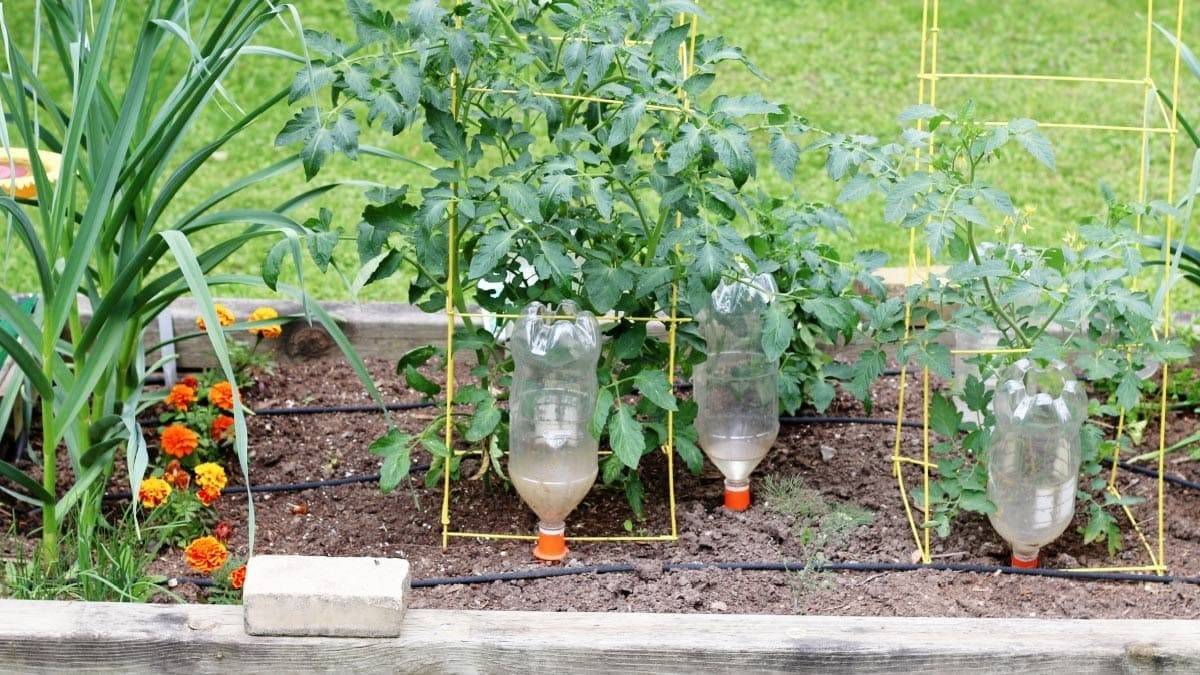
If you want, you can push the bottle further into the soil, but make sure there’s at least 1 inch (2.54 centimeters) sticking out. This way, you’ll prevent soil from getting into the water.
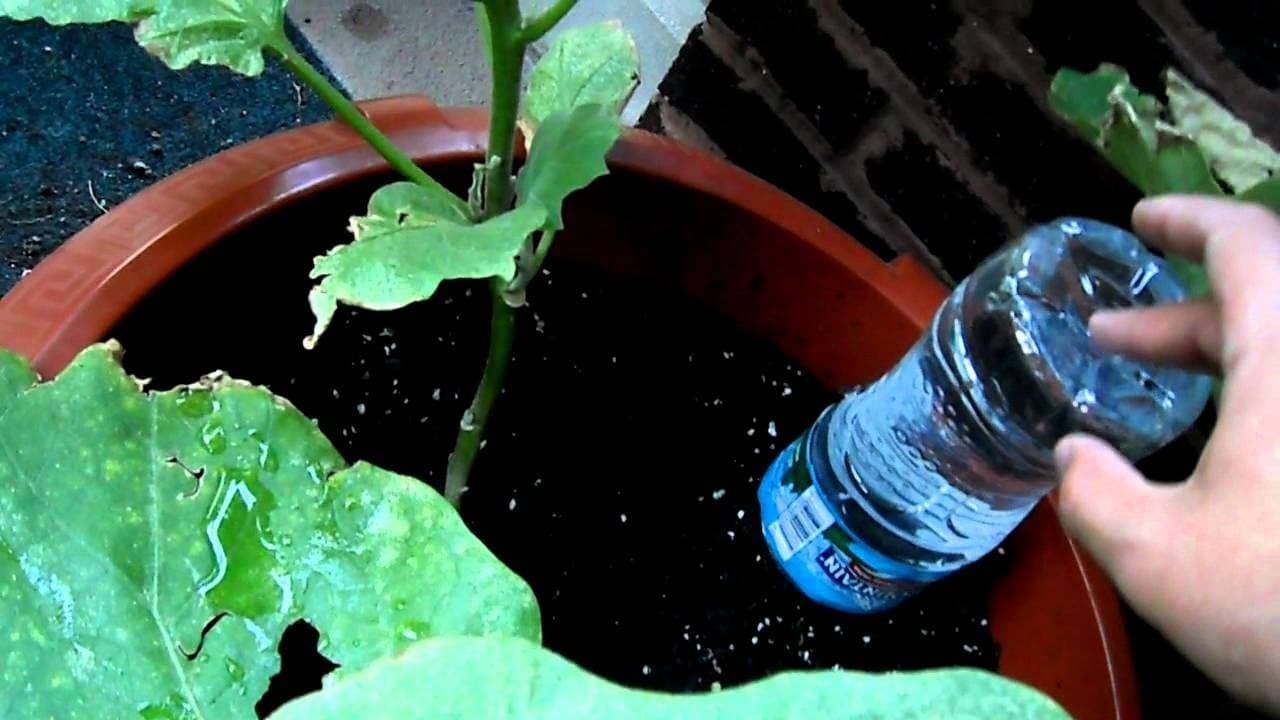
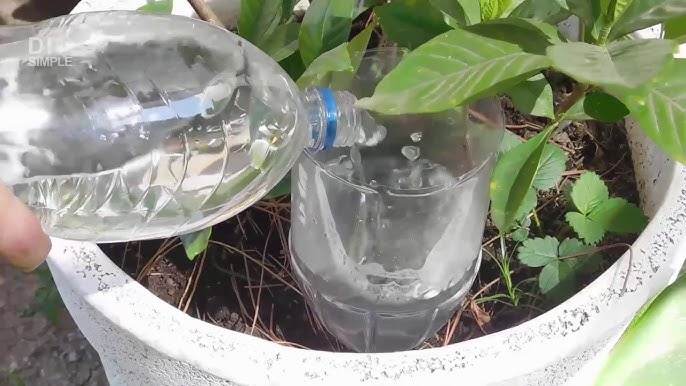
6. Fill The Bottle
Fill it with water and invert it so that the bottom of the bottle is resting on the water and able to catch any debris that would otherwise sink and clog the system. Let your drip irrigation system do its job. Create as many drip irrigation systems as necessary for all of your plants.
Why You Should Use a Bottle Automatic Vegetable Waterer
1. Consistent Moisture Management
One of the biggest challenges for gardeners is maintaining a consistent level of moisture in the soil. Uneven watering can lead to stressed plants, underdeveloped vegetables, and even fungal issues. By using a bottle automatic vegetable waterer, you ensure that your garden gets a slow, steady supply of water. This means your plants won’t face the stress of drought or overhydration, resulting in healthier, more vibrant vegetables.
2. Water Conservation
With traditional hose or can watering, it’s easy to overuse water. In contrast, a bottle waterer provides just the right amount of hydration directly to the roots. It minimizes water waste and promotes eco-friendliness. Plus, it helps you save on your water bills, making it a win-win for both your garden and your wallet.
3. Time and Labor Efficiency
Gardening is a labor of love, but it can be time-consuming, especially when it comes to hand-watering all your plants. An automatic vegetable waterer lightens the load by doing the job for you. It’s an excellent solution for busy gardeners or those with physical limitations, making garden maintenance more manageable and enjoyable.
FAQs
1. How Often Should I Refill The Bottle?
The frequency of refilling your bottle depends on its size and the needs of your garden. Smaller bottles may require more frequent refilling, while larger ones can last longer. It’s essential to monitor the soil moisture levels and refill as needed, typically every few days.
2. What Types Of Bottles Are Suitable For This System?
Plastic soda bottles, water bottles, or milk jugs work well. Ensure the bottle has a secure cap that can be pierced to regulate the water flow. The size of the bottle should match the watering needs of your plants.

3. How Can I Adjust The Flow Rate Of The Water?
To control the flow rate, you can vary the number and size of holes you create in the bottle cap. Fewer and smaller holes will slow down the flow, while more extensive or additional holes will increase it.
 4. Can I Use This System For All Types Of Vegetables?
Yes, you can use a bottle automatic waterer for most vegetables. However, be mindful of the watering needs of different plants. Some may require more water than others. Adjust the bottle size and flow rate accordingly to suit the specific needs of your garden.
Crafting a bottle automatic vegetable waterer is a practical and efficient solution for maintaining a healthy and thriving garden. We hope with our detailed step-by-step guide, you can transform your garden into a lush, low-effort oasis and enjoy the benefits of water conservation and the sweet burden of garden maintenance.