Think of each bead as a raindrop, settling onto petals after spring rain.
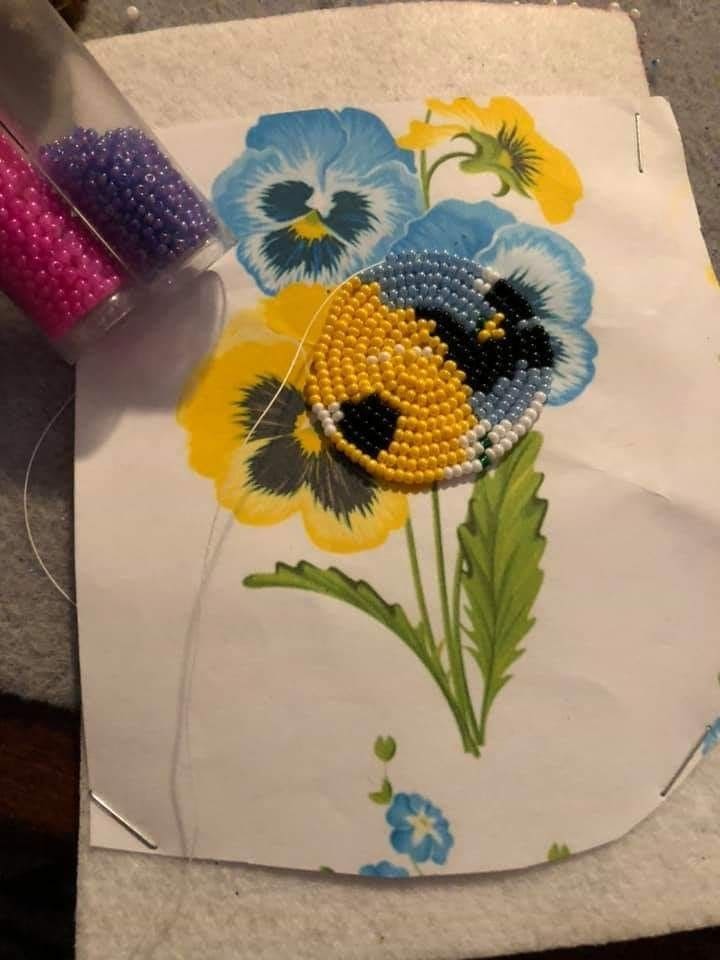
As you place them one by one, the pansy seems to lift from the fabric, blooming into something more than a drawing.
The bright yellows, deep blues, and soft whites dance together in a way that mirrors the resilience of real flowers.
By the time you finish, you’ll have a pansy that never fades, an embroidered garden you can hold in your hands.
Materials Needed
- Seed beads in yellow, black, blue, and white (size 11/0, 10-15 grams each)
- Beading needle (size 10 or 12)
- Strong beading thread (Nymo or FireLine, 2-3 yards)
- Printed pansy fabric or transfer pattern
- Felt or embroidery backing (6”×6” piece)
- Embroidery hoop (6” size)
- Scissors
Step-by-step Guide
Step 1: Secure your fabric with the pansy design in an embroidery hoop, backing it with felt for support.
Step 2: Thread your needle and knot the end. You can begin stitching from the center of the flower, adding beads in small rows to form the pansy’s face.
Step 3: Alternate colors according to the petals, keeping beads snug but not too tight so they curve naturally.
Step 4: Continue outlining and filling each petal, finishing with the leaf and stem if desired.
Step 5: Tie off your thread neatly on the back, and admire your pansy as it comes alive bead by bead.
Tips:
Work in short thread lengths (no more than 18”) to avoid tangles, and hold your hoop at an angle under good light, it makes color placement much easier.