If you’re looking for something different the next time you get your nails done, consider coffin nails. They are the nail shape that is inspired by a coffin. You might think that’s morbid, but with its emerging popularity, you might want to get in on this trend as soon as possible.
Because they resemble ballet shoes when worn, these nails have also been dubbed “ballerina” nails.
You might think this is a new trend, but coffin nails were extremely popular in the 1990s and have only recently resurfaced. If you want these nails, you are going to have to grow them really long. Stubby little coffins are not permitted.
There are many ways in which you can create these nails, and we have a ton of options for you. Check out our comprehensive guide to shaping coffin nails as well as these 33 inspiring ideas to try this year.
#1 Slim French Tips
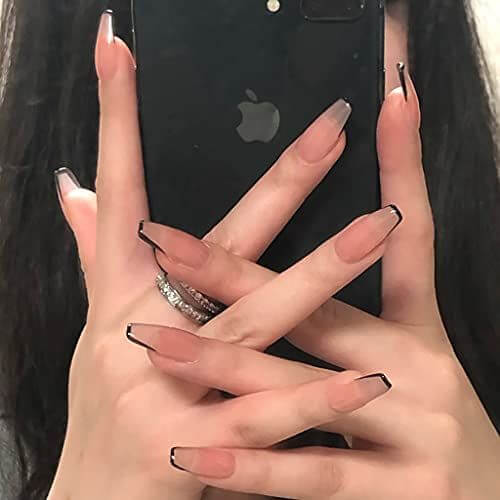 Source: unknown
Clean Your Cuticles And Tips
Before you even pick up your nail file, it’s important to give your nails a little TLC. Start by grooming your cuticles by gently pushing them back with a cuticle stick or trimming away any excess if needed.
Well-prepped cuticles not only make your nails look cleaner but also create a better foundation for shaping and polishing.
#2 Shimmering Clear Nails
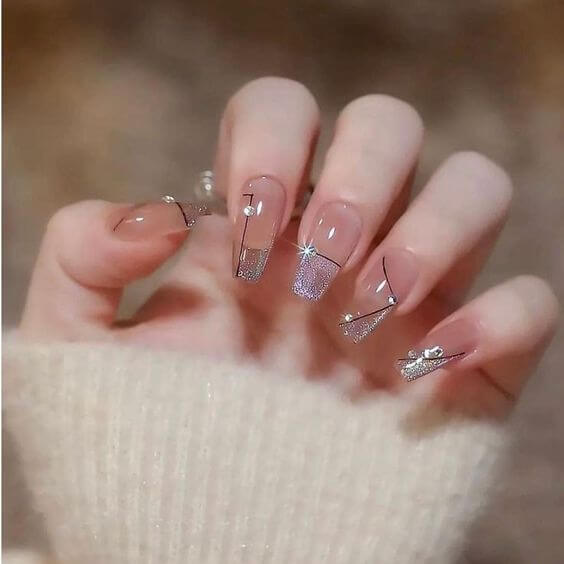 Source: unknown
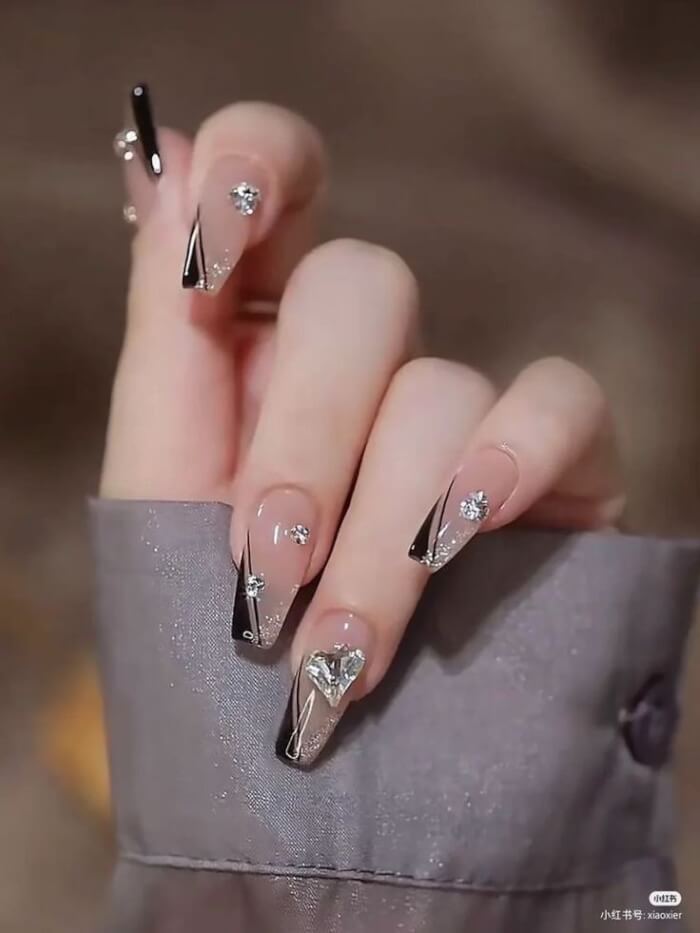
#3 Dazzling Tips
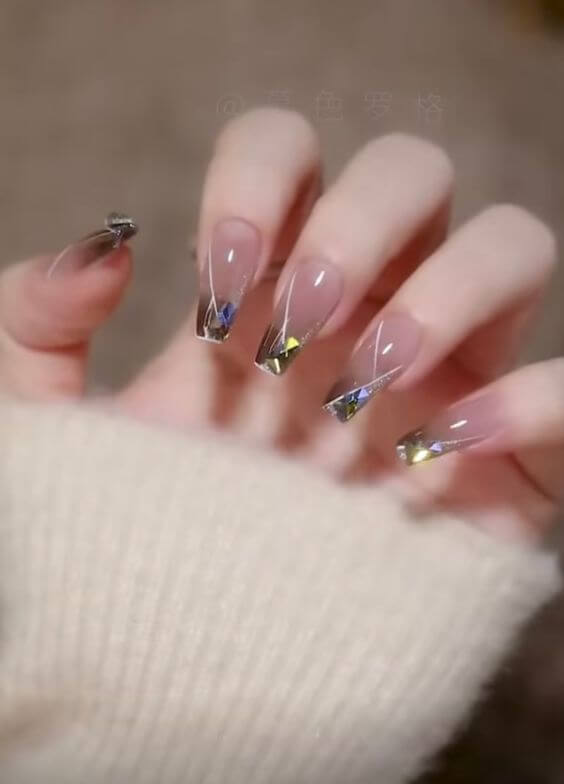 Source: unknown
#4 Lil Presents
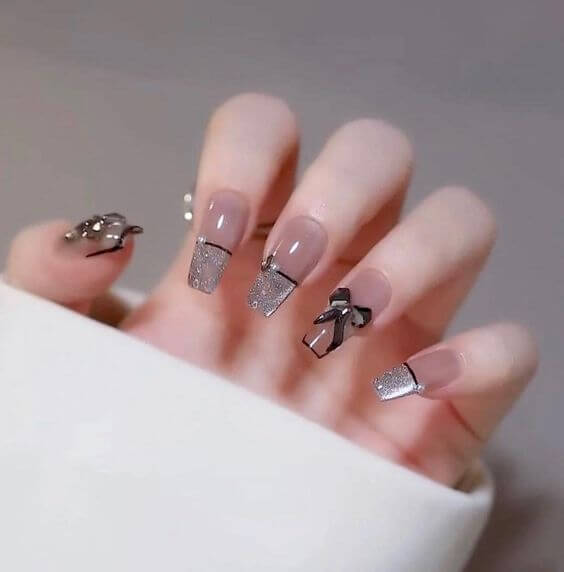 Source: unknown
Next, make sure to remove any old polish, even if it’s just a faint stain left behind from a previous manicure.
Use a gentle polish remover to clear the surface completely. Finally, wash your hands thoroughly with soap and water.
This step eliminates oils, dust, and residue, leaving your nails fresh and ready for shaping.
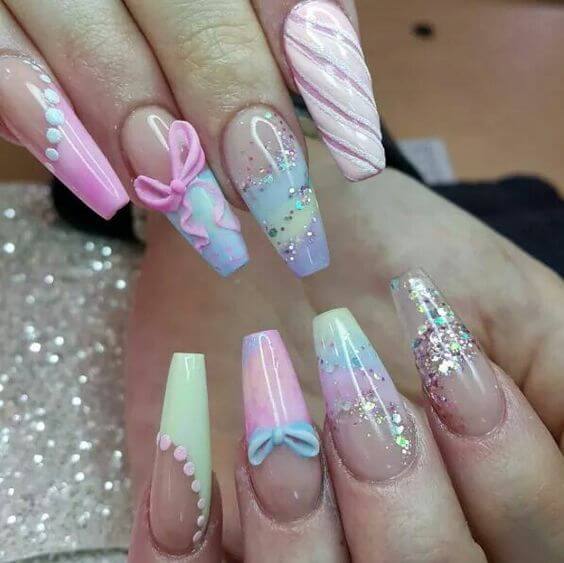
#5 Luxury Vibe
 Source: unknown
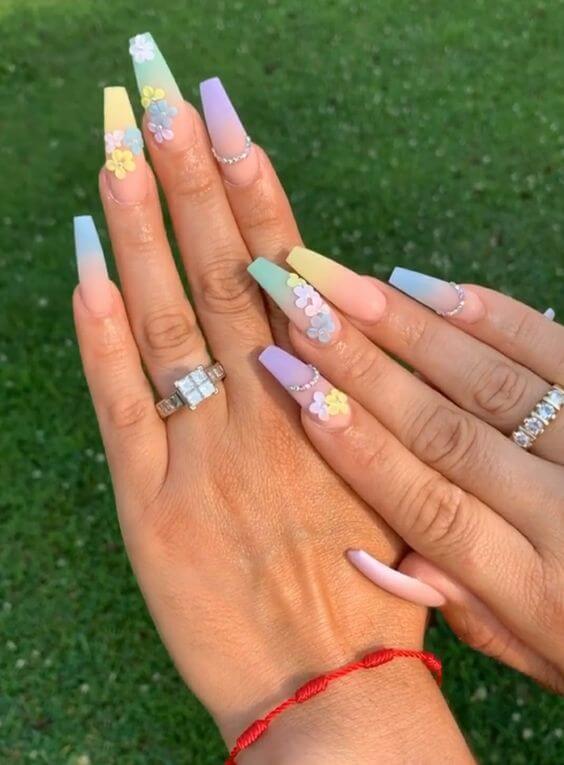
#6 Bling Floral Pastel
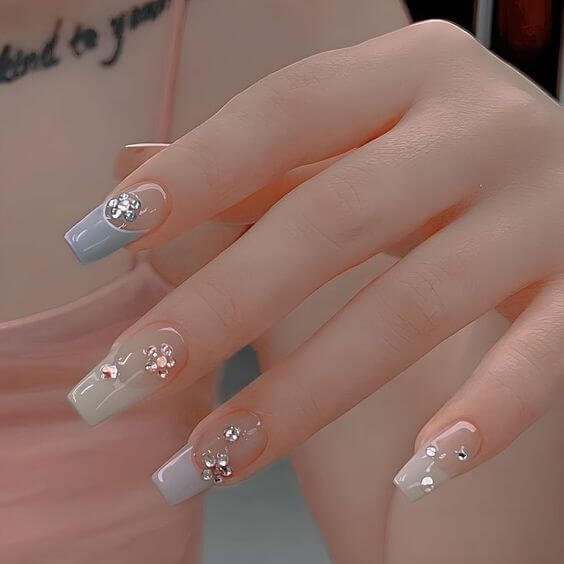 Source: unknown
By taking these few extra minutes to prep, you’re setting the stage for a manicure that not only looks beautiful but also lasts much longer.
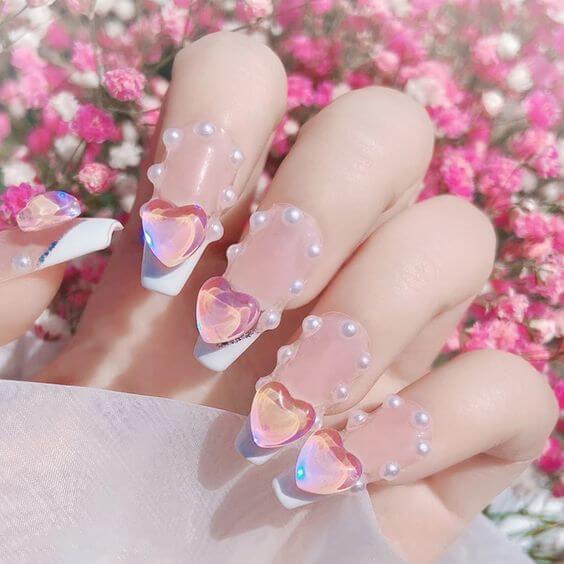
#7 Dainty Hearts
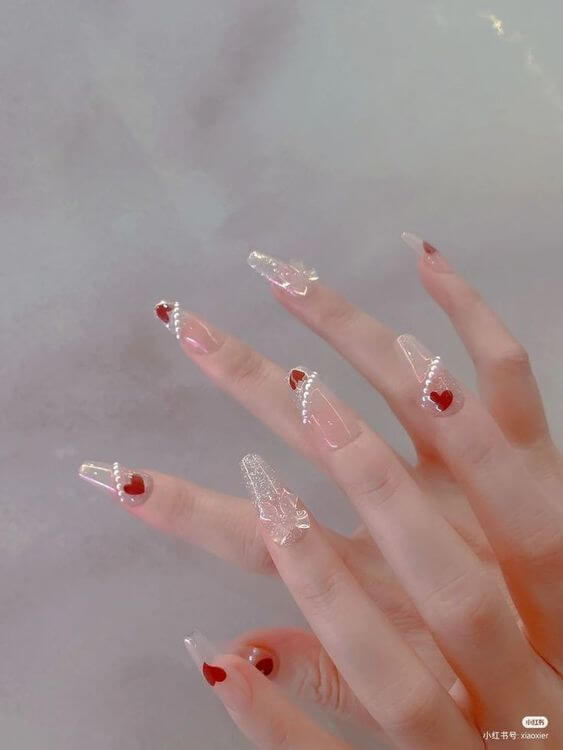 Source: unknown
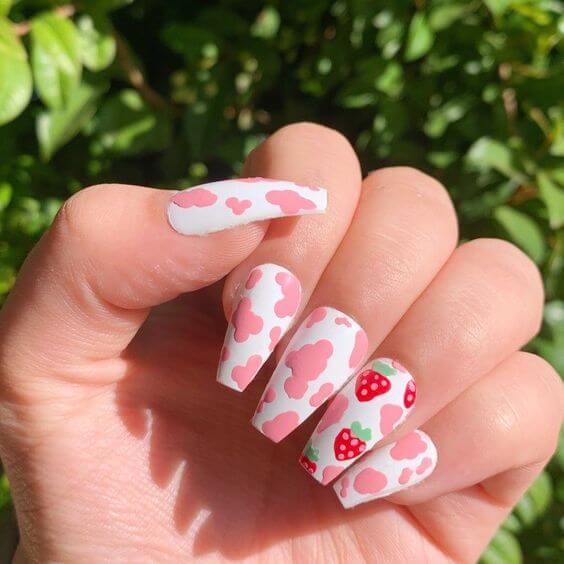
#8 Upgraded Cow Prints
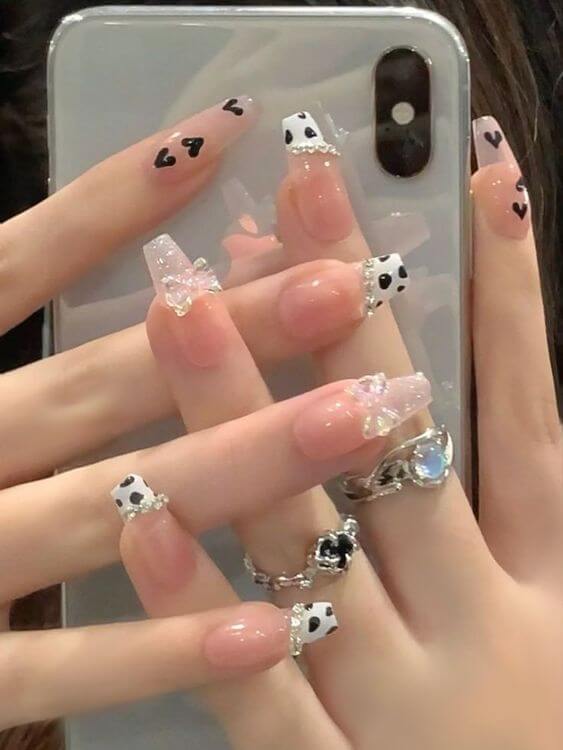 Source: unknown
#9 Lady Gingham
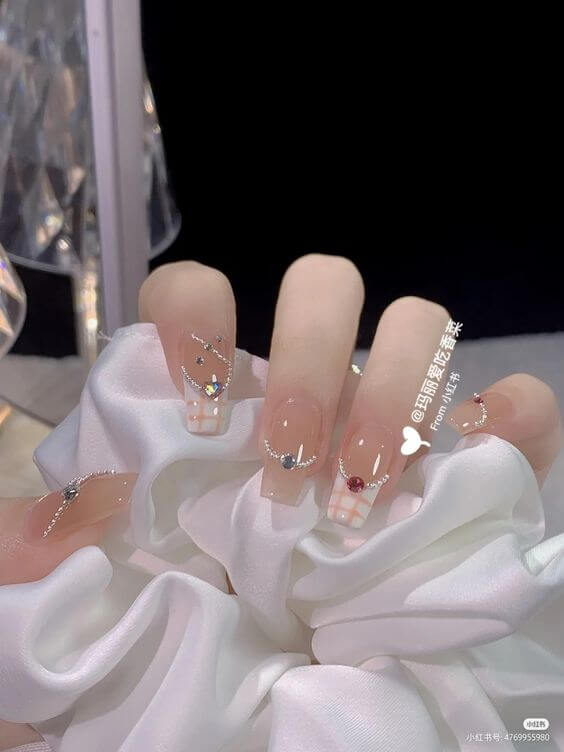 Source: unknown
Make A Square Shape
According to nail expert Truong, the easiest way to create the perfect coffin nail shape is to start with square nails.
This acts as the foundation for the entire look, making it much simpler to refine later.
#10 Subtle Long Coffin Nails
 Source: unknown
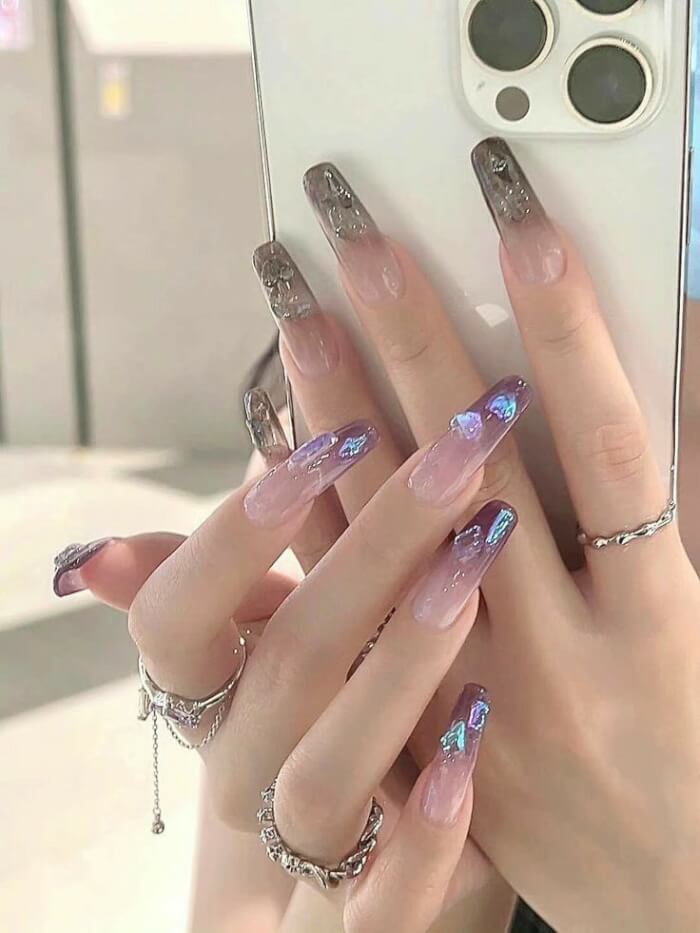
#11 Dark Purple Power
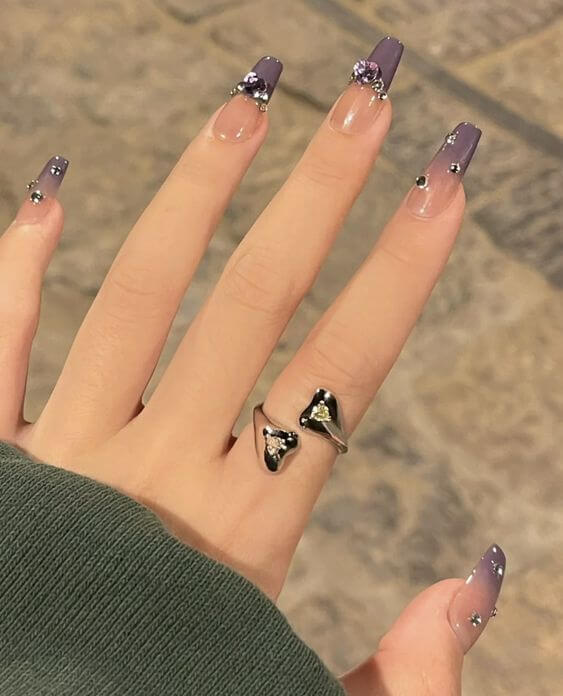 Source: unknown
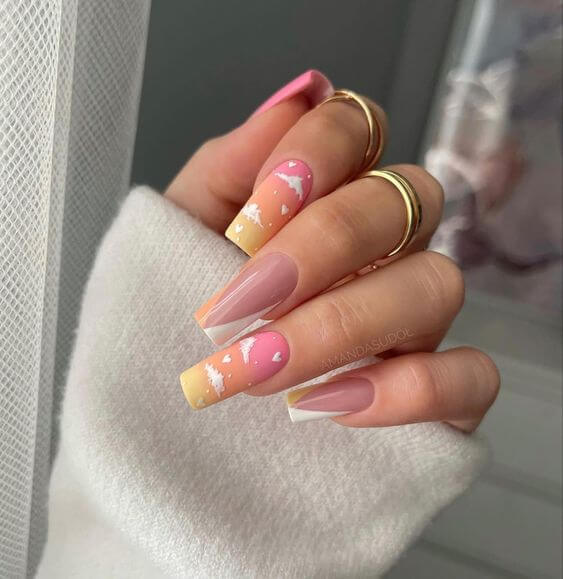
#12 Shiny Ombre Tips
 Source: unknown
To achieve this, file the top of your nail completely flat, ensuring the edge is straight and crisp.
Then, carefully shape the sides into 90-degree angles, giving your nails that sharp, square base.
#13
 Source: unknown
#14 Aura Nails
 Source: unknown
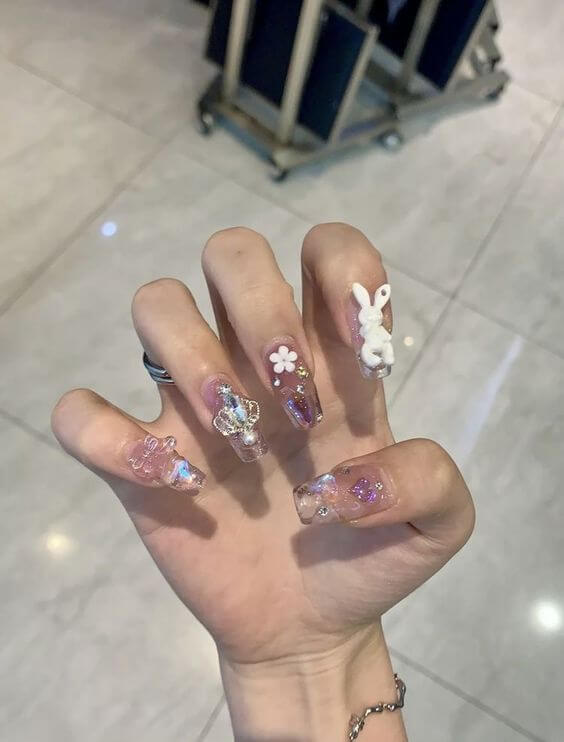
#15 Playful Nail Set
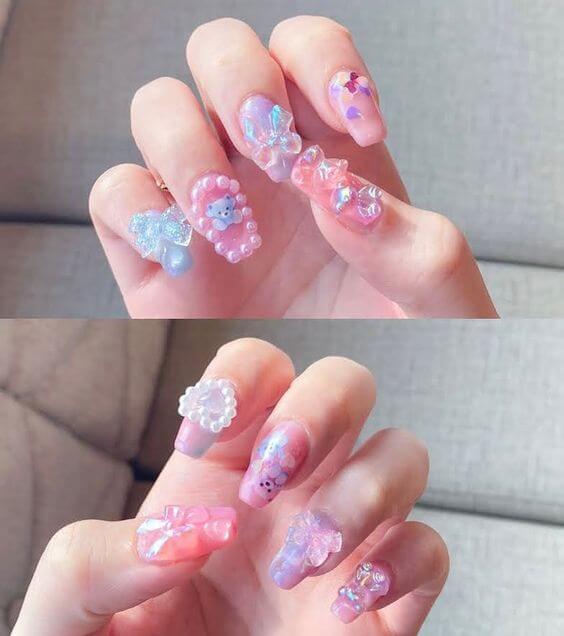 Source: unknown
Think of this as a pre-step rather than the final result.
By starting with a square structure, you’re setting yourself up for easier shaping when you move on to tapering the sides into the coffin form.
It’s a small but crucial detail that ensures the result looks symmetrical, sleek, and professional.
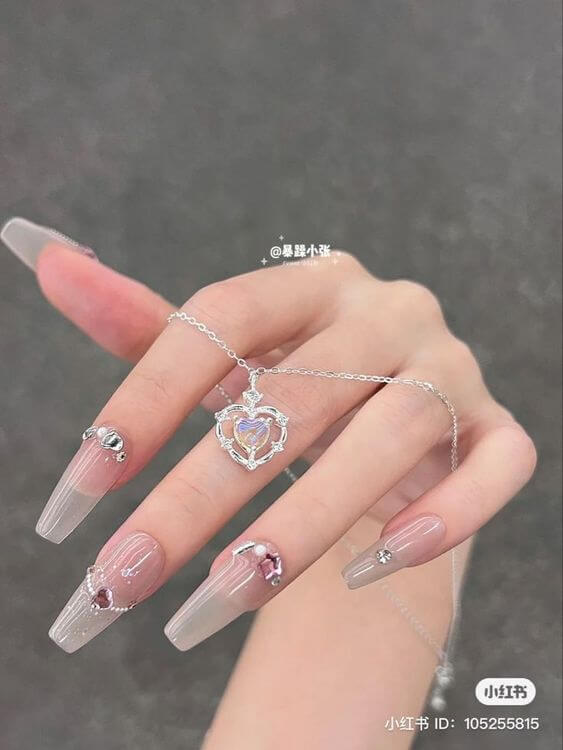
#16 Jelly Heart Mani
 Source: unknown
#17 Moon Lover
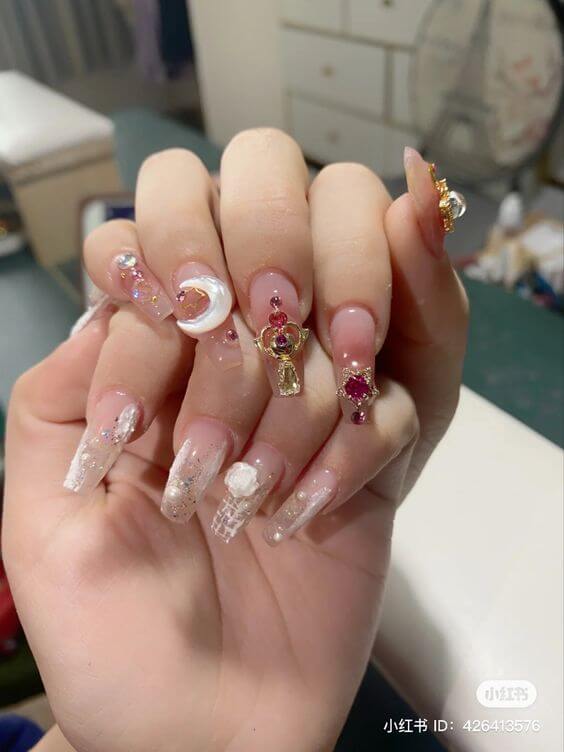 Source: unknown
#18
 Source: unknown
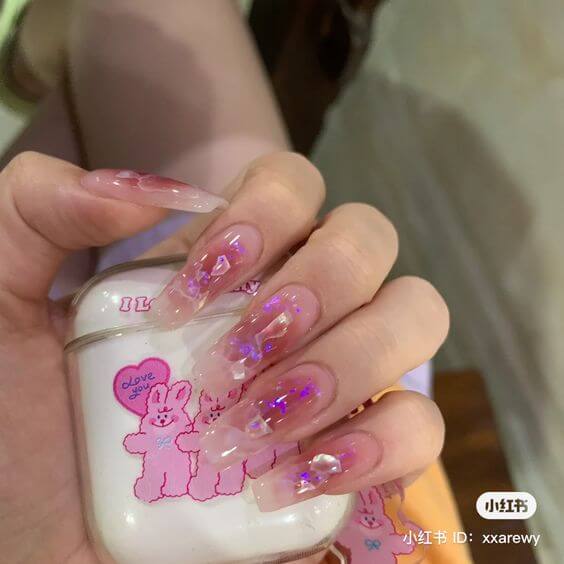
#19 Ice Cream Cone
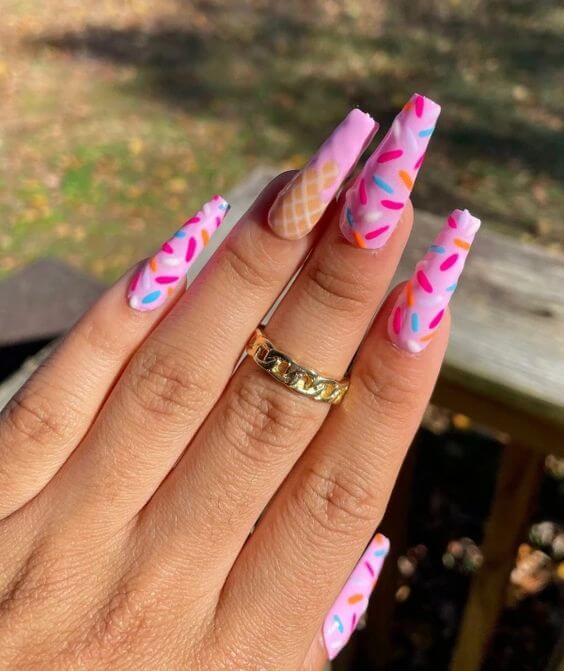 Source: unknown
Make The Point
Once you’ve shaped all ten nails into neat squares, it’s time to begin creating the signature tapered edges of coffin nails.
As nail expert Truong explains, you should start by filing the sides of each nail at a slight angle.
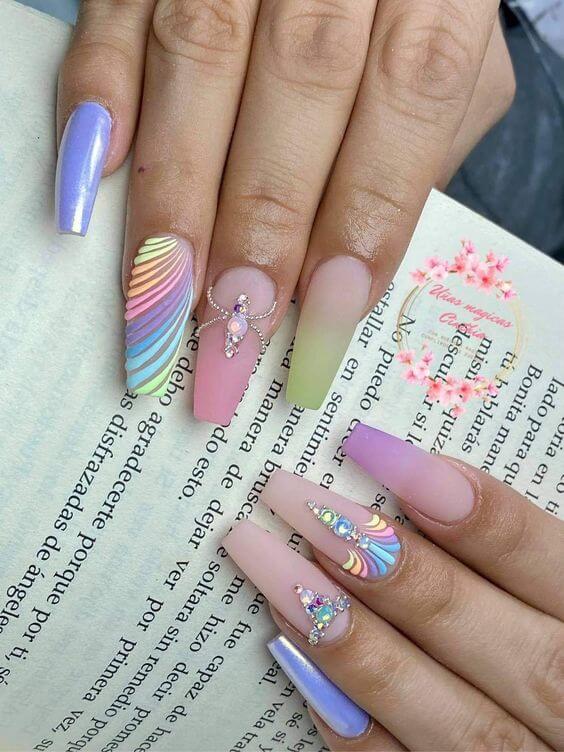
#20 Rainbow
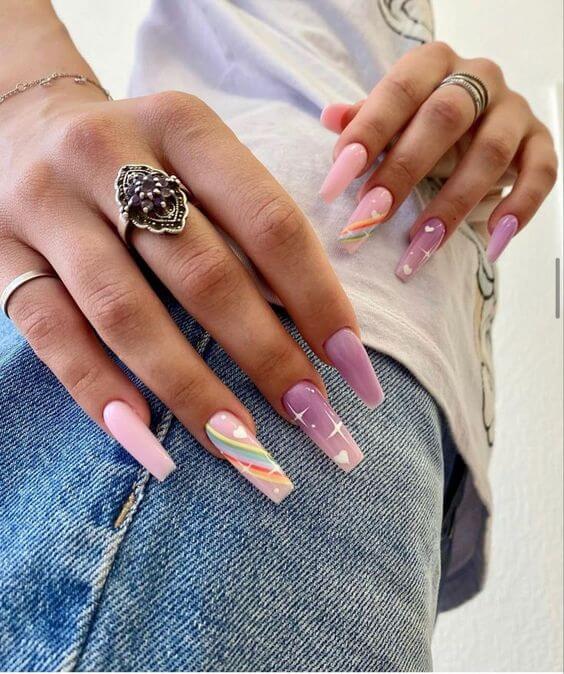 Source: unknown
#21 Sunset Mani
 Source: unknown
#22 Summer Floral
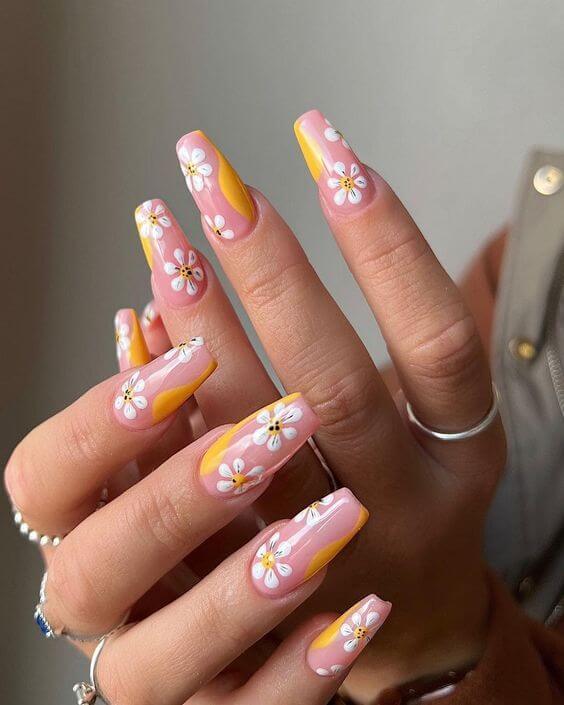 Source: unknown
Imagine both sides gradually narrowing as if they were about to meet at a point in the middle
Instead of filing to a sharp tip, you’ll stop short to keep the flat edge that gives coffin nails their chic, modern look.
#23 Lollipop Vibe
 Source: unknown
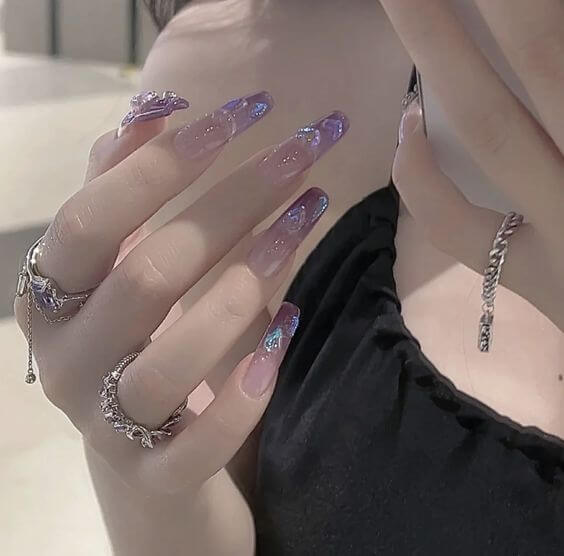
#24 Mermaid Inspired
 Source: unknown
#25 Spring Pastels
 Source: unknown
If you’re new to nail filing, take it slow and steady. Begin with one nail at a time, carefully adjusting the angle until you achieve the desired taper.
Once you’re satisfied with the shape, move on to the next nail, trying your best to mimic the same angle and width so that all your nails look consistent.
Symmetry is key here. The more even your angles, the sleeker and more professional your manicure will appear.
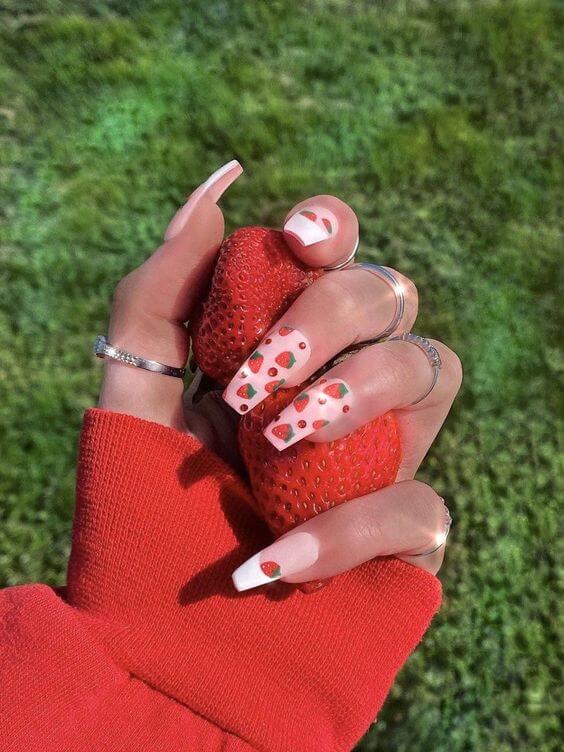
#26 Strawberry Sweet
 Source: unknown
#27 Lovely Cow Prints
 Source: unknown
This step may take some practice, but patience pays off.
With each careful stroke of the file, you’re sculpting nails that are not only stylish but also flattering, elongating the fingers and creating that unmistakable coffin silhouette.
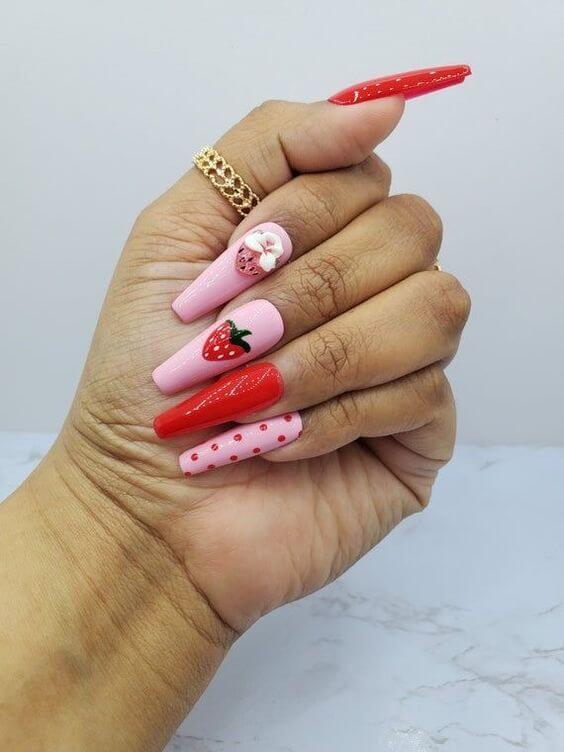
#28 Tiny Berry
 Source: unknown
#29
 Source: unknown
Sharpen Your Edges
With the tapered sides complete, the last step is to file the free edge straight across to create that iconic coffin silhouette. As nail expert Truong explains, this sharp, flat tip is what sets coffin nails apart from almond or stiletto shapes.
Keeping the edge straight ensures a sleek, modern look that elongates your fingers and ties the whole design together.
#30 Mini Cherry Pattern
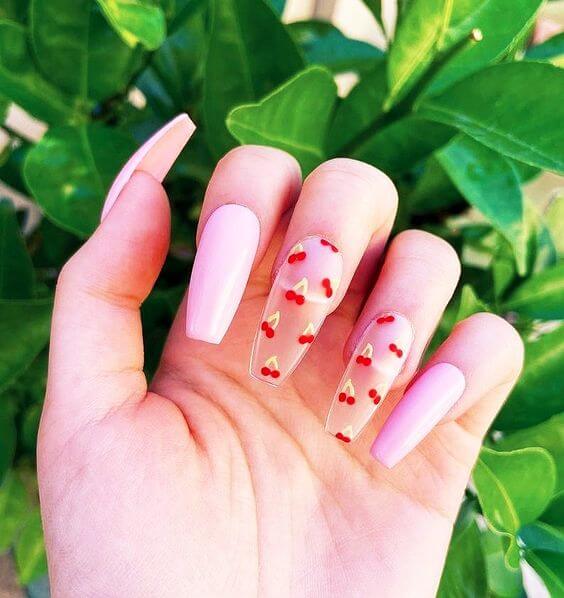 Source: unknown
#31 Super Extra
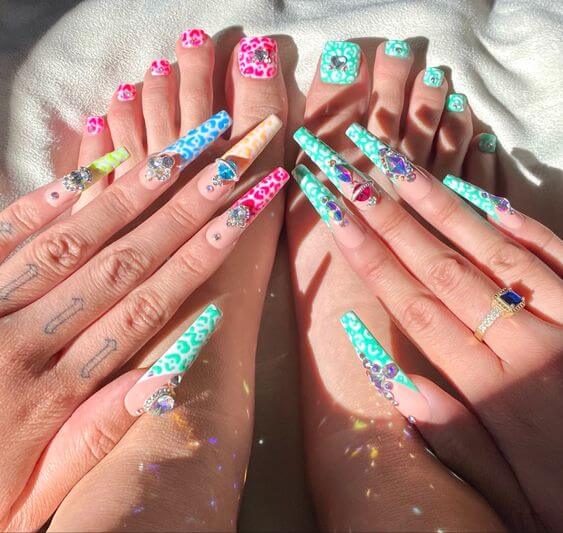 Source: unknown
#32 Candy Store
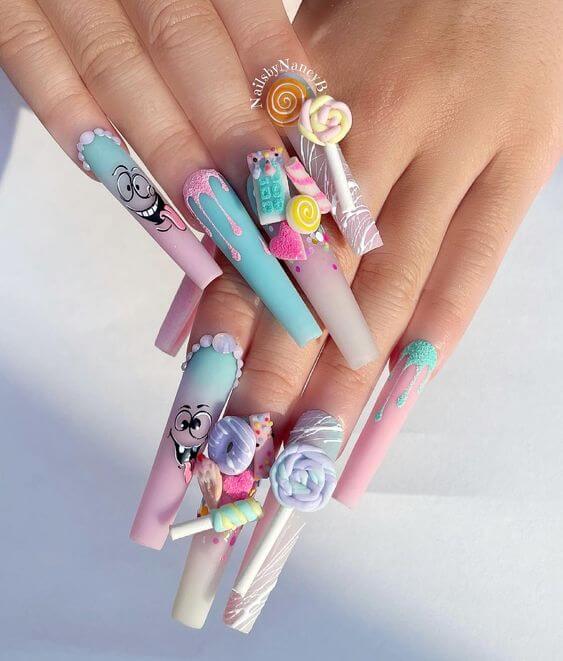 Source: Nails by NancyB
From here, it’s all about personal preference. Some people love the dramatic effect of keeping the corners crisp and angular, while others prefer to soften the edges with a slight roundness for a more natural finish.
Traditionally, coffin nails are kept sharp and square at the tips, but there’s no rule saying you can’t customize them. If a rounded edge feels more comfortable for you, go for it.
#33 Sweetest Nail Set Ever
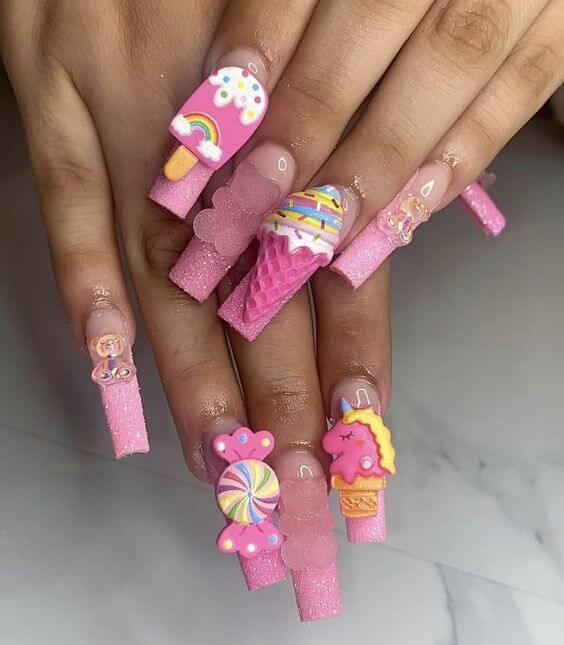 Source: unknown